Removing a kitchen sink may seem like a daunting task, but with the right tools and knowledge, it can be a simple and straightforward process. Whether you are replacing your old sink or tackling a renovation project, knowing how to properly remove a kitchen sink is essential. In this article, we will guide you through the steps of removing a kitchen sink and provide helpful tips to make the process easier.How to Remove a Kitchen Sink


How to Remove a Kitchen Sink


Before you begin, make sure to turn off the water supply to your sink and disconnect any plumbing connections. You will also need to remove any items stored in or around the sink area. Once you have prepared the area, follow these steps to remove your kitchen sink:Removing a Kitchen Sink


Removing a Kitchen Sink


Step 1: Loosen and remove the mounting clips or brackets holding the sink in place. Depending on the type of sink you have, there may be mounting clips or brackets securing it to the countertop. Use a screwdriver or pliers to loosen and remove these fasteners. Step 2: Disconnect the water supply lines. Locate the water supply lines under the sink and use a wrench to loosen and remove the connections. Be sure to have a bucket or towel handy to catch any remaining water in the lines. Step 3: Remove the drain and garbage disposal. If your sink has a garbage disposal, use a screwdriver to disconnect it from the mounting bracket. Then, remove the drain by loosening and unscrewing the drain pipe and P-trap. Step 4: Cut the caulk or adhesive seal around the sink. Using a utility knife, carefully cut through the caulk or adhesive seal between the sink and the countertop. This will help loosen the sink and make it easier to remove. Step 5: Lift the sink out of the countertop. With the help of a friend or family member, carefully lift the sink out of the countertop and set it aside.Steps for Removing a Kitchen Sink


Steps for Removing a Kitchen Sink


If you are unsure about any of the steps above, it is always a good idea to consult the manufacturer's instructions for your specific sink model. Additionally, you can also consult a professional plumber for assistance.Removing a Kitchen Sink: A Step-by-Step Guide


Removing a Kitchen Sink: A Step-by-Step Guide


Removing a kitchen sink yourself can save you time and money. However, it is important to know your limitations and when it is best to call in a professional. If you encounter any complications or are unsure about the process, it is always better to seek expert help.DIY Kitchen Sink Removal


DIY Kitchen Sink Removal


Tip: Before removing your sink, take a picture or make a diagram of the plumbing connections to help you reconnect them correctly later on. This will save you time and frustration when reinstalling your new sink. Trick: To make cutting through caulk or adhesive seal easier, use a hairdryer to warm and soften it before using a utility knife.Removing a Kitchen Sink: Tips and Tricks


Removing a Kitchen Sink: Tips and Tricks

When removing a kitchen sink, it is important to keep in mind the type of sink you have. For example, a top-mount sink will have different steps compared to an undermount sink. Knowing these differences can prevent any mistakes during the removal process.Removing a Kitchen Sink: What You Need to Know


Removing a Kitchen Sink: What You Need to Know


One common mistake when removing a kitchen sink is not properly supporting it during the removal process. This can lead to damage to your countertop or sink. Be sure to have a friend or family member assist you in lifting the sink out of the countertop.Removing a Kitchen Sink: Common Mistakes to Avoid

Removing a Kitchen Sink: Common Mistakes to Avoid


To properly remove a kitchen sink, it is important to follow the steps outlined above and take your time. Rushing the process can lead to mistakes and potential damage. Remember to always turn off the water supply and disconnect any plumbing connections before beginning.How to Properly Remove a Kitchen Sink

How to Properly Remove a Kitchen Sink


Tools:Removing a Kitchen Sink: Tools and Materials You'll Need


Removing a Kitchen Sink: Tools and Materials You'll Need


Removing a Kitchen Sink: A Step-by-Step Guide

Preparing for the Removal Process
 Before you begin removing your kitchen sink, it is important to gather all the necessary tools and materials. This includes a wrench, pliers, putty knife, and a bucket to catch any excess water. It is also important to shut off the water supply to the sink and disconnect any pipes or hoses that are connected to the sink. Once you have everything you need, you can start the removal process.
Removing the Sink from the Countertop
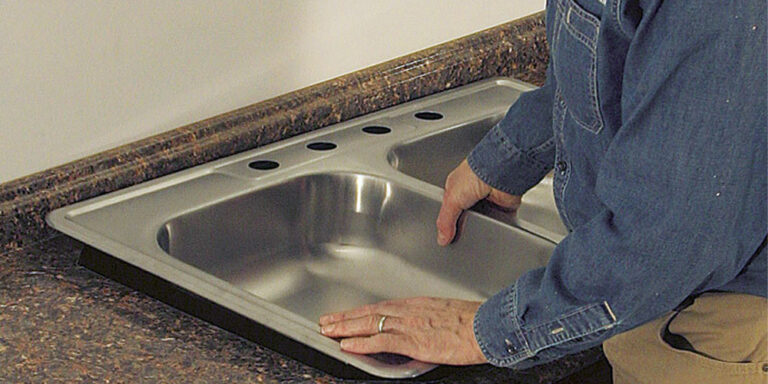
 The first step in removing a kitchen sink is to detach it from the countertop. Most sinks are held in place by clips or brackets underneath the countertop. Use a wrench or pliers to loosen these clips and then carefully lift the sink up and out of the countertop. If the sink is caulked to the countertop, use a putty knife to gently separate the two.
Disconnecting the Plumbing
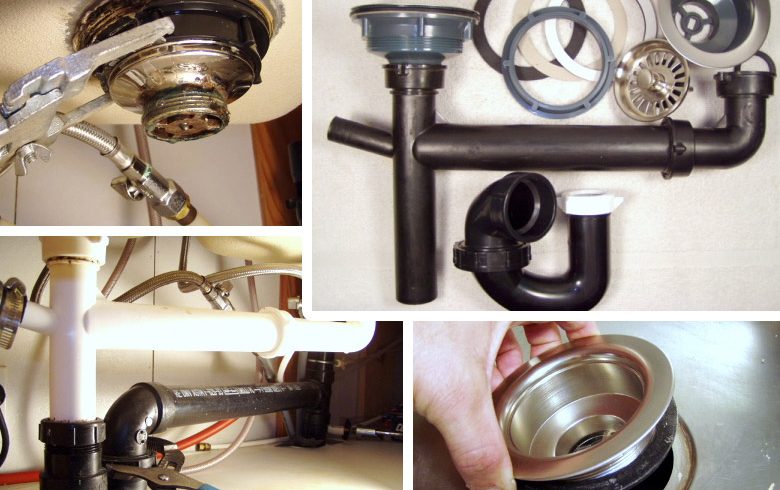
 Once the sink is removed from the countertop, you will need to disconnect the plumbing. This includes the water supply lines and the drain pipes. Use a wrench to loosen and remove any nuts or bolts attaching the pipes to the sink. Make sure to have a bucket handy to catch any excess water. Once all the plumbing is disconnected, you can remove the sink from the area.
Cleaning and Preparing for a New Sink
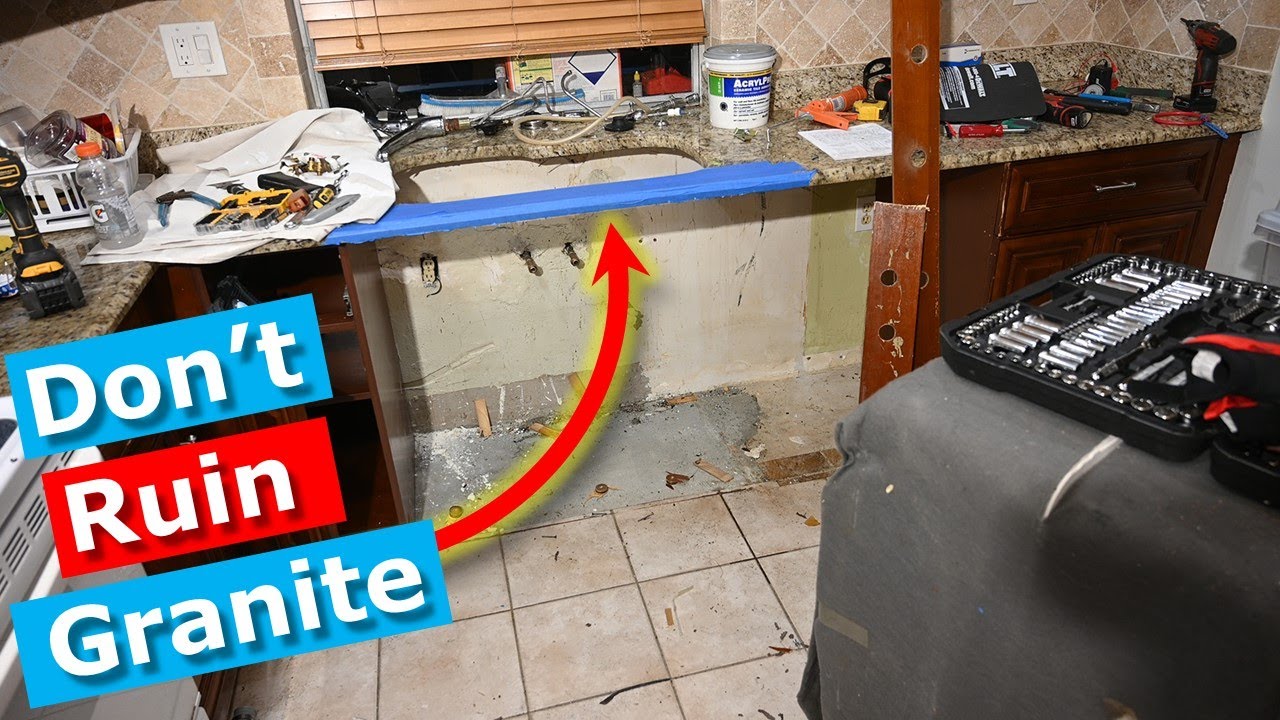
 After the old sink is removed, it is important to thoroughly clean the area where the sink was installed. Use a mild cleaner to remove any dirt, grime, or leftover caulk. Once the area is clean, you can begin preparing for a new sink installation. This may include measuring the sink opening, cutting any necessary holes for faucets or accessories, and possibly applying a new layer of caulk to the countertop.
Removing a kitchen sink can be a daunting task, but with the right tools and knowledge, it can be done efficiently and effectively. By following these steps, you can successfully remove your old kitchen sink and prepare for a new one. Remember to always take your time and be careful when handling plumbing and tools to avoid any accidents. If you are unsure about the removal process, it is always best to consult a professional for assistance.
After the old sink is removed, it is important to thoroughly clean the area where the sink was installed. Use a mild cleaner to remove any dirt, grime, or leftover caulk. Once the area is clean, you can begin preparing for a new sink installation. This may include measuring the sink opening, cutting any necessary holes for faucets or accessories, and possibly applying a new layer of caulk to the countertop.
Removing a kitchen sink can be a daunting task, but with the right tools and knowledge, it can be done efficiently and effectively. By following these steps, you can successfully remove your old kitchen sink and prepare for a new one. Remember to always take your time and be careful when handling plumbing and tools to avoid any accidents. If you are unsure about the removal process, it is always best to consult a professional for assistance.