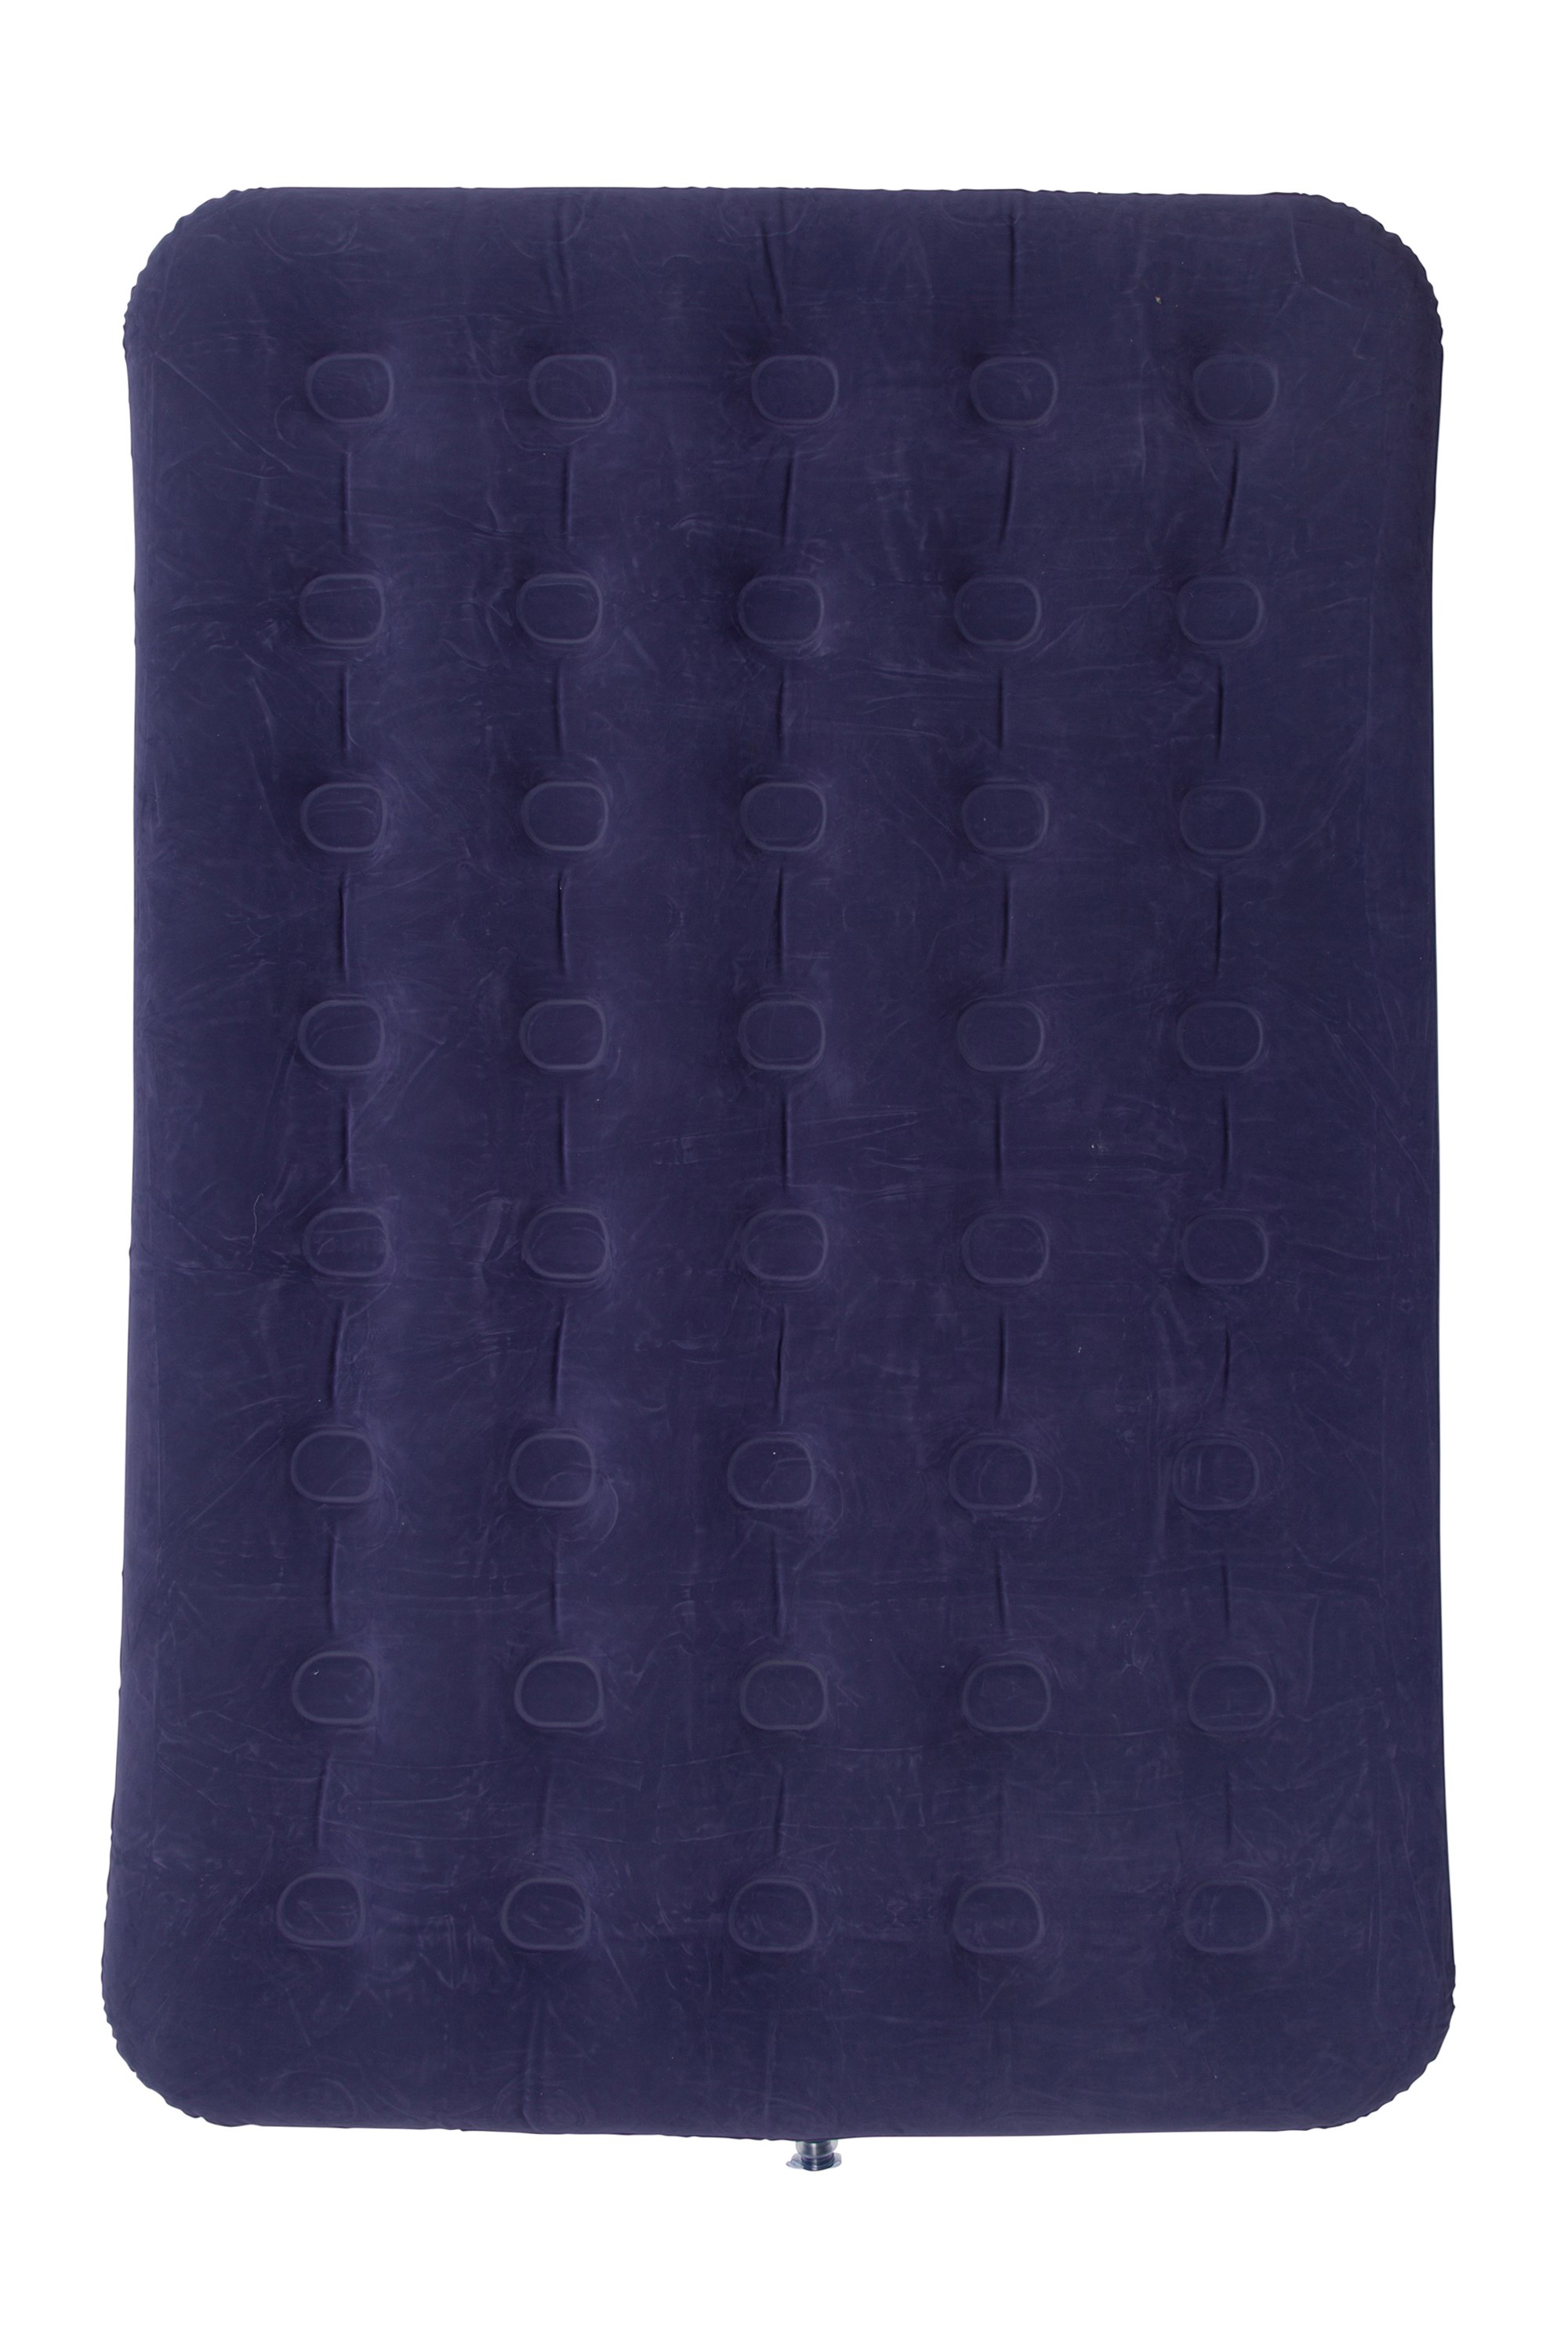
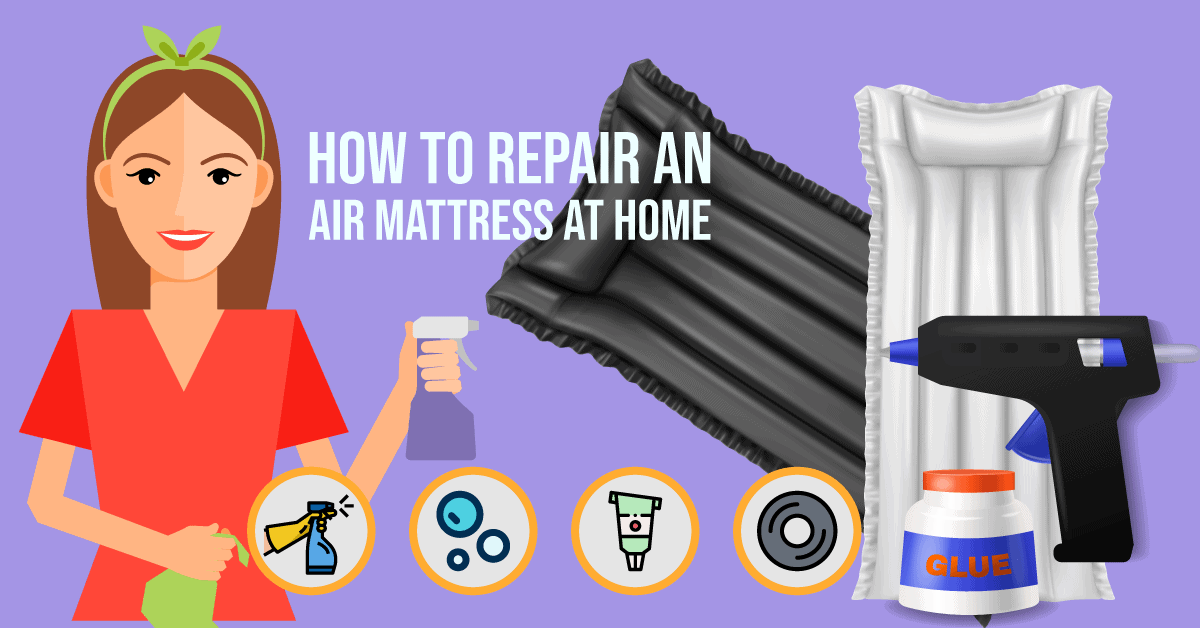
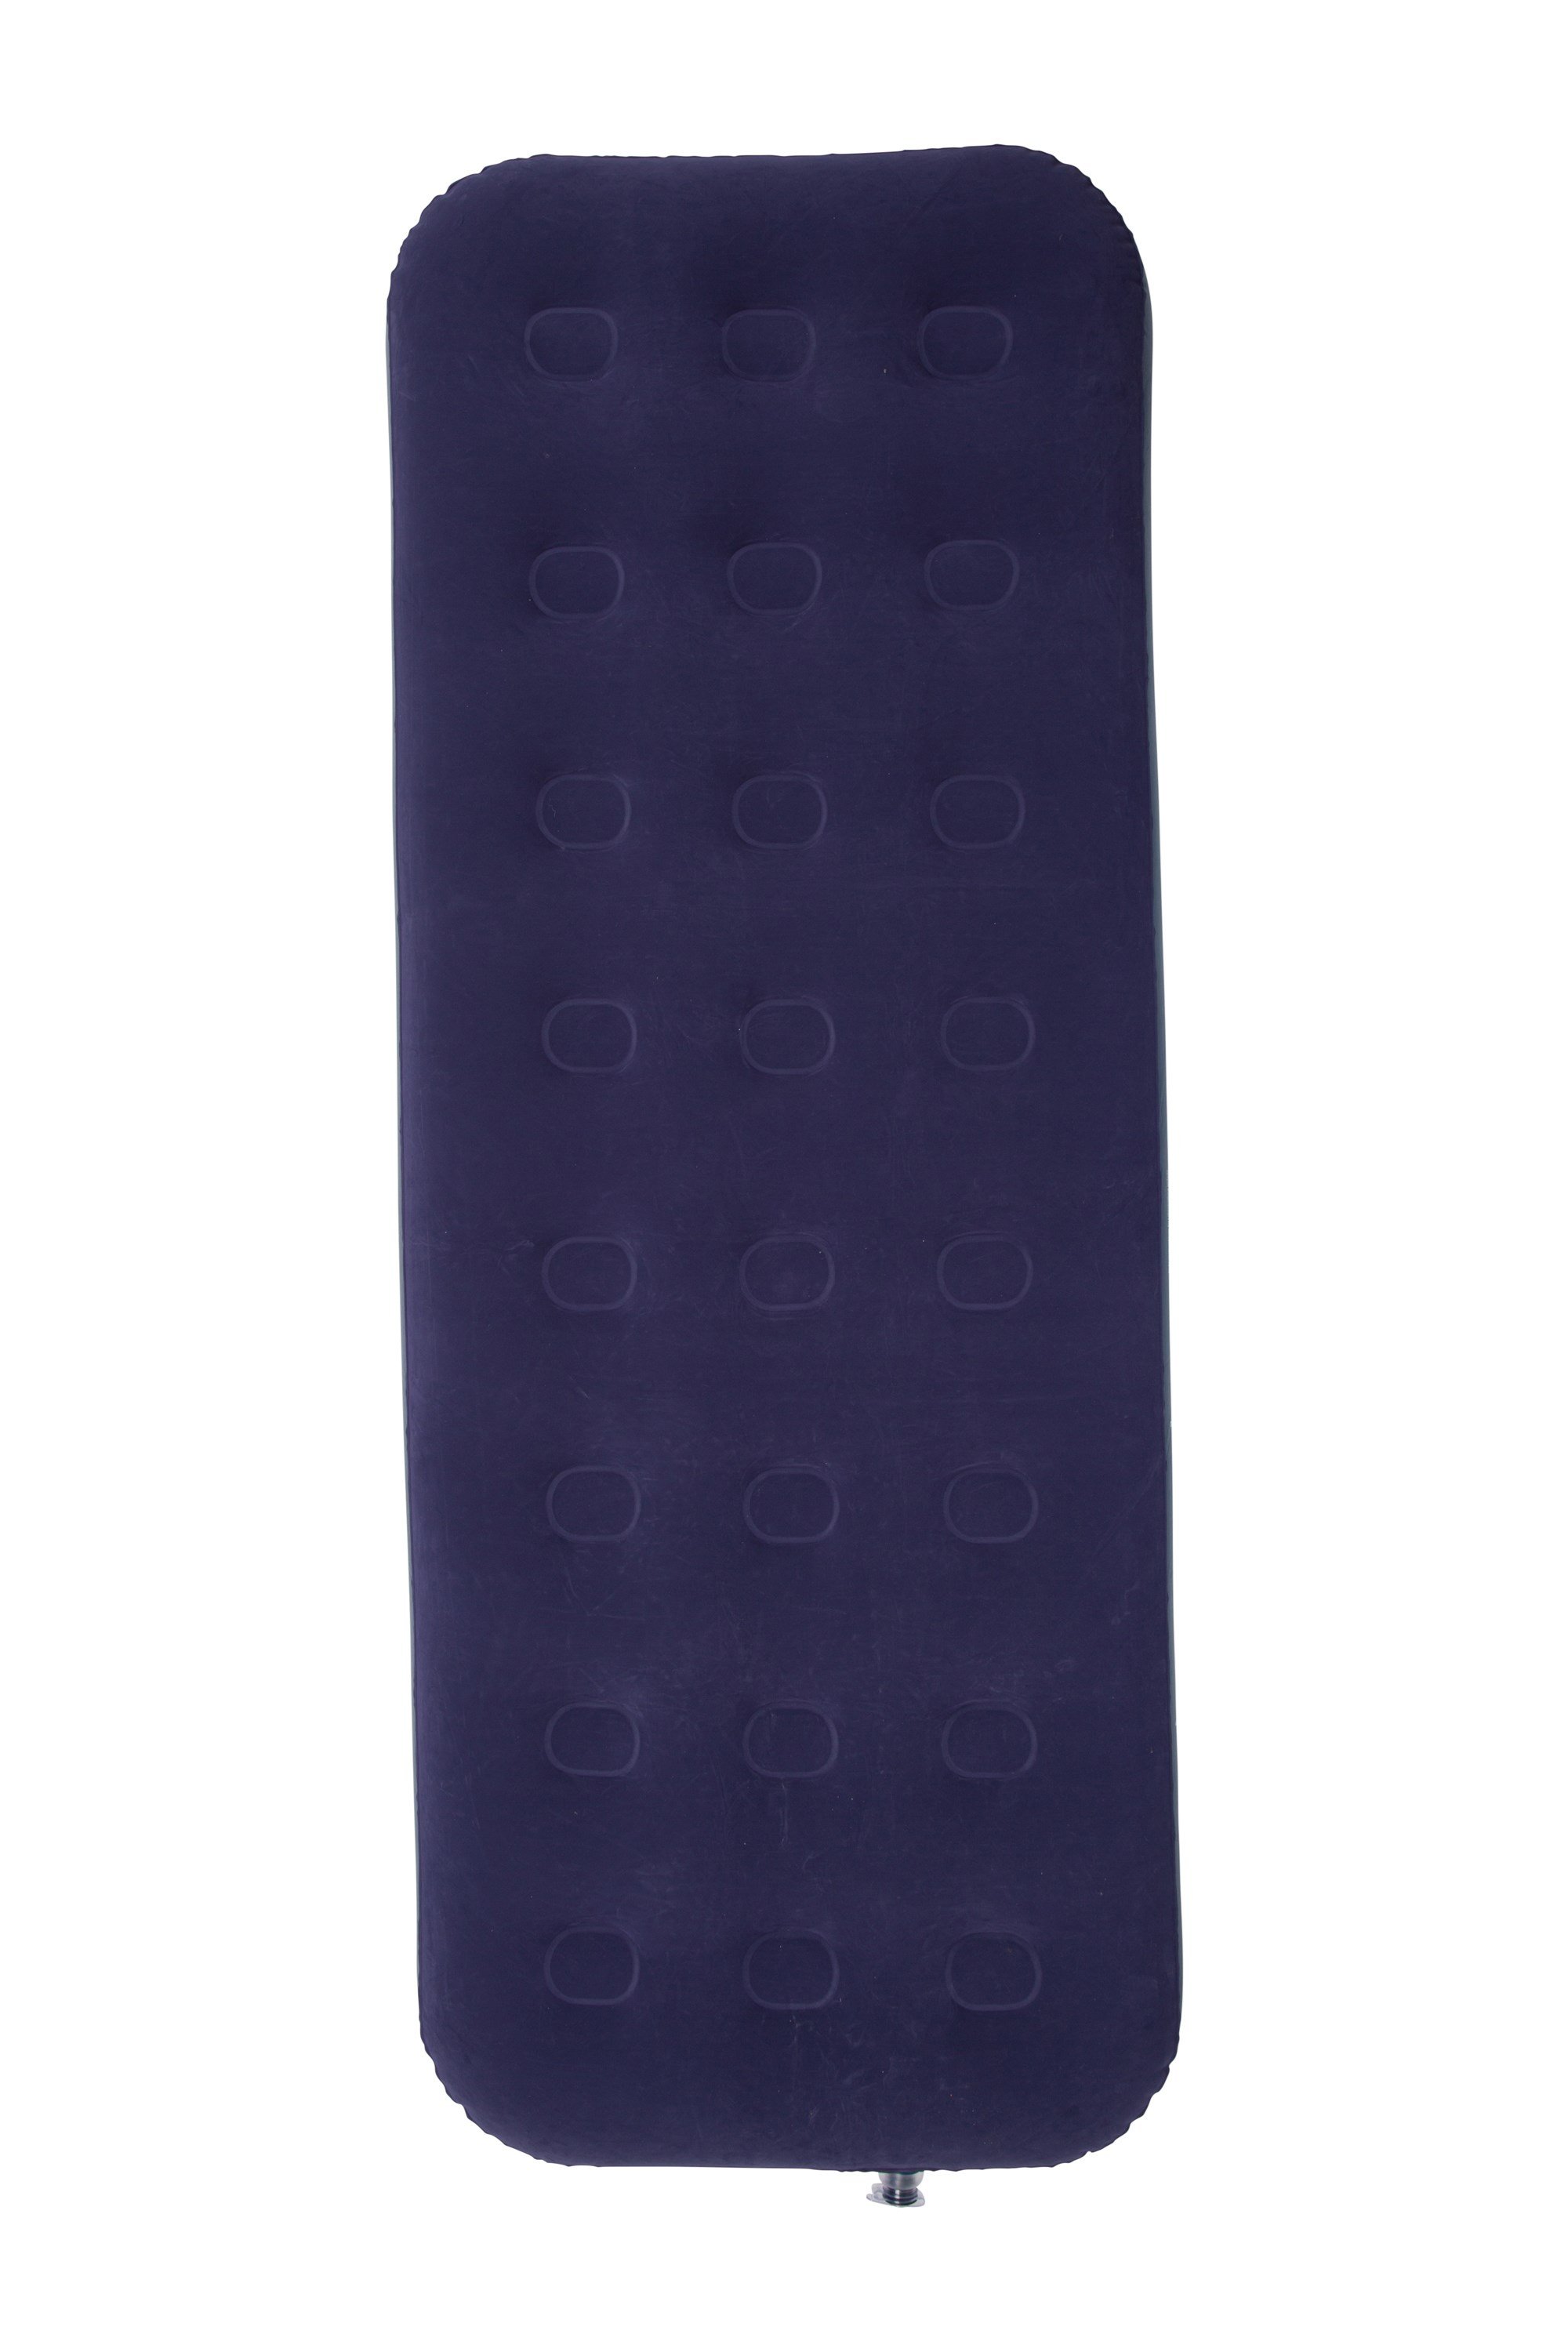
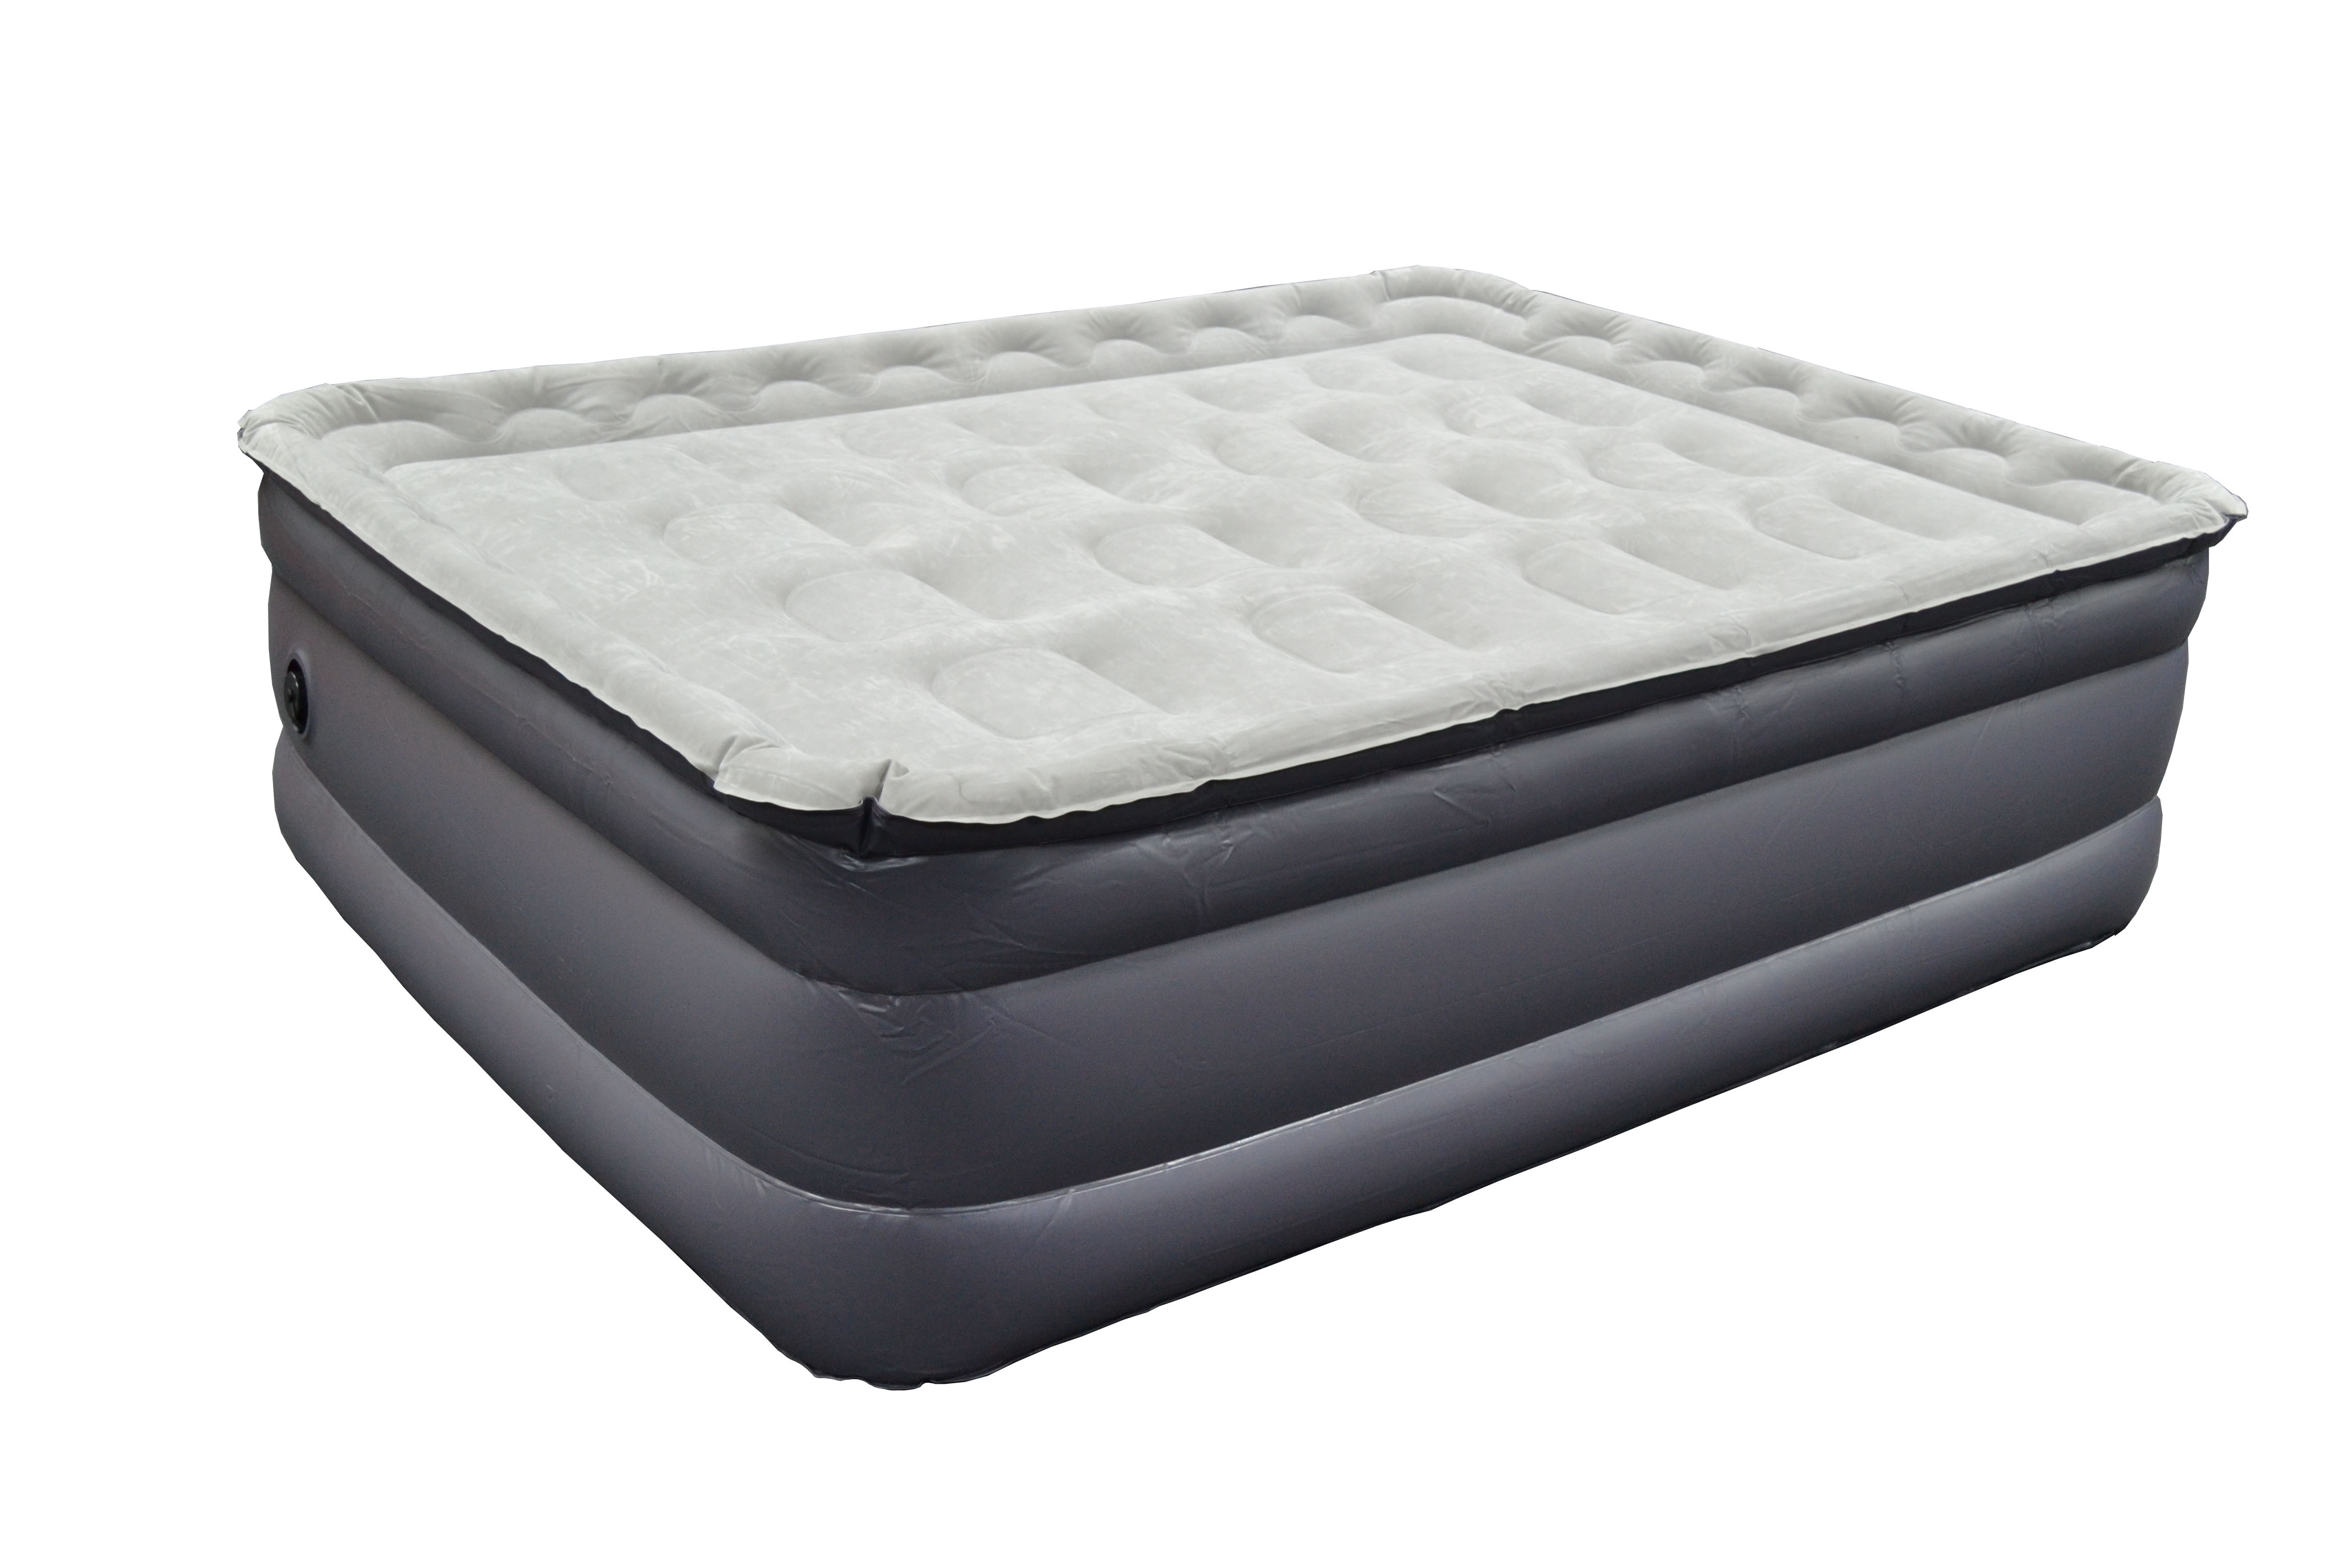
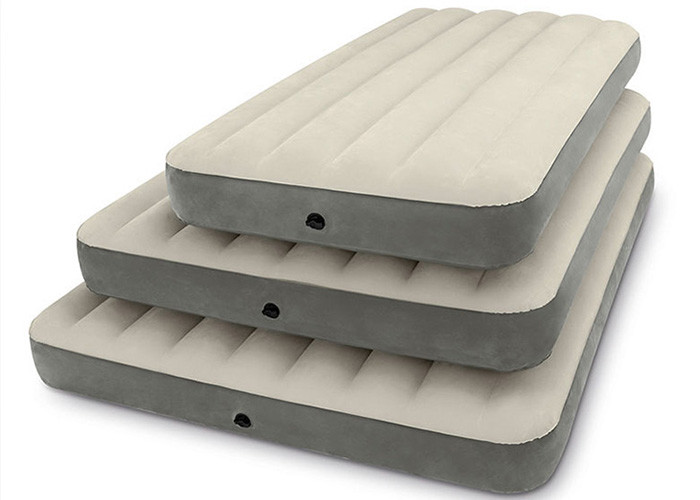
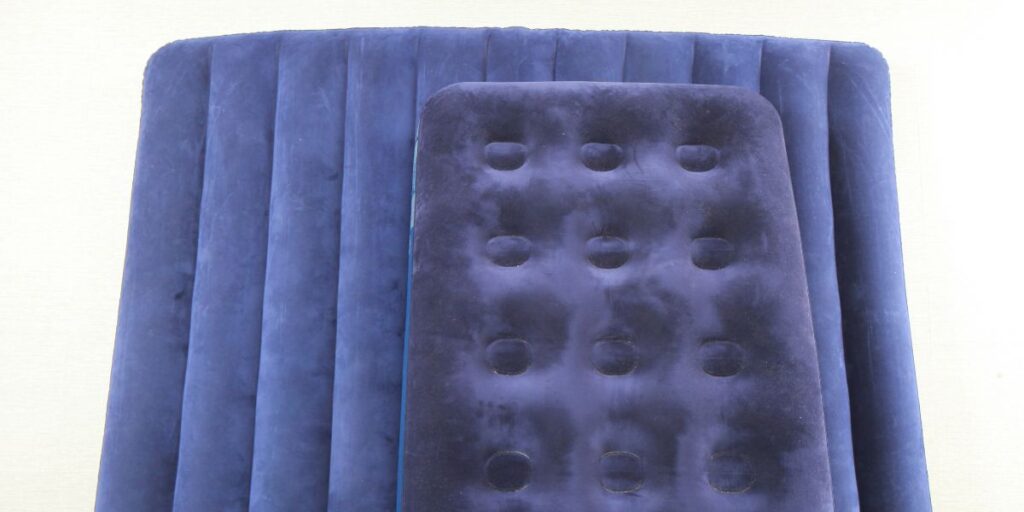
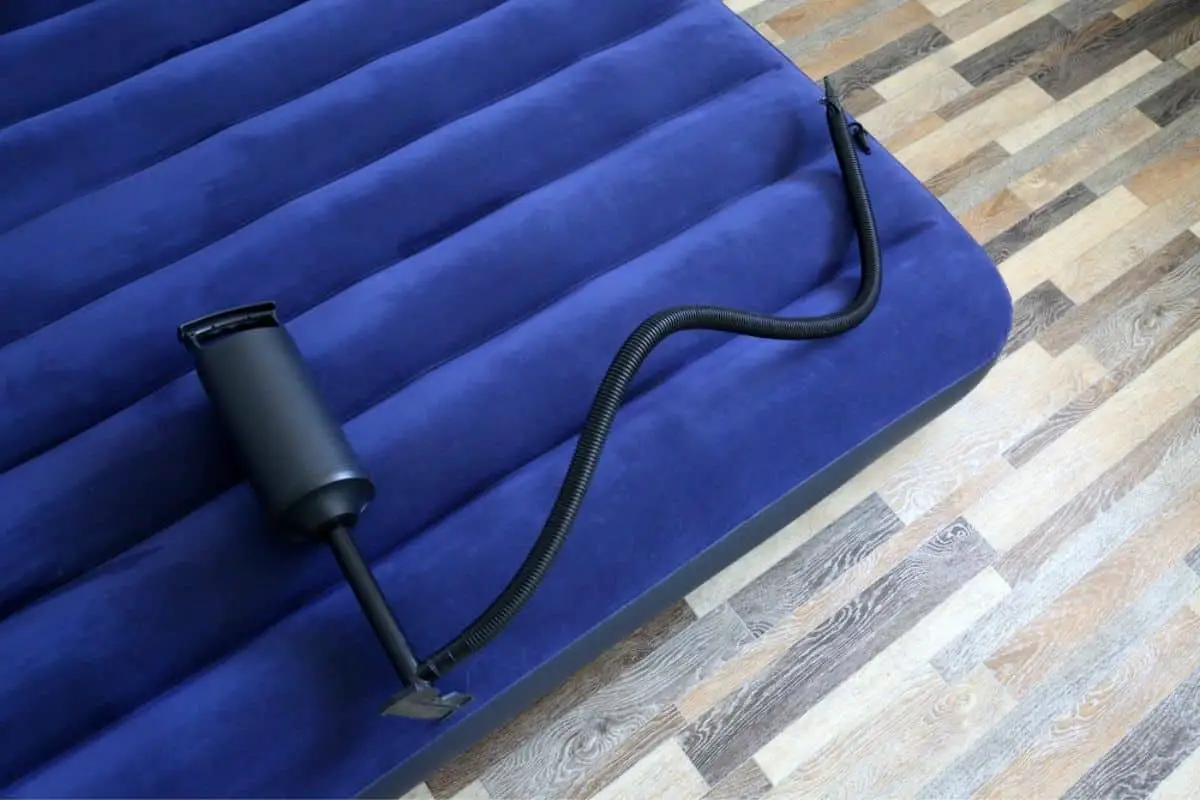
1. Patching a Tear in a Flocked Air Mattress
Accidents happen, and sometimes your beloved flocked air mattress might get a tear or a hole. But don't worry, with the right tools and techniques, you can easily fix it and get back to enjoying a good night's sleep. Here's how to patch a tear in a flocked air mattress.


1. Patching a Tear in a Flocked Air Mattress


:max_bytes(150000):strip_icc()/81QHm8NXr2L._AC_SL1500_1-17bafdc326cf4922b0d8acca4d9b5639.jpg)

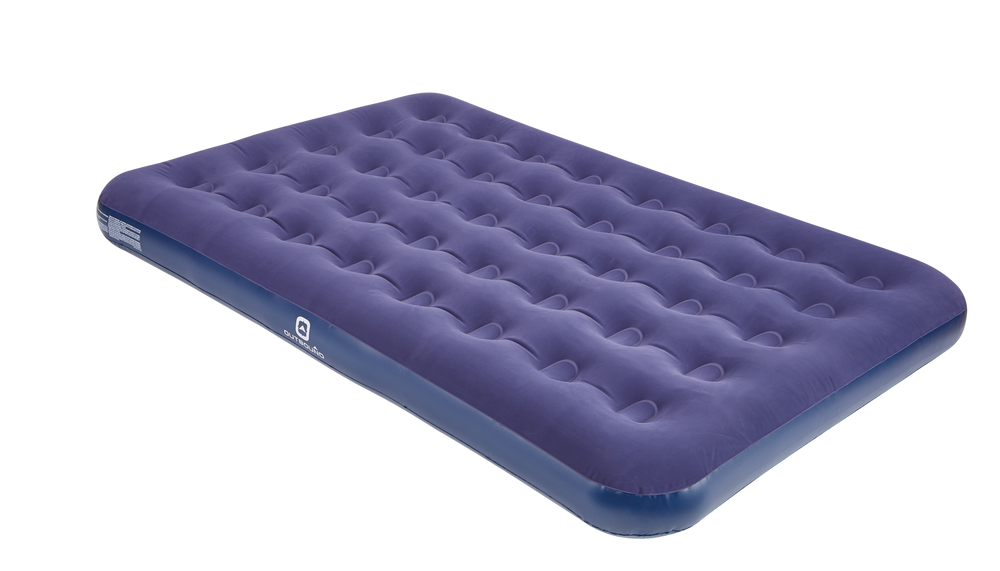
2. How to Repair a Tear in a Flocked Air Mattress
The first step to fixing a tear in your flocked air mattress is to locate the tear. It's best to do this in a well-lit room, so you can easily see the damage. Once you've found the tear, clean the area with a mild soap and water solution. Make sure to remove any dirt or debris, as this can affect the adhesive's effectiveness.


2. How to Repair a Tear in a Flocked Air Mattress


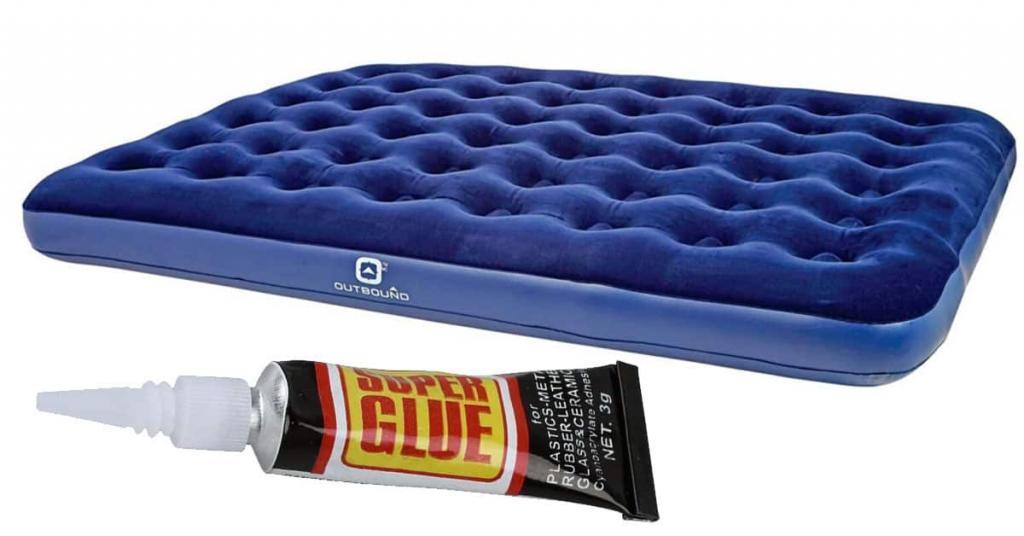
3. Fixing a Tear in a Flocked Air Mattress with a Repair Kit
If you have a repair kit specifically made for flocked air mattresses, then you're in luck. These kits usually come with a patch and adhesive, making the repair process quick and easy. Simply cut the patch to the desired size, apply the adhesive to the edges, and place it over the tear. Smooth out any air bubbles and let it dry according to the instructions on the kit.


3. Fixing a Tear in a Flocked Air Mattress with a Repair Kit


4. DIY: Fixing a Tear in a Flocked Air Mattress
If you don't have a repair kit on hand, you can still fix a tear in your flocked air mattress using household items. One option is to use duct tape. Cut a piece of duct tape slightly larger than the tear and place it over the damaged area. Press down firmly to ensure a secure bond. Keep in mind that this is a temporary fix and may not last as long as using a repair kit.


4. DIY: Fixing a Tear in a Flocked Air Mattress


5. Quick and Easy Ways to Fix a Tear in a Flocked Air Mattress
If you're looking for a quick and easy fix, another option is to use a glue gun. Simply heat up the glue gun and apply a small amount of glue over the tear. Use a piece of wax paper to smooth out the glue and let it dry completely before using the mattress again. Just like the duct tape method, this is a temporary fix and may not last as long as using a repair kit.


5. Quick and Easy Ways to Fix a Tear in a Flocked Air Mattress


6. Tips for Repairing a Tear in a Flocked Air Mattress
When fixing a tear in a flocked air mattress, there are a few things to keep in mind. First, make sure the area is completely clean and dry before applying any adhesive. This will ensure a strong bond and prevent any air bubbles from forming. Additionally, it's important to follow the instructions on the repair kit or adhesive carefully to ensure the best results.


6. Tips for Repairing a Tear in a Flocked Air Mattress


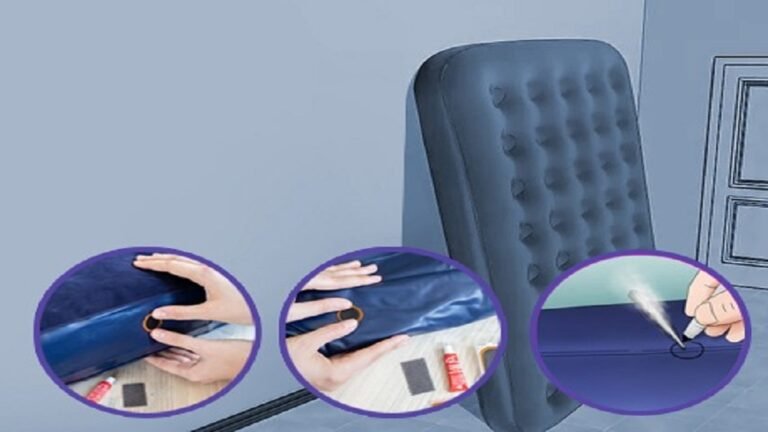
7. Using a Patch Kit to Fix a Tear in a Flocked Air Mattress
If you have a patch kit that is specifically designed for flocked air mattresses, it's important to use it correctly. Before applying the adhesive, make sure to roughen up the surface of the patch and the area around the tear. This will help the adhesive bond better and create a stronger seal. Once the patch is applied, avoid using the mattress for at least 24 hours to allow the adhesive to dry completely.


7. Using a Patch Kit to Fix a Tear in a Flocked Air Mattress


8. How to Fix a Tear in a Flocked Air Mattress Without a Patch Kit
If you don't have a repair kit or any other materials on hand, you can still fix a tear in your flocked air mattress. One option is to use a piece of fabric or an old t-shirt. Cut the fabric to the desired size, apply a small amount of adhesive, and place it over the tear. Press down firmly and let it dry completely before using the mattress again.


8. How to Fix a Tear in a Flocked Air Mattress Without a Patch Kit


9. Repairing a Tear in a Flocked Air Mattress: Step-by-Step Guide
To summarize, here's a step-by-step guide on how to repair a tear in a flocked air mattress:
Step 1: Locate the tear and clean the area with a mild soap and water solution.
Step 2: Use a repair kit, duct tape, or a glue gun to fix the tear.
Step 3: Let the adhesive or glue dry completely before using the mattress again.
Step 4: Follow the instructions on the repair kit or adhesive carefully for the best results.


9. Repairing a Tear in a Flocked Air Mattress: Step-by-Step Guide


10. Common Mistakes to Avoid When Fixing a Tear in a Flocked Air Mattress
While fixing a tear in a flocked air mattress is a simple task, there are a few common mistakes that people make that can affect the repair's effectiveness. These include not properly cleaning the area before applying the adhesive, using too much or too little adhesive, and not letting the adhesive dry completely before using the mattress again.
By avoiding these mistakes and following the tips and techniques mentioned above, you can easily fix a tear in your flocked air mattress and continue enjoying a comfortable and restful sleep. Remember to always read and follow the instructions on the repair kit or adhesive for the best results.


10. Common Mistakes to Avoid When Fixing a Tear in a Flocked Air Mattress


How to Fix a Tear in a Flocked Air Mattress

Step 3: Prepare the area around the tear
 Before beginning the repair, it is important to properly prepare the area around the tear. Use a clean cloth to wipe away any dirt or debris from the surface of the mattress. If the tear is on the flocked side of the mattress, gently brush any loose flocking away from the edges of the tear. This will help ensure a smooth and even repair.
Step 4: Apply the adhesive
 Once the area is clean and dry, it's time to apply the adhesive.
Be sure to use a strong adhesive specifically designed for repairing air mattresses
. Apply the adhesive to both sides of the tear, making sure to cover the edges completely. Then, use a small brush or your finger to spread the adhesive evenly across the surface.
Once the area is clean and dry, it's time to apply the adhesive.
Be sure to use a strong adhesive specifically designed for repairing air mattresses
. Apply the adhesive to both sides of the tear, making sure to cover the edges completely. Then, use a small brush or your finger to spread the adhesive evenly across the surface.
Step 5: Press the tear together
 After the adhesive has been applied, carefully press the torn edges of the mattress together.
Be sure to apply firm pressure for at least one minute to ensure a strong bond
. If the tear is larger, you may need to use clamps or heavy objects to hold the edges together while the adhesive dries.
After the adhesive has been applied, carefully press the torn edges of the mattress together.
Be sure to apply firm pressure for at least one minute to ensure a strong bond
. If the tear is larger, you may need to use clamps or heavy objects to hold the edges together while the adhesive dries.
Step 6: Allow the adhesive to dry
 After pressing the tear together, allow the adhesive to dry completely. This can take anywhere from 2-4 hours, depending on the type of adhesive used.
It is important to let the adhesive dry completely to avoid any future leaks
.
After pressing the tear together, allow the adhesive to dry completely. This can take anywhere from 2-4 hours, depending on the type of adhesive used.
It is important to let the adhesive dry completely to avoid any future leaks
.
Step 7: Test the repair
 Once the adhesive has dried, it's time to test the repair.
Inflate the air mattress and carefully inspect the area around the tear for any signs of leakage
. If there are no leaks, your repair was successful!
Once the adhesive has dried, it's time to test the repair.
Inflate the air mattress and carefully inspect the area around the tear for any signs of leakage
. If there are no leaks, your repair was successful!
Conclusion
 Fixing a tear in a flocked air mattress may seem like a daunting task, but with the right tools and techniques, it can be a simple and effective solution. By following these steps and using the proper adhesive, you can save money and extend the life of your air mattress. So the next time you notice a tear in your flocked air mattress, don't panic. Just follow these simple steps and you'll be back to enjoying a good night's sleep in no time.