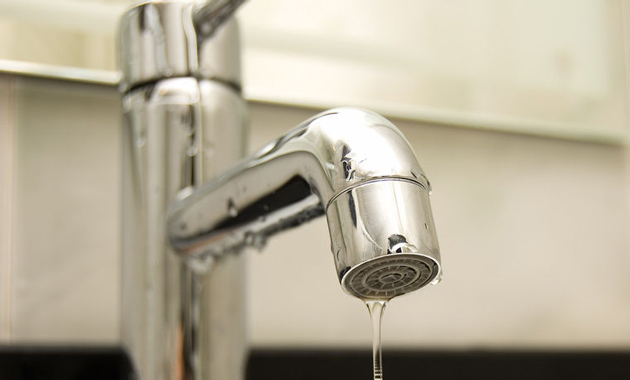
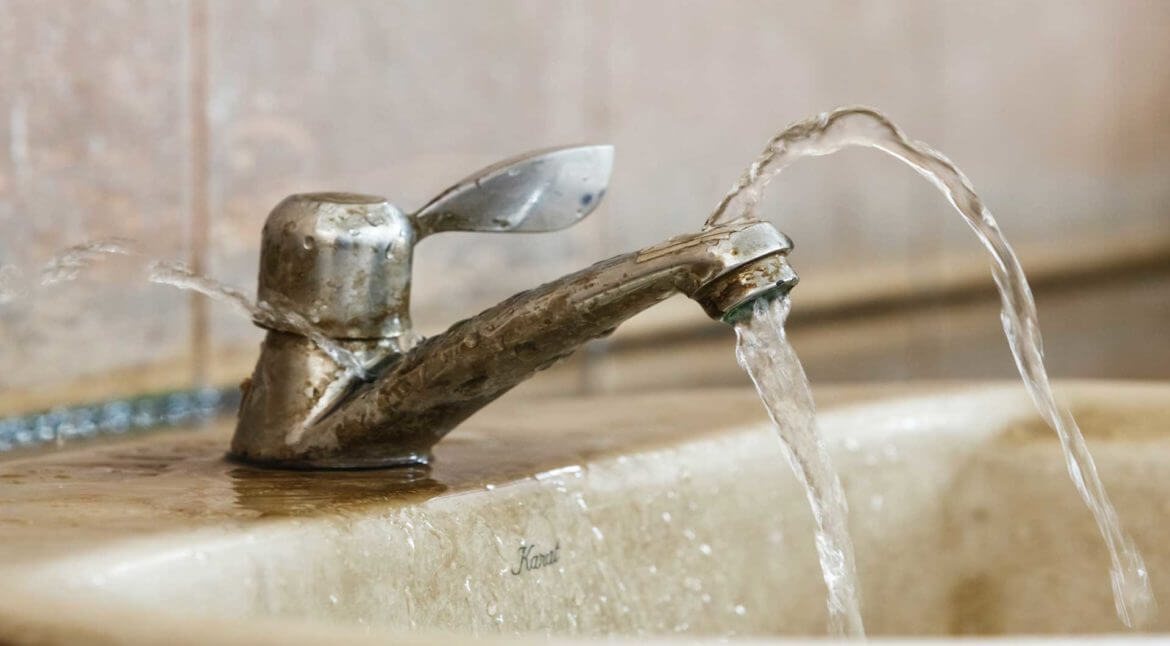
If you've noticed a constant drip or puddle of water under your kitchen sink, chances are you have a leaky faucet. Not only is this issue annoying, but it can also waste a significant amount of water and increase your water bill. Fortunately, fixing a leaky kitchen sink faucet is a relatively simple task that can be done in just a few steps. The first step is to identify where the leak is coming from. In most cases, the leak is caused by a worn-out cartridge or a faulty O-ring. These are both small components that can be easily replaced without the need for a plumber. Featured Keywords: fix a leaky kitchen sink faucet1. How to Fix a Leaky Kitchen Sink Faucet


1. How to Fix a Leaky Kitchen Sink Faucet


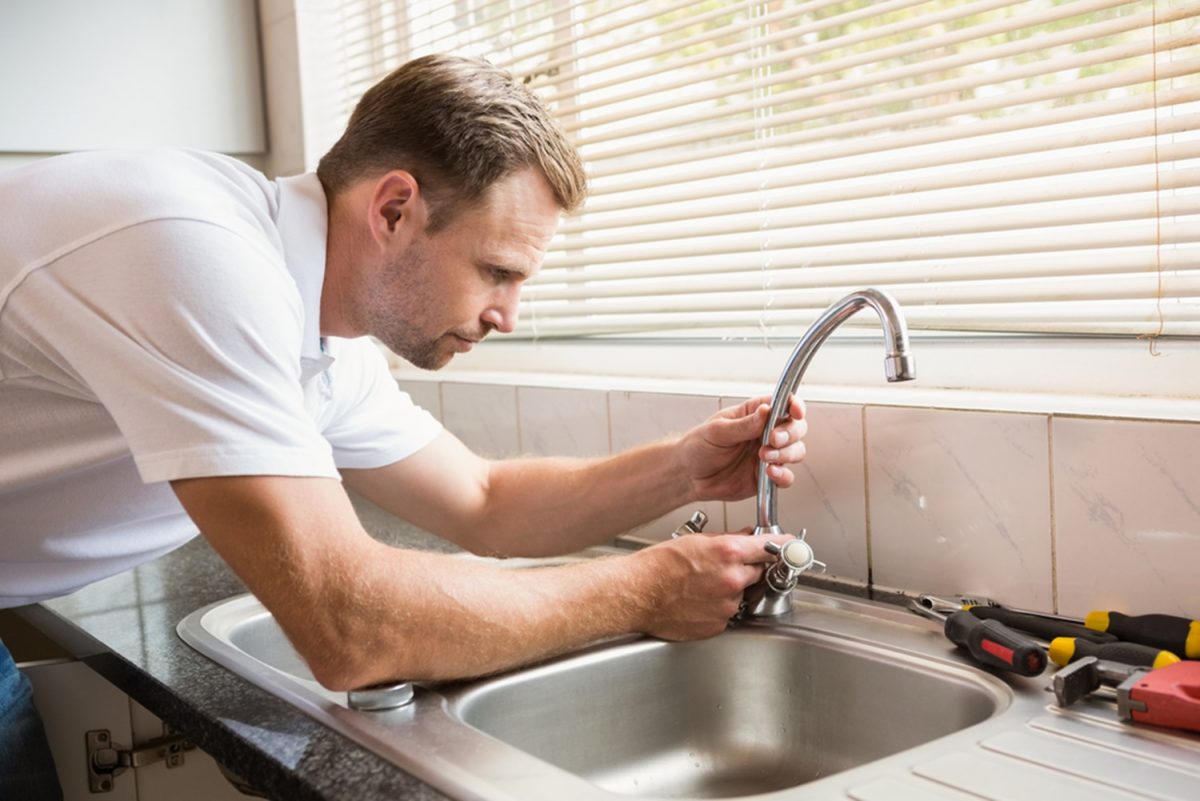
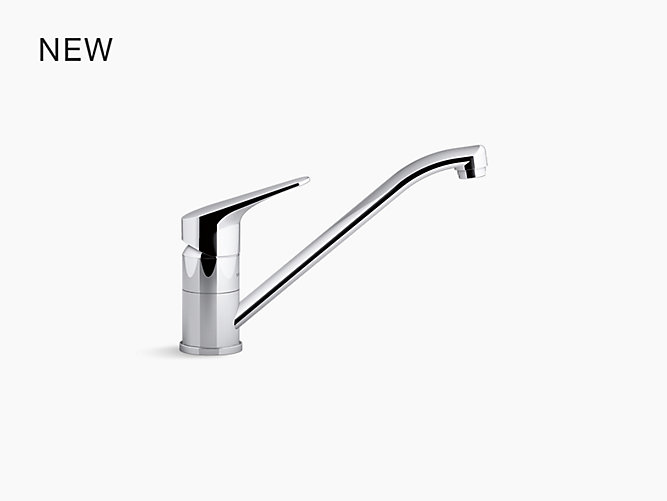
If you're a handy person and enjoy taking on DIY projects, fixing a leaky kitchen sink faucet is a task you can easily tackle on your own. Not only will you save money on hiring a professional, but you'll also gain a sense of satisfaction from fixing the issue yourself. To begin, turn off the water supply to your kitchen sink. This can usually be done by turning the shut-off valves located under the sink in a clockwise direction. Then, follow the instructions provided with your faucet to disassemble it and access the cartridge or O-ring. Once you've replaced the faulty component, reassemble the faucet and turn the water supply back on. Featured Keywords: DIY, fix a leaky kitchen sink faucet2. DIY: Fixing a Leaky Kitchen Sink Faucet


2. DIY: Fixing a Leaky Kitchen Sink Faucet


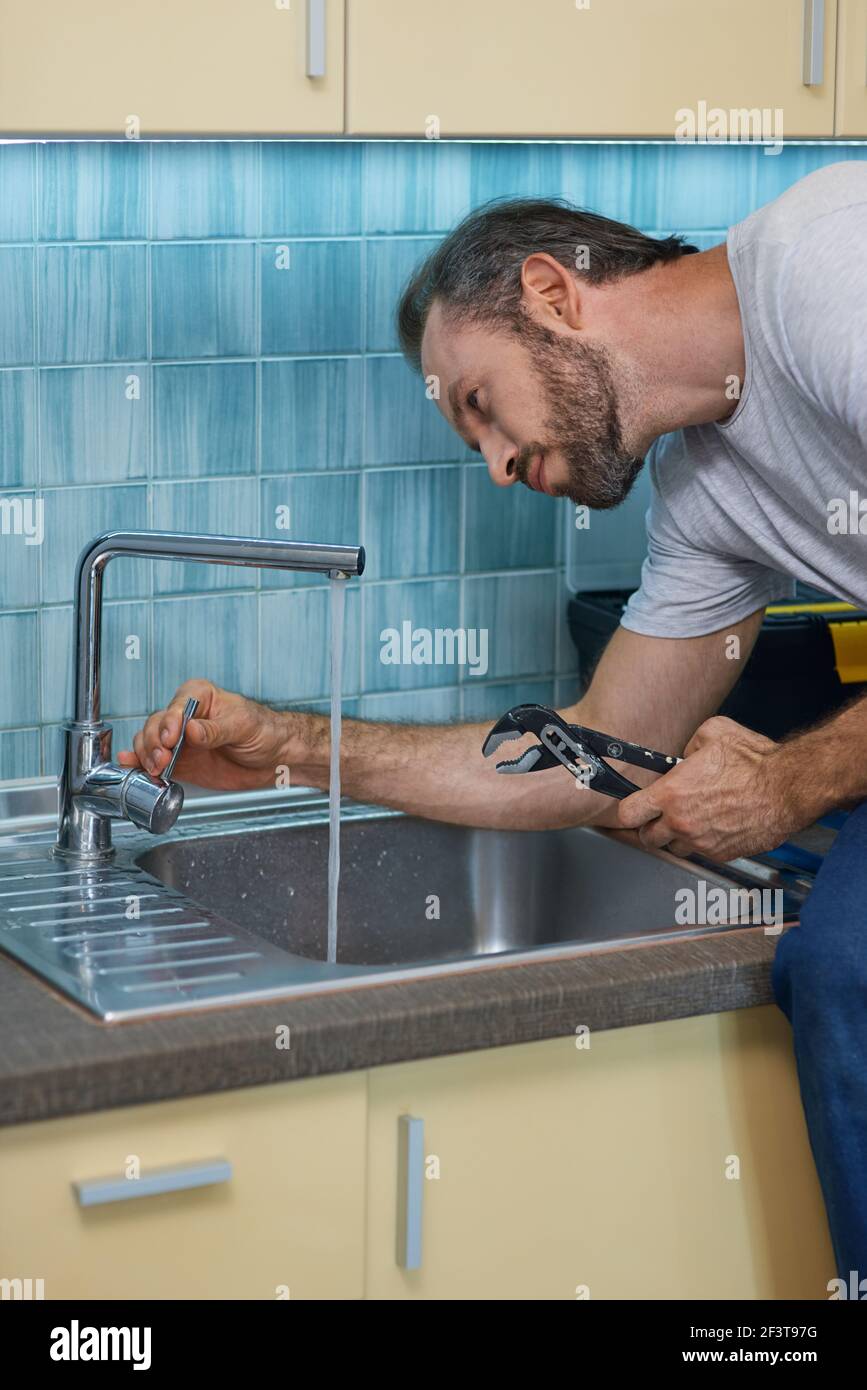
If you're not familiar with plumbing or don't feel comfortable taking on the task yourself, here's a step-by-step guide to fixing a kitchen sink faucet leak: Step 1: Turn off the water supply to your kitchen sink. Step 2: Remove the faucet handle by unscrewing it. Step 3: Use pliers to remove the cartridge or O-ring. Step 4: Replace the old component with a new one. Step 5: Reassemble the faucet and turn the water supply back on. If you're still experiencing a leak, it's best to call a professional plumber to ensure the issue is resolved properly. Featured Keywords: fixing a kitchen sink faucet leak, step-by-step guide3. Step-by-Step Guide to Fixing a Kitchen Sink Faucet Leak

3. Step-by-Step Guide to Fixing a Kitchen Sink Faucet Leak


Understanding the common causes of kitchen sink faucet leaks can help you prevent them from happening in the future. Some of the main causes include:4. Common Causes of Kitchen Sink Faucet Leaks


4. Common Causes of Kitchen Sink Faucet Leaks


If you're short on time or don't have the necessary tools to fix a leaky kitchen sink faucet, there are a few quick and easy solutions you can try:5. Quick and Easy Solutions for a Leaky Kitchen Sink Faucet


5. Quick and Easy Solutions for a Leaky Kitchen Sink Faucet


If you've tried the above solutions and are still experiencing a leaky kitchen sink faucet, it's time to troubleshoot the issue. Here are a few steps you can take:6. Troubleshooting a Leaky Kitchen Sink Faucet


6. Troubleshooting a Leaky Kitchen Sink Faucet

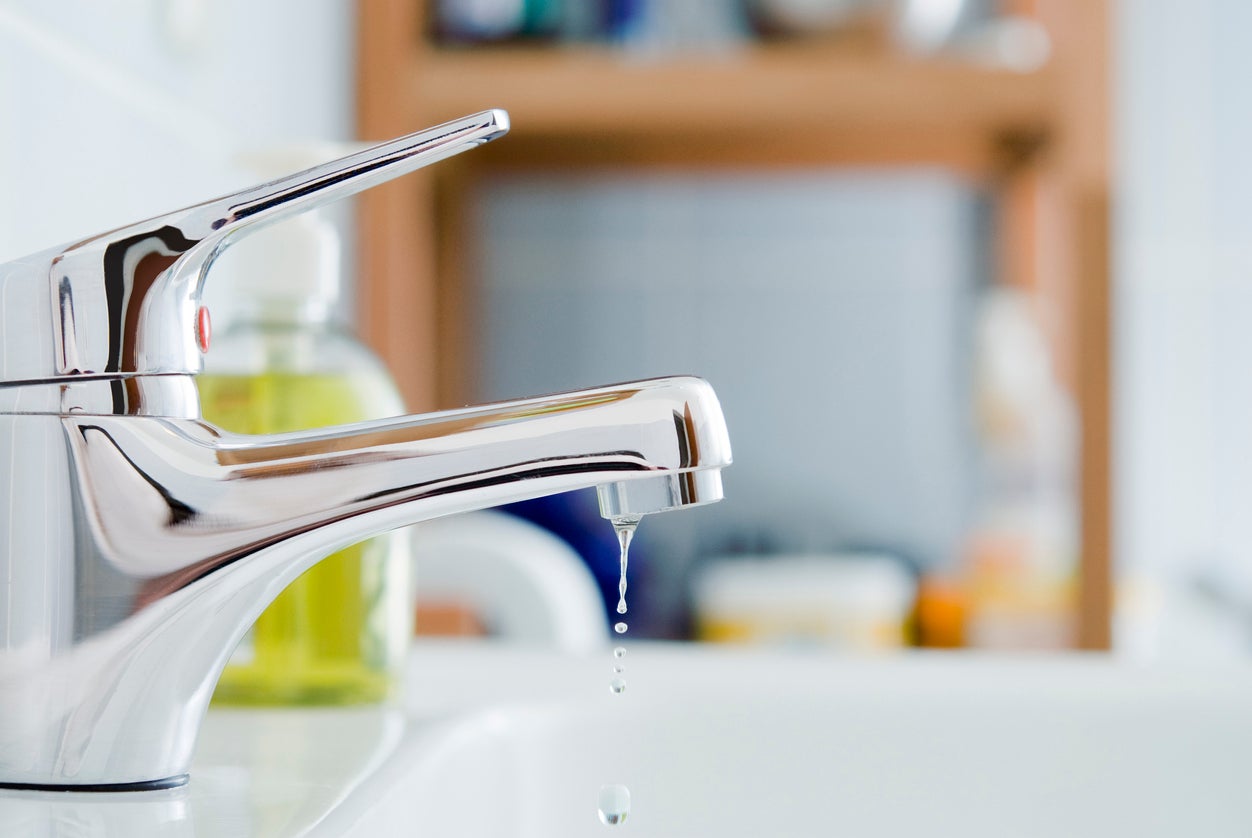
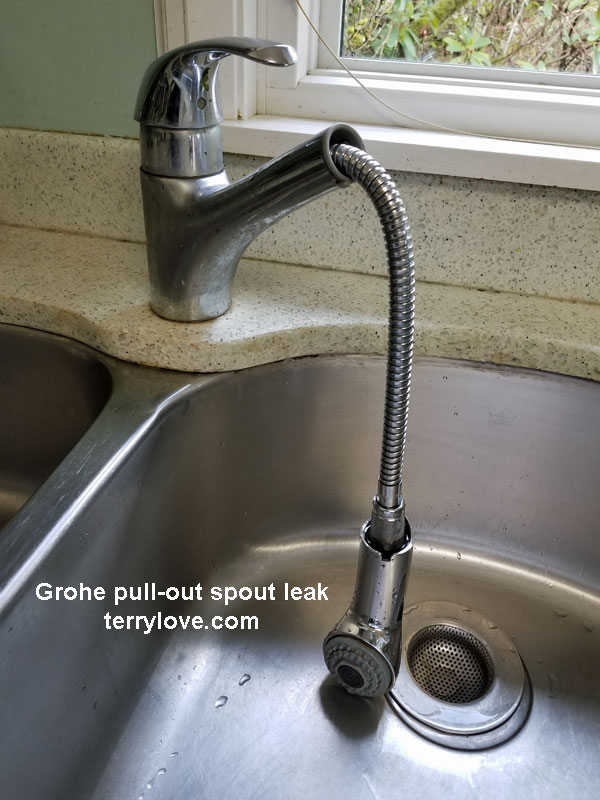
A dripping kitchen sink faucet can be a nuisance and waste a significant amount of water. To repair a dripping faucet, follow these steps:7. How to Repair a Dripping Kitchen Sink Faucet


7. How to Repair a Dripping Kitchen Sink Faucet


Fixing a leaky kitchen sink faucet can be a simple task, but here are a few tips to ensure the process goes smoothly:8. Tips for Fixing a Leaky Kitchen Sink Faucet


8. Tips for Fixing a Leaky Kitchen Sink Faucet

Before attempting to fix a leaky kitchen sink faucet, it's essential to have the right tools on hand. Here's a list of tools you'll need for the job:9. Tools You'll Need to Fix a Kitchen Sink Faucet Leak
9. Tools You'll Need to Fix a Kitchen Sink Faucet Leak


Deciding whether to hire a professional or tackle the task yourself can be a tough decision. While DIY projects can save you money, hiring a professional plumber can provide peace of mind and ensure the issue is resolved correctly. If you're confident in your plumbing skills and have the necessary tools, fixing a leaky kitchen sink faucet can be a DIY project. However, if you're unsure or the leak persists after attempting to fix it, it's best to call a professional for assistance. Featured Keywords: professional, DIY, kitchen sink faucet leak10. Professional vs. DIY: Fixing a Kitchen Sink Faucet Leak
10. Professional vs. DIY: Fixing a Kitchen Sink Faucet Leak


How to Fix a Kitchen Sink Faucet Leak

Why Fixing a Kitchen Sink Faucet Leak is Important
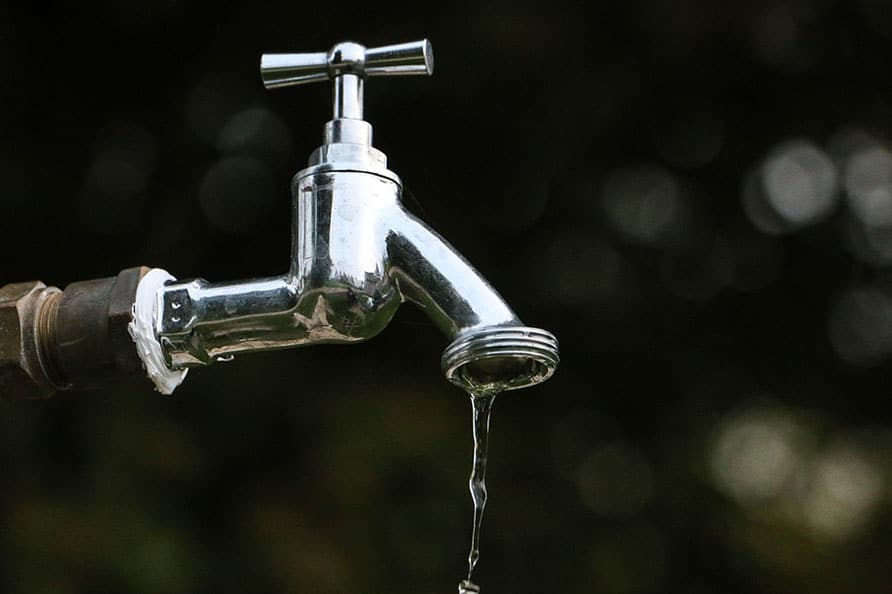
 A leaky kitchen sink faucet may seem like a minor annoyance, but it can actually lead to bigger problems if left unaddressed. Not only does it waste water and increase your utility bills, but it can also cause damage to your sink and surrounding cabinets. Furthermore, a leaky faucet can create a breeding ground for mold and mildew, which can pose health hazards to you and your family. Therefore, it is important to fix a kitchen sink faucet leak as soon as possible to avoid these potential issues.
Step-by-Step Guide to Fixing a Kitchen Sink Faucet Leak
 Step 1: Turn off the Water Supply
Before attempting to fix the leak, make sure to turn off the water supply to your kitchen sink. This can usually be done by turning the shut-off valves located under the sink in a clockwise direction. If you cannot locate the shut-off valves, you can also turn off the main water supply to your house.
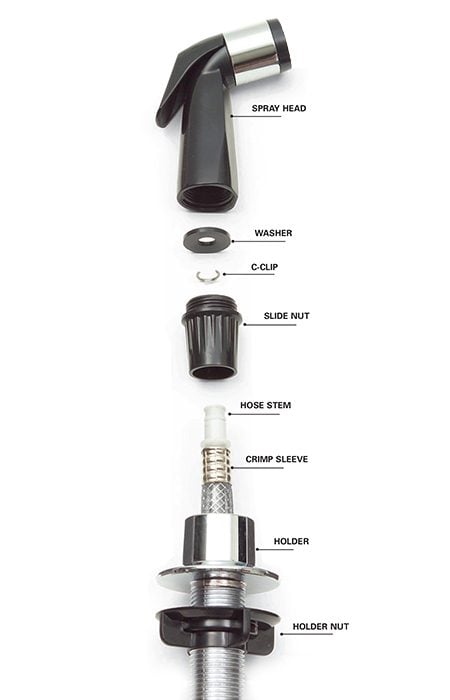
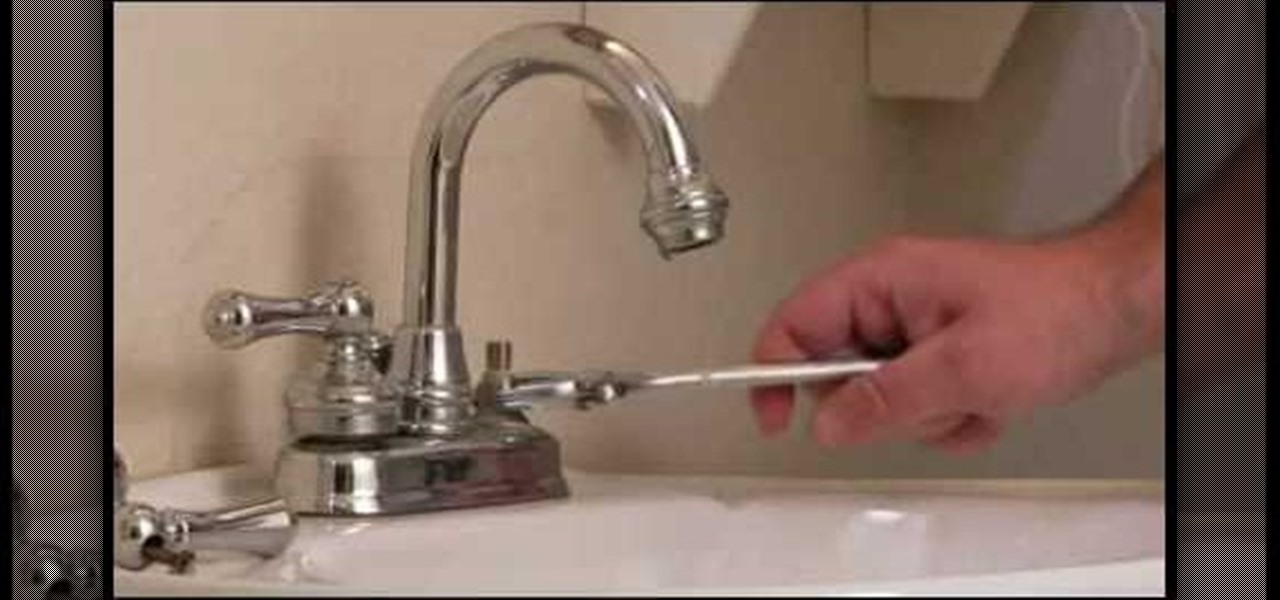
Step 2: Gather Necessary Tools
To fix a kitchen sink faucet leak, you will need a few tools, including an adjustable wrench, a screwdriver, and replacement parts such as a new cartridge or O-ring. Make sure to have these tools ready before starting the repair.
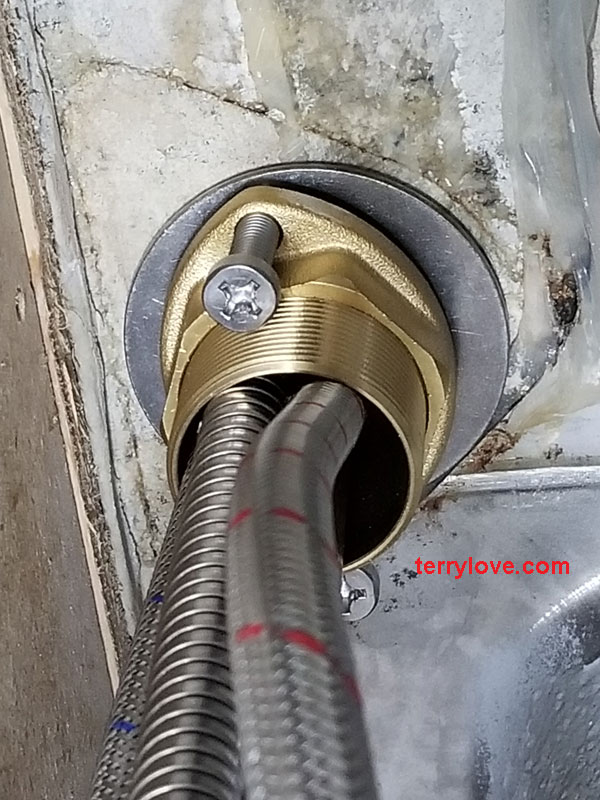
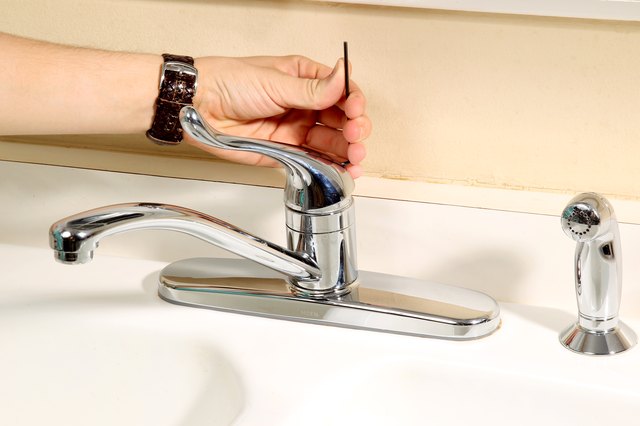
Step 3: Disassemble the Faucet
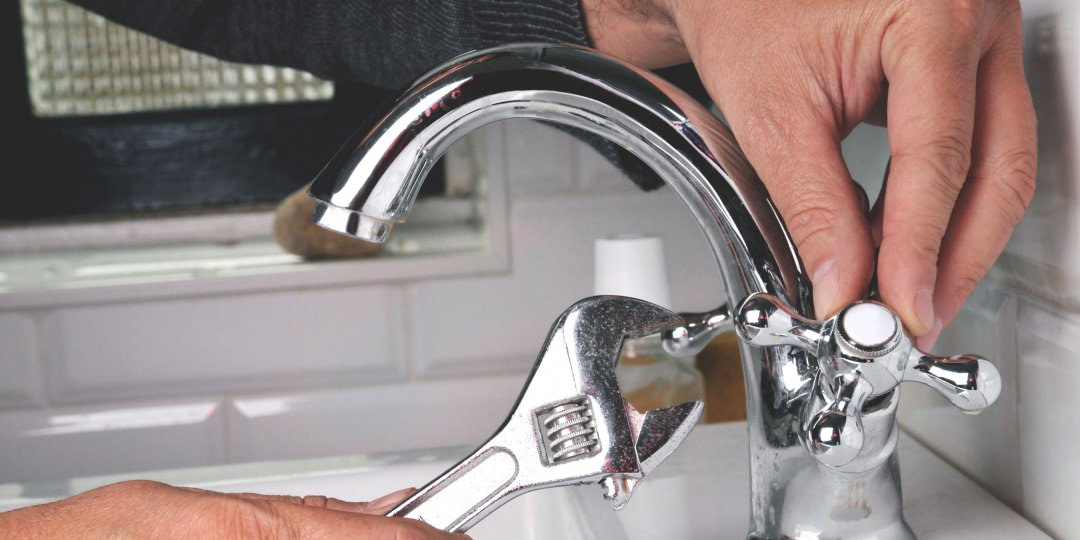
Using the screwdriver, remove the handle of the faucet and then the decorative cap underneath it. Next, use the adjustable wrench to remove the packing nut and then the cartridge or O-ring. Inspect these parts for any signs of wear or damage and replace them if necessary.
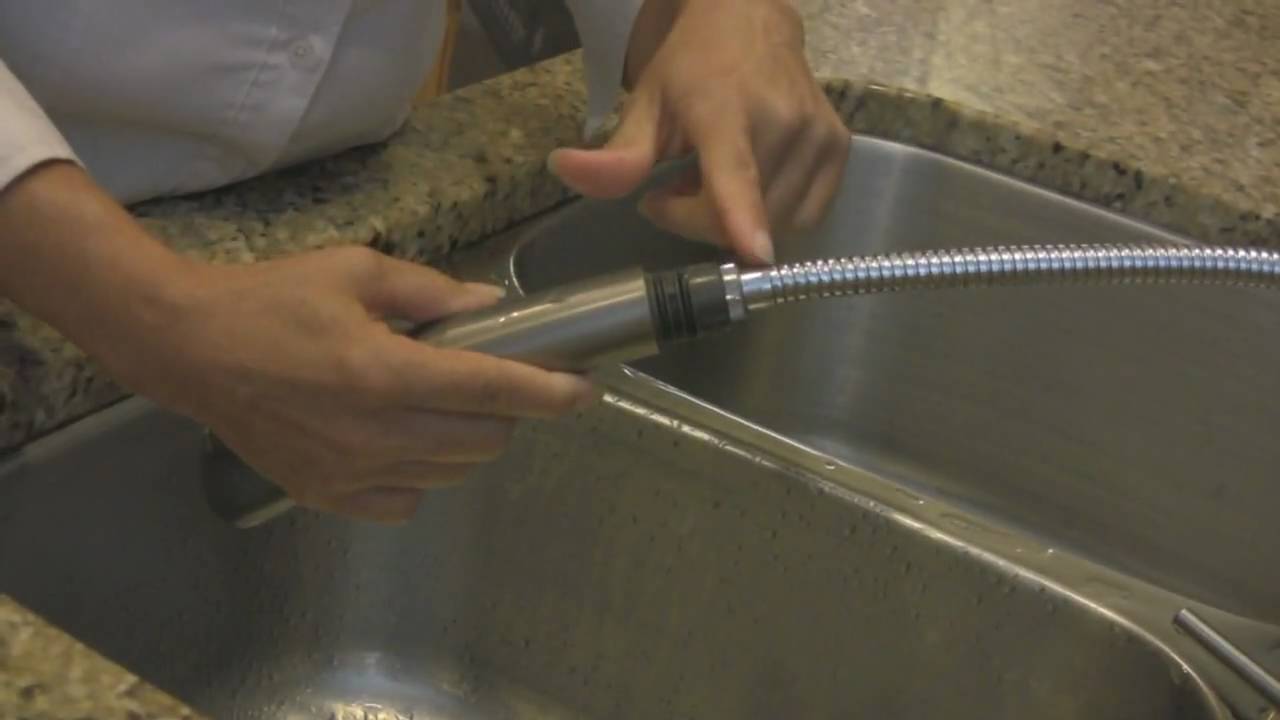
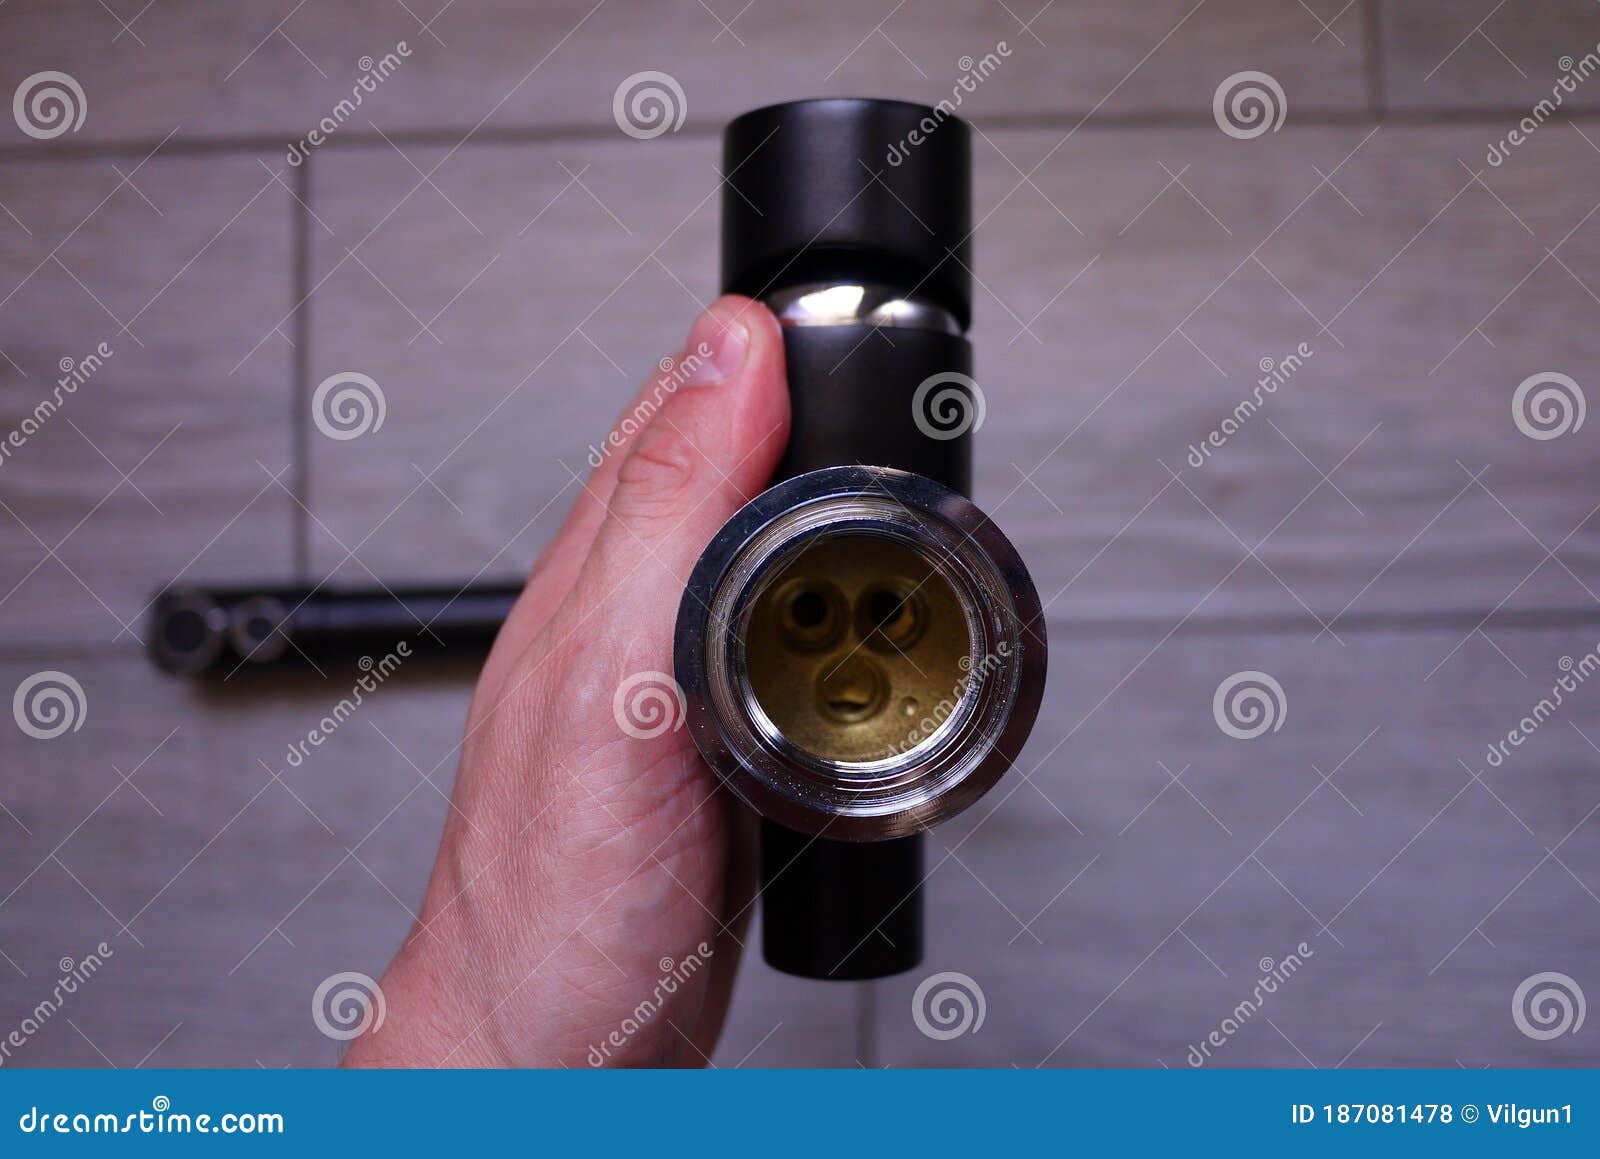
Step 4: Clean and Reassemble
Clean any debris or buildup from the faucet and its components before reassembling them. This will ensure a tight fit and prevent any future leaks. Make sure to follow the manufacturer's instructions for properly reassembling the faucet.
Step 5: Test the Faucet
Once the faucet is reassembled, turn the water supply back on and test the faucet for any leaks. If there are no leaks, you have successfully fixed your kitchen sink faucet leak. If there are still leaks, you may need to replace additional parts or seek the help of a professional plumber.
Step 1: Turn off the Water Supply
Before attempting to fix the leak, make sure to turn off the water supply to your kitchen sink. This can usually be done by turning the shut-off valves located under the sink in a clockwise direction. If you cannot locate the shut-off valves, you can also turn off the main water supply to your house.
Step 2: Gather Necessary Tools
To fix a kitchen sink faucet leak, you will need a few tools, including an adjustable wrench, a screwdriver, and replacement parts such as a new cartridge or O-ring. Make sure to have these tools ready before starting the repair.
Step 3: Disassemble the Faucet
Using the screwdriver, remove the handle of the faucet and then the decorative cap underneath it. Next, use the adjustable wrench to remove the packing nut and then the cartridge or O-ring. Inspect these parts for any signs of wear or damage and replace them if necessary.
Step 4: Clean and Reassemble
Clean any debris or buildup from the faucet and its components before reassembling them. This will ensure a tight fit and prevent any future leaks. Make sure to follow the manufacturer's instructions for properly reassembling the faucet.
Step 5: Test the Faucet
Once the faucet is reassembled, turn the water supply back on and test the faucet for any leaks. If there are no leaks, you have successfully fixed your kitchen sink faucet leak. If there are still leaks, you may need to replace additional parts or seek the help of a professional plumber.
In Conclusion
 Fixing a kitchen sink faucet leak may seem like a daunting task, but with the right tools and steps, it can be easily accomplished. By following the above steps, you can save money on your utility bills, prevent potential damage to your kitchen, and ensure a safe and healthy environment for you and your family. Remember to regularly check your kitchen sink faucet for any signs of leaks and address them promptly to avoid any future issues.


.png?w=1140)