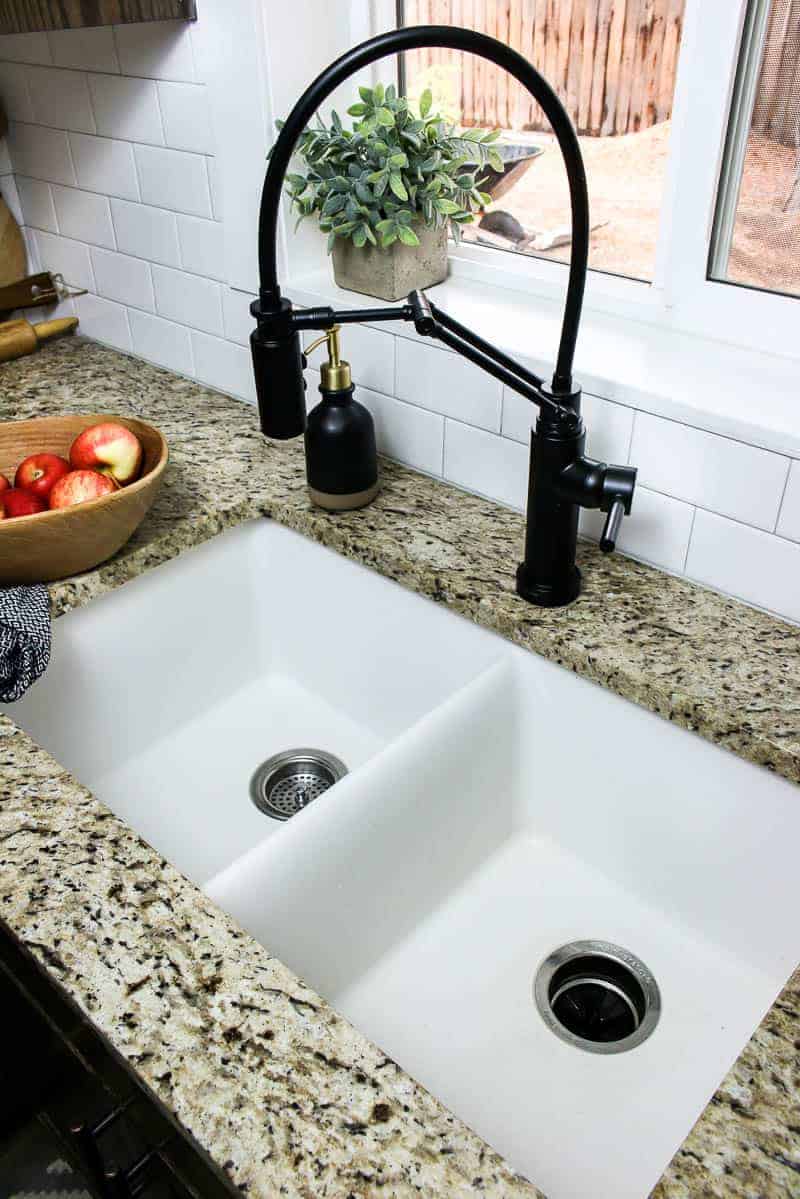
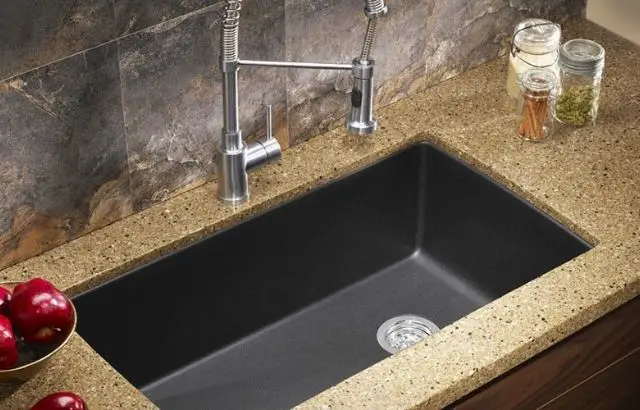
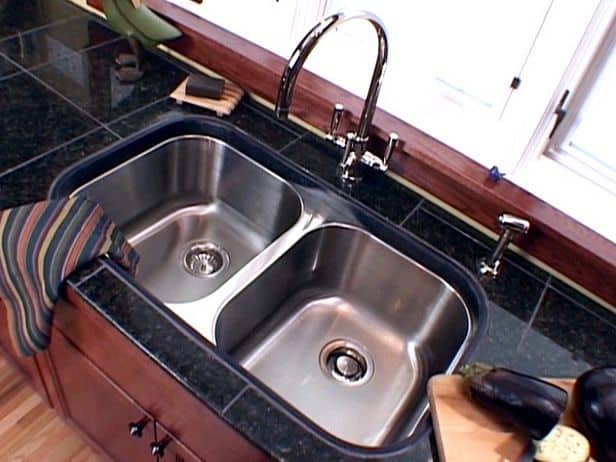
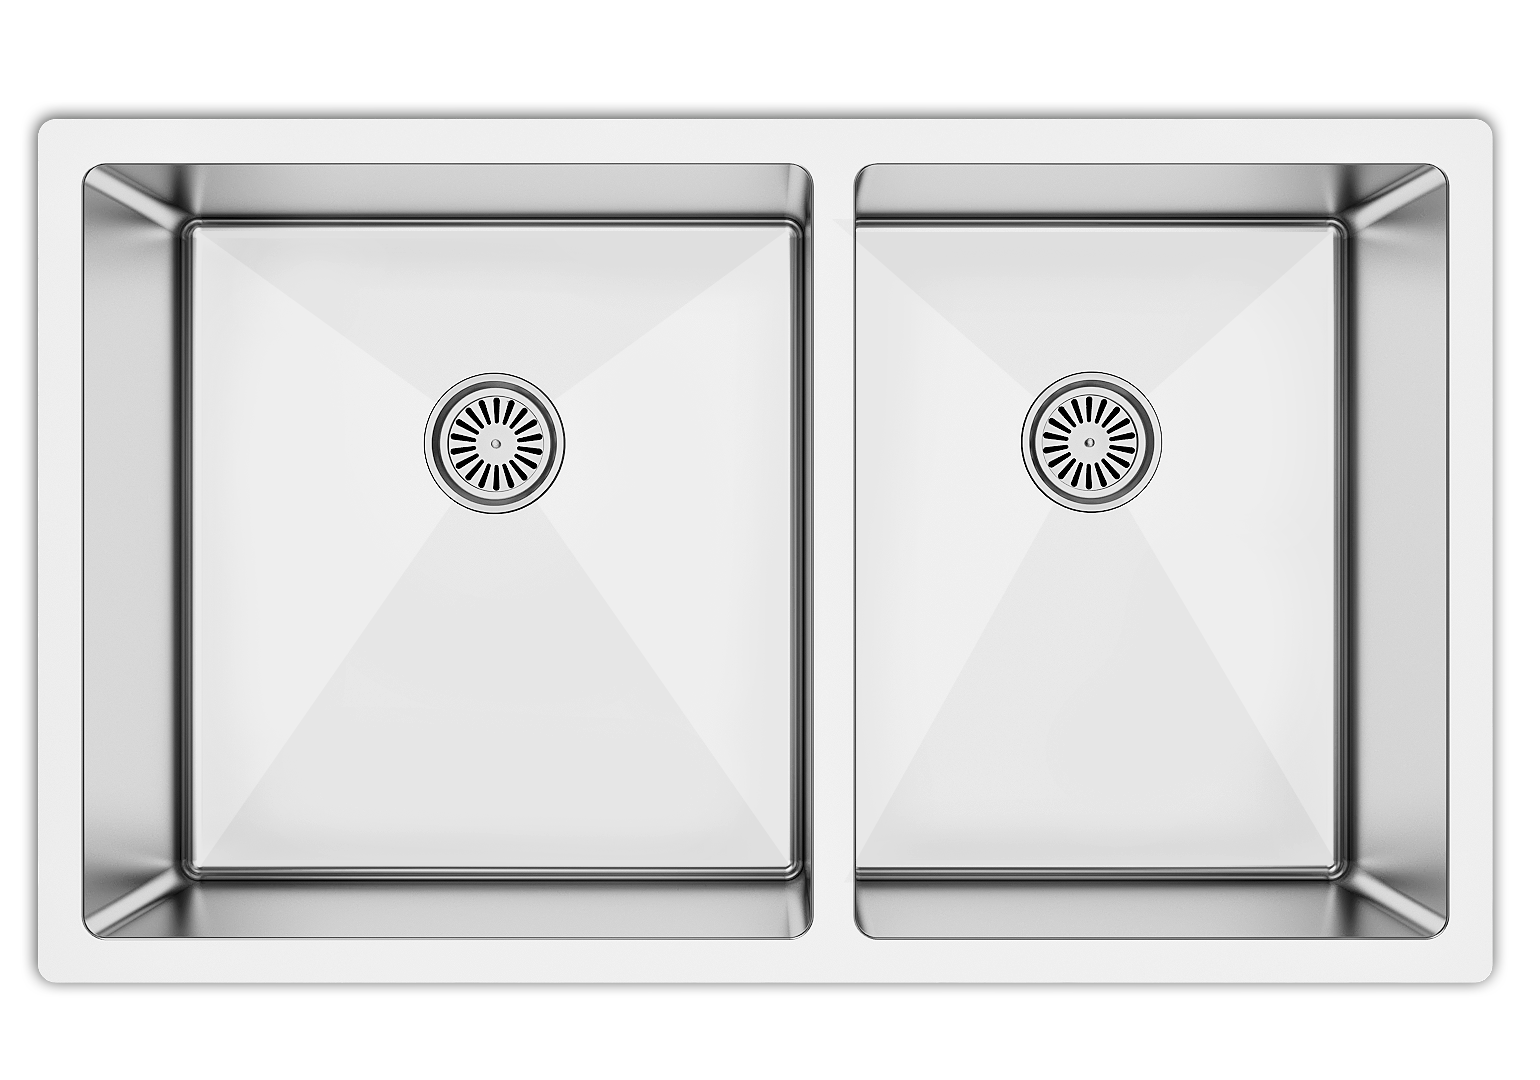
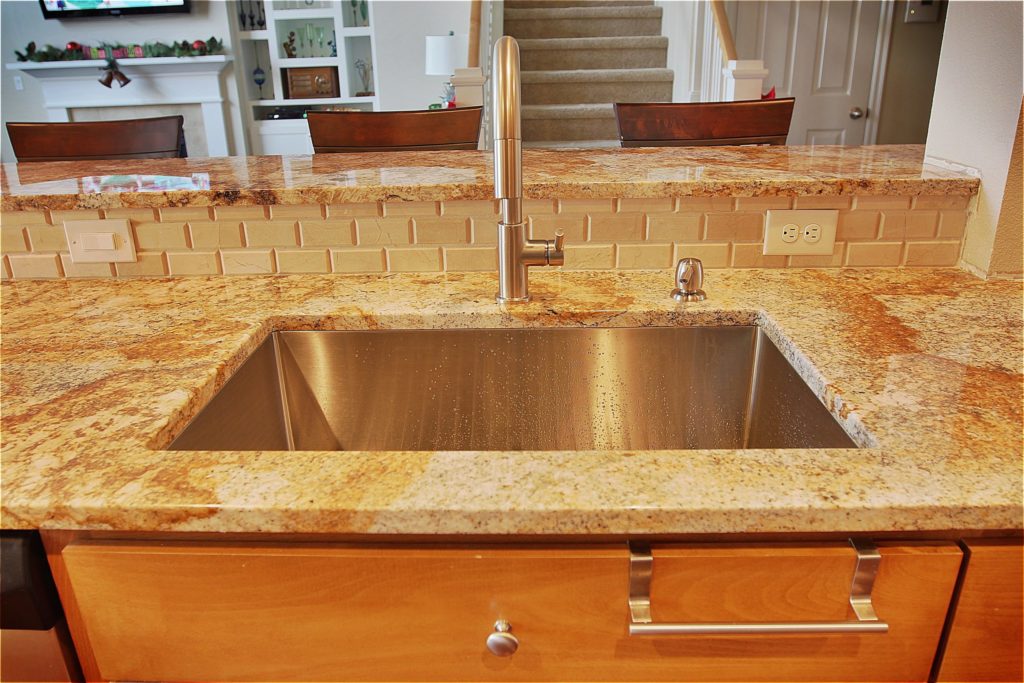
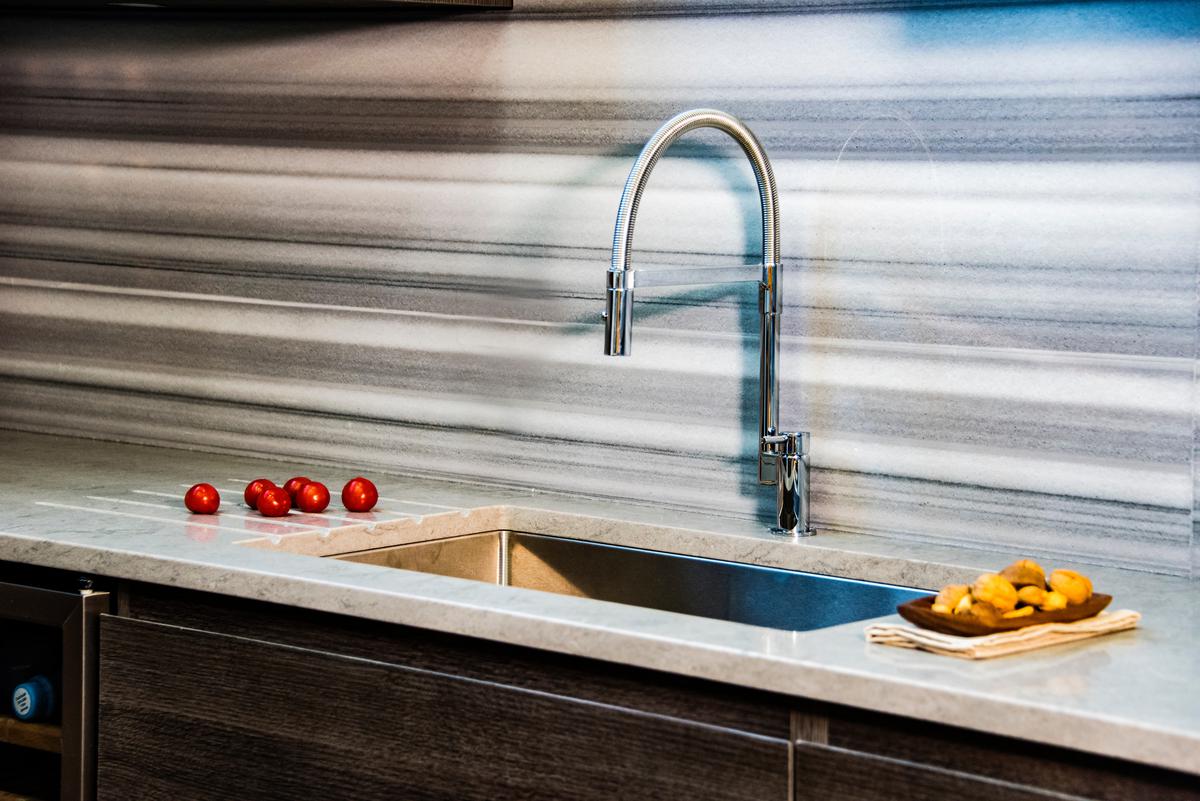
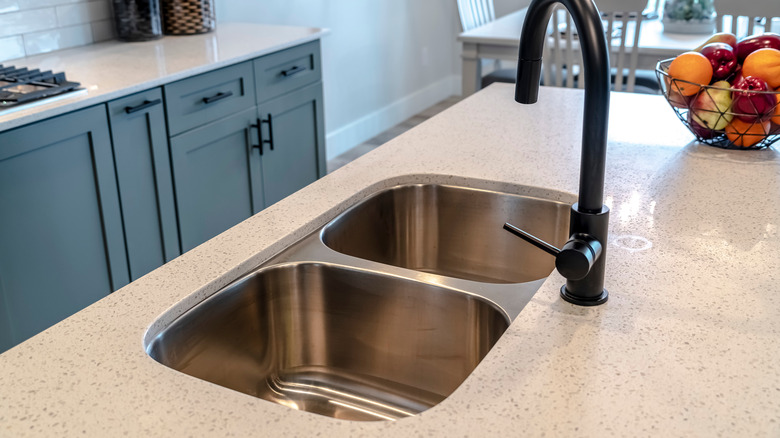
An undermount kitchen sink is a popular choice for modern kitchens due to its sleek and seamless design. Unlike traditional drop-in sinks, undermount sinks are installed underneath the countertop, creating a clean and elegant look. However, fitting an undermount kitchen sink may seem like a challenging task for DIY enthusiasts. In this article, we will provide a step-by-step guide on how to install an undermount kitchen sink and share some tips and tricks to ensure a perfect fit.How to Install an Undermount Kitchen Sink
The process of installing an undermount sink may vary depending on the type and brand of the sink. However, the general steps remain the same. Before starting the installation process, make sure to read the manufacturer's instructions carefully. Here is a basic guide on how to install an undermount sink:How to Install an Undermount Sink
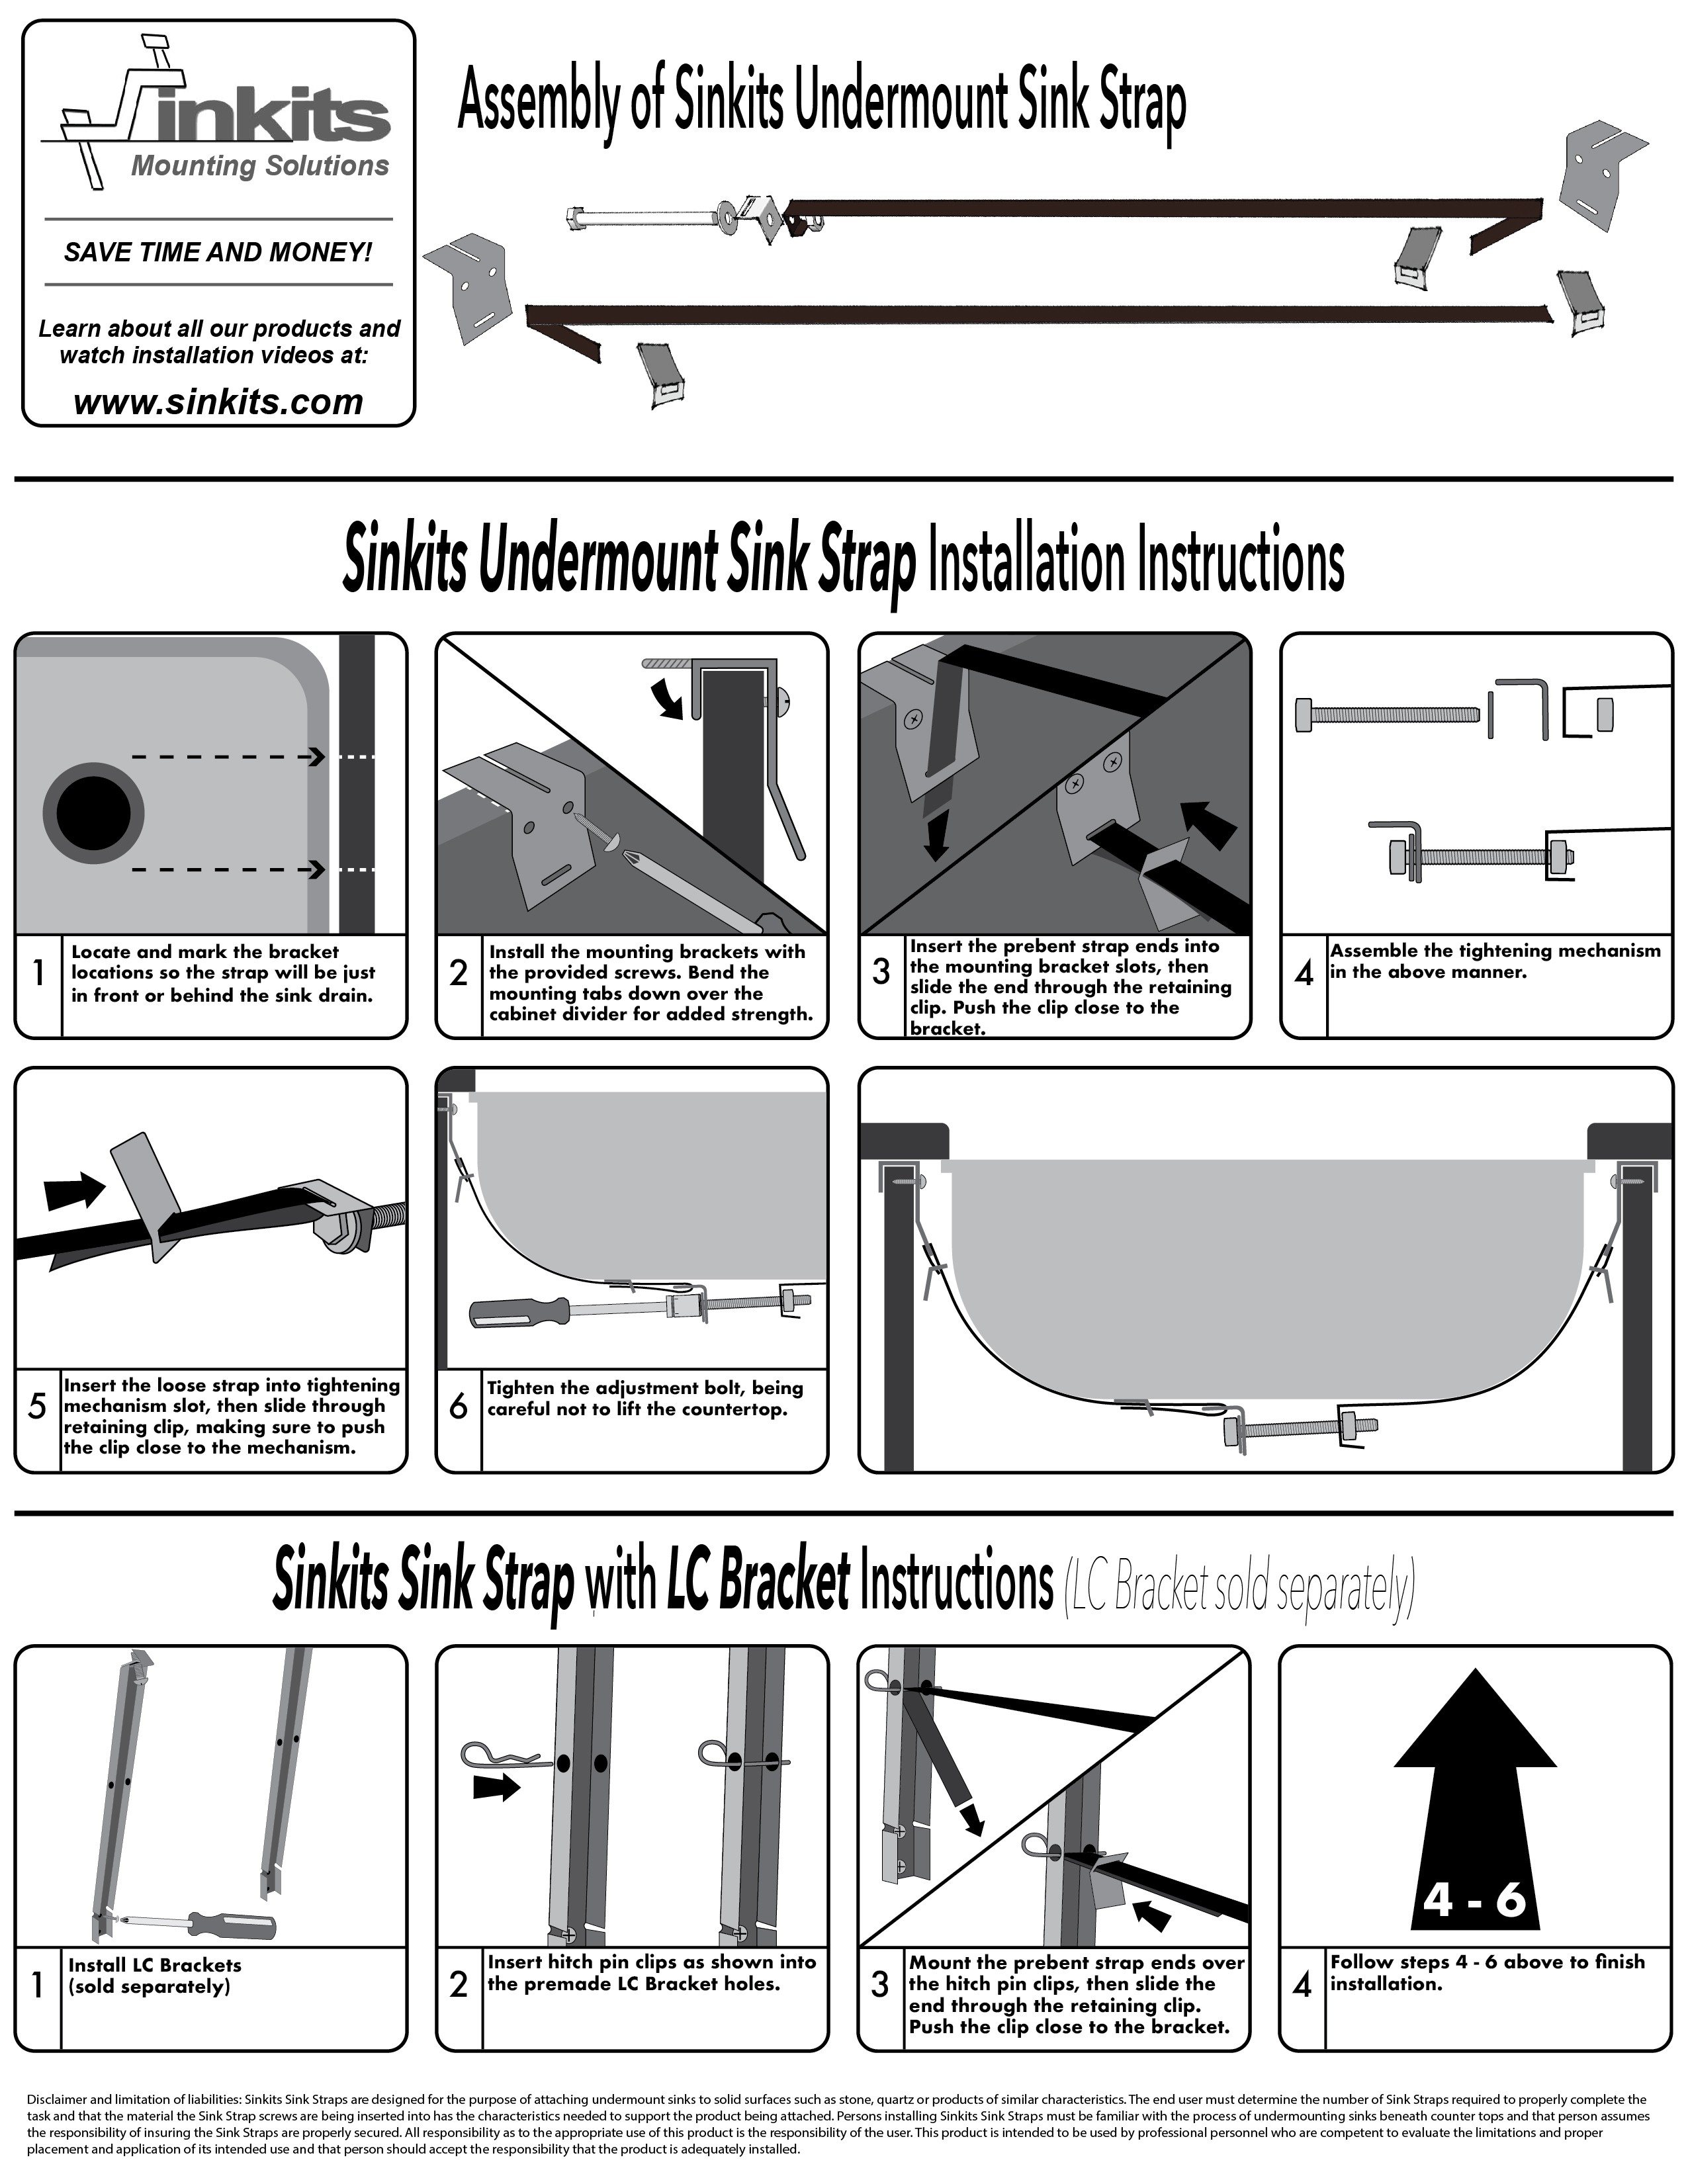
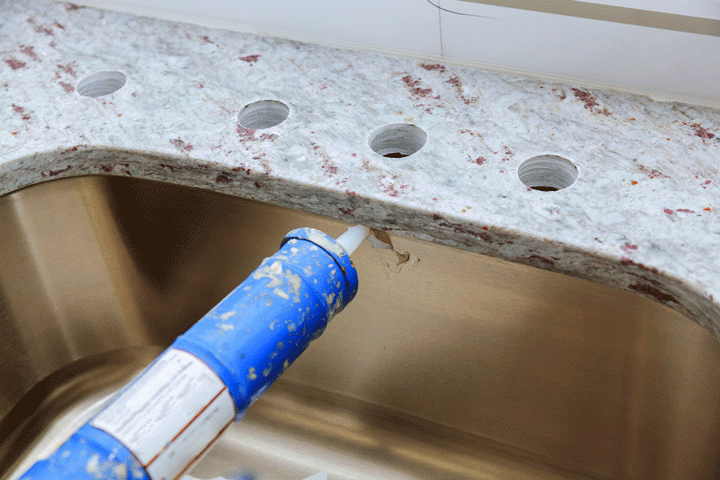
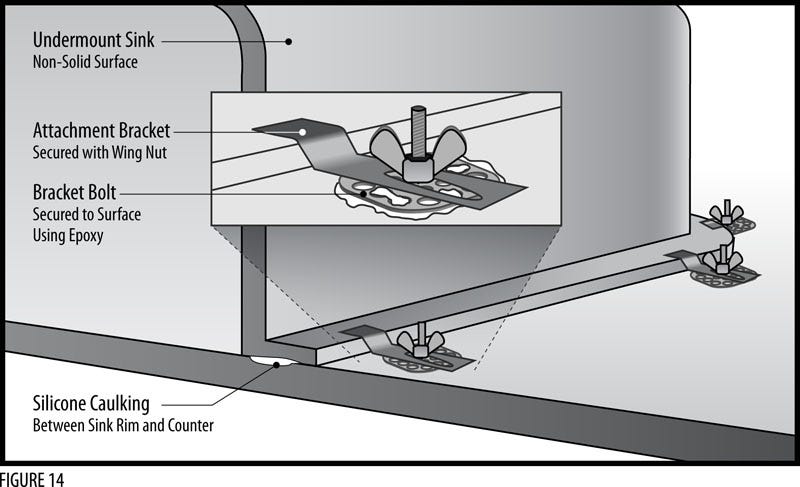
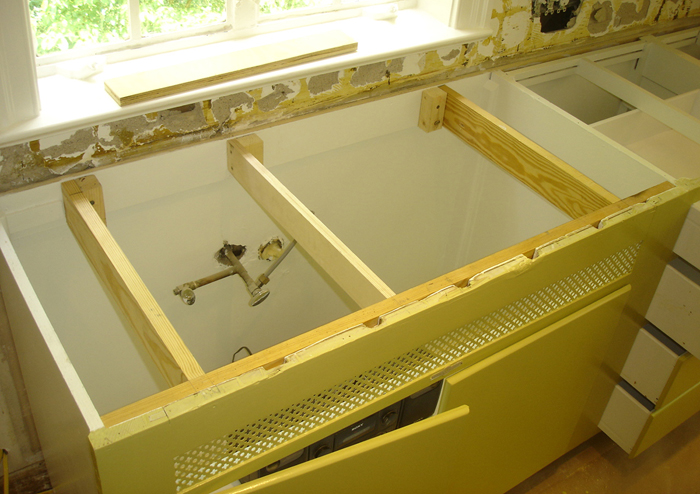
Step 1: Prepare the Sink and Countertop Before installing the sink, make sure the countertop is clean and free from any debris. Measure the size of the sink and mark the area where it will be installed. Use a jigsaw to cut the opening for the sink, following the marked lines. Then, test-fit the sink to ensure it fits perfectly in the opening. Step 2: Apply Sealant Apply a bead of silicone sealant around the edge of the sink opening, leaving a ¼ inch gap from the edge. This will create a watertight seal between the sink and the countertop. Step 3: Install Mounting Hardware Some undermount sinks come with mounting hardware, while others require you to purchase them separately. If your sink does not come with mounting hardware, you can purchase it from a hardware store. Follow the manufacturer's instructions to install the mounting brackets on the underside of the sink. Step 4: Position the Sink Carefully lift the sink and place it into the opening. Make sure the sink is centered and level. Apply pressure to the sink to ensure it adheres to the sealant. Step 5: Secure the Sink Using a screwdriver, tighten the mounting hardware to secure the sink in place. Wipe off any excess sealant that may have squeezed out from the edges of the sink.Undermount Kitchen Sink Installation Guide
Step 6: Connect the Plumbing With the sink securely in place, you can now connect the plumbing. Connect the drainpipe and garbage disposal (if you have one) to the sink. Make sure all connections are tight and secure. Step 7: Test the Sink Before using the sink, run some water and check for any leaks. If you notice any leaks, tighten the connections or add more sealant if necessary. Step 8: Apply Caulk To ensure a watertight seal, apply a bead of caulk around the edges of the sink where it meets the countertop. Smooth out the caulk with your finger or a caulk smoothing tool. Step 9: Clean Up Wipe off any excess caulk or sealant and clean the sink and countertop with a mild cleaner. Your undermount kitchen sink is now ready for use.Step-by-Step Guide for Fitting an Undermount Kitchen Sink
Installing an undermount kitchen sink can be a DIY project for those with some experience in plumbing and carpentry. However, if you are unfamiliar with these tasks, it is best to hire a professional to ensure a proper installation.DIY Undermount Kitchen Sink Installation
Here are some of the essential tools and materials you will need for installing an undermount kitchen sink: Tools:Tools and Materials Needed for Installing an Undermount Sink
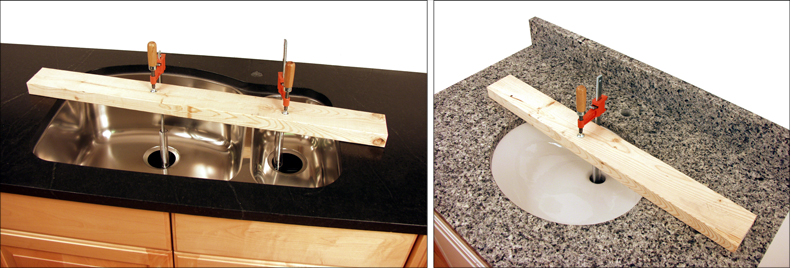
Tip 1: Measure Twice, Cut Once Before cutting the opening for the sink, measure the sink and the countertop opening at least twice to ensure a perfect fit. Tip 2: Use a Support Board Placing a support board over the sink opening can help support the sink while you work on the installation process. Tip 3: Use Quality Sealant Investing in a high-quality silicone sealant can ensure a strong and long-lasting bond between the sink and the countertop. Tip 4: Follow the Instructions Make sure to read and follow the manufacturer's instructions carefully to avoid any mistakes during the installation process.Tips for Fitting an Undermount Kitchen Sink Perfectly
1. Not Supporting the Sink Properly Not supporting the sink properly during installation can cause it to drop and potentially damage the sink or countertop. 2. Using the Wrong Sealant Using the wrong type of sealant can lead to leaks and damage to the sink or countertop over time. Make sure to use a silicone sealant specifically designed for undermount sinks. 3. Rushing the Installation Process Installing an undermount sink takes time and precision. Rushing through the process can lead to mistakes and an imperfect fit. 4. Not Checking for Leaks After completing the installation, make sure to check for any leaks before using the sink. This will help prevent any water damage to your cabinets and countertop.Common Mistakes to Avoid When Installing an Undermount Sink
Before deciding to install an undermount kitchen sink, it is essential to consider the pros and cons: Pros:Pros and Cons of Undermount Kitchen Sinks
When choosing an undermount kitchen sink, consider the following factors: 1. Size and Shape Make sure to measure your countertop and cabinet space to ensure the sink will fit properly. You should also consider the shape of the sink, whether it is round, rectangular, or square. 2. Material Undermount sinks come in various materials, such as stainless steel, granite, and porcelain. Choose a material that complements your kitchen's style and is durable and easy to maintain. 3. Mounting Style There are two types of undermount sink mounting styles: supported and rimmed. Supported sinks are more common and are supported by brackets installed underneath the sink, while rimmed sinks have a lip that rests on top of the countertop. 4. Budget Undermount sinks can range in price, so it is essential to set a budget and stick to it. Keep in mind that you may also need to purchase additional materials, such as mounting hardware and sealant. Installing an undermount kitchen sink can add a touch of elegance to any kitchen. With proper preparation and attention to detail, you can achieve a professional-looking installation and enjoy the many benefits of an undermount sink. How to Choose the Right Undermount Kitchen Sink for Your Home
Fitting an Undermount Kitchen Sink: The Perfect Addition to Your Kitchen Design

The Benefits of an Undermount Kitchen Sink
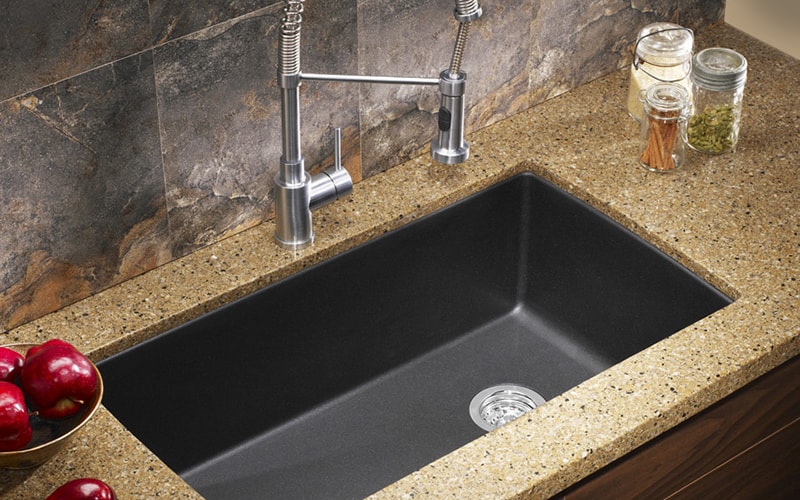
 Undermount kitchen sinks have become increasingly popular in recent years, and for good reason. These sinks are installed underneath the countertop, creating a sleek and seamless look that adds a touch of elegance to any kitchen design. Unlike traditional top-mount sinks, undermount sinks do not have a lip or rim that sits on top of the counter, making cleaning and maintenance much easier. The lack of a rim also means that crumbs and debris can be easily wiped into the sink, rather than getting caught on the edge.
Undermount kitchen sinks are not only aesthetically pleasing, but they also offer practical benefits that make them a must-have for any modern kitchen.
Choosing the Right Undermount Kitchen Sink
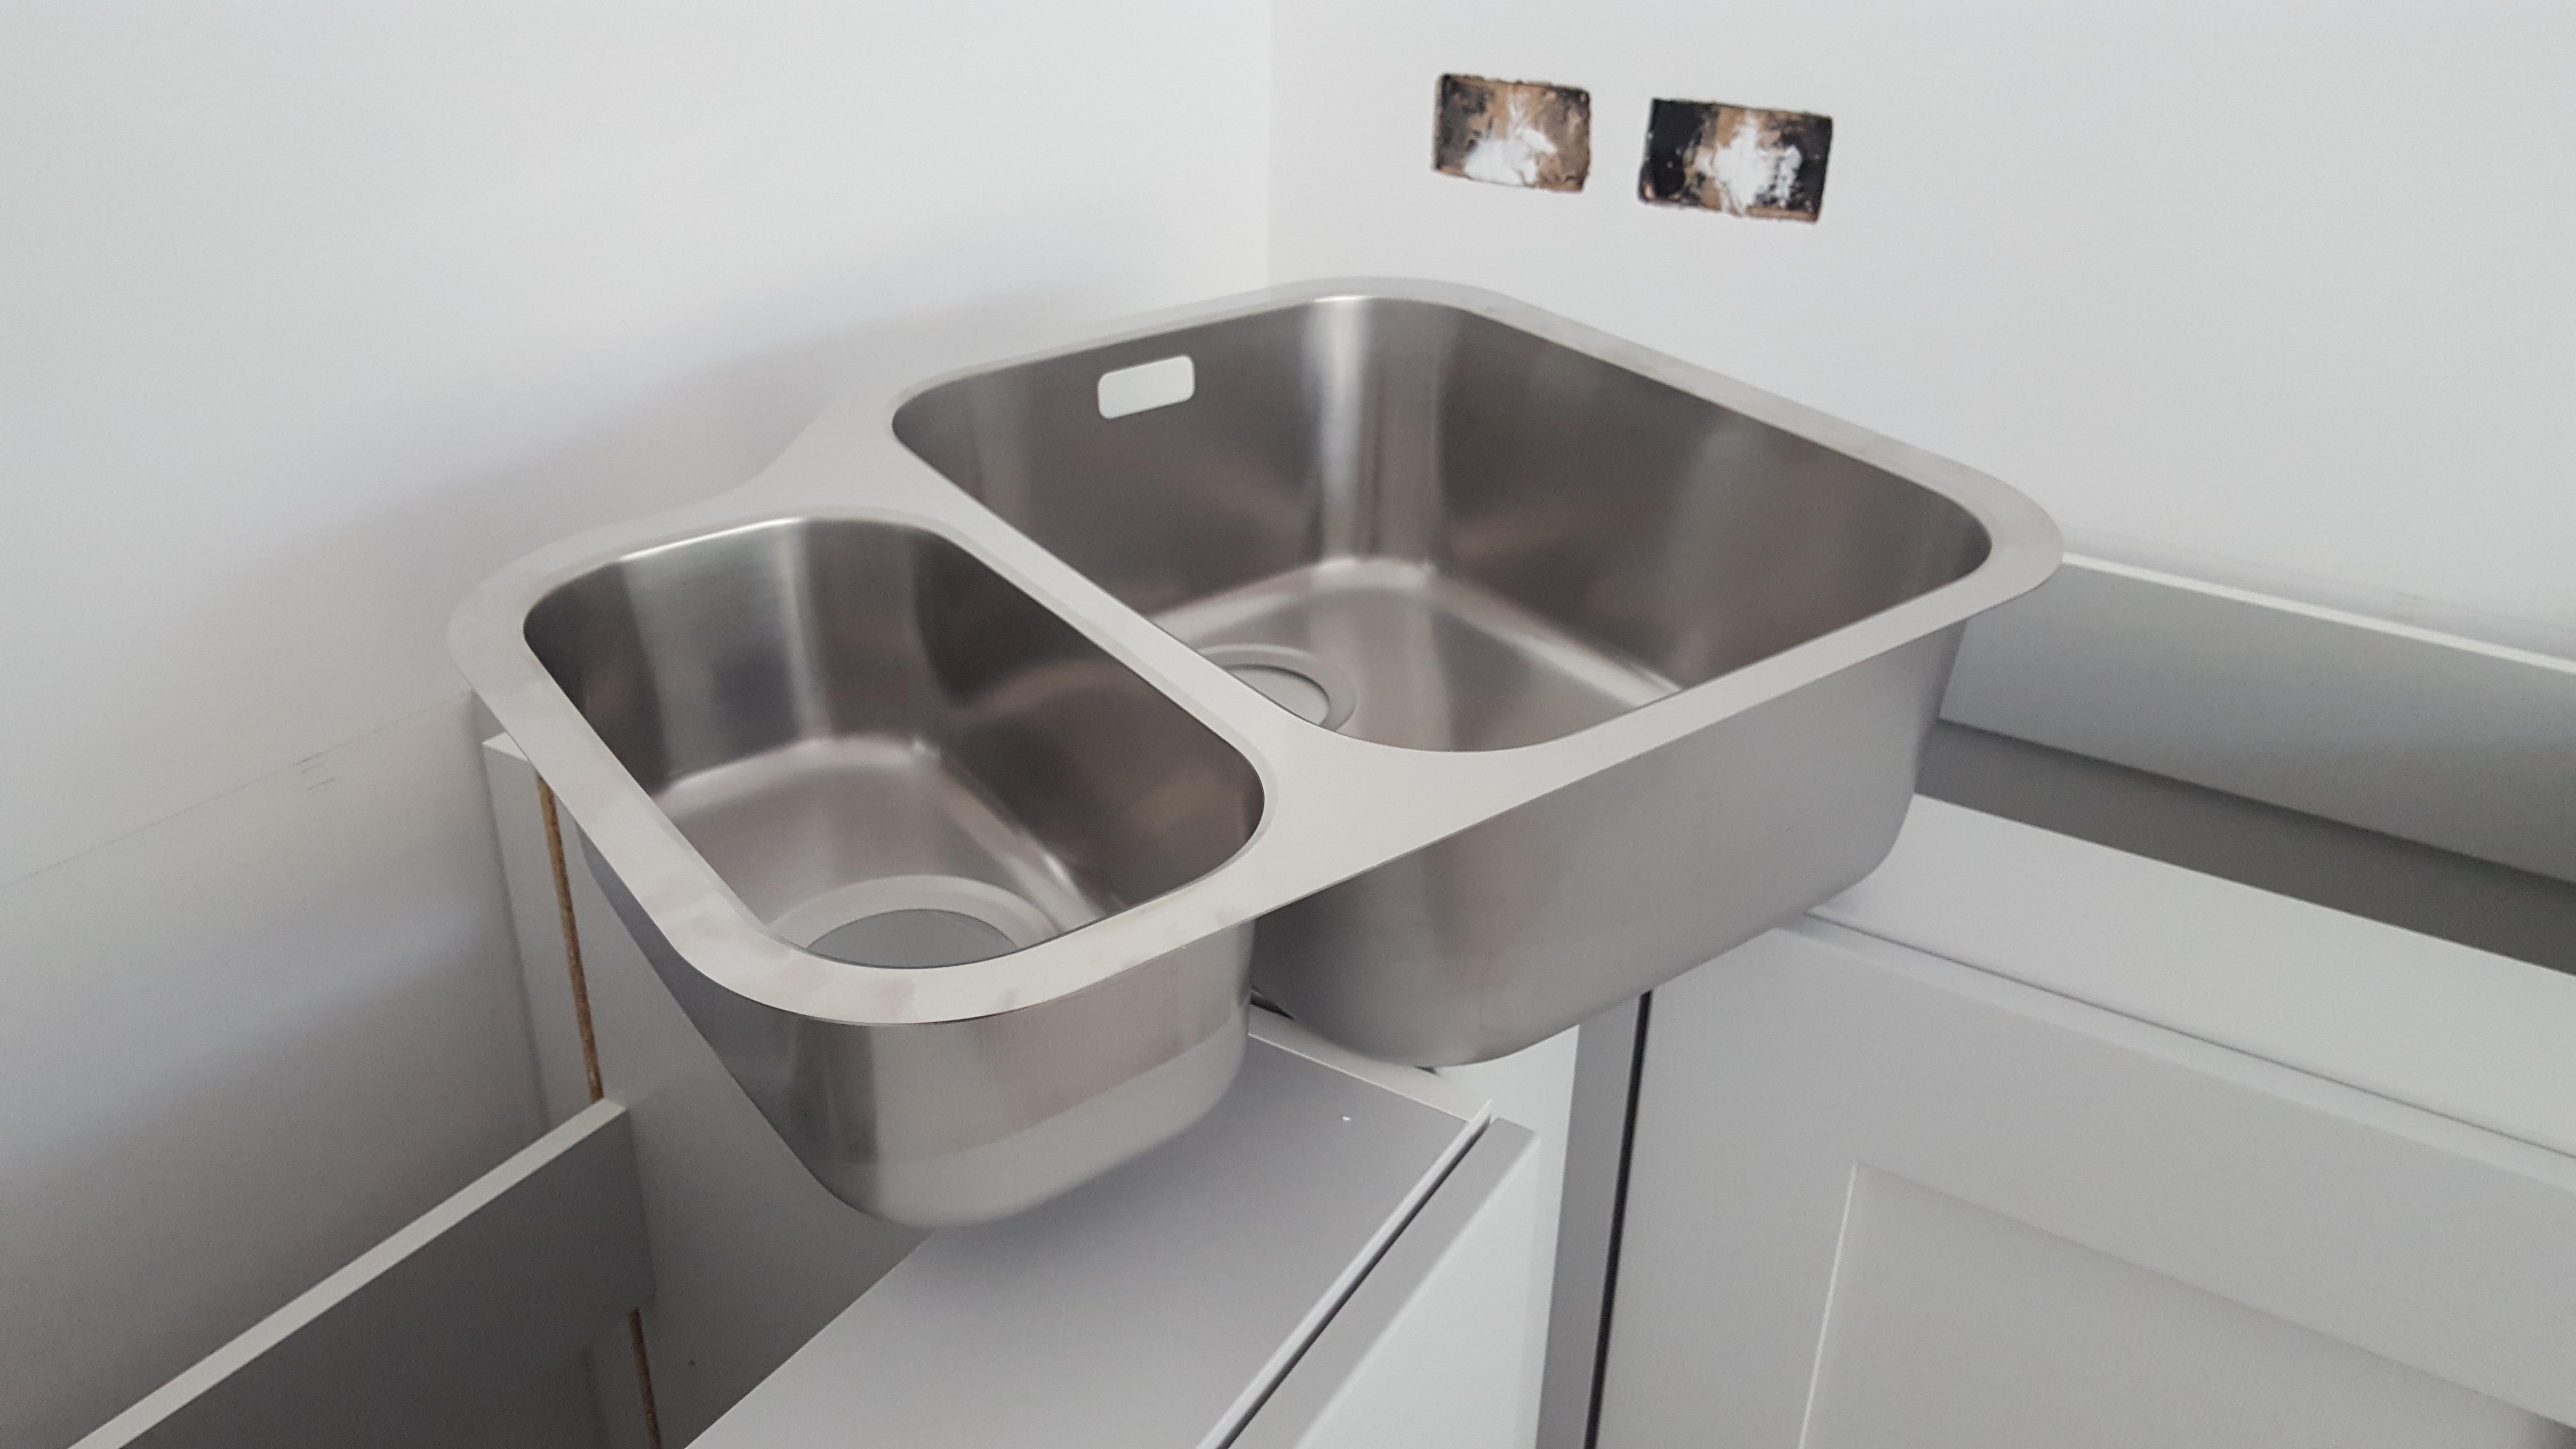 When it comes to selecting the perfect undermount kitchen sink for your home, there are a few key factors to consider. The first is the material.
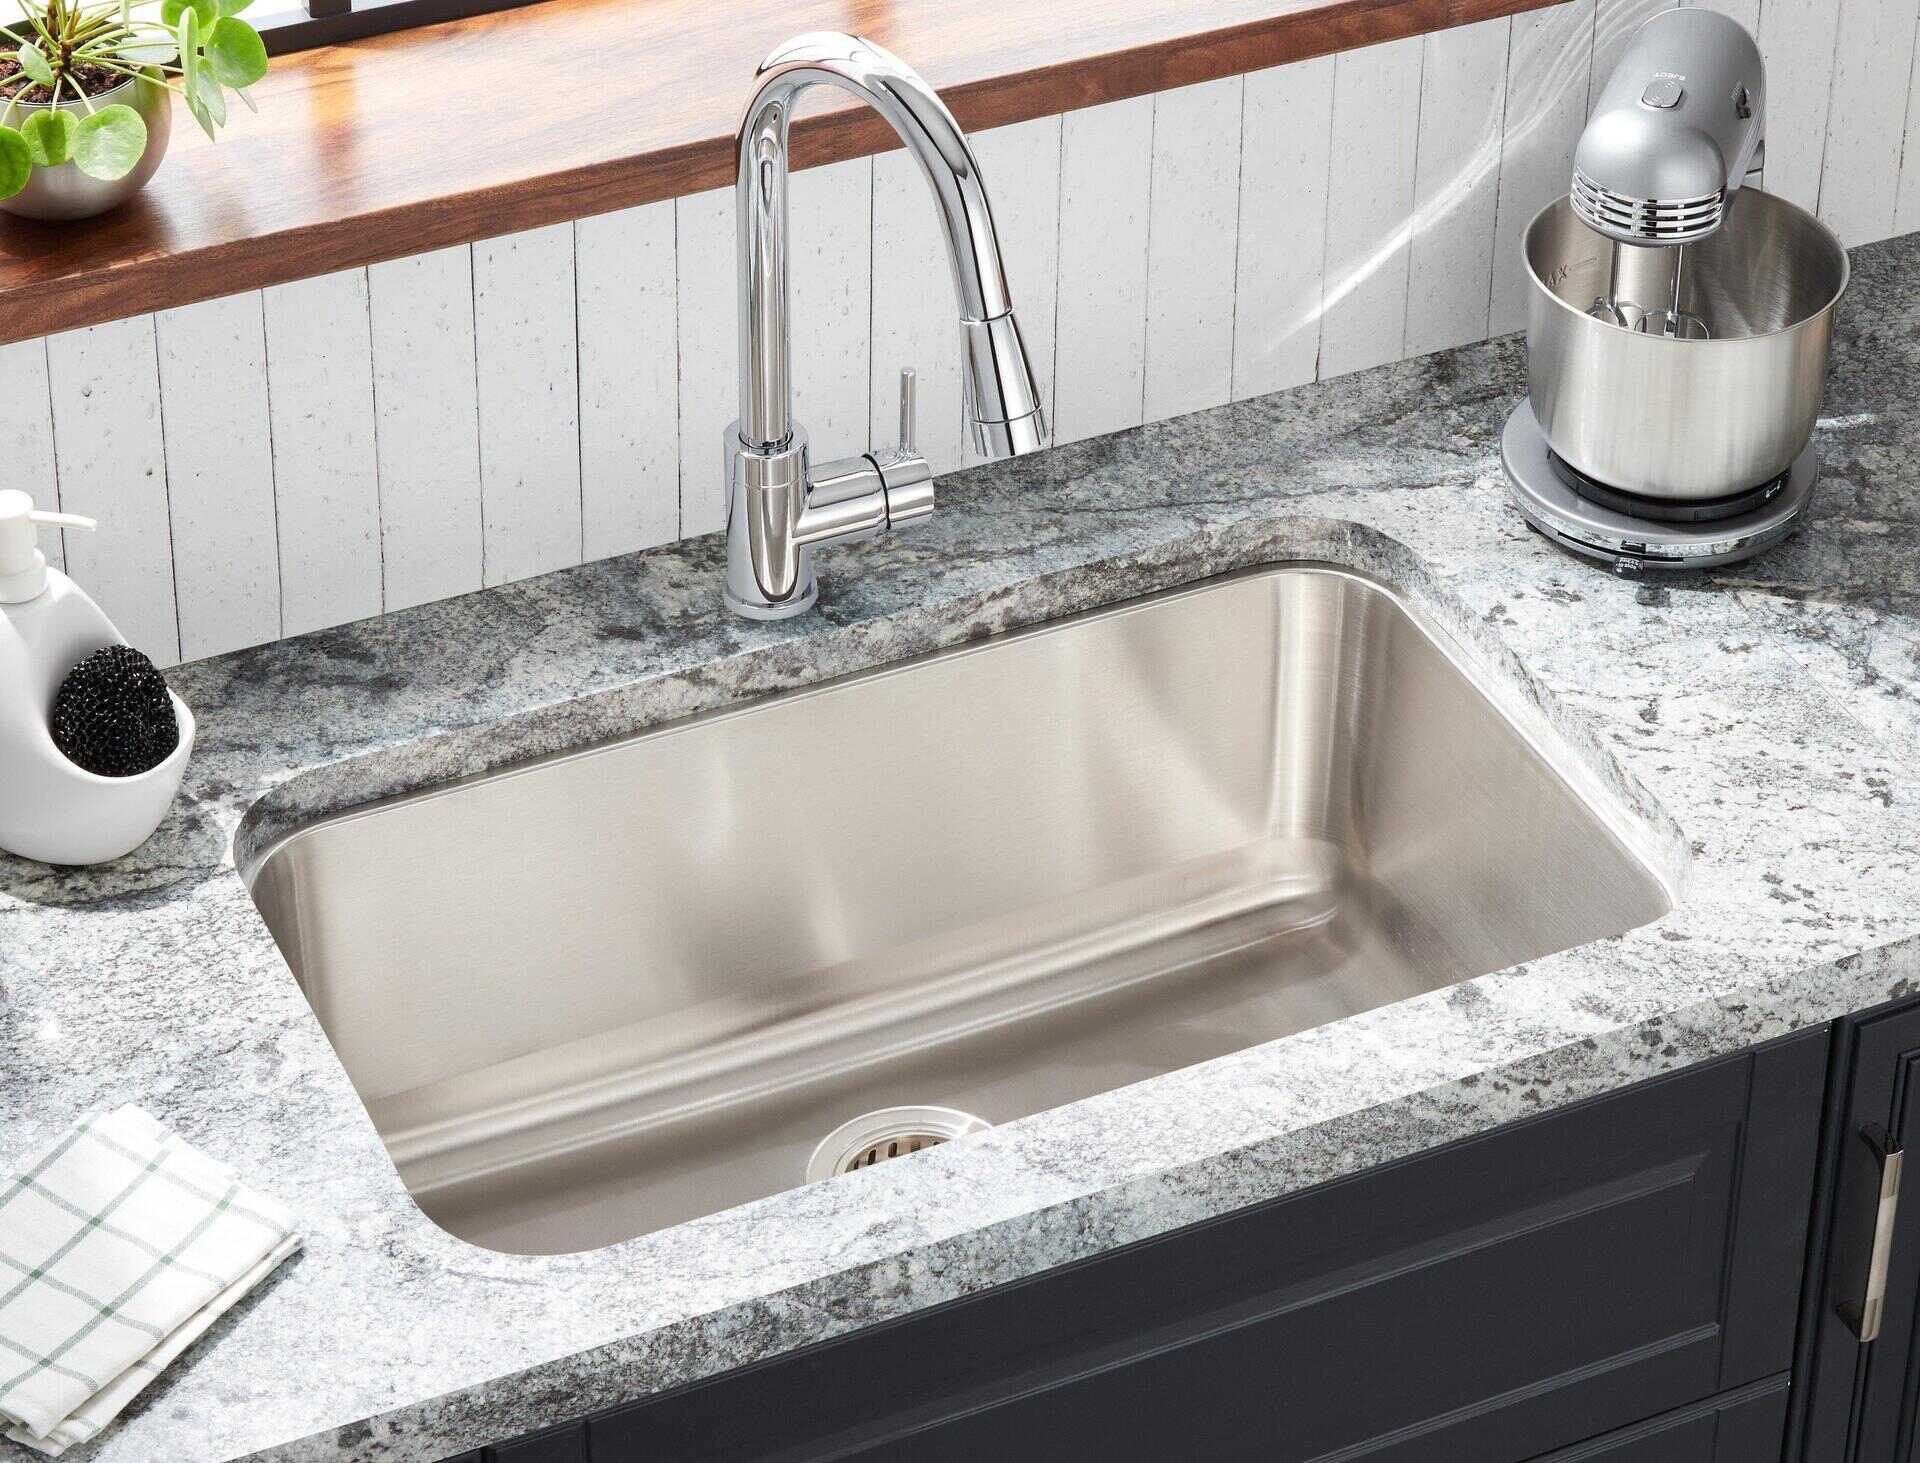
Stainless steel is a popular choice for its durability and resistance to stains and scratches.
For a more luxurious option, consider a granite or quartz sink, which not only look stunning but are also heat and stain-resistant.
Another important factor to consider is the size and depth of the sink.
Measure your cabinet and countertop space carefully to ensure that the sink will fit properly.
It is also important to think about your kitchen habits and needs when choosing a sink.
Do you frequently wash large pots and pans? A deeper sink will be more practical. Do you prefer a single or double bowl sink? Consider your daily tasks and choose a sink that will make your kitchen routine more convenient.
The Importance of Proper Installation
 Installing an undermount kitchen sink requires precision and expertise, making it a job best left to professionals.
Improper installation can lead to leaks and damage to your countertops and cabinets, so it is important to hire a reputable contractor or plumber who has experience with undermount sinks.
They will ensure that the sink is securely attached to the countertop and that all necessary plumbing connections are properly installed.
Proper installation not only ensures the longevity of your sink but also helps to maintain the overall aesthetic of your kitchen design.
Adding the Finishing Touches
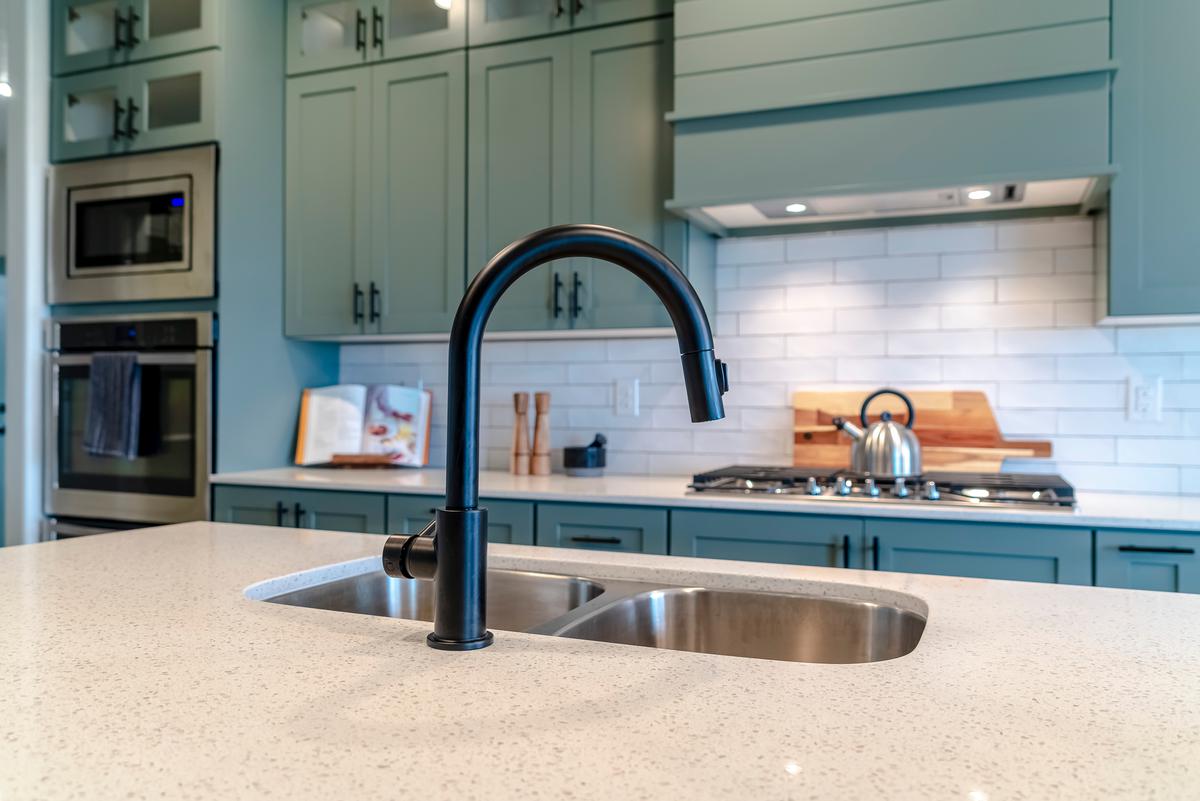
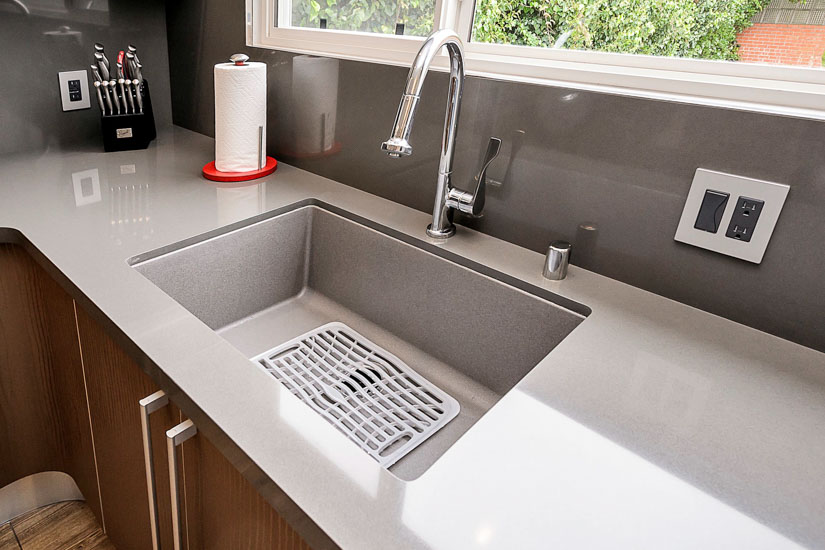 Once your undermount kitchen sink is installed, it's time to add the finishing touches to complete your kitchen design. Consider adding a sleek faucet and matching accessories for a cohesive look. You can also choose a complementary sink grid or cutting board to protect the bottom of your sink and add functionality.
With the right accessories, your undermount kitchen sink will not only be a stunning focal point but also a highly functional and practical addition to your kitchen.
In conclusion, fitting an undermount kitchen sink is a great way to elevate the design and functionality of your kitchen. With its sleek and seamless look, practical benefits, and endless options for customization, it is no wonder that undermount sinks have become a popular choice among homeowners.
Consider all the factors and make sure to hire a professional for proper installation to ensure that your undermount kitchen sink is a beautiful and long-lasting addition to your home.

