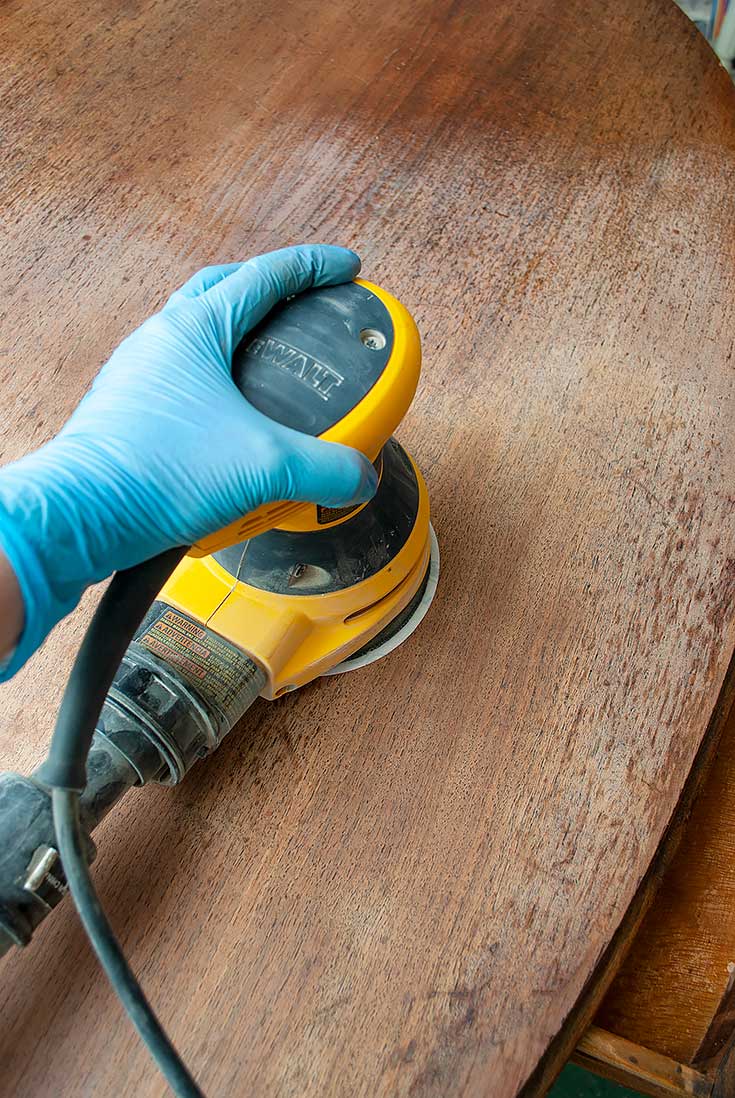
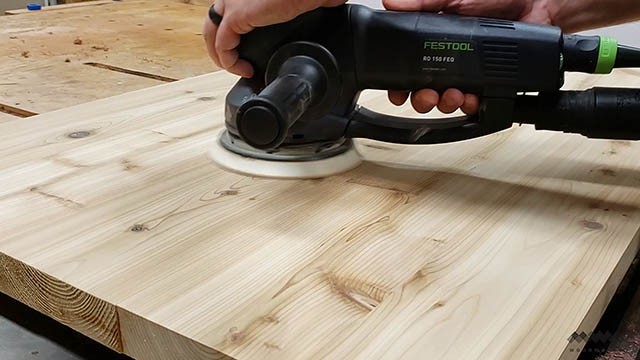
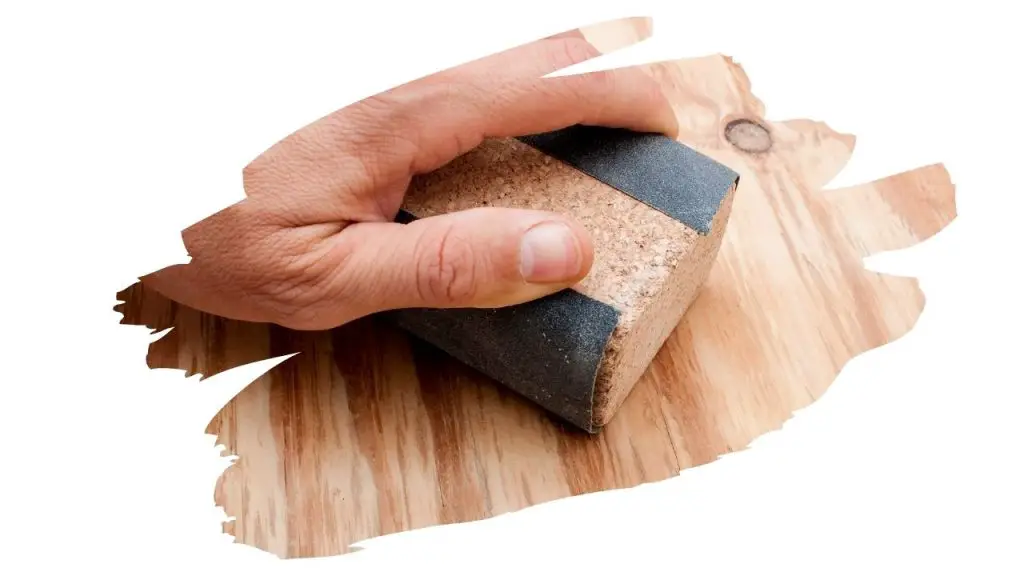
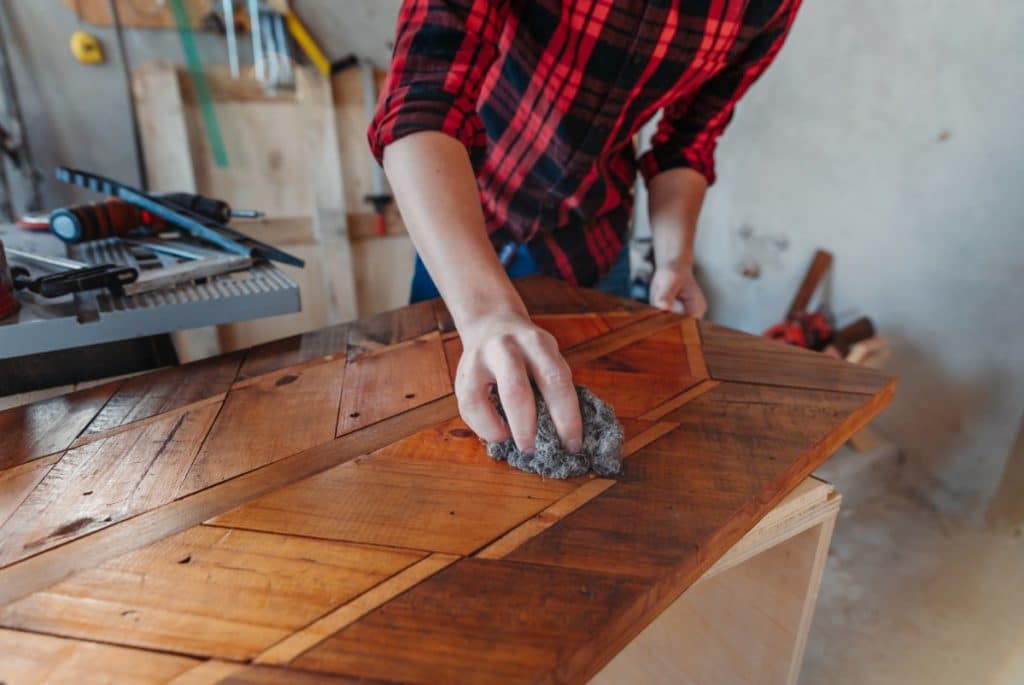
Before you begin finishing your kitchen table top, it's important to prepare the surface by sanding it. This will help remove any rough spots or imperfections and create a smooth surface for the finishing process. Start with a coarse grit sandpaper and gradually move to a finer grit for the best results. Make sure to sand in the direction of the wood grain to avoid any scratches or damage to the wood.1. Sanding the table top
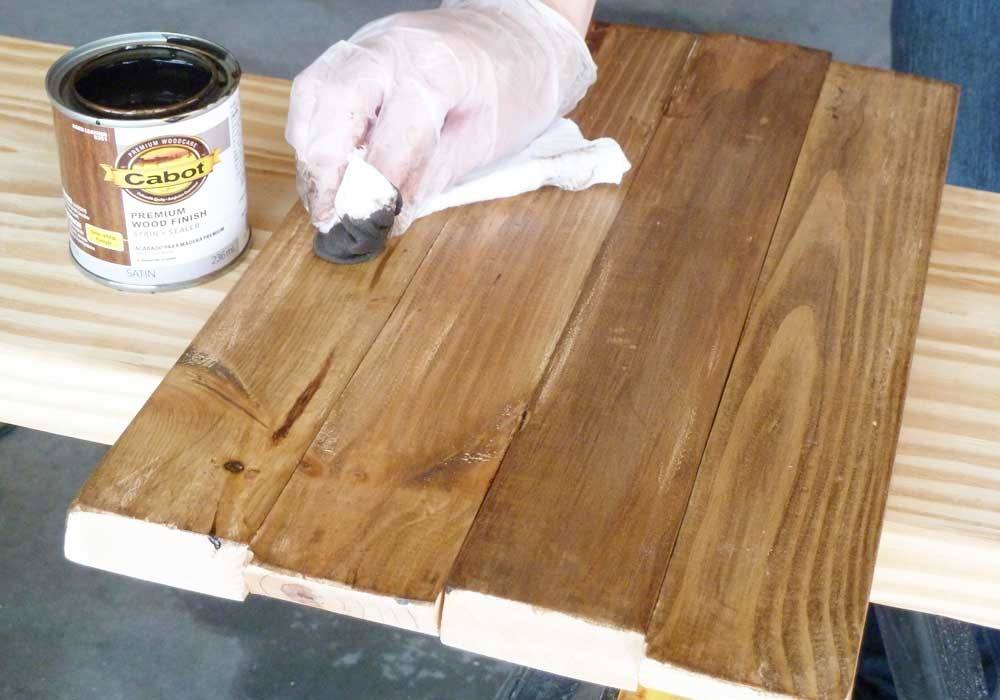
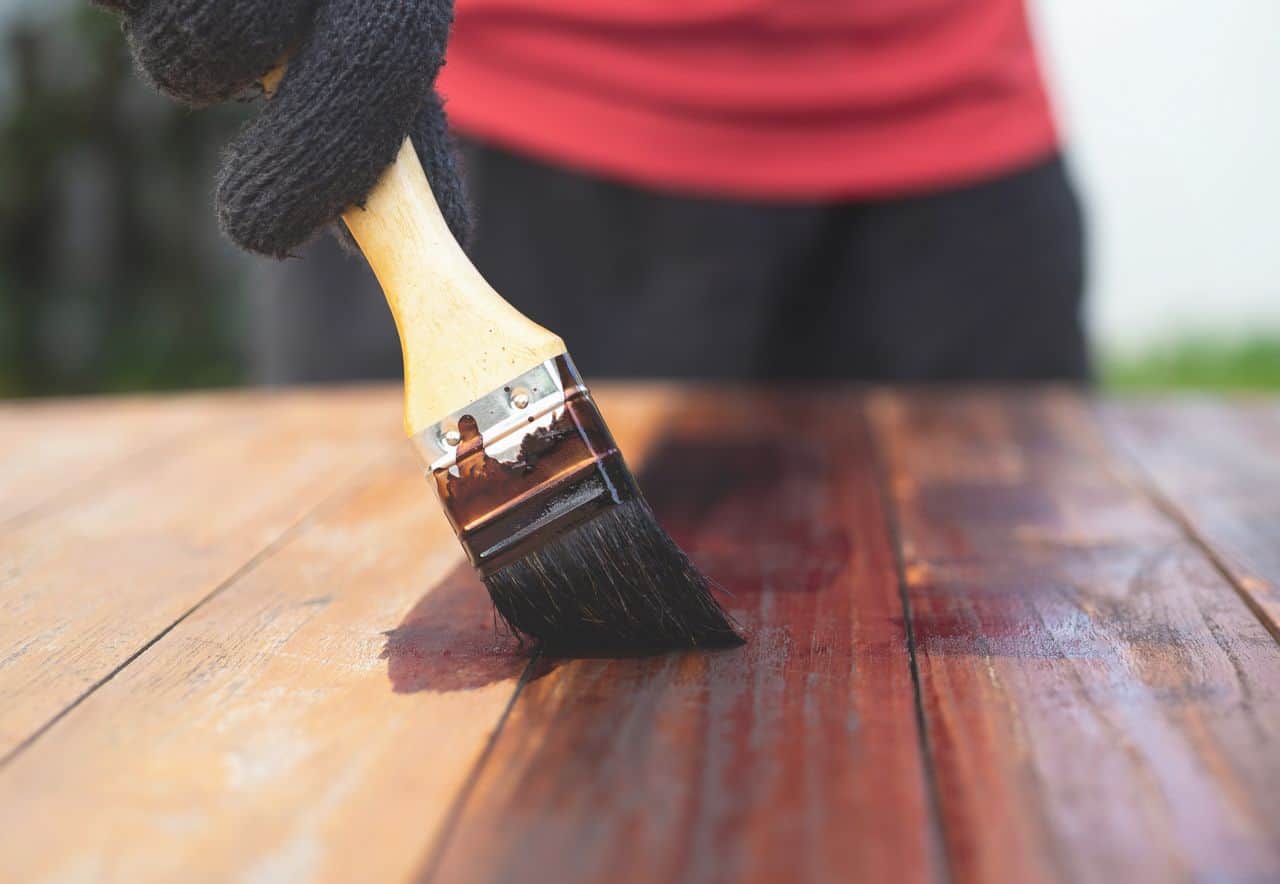
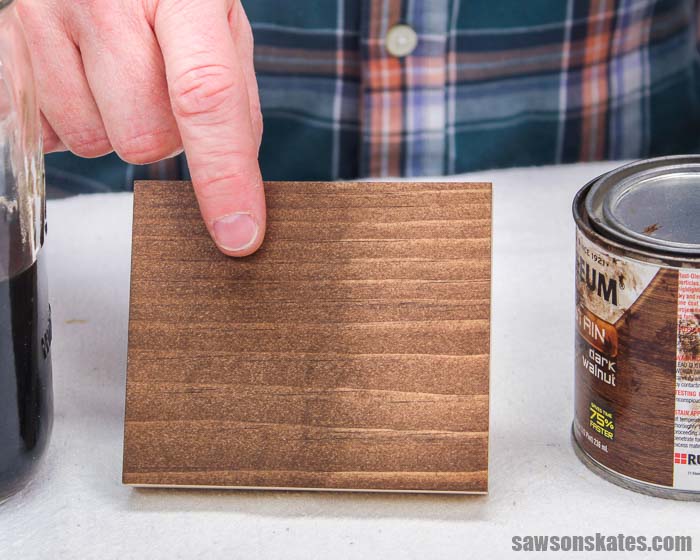
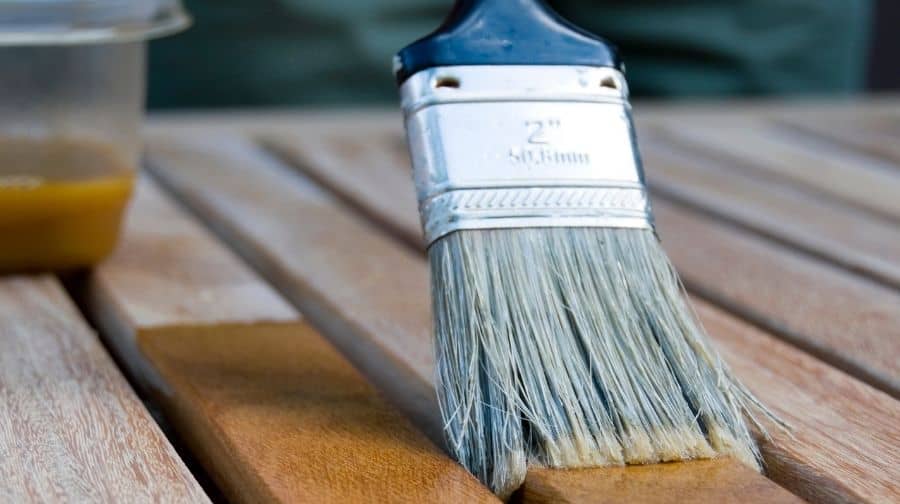
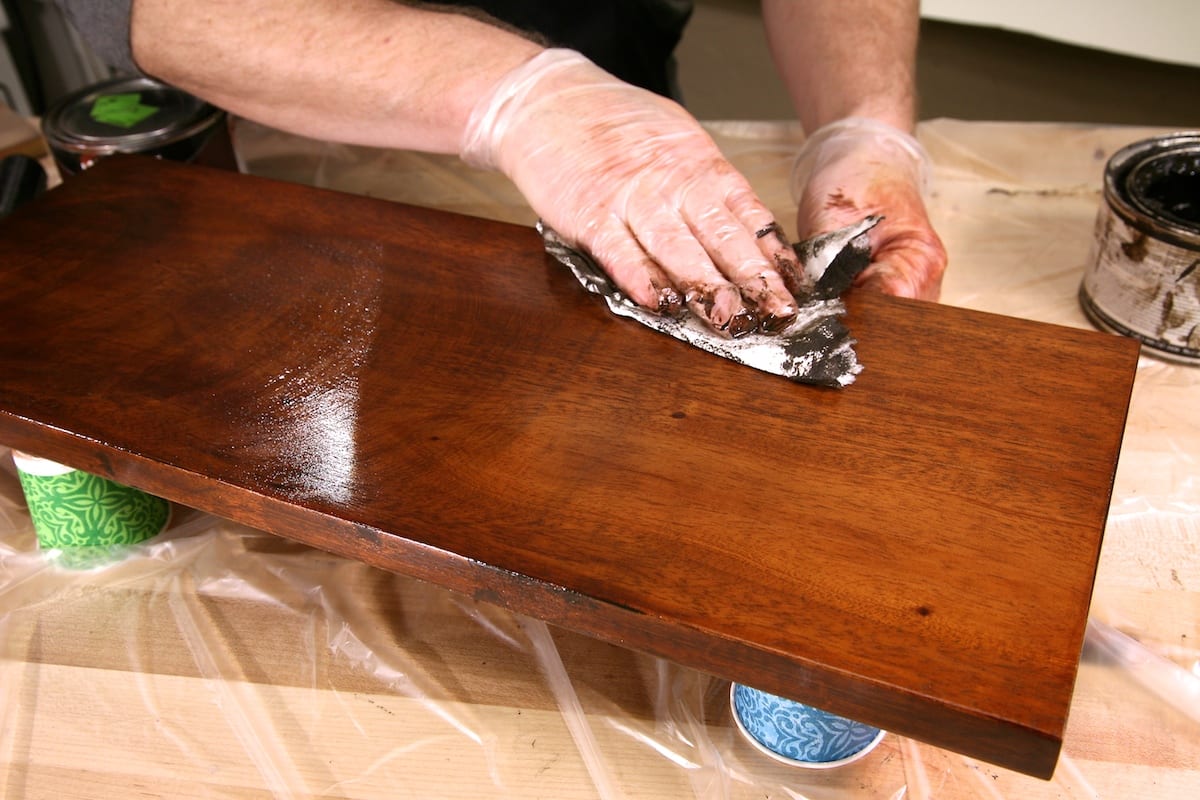
Staining the wood is a crucial step in the finishing process as it adds color and enhances the natural beauty of the wood. Choose a stain that complements your kitchen decor and make sure to test it on a small area of the table top first. Apply the stain evenly with a brush or cloth, following the direction of the wood grain. Wipe off any excess stain with a clean cloth and let it dry completely before moving on to the next step.2. Staining the wood
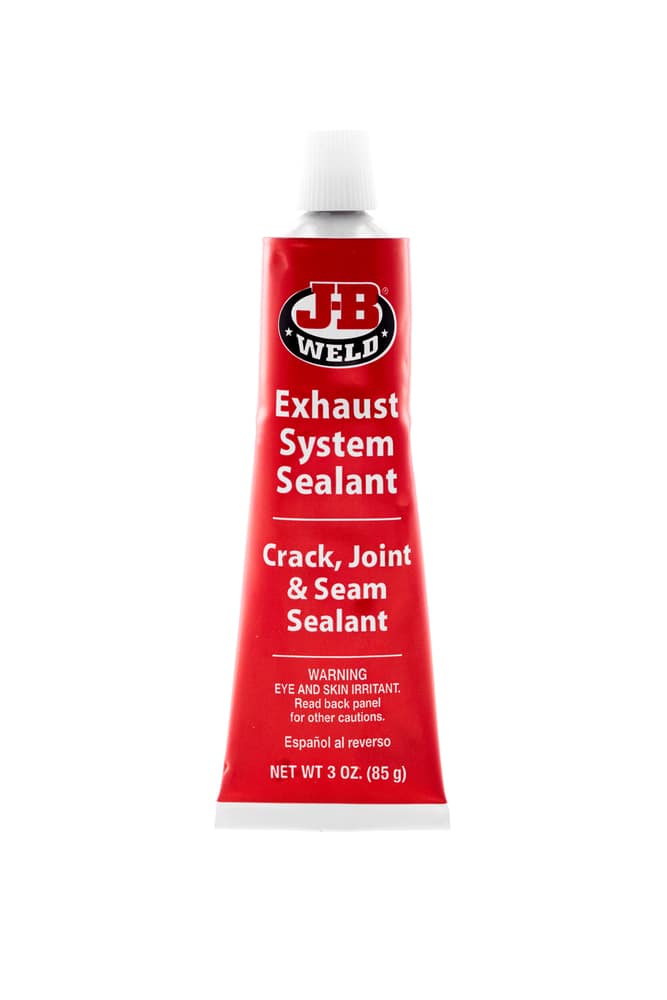
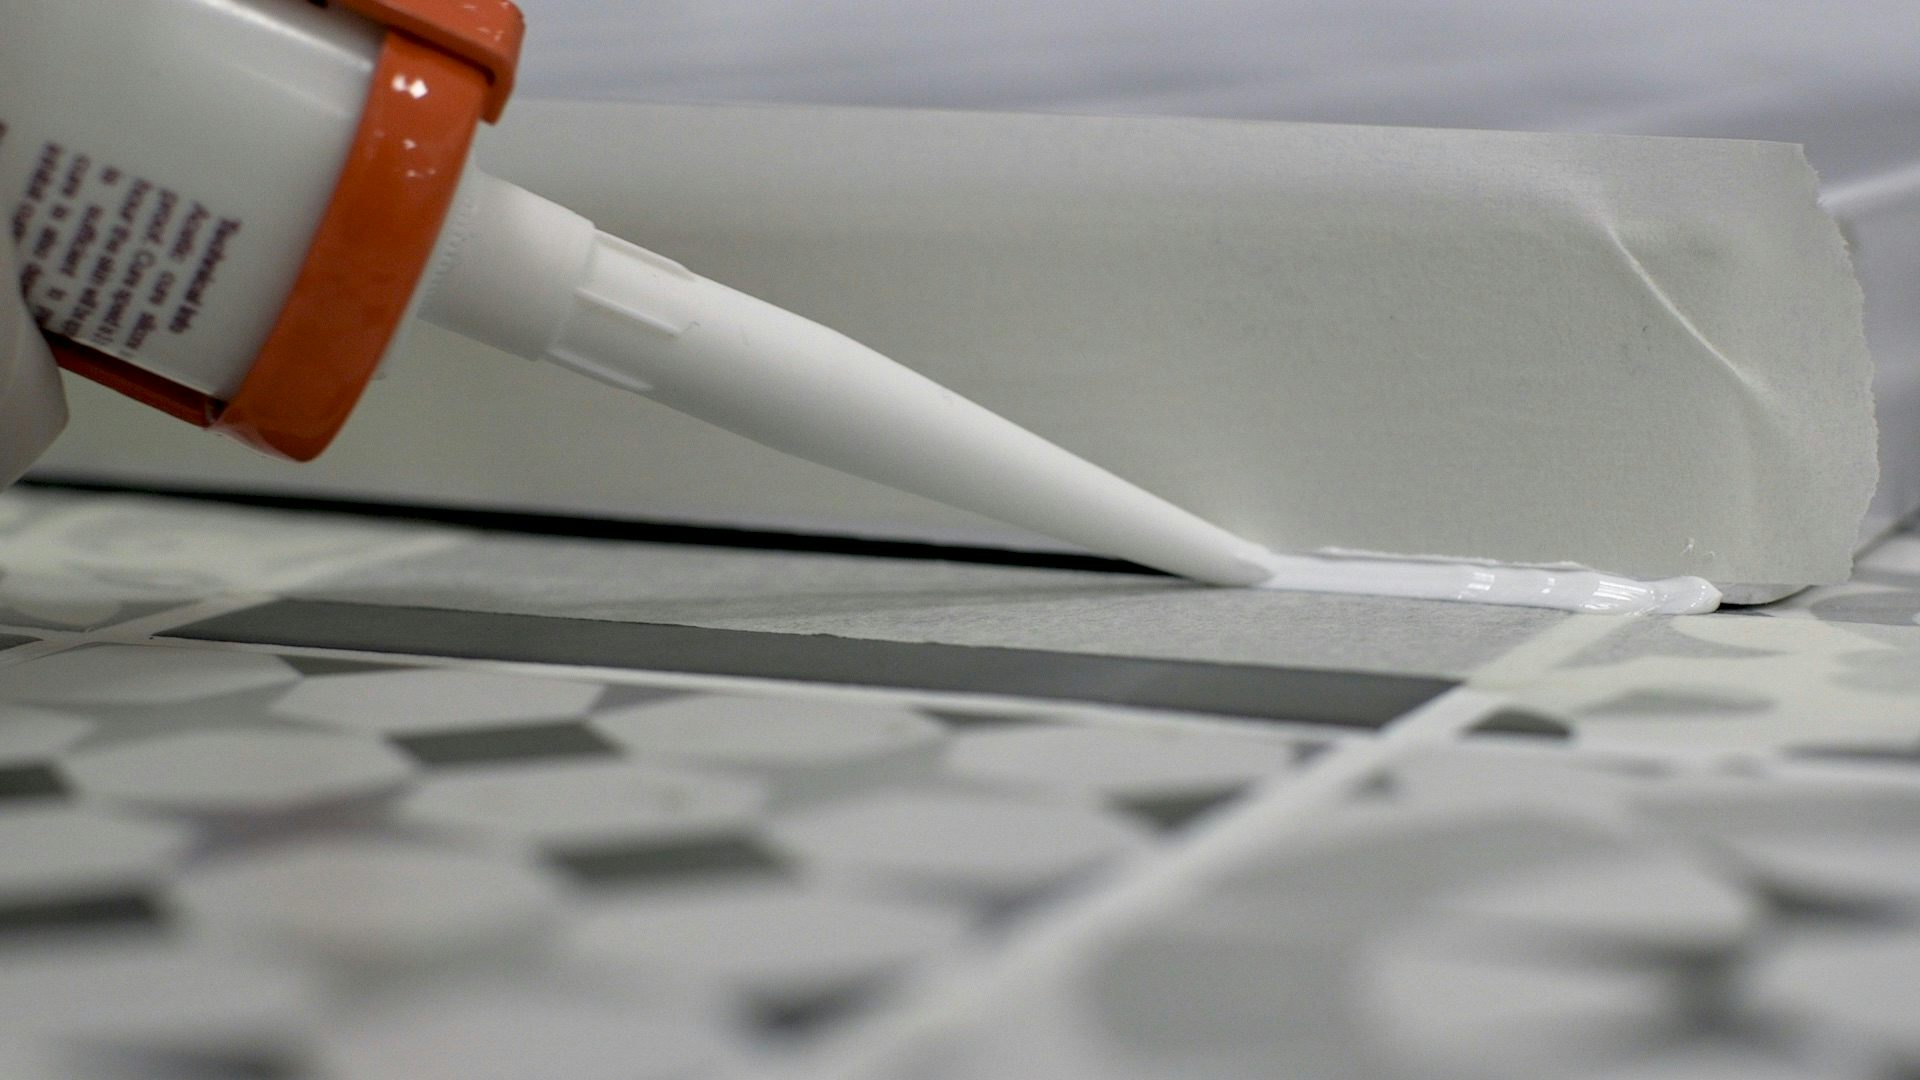
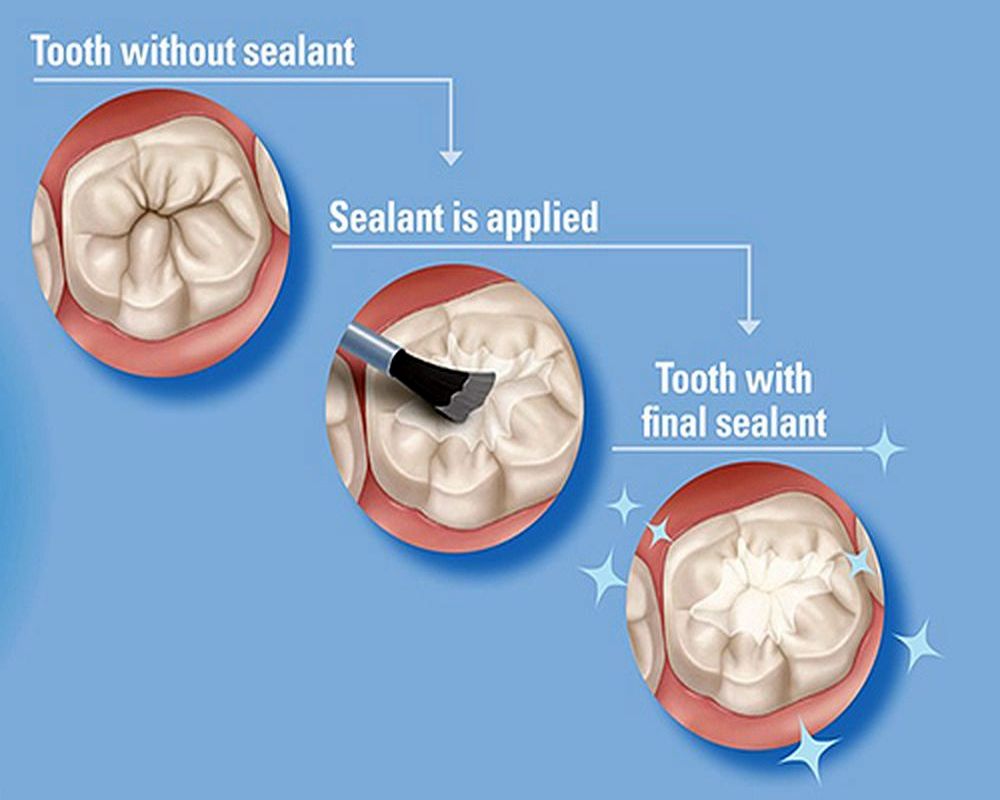
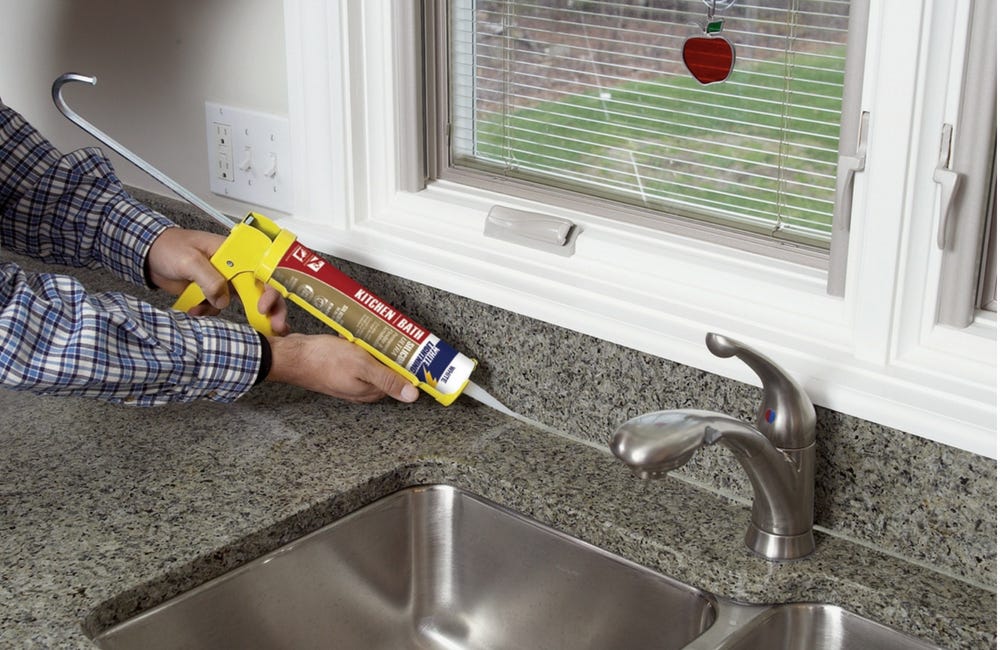
A sealant is necessary to protect the wood from moisture, heat, and other potential damage. It also helps to prevent the wood from warping or cracking over time. Apply a thin layer of sealant with a brush or cloth, making sure to cover the entire surface of the table top. Let it dry completely before moving on to the next step.3. Applying a sealant
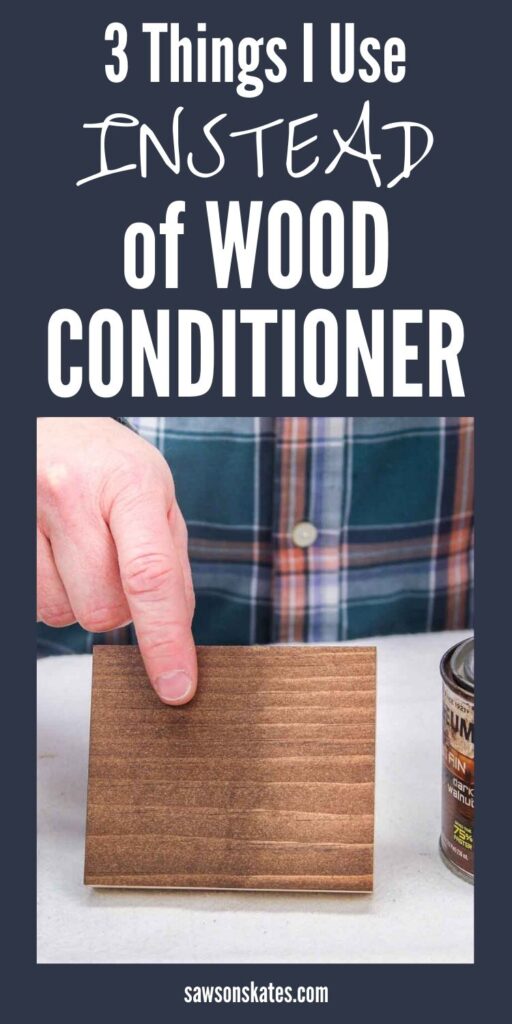
If you're working with a softwood such as pine or cedar, using a wood conditioner before staining can help the wood absorb the stain more evenly. Apply the conditioner with a brush or cloth and let it sit for about 15 minutes before wiping off any excess. This will help prevent any blotchiness or uneven coloring in the final finish.4. Using a wood conditioner
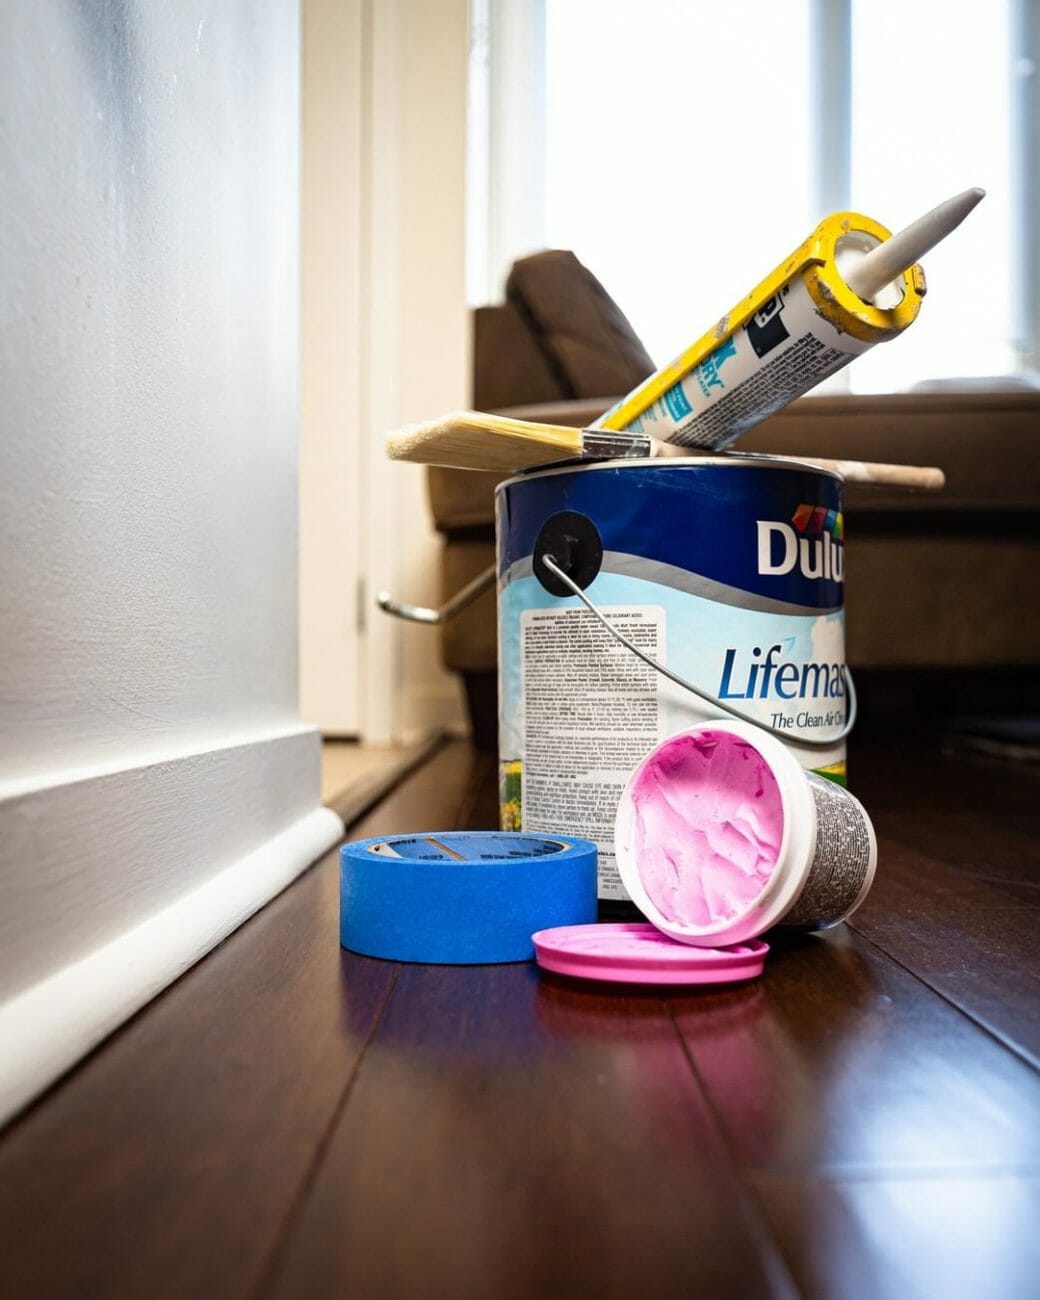
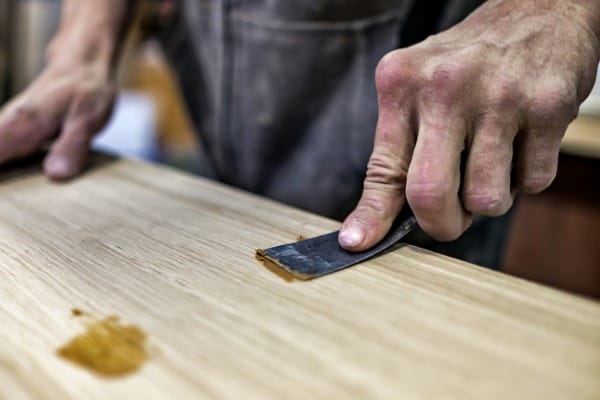
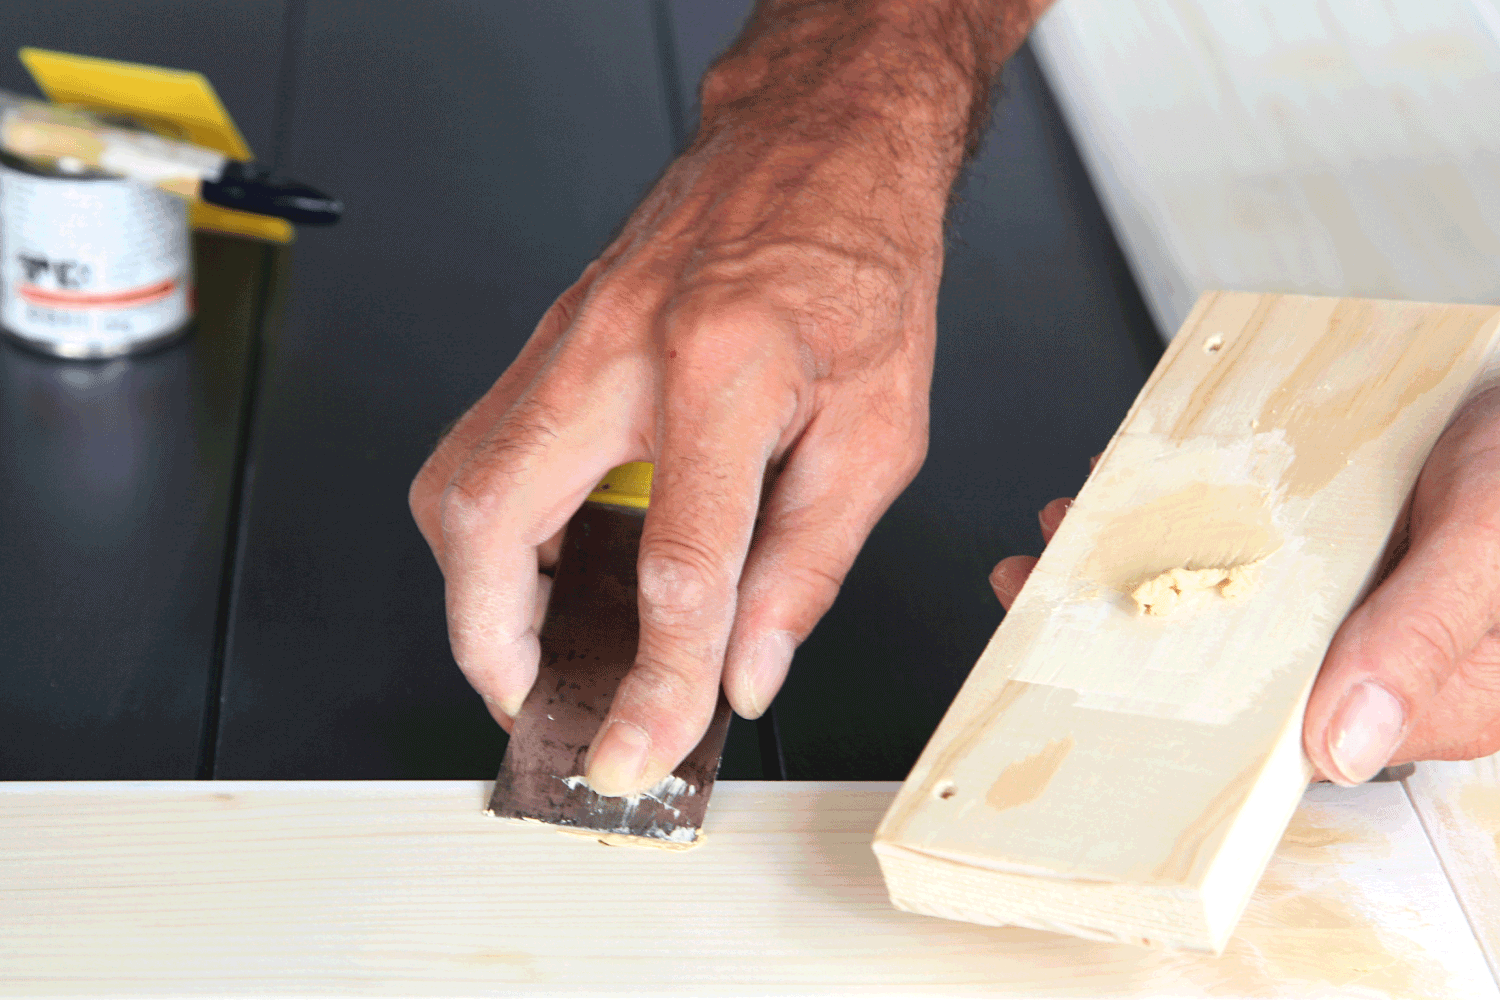
If your table top has any cracks, holes, or imperfections, filling them in with wood filler can help create a smooth and even surface. Make sure to choose a filler that matches the color of your wood and apply it with a putty knife. Let it dry completely before sanding it down to create a flat surface.5. Applying a wood filler
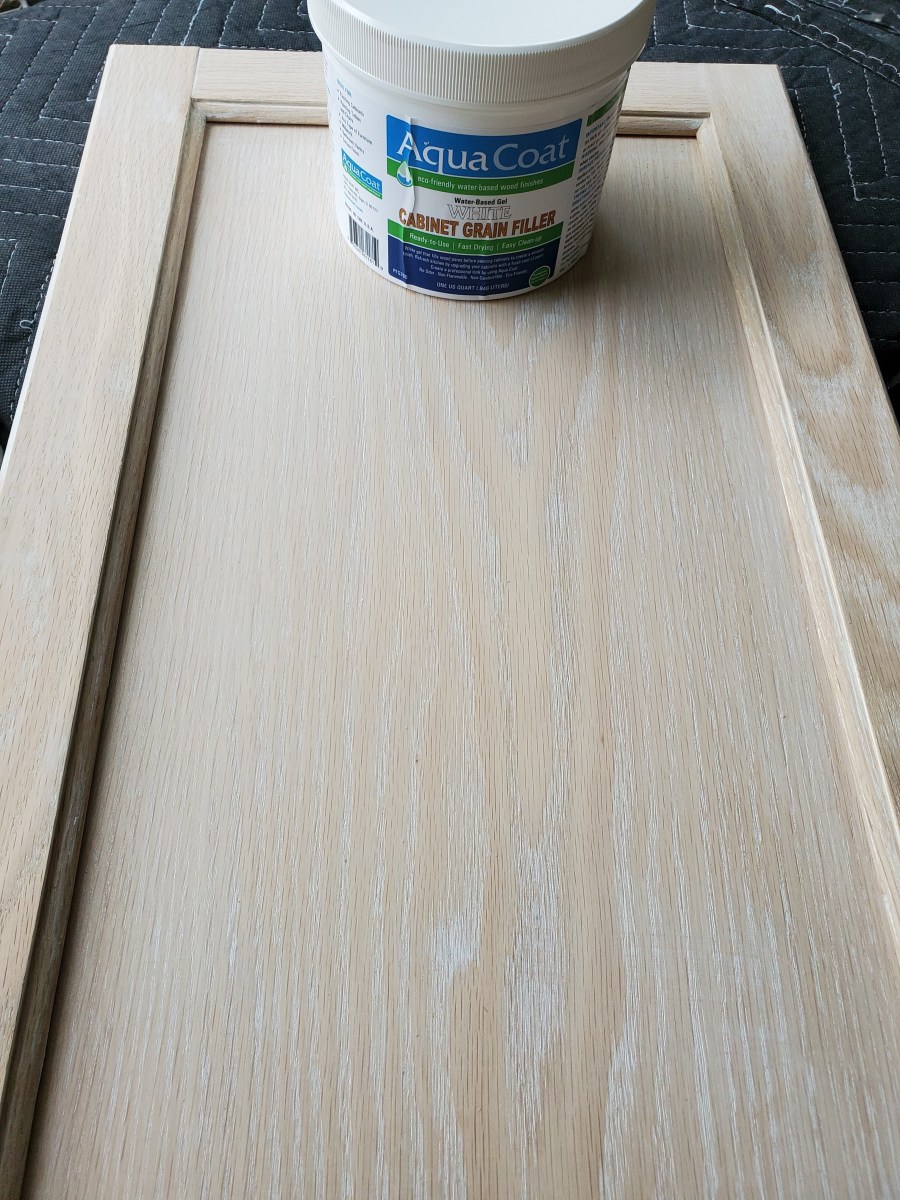
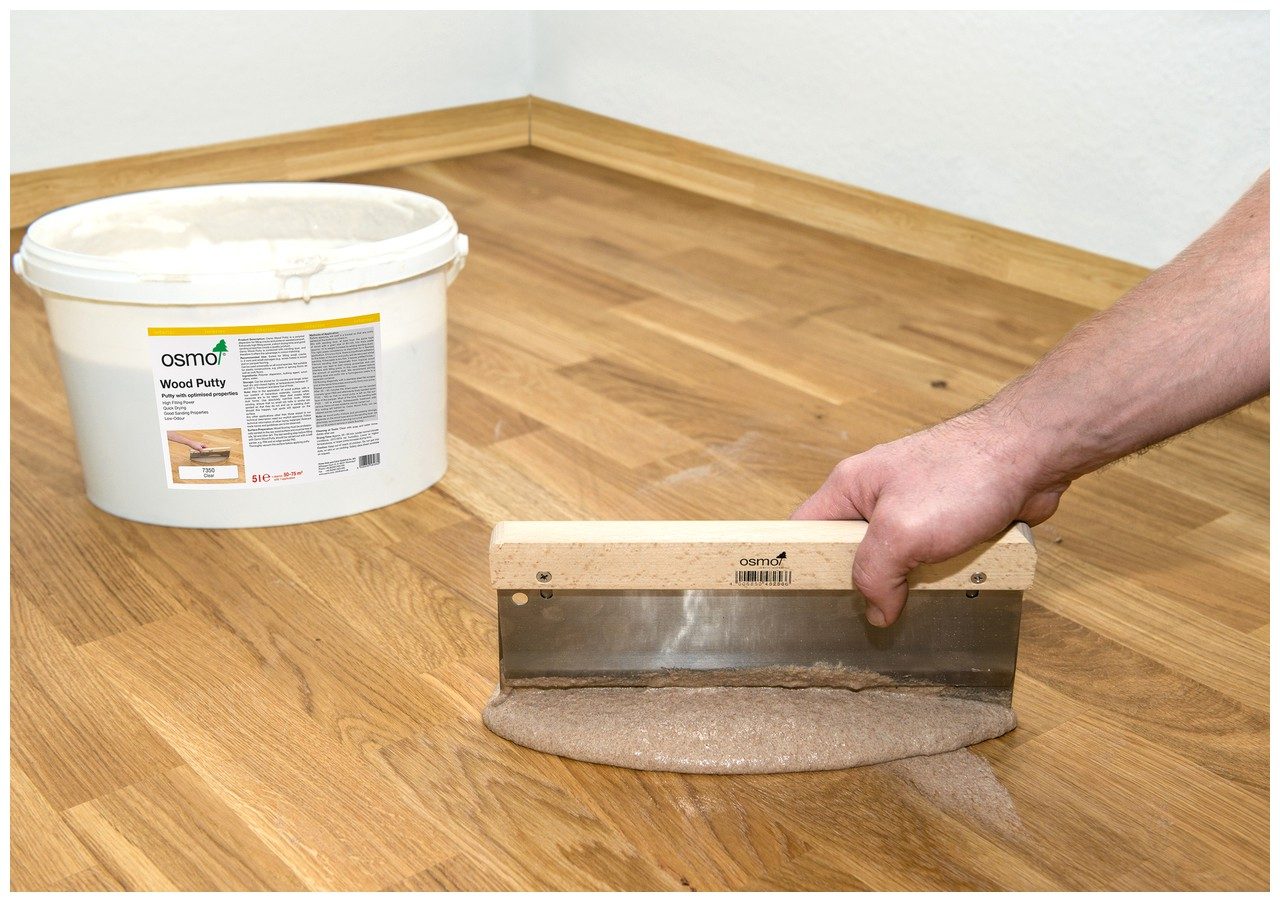
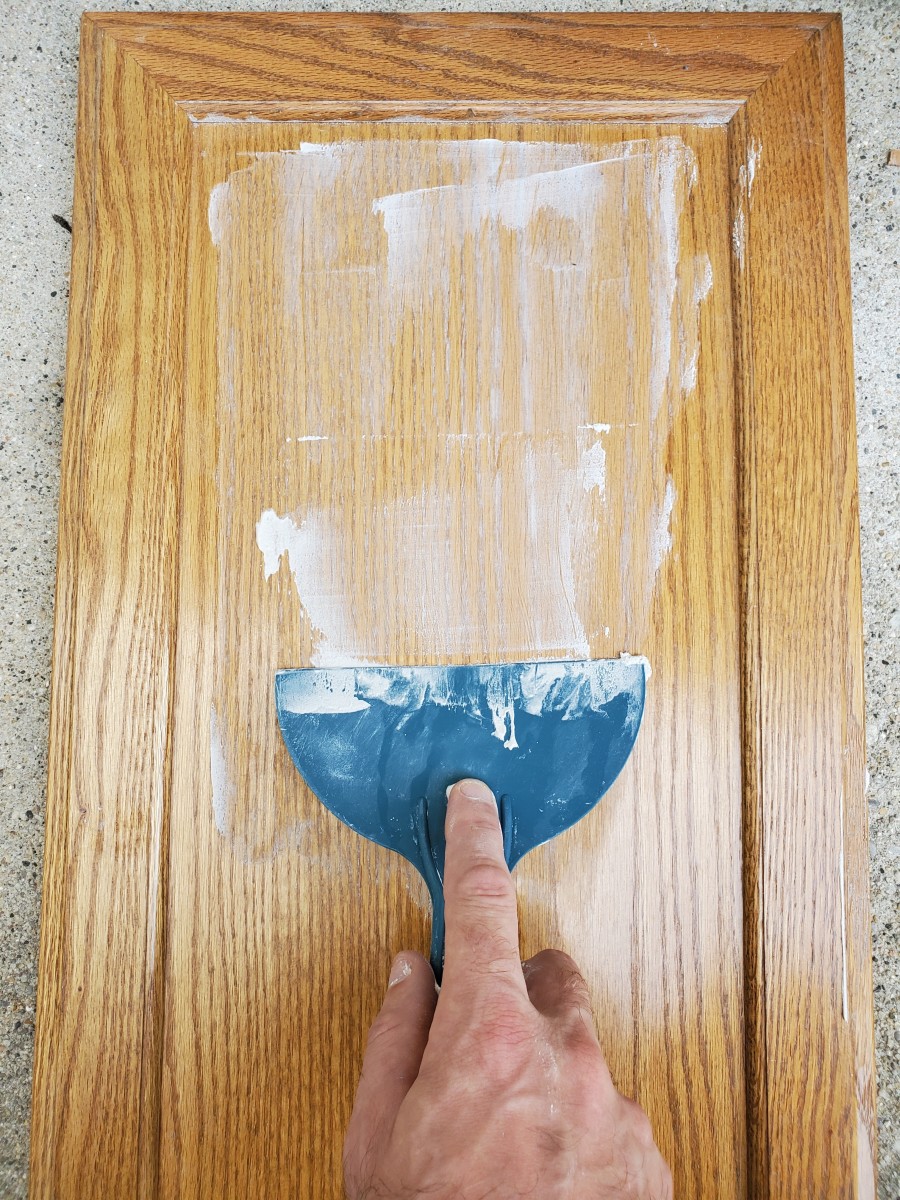
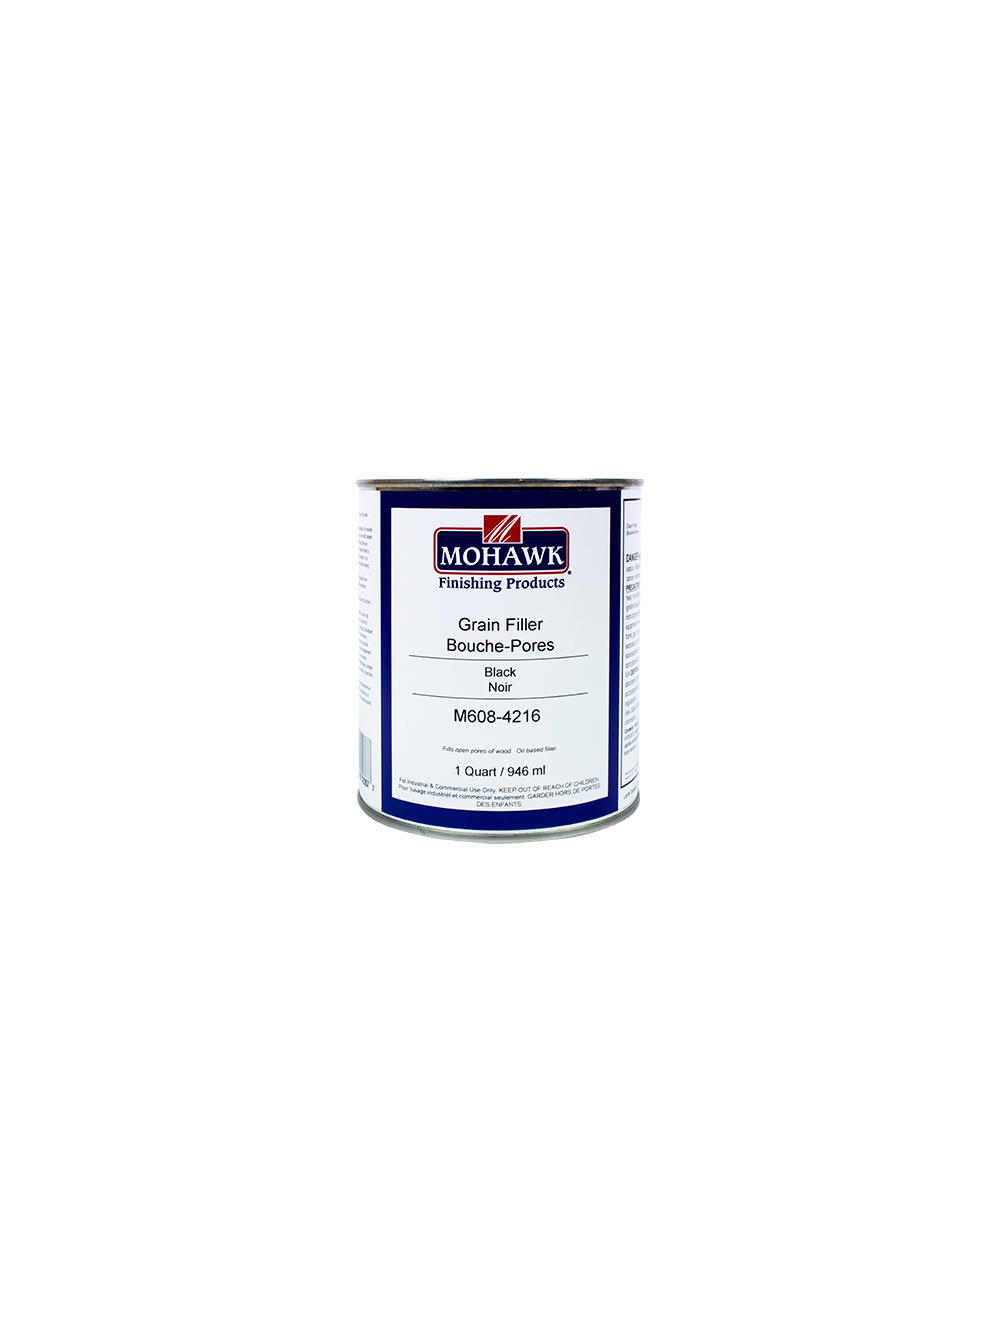
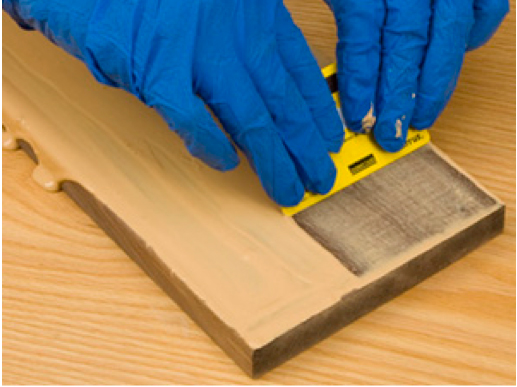
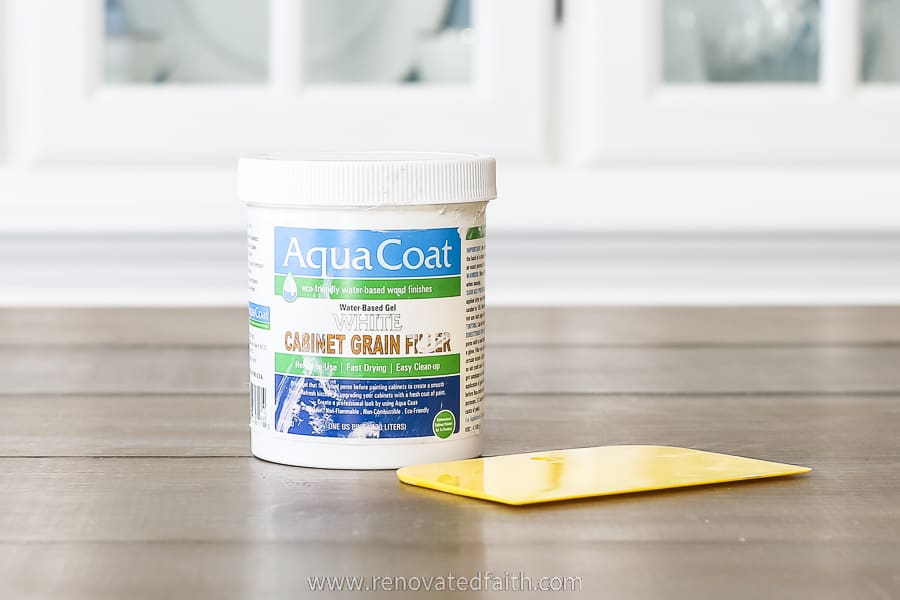
If you want a more polished and flawless finish, using a wood grain filler can help fill in any pores or open grain in the wood. This will create a smooth surface for the stain to be applied on and prevent any uneven coloring. Apply the filler with a putty knife and make sure to follow the manufacturer's instructions for drying time.6. Using a wood grain filler
If you want a deeper color or a more dramatic look, you can apply multiple coats of wood stain. Make sure to let each coat dry completely before applying the next one. You can also experiment with different techniques such as layering different colors or using a rag to create a distressed look.7. Applying a wood stain
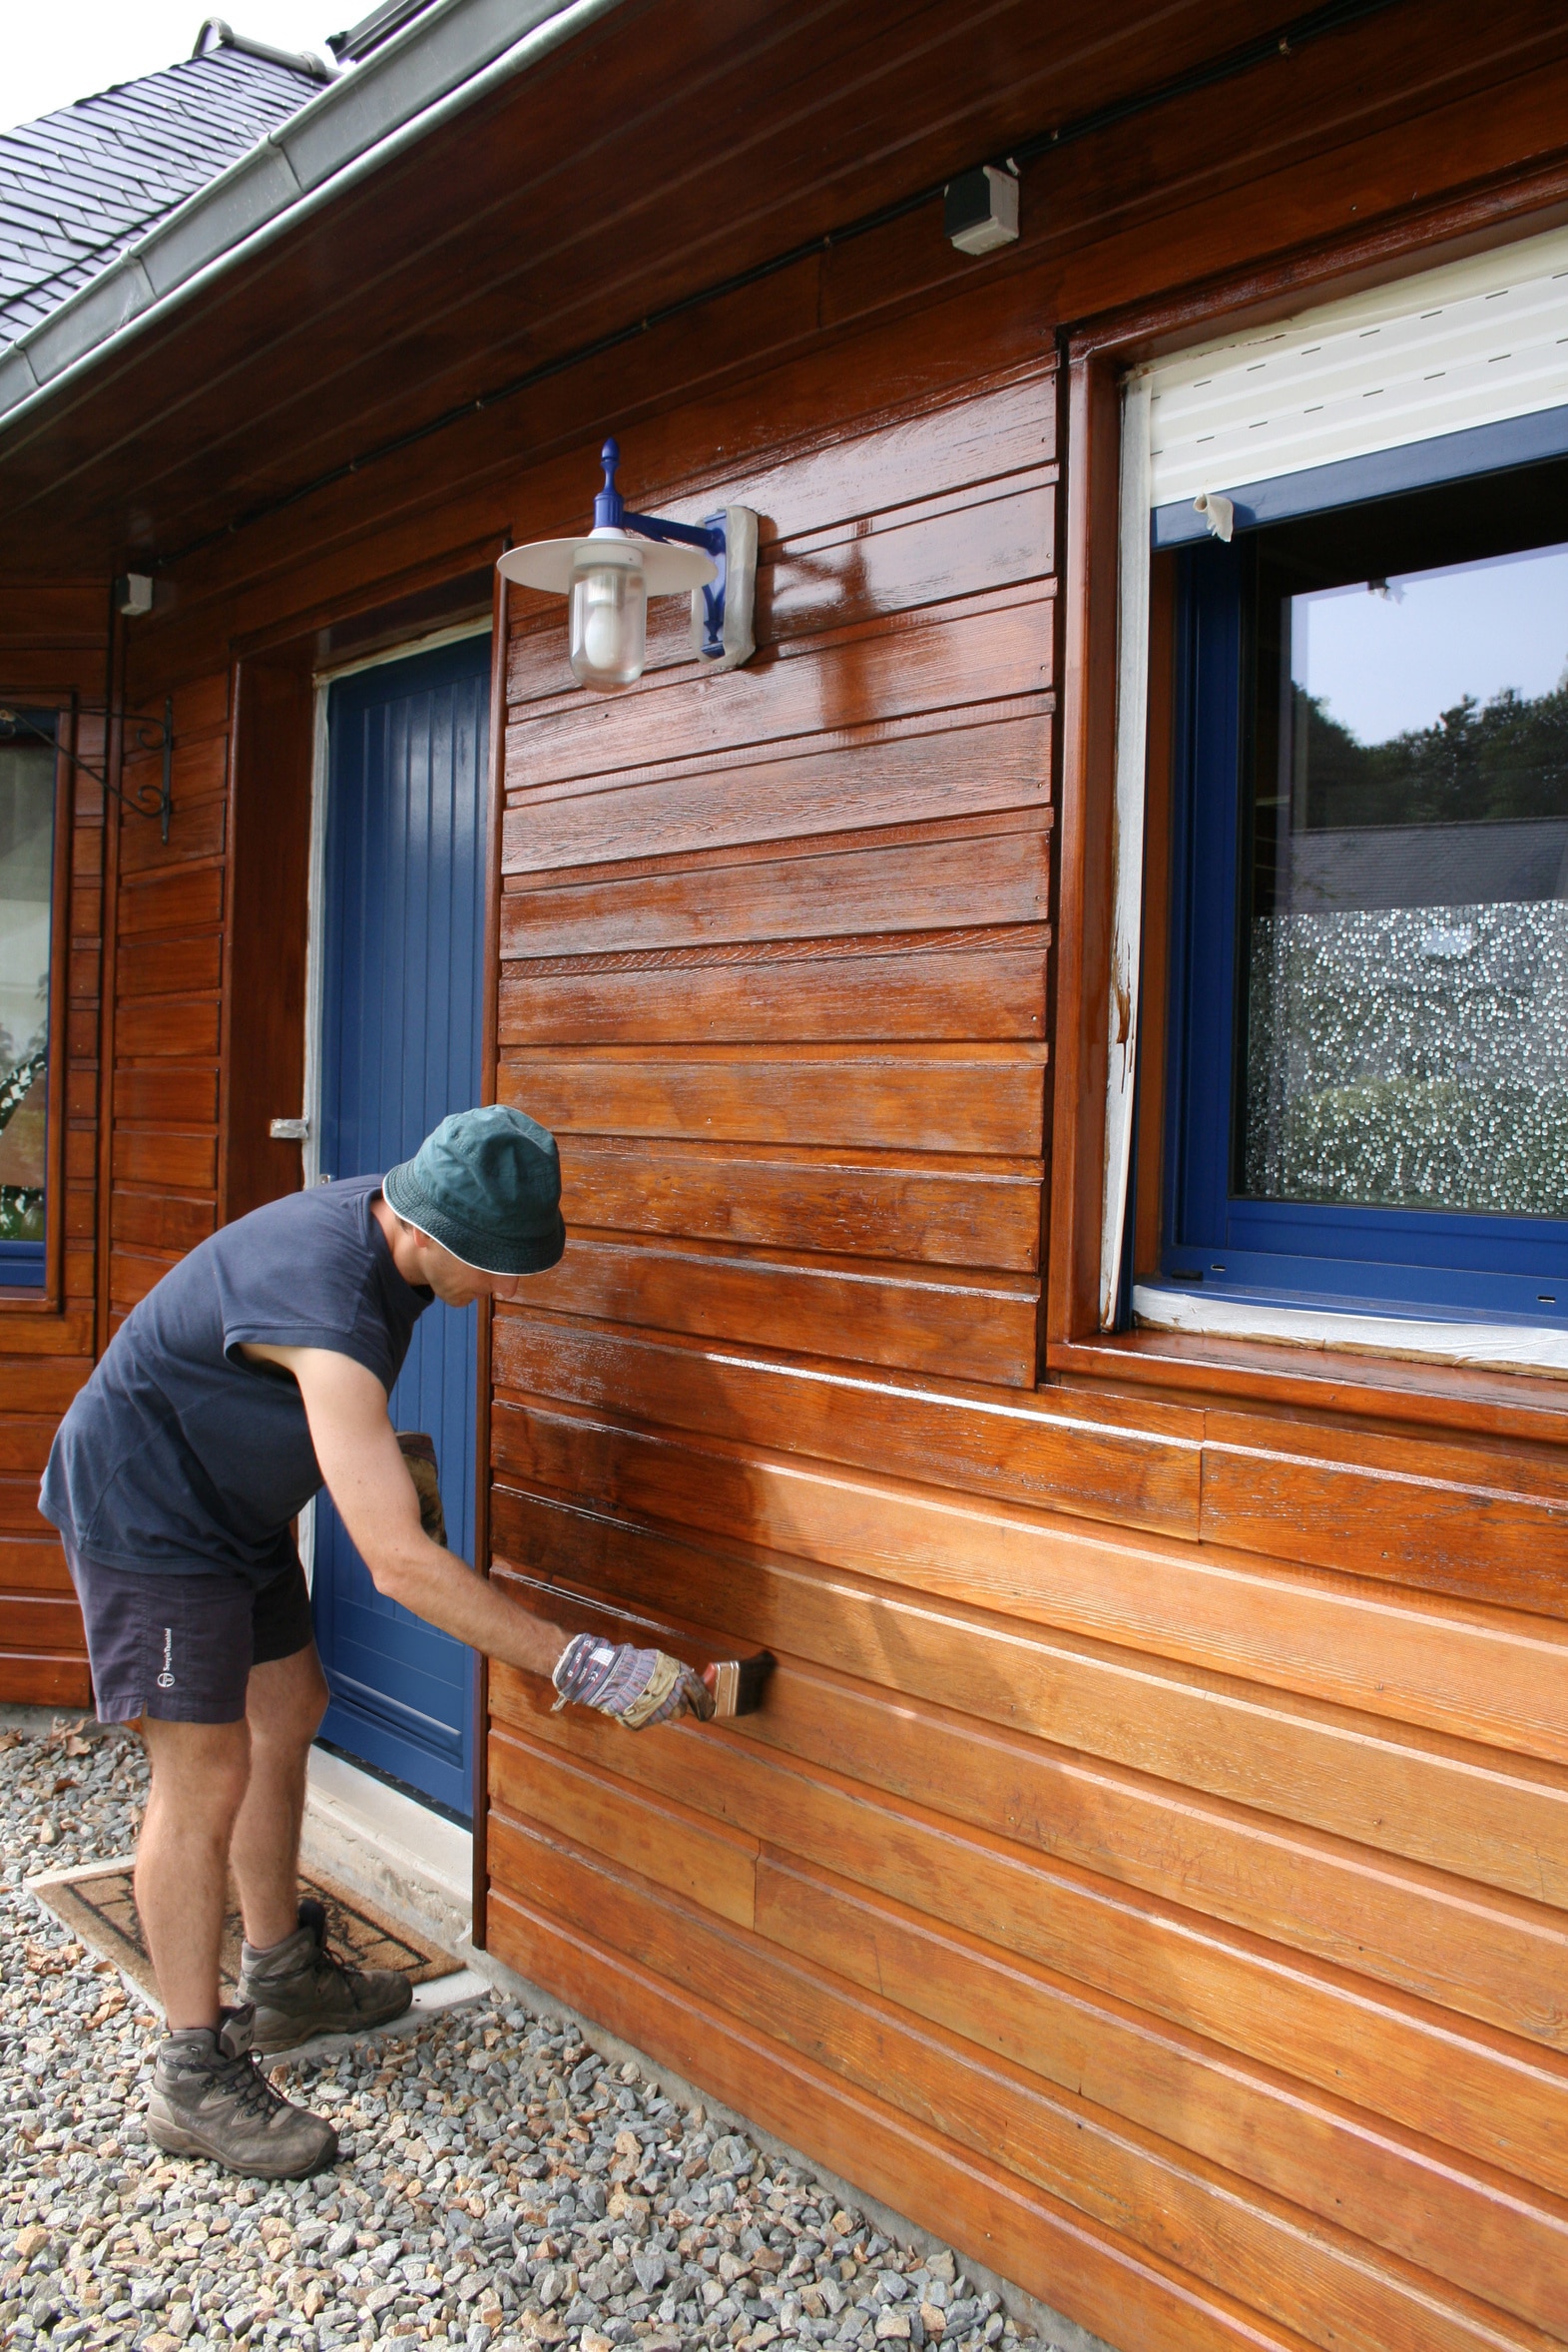
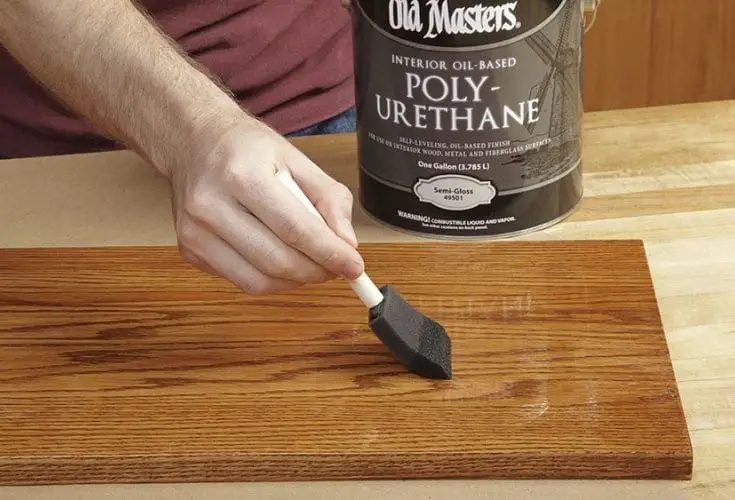
Polyurethane is a popular choice for finishing kitchen table tops as it provides a durable and waterproof seal. Choose between a water-based or oil-based polyurethane, depending on your preference. Apply several thin coats with a brush, sanding lightly between each coat for a smooth finish.8. Using a polyurethane finish
Lacquer is another option for a durable and glossy finish on your kitchen table top. It dries quickly, making it a great choice for those who want to finish their project in a shorter amount of time. Apply multiple thin coats with a brush, letting each coat dry completely before sanding lightly and applying the next one.9. Applying a lacquer finish
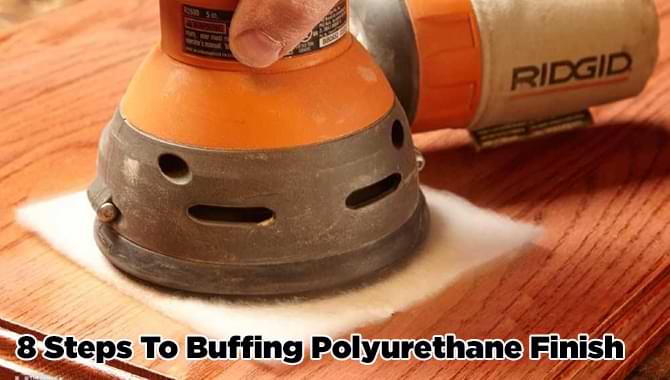
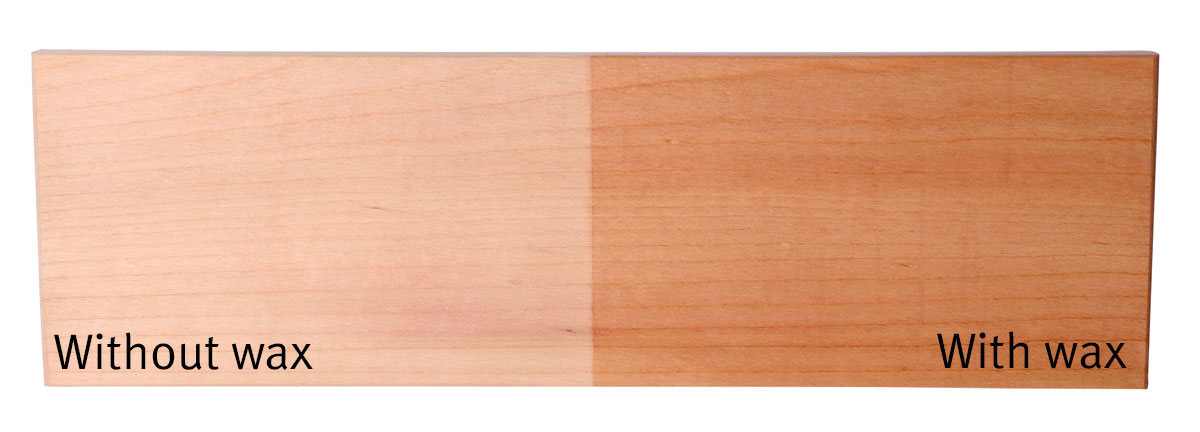
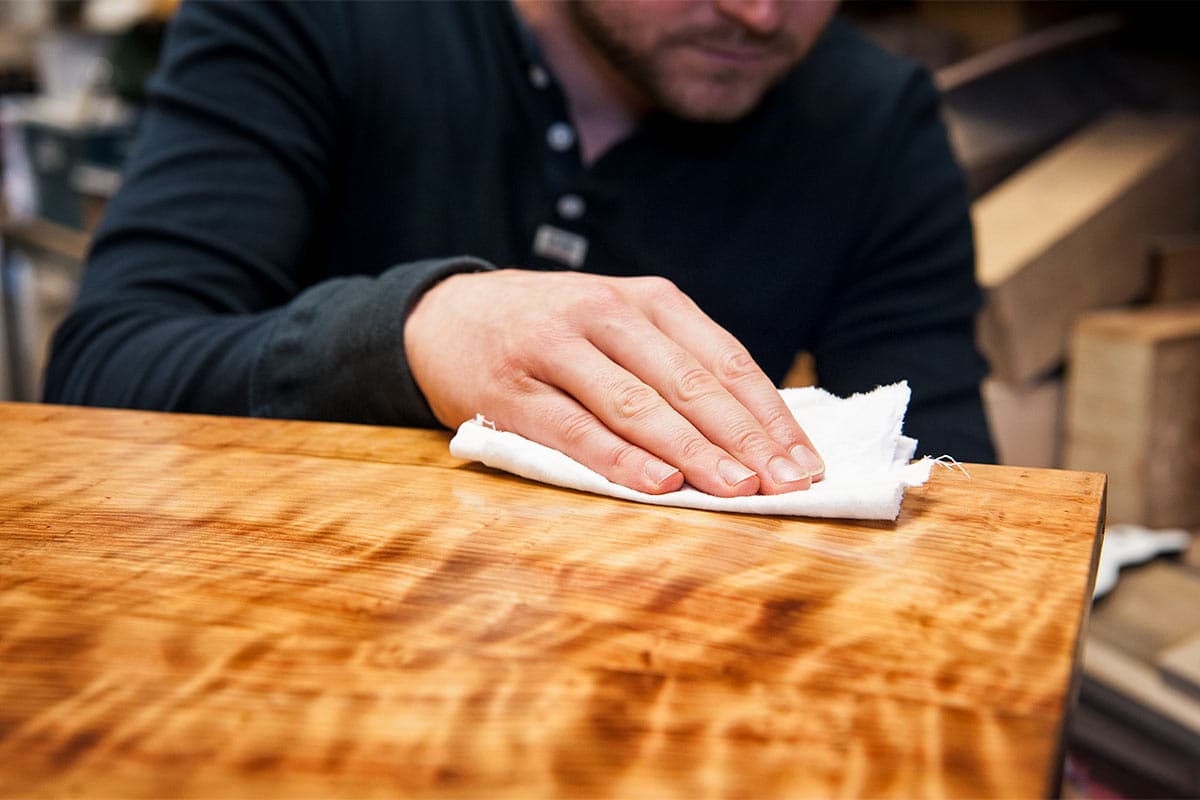
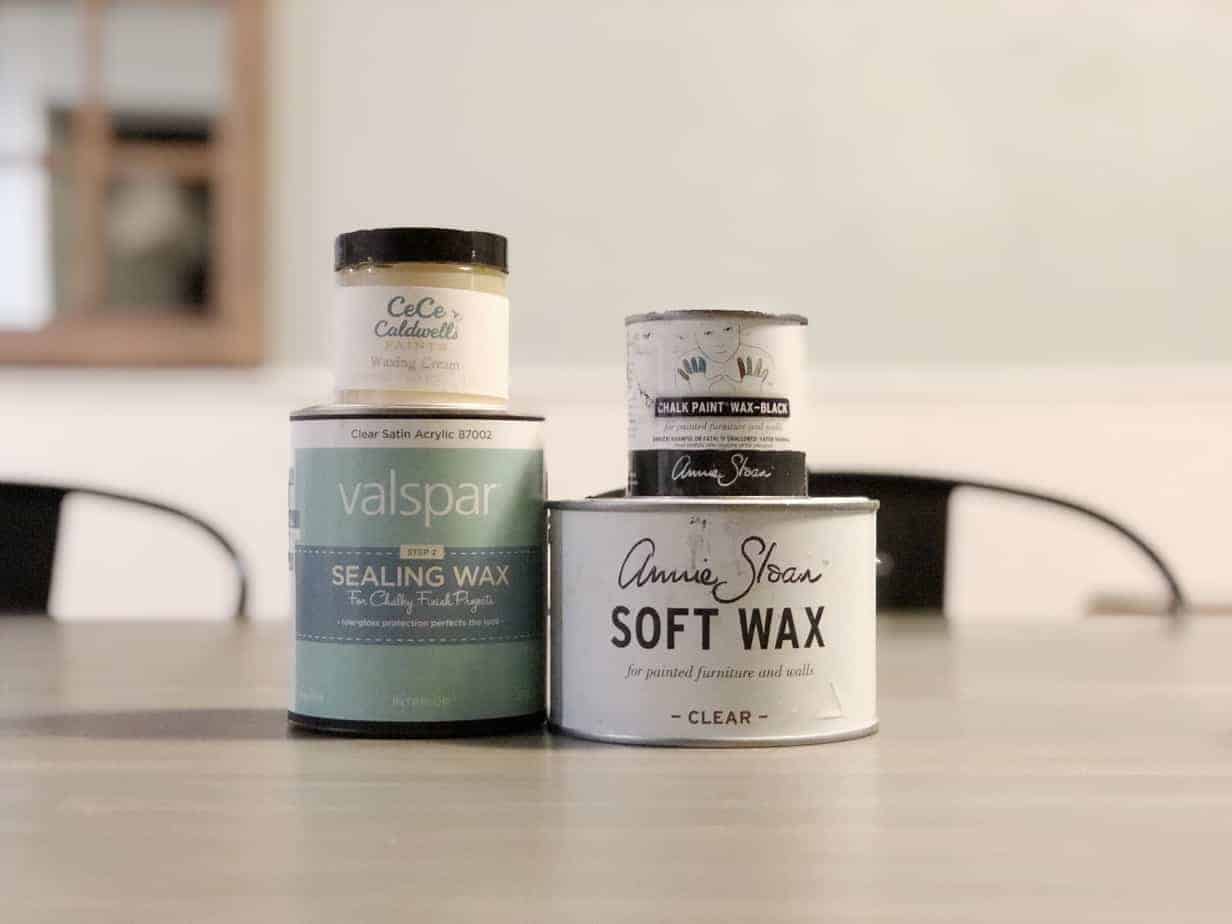
For a more natural and matte finish, you can use a wax finish on your kitchen table top. This will also provide some protection to the wood while giving it a soft and smooth feel. Apply the wax with a cloth and buff it out in a circular motion to evenly distribute the wax. You can also reapply the wax every few months to maintain the finish. Finishing a kitchen table top may seem like a daunting task, but with the right materials and techniques, you can achieve a beautiful and long-lasting finish. Remember to always follow the manufacturer's instructions and take your time to ensure a flawless result. Your kitchen table top will not only look stunning but also be protected from daily wear and tear. Enjoy your newly finished table top for years to come!10. Using a wax finish
The Importance of a Well-Finished Kitchen Table Top

Enhancing the Aesthetics of Your Kitchen
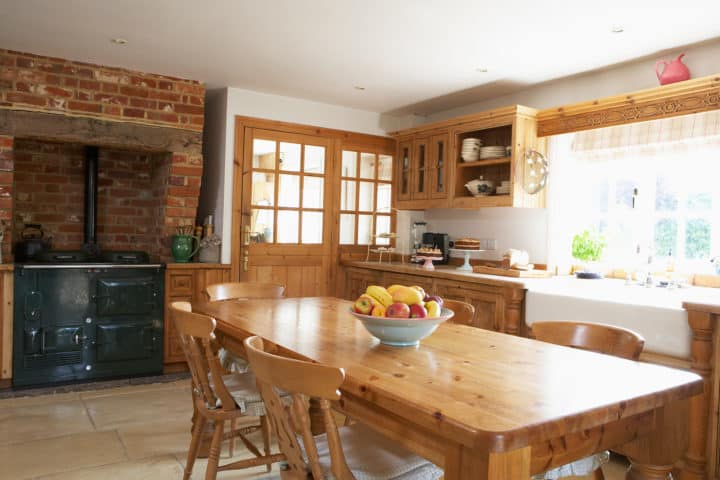 When it comes to designing and decorating your kitchen, every detail counts. A well-finished kitchen table top not only adds to the overall aesthetic of the space, but also creates a focal point that ties the whole room together. Whether you prefer a rustic farmhouse look or a modern and sleek design, the finish of your table top can make all the difference.
Providing Durability and Protection
Kitchen table tops are constantly exposed to various elements such as heat, moisture, and spills. This makes it crucial to properly finish and protect the surface to ensure its longevity. A quality finish not only provides a barrier against potential damage, but also makes it easier to clean and maintain the table top.
Choosing the Right Finish for Your Needs
 There are various options available when it comes to finishing your kitchen table top. Some popular choices include paint, stain, varnish, and polyurethane. Each of these finishes offers different benefits and can give your table top a unique look. It is important to consider the style and functionality of your kitchen when deciding on the right finish.
Creating a Customized Look
One of the great things about finishing a kitchen table top is the opportunity to get creative and add your own personal touch. You can choose from a variety of colors, textures, and finishes to match your kitchen’s design and your own personal taste. A well-finished table top can even be a conversation starter and showcase your unique personality.
Seeking Professional Assistance
 While DIY projects can be fun and cost-effective, finishing a kitchen table top is a task that requires skill and precision. Hiring a professional to finish your table top can save you time and ensure a high-quality result. They have the expertise and tools needed to properly prepare, sand, and apply the finish, giving you a flawless and long-lasting outcome.
Conclusion
In conclusion, a well-finished kitchen table top is an essential element in creating a beautiful and functional kitchen. It not only adds to the overall aesthetic, but also provides durability, protection, and the opportunity for customization. Whether you choose to hire a professional or tackle the project yourself, a well-finished table top is sure to make a statement in your kitchen.





/GettyImages-98458433-b2f63c2945134b75b671af2719e6945f.jpg)









































:max_bytes(150000):strip_icc()/SleeponLatex-b287d38f89374e4685ab0522b2fe1929.jpeg)
