How to Install a Kitchen Sink
Installing a new kitchen sink can be a daunting task, but with the right tools and knowledge, it can be a simple DIY project. Whether you are replacing an old sink or installing a new one in a kitchen remodel, our step-by-step guide will help you get the job done right.
Tools you will need: Adjustable wrench, pliers, screwdriver, putty knife, plumber's tape, silicone caulk, and a bucket.
First, turn off the water supply to your kitchen sink by closing the valves under the sink or the main water shutoff valve. Then, disconnect the water supply lines and remove any remaining water from the pipes with a bucket.
Next, remove the old sink by loosening the mounting clips underneath and gently pulling the sink away from the countertop. Use a putty knife to scrape away any old caulk or adhesive from the countertop.
Now it's time to install the new sink. Place the sink upside down on a soft surface and attach the mounting clips to the underside of the sink. Then, apply a thin bead of silicone caulk around the edge of the sink and carefully place it into the designated area on the countertop.
Once the sink is in place, attach the mounting clips to the underside of the countertop and tighten them with a screwdriver. Reconnect the water supply lines and turn on the water to check for any leaks. If everything looks good, secure the sink in place with additional caulk and let it dry for 24 hours before using it.


How to Install a Kitchen Sink


How to Install a Kitchen Sink Drain
Installing a new kitchen sink drain can seem complicated, but it is a straightforward process with the right tools and technique. Follow these steps to install a new drain in your kitchen sink.
Tools you will need: Plunger, adjustable pliers, putty knife, plumber's putty, and a bucket.
First, place a plunger over the drain opening and plunge several times to clear any clogs. Once the drain is clear, use an adjustable pliers to loosen and remove the old drain from the sink.
Next, use a putty knife to remove any old plumber's putty or caulk from the drain opening. Then, roll a small amount of plumber's putty into a snake-like shape and place it around the flange of the new drain. Carefully place the new drain into the opening and tighten it with the adjustable pliers.
Once the drain is secure, attach the drain tailpiece to the bottom of the sink and connect it to the drainpipe with a slip nut. Make sure all connections are tight and check for any leaks by running water through the drain. If everything looks good, you have successfully installed a new kitchen sink drain.


How to Install a Kitchen Sink Drain
/how-to-install-a-sink-drain-2718789-hero-b5b99f72b5a24bb2ae8364e60539cece.jpg)


:max_bytes(150000):strip_icc()/how-to-install-a-sink-drain-2718789-hero-24e898006ed94c9593a2a268b57989a3.jpg)


:max_bytes(150000):strip_icc()/how-to-install-a-sink-drain-2718789-04-5715d67f5b7d41429d42bf705bb70e2c.jpg)
How to Replace a Kitchen Sink
If your kitchen sink is damaged or outdated, it may be time to replace it. Here's how to replace a kitchen sink in a few easy steps.
Tools you will need: Adjustable wrench, pliers, screwdriver, putty knife, silicone caulk, and a bucket.
First, turn off the water supply to your kitchen sink by closing the valves under the sink or the main water shutoff valve. Then, disconnect the water supply lines and remove any remaining water from the pipes with a bucket.
Next, remove the old sink by loosening the mounting clips underneath and gently pulling the sink away from the countertop. Use a putty knife to scrape away any old caulk or adhesive from the countertop.
Now it's time to install the new sink. Place the sink upside down on a soft surface and attach the mounting clips to the underside of the sink. Then, apply a thin bead of silicone caulk around the edge of the sink and carefully place it into the designated area on the countertop.
Once the sink is in place, attach the mounting clips to the underside of the countertop and tighten them with a screwdriver. Reconnect the water supply lines and turn on the water to check for any leaks. If everything looks good, secure the sink in place with additional caulk and let it dry for 24 hours before using it.


How to Replace a Kitchen Sink


How to Fix a Leaky Kitchen Sink
A leaky kitchen sink can be a frustrating and costly problem. Fortunately, fixing a leaky sink is a simple DIY task that can save you money on plumbing repairs. Here's how to fix a leaky kitchen sink.
Tools you will need: Plumber's tape, adjustable wrench, and pliers.
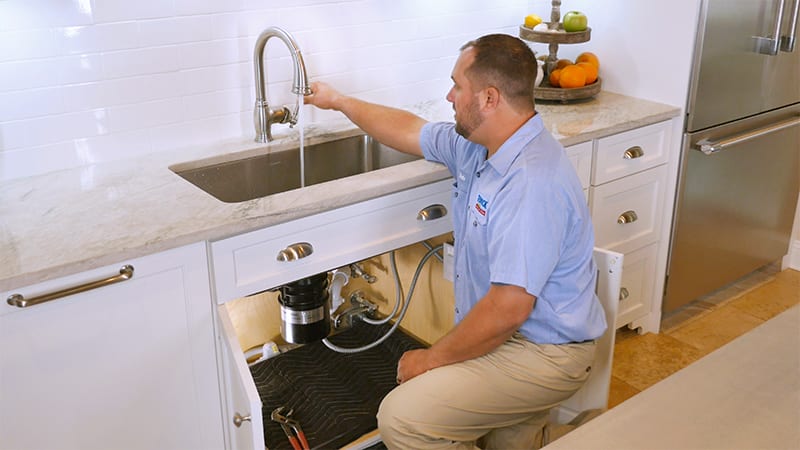
First, locate the source of the leak by turning on the water and checking for any drips or puddles under the sink. Once you have identified the source, turn off the water supply and dry the area with a towel.
If the leak is coming from a loose connection, use an adjustable wrench or pliers to tighten the connection. If the leak is coming from a damaged pipe or fitting, use plumber's tape to seal the leak. Simply wrap the tape around the damaged area and tighten the connection. Turn the water supply back on and check for any leaks. If the leak persists, it may be time to call a professional plumber.


How to Fix a Leaky Kitchen Sink


How to Unclog a Kitchen Sink
A clogged kitchen sink can be a major inconvenience, but it can be easily fixed with a few simple tools and techniques. Here's how to unclog a kitchen sink.
Tools you will need: Plunger, plumber's snake, and baking soda and vinegar.
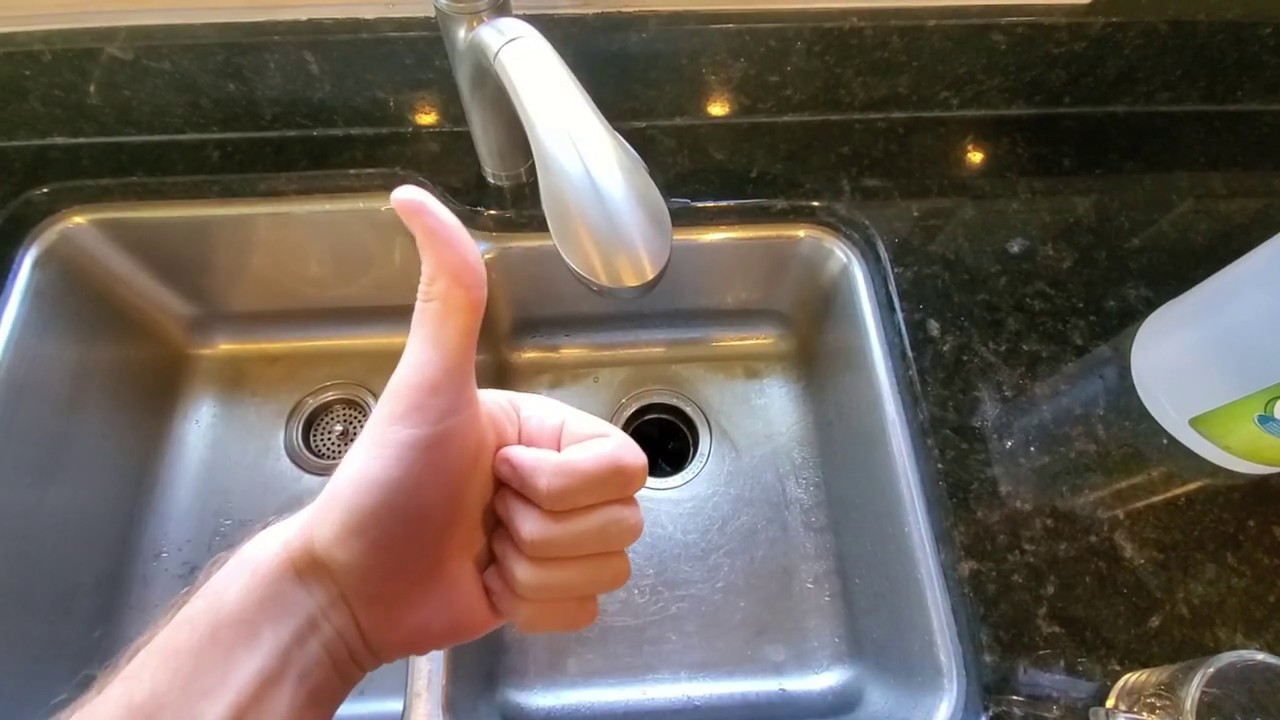
First, try using a plunger to clear the clog. Place the plunger over the drain and plunge several times to create suction. If this does not work, try using a plumber's snake to remove the clog. Insert the snake into the drain and twist it until you feel resistance. Then, pull the snake out while twisting to catch any debris.
If the clog is still not cleared, try using a mixture of baking soda and vinegar. Pour a cup of baking soda down the drain, followed by a cup of vinegar. Let the mixture sit for 15 minutes, then pour boiling water down the drain to flush out any remaining debris.
/plumber-unclogging-kitchen-sink-169270382-5797a9355f9b58461f27f024.jpg)


How to Unclog a Kitchen Sink

/how-to-unclog-a-kitchen-sink-2718799_sketch_FINAL-8c5caa805a69493ab22dfb537c72a1b7.png)


How to Install a Garbage Disposal in a Kitchen Sink
Installing a garbage disposal in your kitchen sink can make food prep and clean-up much easier. Here's how to install a garbage disposal in a few simple steps.
Tools you will need: Screwdriver, pliers, plumber's putty, and a bucket.
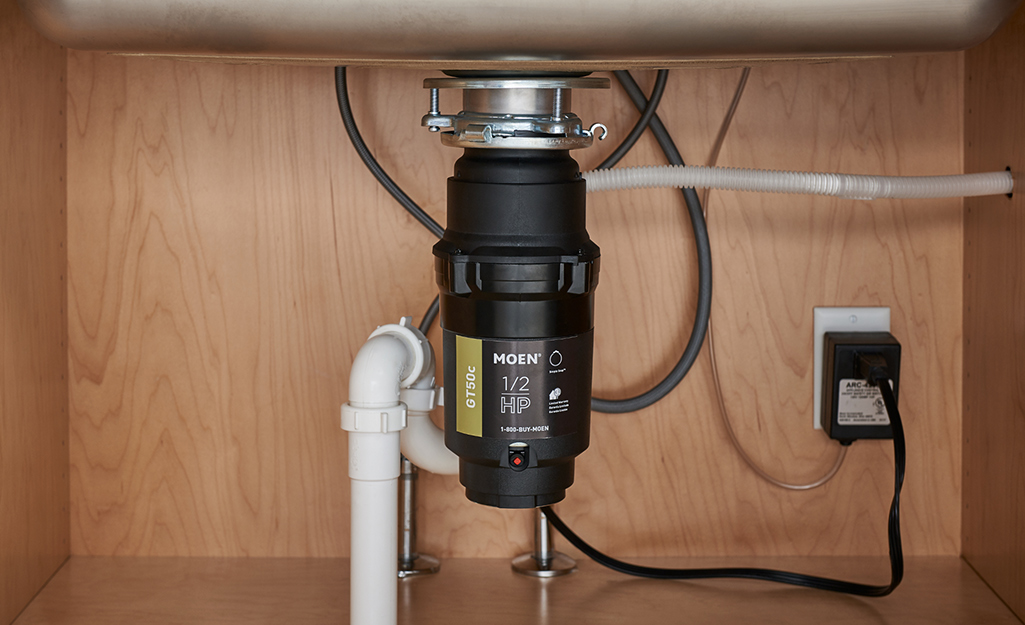
First, turn off the power to your kitchen sink by unplugging the garbage disposal or turning off the circuit breaker. Then, remove the drainpipe from the sink and loosen the mounting ring on the old disposal with pliers.
Next, remove the old disposal and clean any old putty or debris from the sink opening. Roll a small amount of plumber's putty into a snake-like shape and place it around the flange of the new disposal. Carefully place the new disposal into the sink opening and tighten the mounting ring with pliers.
Reattach the drainpipe and turn the power back on to test the disposal. If everything is working properly, you have successfully installed a garbage disposal in your kitchen sink.


How to Install a Garbage Disposal in a Kitchen Sink


How to Install a Kitchen Sink Sprayer
Adding a sprayer to your kitchen sink can make washing dishes and cleaning up much more efficient. Here's how to install a kitchen sink sprayer in a few simple steps.
Tools you will need: Adjustable wrench, pliers, and plumber's tape.
First, turn off the water supply to your kitchen sink by closing the valves under the sink or the main water shutoff valve. Then, disconnect the water supply lines and remove any remaining water from the pipes with a bucket.
Next, attach the sprayer hose to the sprayer head and thread the other end through the hole in the sink. Secure the sprayer head to the sink with a mounting nut and attach the sprayer hose to the water supply line with an adjustable wrench.
Turn the water supply back on and check for any leaks. If everything looks good, you have successfully installed a kitchen sink sprayer.


How to Install a Kitchen Sink Sprayer


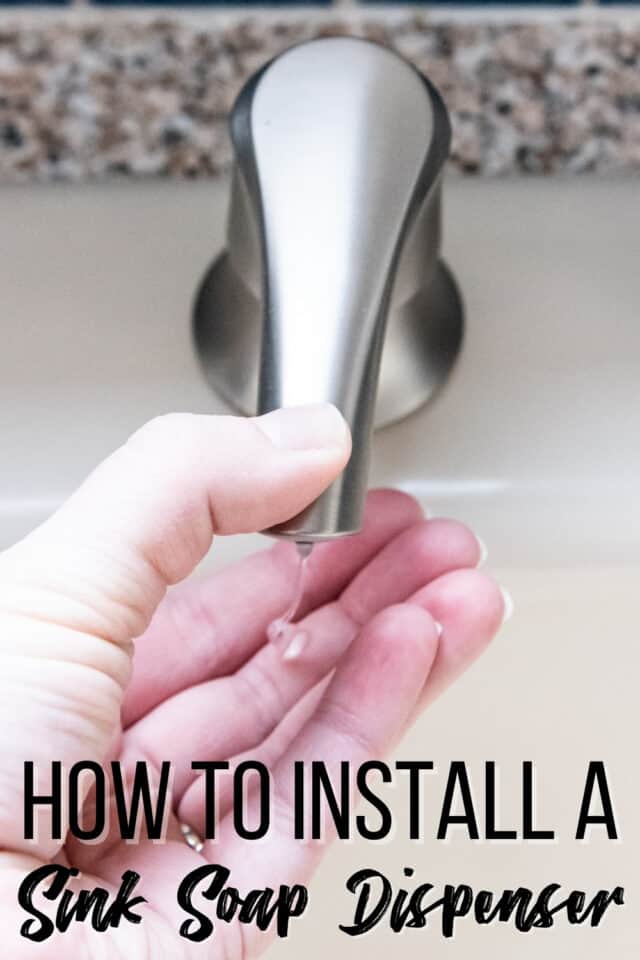
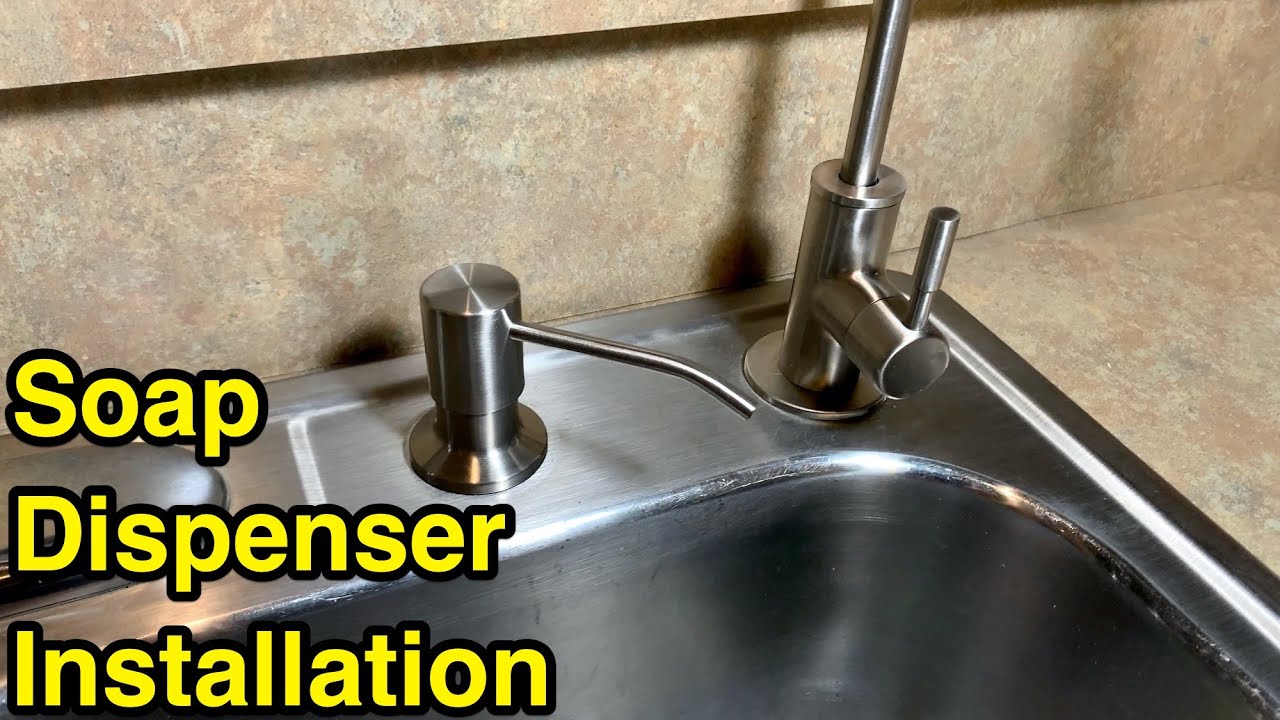
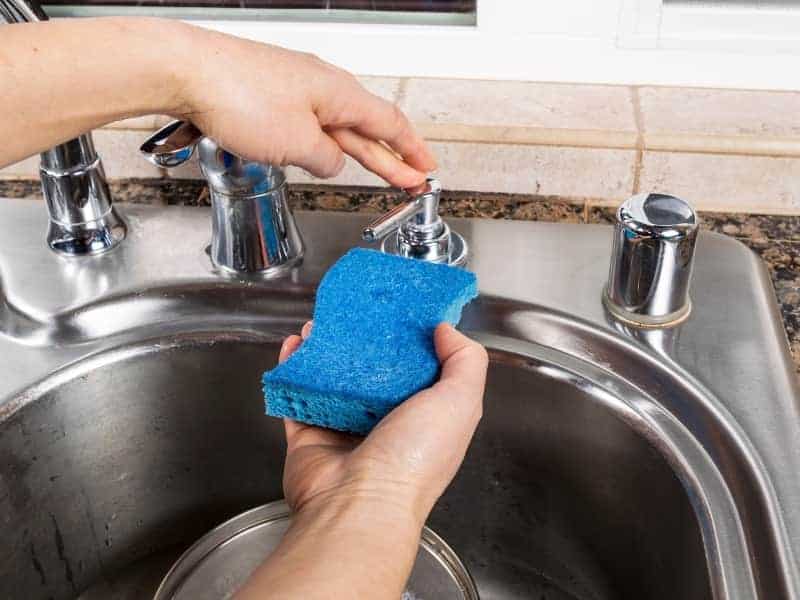
How to Install a Kitchen Sink Soap Dispenser
A soap dispenser is a convenient addition to any kitchen sink. Here's how to install a kitchen sink soap dispenser in a few easy steps.
Tools you will need: Adjustable wrench, plumber's putty, and a bucket.
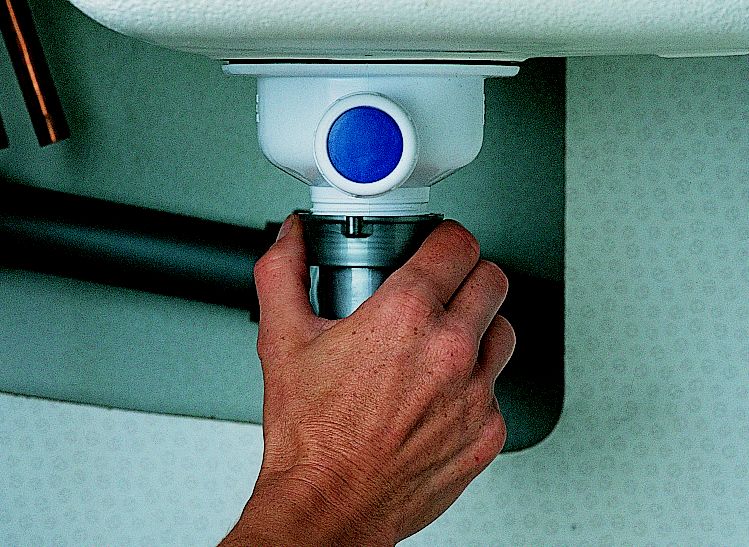
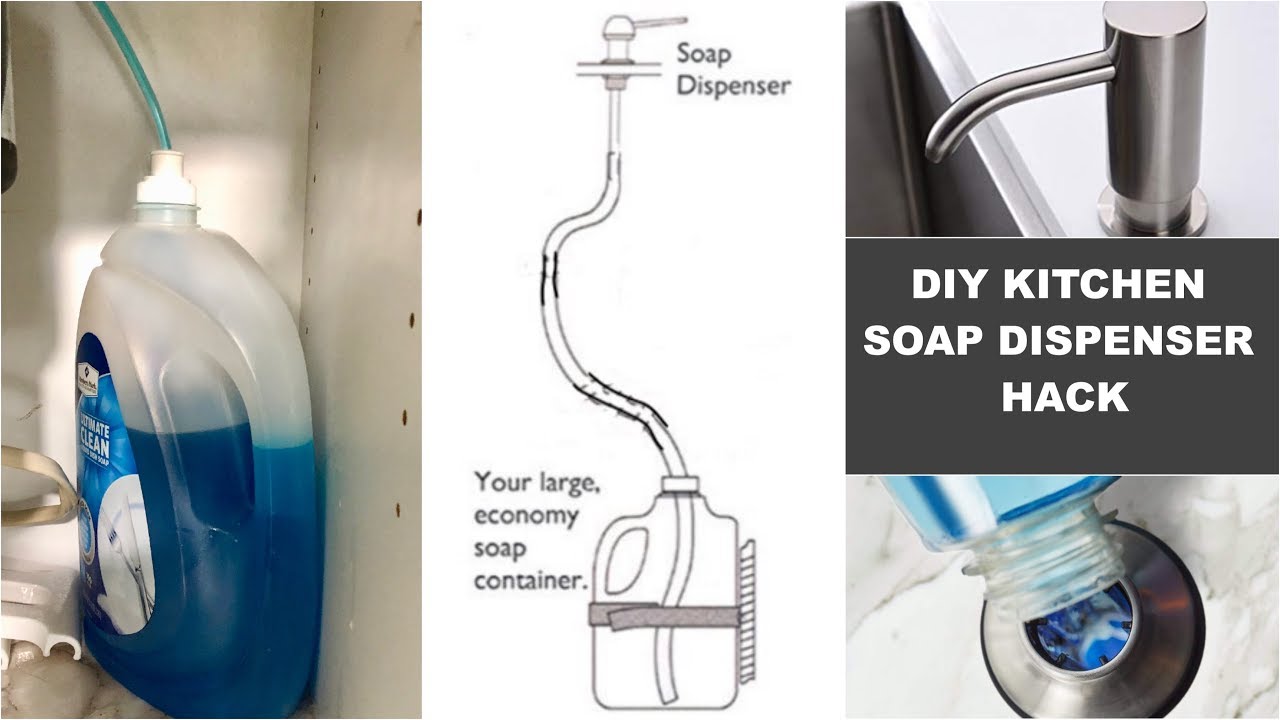
First, turn off the water supply to your kitchen sink by closing the valves under the sink or the main water shutoff valve. Then, remove the old soap dispenser (if applicable) and clean any old putty or debris from the sink opening.
Next, roll a small amount of plumber's putty into a snake-like shape and place it around the base of the new soap dispenser. Carefully insert the dispenser into the sink opening and tighten the mounting nut with an adjustable wrench.
Turn the water supply back on and check for any leaks. If everything looks good, you have successfully installed a kitchen sink soap dispenser.

How to Install a Kitchen Sink Soap Dispenser

:max_bytes(150000):strip_icc()/Kitchensinksoapdispenser-GettyImages-91206440-59e82279054ad90011101a01.jpg)


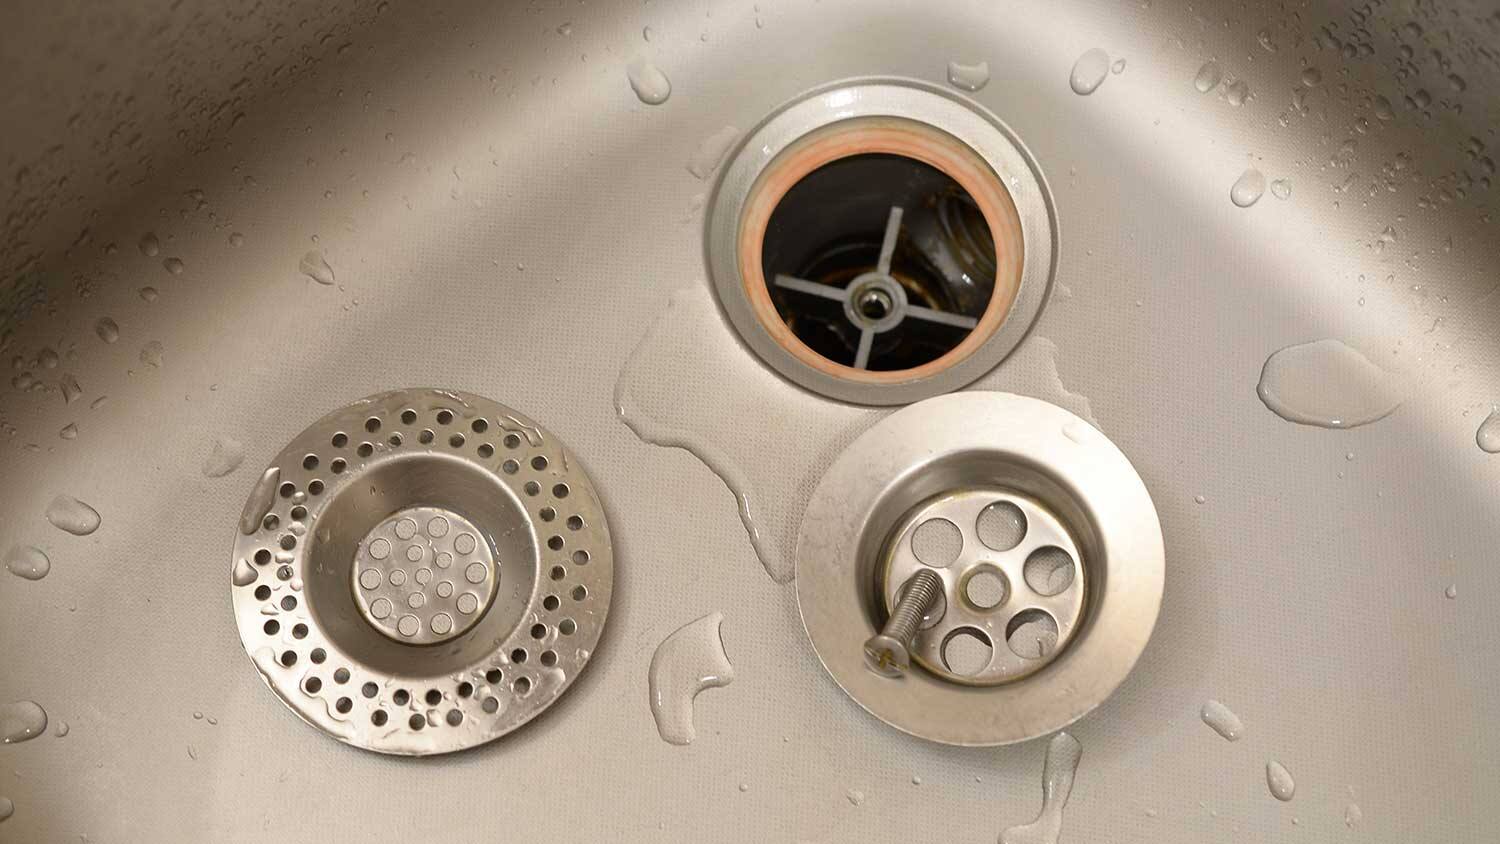
How to Install a Kitchen Sink Strainer
A kitchen sink strainer helps prevent food scraps from clogging your drain. Here's how to install a kitchen sink strainer in a few easy steps.
Tools you will need: Plumber's putty, adjustable wrench, and a bucket.
First, turn off the water supply to your kitchen sink by closing the valves under the sink or the main water shutoff valve. Then, remove the old strainer and clean any old putty or debris from the sink opening.
Next, roll a small amount of plumber's putty into a snake-like shape and place it around the base of the new strainer. Carefully insert the strainer into the sink opening and tighten the mounting nut with an adjustable wrench. Remove any excess putty that may have squeezed out from the edges.
Turn the water supply back on and check for any leaks. If everything looks good, you have successfully installed a kitchen sink strainer.


How to Install a Kitchen Sink Strainer


How to Install a Kitchen Sink Basket Strainer
A kitchen sink basket strainer helps prevent food scraps from clogging your drain. Here's how to install a kitchen sink basket strainer in a few easy steps.
Tools you will need: Plumber's putty, adjustable wrench, and a bucket.
First, turn off the water supply to your kitchen sink by closing the valves under the sink or the main water shutoff valve. Then, remove the old basket strainer and clean any old putty or debris from the sink opening.
Next, roll a small amount of plumber's putty into a snake-like shape and place it around the base of the new basket strainer. Carefully insert the strainer into the sink opening and tighten the mounting nut with an adjustable wrench. Remove any excess putty that may have squeezed out from the edges.
Turn the water supply back on and check for any leaks. If everything looks good, you have successfully installed a kitchen sink basket strainer.


How to Install a Kitchen Sink Basket Strainer


Maximizing Space: The Importance of Proper Kitchen Sink Plumbing

The kitchen is often considered the heart of the home, and for good reason. It's where we gather, cook, and share meals with our loved ones. With so much time spent in this room, it's important to make sure it's functional and efficient. One key aspect of a well-designed kitchen is proper sink plumbing, which can make a big difference in maximizing space and improving overall functionality.

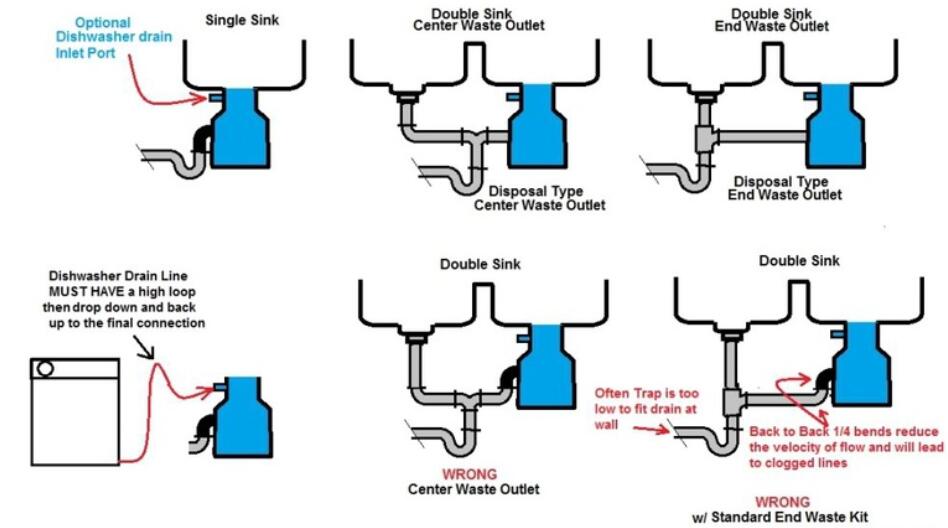
When it comes to kitchen sink plumbing, there are a few key elements to consider. First and foremost, the layout of your sink and its surrounding area should be carefully planned. This includes the placement of the sink, as well as any additional features such as a garbage disposal or dishwasher. A well-planned layout will not only make the most of the available space, but also make tasks like washing dishes and preparing food more convenient and seamless.
Proper drainage is another important factor to consider when designing your kitchen sink plumbing. A clogged or slow-draining sink can cause major headaches in the kitchen, leading to unpleasant odors, stagnant water, and potential damage to your pipes. To avoid these issues, it's crucial to have a well-designed drainage system in place. This may include a garbage disposal, drain basket, and proper piping to ensure water flows freely and efficiently.
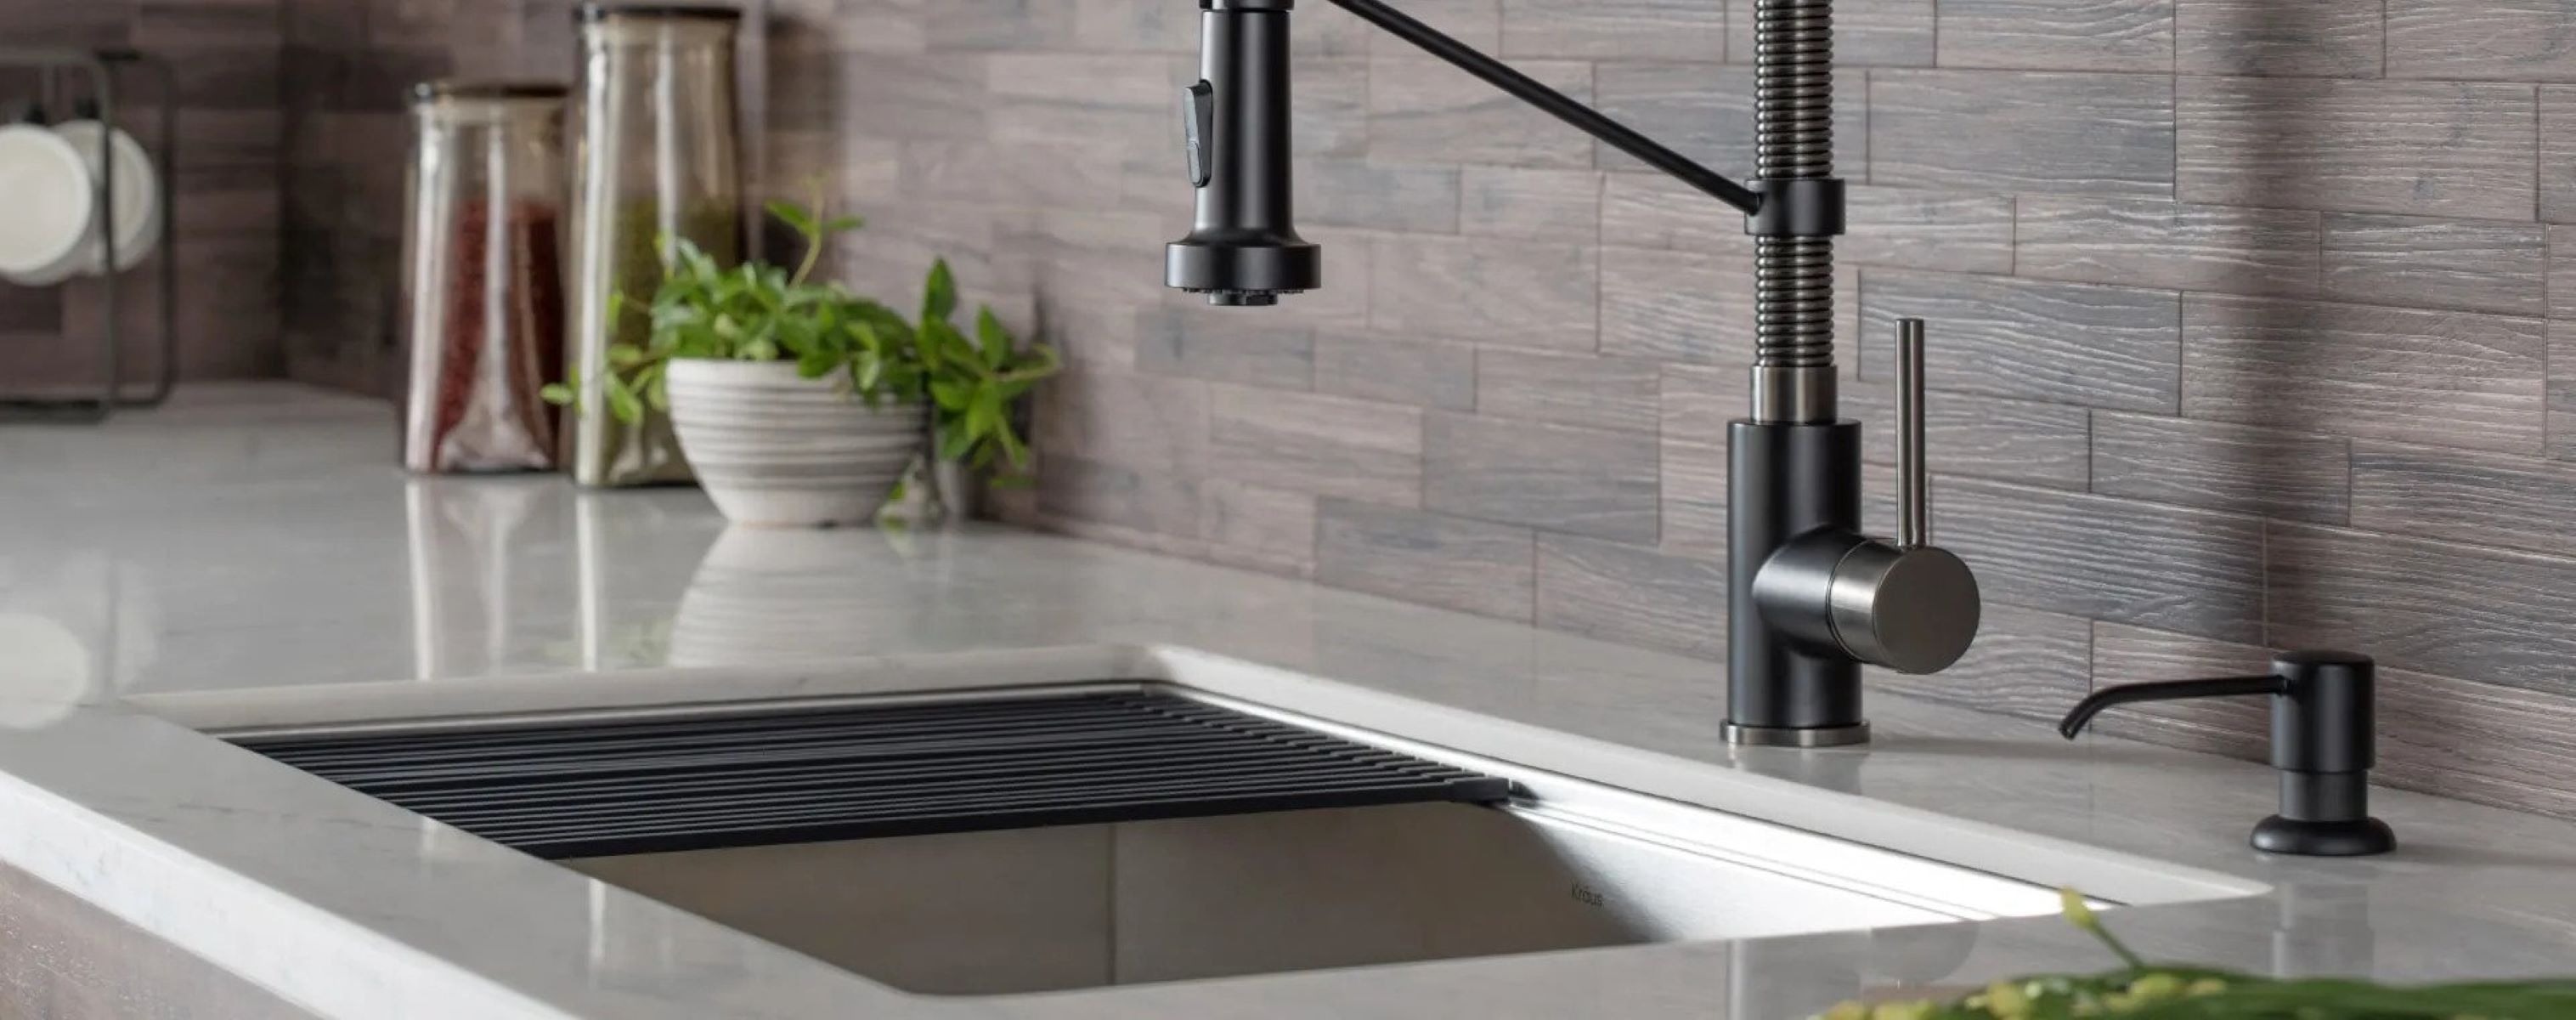
Another key element to consider is the type of sink you choose. From undermount to top mount, single to double basin, there are various options available to suit your specific needs and preferences. Each type of sink has its own benefits and drawbacks, so it's important to do your research and choose the one that best fits your lifestyle and kitchen design.
Aside from functionality, proper kitchen sink plumbing can also have a significant impact on the overall aesthetics of your kitchen. A well-designed sink and surrounding plumbing can add a touch of elegance and sophistication to your space, while also providing a seamless and clutter-free look. Additionally, opting for high-quality materials and finishes can elevate the overall design and make your sink a standout feature in the room.
In conclusion, proper kitchen sink plumbing is an essential aspect of a well-designed and functional kitchen. From maximizing space to ensuring proper drainage and adding to the overall aesthetics, this element plays a significant role in the heart of your home. By carefully planning and choosing the right materials and layout, you can create a kitchen sink that not only meets your needs, but also enhances your daily cooking and gathering experience.