If you've ever had to deal with a clogged bathroom sink, you know how frustrating it can be. And one of the most common causes of a clogged sink is a faulty sink stopper. But fear not, removing a bathroom sink stopper is actually a lot easier than you might think. With just a few simple steps, you can have your sink stopper out and your drain flowing freely in no time.Easily Remove Bathroom Sink Stopper


Easily Remove Bathroom Sink Stopper


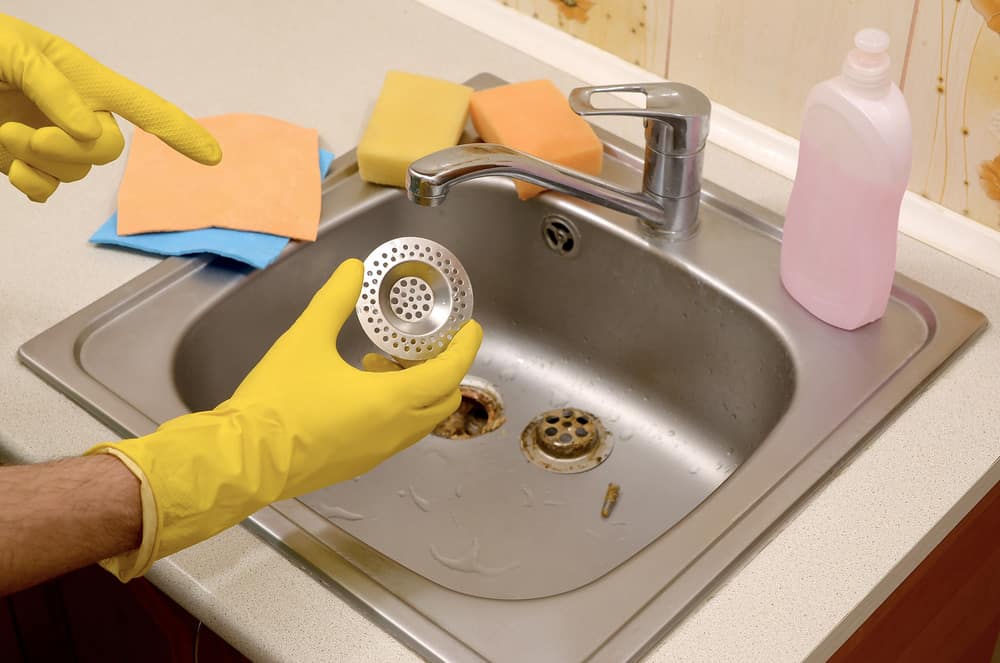
Before you start the process of removing your sink stopper, make sure you have the proper tools on hand. You will need a pair of pliers, a screwdriver, and possibly a wrench depending on the type of stopper you have. To begin, locate the rod that connects the sink stopper to the lift rod on the back of the sink faucet. This rod is usually located behind the drain and is connected to the stopper with a small clip or screw. Using your pliers, loosen the nut or screw that is holding the rod in place. Once it is loose, you should be able to pull the rod out and remove the stopper from the drain.How to Remove a Bathroom Sink Stopper


How to Remove a Bathroom Sink Stopper


If your sink stopper is connected to the lift rod with a clip, simply squeeze the clip with your pliers and slide it off the rod. If your stopper is connected with a screw, use your screwdriver to loosen and remove the screw before sliding off the rod. If your sink stopper is not connected to the lift rod, it may be connected to a pivot rod beneath the sink. In this case, you will need to locate the pivot rod and remove it from the drain pipe. You can then slide the stopper off of the pivot rod and remove it from the sink.DIY Bathroom Sink Stopper Removal


DIY Bathroom Sink Stopper Removal


If your sink stopper is attached with a nut, use your pliers to loosen and remove the nut. You may need to use a wrench if the nut is particularly tight. Once the nut is removed, you can easily pull the stopper out of the drain. If your sink stopper is attached with a suction cup, simply pull up on the stopper to release the suction and remove it from the drain.Quick and Easy Sink Stopper Removal


Quick and Easy Sink Stopper Removal


Now that you know the different methods for removing a sink stopper, let's go through a step-by-step guide to make sure you get it right. Step 1: Gather your tools. As mentioned earlier, you will need a pair of pliers, a screwdriver, and possibly a wrench. Step 2: Locate the rod connecting the sink stopper to the lift rod on the back of the sink faucet. Step 3: Loosen and remove the nut or screw holding the rod in place. Step 4: Slide the stopper off of the rod and remove it from the drain. Step 5: If the stopper is attached to a pivot rod, remove the pivot rod from the drain pipe and slide the stopper off. Step 6: If the stopper is attached with a nut, use your pliers to loosen and remove the nut. Step 7: If the stopper is attached with a suction cup, simply pull up to release the suction and remove the stopper.Step-by-Step Bathroom Sink Stopper Removal


Step-by-Step Bathroom Sink Stopper Removal


Removing a bathroom sink stopper doesn't have to be a difficult task. With the right tools and a few simple steps, you can have your stopper out and your drain flowing freely in no time. Just remember to take your time and be gentle when removing the stopper, as some parts may be fragile and can break easily.Removing a Bathroom Sink Stopper Made Simple


Removing a Bathroom Sink Stopper Made Simple

Now that you know how to remove a sink stopper, you can easily tackle any clogs or repairs that may be necessary in the future. And if you ever find yourself in a bind, just remember these simple steps and you'll have your sink stopper removed in no time.Effortless Bathroom Sink Stopper Removal


Effortless Bathroom Sink Stopper Removal


While most sink stoppers can be easily removed with the methods mentioned above, some may require a little extra effort. If you find that your stopper is particularly stubborn, try using some WD-40 to loosen it up. You can also try using a hairdryer to warm up the stopper and make it easier to remove.Tricks for Removing a Stubborn Sink Stopper


Tricks for Removing a Stubborn Sink Stopper


When it comes to removing a bathroom sink stopper, having the right tools can make all the difference. A good pair of pliers and a screwdriver with interchangeable heads will come in handy for any type of stopper. And if you have a stubborn stopper, a wrench and some WD-40 can be lifesavers.Best Tools for Removing a Bathroom Sink Stopper


Best Tools for Removing a Bathroom Sink Stopper


While removing a sink stopper may seem like a simple task, there are a few common mistakes that people make that can cause more harm than good. Avoid these mistakes to ensure a smooth and successful sink stopper removal: - Using too much force: Be gentle when removing the stopper to avoid breaking any parts. - Not having the right tools: Make sure you have the proper tools on hand before attempting to remove the stopper. - Not turning off the water: Before removing any parts of your sink, make sure the water is turned off to avoid any accidents. - Forgetting to reassemble: After removing the stopper, make sure you remember to put everything back together again before using your sink.Common Mistakes to Avoid When Removing a Sink Stopper


Common Mistakes to Avoid When Removing a Sink Stopper


Easily Remove Bathroom Sink Stopper: A Simple Guide
If you're tired of dealing with a clogged sink or just want to give your bathroom a quick refresh, removing the sink stopper is a simple and effective way to do so. The stopper, also known as the drain plug or pop-up drain, can become damaged or worn over time and may need to be replaced. In this article, we will guide you through the steps of easily removing the bathroom sink stopper.
Gather Your Tools

Before you begin, make sure you have the necessary tools on hand. You will need a pair of pliers, a flathead screwdriver, and a rag or cloth. You may also need a small bucket or container to catch any water that may come out of the sink.
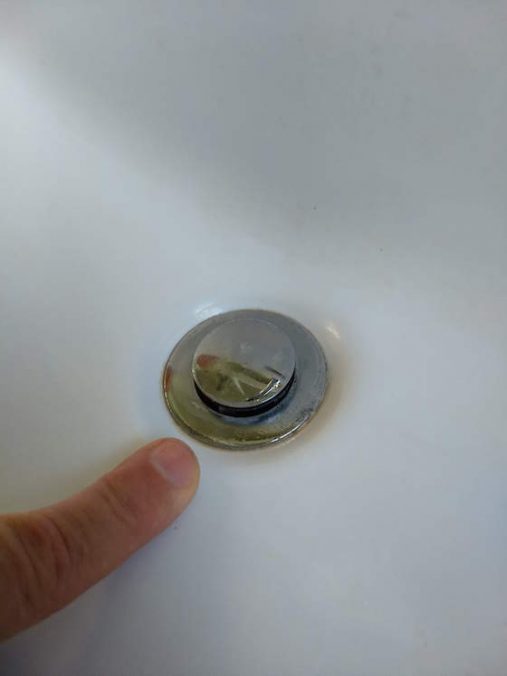
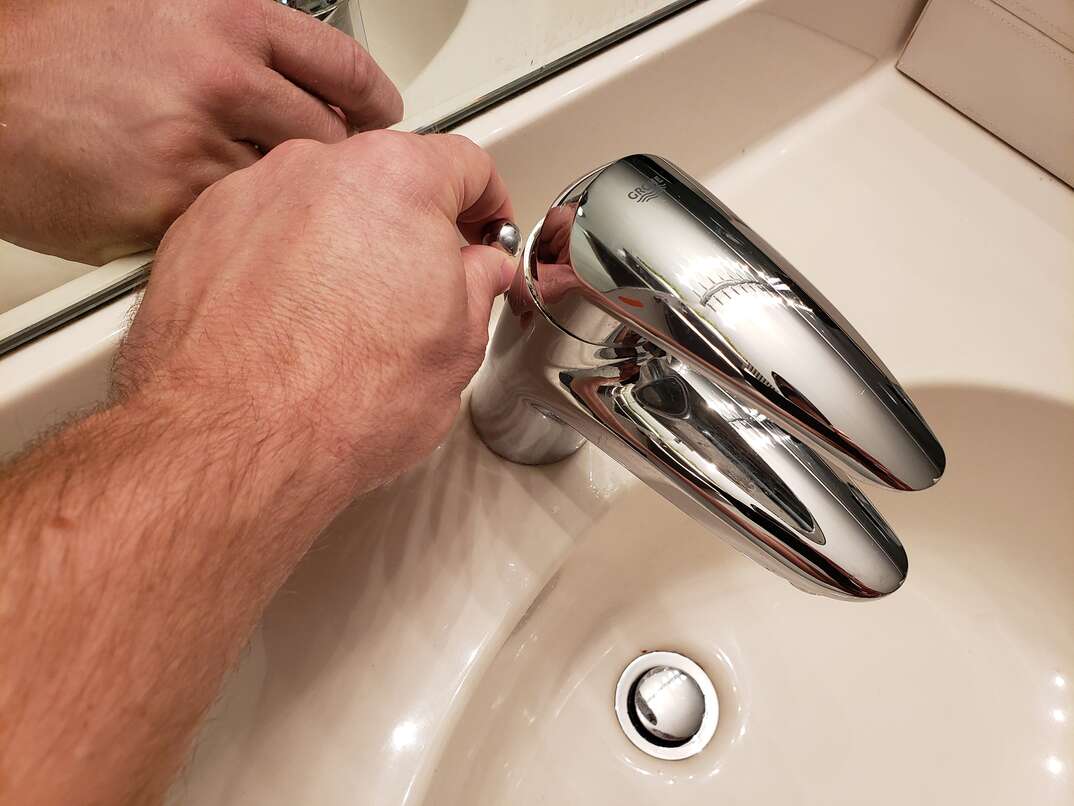
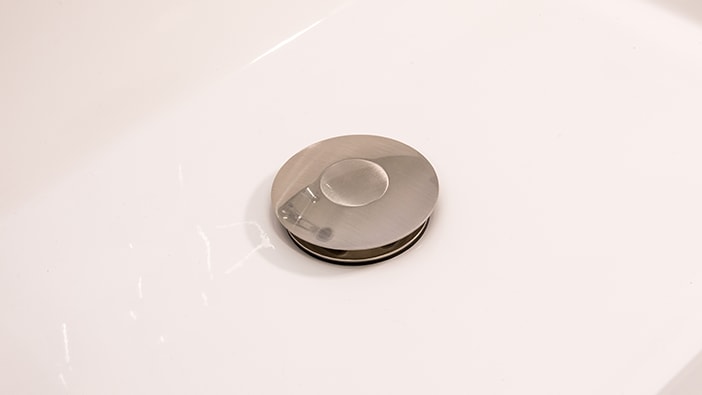
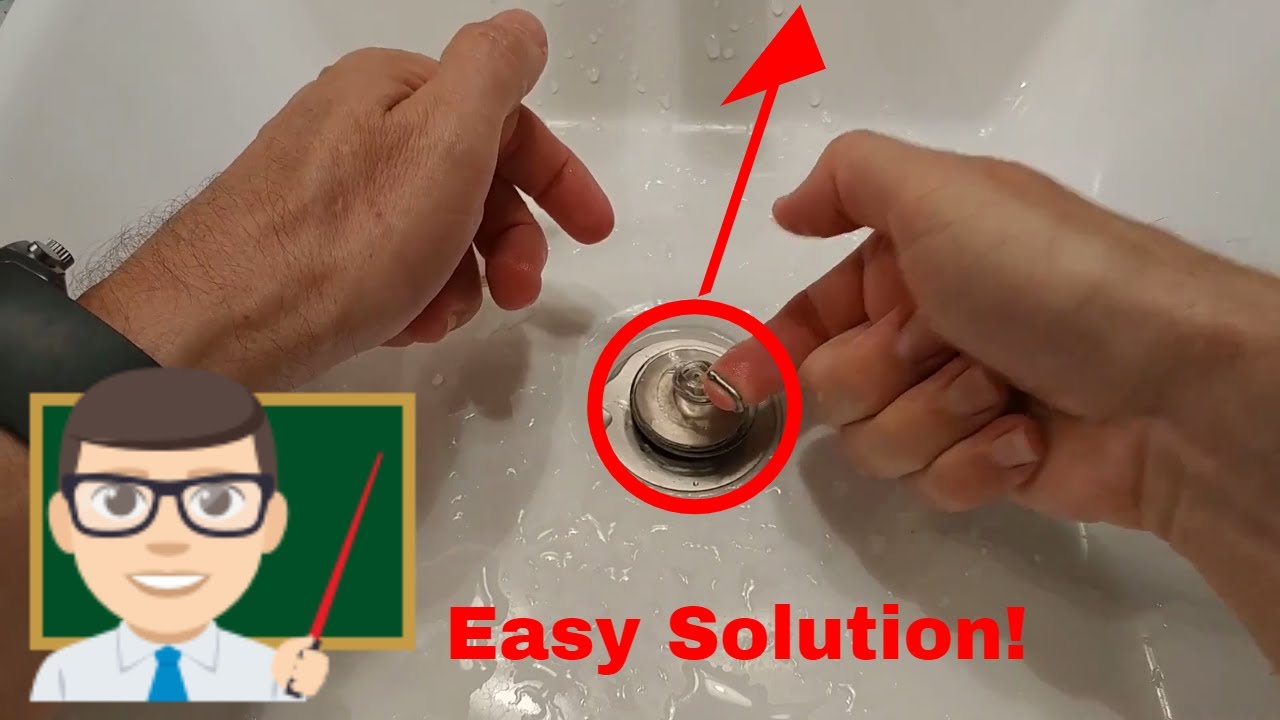
Step 1: Locate the Stopper

The first step is to locate the stopper. Look under your sink and find the horizontal bar that connects to the back of the drain pipe. This bar controls the stopper and should be easily identifiable. If you have a lever-style stopper, it will be located on the back of the faucet.
Step 2: Loosen the Nut
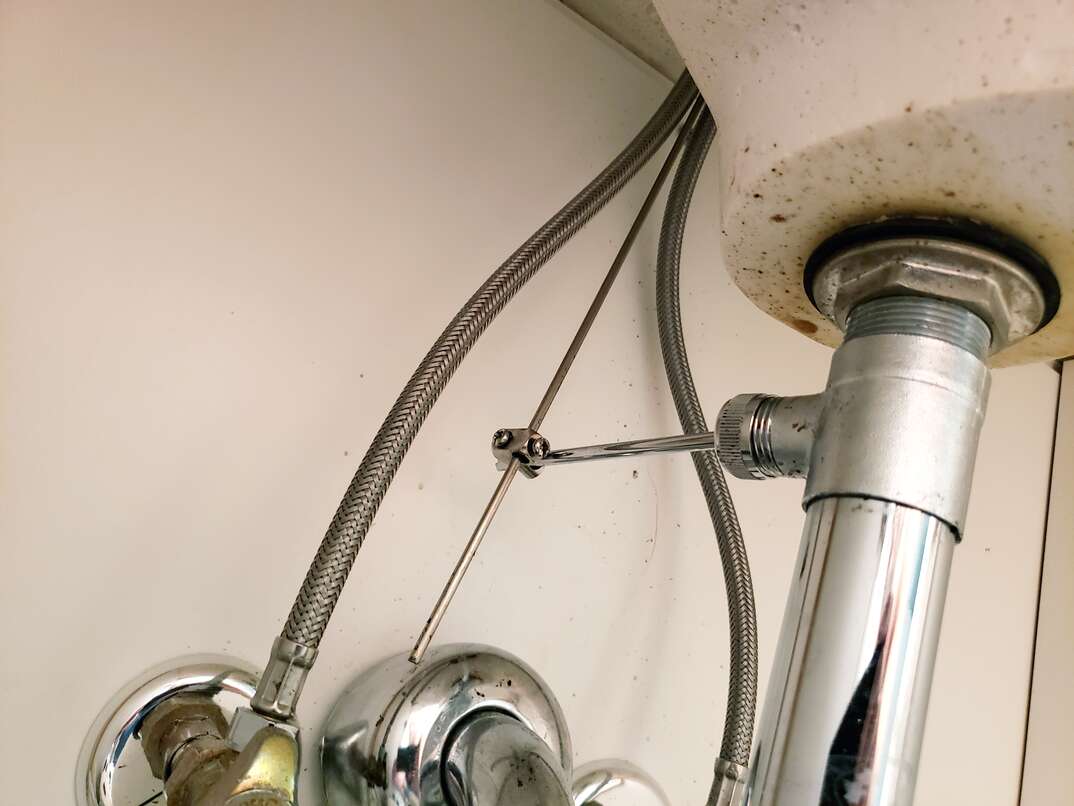
Using your pliers, loosen the nut that connects the horizontal bar to the back of the drain pipe. You may need to hold the top of the horizontal bar steady while you do this. If the nut is too tight to loosen with pliers, you can use a pair of channel lock pliers for a better grip.
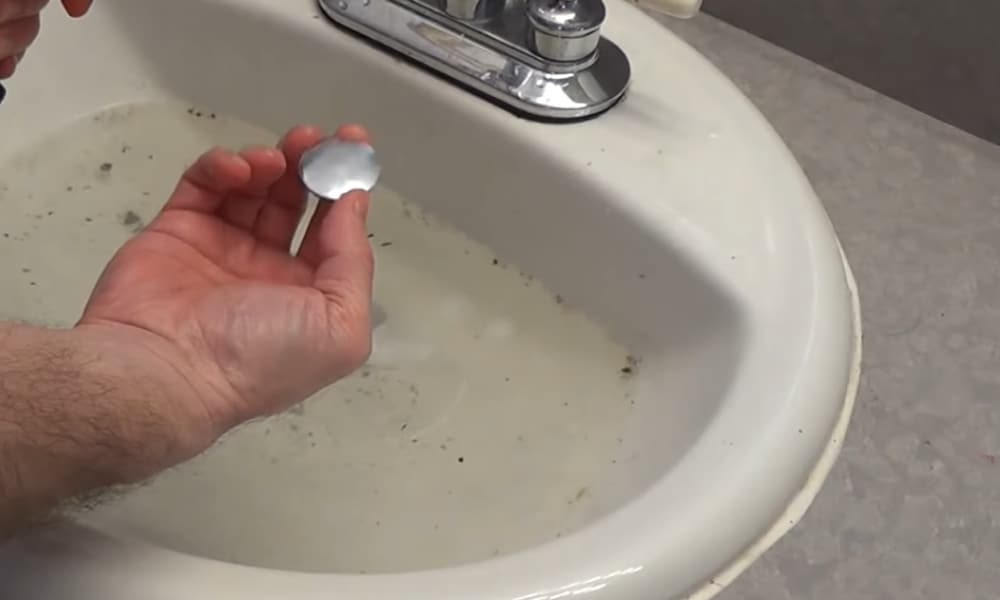
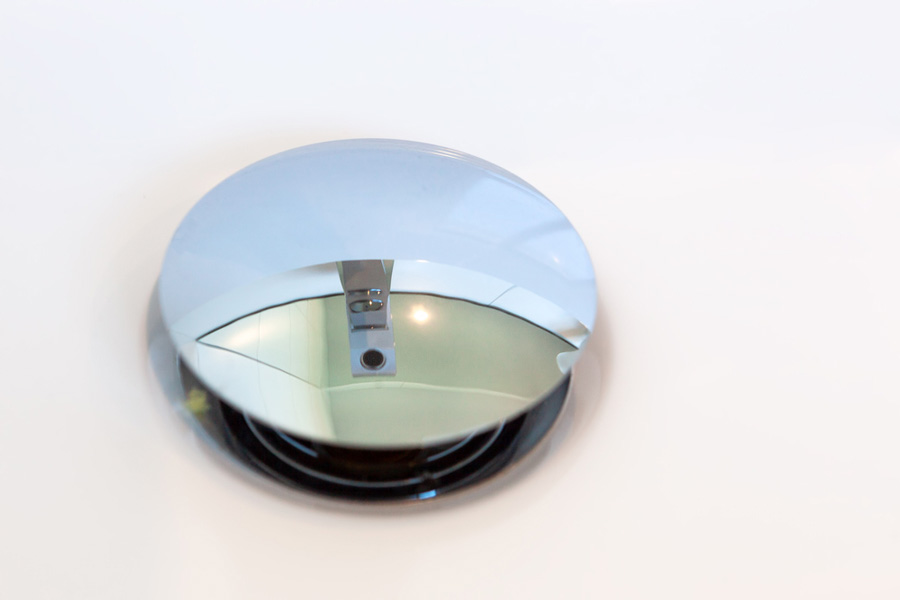
Step 3: Remove the Stopper

Once the nut is loosened, you should be able to pull the horizontal bar out of the drain pipe. This will cause the stopper to come loose and you can now remove it from the sink. If the stopper is stuck, you can use a flathead screwdriver to gently pry it out.
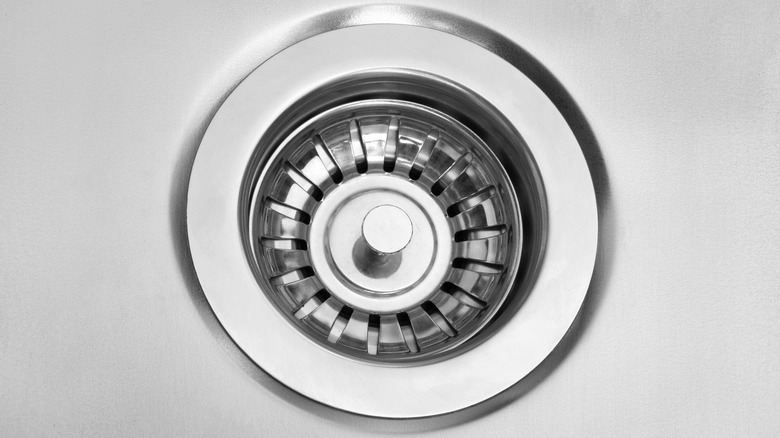
Step 4: Clean and Inspect

Now that the stopper is removed, take this opportunity to clean it and the surrounding area. Use a rag or cloth to wipe away any buildup or debris. You can also inspect the stopper for any damage or wear and tear. If it is damaged, you may need to replace it with a new one.
Step 5: Reassemble
Once you have cleaned and inspected the stopper, you can reassemble it by following the steps in reverse order. Place the stopper back into the drain, reattach the horizontal bar, and tighten the nut with your pliers. Make sure everything is secure and functioning properly before using the sink again.
By following these simple steps, you can easily remove and clean your bathroom sink stopper. This not only helps to keep your sink functioning properly, but it also gives your bathroom a quick and easy refresh. If you encounter any difficulties, it may be best to consult a professional plumber for assistance.