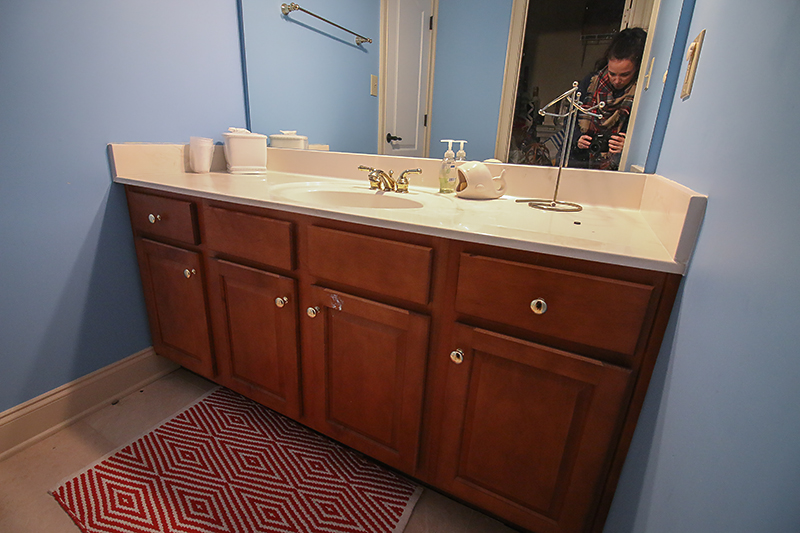
Is your bathroom sink looking dull and worn out? Instead of spending a fortune on a new one, why not give DIY bathroom sink refinishing a try? Not only is it a budget-friendly option, but it can also transform the look of your entire bathroom. Here are some tips and tricks to help you achieve professional-looking results.DIY Bathroom Sink Refinishing: Tips and Tricks


DIY Bathroom Sink Refinishing: Tips and Tricks


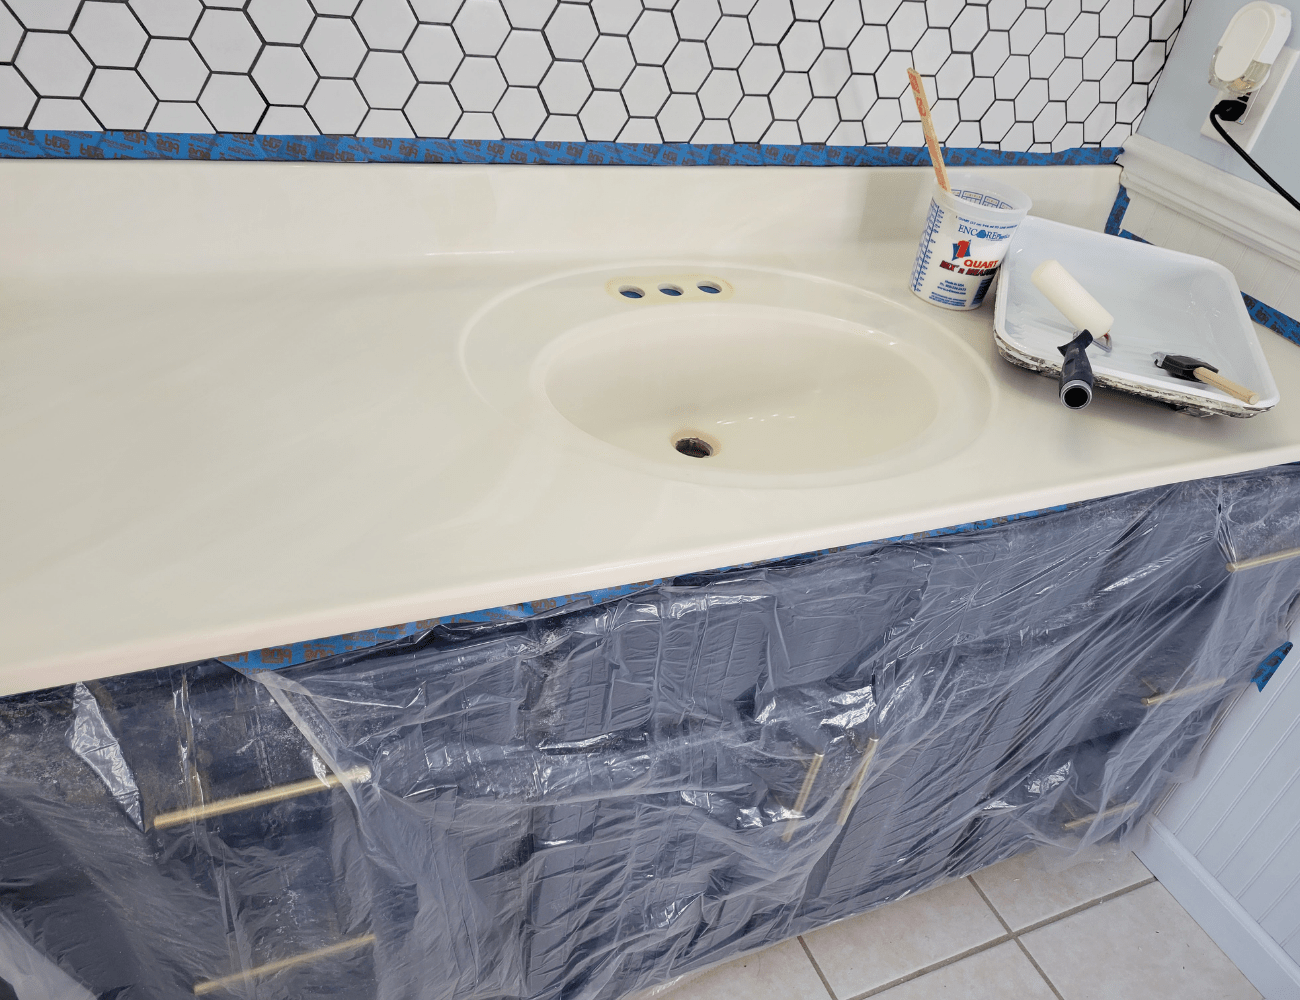

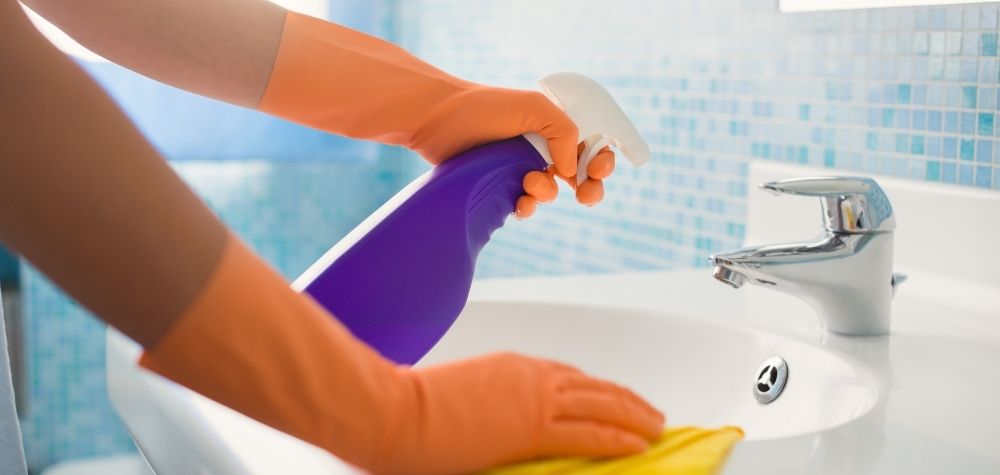
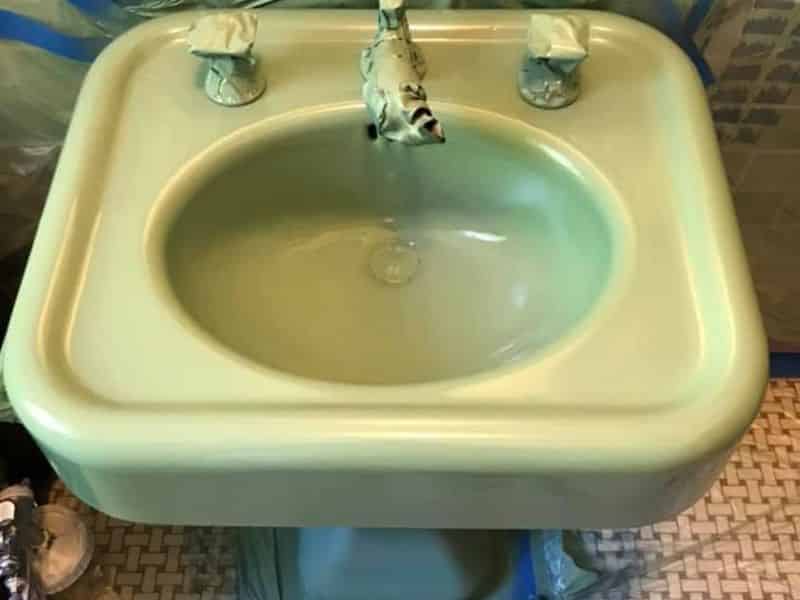
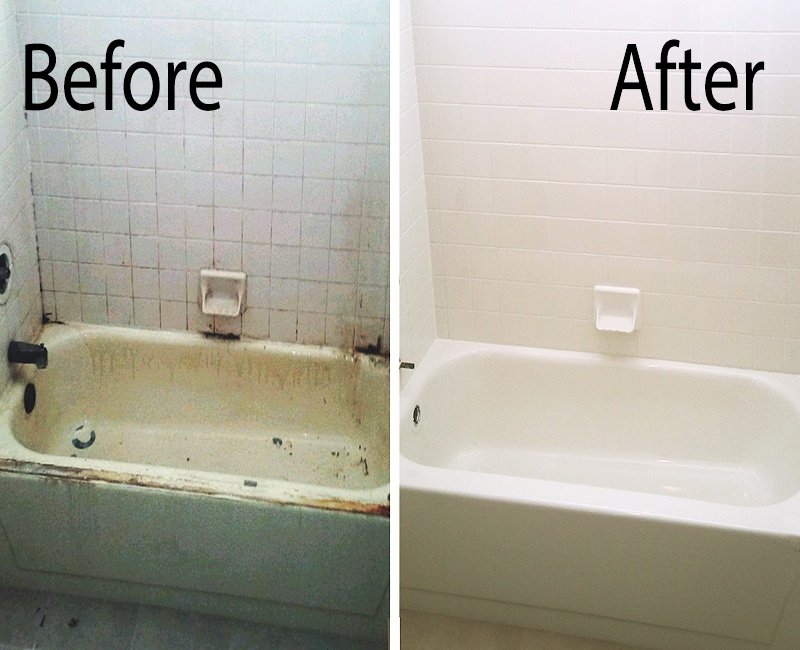
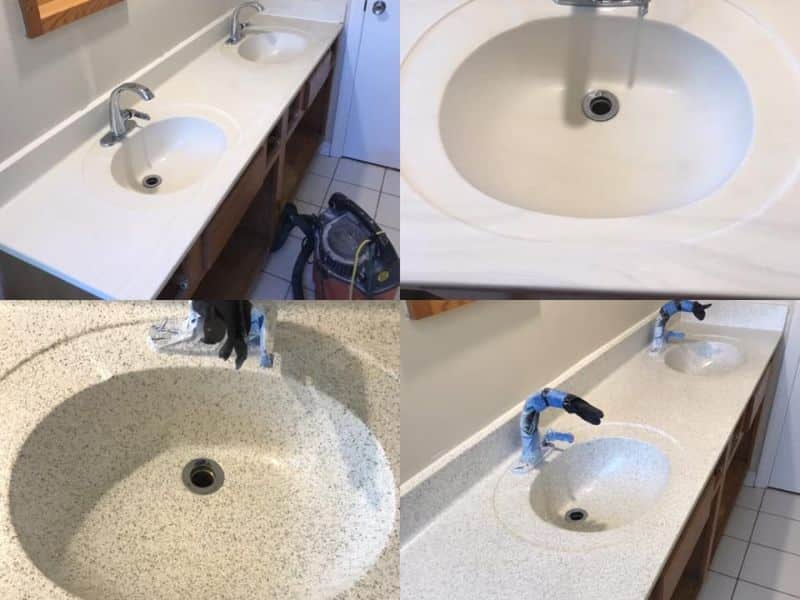
Refinishing a bathroom sink may seem like a daunting task, but with the right tools and techniques, it can be a simple and straightforward process. Here are the five easy steps to follow: Step 1: Prepare the Sink Start by removing any hardware or fixtures attached to the sink. Then, thoroughly clean the sink with a mild cleaner and rinse it with water. Use a fine-grit sandpaper to roughen up the surface and create a better bond for the refinishing product. Step 2: Apply the Primer Using a paintbrush or roller, apply a thin coat of primer to the entire surface of the sink. This will help the refinishing product adhere better and prevent any stains or discoloration from showing through. Step 3: Apply the Refinishing Product After allowing the primer to dry completely, it's time to apply the refinishing product. There are various options available, such as epoxy or acrylic refinishing kits. Follow the instructions on the product carefully and apply multiple thin coats for the best results. Step 4: Sand and Buff Once the refinishing product has dried, use a fine-grit sandpaper to smooth out any imperfections and create a smooth and even surface. Then, use a buffing compound to polish the sink and give it a glossy finish. Step 5: Let it Cure After completing all of the steps, it's crucial to allow the sink to cure for at least 24 hours before using it again. This will ensure that the refinishing product has fully adhered and hardened, providing a durable and long-lasting finish.How to Refinish a Bathroom Sink in 5 Easy Steps


How to Refinish a Bathroom Sink in 5 Easy Steps


If you're looking for a more detailed breakdown of the refinishing process, here is a step-by-step guide to help you: Step 1: Gather Your Supplies Before starting, make sure you have all the necessary supplies, including a cleaner, fine-grit sandpaper, primer, refinishing product, paintbrush or roller, buffing compound, and protective gear such as gloves and a mask. Step 2: Remove Fixtures and Clean the Sink As mentioned earlier, remove any fixtures or hardware attached to the sink and clean it thoroughly with a mild cleaner. Rinse it well and let it dry completely. Step 3: Sand the Surface Using a fine-grit sandpaper, gently sand the entire surface of the sink. This will create a rougher surface for the refinishing product to adhere to and remove any stains or imperfections. Step 4: Apply the Primer Using a paintbrush or roller, apply a thin coat of primer to the sink's surface. Make sure to cover every area evenly and let it dry completely before moving on to the next step. Step 5: Apply the Refinishing Product Using the same technique, apply the refinishing product to the sink, following the instructions on the product carefully. Apply multiple thin coats for a smooth and even finish. Step 6: Sand and Buff After the refinishing product has dried, use a fine-grit sandpaper to smooth out any imperfections and create a smooth surface. Then, use a buffing compound to polish the sink and give it a glossy finish. Step 7: Let it Cure Allow the sink to cure for at least 24 hours before using it. This will ensure that the refinishing product has fully bonded and hardened, providing a durable and long-lasting finish.Refinishing Your Bathroom Sink: A Step-by-Step Guide


Refinishing Your Bathroom Sink: A Step-by-Step Guide


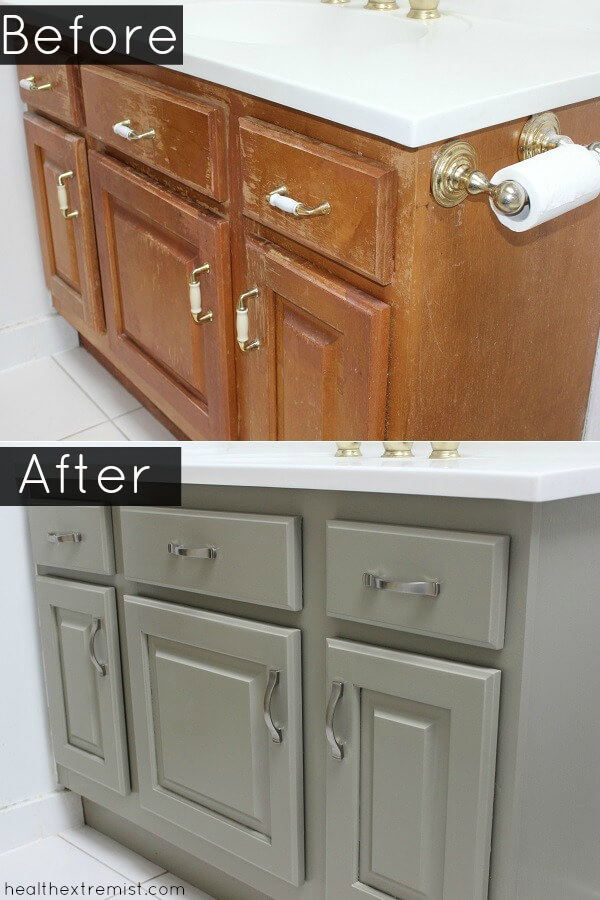
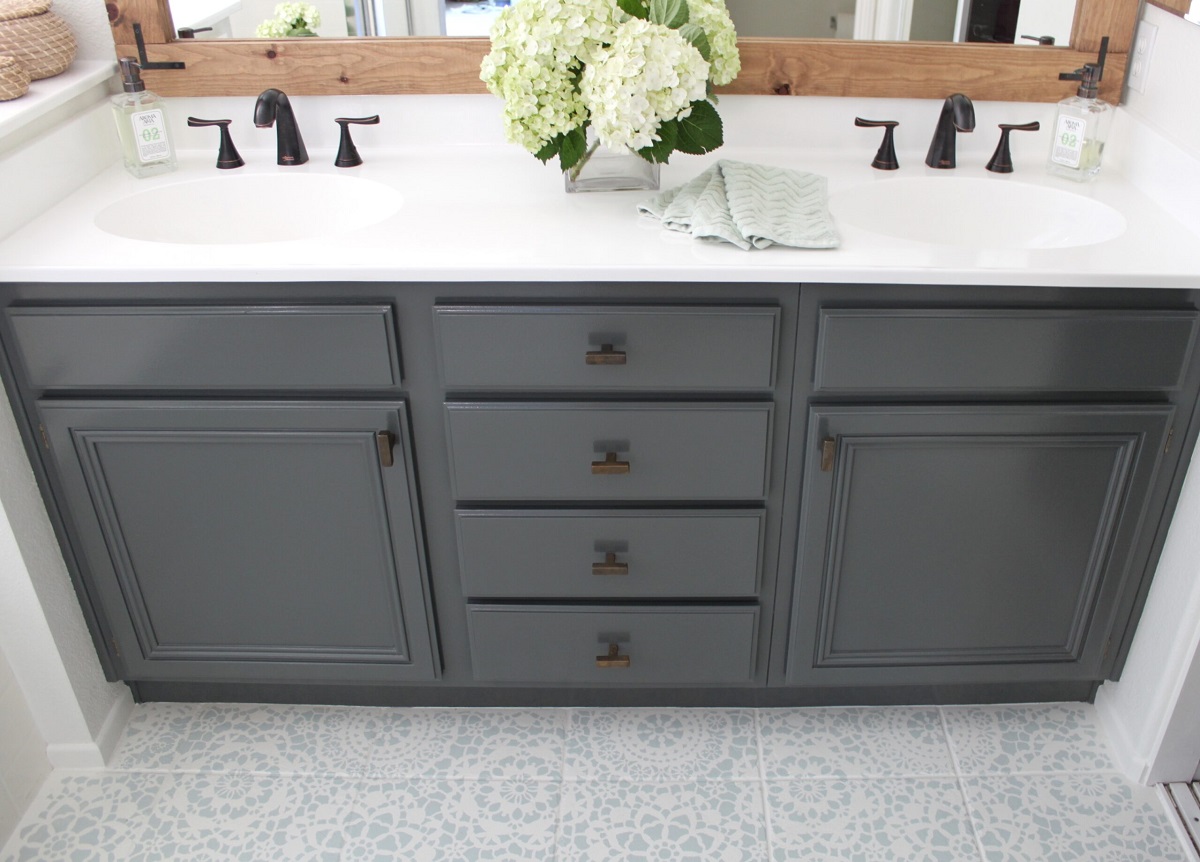
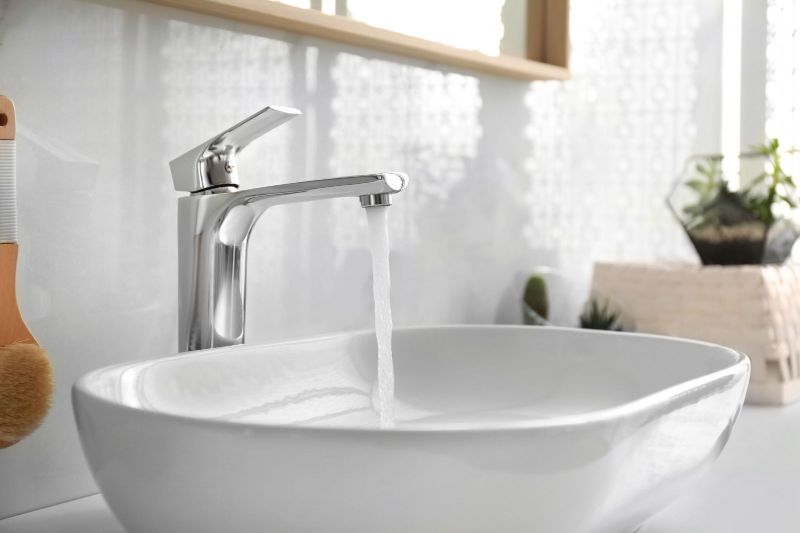
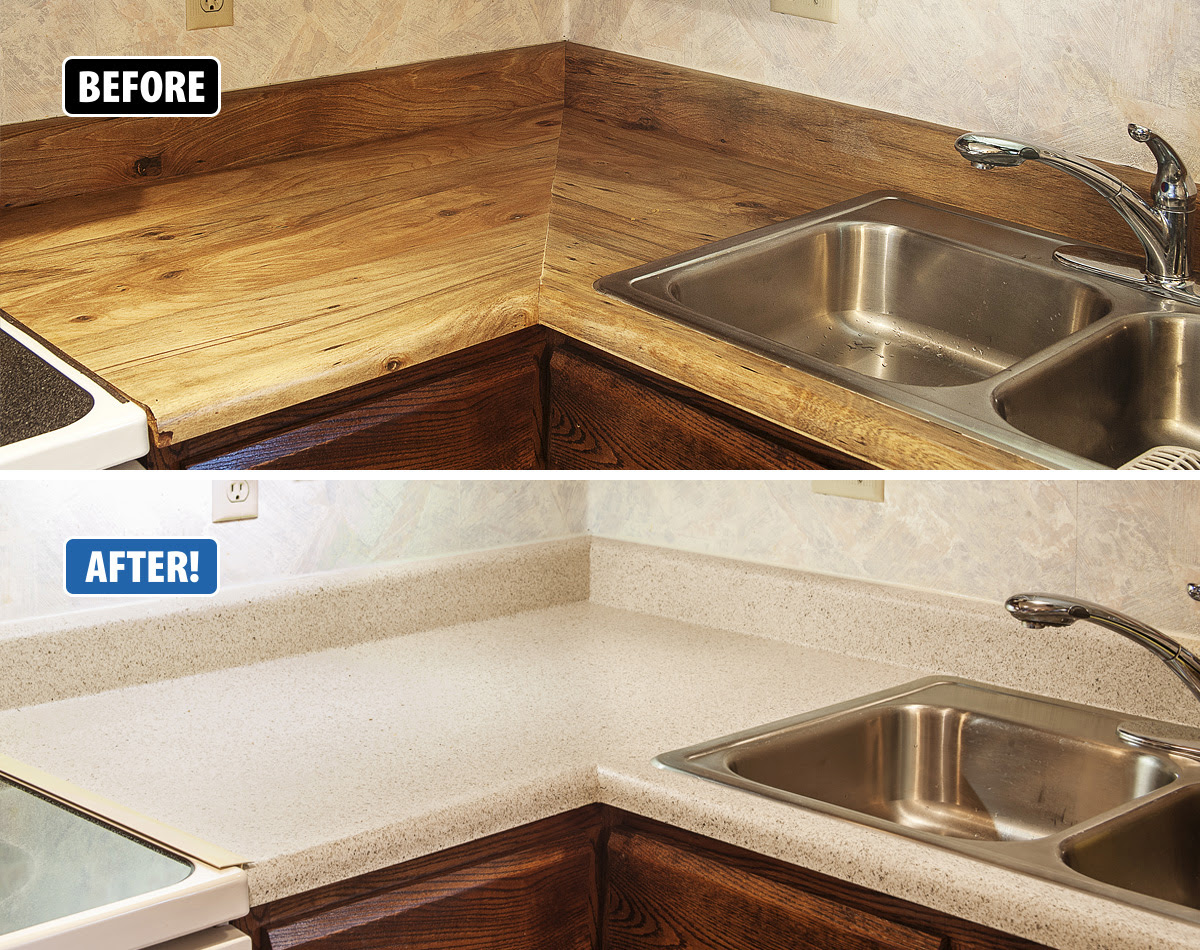
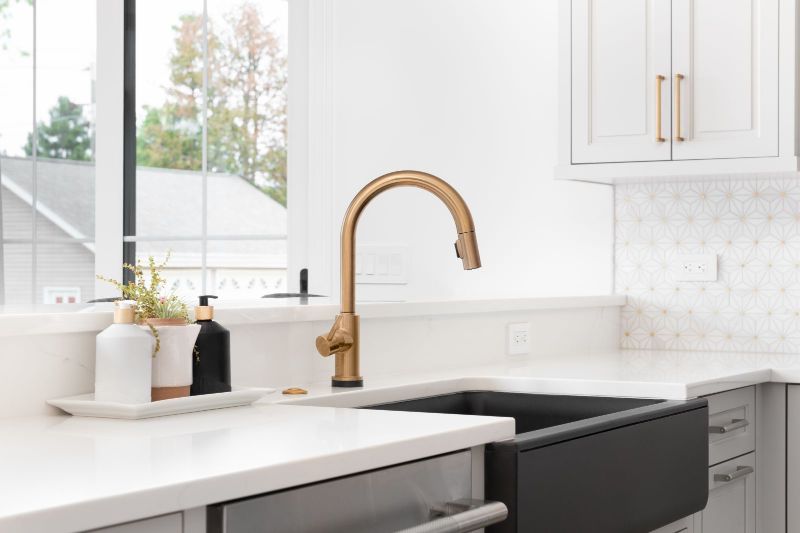
One of the best things about DIY bathroom sink refinishing is that you can completely transform the look of your bathroom without breaking the bank. With a variety of refinishing products and techniques available, you can achieve any look, from a sleek and modern finish to a vintage and rustic one. Not only does refinishing your sink save you money, but it also allows you to customize it to your liking. You can choose from a wide range of colors and finishes, and even add patterns or designs for a unique touch.Transform Your Bathroom with DIY Sink Refinishing


Transform Your Bathroom with DIY Sink Refinishing


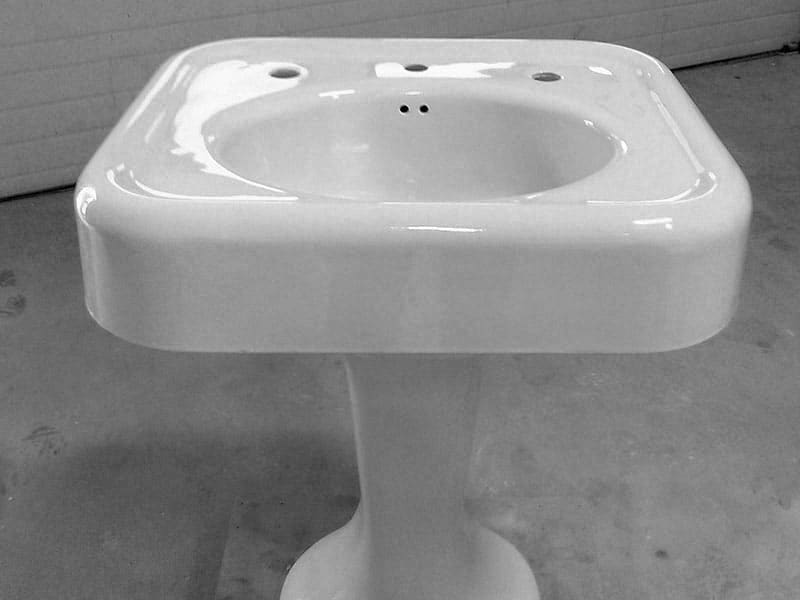
Replacing a bathroom sink can be a costly endeavor, especially if you want to upgrade to a higher-quality one. However, with DIY bathroom sink refinishing, you can achieve a similar result at a fraction of the cost. Refinishing your sink also extends its lifespan, saving you money in the long run. It's a cost-effective and eco-friendly solution that allows you to give your bathroom a fresh new look without spending a fortune.Do It Yourself Bathroom Sink Refinishing: A Budget-Friendly Option


Do It Yourself Bathroom Sink Refinishing: A Budget-Friendly Option


You don't have to be a professional to achieve a high-quality finish on your bathroom sink. With the right tools and techniques, anyone can do it. Here are some tips to help you achieve professional-looking results: - Use a respirator or mask to protect yourself from the fumes of the refinishing product. - Work in a well-ventilated area and open windows or use fans to help with air circulation. - Apply multiple thin coats of the refinishing product for a smoother and more even finish. - Take your time and follow the instructions carefully for the best results.Refinish Your Bathroom Sink Like a Pro with These Simple Steps


Refinish Your Bathroom Sink Like a Pro with These Simple Steps

Why spend hundreds of dollars on a new bathroom sink when you can achieve the same results with DIY refinishing? Not only does it save you money, but it also allows you to update your space without the hassle of a renovation. Plus, with the money saved, you can invest in other bathroom upgrades or decor to complete the look.DIY Bathroom Sink Refinishing: Save Money and Update Your Space


DIY Bathroom Sink Refinishing: Save Money and Update Your Space


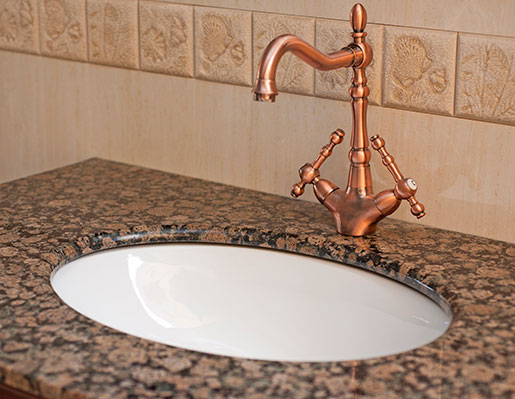
There are various techniques you can use to refinish your bathroom sink, depending on the look you want to achieve and the products available. Some popular options include: - Epoxy refinishing: This is a durable and long-lasting option that creates a glossy finish. - Acrylic refinishing: This is a more affordable option that is easy to apply and comes in various colors. - Spray paint refinishing: This is a quick and easy option that is suitable for sinks with minor imperfections.Easy and Affordable Bathroom Sink Refinishing Techniques


Easy and Affordable Bathroom Sink Refinishing Techniques

Refinishing your bathroom sink is a simple and budget-friendly way to give your entire bathroom a facelift. It's a great option for those who are looking to update their space without the high costs and hassle of a renovation. With the right tools and techniques, you can achieve professional-looking results and transform your bathroom into a beautiful and modern space.Revamp Your Bathroom with DIY Sink Refinishing


Revamp Your Bathroom with DIY Sink Refinishing


If you're on a tight budget, refinishing your bathroom sink is the perfect solution. Here's a step-by-step guide to help you achieve a beautiful and budget-friendly result: Step 1: Clean and Prep the Sink Start by cleaning the sink thoroughly with a mild cleaner and rinsing it well. Then, use a fine-grit sandpaper to roughen up the surface and create a better bond for the refinishing product. Step 2: Apply the Refinishing Product Using a paintbrush or roller, apply the refinishing product to the sink, following the instructions on the product carefully. Apply multiple thin coats for the best results. Step 3: Sand and Buff After the refinishing product has dried, use a fine-grit sandpaper to smooth out any imperfections and create a smooth surface. Then, use a buffing compound to polish the sink and give it a glossy finish. Step 4: Let it Cure Allow the sink to cure for at least 24 hours before using it. This will ensure that the refinishing product has fully bonded and hardened, providing a durable and long-lasting finish. With these helpful tips and a step-by-step guide, you can easily and affordably refinish your bathroom sink and give your bathroom a fresh new look. So, why wait? Start your DIY bathroom sink refinishing project today and see the transformation for yourself!Step-by-Step Guide to Refinishing Your Bathroom Sink on a Budget


Step-by-Step Guide to Refinishing Your Bathroom Sink on a Budget


Revamp Your Bathroom with DIY Sink Refinishing

Why Refinish Your Bathroom Sink?
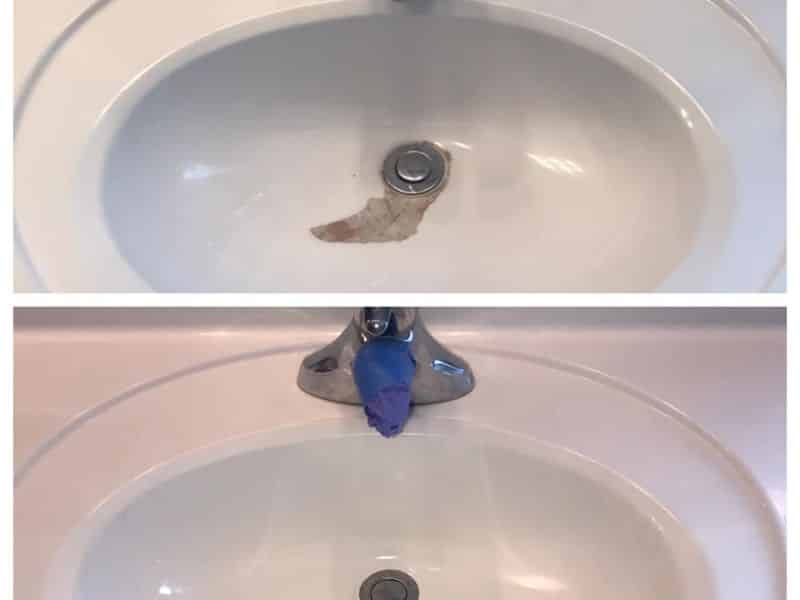
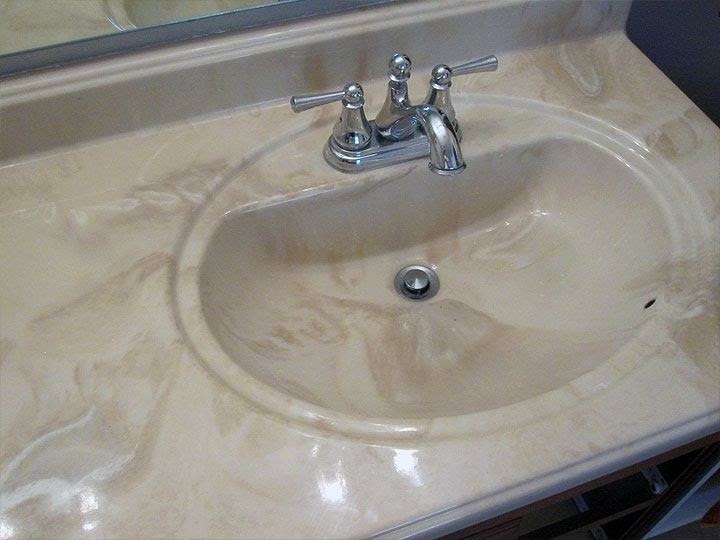
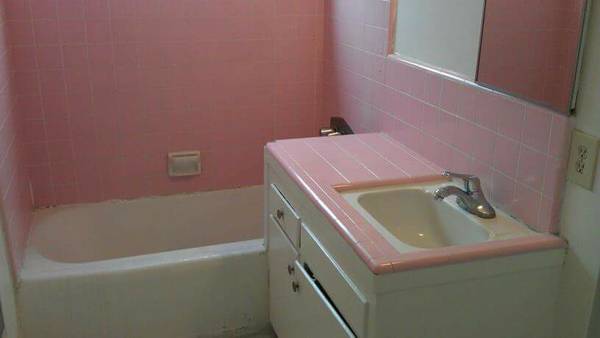
 If your bathroom sink has seen better days, you may be considering replacing it with a brand new one. However, before you go through the hassle and expense of buying and installing a new sink, consider refinishing your current one. Refinishing your bathroom sink can give it a fresh, updated look without breaking the bank. Plus, it's a great way to personalize your bathroom and add your own unique touch to the space.
The Benefits of DIY Sink Refinishing
 Refinishing your bathroom sink yourself has many benefits. First and foremost, it's a cost-effective solution. Buying a new sink can be expensive, especially if you want a higher-end model. By refinishing your sink, you can save money and still achieve a beautiful, updated look. Additionally, DIY refinishing allows you to have complete control over the design and colors used. You can customize the sink to match your personal style and the overall design of your bathroom.
Step-by-Step Guide to DIY Sink Refinishing
 Step 1: Gather Supplies
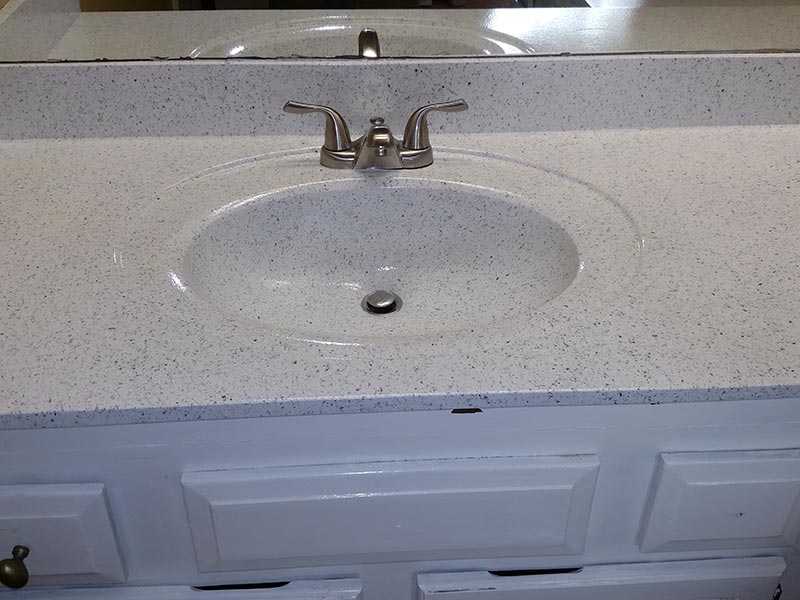
The first step to refinishing your bathroom sink is to gather all the necessary supplies. This includes a sink refinishing kit, protective gear (gloves, goggles, and mask), sandpaper, and cleaning supplies.
Step 2: Prep the Sink
Using the sandpaper, sand down the surface of the sink to remove any dirt, grime, or old paint. This will create a clean, smooth surface for the refinishing process.
Step 3: Clean the Sink
After sanding, thoroughly clean the sink with a mild cleaner and water. Be sure to remove any residue or debris from the surface.
Step 4: Apply the Refinishing Kit
Follow the instructions on the refinishing kit and apply the primer, base coat, and topcoat to the sink. Be sure to allow enough time for each layer to dry before moving on to the next.
Step 5: Finishing Touches
Once the final coat is dry, you can add any finishing touches such as new hardware or a decorative design. This is where you can really make the sink your own and add a personal touch to your bathroom.
Step 1: Gather Supplies
The first step to refinishing your bathroom sink is to gather all the necessary supplies. This includes a sink refinishing kit, protective gear (gloves, goggles, and mask), sandpaper, and cleaning supplies.
Step 2: Prep the Sink
Using the sandpaper, sand down the surface of the sink to remove any dirt, grime, or old paint. This will create a clean, smooth surface for the refinishing process.
Step 3: Clean the Sink
After sanding, thoroughly clean the sink with a mild cleaner and water. Be sure to remove any residue or debris from the surface.
Step 4: Apply the Refinishing Kit
Follow the instructions on the refinishing kit and apply the primer, base coat, and topcoat to the sink. Be sure to allow enough time for each layer to dry before moving on to the next.
Step 5: Finishing Touches
Once the final coat is dry, you can add any finishing touches such as new hardware or a decorative design. This is where you can really make the sink your own and add a personal touch to your bathroom.
Final Thoughts
 With a little time and effort, DIY sink refinishing can transform your bathroom and give it a fresh, updated look. Not only is it a budget-friendly option, but it also allows you to get creative and add your own personal touch to your space. So before you rush to replace your old sink, consider refinishing it yourself and see the amazing transformation it can bring to your bathroom.