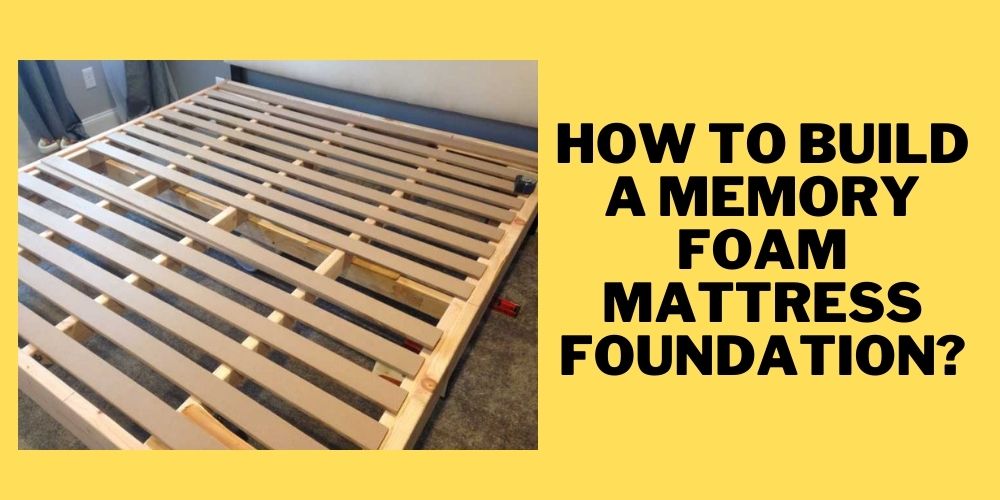
DIY Foam Mattress for RV
Are you tired of waking up with aches and pains after a night of camping in your RV? It may be time to upgrade your mattress. While there are plenty of options for purchasing a new RV mattress, a DIY foam mattress may be the perfect solution for your needs. Not only is it cost-effective, but you can also customize it to fit your specific comfort preferences. Here are our top 10 picks for the best DIY foam mattresses for RVs.


DIY Foam Mattress for RV

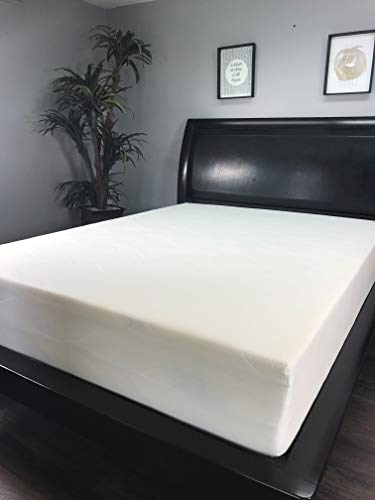
RV Mattress
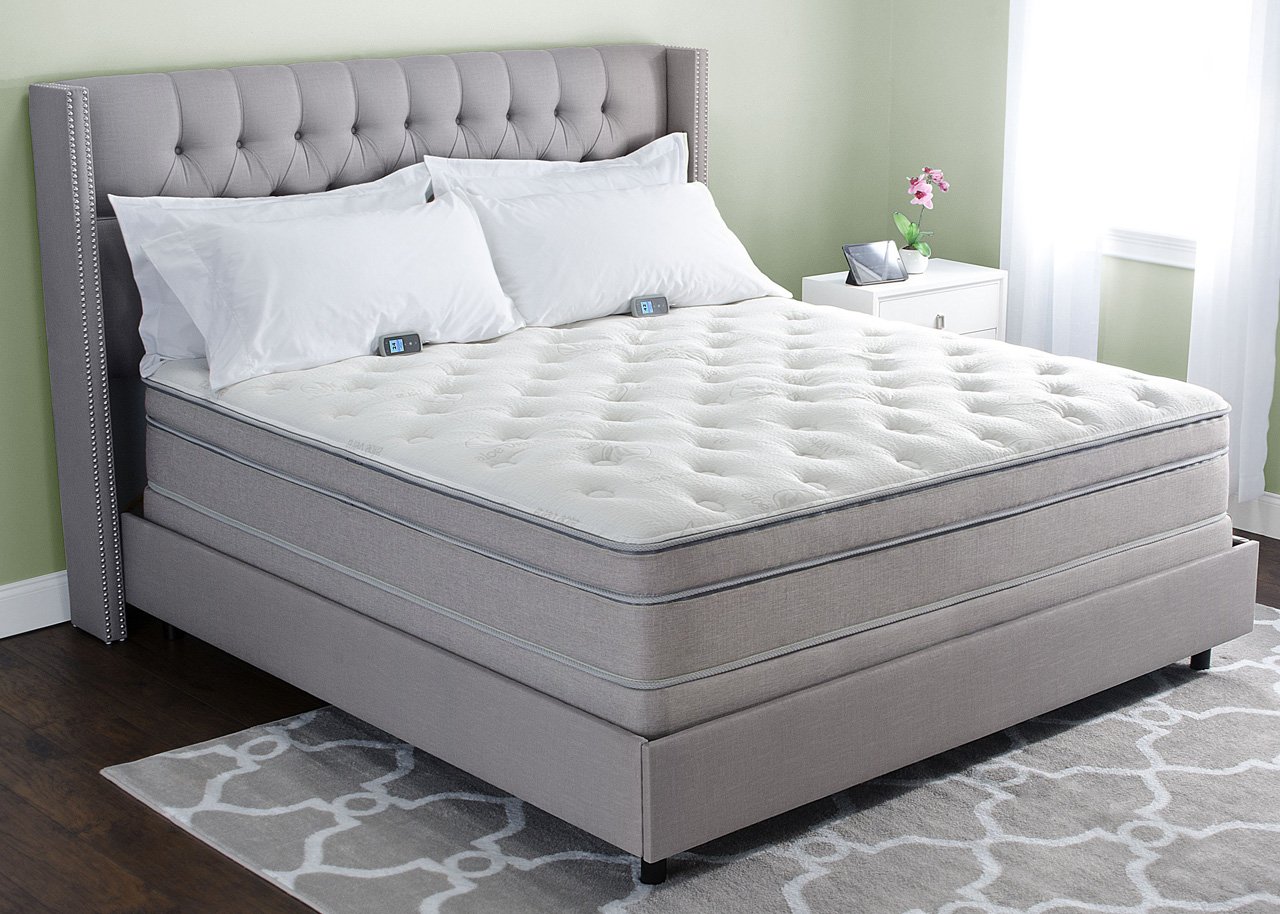
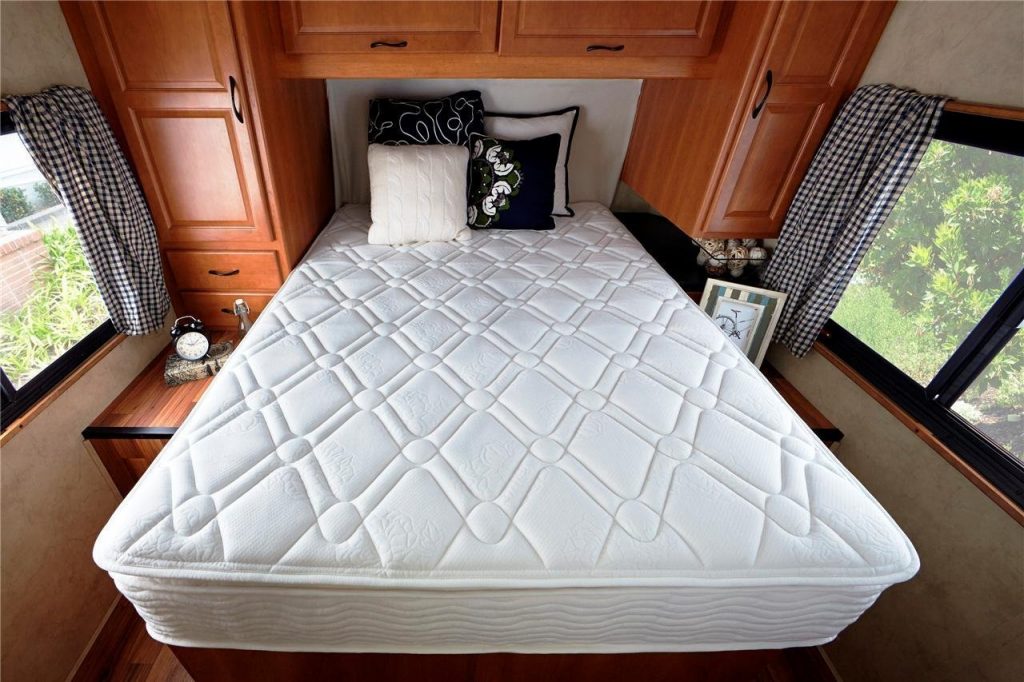
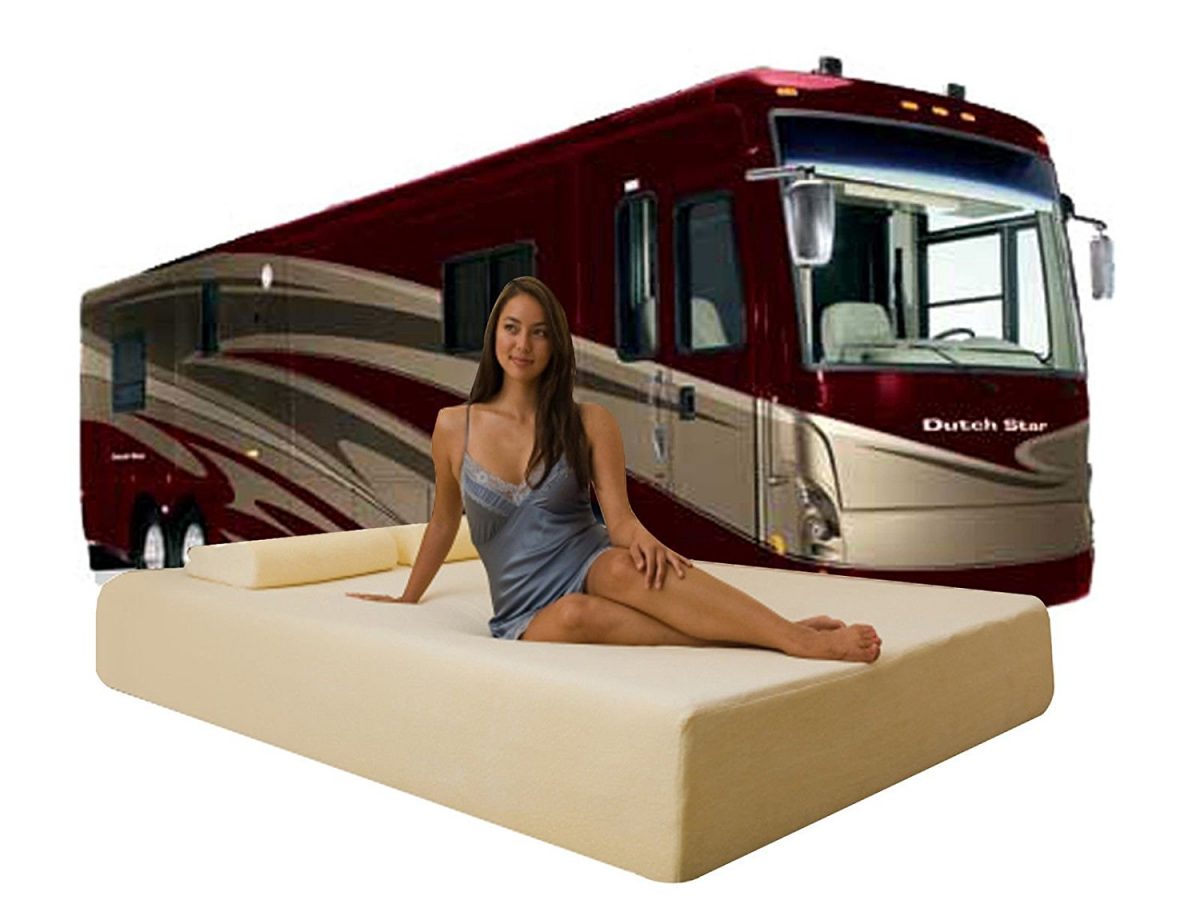
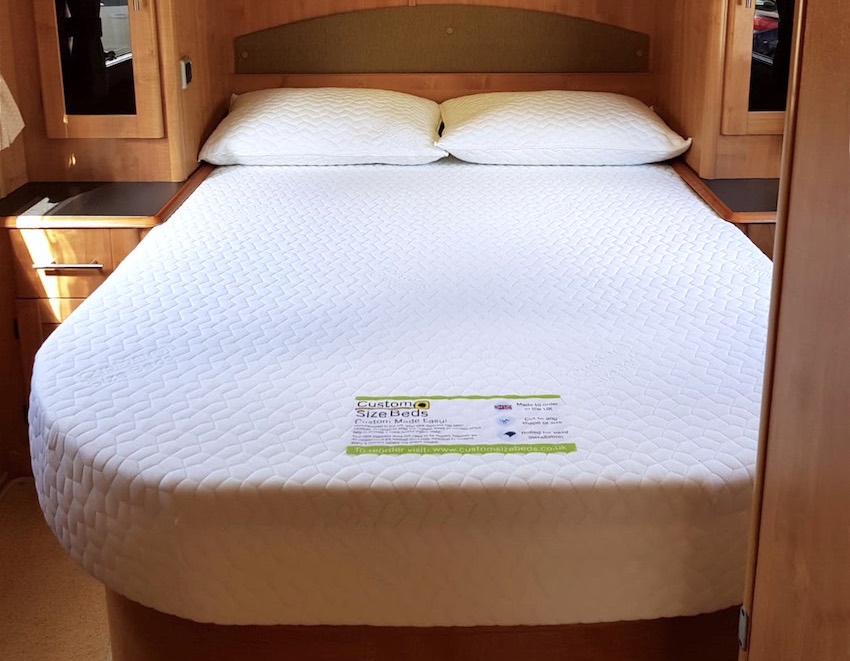
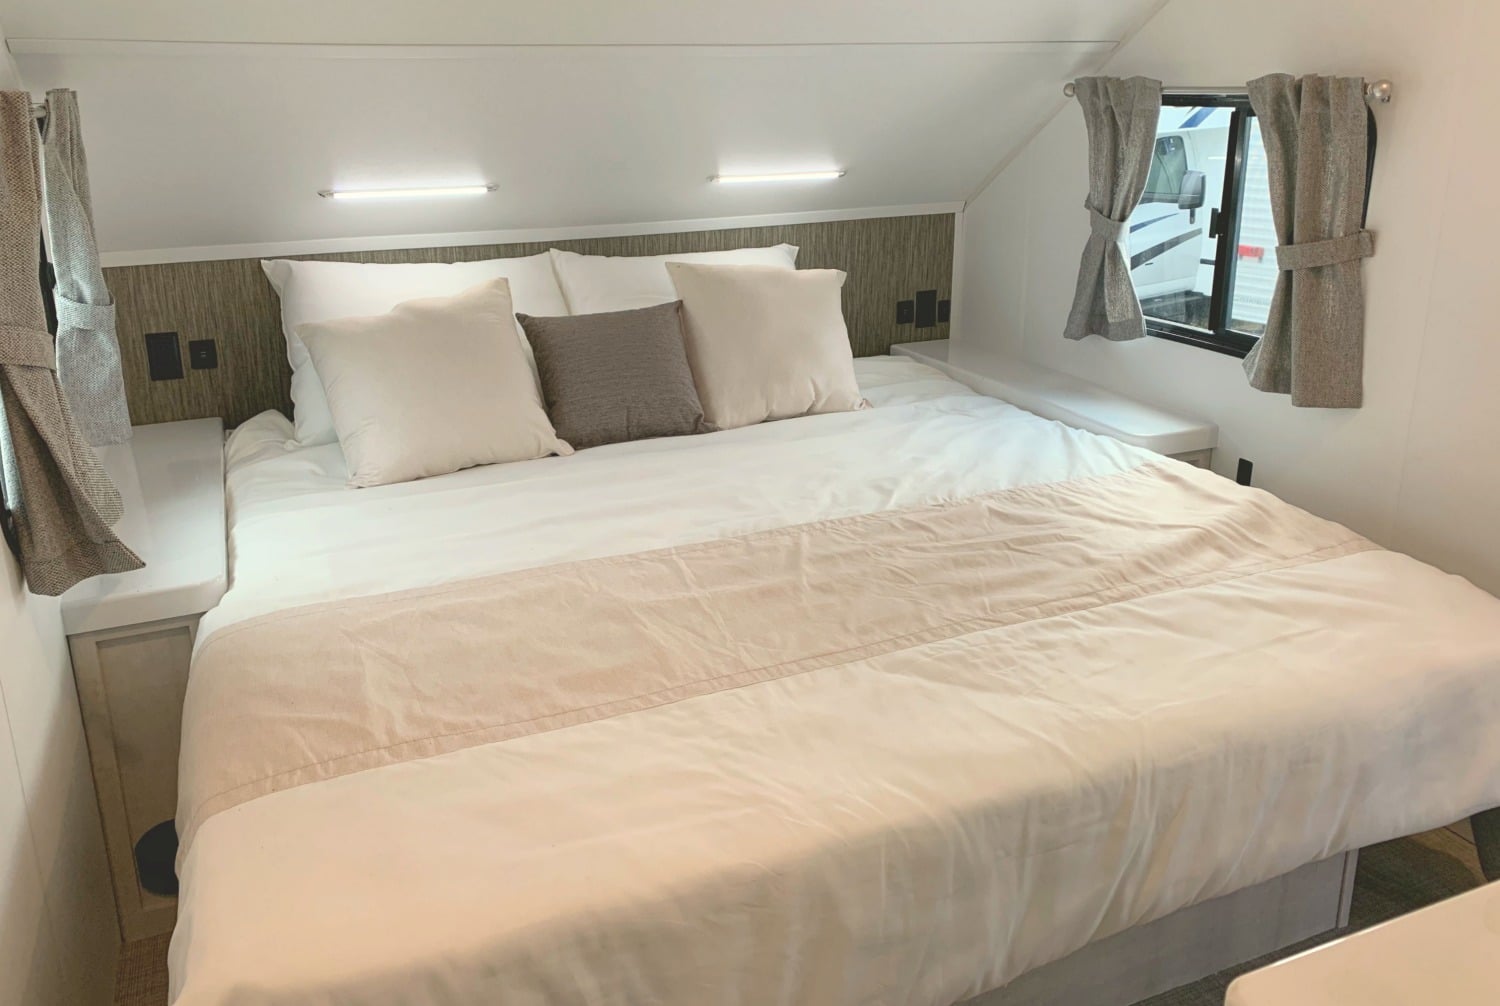
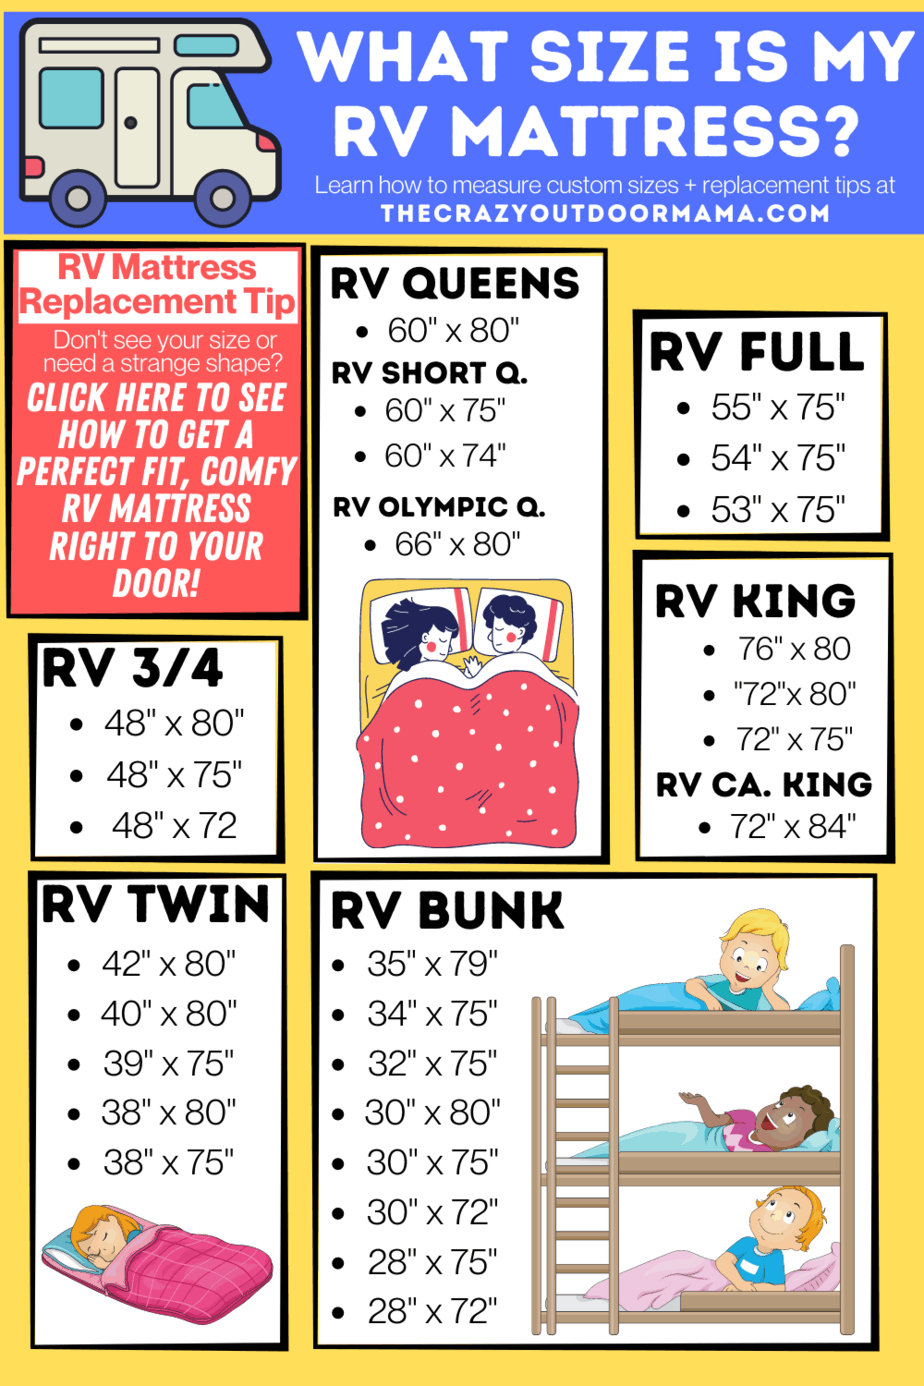
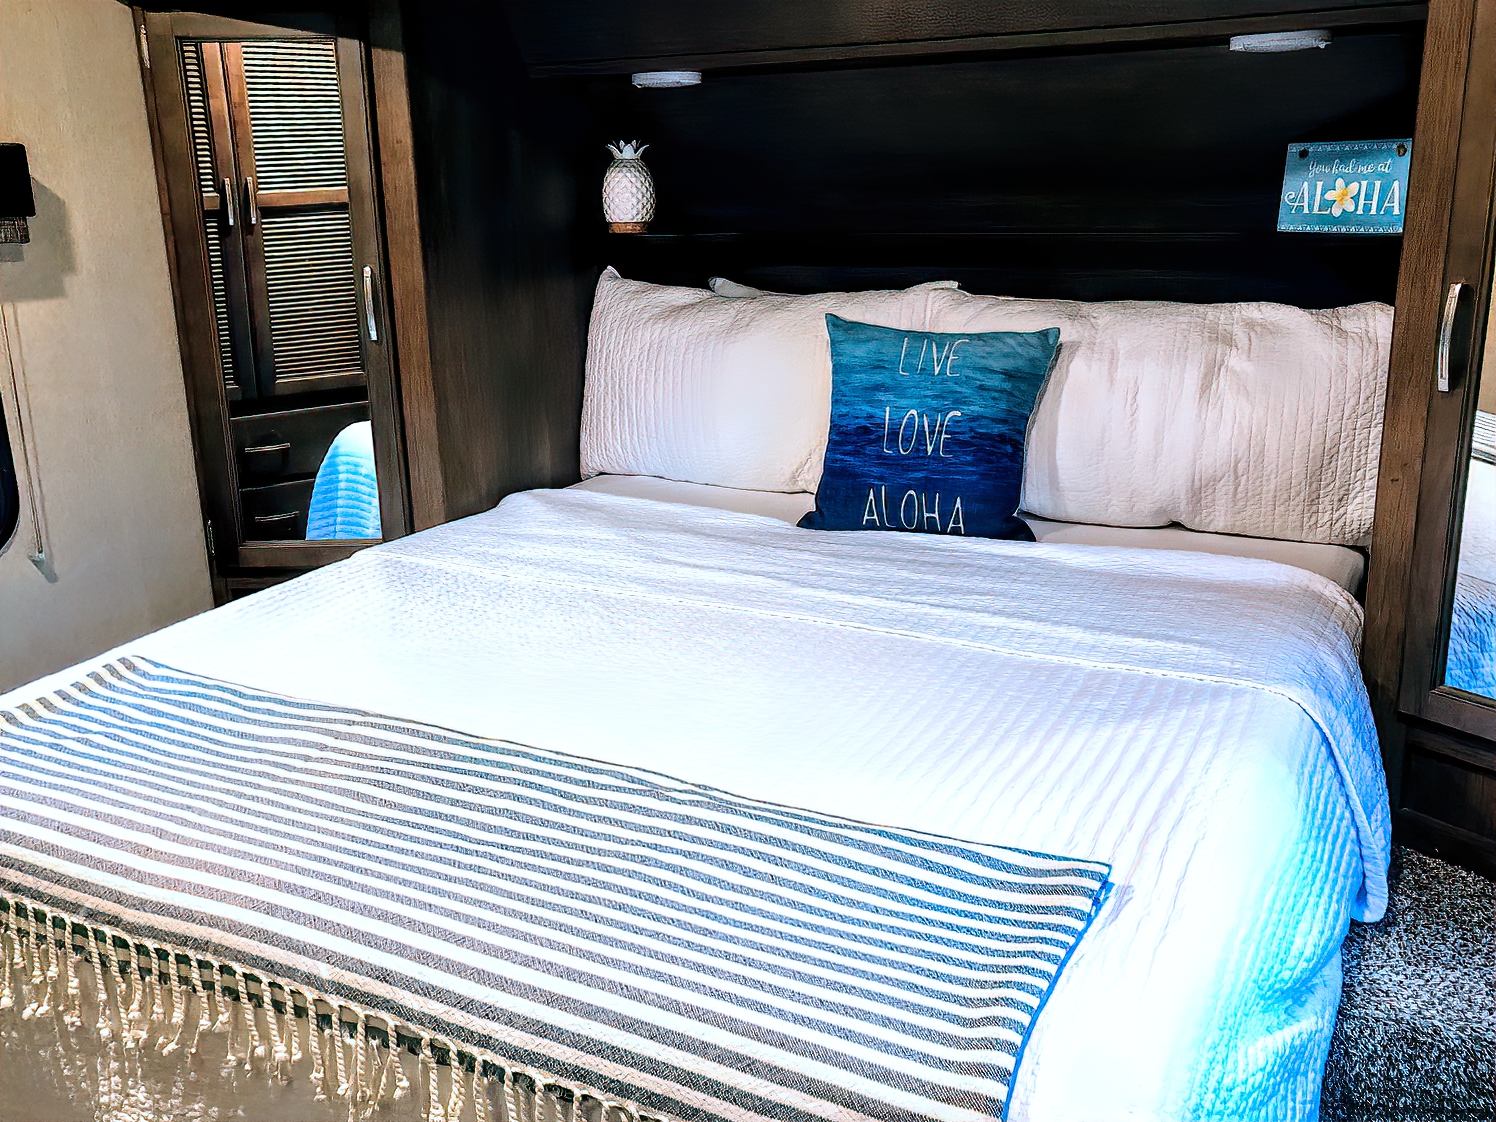
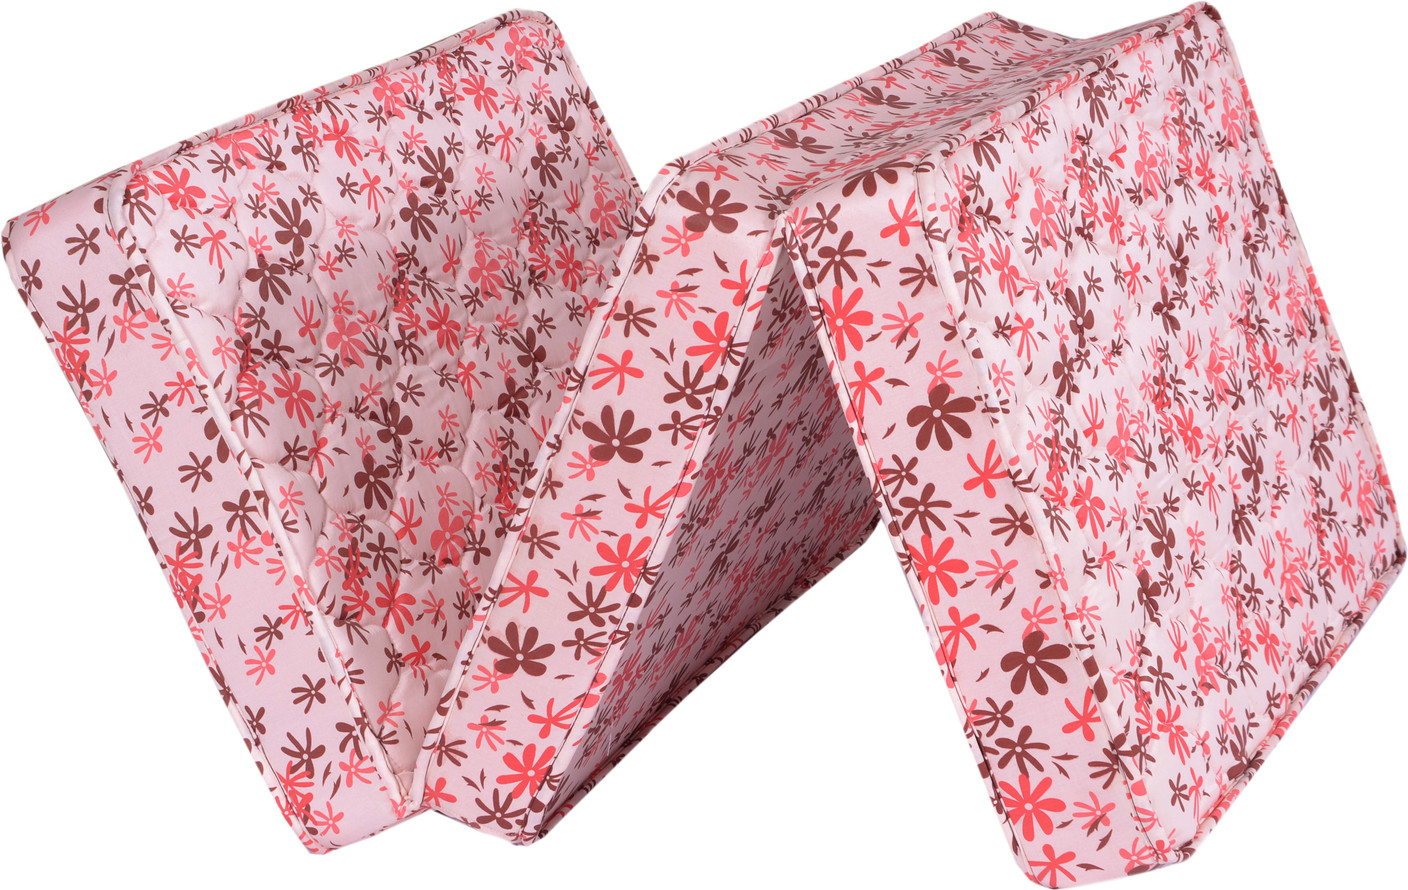
The first step in creating a DIY foam mattress for your RV is to choose the right size. Most RVs have unique mattress sizes that are not readily available in stores. An RV mattress is typically shorter and narrower than a standard mattress, so it's important to measure your current mattress or bed frame before purchasing foam.


RV Mattress


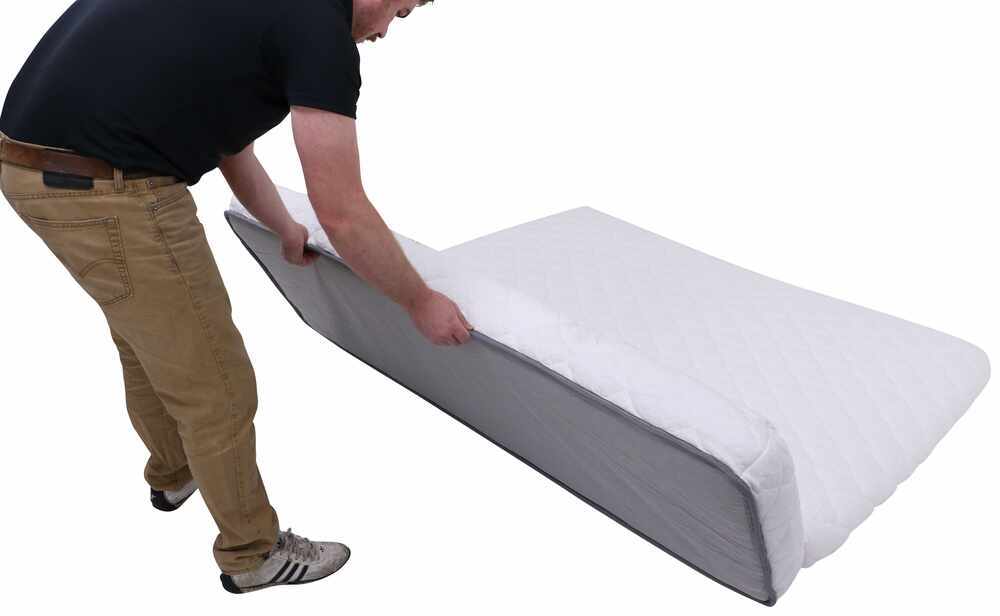
DIY RV Mattress
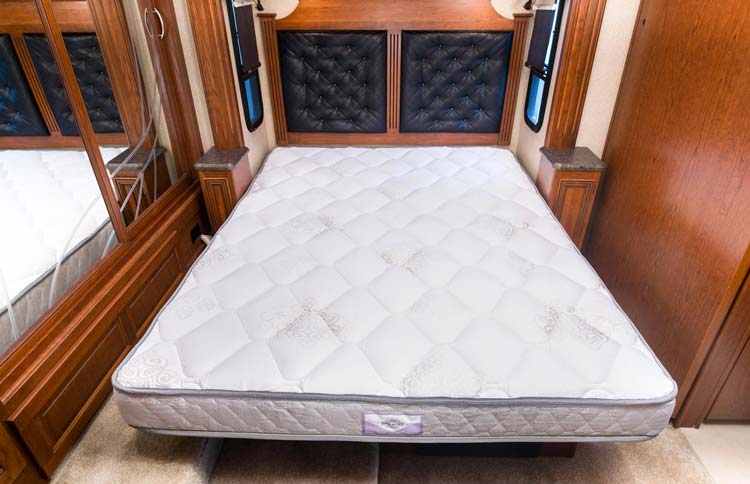
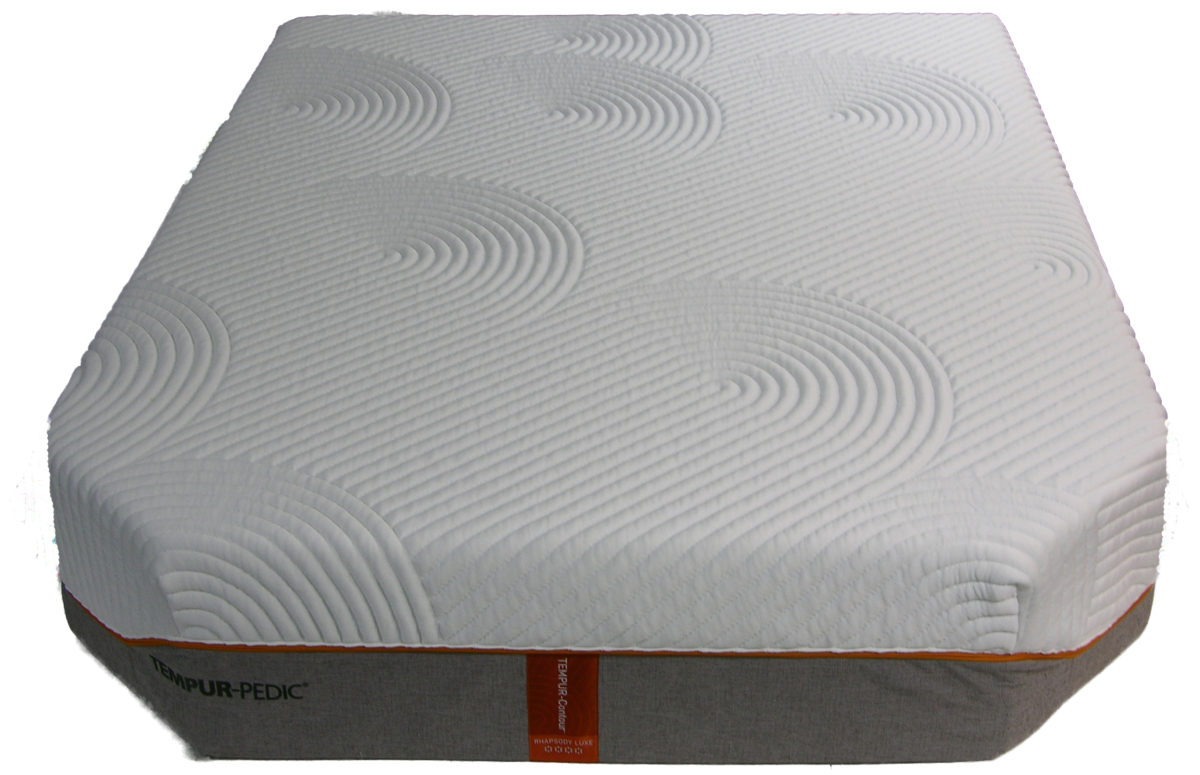
Once you have your measurements, it's time to choose the foam for your DIY RV mattress. Memory foam is a popular choice for its contouring abilities and pressure relief. However, it can be quite dense and may not be the best option for an RV due to weight restrictions. Latex foam is another popular option that offers a similar level of support but is lighter and more breathable. Ultimately, the type of foam you choose will depend on your personal preferences and budget.


DIY RV Mattress


DIY Foam Mattress
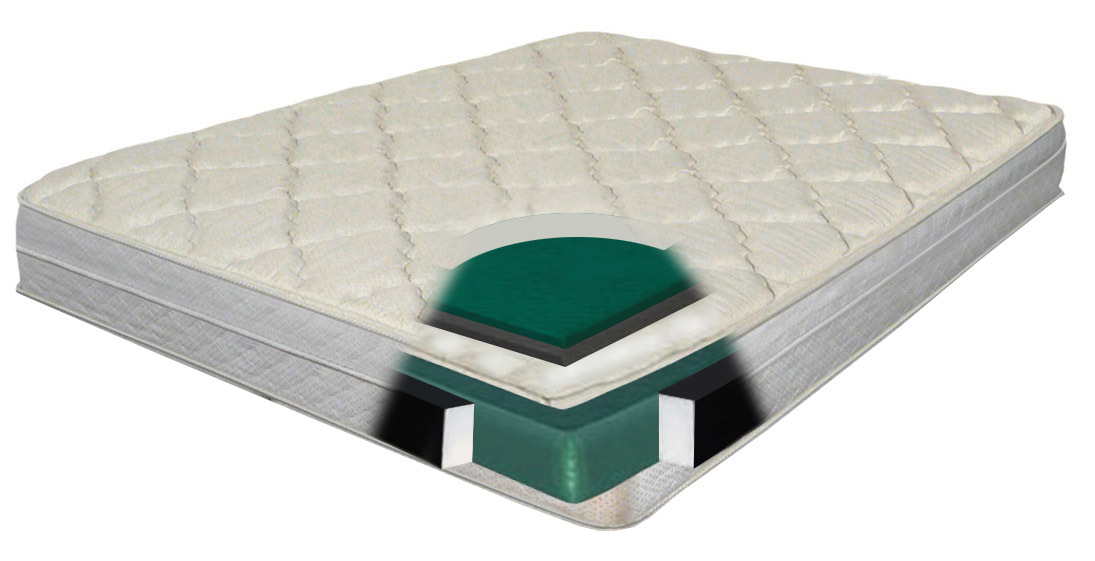
Now that you have your foam, it's time to create your mattress. The easiest way to do this is by using a mattress topper or egg crate foam as a base layer and then adding a layer of your chosen foam on top. This will help prevent your mattress from being too soft or sinking too much. You can also use a foam cutter to shape the foam to fit your specific RV bed shape.


DIY Foam Mattress


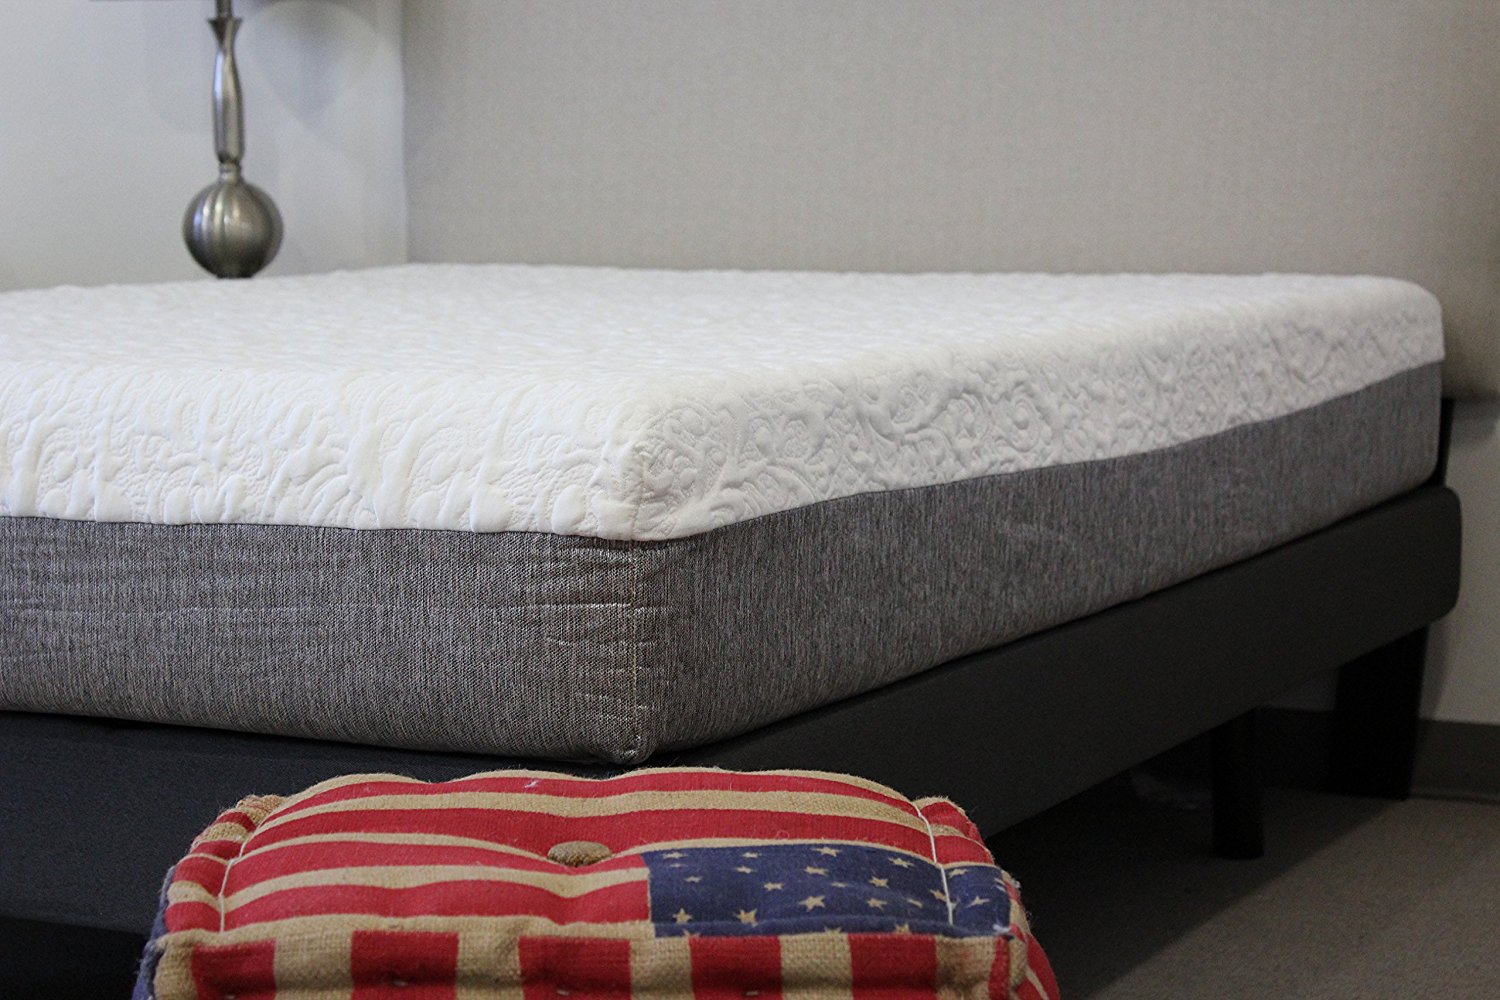
RV Foam Mattress
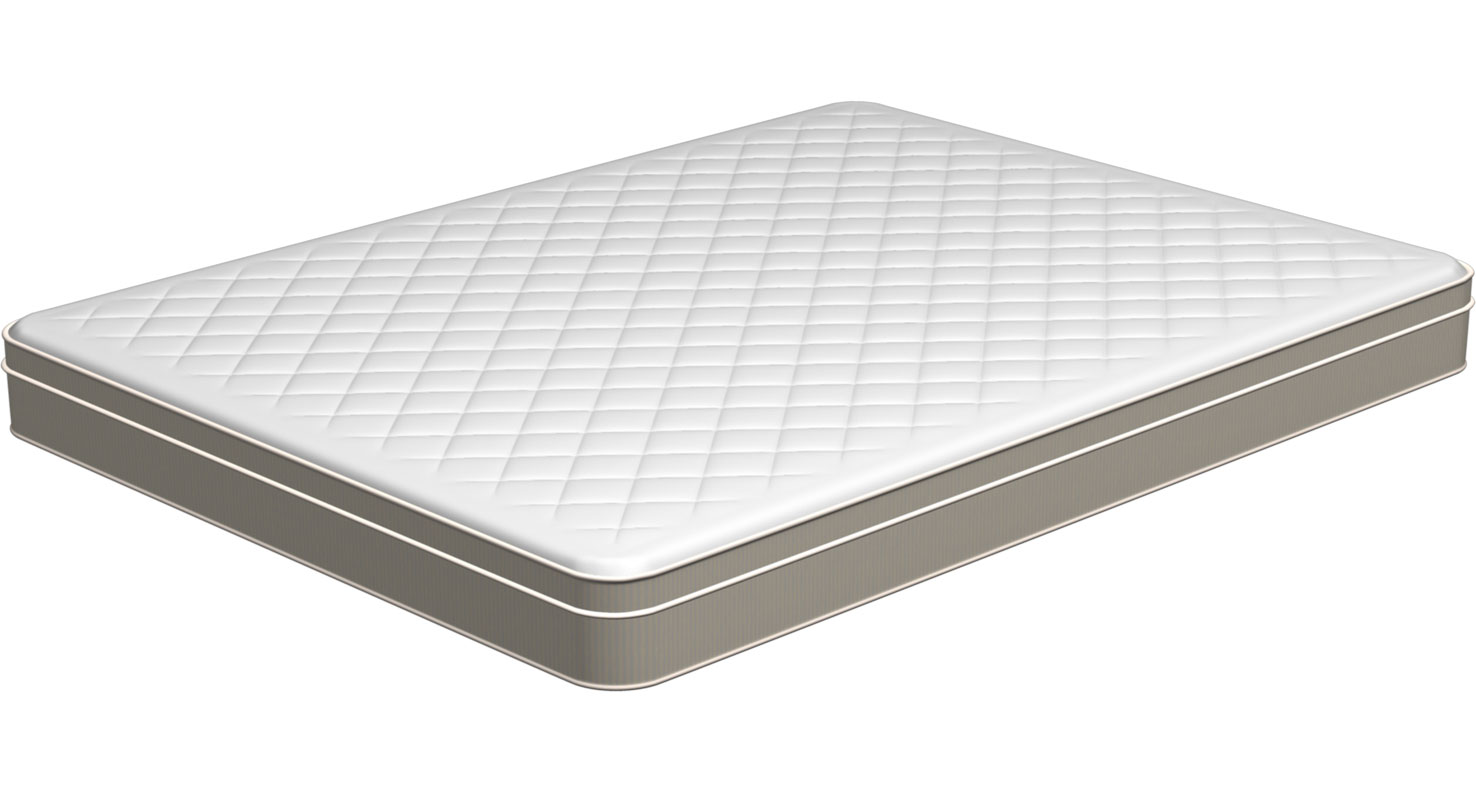
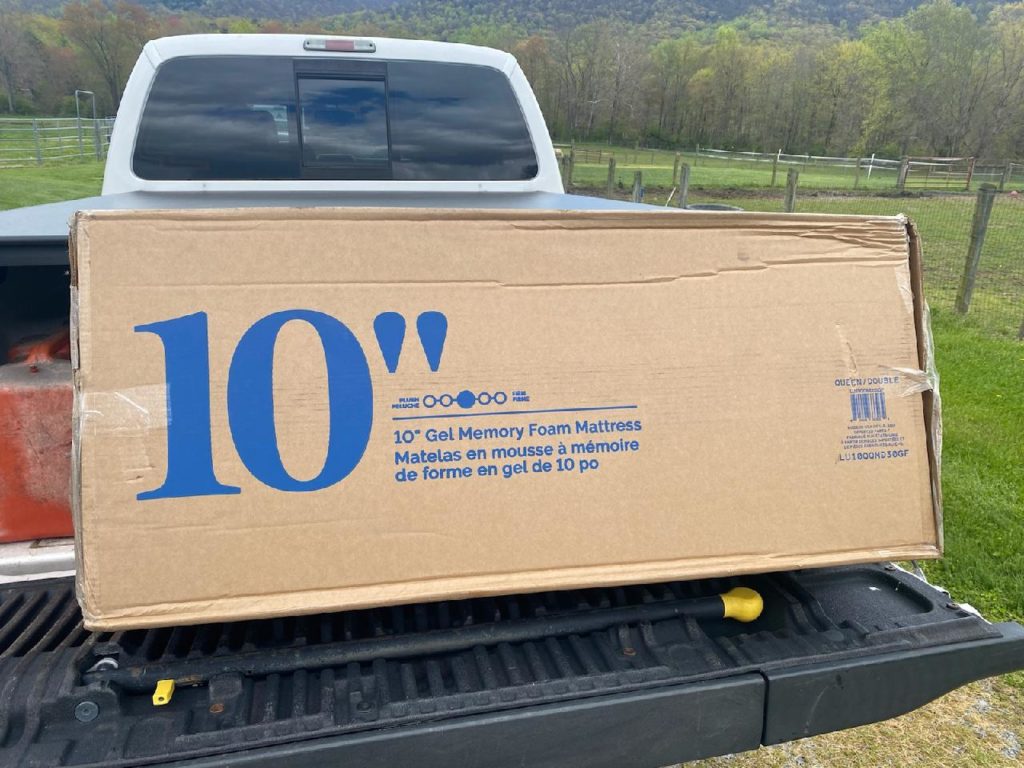
Another important factor to consider when creating your DIY RV foam mattress is the thickness of the foam. Most RV mattresses are thinner than standard mattresses, so it's essential to choose a foam thickness that will still provide enough support and comfort. A 4-6 inch foam thickness is typically sufficient for an RV mattress, but you may want to adjust based on your personal comfort needs.


RV Foam Mattress


DIY RV Foam Mattress
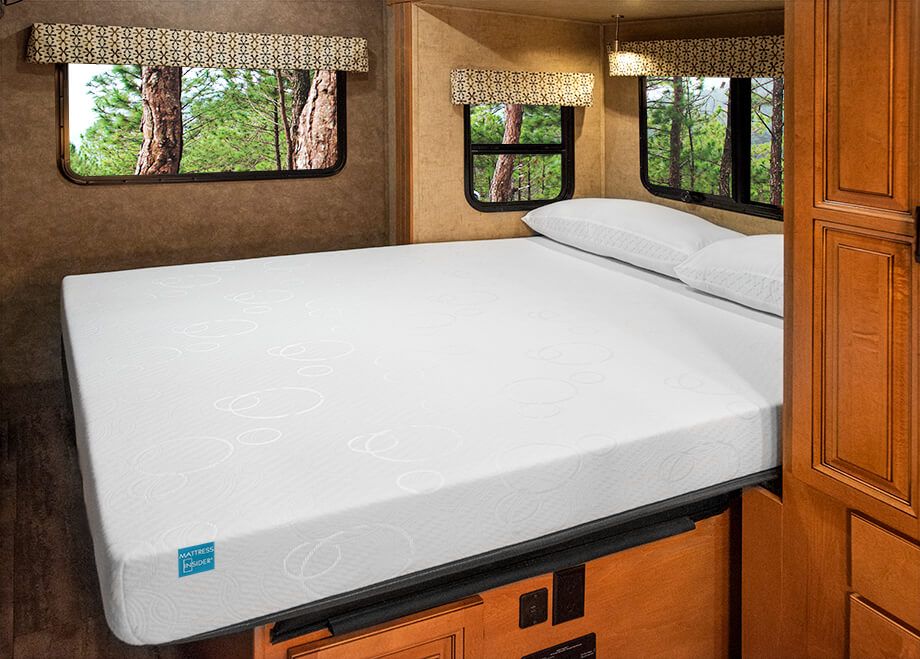
Now that you have all your materials, it's time to assemble your DIY RV foam mattress. Begin by placing the base layer of foam on your bed frame or mattress topper. Then, add your top layer of foam. If you have multiple layers of foam, you can use adhesive spray to secure them together. It's essential to let the adhesive dry completely before using your new mattress.


DIY RV Foam Mattress


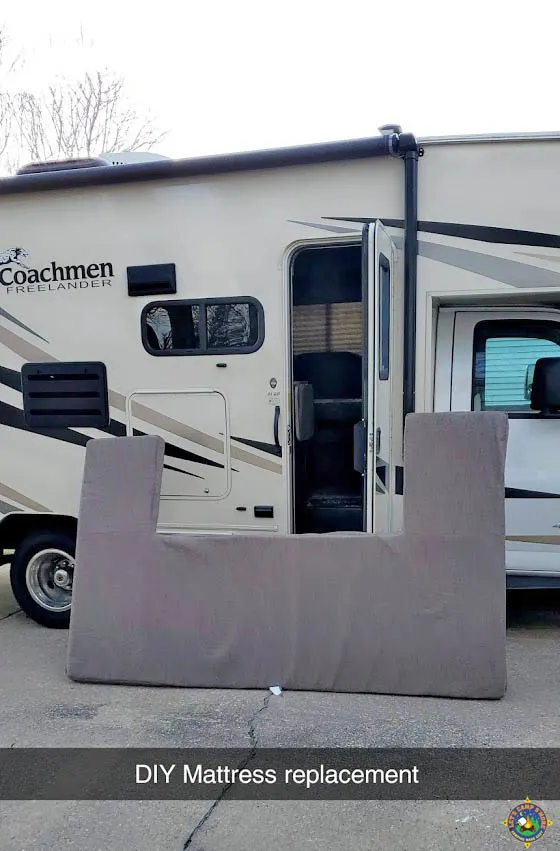
RV Mattress Replacement
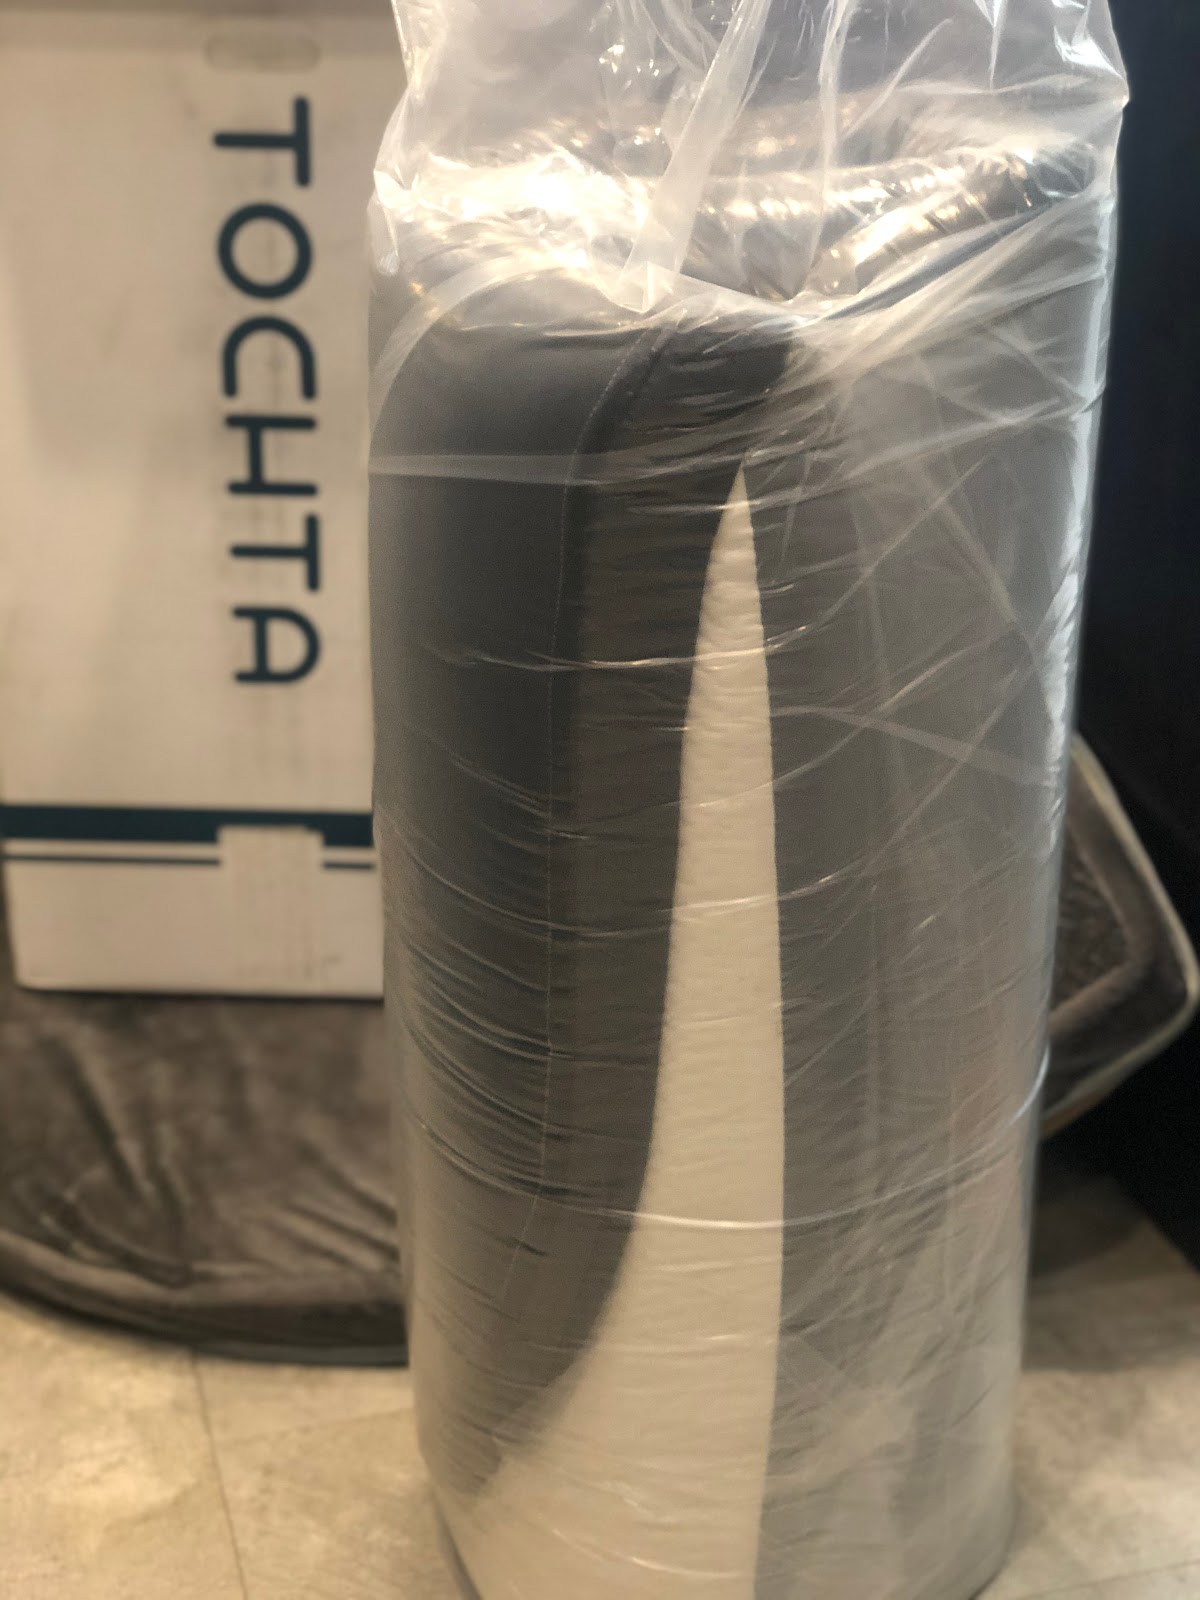
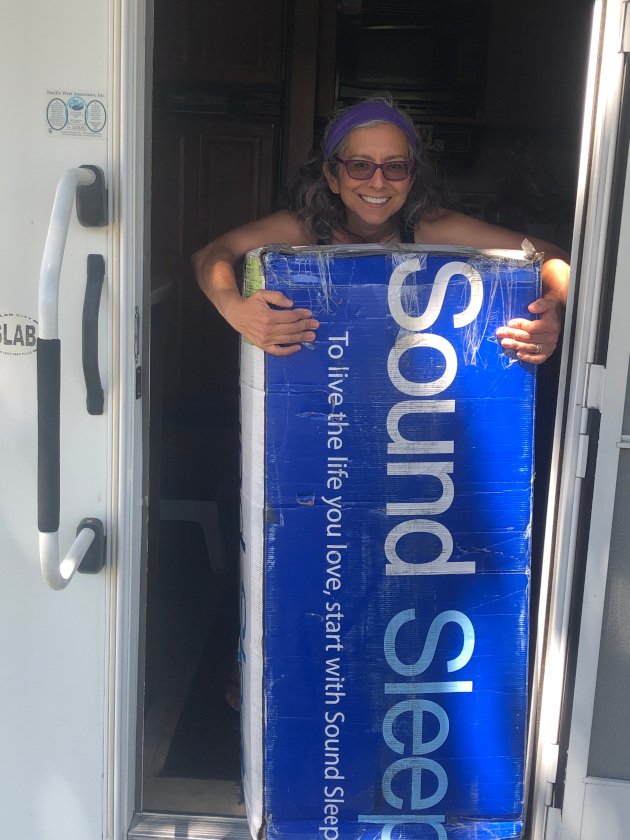
If you're looking to replace your current RV mattress with a DIY foam mattress, it's important to properly dispose of your old mattress. You can take it to a mattress recycling facility or check with your local sanitation department for disposal guidelines. Once your old mattress is gone, you can install your new DIY foam mattress and start enjoying a more comfortable night's sleep in your RV.


RV Mattress Replacement


DIY RV Mattress Replacement
One of the main benefits of creating a DIY foam mattress for your RV is the ability to customize it to your specific needs. If you find that your mattress is still too firm or too soft, you can easily adjust the layers of foam or add a mattress topper for extra cushioning. This flexibility allows you to find the perfect level of comfort for your RV mattress.


DIY RV Mattress Replacement


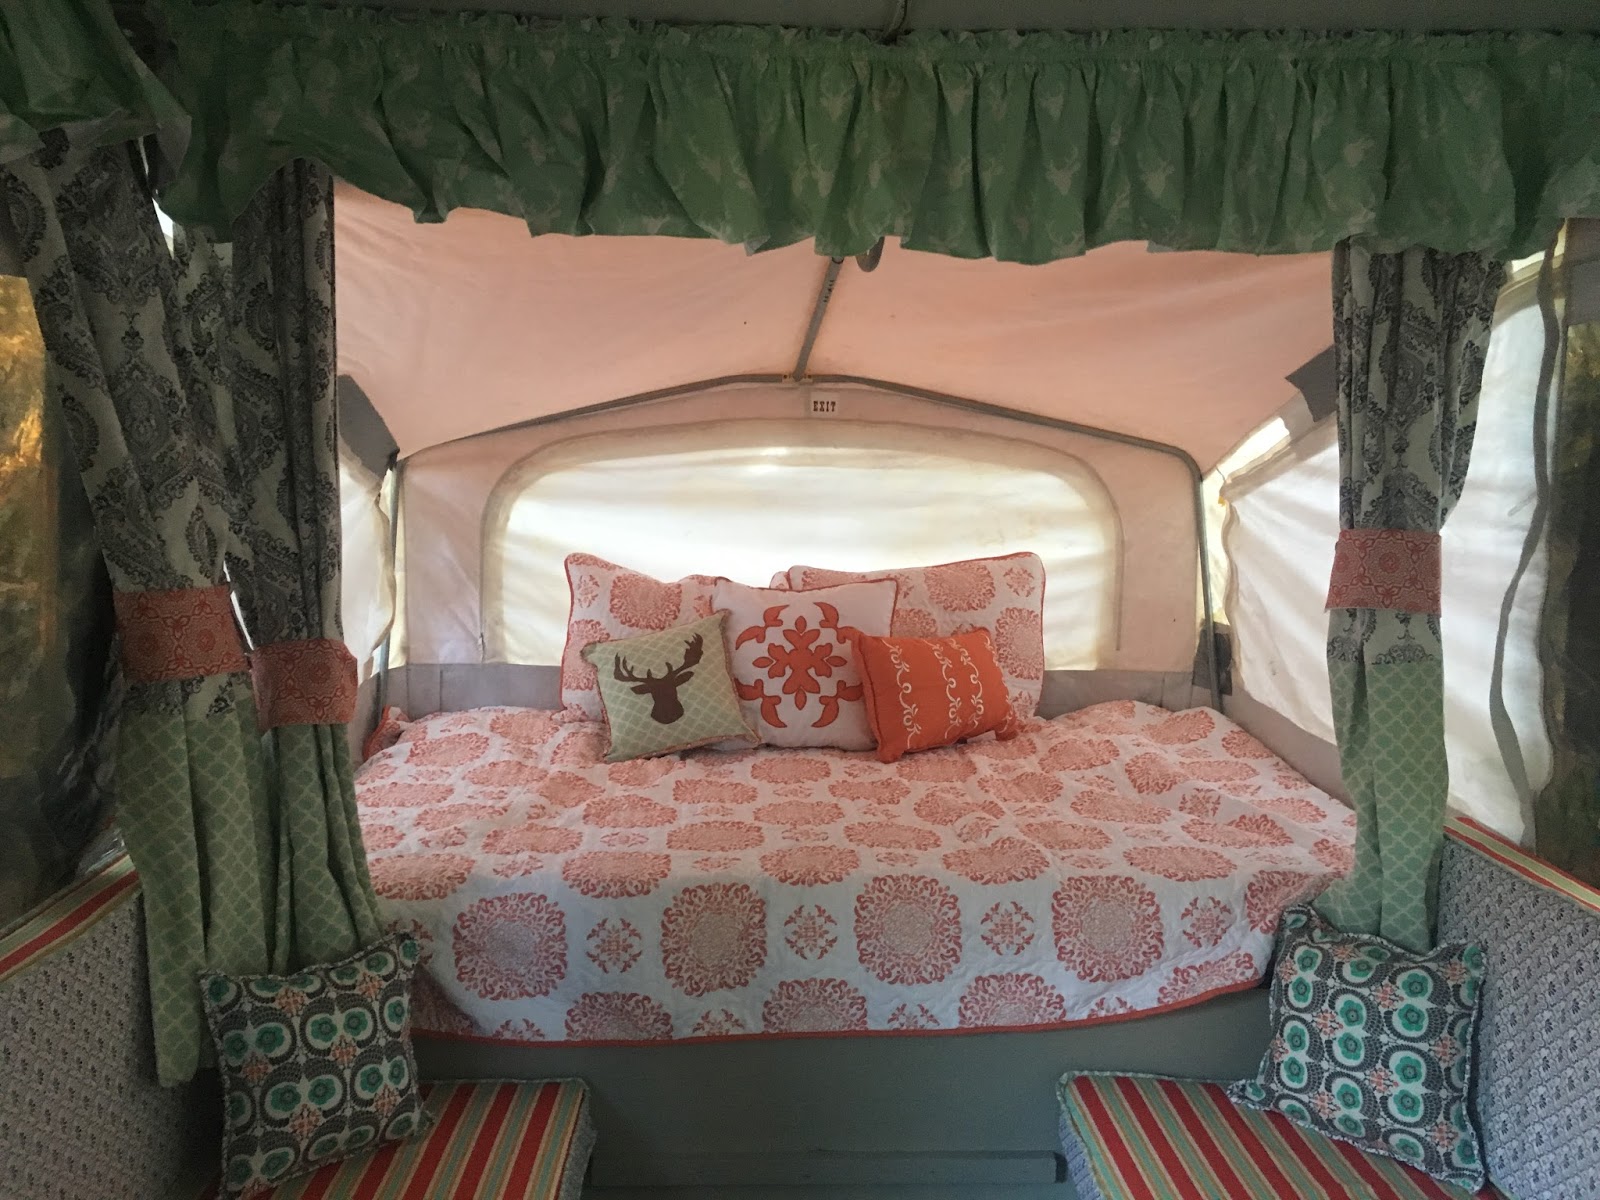


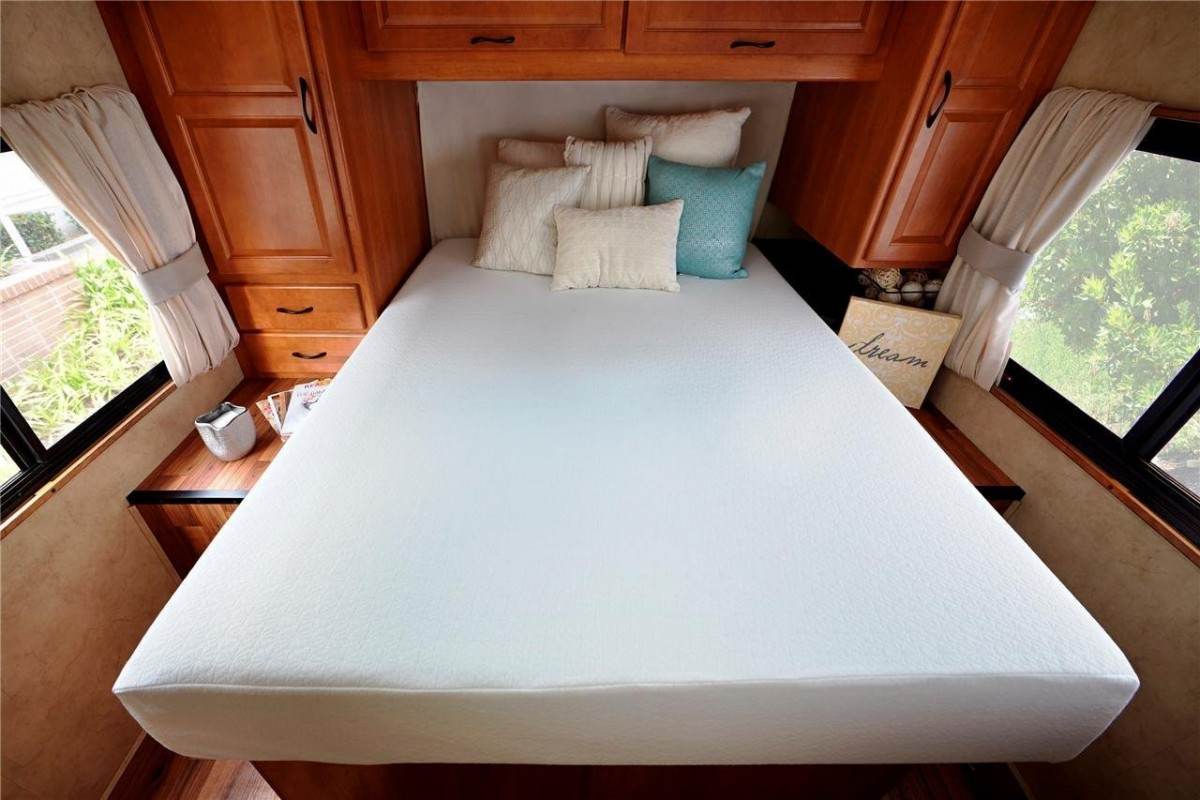
DIY Foam Mattress for Camper
In addition to RVs, DIY foam mattresses can also be used in campers and trailers. The process is essentially the same, but you may need to adjust the foam thickness to fit your camper's bed size. With a DIY foam mattress, you can make any camping trip more comfortable and restful.


DIY Foam Mattress for Camper


RV Mattress Upgrade
Upgrading your RV mattress to a DIY foam mattress is not only cost-effective but can also significantly improve your sleeping experience. With the right materials and a little bit of DIY knowledge, you can create a comfortable and supportive mattress that will make your RV feel like a home away from home.

RV Mattress Upgrade


How to Create a Comfortable and Affordable DIY Foam Mattress for Your RV

Introduction
 Traveling in an RV can be a thrilling and adventurous experience, but it also means sacrificing certain comforts of a traditional home, such as a comfortable mattress. The standard mattresses in most RVs are often thin and uncomfortable, making it difficult to get a good night's sleep. However, with a little DIY effort, you can create a
foam mattress for your RV
that is both
comfortable
and
affordable
. In this article, we will guide you through the process of building your own
DIY foam mattress
for your RV, so you can sleep soundly and wake up feeling refreshed for your next adventure.
Traveling in an RV can be a thrilling and adventurous experience, but it also means sacrificing certain comforts of a traditional home, such as a comfortable mattress. The standard mattresses in most RVs are often thin and uncomfortable, making it difficult to get a good night's sleep. However, with a little DIY effort, you can create a
foam mattress for your RV
that is both
comfortable
and
affordable
. In this article, we will guide you through the process of building your own
DIY foam mattress
for your RV, so you can sleep soundly and wake up feeling refreshed for your next adventure.
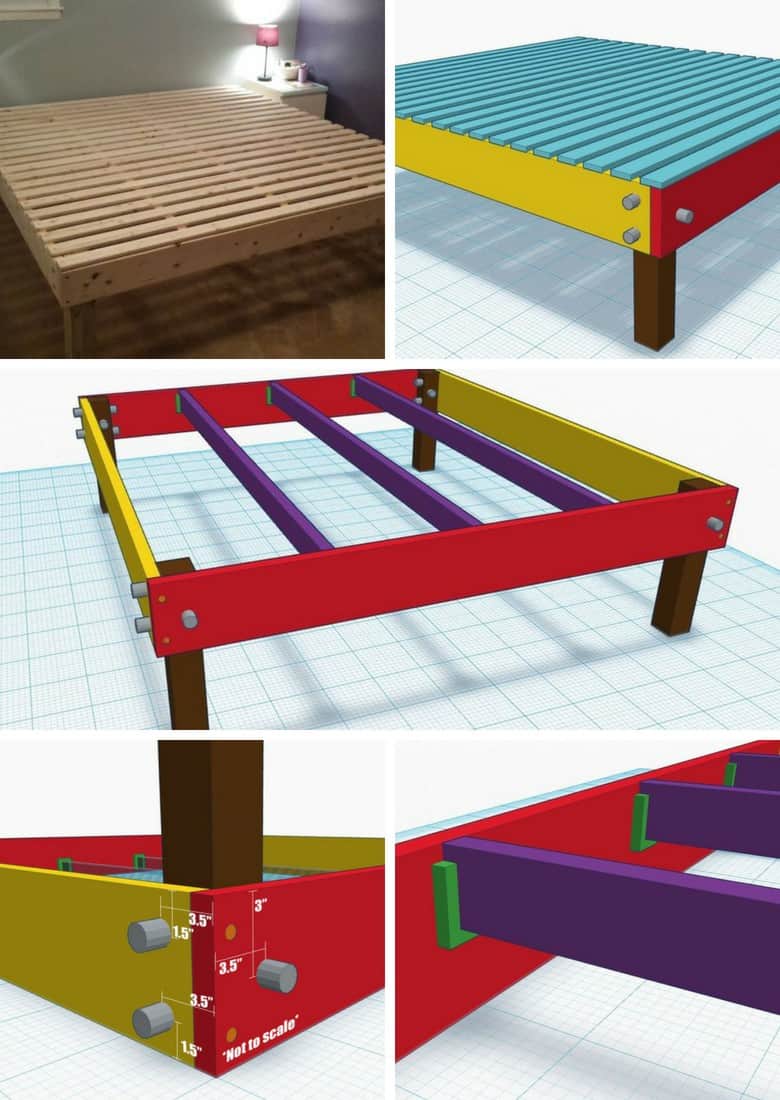
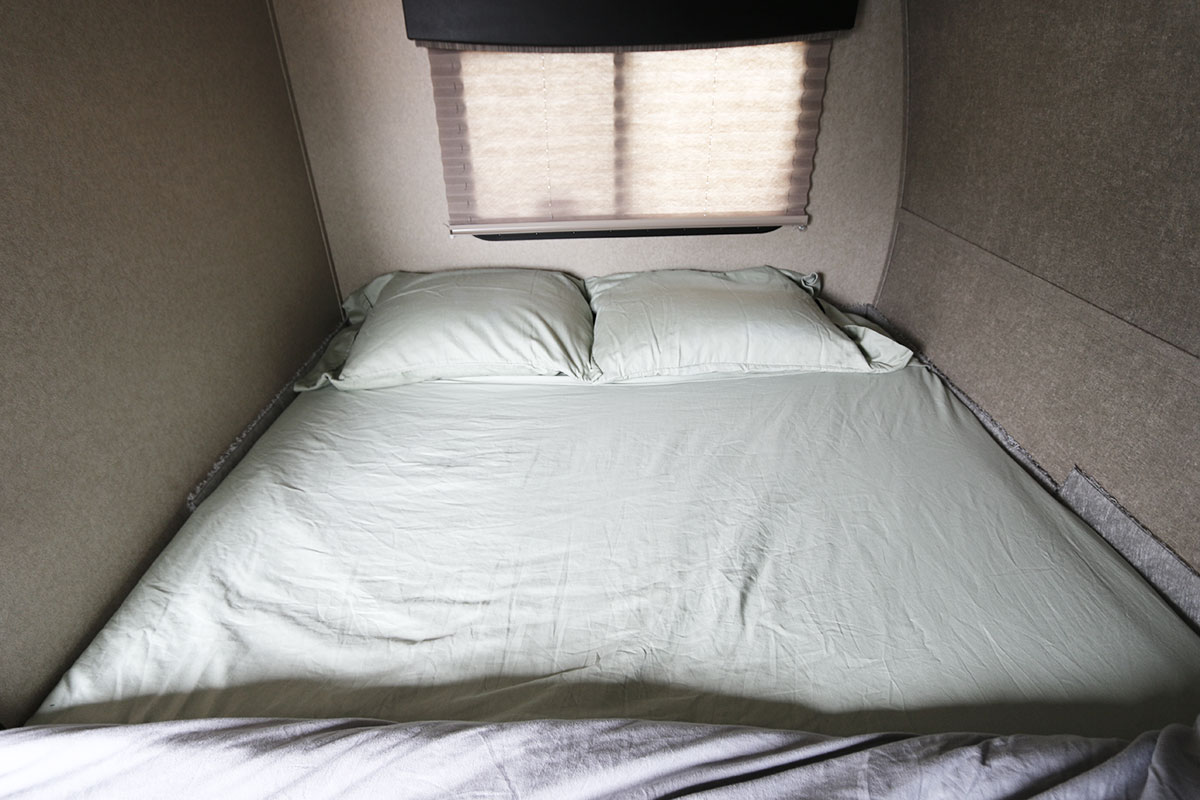
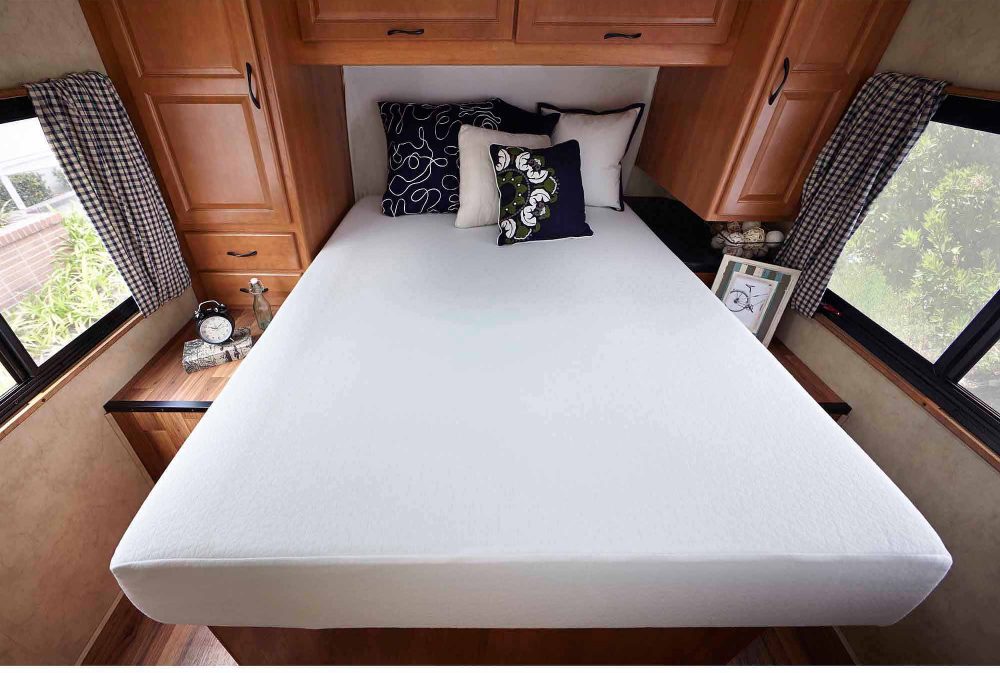
Step 1: Measure Your RV Bed
 The first step in creating your
DIY foam mattress
is to measure your RV bed. Most RV beds come in non-standard sizes, so it's important to measure the length, width, and depth of your bed accurately. This will ensure that your
foam mattress
fits perfectly and provides maximum comfort.
The first step in creating your
DIY foam mattress
is to measure your RV bed. Most RV beds come in non-standard sizes, so it's important to measure the length, width, and depth of your bed accurately. This will ensure that your
foam mattress
fits perfectly and provides maximum comfort.
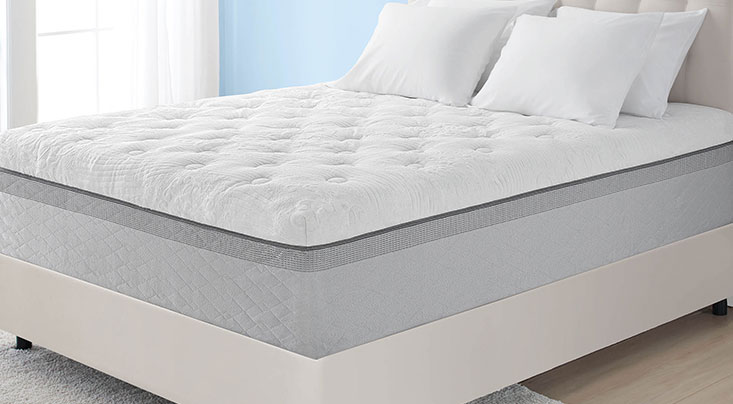
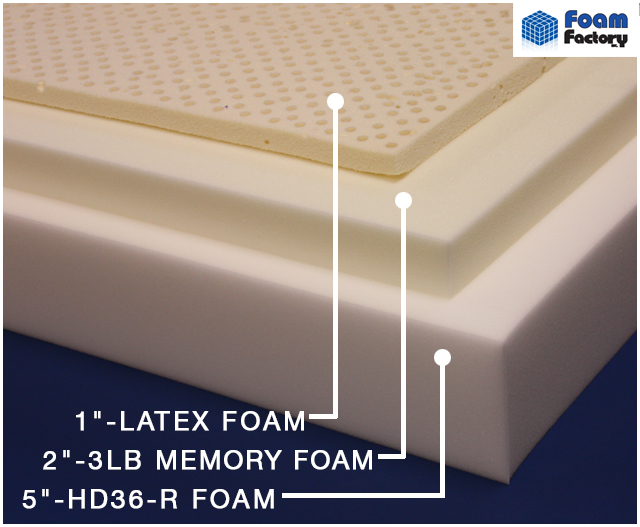
Step 2: Choose the Right Foam
 The key to a comfortable
foam mattress
is choosing the right type of foam. Memory foam is a popular choice for its ability to mold to your body shape, providing support and reducing pressure points. However, it can be expensive. An affordable alternative is high-density polyurethane foam, which is firm and durable. You can also mix and match different types of foam to find the perfect level of comfort for your needs.
The key to a comfortable
foam mattress
is choosing the right type of foam. Memory foam is a popular choice for its ability to mold to your body shape, providing support and reducing pressure points. However, it can be expensive. An affordable alternative is high-density polyurethane foam, which is firm and durable. You can also mix and match different types of foam to find the perfect level of comfort for your needs.
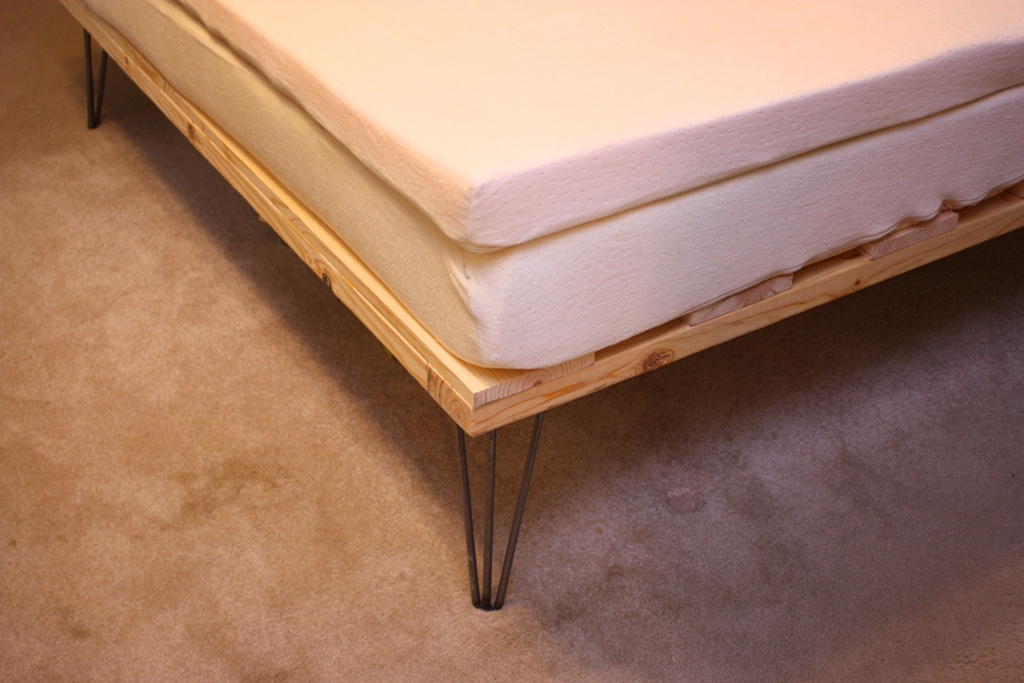
Step 3: Cut the Foam to Size
 Using your measurements, cut the foam to the exact size of your RV bed. You can use a sharp knife or an electric carving knife to cut through the foam easily. If you are using different types of foam, layer them according to your desired level of comfort.
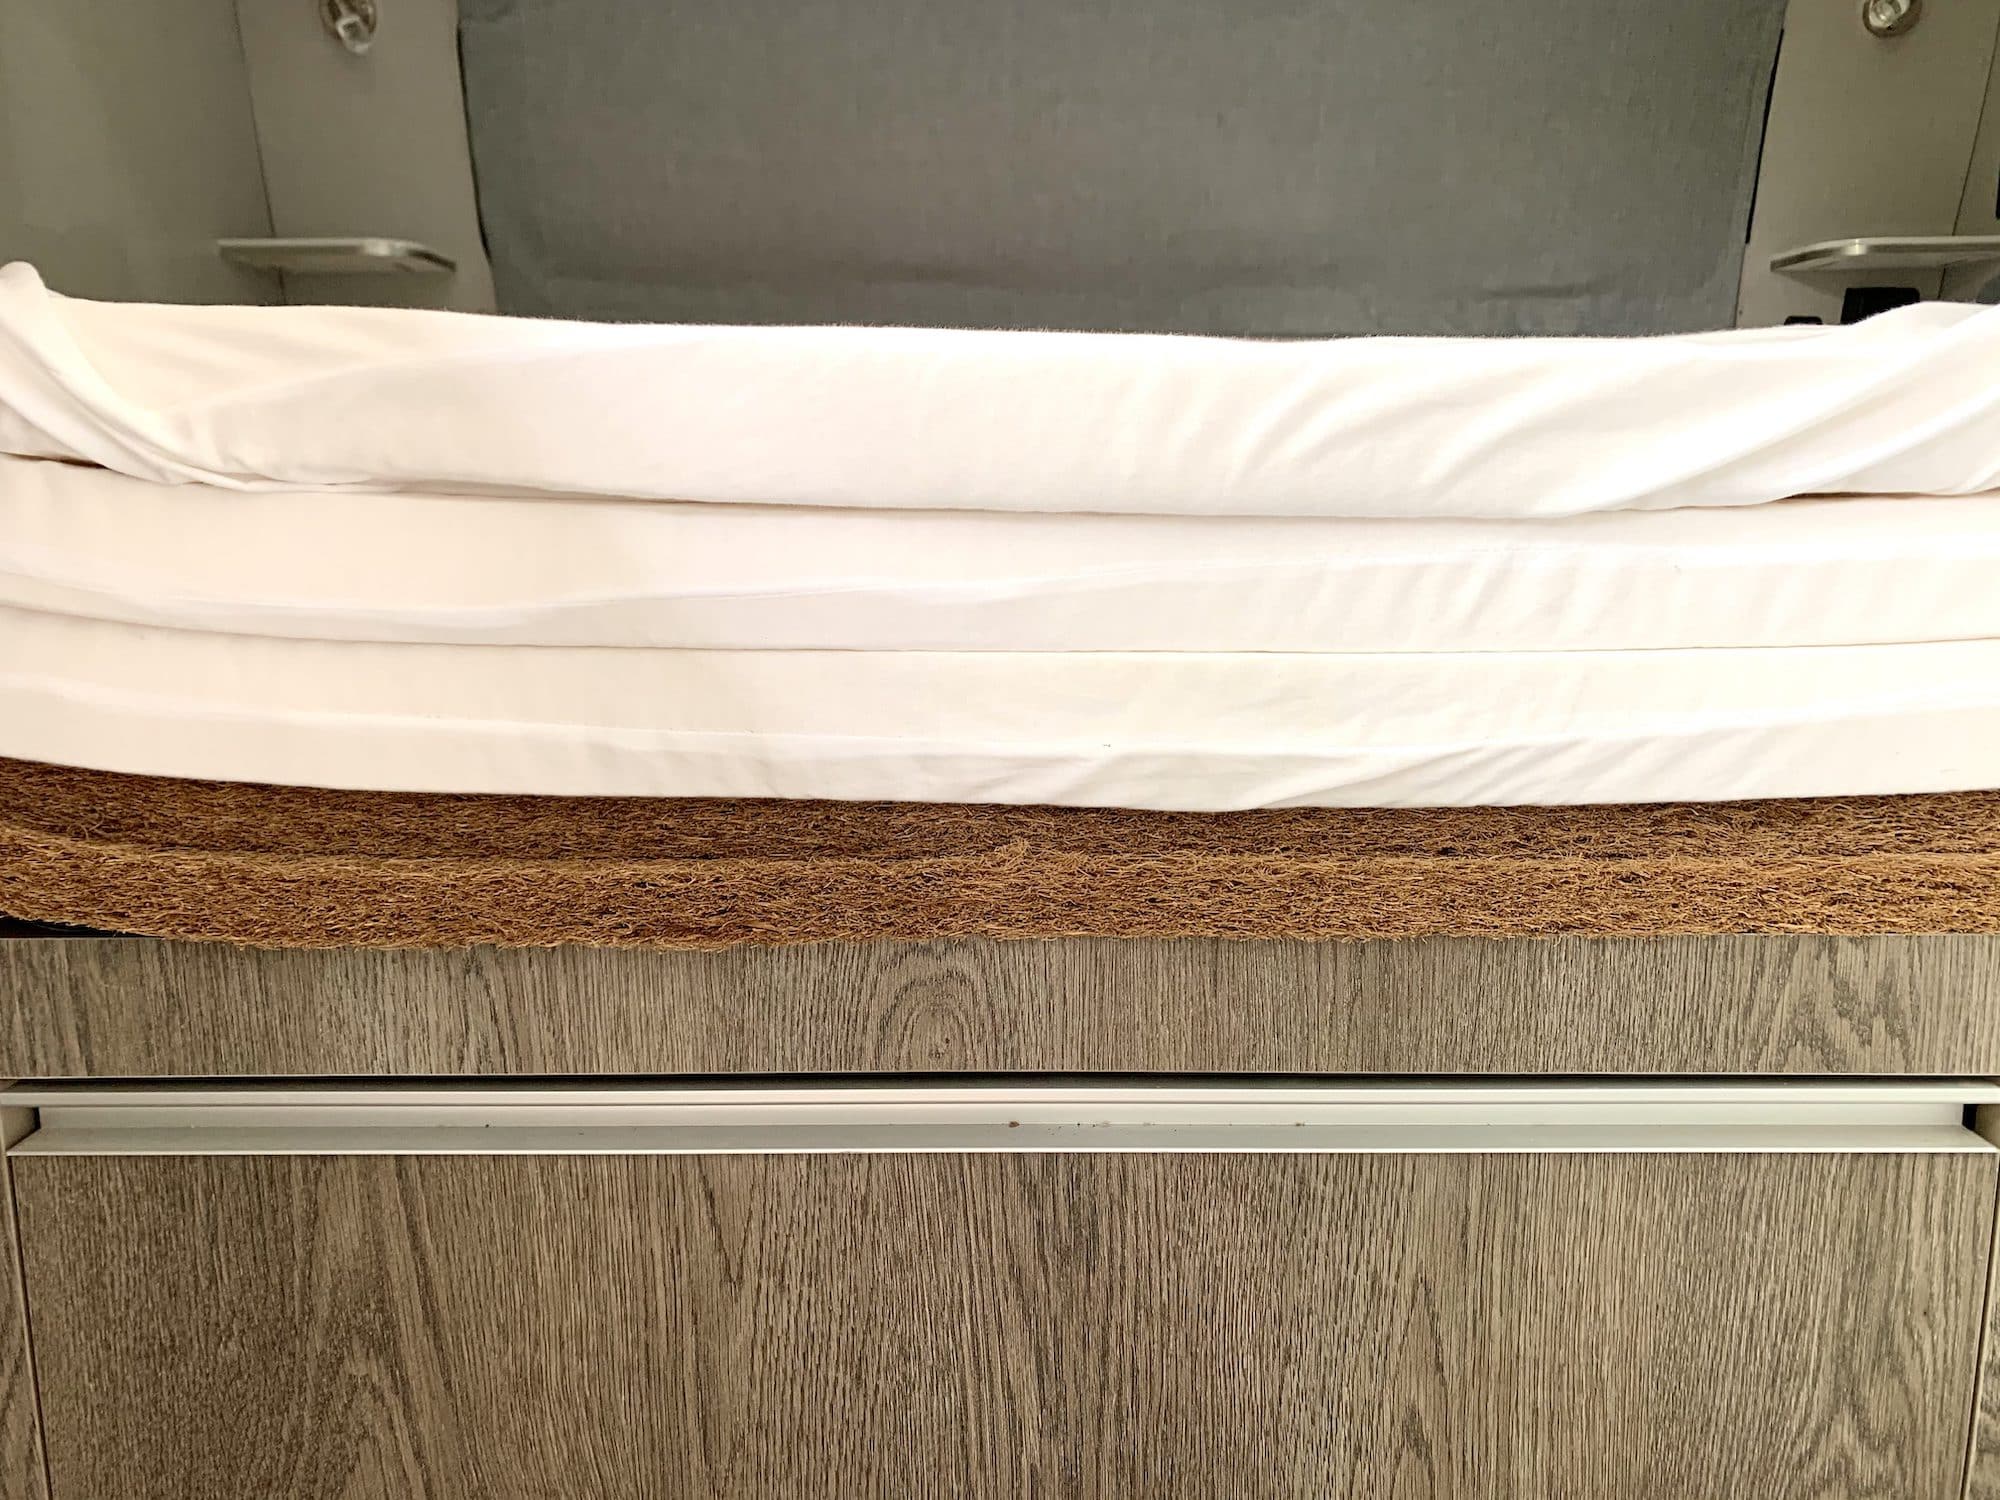
Step 4: Cover the Foam
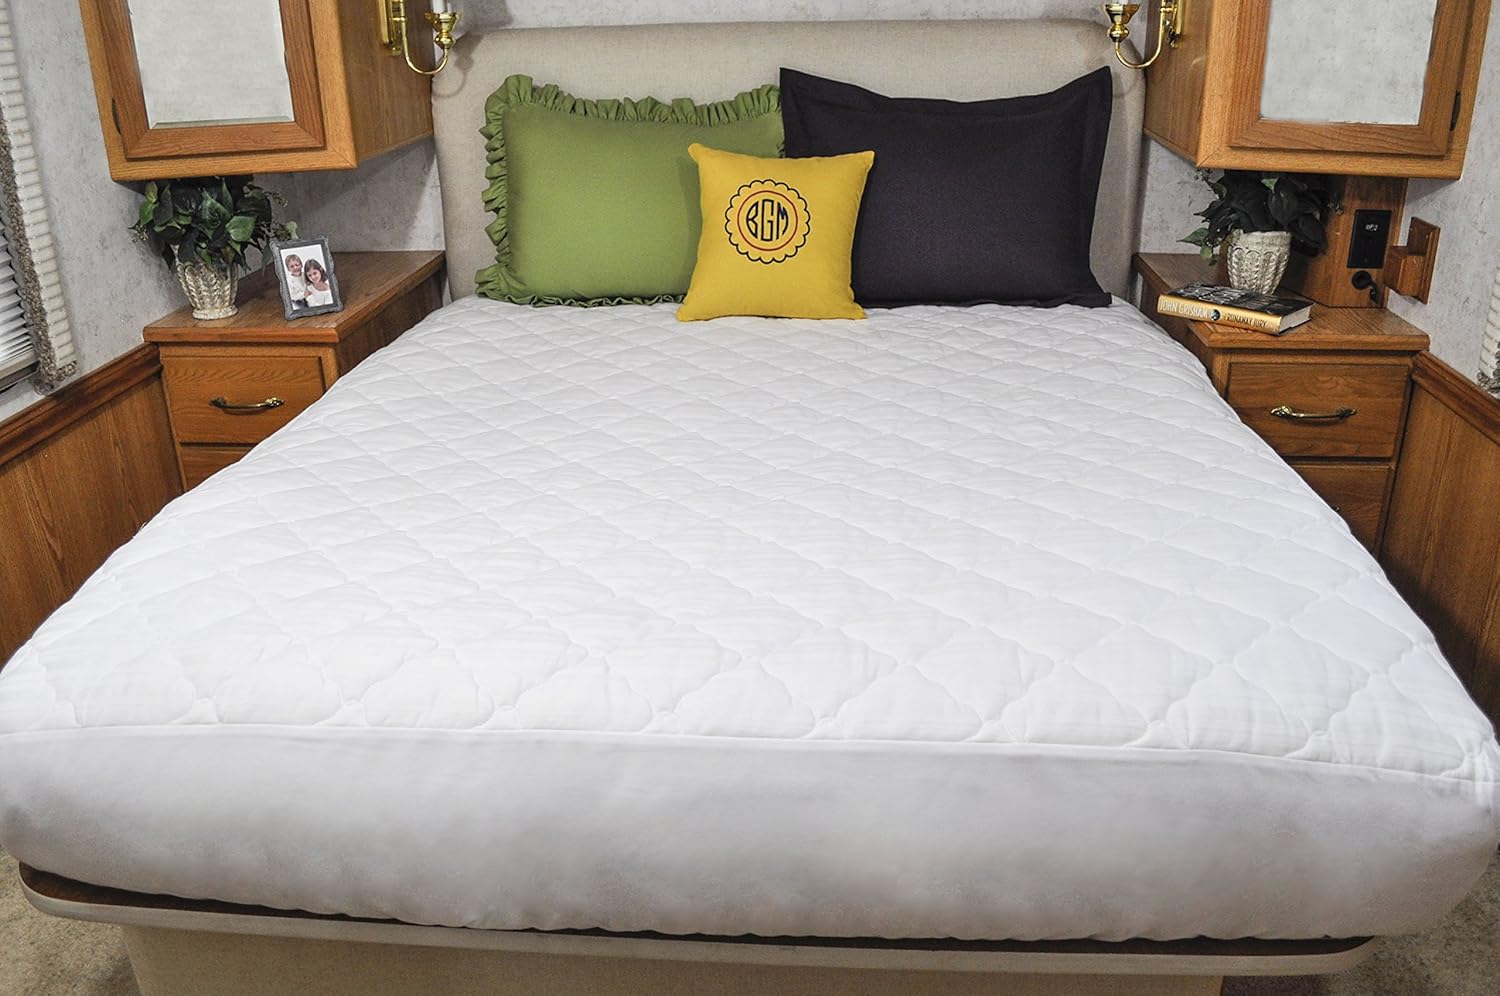
 To protect your foam and add an extra layer of comfort, cover it with a
mattress protector
and a fitted sheet. This will also help keep your
DIY foam mattress
in place while you sleep.
To protect your foam and add an extra layer of comfort, cover it with a
mattress protector
and a fitted sheet. This will also help keep your
DIY foam mattress
in place while you sleep.
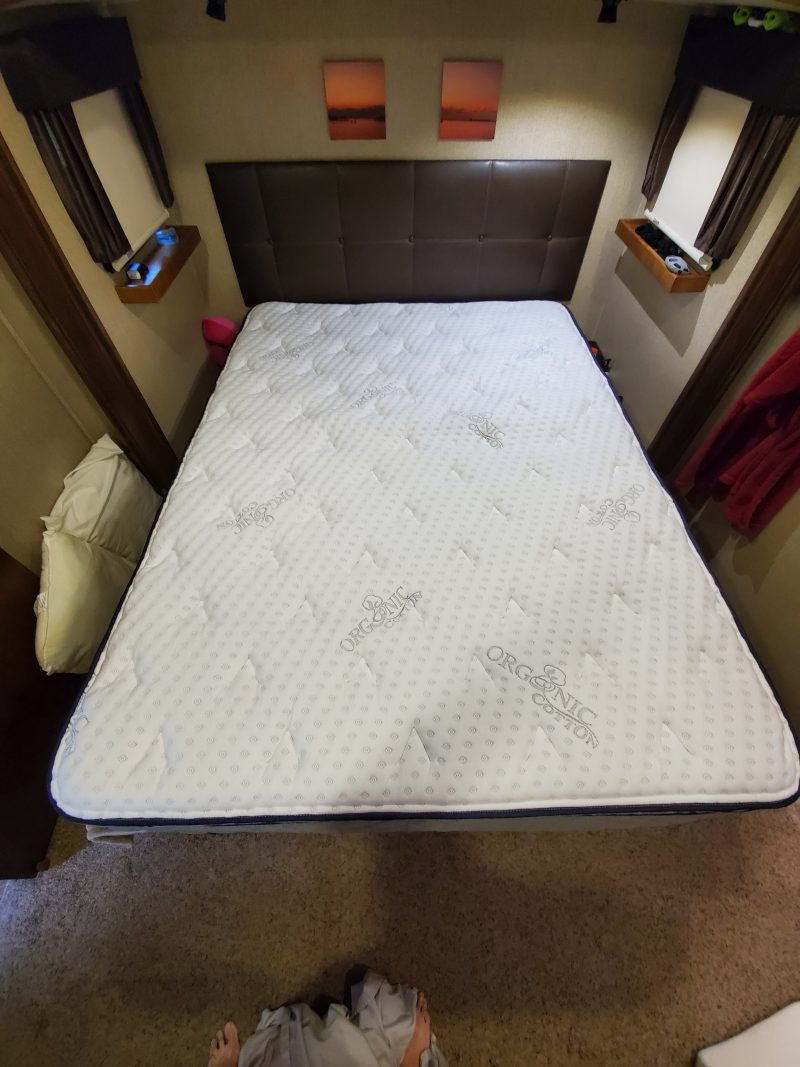
Step 5: Test It Out
 Once you have completed all the steps, it's time to test out your
DIY foam mattress
. Lie down on it and see how it feels. If it's too firm, you can add a
mattress topper
for extra cushioning. If it's too soft, you can add more layers of foam or opt for a firmer type of foam.
Once you have completed all the steps, it's time to test out your
DIY foam mattress
. Lie down on it and see how it feels. If it's too firm, you can add a
mattress topper
for extra cushioning. If it's too soft, you can add more layers of foam or opt for a firmer type of foam.
Conclusion
 Creating a
DIY foam mattress
for your RV is a cost-effective and simple solution to improve your sleeping experience on the road. By following these steps and choosing the right materials, you can have a
comfortable
and
affordable
mattress that will make your RV feel like a home away from home. So, before your next trip, take some time to build your own
foam mattress
and enjoy a good night's sleep wherever you go.
Creating a
DIY foam mattress
for your RV is a cost-effective and simple solution to improve your sleeping experience on the road. By following these steps and choosing the right materials, you can have a
comfortable
and
affordable
mattress that will make your RV feel like a home away from home. So, before your next trip, take some time to build your own
foam mattress
and enjoy a good night's sleep wherever you go.