Are you looking to add a unique touch to your kitchen while also saving some money? Why not try making your own DIY epoxy resin kitchen light fixture! This fun and easy project will not only add a personalized touch to your kitchen, but it will also brighten up your space with a beautiful and durable light fixture. In this article, we will go over the step-by-step process of creating your own DIY epoxy kitchen light fixture and provide some creative ideas to inspire your design.DIY Epoxy Resin Kitchen Light Fixture
Before we dive into the process, let's first understand what epoxy resin is and why it is a great material to use for a kitchen light fixture. Epoxy resin is a type of plastic that hardens into a clear and durable material when mixed with a hardener. It is commonly used in DIY projects because of its versatility and strength. Epoxy resin is also heat resistant, making it a perfect material for a kitchen light fixture that may be exposed to high temperatures. Now, let's get into the step-by-step guide to creating your own DIY epoxy kitchen light fixture.How to Make an Epoxy Resin Light Fixture for Your Kitchen
Step 1: Gather your materials and supplies. You will need epoxy resin, a hardener, a mold or base for your light fixture, a mixing container, a stirring stick, and any additional materials you want to add for decoration. Step 2: Prepare your mold or base for the light fixture. This can be a simple bowl or container, or you can get creative and use a unique object like a mason jar or a piece of driftwood. Step 3: Mix your epoxy resin and hardener according to the instructions on the package. It is important to follow the instructions carefully, as the ratio of resin to hardener will determine the strength and durability of your light fixture. Step 4: Pour the mixed epoxy resin into your mold or base. If you want to add any additional materials, such as glitter or dried flowers, now is the time to do so. Step 5: Let the epoxy resin cure according to the instructions on the package. This can take anywhere from a few hours to a full day, depending on the type of resin you are using. Step 6: Once the resin is fully cured and hardened, remove it from the mold or base. You may need to sand down any rough edges or use a drill to create a hole for the light fixture to fit through. Step 7: Attach a light fixture kit to the epoxy resin piece. This can be found at any hardware store and will allow you to easily install your new light fixture.Step-by-Step Guide to Creating a DIY Epoxy Kitchen Light Fixture
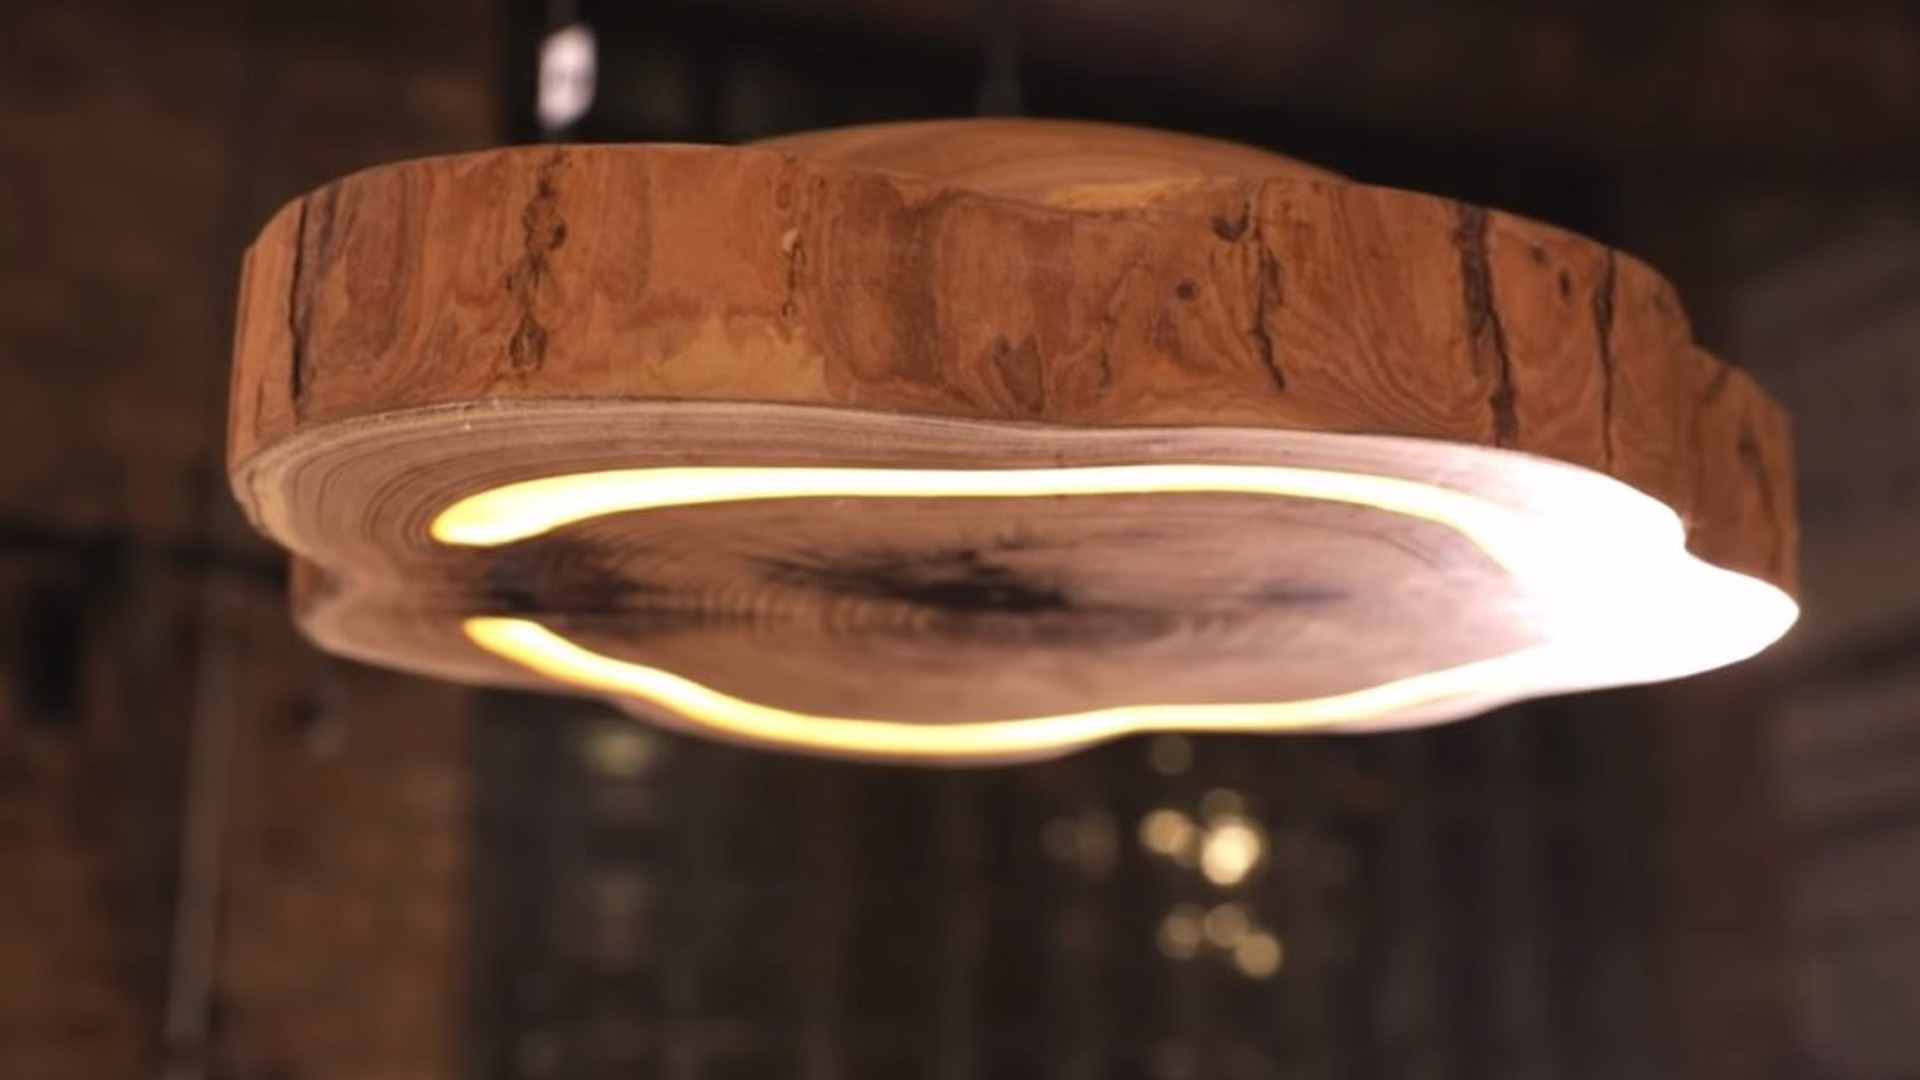
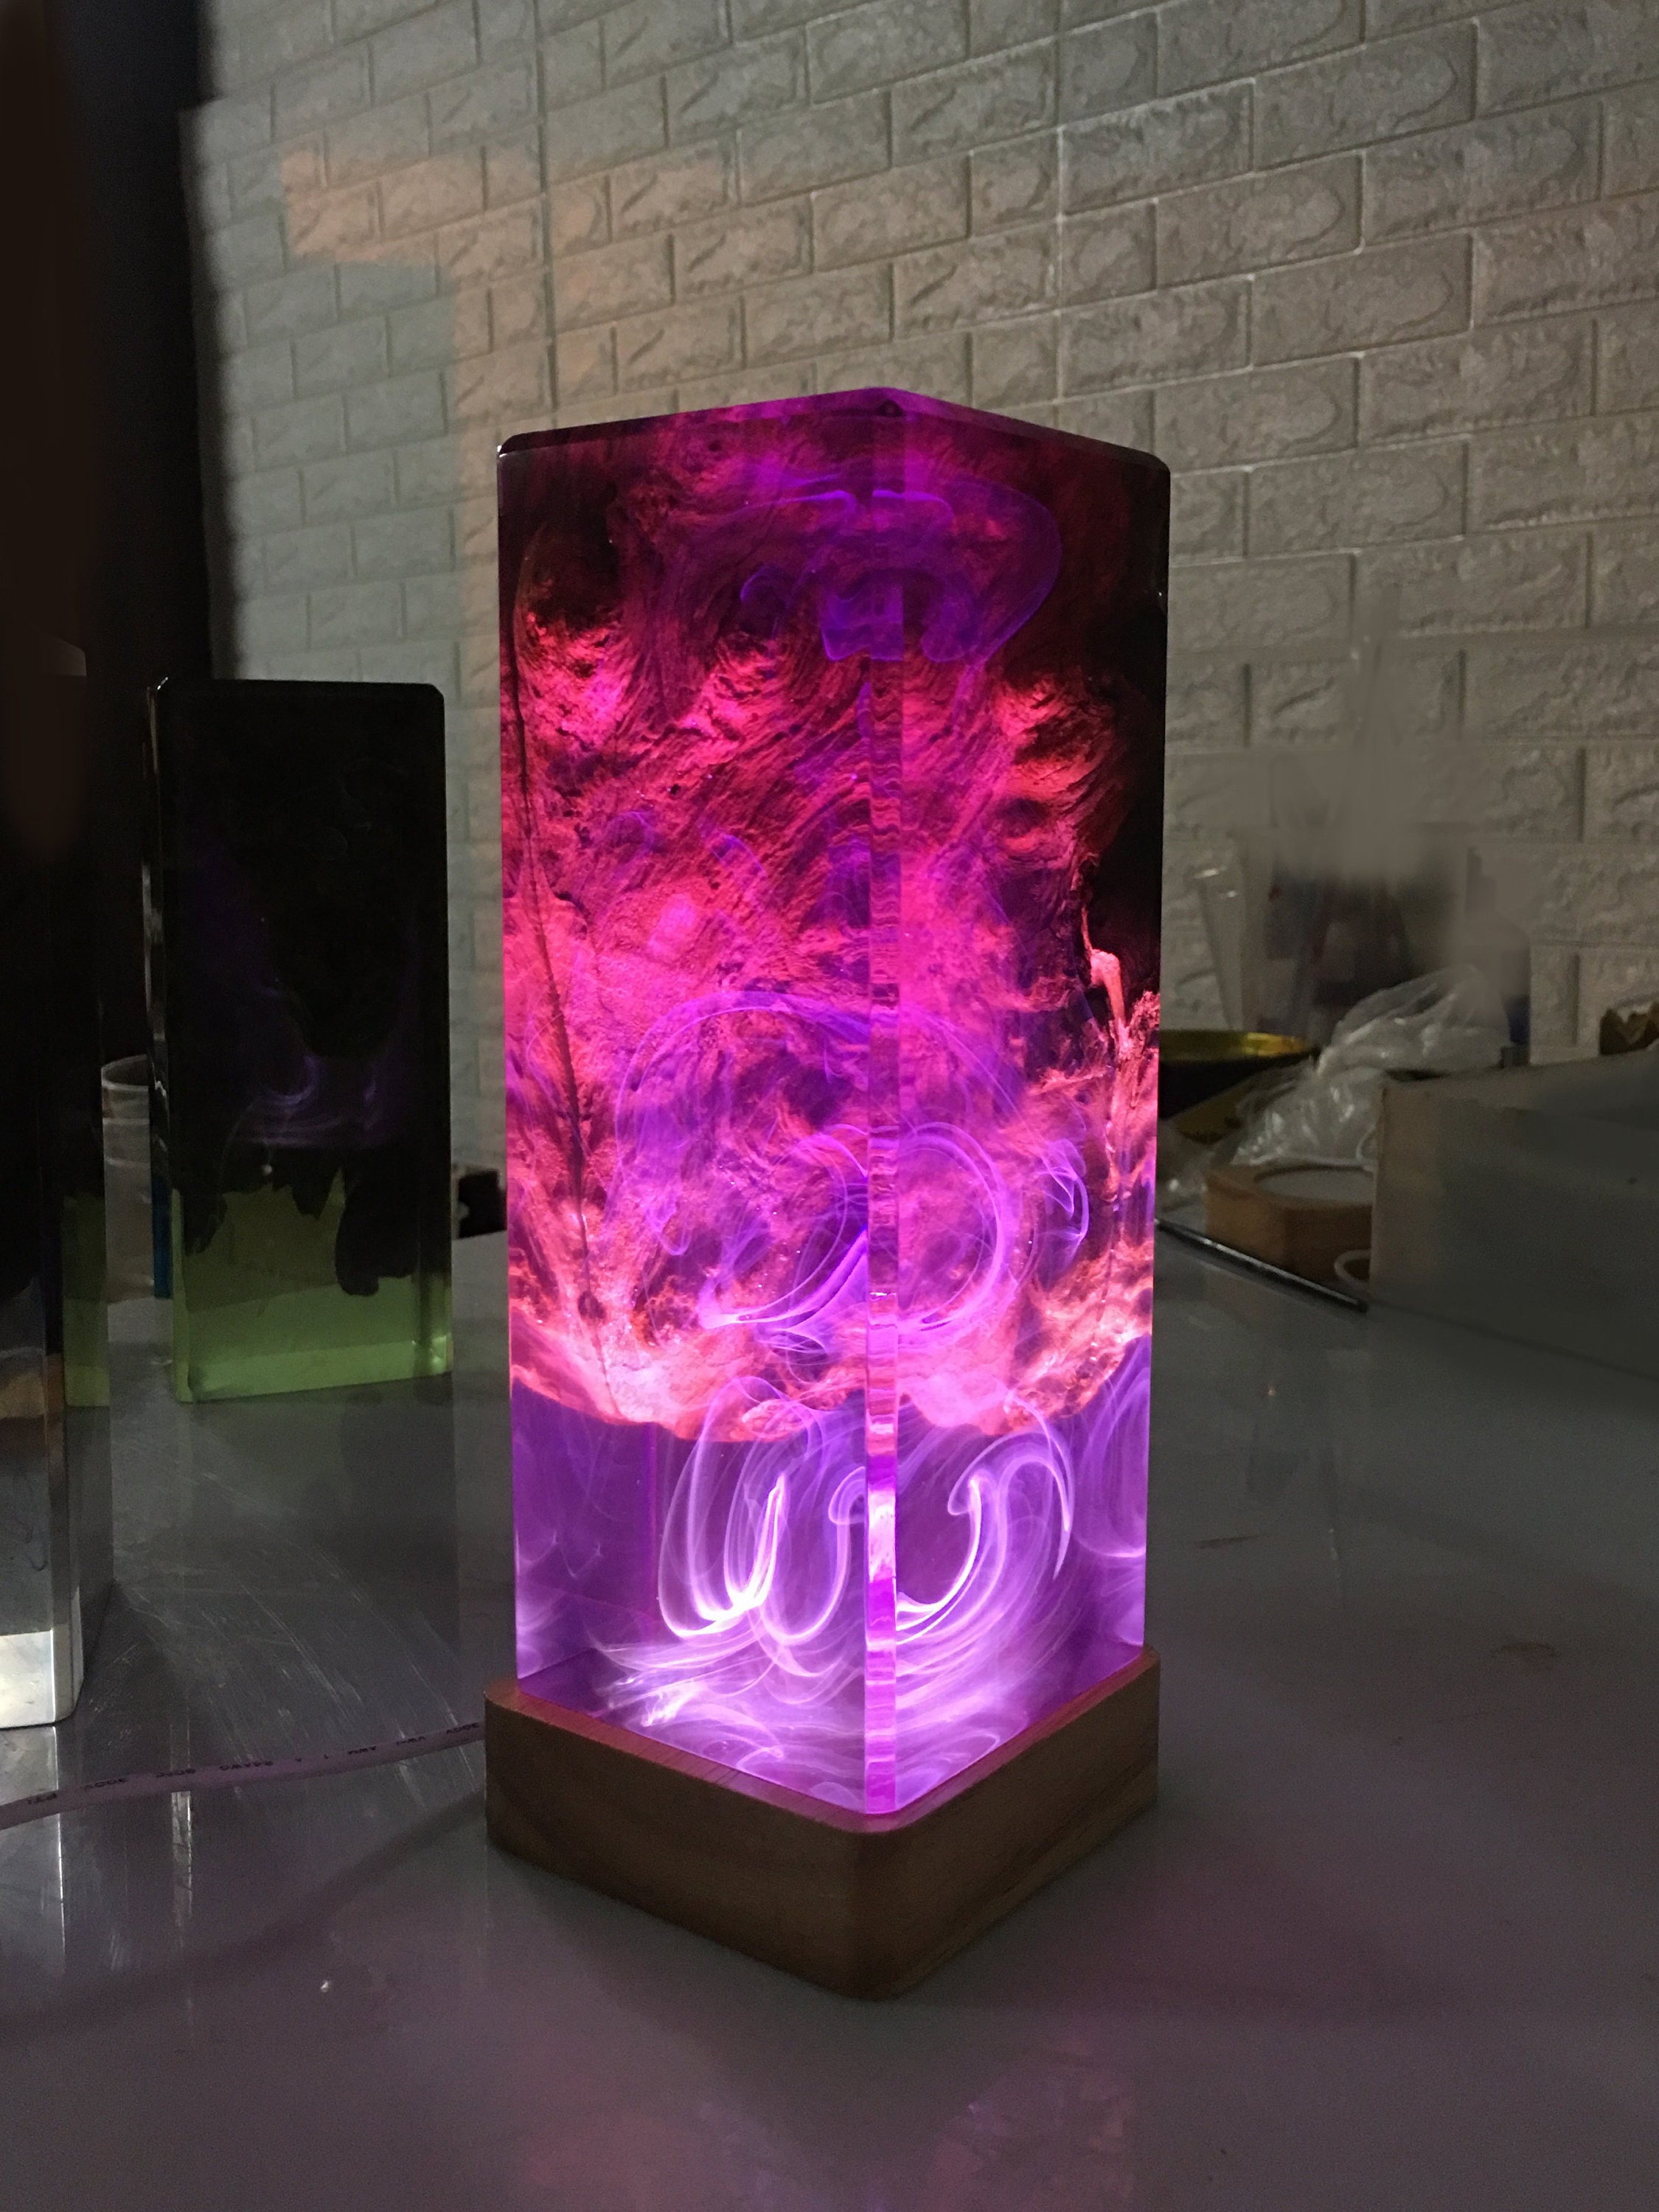
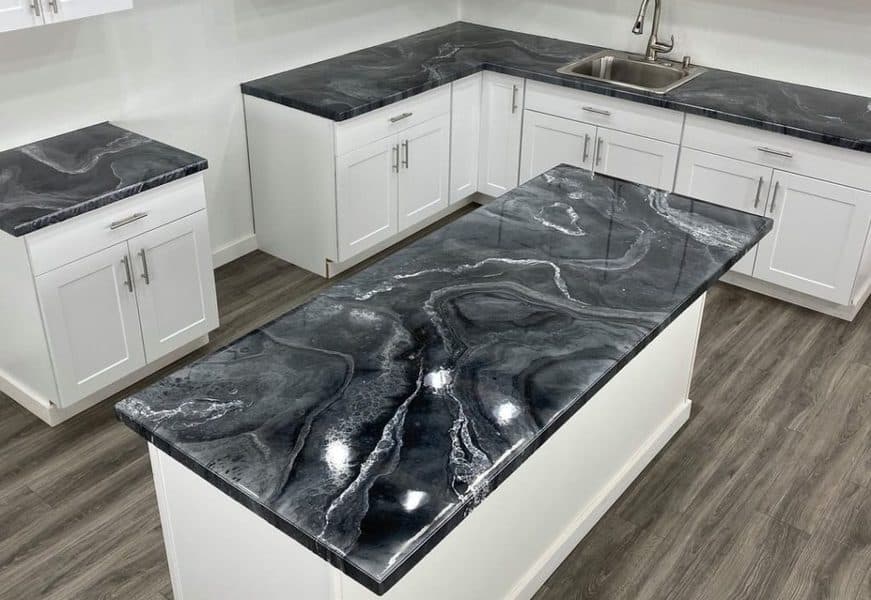
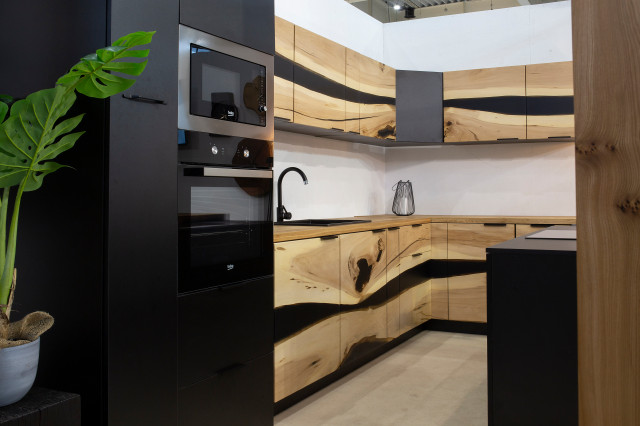
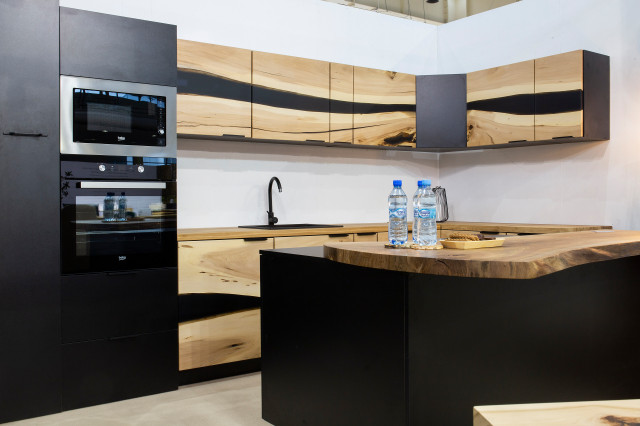
The possibilities for design and creativity with a DIY epoxy kitchen light fixture are endless. Here are some ideas to inspire your project: Geode-inspired: Create a stunning light fixture that mimics the natural beauty of geodes by adding layers of colored epoxy resin and glitter. Marble effect: Use a combination of white and colored epoxy resin to create a marble effect for a modern and elegant light fixture. Wood and resin: Combine the natural beauty of wood with the durability of epoxy resin by creating a light fixture with a wooden base and a resin top. Custom shapes: Get creative and use unique molds to create one-of-a-kind light fixtures in any shape you desire.Epoxy Resin Kitchen Light Fixture Ideas
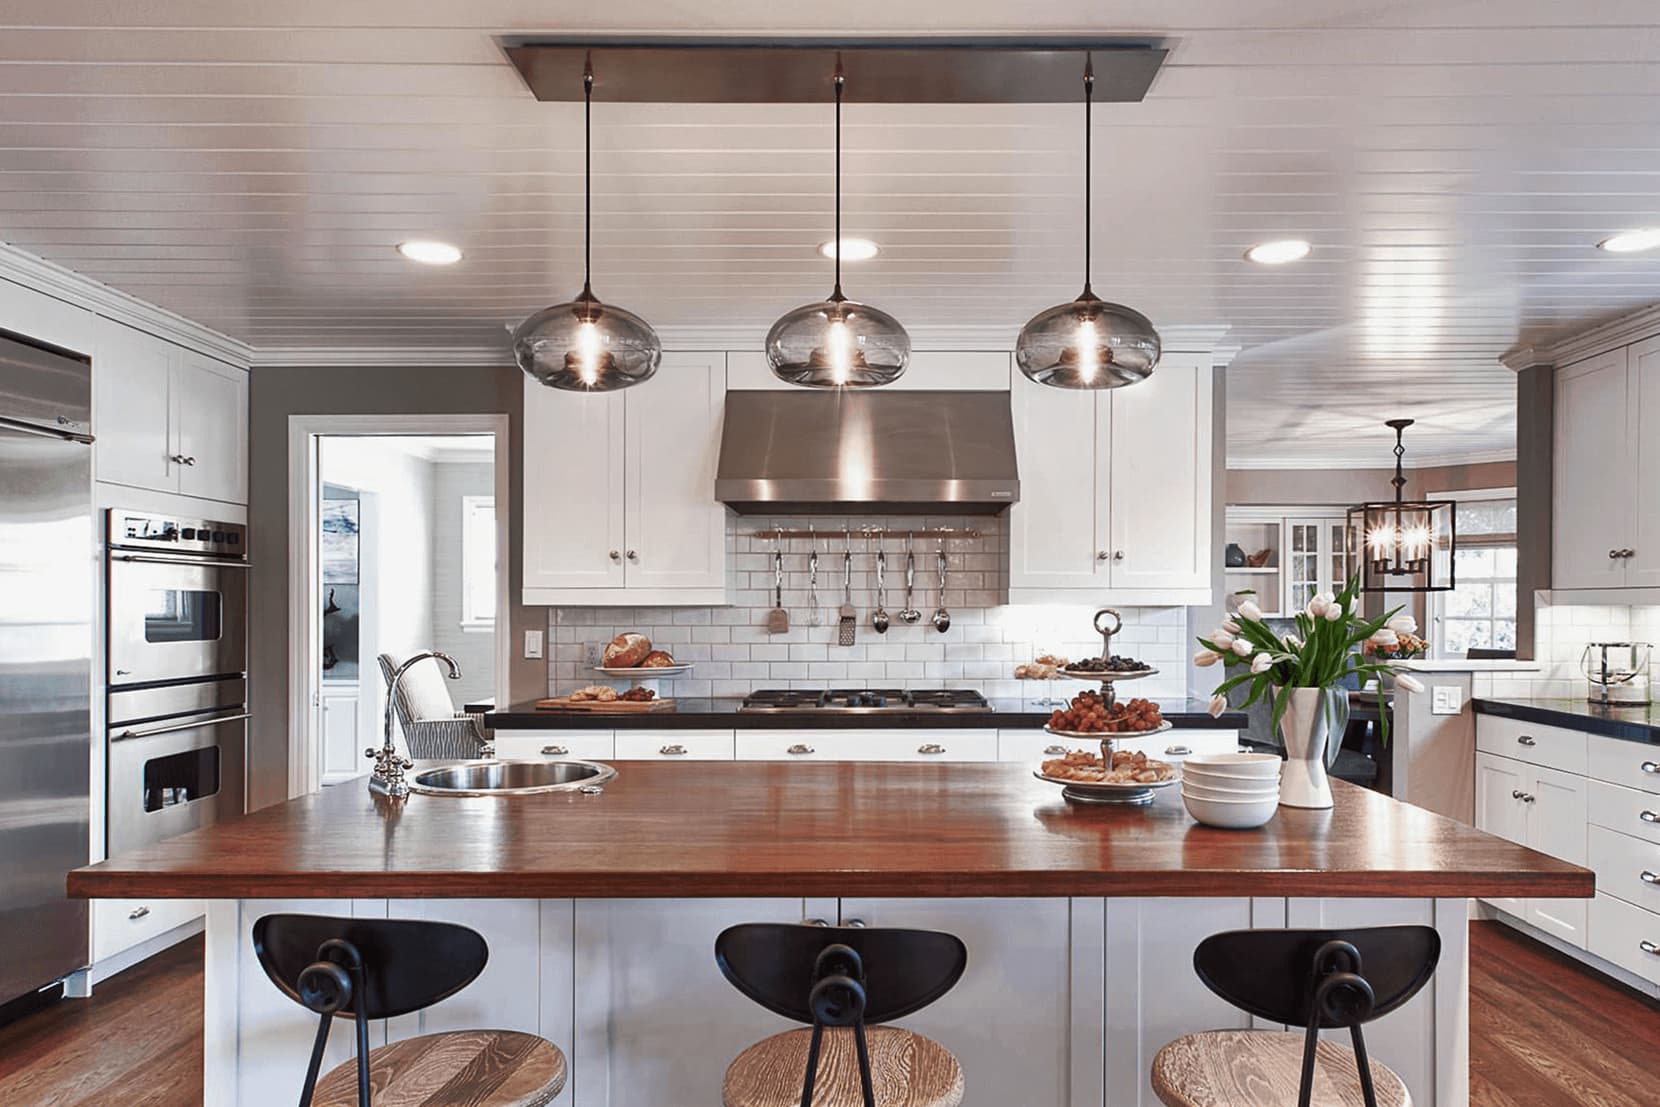
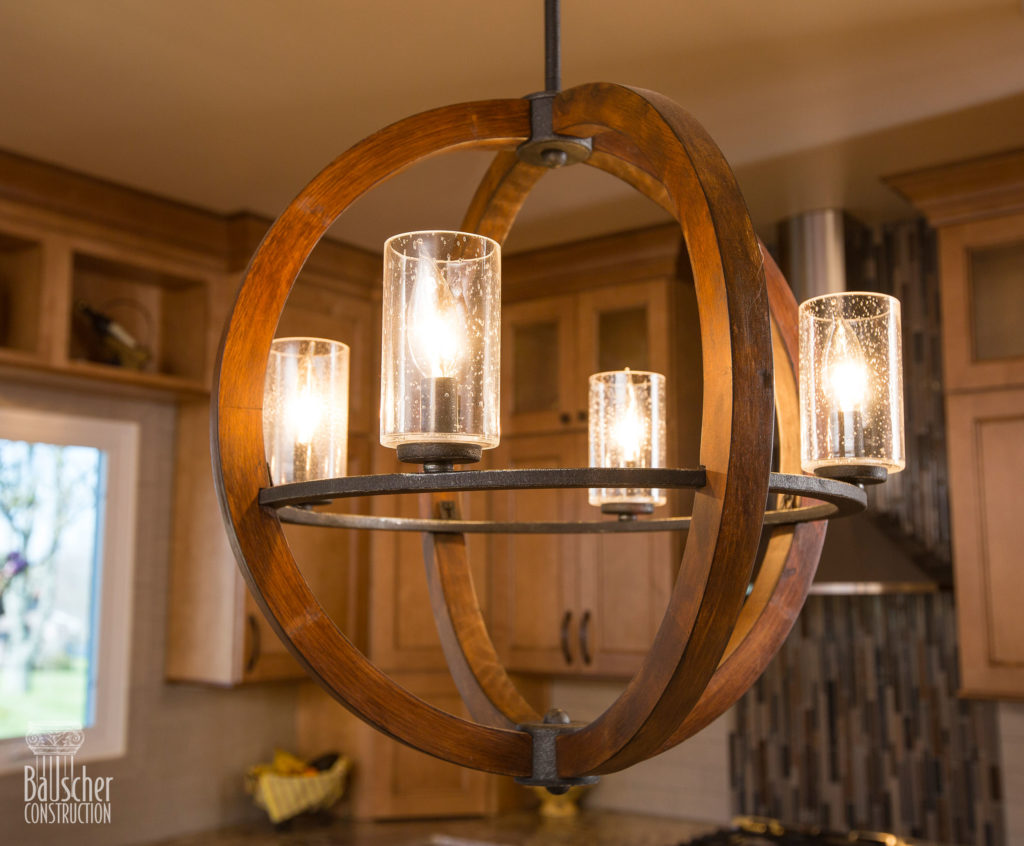
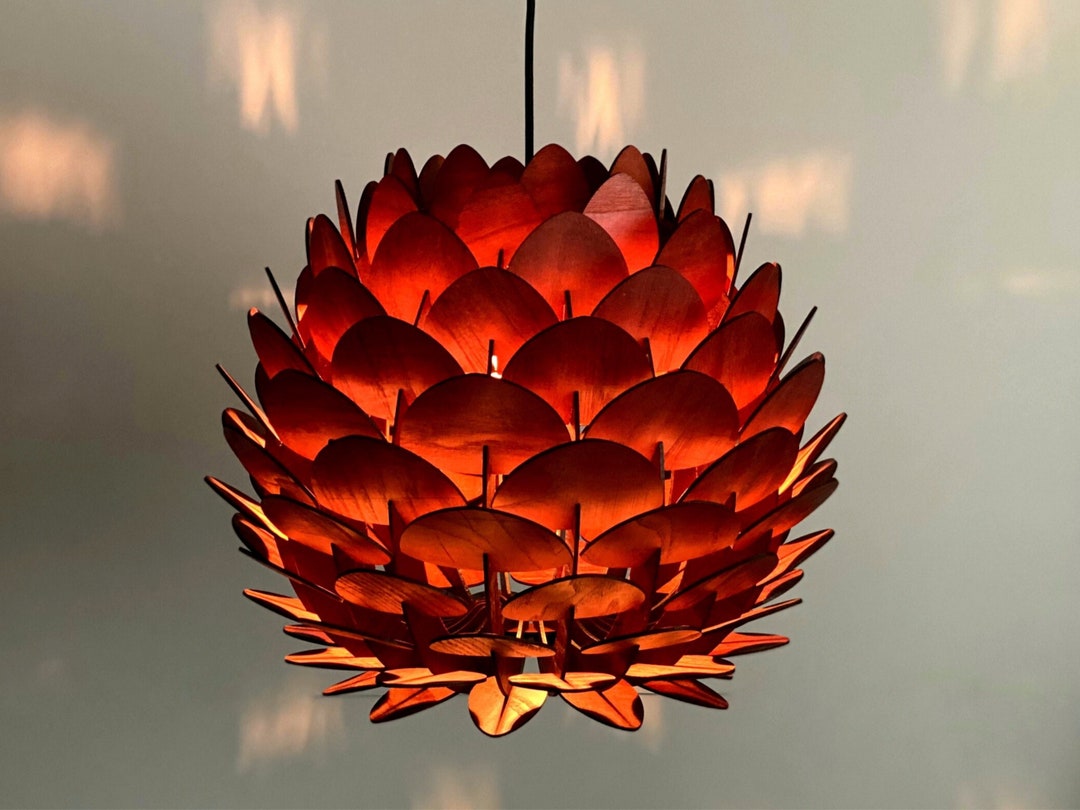
If you want to add a statement piece to your kitchen, consider making a DIY epoxy resin pendant light. This type of light fixture hangs from the ceiling and will add a touch of sophistication to your space. Follow the same steps as above, but instead of using a mold or base, use a pendant light kit to create your design.DIY Epoxy Resin Pendant Light for Your Kitchen
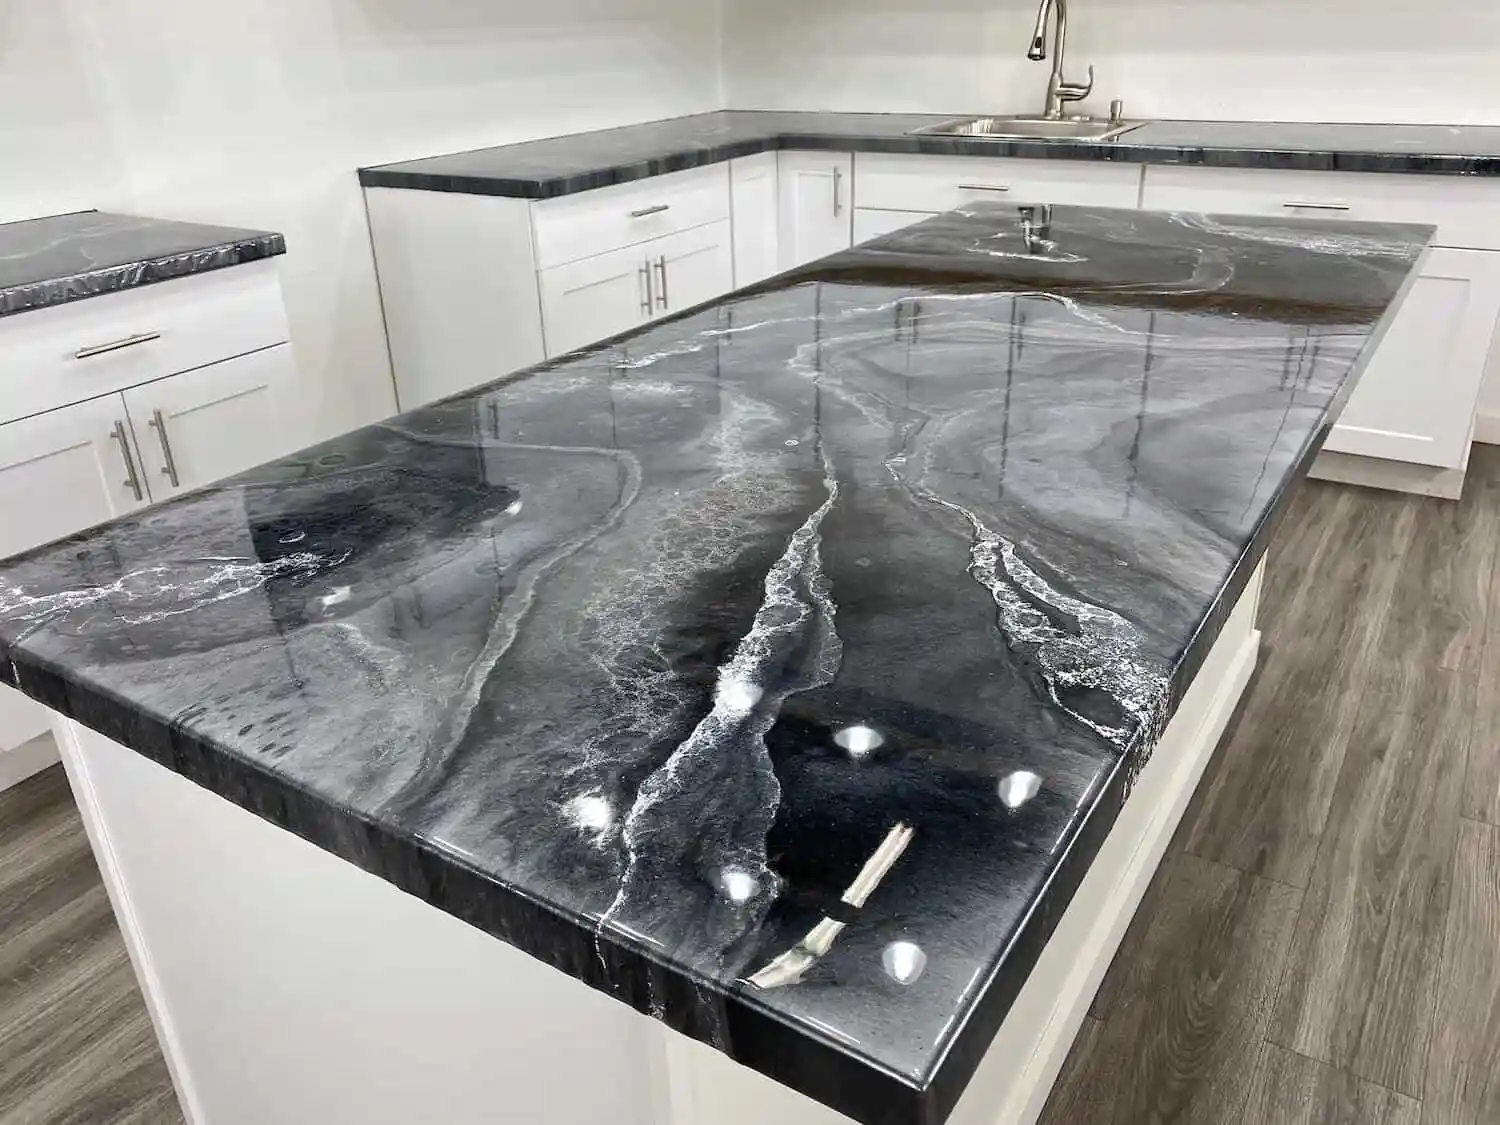
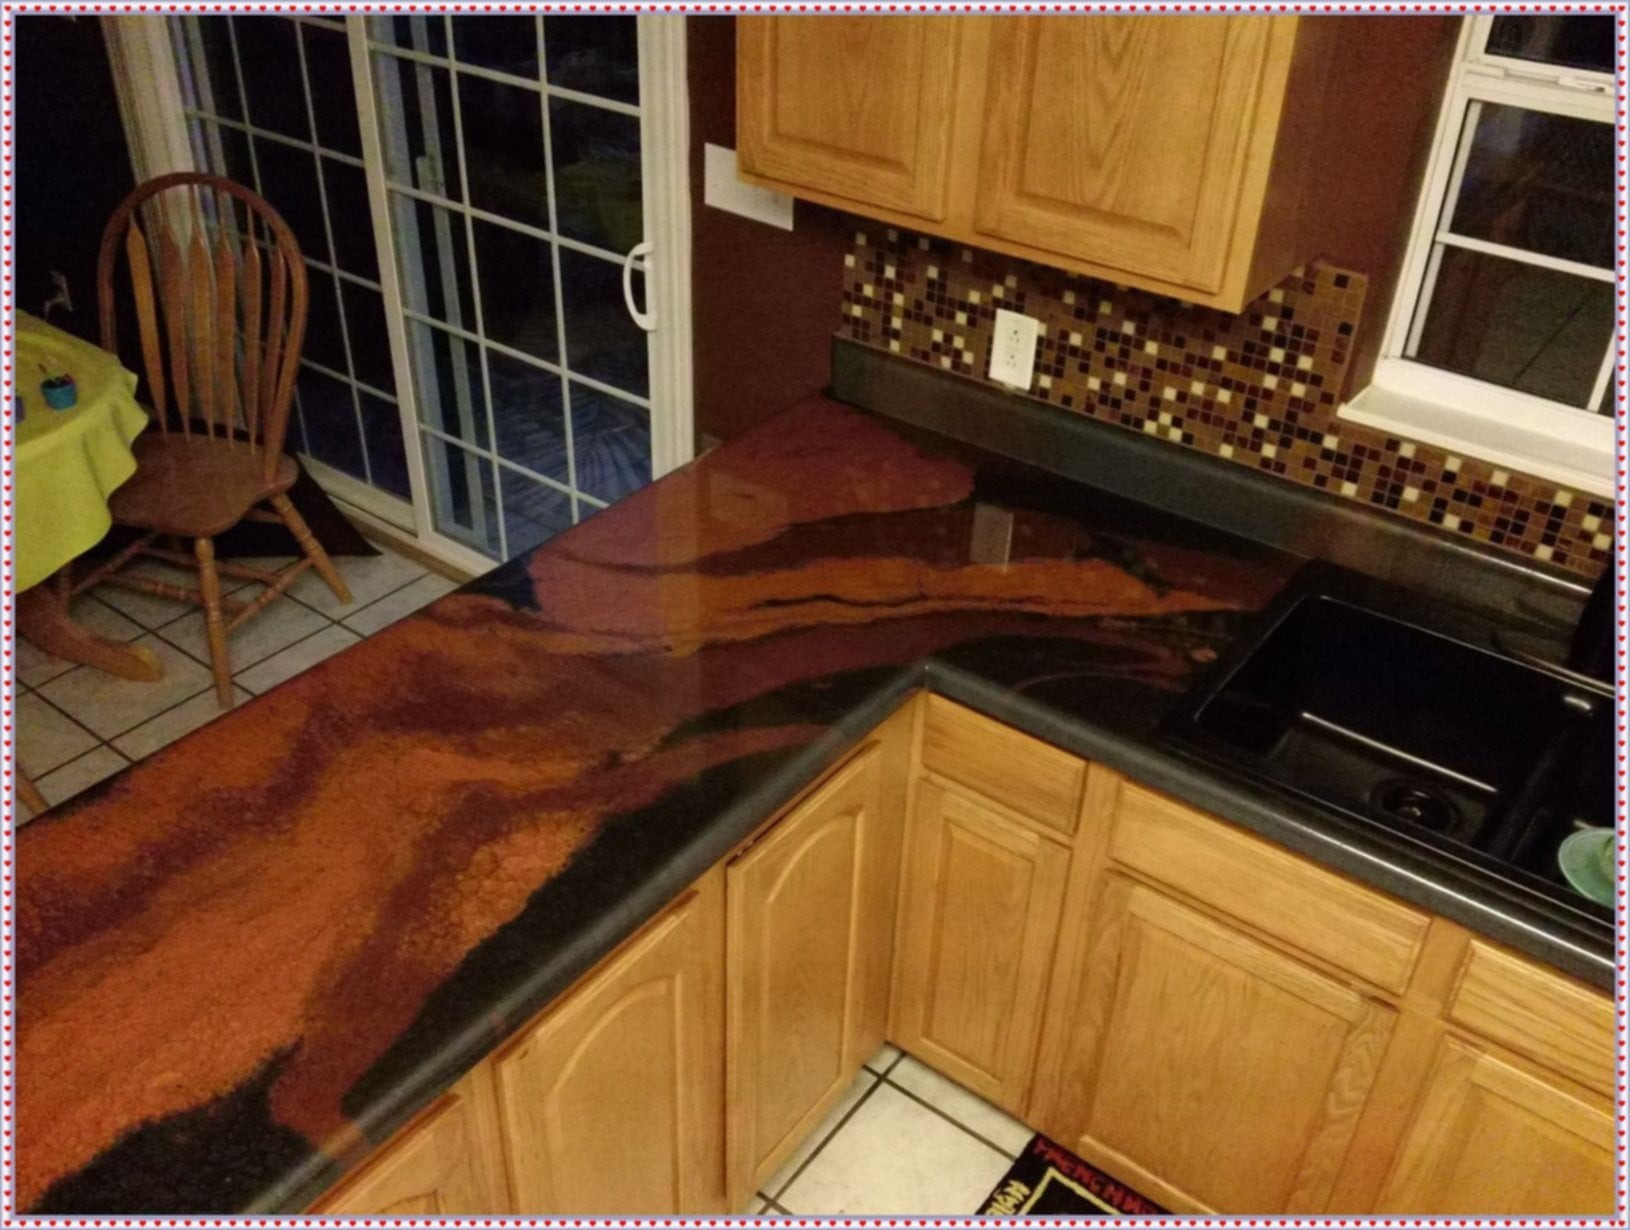
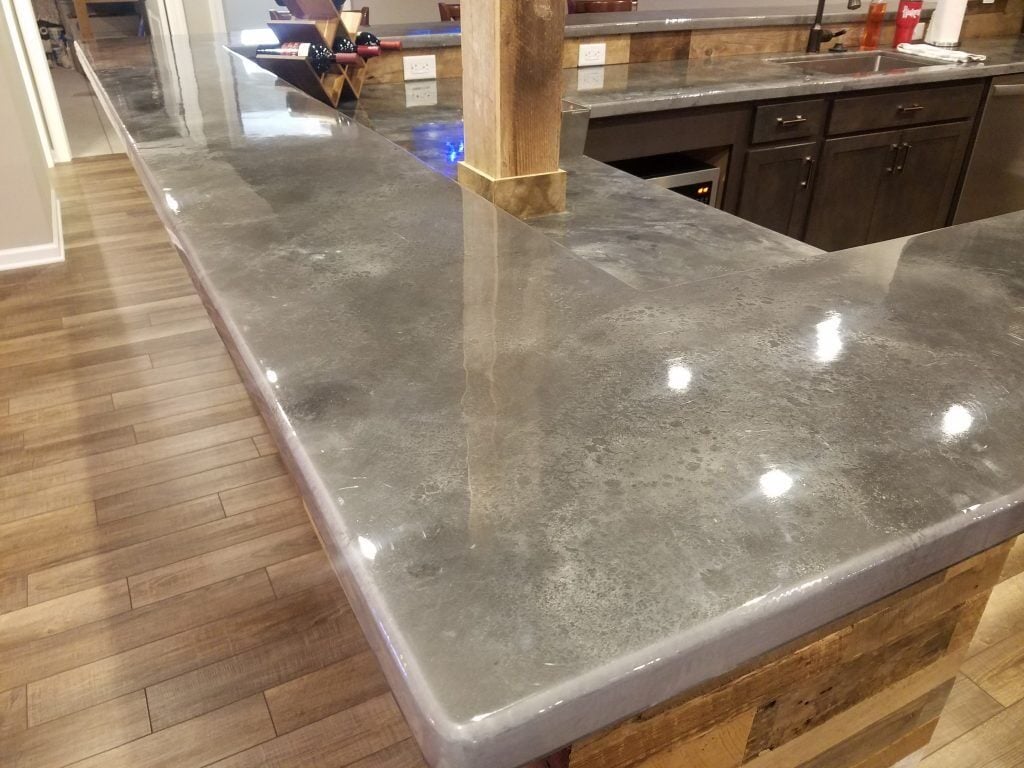
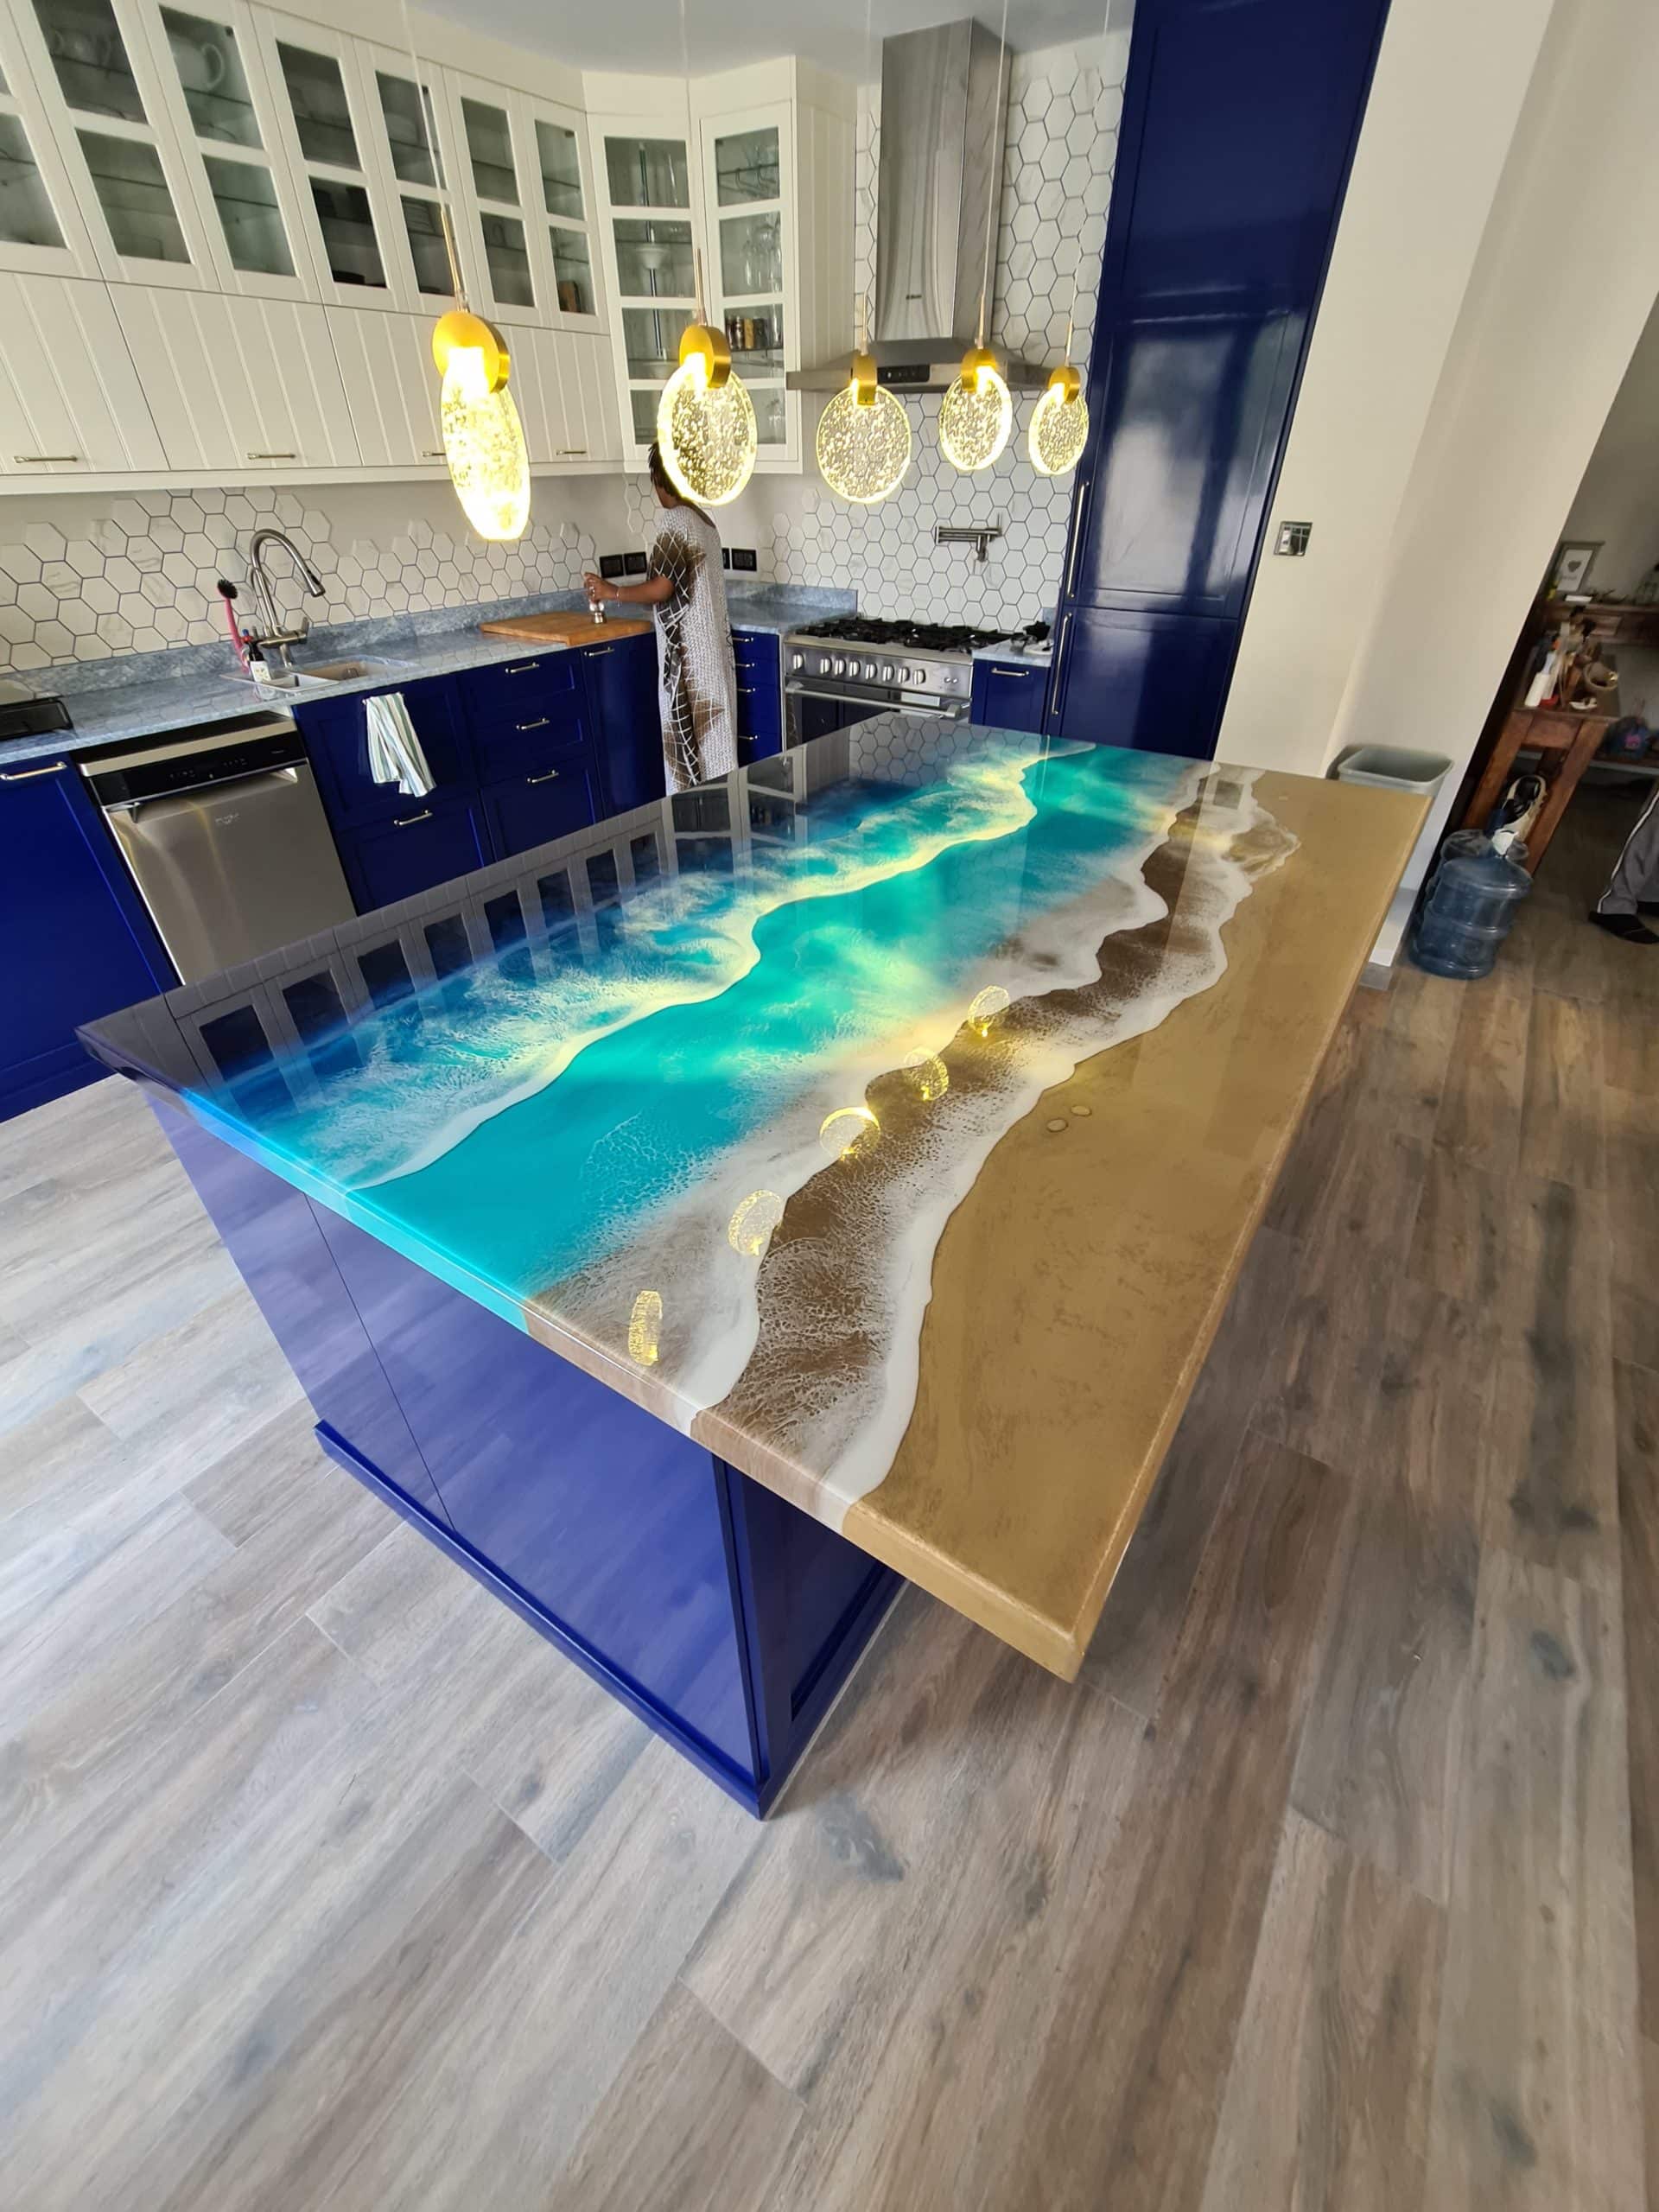
If you are feeling ambitious, why not create an entire epoxy resin countertop with a built-in light fixture for your kitchen? This will not only add a unique and eye-catching element to your kitchen, but it will also provide a durable and easy-to-clean surface for your counters.Epoxy Resin Countertop with Built-In Light Fixture
One of the best things about making your own DIY epoxy kitchen light fixture is the ability to create a completely unique and customizable piece. You can choose the colors, shapes, and materials to fit your personal style and make a statement in your kitchen.Creating a Unique Kitchen Light Fixture with Epoxy Resin
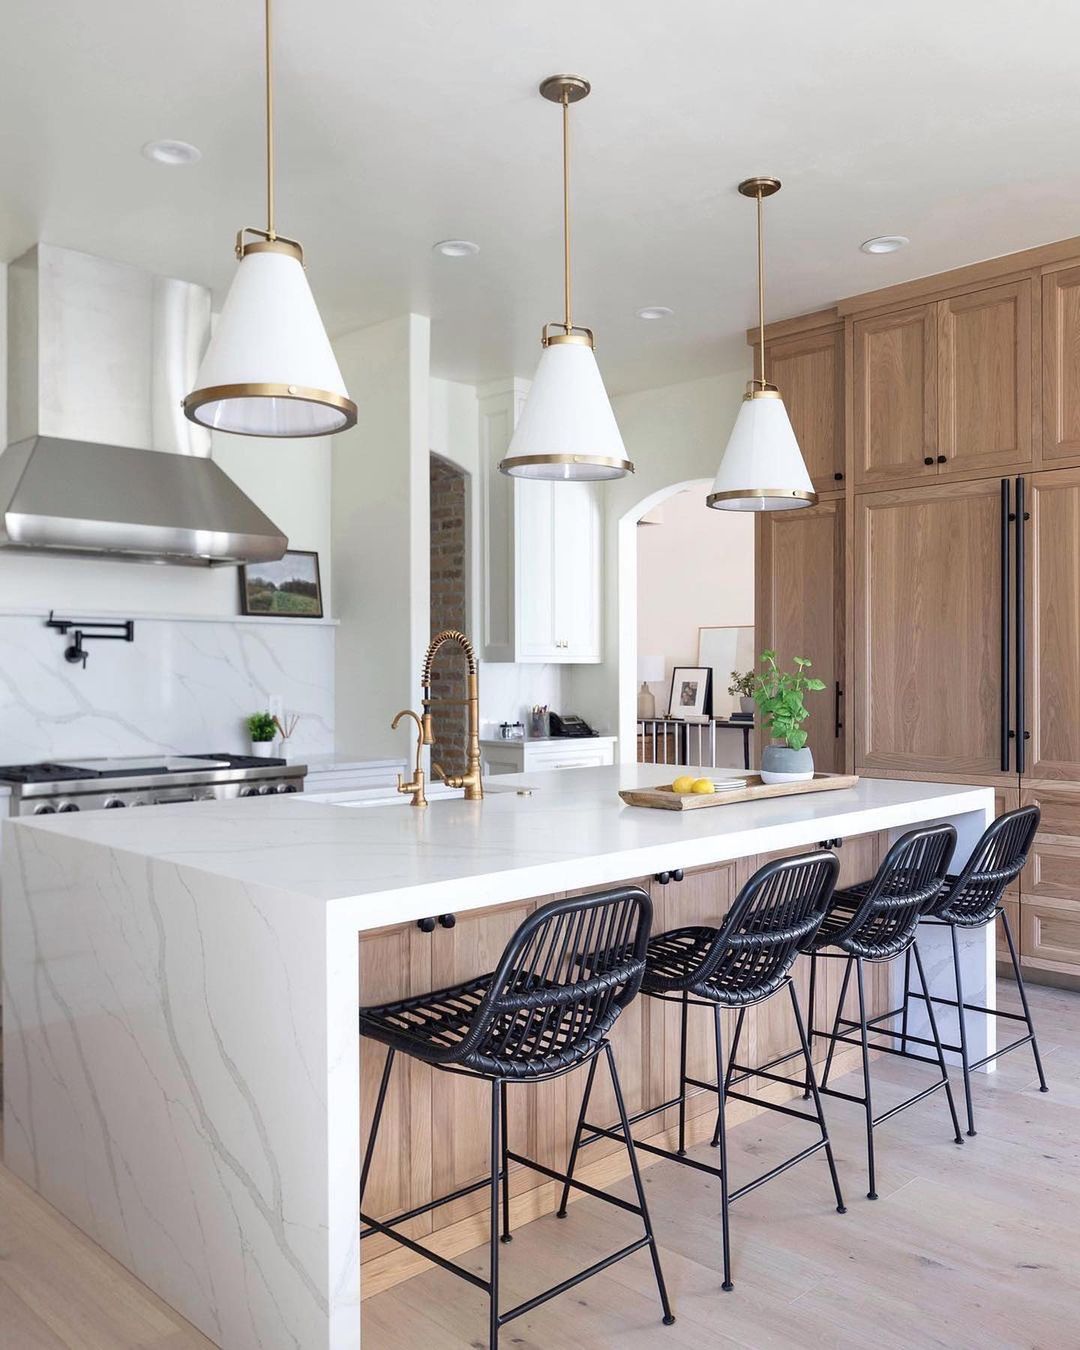
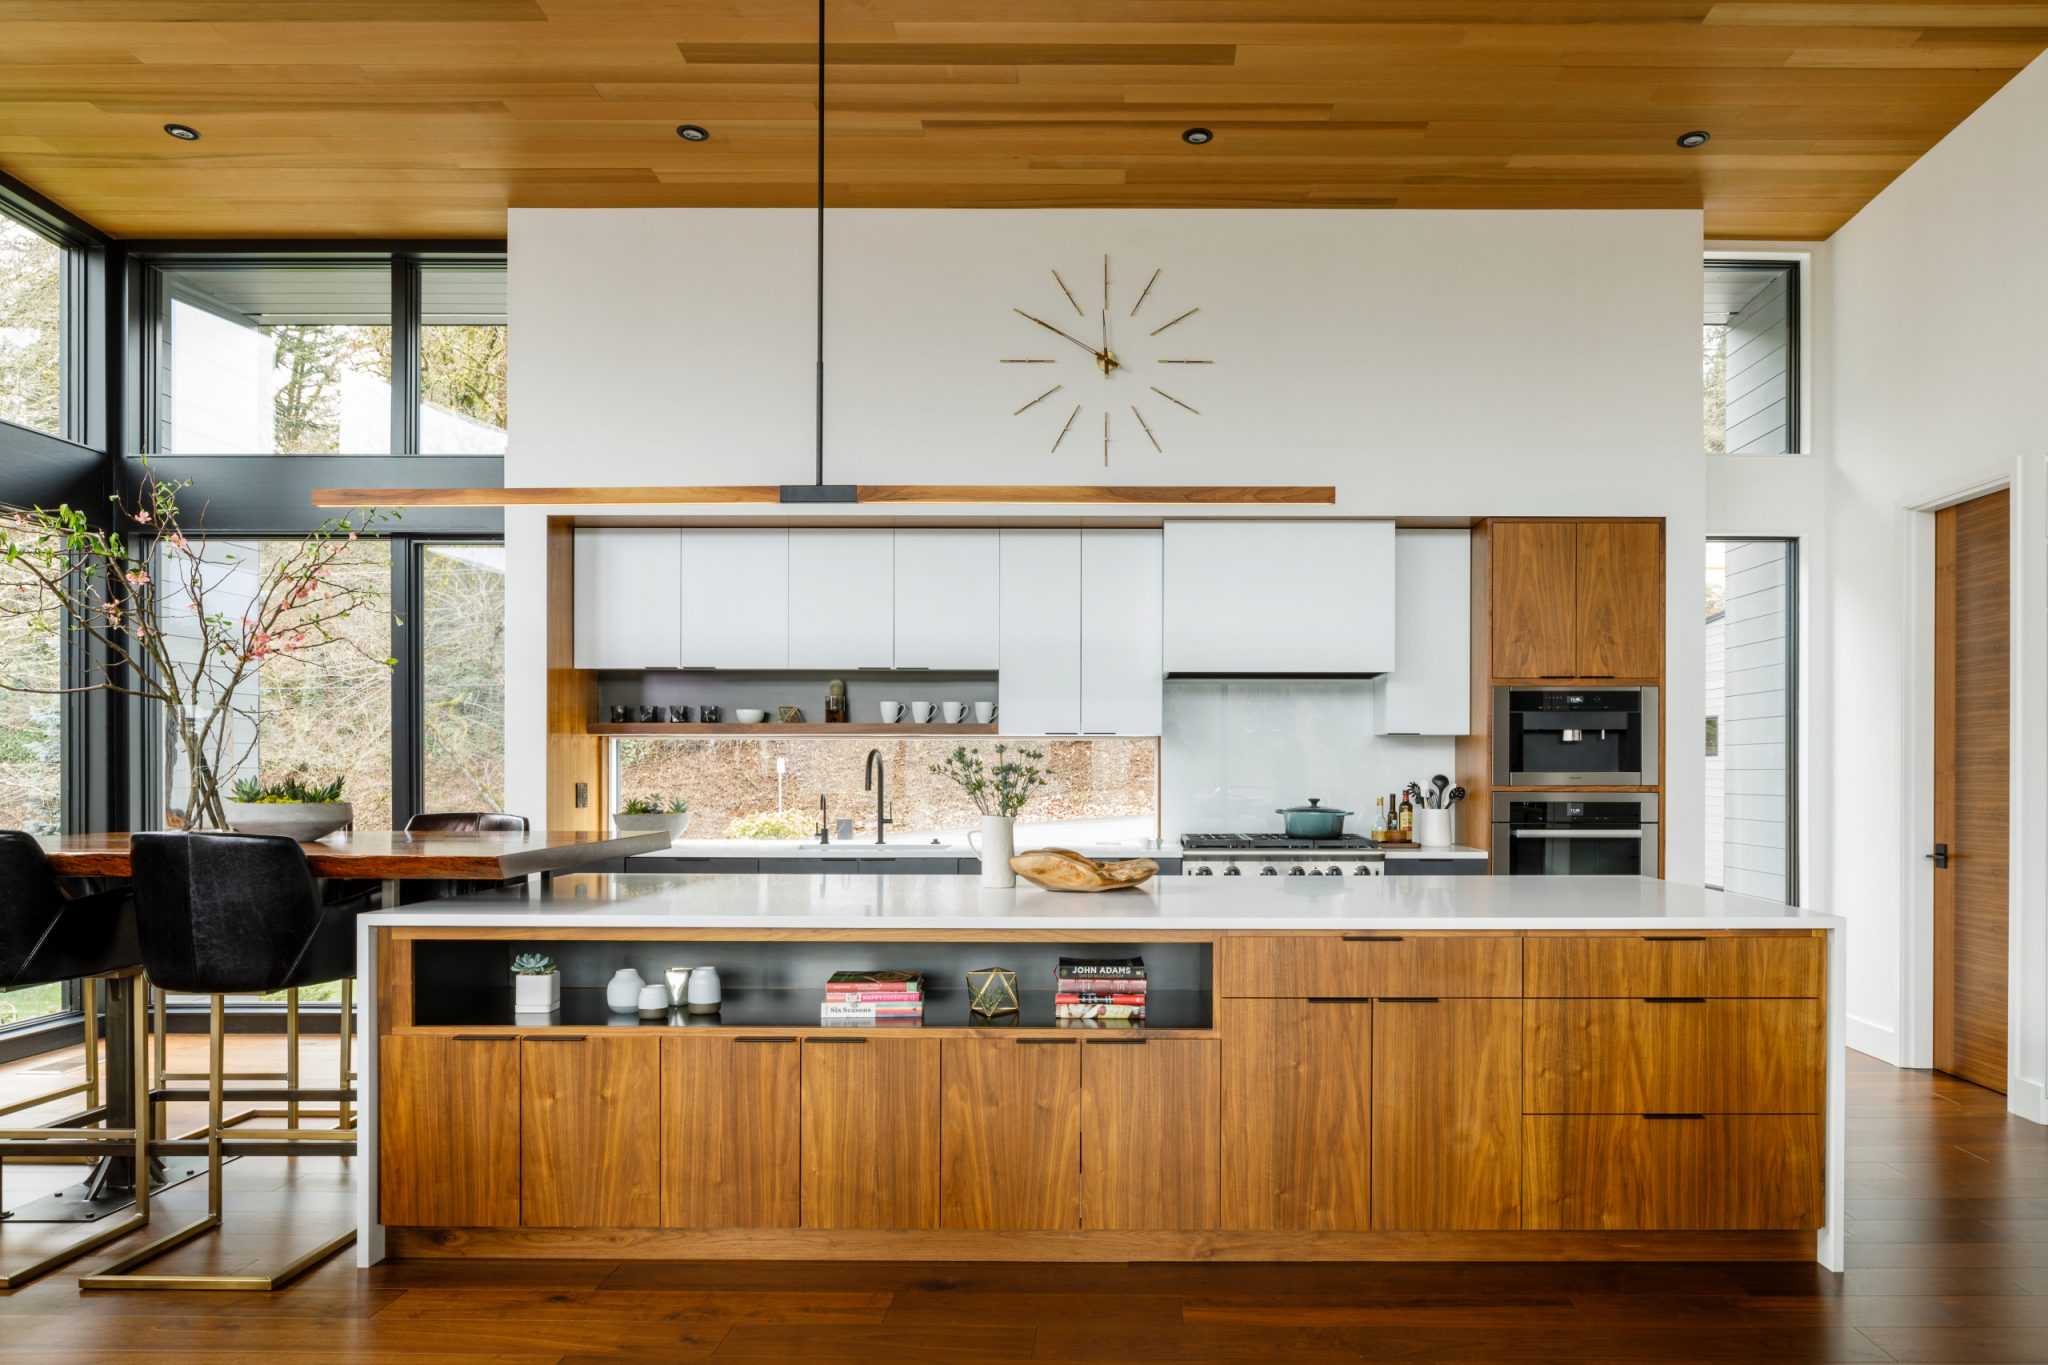
For those with a kitchen island, a DIY epoxy resin light fixture is the perfect addition. It will provide ample lighting for cooking and dining while also adding a decorative touch to your island. Simply follow the same steps as above and use a larger mold or base to create a larger light fixture for your island.Epoxy Resin Kitchen Island Light Fixture Tutorial
If you want to add some color to your epoxy resin light fixture, there are a few different ways to do so. You can use colored epoxy resin, add pigment to clear resin, or mix in materials like glitter or dried flowers for a pop of color and texture.How to Add Color to Your DIY Epoxy Kitchen Light Fixture
Here is a list of the basic supplies and materials you will need for your DIY epoxy kitchen light fixture: - Epoxy resin and hardener - Mold or base for the light fixture - Mixing container and stirring stick - Additional materials for decoration (optional) - Light fixture kit With this guide and some creativity, you can easily make your own DIY epoxy resin kitchen light fixture that will add a beautiful and personal touch to your space. Have fun and get creative with your design, and enjoy the satisfaction of creating something unique for your home.Epoxy Resin Kitchen Light Fixture Supplies and Materials
The Benefits of DIY Epoxy Kitchen Light Fixtures for Your Home

Transform Your Kitchen with Epoxy
 Looking to revamp your kitchen without breaking the bank? Consider DIY epoxy kitchen light fixtures. Not only are they affordable and easy to make, but they also add a unique touch to your home decor. Epoxy resin is a versatile material that can be used in various ways to create stunning light fixtures that will elevate the design of your kitchen. Let's dive into the benefits of using epoxy for your kitchen light fixtures.
Budget-Friendly Option
 One of the main advantages of DIY epoxy kitchen light fixtures is their affordability. Epoxy resin is an inexpensive material that can be found at most craft stores. By making your own light fixtures, you can save money on expensive store-bought options while still achieving a high-end look for your kitchen. Plus, you have the freedom to customize the design and color of your light fixtures to match your personal style and kitchen decor.
Unique and Versatile Design
 Epoxy resin allows for endless design possibilities. You can mix different colors to create a marbled effect or add glitter for a touch of sparkle. You can also use molds to create various shapes and sizes for your light fixtures. The possibilities are endless, and you can let your creativity run wild. With epoxy, you can easily achieve a one-of-a-kind light fixture that will add a unique and personal touch to your kitchen.
Durable and Long-Lasting
 Epoxy resin is a durable material that can withstand daily use and last for years to come. This makes it an ideal choice for kitchen light fixtures, which are constantly exposed to heat and moisture. Unlike other materials, epoxy is resistant to heat, water, and stains, making it a practical and long-lasting option for your kitchen. You can enjoy your DIY epoxy light fixtures for years without worrying about wear and tear.
Eco-Friendly Option
 If you're looking for an environmentally-friendly option for your home, DIY epoxy kitchen light fixtures are a great choice. Epoxy resin is a non-toxic material that is safe to use and does not emit harmful chemicals into the air. By making your own light fixtures, you're reducing the use of mass-produced, less sustainable products, and contributing to a greener planet.
In conclusion, DIY epoxy kitchen light fixtures are a budget-friendly, versatile, and eco-friendly option for transforming your kitchen. With endless design possibilities and durability, they are a great addition to any home. So why not give it a try and create your own unique and stunning epoxy light fixtures for your kitchen? Your home will thank you.


