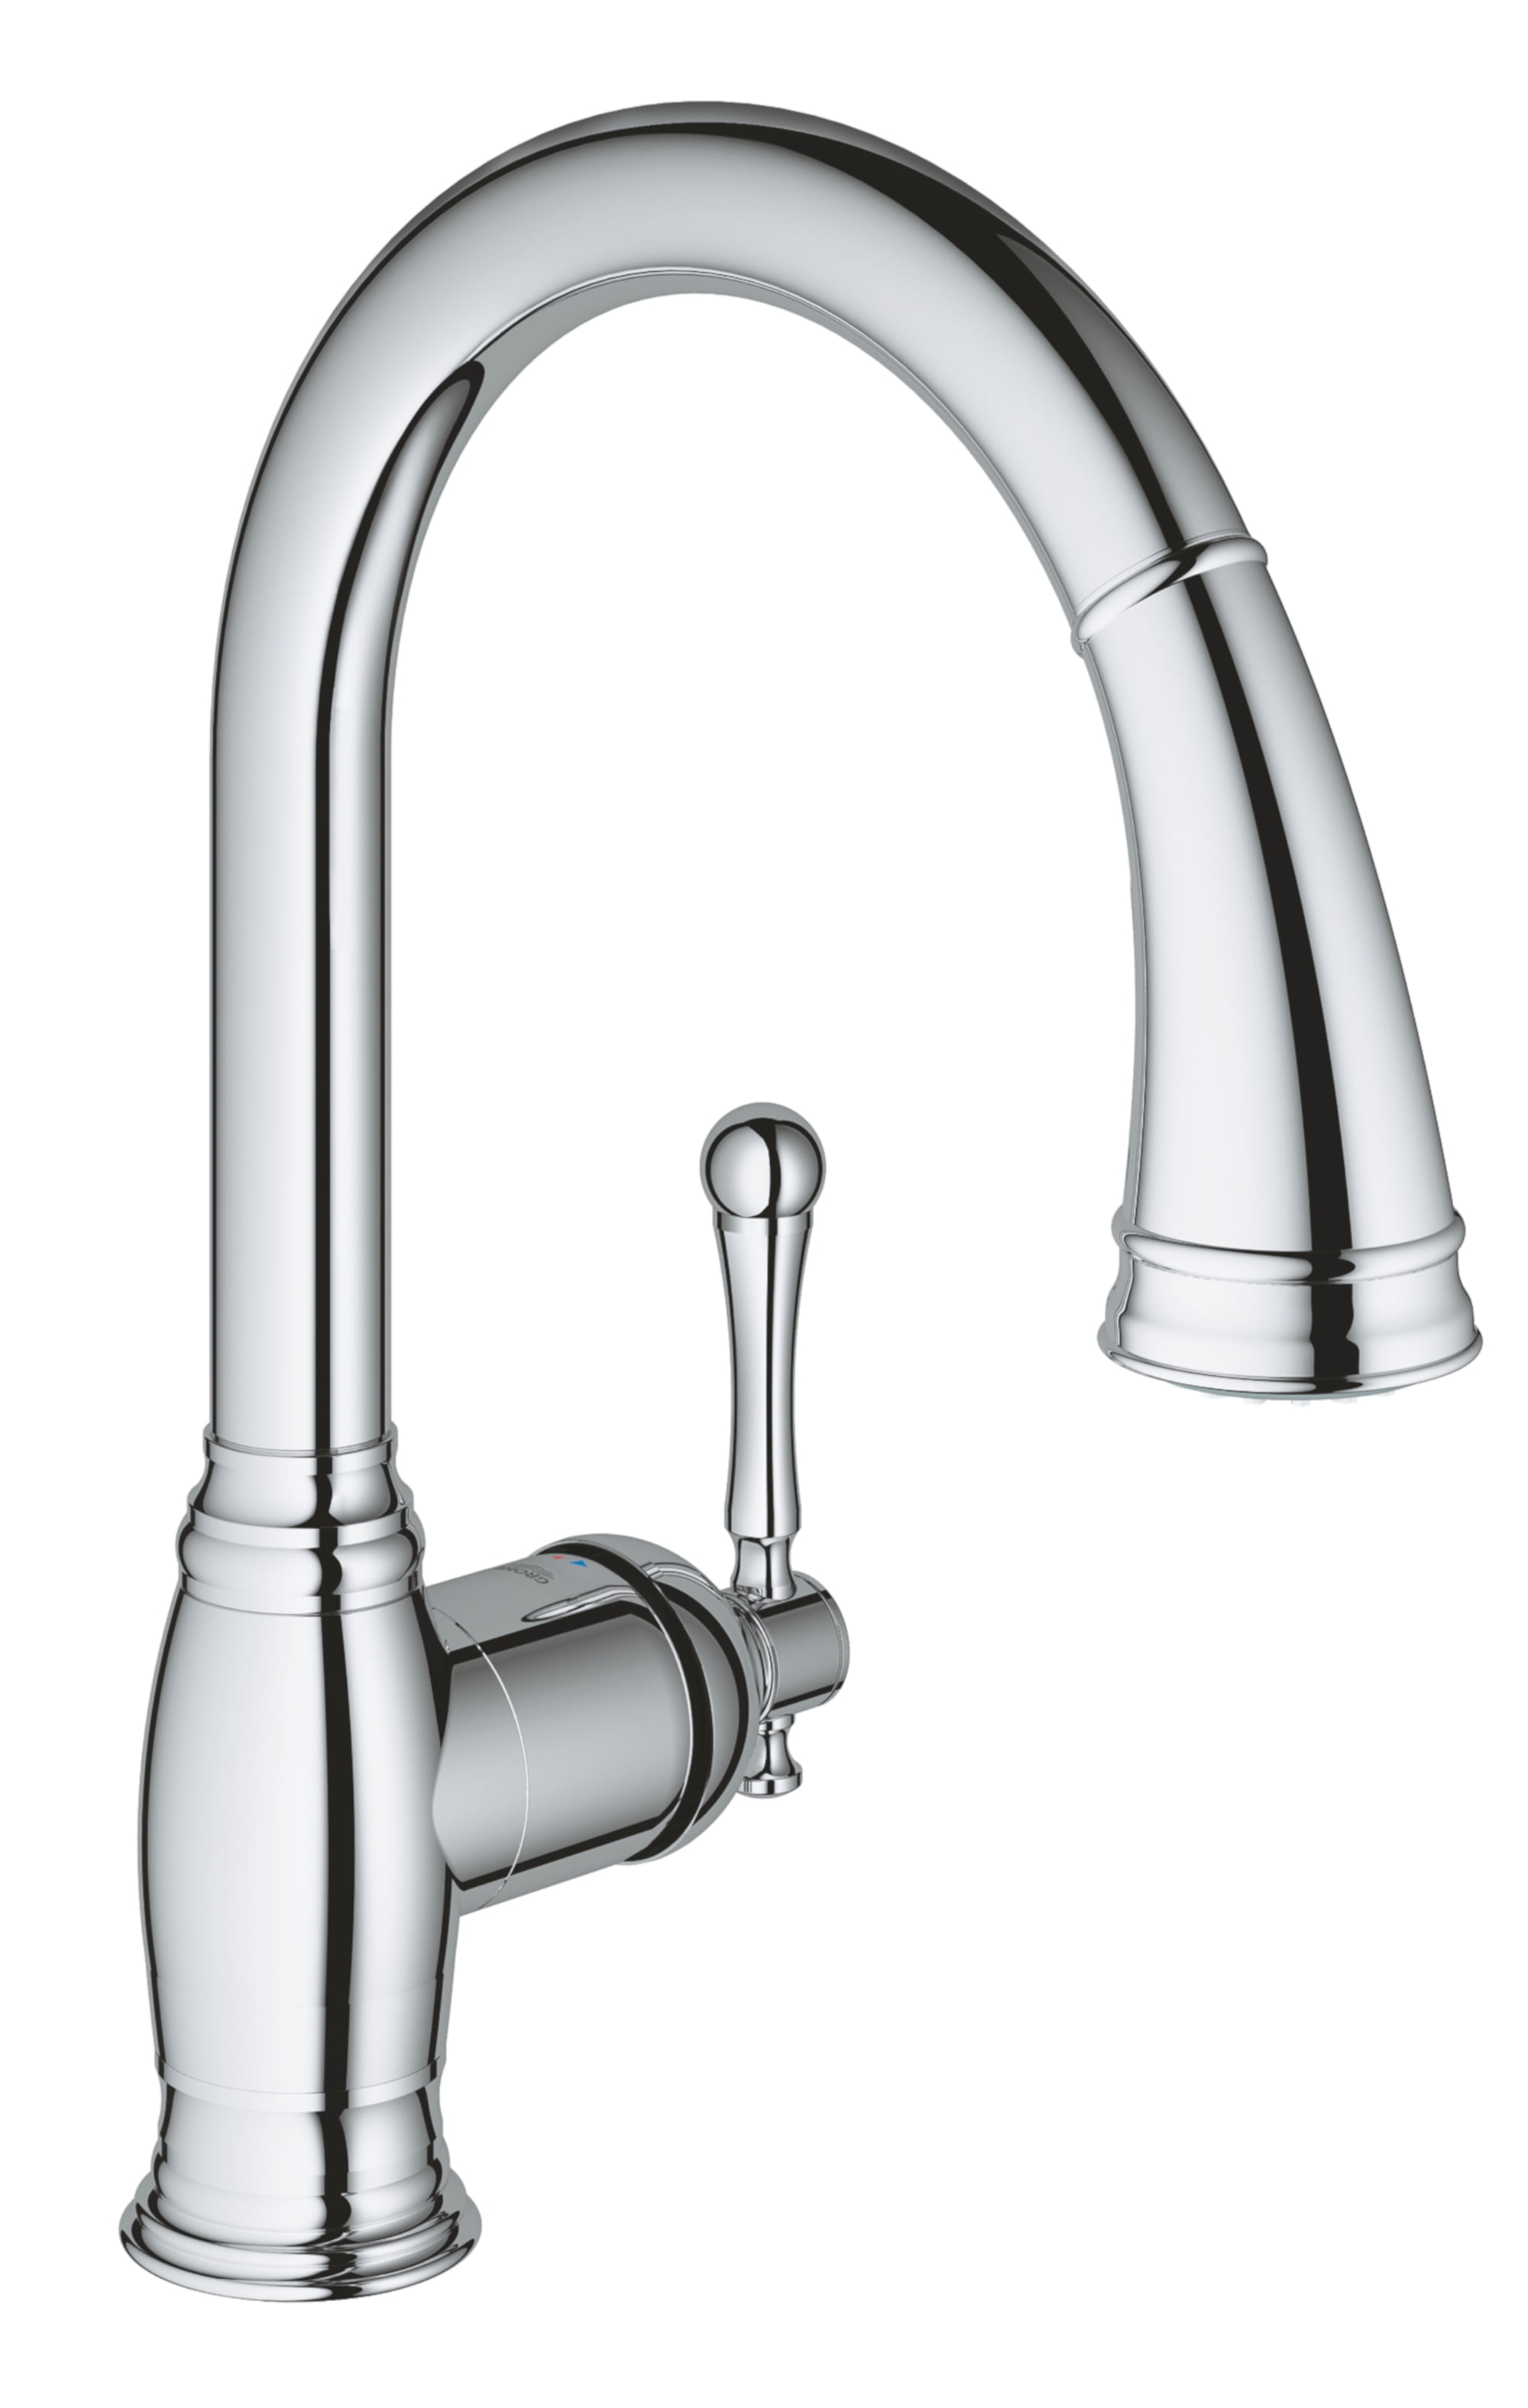
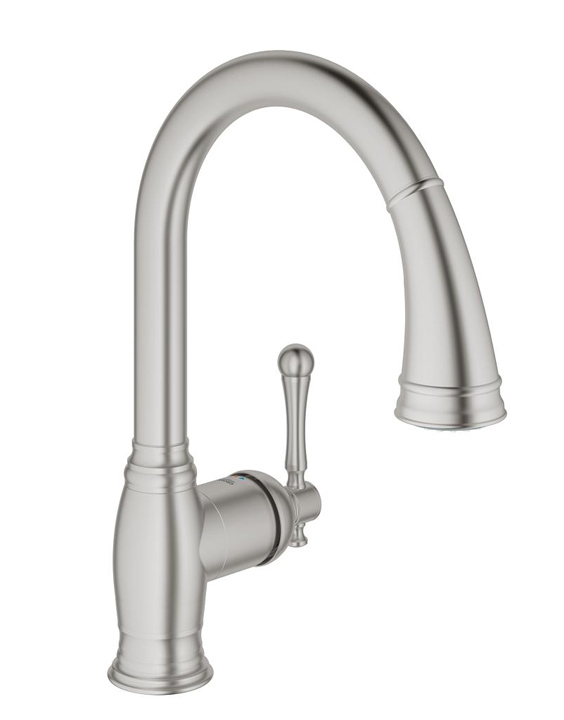
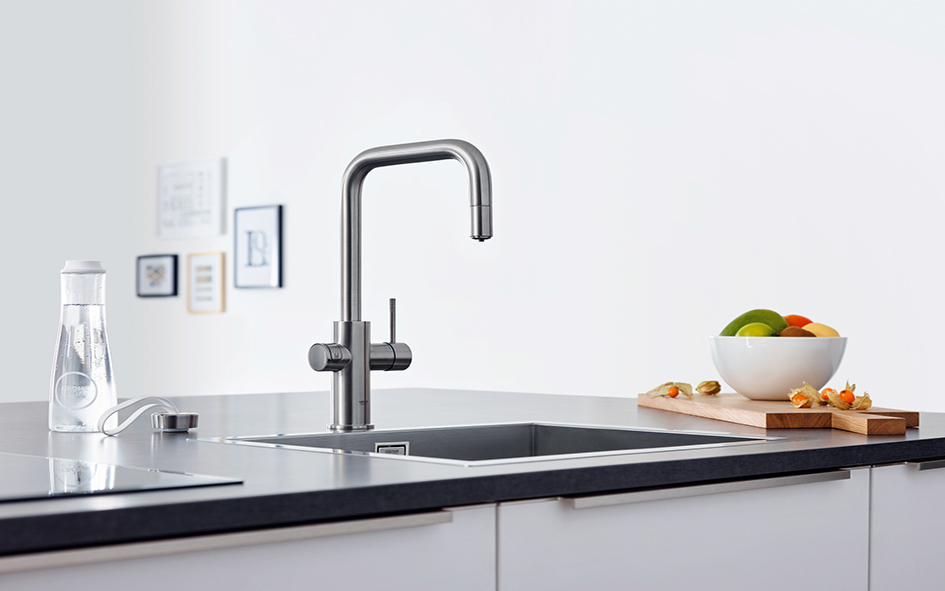
How to Install a Grohe Kitchen Sink Faucet
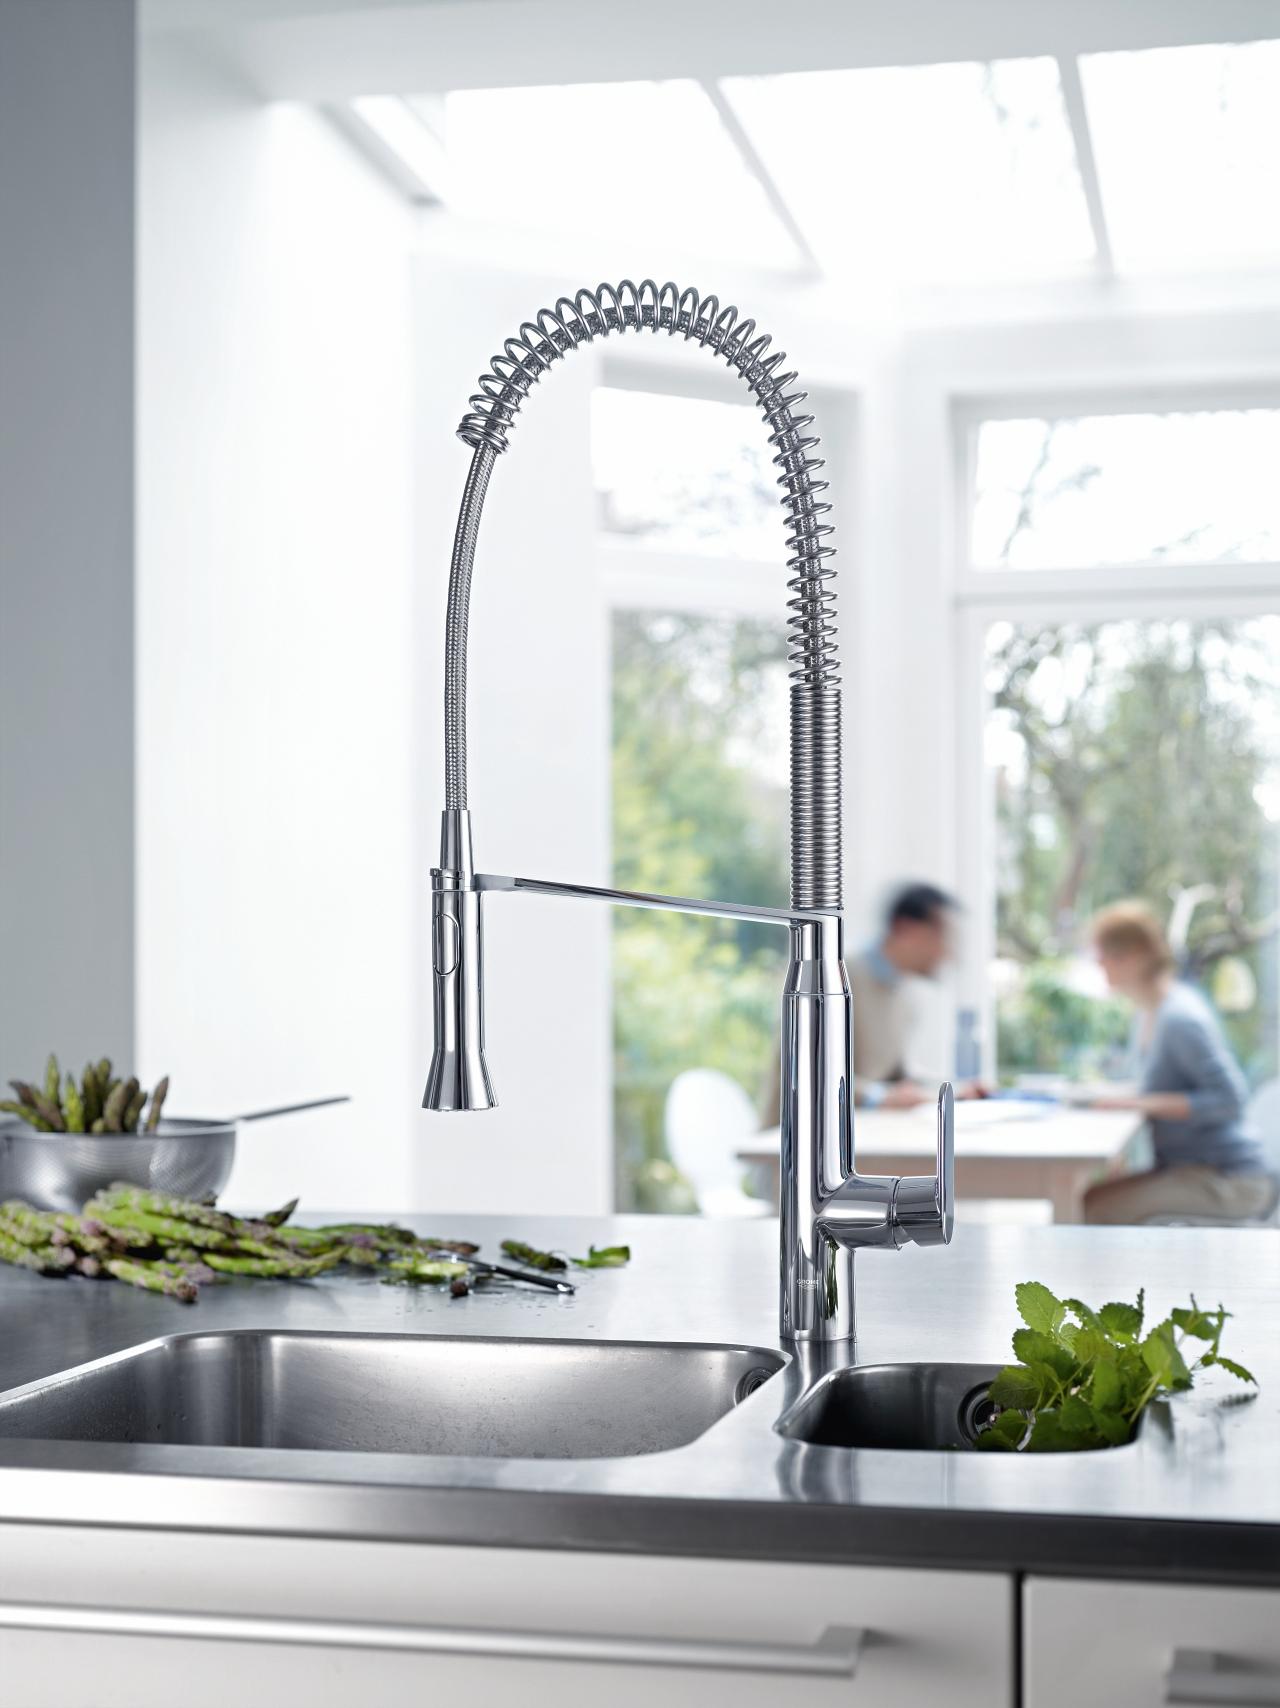
Installing a Grohe kitchen sink faucet can seem like a daunting task, but with the right tools and know-how, it can be a straightforward process. Whether you're upgrading your kitchen or replacing an old faucet, a Grohe kitchen sink faucet is a great choice for its durability and functionality. In this guide, we'll take you through the step-by-step process of installing a Grohe kitchen sink faucet so you can have a beautiful and efficient addition to your kitchen.
How to Remove and Replace a Grohe Kitchen Faucet
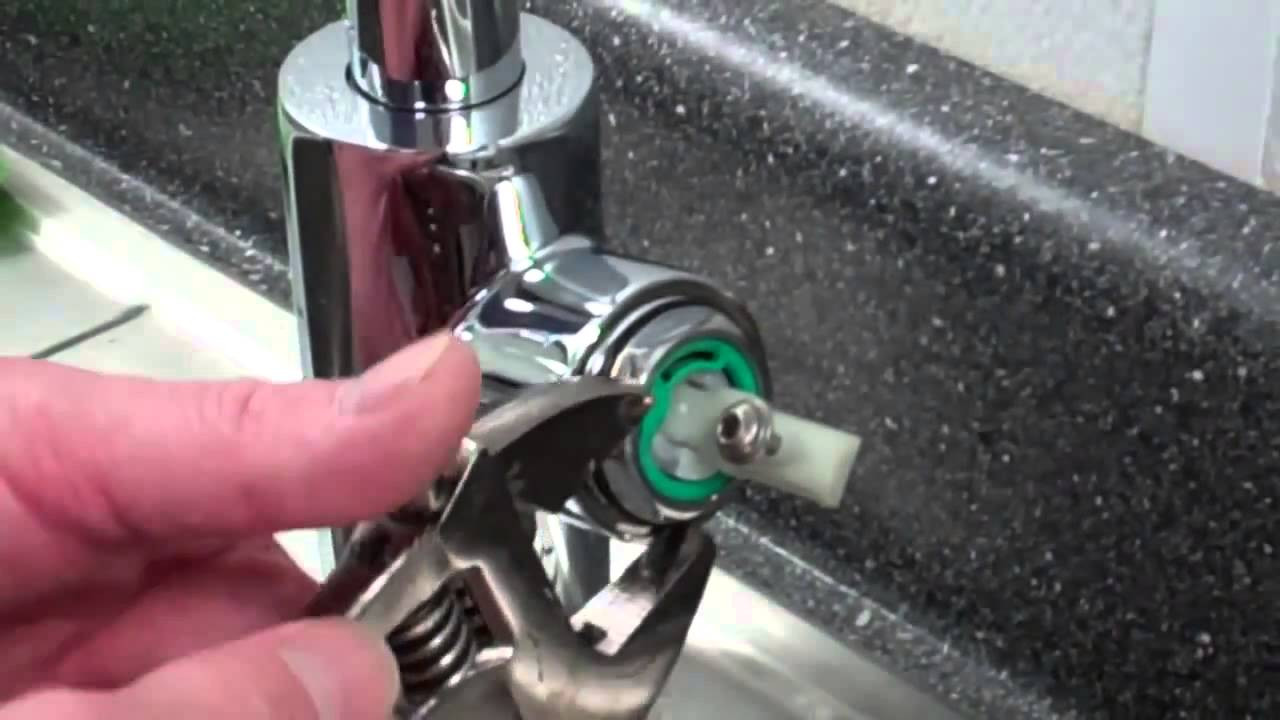
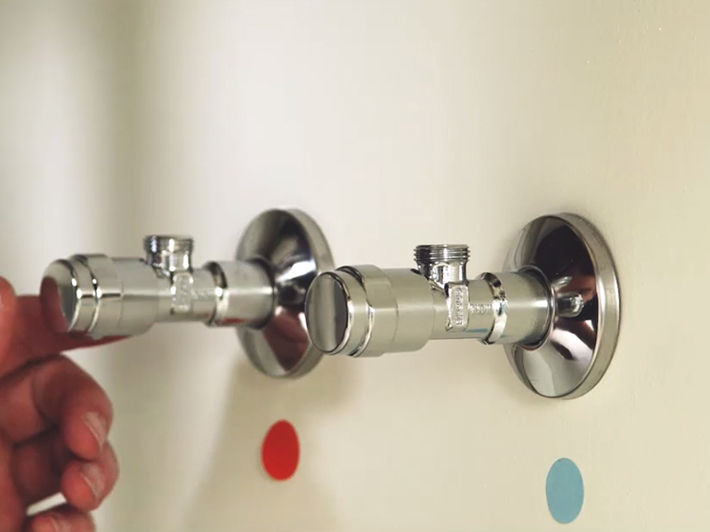
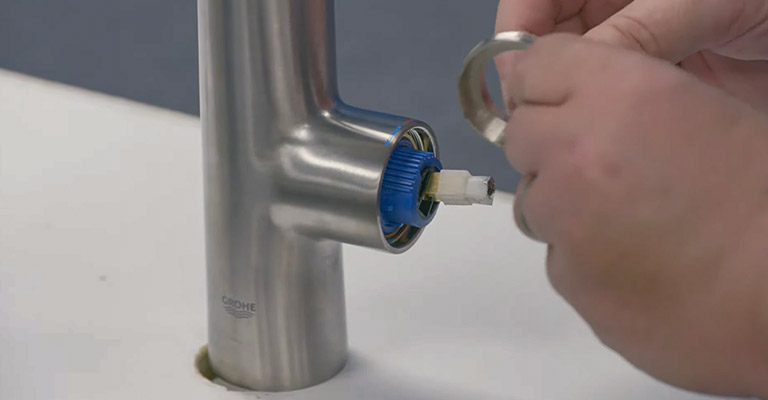
Before you start installing your new Grohe kitchen sink faucet, you'll need to remove your old faucet. Begin by turning off the water supply to your kitchen sink and opening the faucet to release any remaining pressure. Next, disconnect the water supply lines from the faucet and remove any mounting hardware. Once the old faucet is removed, you can begin installing your new Grohe kitchen sink faucet.
Step-by-Step Guide to Installing a Grohe Kitchen Faucet
Step 1: Gather your tools and materials. To install a Grohe kitchen sink faucet, you'll need an adjustable wrench, pliers, a screwdriver, plumber's tape, and the faucet itself.
Step 2: Prepare your sink. If you're installing a new sink, make sure the holes are the correct size for your Grohe kitchen faucet. If you're replacing an old faucet, clean the sink area thoroughly to remove any residue.
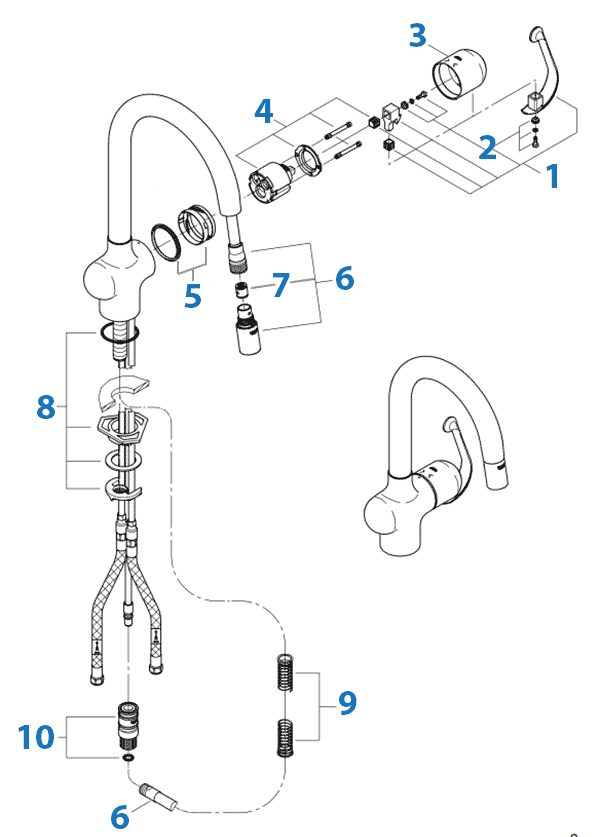
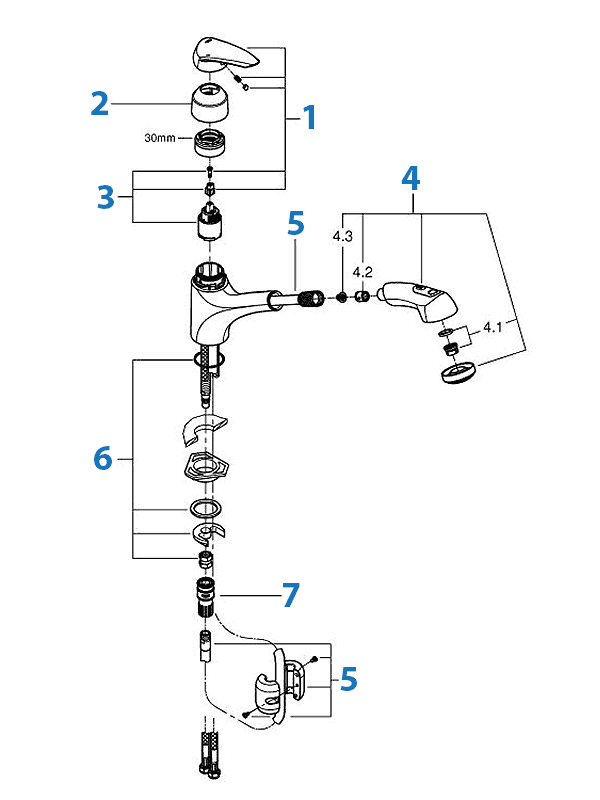
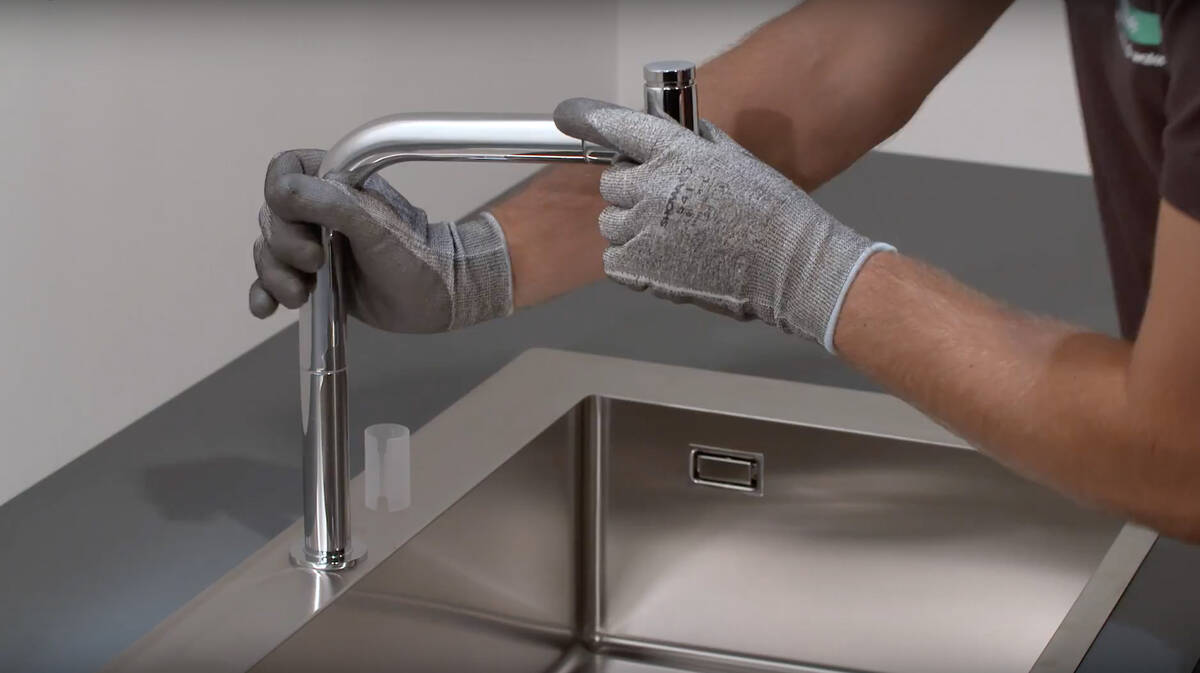
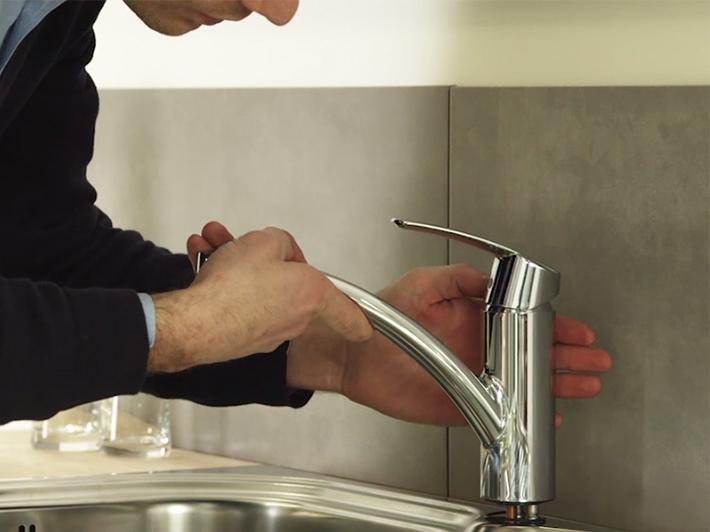
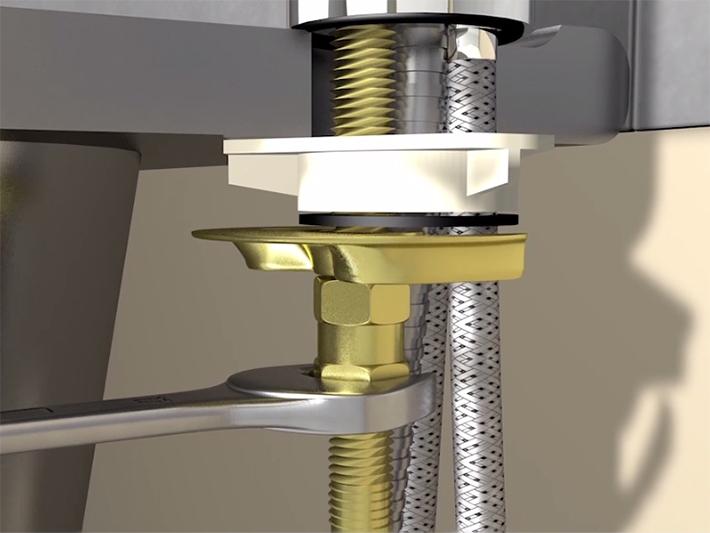
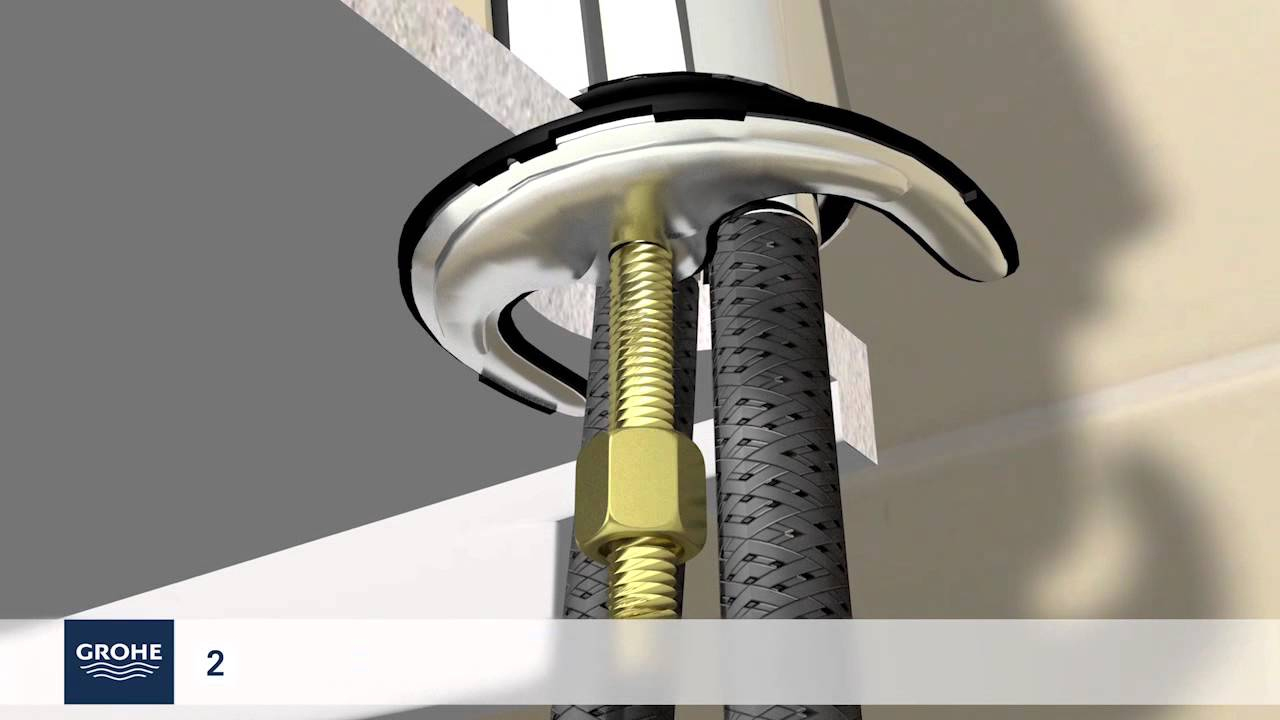
Step 3: Install the faucet base. Place the base of the faucet over the holes in the sink and secure it with the mounting hardware provided by Grohe.
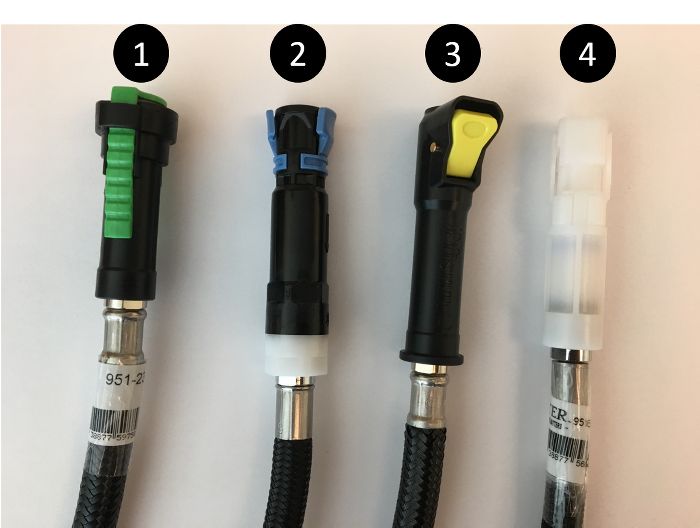
Step 4: Connect the water supply lines. Attach the water supply lines to the faucet and tighten them with an adjustable wrench.
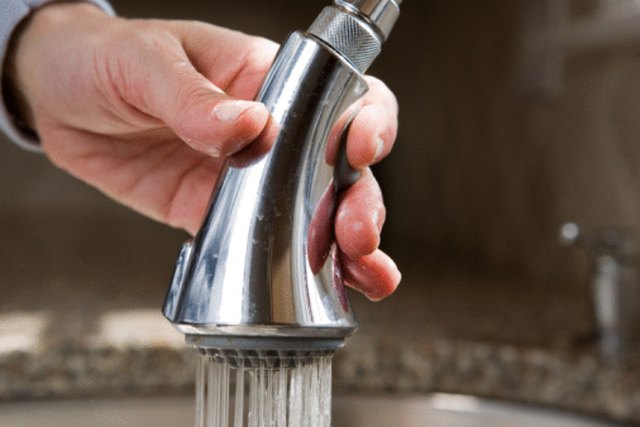
Step 5: Install the aerator. The aerator is the small piece at the end of the faucet that helps control the flow of water. Simply screw it onto the end of the faucet.
Step 6: Turn on the water supply. Once everything is securely in place, turn on the water supply and check for any leaks. If there are any, tighten the connections with pliers.
Step 7: Test your faucet. Turn on the faucet and make sure the water is flowing correctly. Adjust the temperature and flow as needed.
Grohe Kitchen Faucet Installation Tutorial
If you're more of a visual learner, there are plenty of online tutorials available to help you with the installation process. You can also refer to Grohe's installation instructions for your specific faucet model. Following a tutorial or guide can make the process less overwhelming and ensure that you're installing your Grohe kitchen sink faucet correctly.
DIY: Installing a Grohe Kitchen Sink Faucet
Installing a Grohe kitchen sink faucet yourself is a great way to save money and take pride in your home improvement projects. With the right tools and instructions, it's a doable task for anyone. Plus, you'll have the satisfaction of knowing you did it yourself.
Grohe Kitchen Faucet Installation Tips and Tricks
Here are a few tips and tricks to keep in mind while installing your Grohe kitchen sink faucet:
- Read the installation instructions carefully before starting the process.
- Make sure you have all the necessary tools and materials on hand.
- Take your time and be patient. Rushing through the installation could result in mistakes or damage to your faucet.
- Use plumber's tape on all connections to prevent leaks.
- If you're unsure about any step in the process, consult a professional plumber.
Easy Guide to Installing a Grohe Kitchen Sink Faucet
Now that you have a better understanding of the installation process, here's a simplified guide to help you install your Grohe kitchen sink faucet:
- Gather your tools and materials.
- Prepare your sink.
- Install the faucet base.
- Connect the water supply lines.
- Install the aerator.
- Turn on the water supply and test your faucet.
Installing a Grohe Kitchen Faucet: What You Need to Know
Before you start the installation process, here are a few things you need to know about Grohe kitchen faucets:
- Grohe faucets are known for their durability and functionality, making them a popular choice for homeowners.
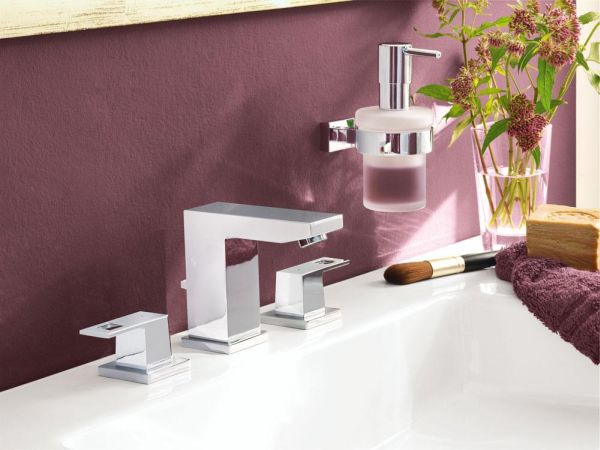
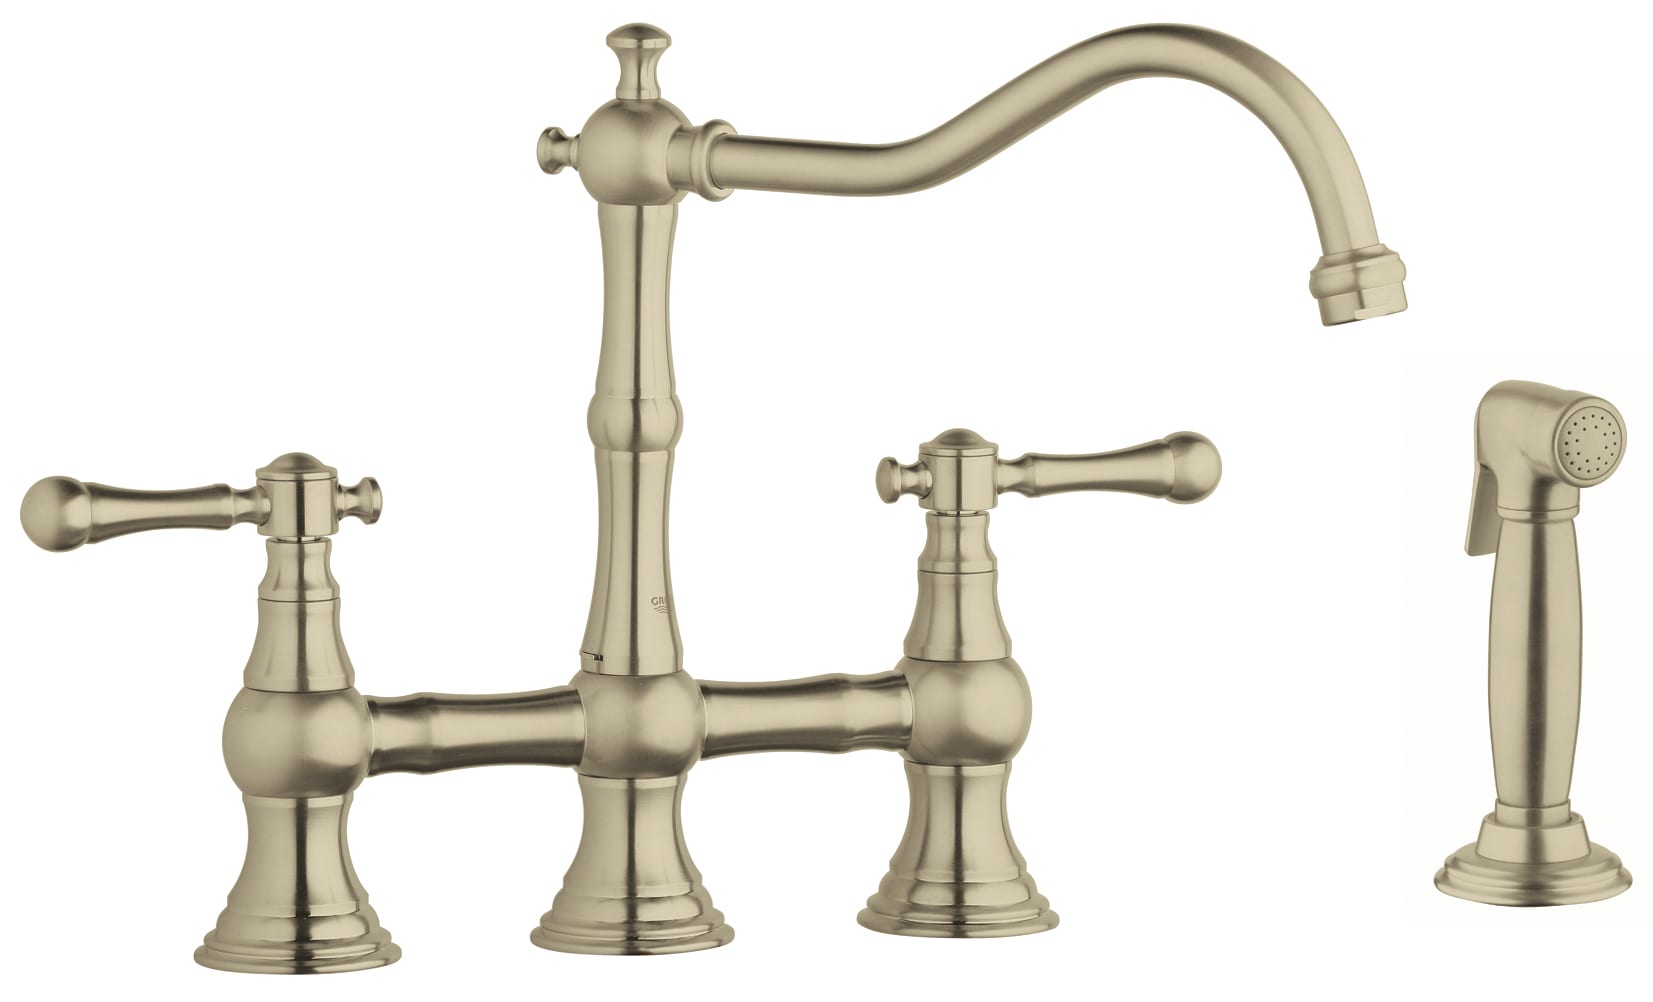
- They come in various styles and finishes to match your kitchen decor.
- Grohe offers a limited lifetime warranty on their faucets, giving you peace of mind in your investment.
Grohe Kitchen Faucet Installation: A Comprehensive Guide
If you're looking for a more comprehensive guide to installing your Grohe kitchen sink faucet, you can refer to the manufacturer's website for detailed instructions and videos. They also have a customer service team available to assist with any questions or concerns you may have.
Step-by-Step Instructions for Installing a Grohe Kitchen Sink Faucet
To recap, here are the step-by-step instructions for installing your Grohe kitchen sink faucet:
Step 1: Gather your tools and materials.
Step 2: Prepare your sink.
Step 3: Install the faucet base.
Step 4: Connect the water supply lines.
Step 5: Install the aerator.
Step 6: Turn on the water supply and test your faucet.
With this guide, you should now feel confident in installing your Grohe kitchen sink faucet. Just remember to take your time, follow the instructions carefully, and don't be afraid to ask for help if needed. Soon, you'll have a beautiful and functional Grohe kitchen faucet to enjoy in your kitchen.
Why Choose a Grohe Kitchen Sink Faucet for Your Home?

Unparalleled Quality and Design
 When it comes to designing and renovating your home, every detail matters. This includes even the smallest features in your kitchen, such as the
Grohe kitchen sink faucet
. With over 140 years of experience in the industry, Grohe has become known for their unparalleled quality and innovative designs. Their faucets are made with the highest quality materials and are built to last, ensuring that your kitchen will not only look beautiful but also function flawlessly for years to come.
Efficiency and Functionality
 Aside from the aesthetic appeal, a kitchen sink faucet should also be efficient and functional. This is where Grohe truly shines. Their faucets are equipped with advanced technologies that make your kitchen tasks easier and more efficient.
Concerto
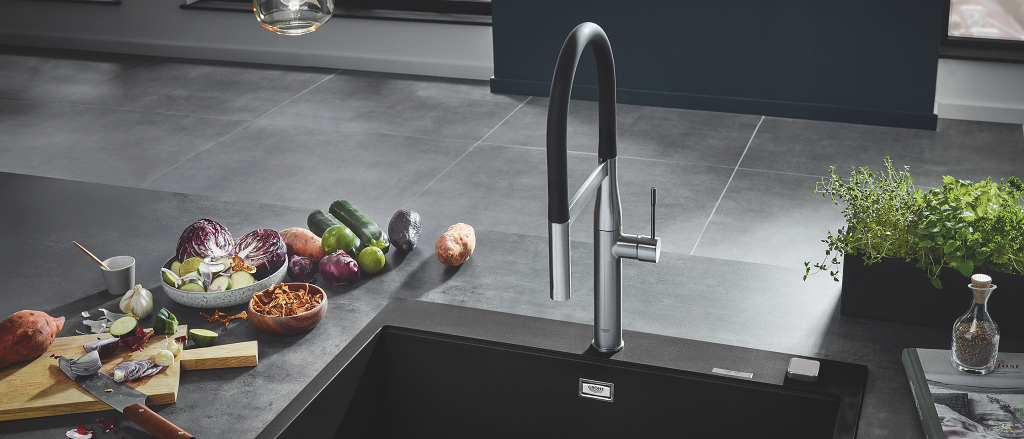
, one of Grohe's kitchen faucet collections, features a pull-out spray head that can switch between a powerful jet and a soft shower spray with just a push of a button. This allows for easy cleaning and rinsing of dishes, as well as filling up large pots and containers.
Customizable Options
 Another great feature of Grohe kitchen sink faucets is their customizable options. With a wide range of styles, colors, and finishes to choose from, you can easily find a faucet that complements your kitchen design. Whether you prefer a modern, sleek look or a more traditional and classic feel, Grohe has something for every homeowner. And with their innovative quick installation system, you can easily switch out your faucet without the need for a plumber.
Final Thoughts
 In conclusion, a Grohe kitchen sink faucet is the perfect addition to any home. With their unmatched quality, efficiency, and customizable options, you can't go wrong with choosing one for your kitchen. So if you're in the process of designing or renovating your home, be sure to consider a Grohe kitchen sink faucet for a beautiful and functional addition to your space.














:max_bytes(150000):strip_icc()/installing-a-moen-kitchen-faucet-2718847-hero-80764e1087fc4d26919082f212cf3d0a.jpg)
