Cutting a hole for a kitchen sink may seem like a daunting task, but with the right tools and techniques, it can be a relatively simple process. Whether you are installing a new sink or replacing an old one, knowing how to cut a hole in your countertop is an essential skill for any DIY enthusiast. In this article, we will provide a step-by-step guide on how to cut a hole for a kitchen sink, along with best practices and common mistakes to avoid.How to Cut a Hole for a Kitchen Sink
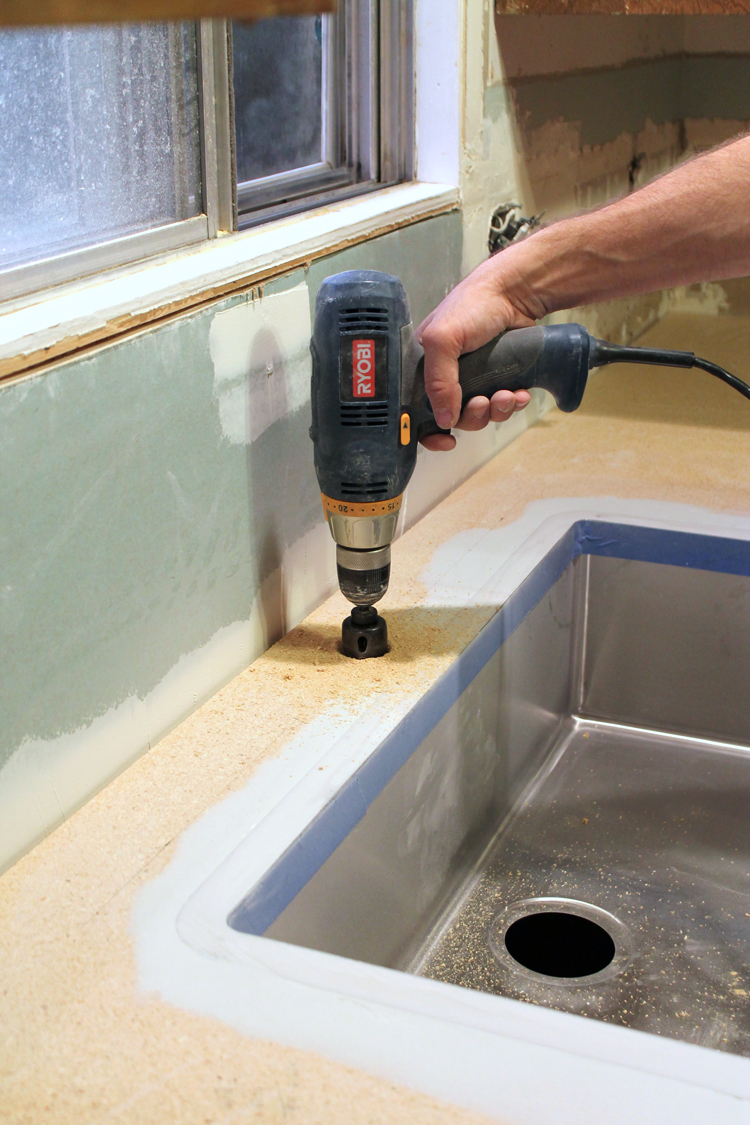
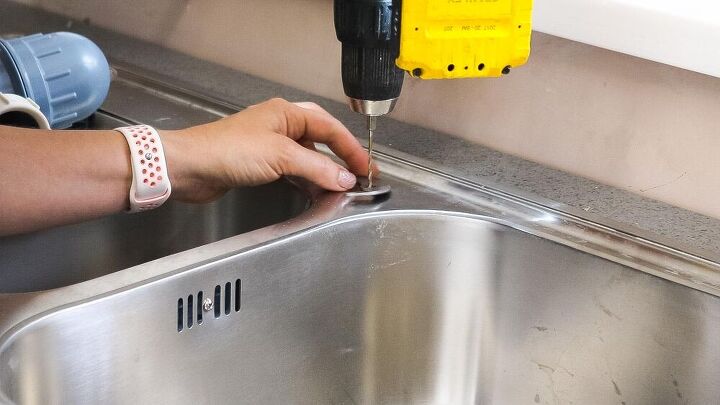
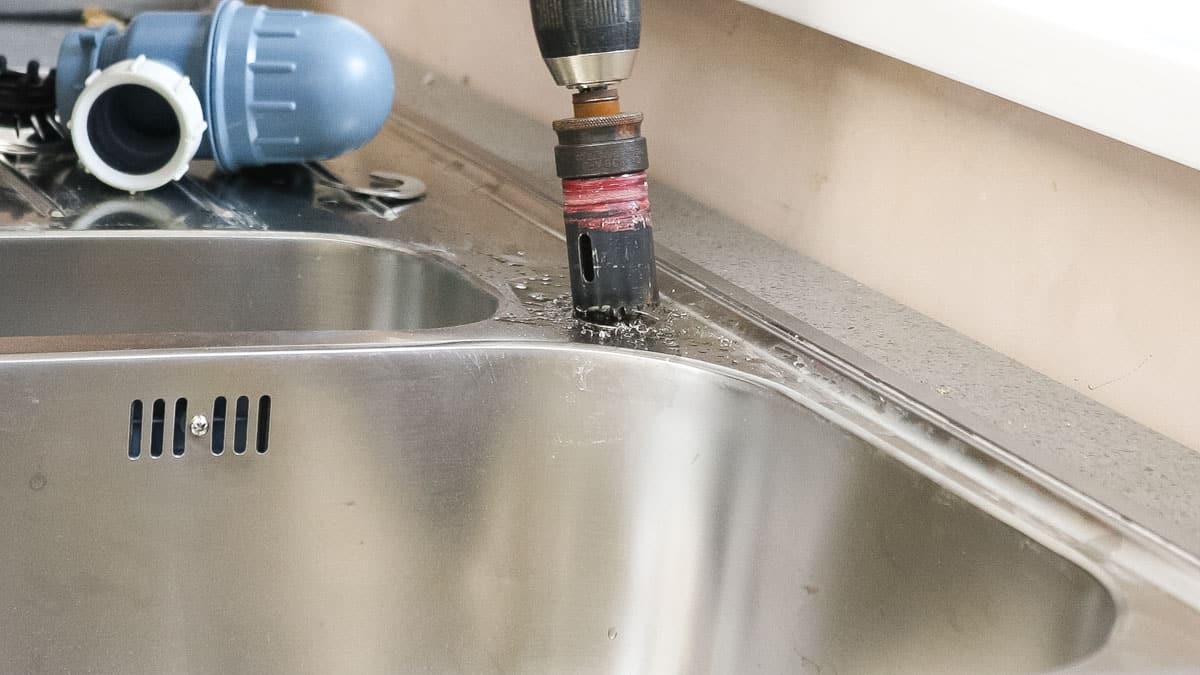
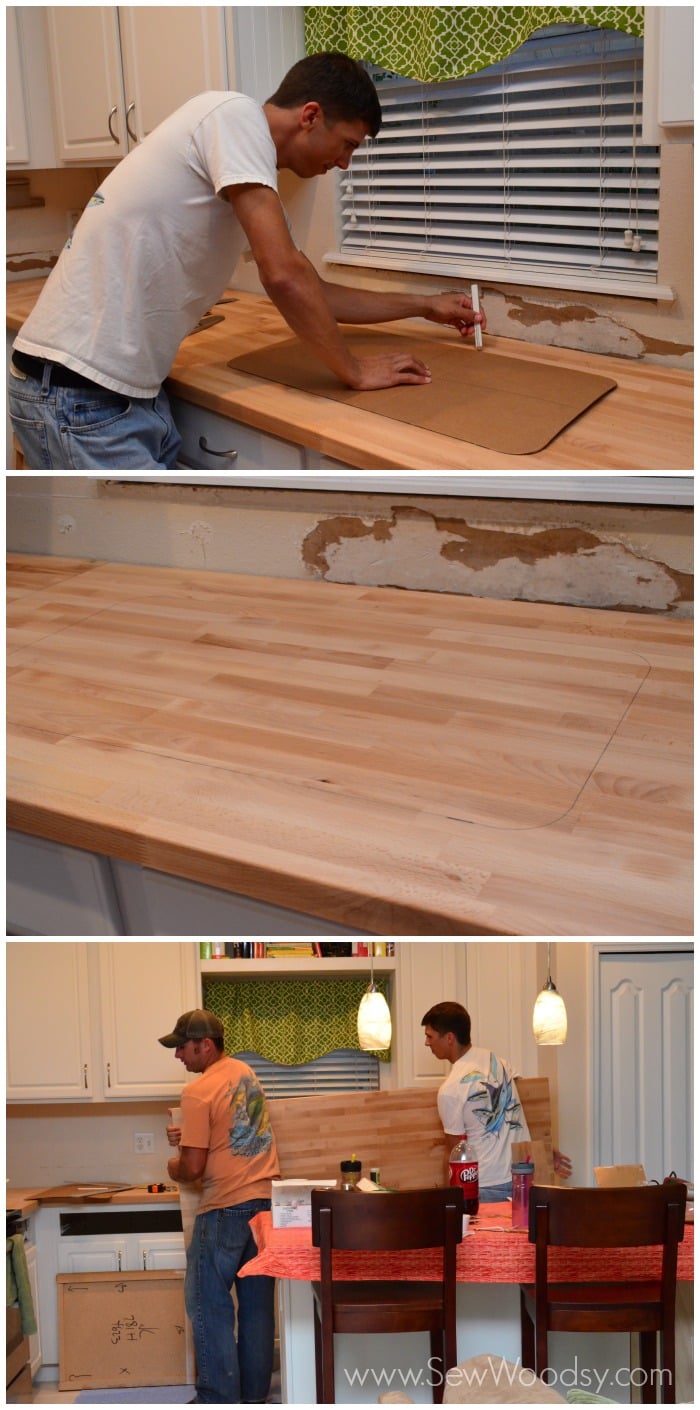
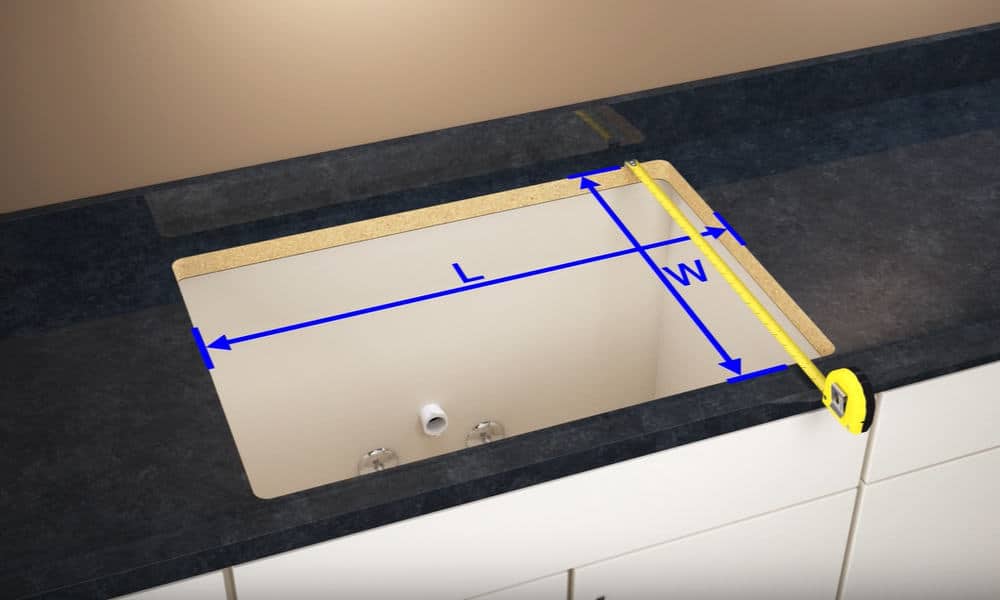
The first step in cutting a hole for a kitchen sink is to gather all the necessary tools and materials. These typically include a jigsaw, drill, measuring tape, pencil, and safety equipment such as goggles and gloves. Start by measuring the dimensions of your sink and marking them on the countertop. Use a pencil to draw a template of the sink's outline, including the location of the faucet and any other accessories. Make sure to double-check your measurements to ensure accuracy. Next, use a drill to create a pilot hole in one of the corners of your template. This will serve as a starting point for your jigsaw. It is essential to use a jigsaw with a fine-tooth blade to ensure clean and precise cuts. Once you have your pilot hole, insert the jigsaw blade and carefully cut along the marked outline. Take your time and use steady, controlled movements to avoid any mistakes. If you are cutting through a thicker material such as granite or marble, it may be helpful to use a water-cooled jigsaw blade to prevent overheating and ensure a smooth cut. As you near the end of the cutting process, be sure to support the countertop from underneath to prevent it from breaking or splintering. Once the cut is complete, use sandpaper to smooth out any rough edges or imperfections around the hole.How to Cut a Hole in a Countertop for a Kitchen Sink
If you are planning on cutting a hole for a kitchen sink as a DIY project, there are a few tips and tricks to keep in mind for a successful outcome. Firstly, always use the right tools and equipment for the job. This includes a jigsaw with a fine-tooth blade, a drill with the appropriate drill bit, and safety gear such as goggles and gloves. It is also crucial to measure and mark your cutout accurately. Take your time and double-check your measurements to ensure they are correct. Remember, the old saying "measure twice, cut once" is particularly applicable in this situation. When making your cut, use steady and controlled movements. Avoid rushing or forcing the jigsaw through the material, as this can lead to mistakes or damage to your countertop. If you are cutting through a thicker material, such as granite or marble, it may be helpful to have a partner hold a piece of wood underneath the countertop to provide additional support. After the cut is complete, be sure to clean up any debris and smooth out any rough edges or imperfections with sandpaper.DIY: Cutting a Hole for a Kitchen Sink
To summarize, here is a step-by-step guide for cutting a hole for a kitchen sink: Step 1: Measure the dimensions of your sink and mark them on the countertop. Step 2: Create a template of the sink's outline, including the location of the faucet and any other accessories. Step 3: Use a drill to create a pilot hole in one of the corners of your template. Step 4: Insert a jigsaw blade and carefully cut along the marked outline. Step 5: Support the countertop from underneath as you near the end of the cutting process. Step 6: Use sandpaper to smooth out any rough edges or imperfections around the hole.Step-by-Step Guide for Cutting a Hole for a Kitchen Sink
As mentioned earlier, the essential tools for cutting a hole for a kitchen sink include a jigsaw, drill, measuring tape, pencil, and safety equipment. However, there are a few additional techniques and tips that can make the process easier and more efficient. If you are cutting through a thicker material such as granite or marble, using a water-cooled jigsaw blade can help prevent overheating and ensure a clean and smooth cut. Additionally, using a guide or template can help you cut a more precise outline. It is also essential to have a clean and clutter-free workspace to prevent any accidents and ensure accuracy. And remember, always take your time and use steady, controlled movements for the best results.Tools and Techniques for Cutting a Hole for a Kitchen Sink
When cutting a hole for a kitchen sink, there are a few best practices to keep in mind to ensure a successful and efficient process. Firstly, always measure and mark your cutout accurately. Double-check your measurements to avoid any mistakes or inaccuracies that can lead to problems later on. Secondly, use the right tools and equipment for the job. Using a jigsaw with a fine-tooth blade and a drill with the appropriate drill bit is crucial for clean and precise cuts. It is also essential to support the countertop from underneath as you near the end of the cutting process. This will prevent any damage or splintering of the material.Best Practices for Cutting a Hole for a Kitchen Sink
Despite following all the necessary steps and precautions, mistakes can still happen when cutting a hole for a kitchen sink. Here are some common mistakes to avoid to ensure a smooth and successful process: Not measuring and marking accurately: This can lead to a poorly fitting sink or damage to your countertop. Using the wrong tools: Using a jigsaw with a coarse blade or a drill with the wrong drill bit can result in mistakes and damage to your countertop. Not supporting the countertop: This can lead to the countertop breaking or splintering while cutting, resulting in an uneven or damaged cut. Rushing the process: Take your time and use steady, controlled movements to avoid any mistakes or accidents.Common Mistakes to Avoid When Cutting a Hole for a Kitchen Sink
Proper measuring and marking are crucial for a successful outcome when cutting a hole for a kitchen sink. Here are some steps to follow when measuring and marking your cutout: Step 1: Measure the dimensions of your sink and mark them on the countertop with a pencil. Step 2: Create a template of the sink's outline, including the location of the faucet and any other accessories. Step 3: Use a measuring tape to ensure the template is centered and symmetrical on the countertop. Step 4: Double-check your measurements and make any necessary adjustments before starting the cutting process.How to Measure and Mark for Cutting a Hole for a Kitchen Sink
Cutting a hole for a kitchen sink in a granite countertop may seem like a challenging task, but with the right tools and techniques, it can be done successfully. Here are some tips to keep in mind when cutting a hole in a granite countertop: Use a water-cooled jigsaw blade: This will help prevent overheating and ensure a smooth and clean cut. Support the countertop: Granite is a dense and heavy material, so it is crucial to have proper support from underneath to prevent any damage or splintering. Take your time: Cutting through granite requires patience and steady, controlled movements. Rushing the process can lead to mistakes and damage to the countertop.Tips for Cutting a Hole for a Kitchen Sink in a Granite Countertop
If you are a visual learner, watching a video tutorial can be helpful in understanding the process of cutting a hole for a kitchen sink. There are many tutorials available online that provide step-by-step instructions and demonstrations of the process. We recommend watching a few different videos to get a well-rounded understanding of the task at hand. In conclusion, cutting a hole for a kitchen sink is a crucial skill for any DIY enthusiast. By following the steps and tips outlined in this article, you can successfully cut a hole in your countertop and install a new or replacement sink with confidence. Remember to measure and mark accurately, use the right tools and techniques, and take your time for the best results.Video Tutorial: Cutting a Hole for a Kitchen Sink
Cutting Out Hole for Kitchen Sink

Why it's Important to Properly Cut Out a Hole for Your Kitchen Sink
 When it comes to designing your dream kitchen, every detail matters. From the type of countertops to the color of the cabinets, homeowners spend countless hours perfecting every aspect. However, one crucial element that is often overlooked is the process of cutting out a hole for the kitchen sink. While it may seem like a simple task, cutting out the perfect hole for your sink is essential for both functionality and aesthetics.
Functionality:
A properly cut-out hole for your kitchen sink is crucial for its functionality. The sink needs to fit snugly into the countertop to prevent any gaps or leaks. If the hole is too big, the sink may shift or even fall through, causing potential damage to your cabinets and floor. On the other hand, if the hole is too small, the sink may not sit flush with the countertop, creating an uneven surface that can be difficult to clean.
Aesthetics:
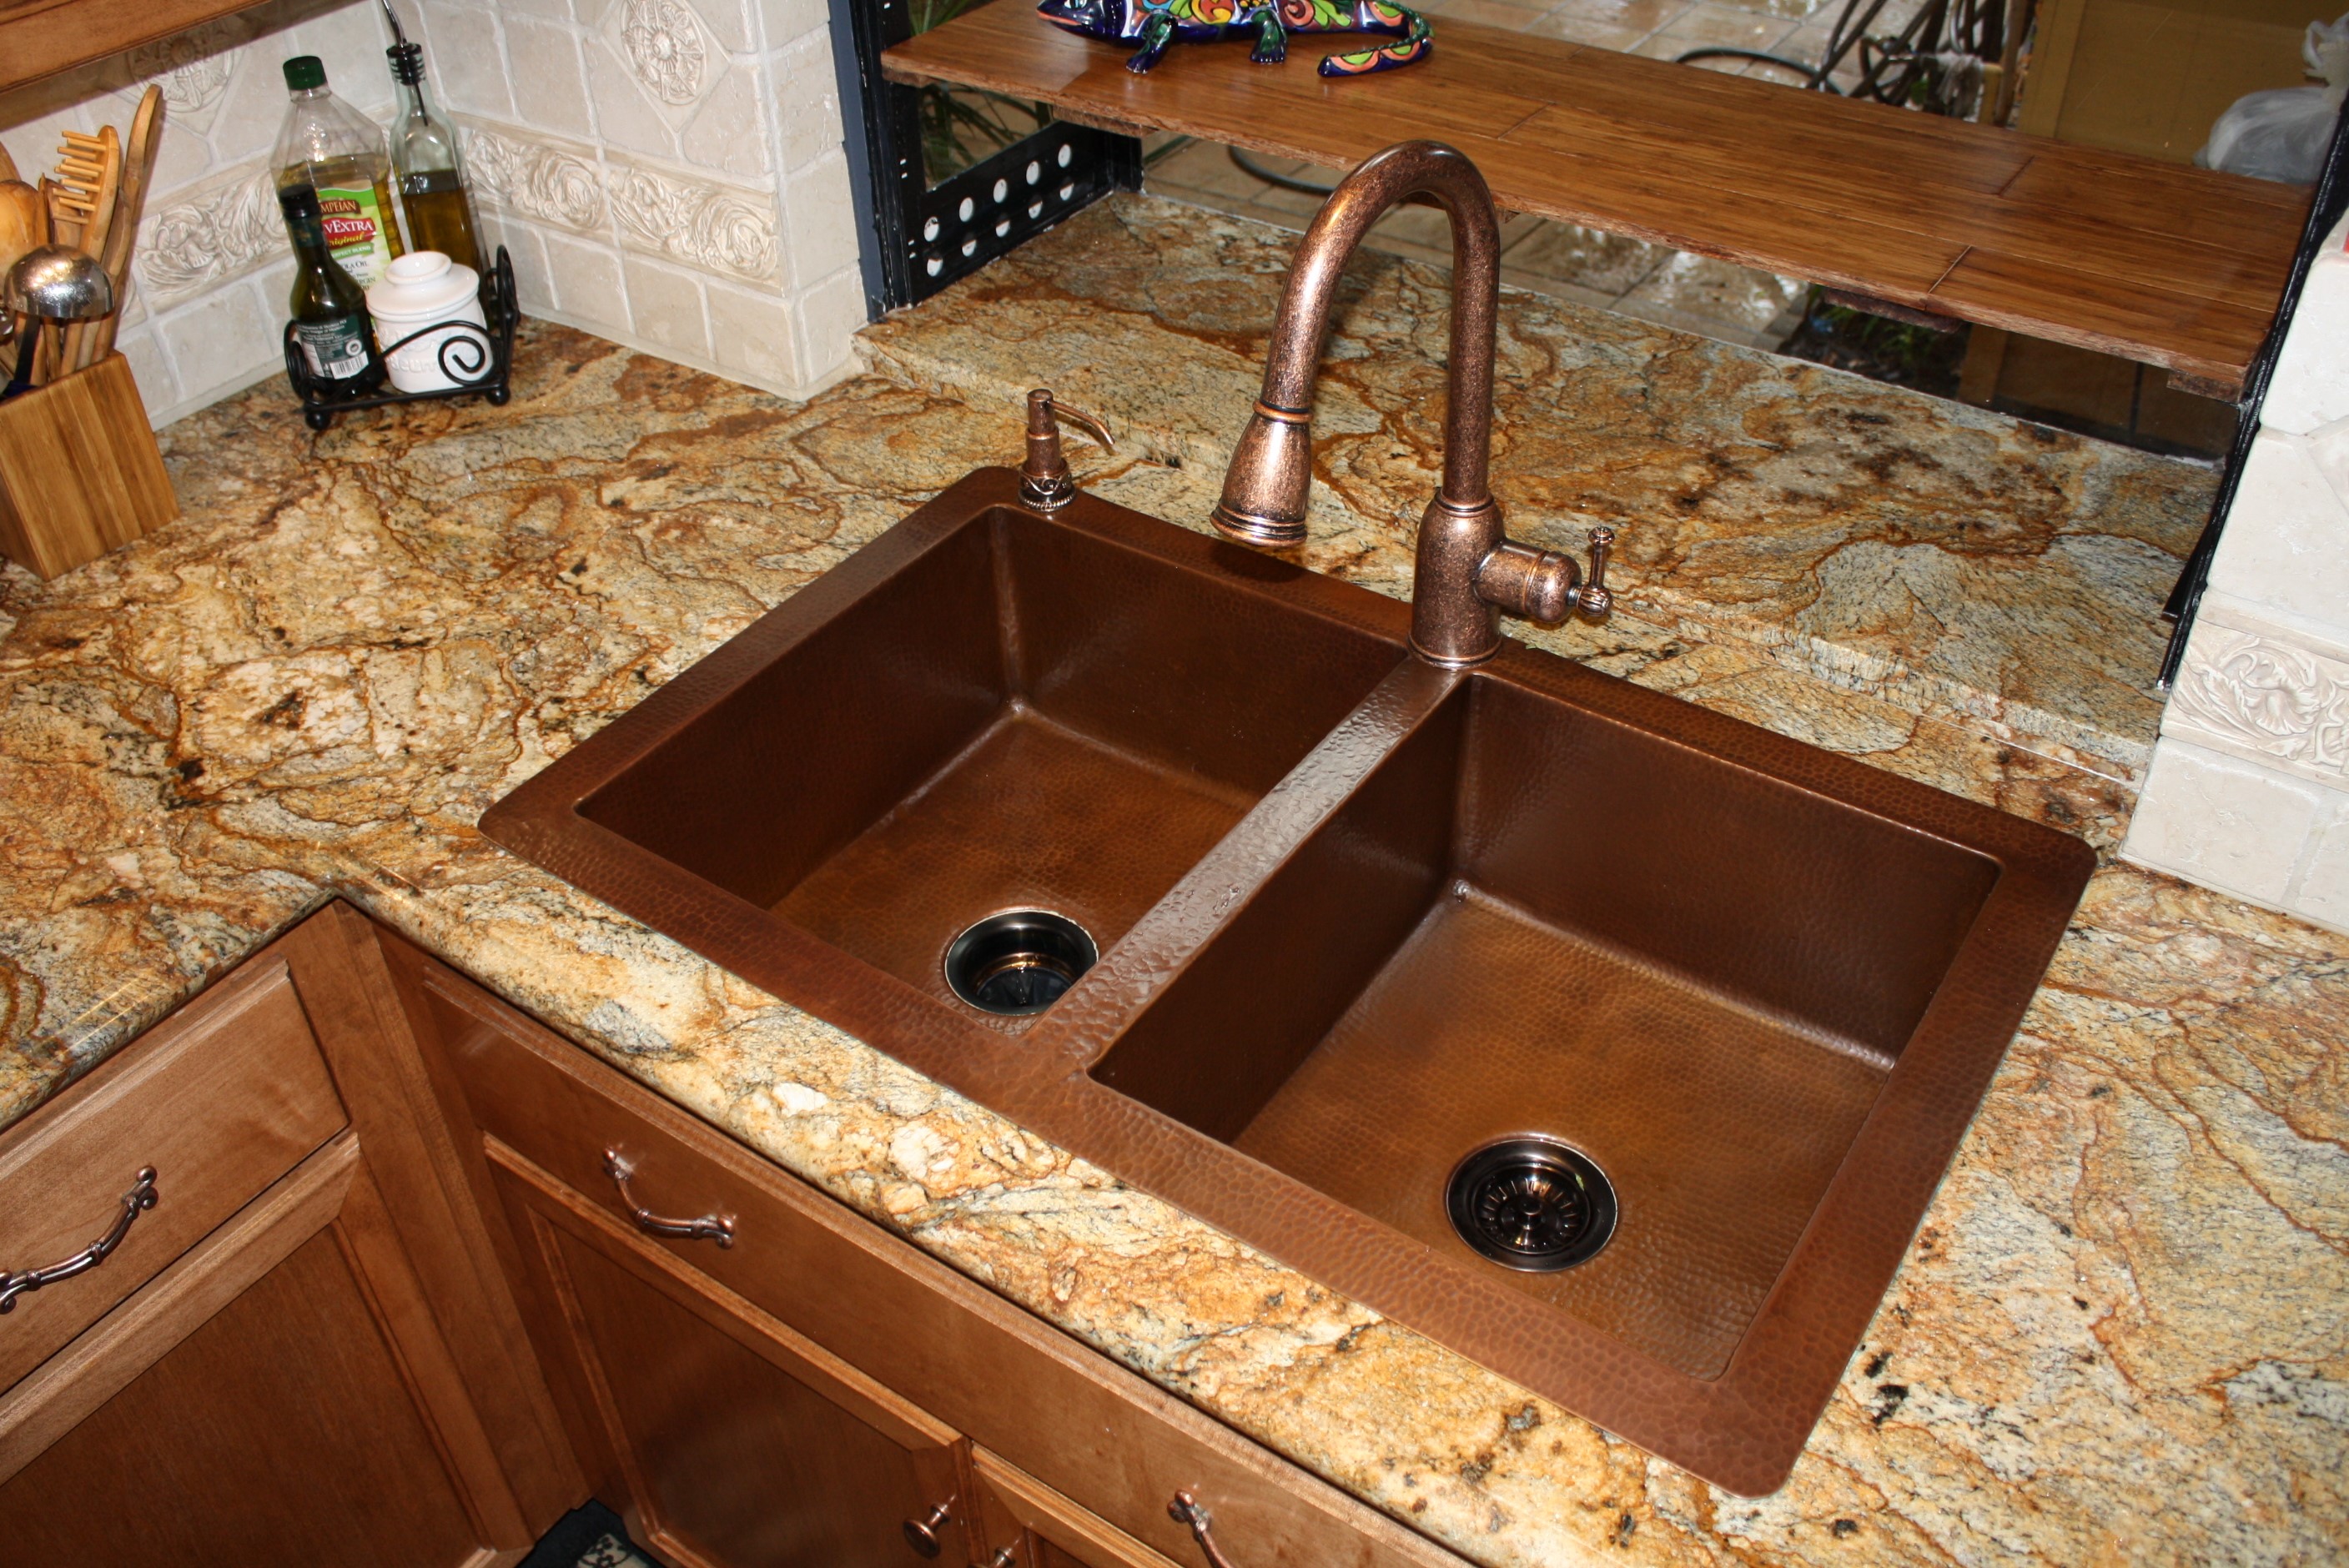
In addition to functionality, the size and shape of the hole for your kitchen sink also play a significant role in the overall look of your kitchen. The sink should be proportionate to the size of the countertop and the surrounding area. A poorly cut-out hole can throw off the entire balance of the kitchen, making it look cluttered and unappealing. On the other hand, a well-cut hole will enhance the overall design and make your sink a focal point of the room.
How to Properly Cut Out a Hole for Your Kitchen Sink
 Now that you understand the importance of cutting out a hole for your kitchen sink, here are some tips for getting it right:
1. Measure: Before making any cuts, measure the sink and mark its dimensions on the countertop. Be sure to leave a little extra space on all sides to allow for a snug fit.
2. Use the Right Tools: Cutting out a hole for a kitchen sink requires precision and the right tools. A jigsaw or reciprocating saw is the best option for cutting through most types of countertop materials, such as granite, marble, or laminate.
3. Cut from the Bottom: When cutting, it's best to start from the bottom of the countertop. This way, any potential splintering or chipping will be on the underside, which won't be visible.
4. Use Support: To prevent the countertop from cracking or breaking while cutting, use additional support underneath, such as a piece of plywood.
5. Sand and Seal: After the hole is cut, sand the edges to ensure they are smooth and even. Then, seal the edges to prevent any water damage.
Leave it to the Professionals
 While cutting out a hole for a kitchen sink may seem like a simple task, it can be a daunting and time-consuming process. To ensure a perfect fit and a professional finish, it's best to leave this task to the experts. A professional contractor or kitchen designer will have the experience and tools necessary to cut out a hole for your kitchen sink with precision and ease.
In conclusion, cutting out a hole for your kitchen sink is not a task to be taken lightly. It is an essential step in the design process that requires both functionality and aesthetics. By following these tips and leaving the job to the professionals, you can ensure that your sink will be a beautiful and functional addition to your dream kitchen.





:no_upscale()/cdn.vox-cdn.com/uploads/chorus_asset/file/19495086/drain_0.jpg)


.png)













:max_bytes(150000):strip_icc()/kitchenrecessedlighting-GettyImages-155383268-dec5caad600541ff81cbdd6d06846c66.jpg)


