1. How to Connect a Hose to a Kitchen Sink
Connecting a hose to your kitchen sink may seem like a daunting task, but with the right tools and knowledge, it can be easily accomplished. Whether you need to fill a large pot with water or attach a hose for cleaning, having a hose connected to your kitchen sink can be a convenient and practical addition to your home. In this guide, we will take you through the step-by-step process of connecting a hose to your kitchen sink.
2. Step-by-Step Guide for Attaching a Hose to a Kitchen Sink
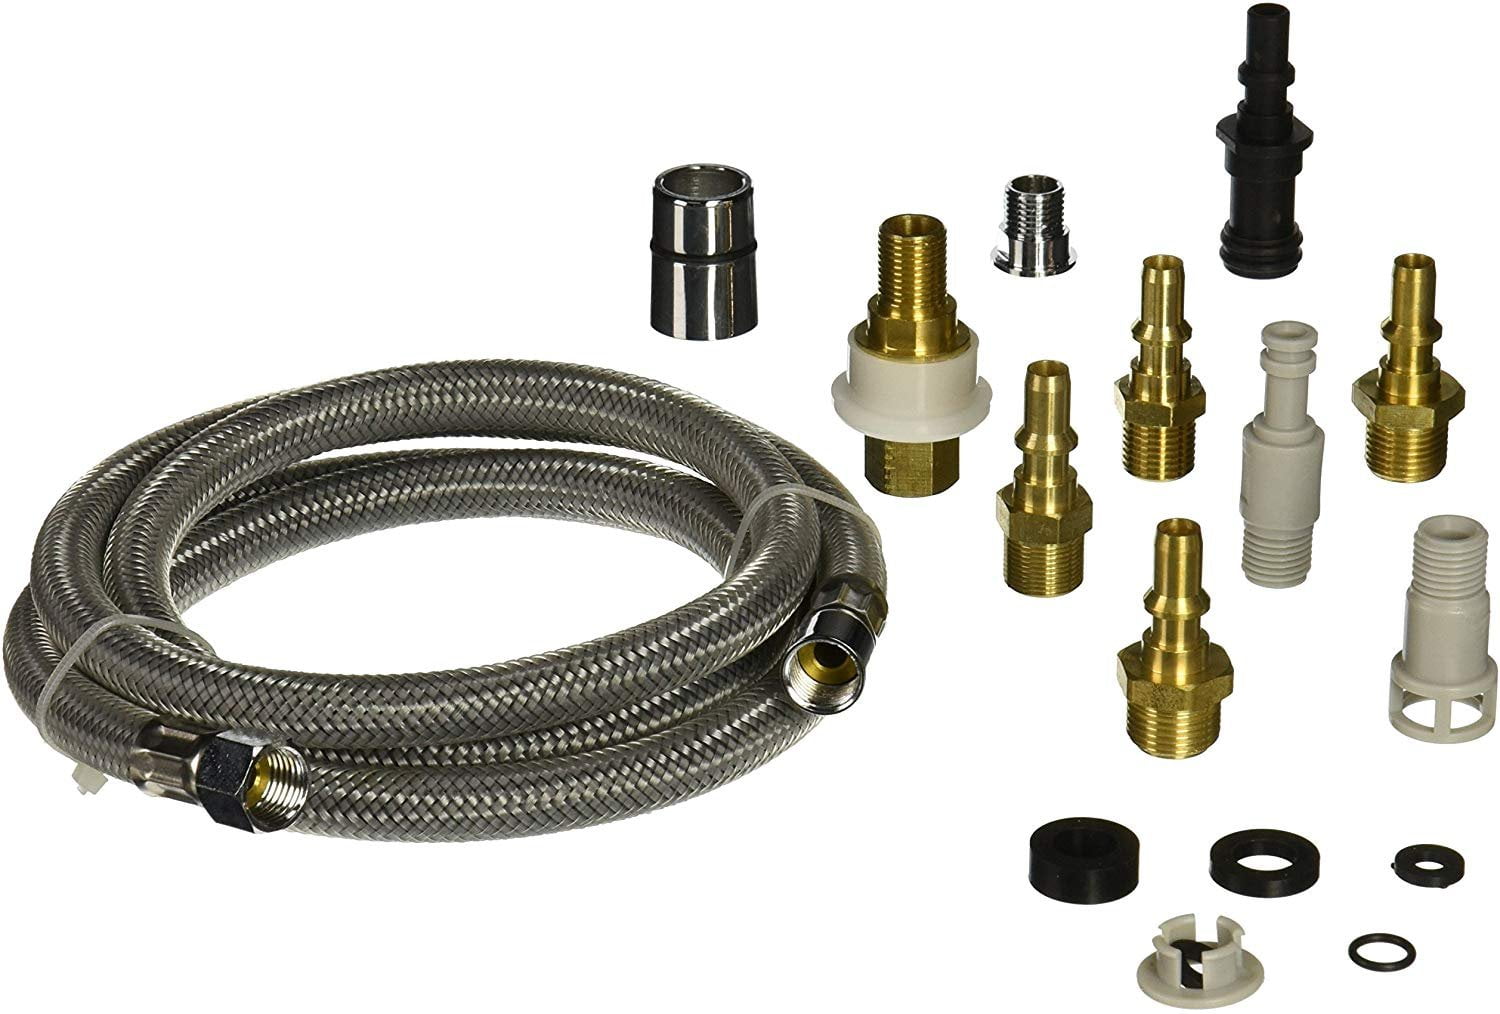
Before you begin, make sure you have all the necessary tools and materials. This includes a hose, an adapter, pliers, and Teflon tape. Once you have everything ready, follow these easy steps to connect the hose to your kitchen sink:
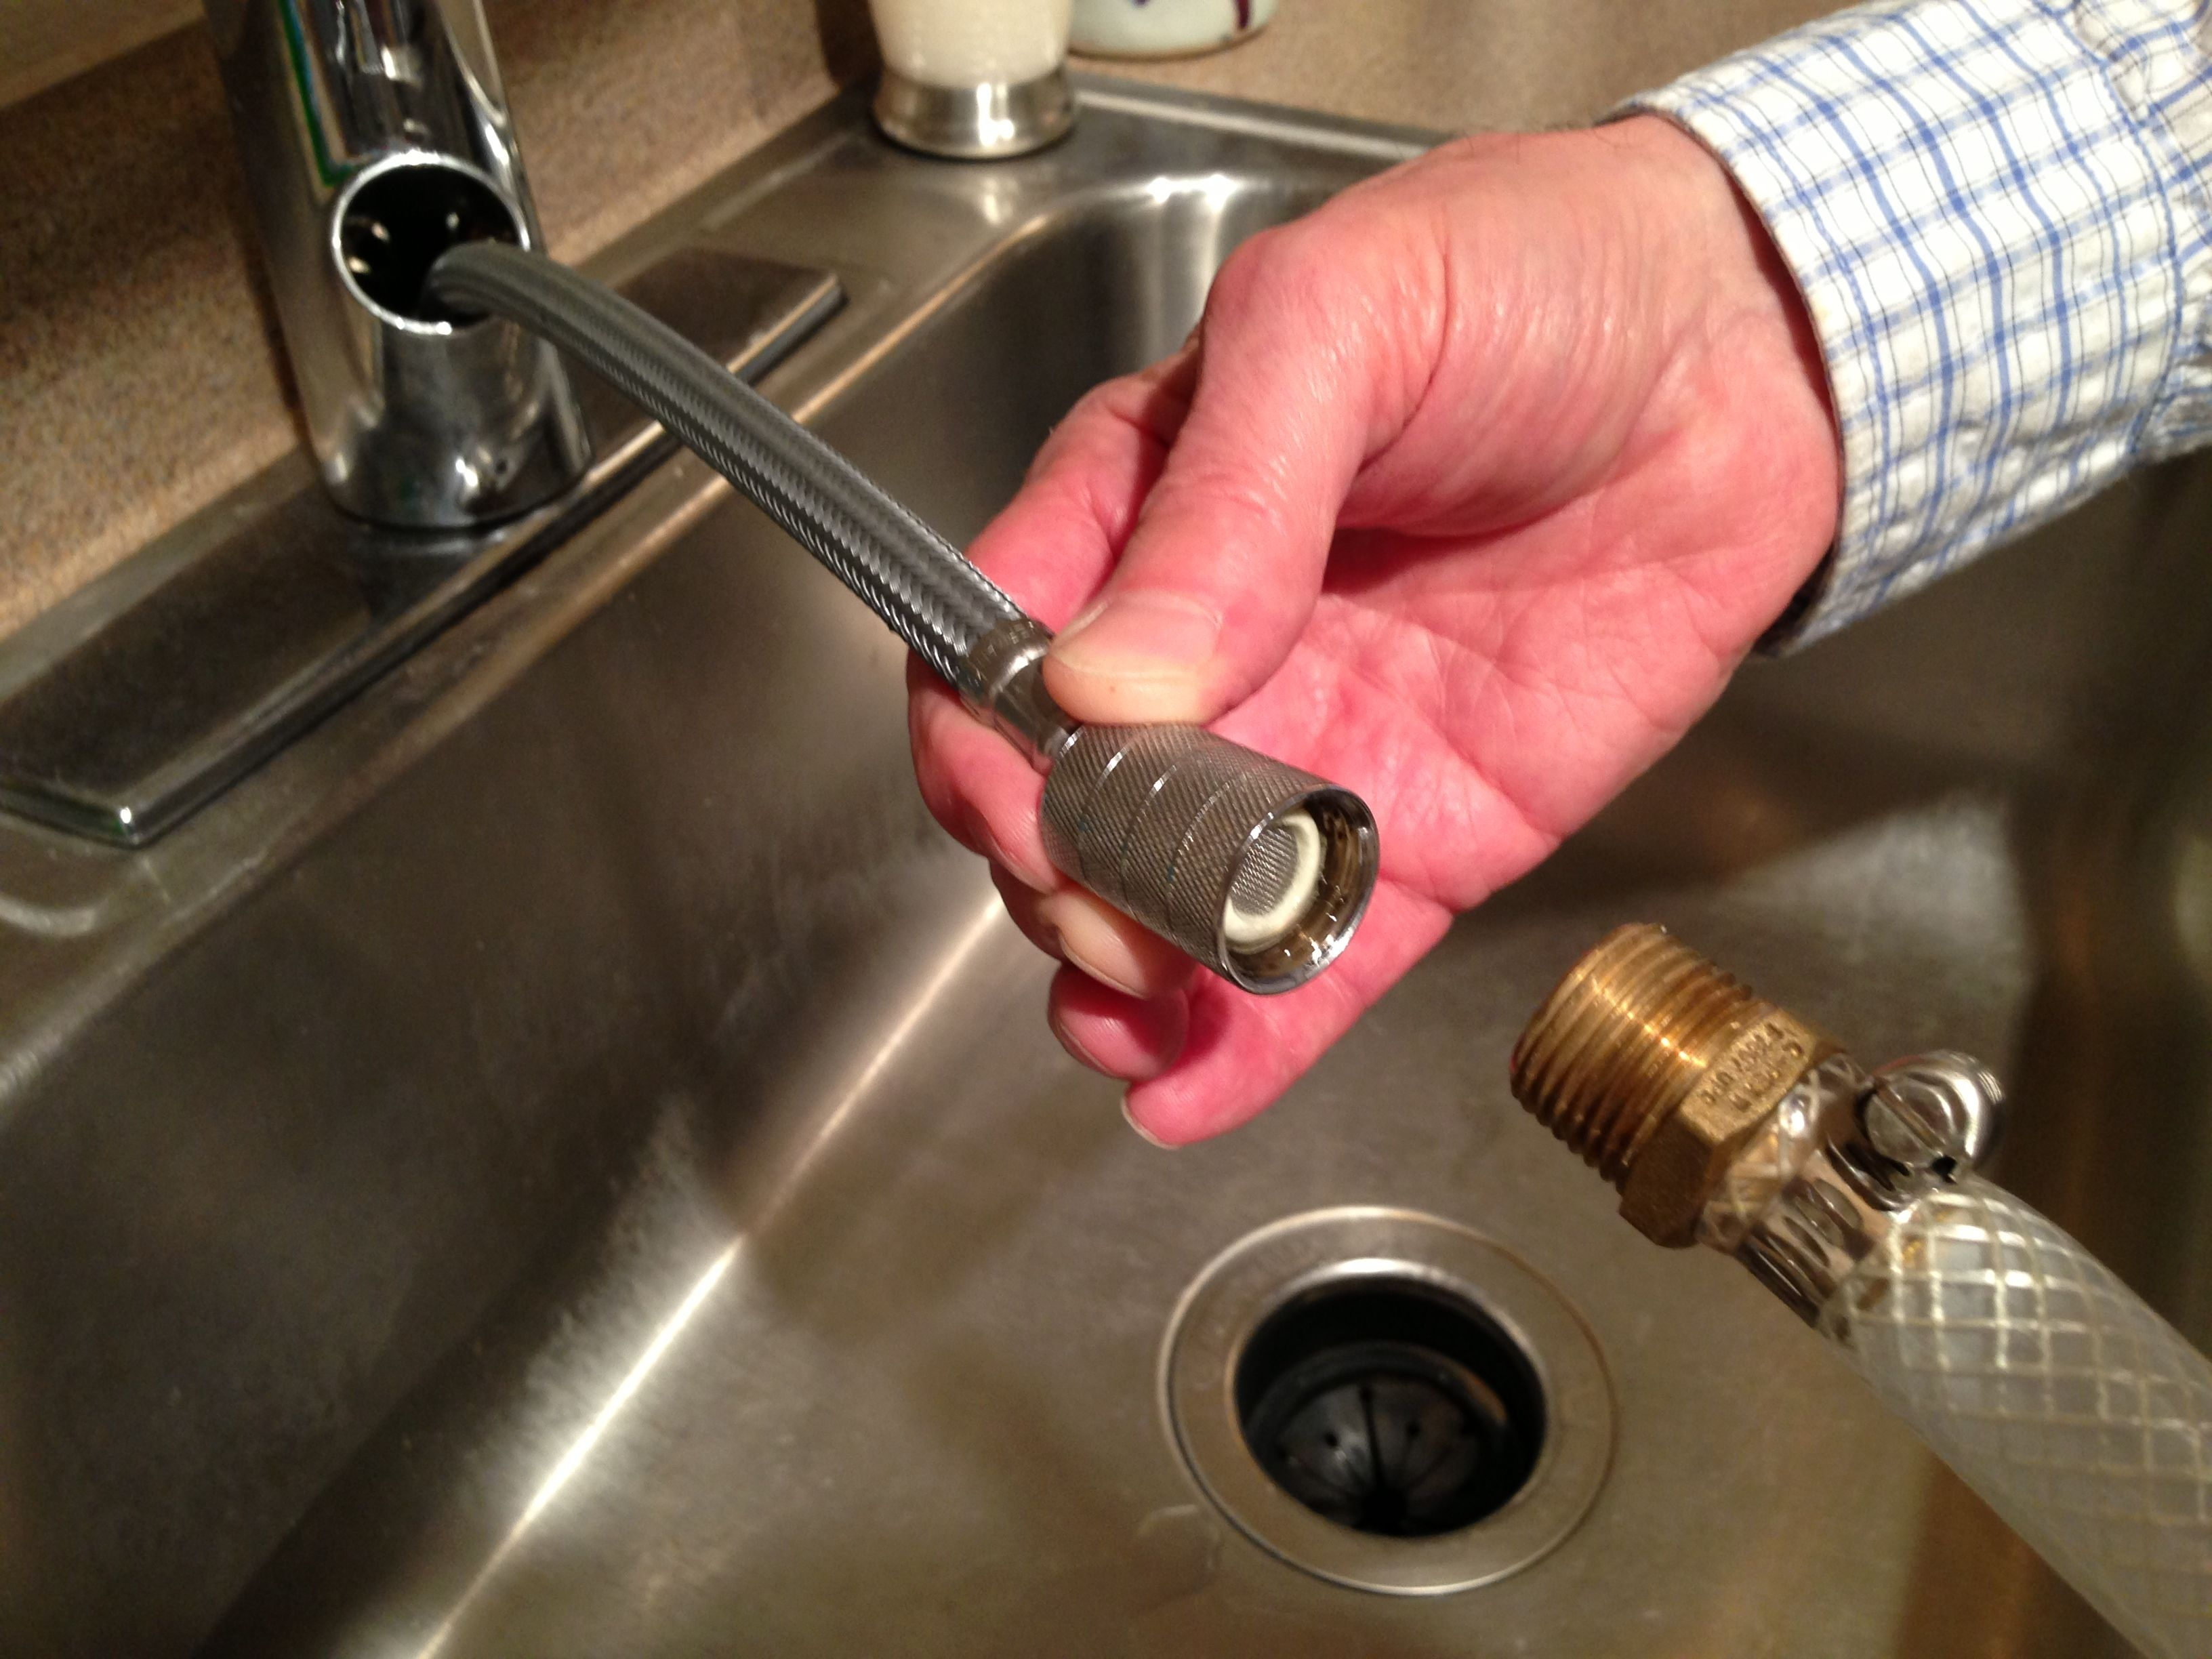
Step 1: Begin by removing the aerator from the end of your kitchen sink faucet. You can do this by unscrewing it counterclockwise with your hands or by using pliers if it is stuck.
Step 2: Wrap a few layers of Teflon tape around the threads of the faucet. This will help create a tight seal when the adapter is attached.
Step 3: Screw the adapter onto the faucet threads, making sure it is secure and tight.
Step 4: Attach one end of the hose to the adapter and tighten it with pliers. Make sure it is securely attached to avoid any leaks.
Step 5: Turn on the water and check for any leaks. If you notice any, tighten the connections with pliers or add more Teflon tape if necessary.
Step 6: Your hose is now successfully connected to your kitchen sink! You can now use it for various tasks such as washing dishes, filling pots, or even watering plants.
3. DIY: Connecting a Hose to Your Kitchen Sink
If you are a DIY enthusiast, connecting a hose to your kitchen sink can be a fun and rewarding project. Not only will it save you money from hiring a professional, but you will also have the satisfaction of completing the task on your own. Just follow the steps mentioned above and you'll have a functioning hose attached to your kitchen sink in no time!
4. Tips for Successfully Connecting a Hose to a Kitchen Sink
Here are some tips to keep in mind when connecting a hose to your kitchen sink:
- Make sure the hose and adapter are compatible with your kitchen sink faucet.
- Use Teflon tape to ensure a tight and leak-free connection.
- Check for any leaks before using the hose for the first time.
- Be careful not to overtighten the connections, as this can cause damage.
- Consider investing in a spray attachment for your hose for added convenience.
5. The Best Methods for Attaching a Hose to a Kitchen Sink
There are a few different methods for attaching a hose to your kitchen sink, depending on the type of faucet you have. The most common methods include using an adapter, a quick-connect system, or a faucet diverter valve. Whichever method you choose, make sure it is suitable for your faucet and provides a secure connection.
6. Common Mistakes to Avoid When Connecting a Hose to a Kitchen Sink
While connecting a hose to your kitchen sink may seem like a simple task, there are a few common mistakes that can lead to frustration and potential damage. These include:
- Using the wrong size adapter for your faucet.
- Not using enough Teflon tape, resulting in leaks.
- Forcing connections too tight, which can cause damage.
- Not checking for leaks before using the hose for the first time.
- Using a hose that is not designed for drinking water for tasks such as filling a pot.
7. Tools and Materials Needed for Connecting a Hose to a Kitchen Sink
The tools and materials needed for connecting a hose to your kitchen sink are relatively simple and can be found at most hardware stores. These include:
- A hose
- An adapter
- Pliers
- Teflon tape
- A spray attachment (optional)
8. Troubleshooting: Issues with Connecting a Hose to a Kitchen Sink
If you encounter any issues while connecting a hose to your kitchen sink, here are a few troubleshooting tips:
- If the adapter is leaking, try adding more Teflon tape or tightening the connections with pliers.
- If the hose is leaking, make sure it is securely attached to the adapter and that the connections are tight.
- If the water flow is weak, check for any clogs in the hose or adapter.
- If the water is not turning off completely, make sure the connections are not too tight.
9. Safety Precautions for Connecting a Hose to a Kitchen Sink
While connecting a hose to your kitchen sink is a relatively safe task, it is always important to take proper precautions to avoid any accidents or injuries. Here are a few safety measures to keep in mind:
- Always turn off the water supply before attaching or detaching the hose.
- Use caution when handling pliers or other tools.
- Make sure all connections are secure to avoid any leaks.
- Do not use a hose that is not designed for drinking water for tasks such as filling a pot.
10. Alternative Options for Connecting a Hose to a Kitchen Sink
If you have tried all the methods mentioned above and are still unable to connect a hose to your kitchen sink, there are a few alternative options you can consider. These include using a portable sink with a built-in hose connection or installing a separate outdoor faucet for your hose. These options may require more time and effort, but they can provide a long-term solution for your hose needs.
Now that you have all the information you need, you can confidently connect a hose to your kitchen sink and enjoy the convenience it brings. Just remember to follow the steps carefully, use the right tools and materials, and take the necessary safety precautions. Happy hosing!
How to Connect a Hose to Your Kitchen Sink: A Guide for Efficient House Design

Why Connect a Hose to Your Kitchen Sink?
 Browsing through home design magazines and websites, you may come across beautiful pictures of outdoor kitchens and gardens with perfectly landscaped lawns and lush gardens. These designs often feature a convenient and efficient hose connected to the kitchen sink. The addition of a hose to your kitchen sink can greatly improve the functionality and aesthetic appeal of your outdoor space. It allows for easy access to water for gardening, washing outdoor equipment, and even filling up a kiddie pool for the kids to play in. Not to mention, it saves you the hassle of constantly running back and forth between your kitchen and outdoor area.
What You Will Need:
 To connect a hose to your kitchen sink, you will need a few essential tools and materials. These include a hose adapter, plumber's tape, a wrench, and of course, a garden hose. You can easily find these items at your local hardware store or online.
Step-by-Step Guide:
 Step 1:
Turn off the water supply to your kitchen sink by closing the shut-off valves located under the sink. This will prevent any water from leaking out while you work.
Step 2:
Remove the aerator from the end of your kitchen faucet by unscrewing it counterclockwise. The aerator is the small mesh piece that helps distribute the water evenly.
Step 3:
Take your hose adapter and wrap several layers of
plumber's tape
around the threads. This will create a tight and waterproof seal when the adapter is screwed onto the faucet.
Step 4:
Screw the hose adapter onto the faucet, making sure it is securely tightened. You can use a wrench for added leverage and to ensure a tight fit.
Step 5:
Attach your garden hose to the other end of the adapter. Again, use a wrench to make sure it is tightly secured.
Step 6:
Turn the water supply back on and test the connection. If there are any leaks, use the wrench to tighten the connections.
Benefits of Connecting a Hose to Your Kitchen Sink:
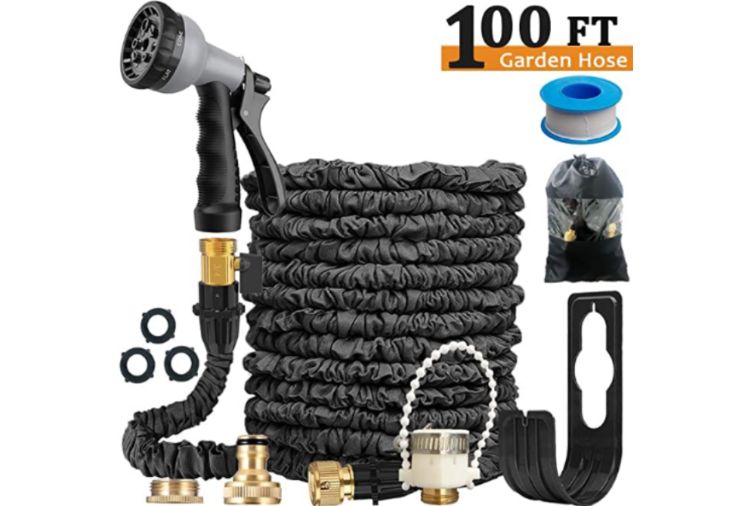 Aside from the convenience and functionality it provides, connecting a hose to your kitchen sink has other benefits as well. It can help save water by eliminating the need for multiple trips back and forth between your kitchen and outdoor area. It also keeps your outdoor space looking neat and organized, as there will be no need for a separate outdoor water source.
In Conclusion:
 Connecting a hose to your kitchen sink is a simple and cost-effective way to enhance your outdoor space. With just a few tools and materials, you can easily create a convenient and efficient water source for all your outdoor needs. So why wait? Get started on this quick and easy home improvement project today and enjoy the benefits of a well-designed and functional outdoor space.


