Changing Legs On Dining Room Table
Are you tired of the same old look of your dining room table? Maybe the legs are wobbly or just not your style anymore. Whatever the reason may be, changing the legs on your dining room table can completely transform its appearance. Not only that, but it can also improve its stability and functionality. So, if you're ready to give your dining room a fresh new look, follow our step-by-step guide for changing the legs on a dining room table.
How to Change the Legs on a Dining Room Table
Before you begin, make sure to gather all necessary tools and materials. You will need a screwdriver, drill, wood glue, sandpaper, and new table legs. Once you have everything ready, follow these simple steps:
Step 1: Remove the Old Legs
The first step is to remove the existing legs from your dining room table. Use a screwdriver to unscrew the legs from the tabletop. If the legs are glued, you may need to use a hammer or chisel to gently break the glue seal. Be careful not to damage the tabletop or the legs.
Step 2: Sand the Tabletop
After removing the old legs, you may notice some residue or rough spots on the tabletop where the legs were attached. Use sandpaper to smooth out these areas and prepare the surface for the new legs.
Step 3: Measure and Drill Holes
Next, measure the width and depth of the new legs and mark the corresponding spots on the tabletop. Use a drill to create holes where the legs will be attached. Make sure the holes are the same size as the screws on the new legs.
Step 4: Attach the New Legs
Apply wood glue to the holes on the tabletop and the base of the new legs. Then, carefully screw the legs into place. Make sure the legs are securely attached and allow the glue to dry completely before moving on to the next step.
Step 5: Test the Stability
Once the glue is dry, test the stability of the new legs. If they feel wobbly, use additional wood glue or add extra screws for reinforcement.
Step 6: Finishing Touches
Once the legs are securely attached, you can add any finishing touches to your table. You can paint or stain the legs to match your décor, or leave them as is for a more natural look.
Tips for Swapping Out Dining Room Table Legs
Changing the legs on your dining room table may seem like a daunting task, but with the right tips and tricks, it can be a breeze. Here are a few things to keep in mind:
Measure Twice, Drill Once: Make sure to measure the new legs and the holes on the tabletop accurately to avoid any mistakes or gaps.
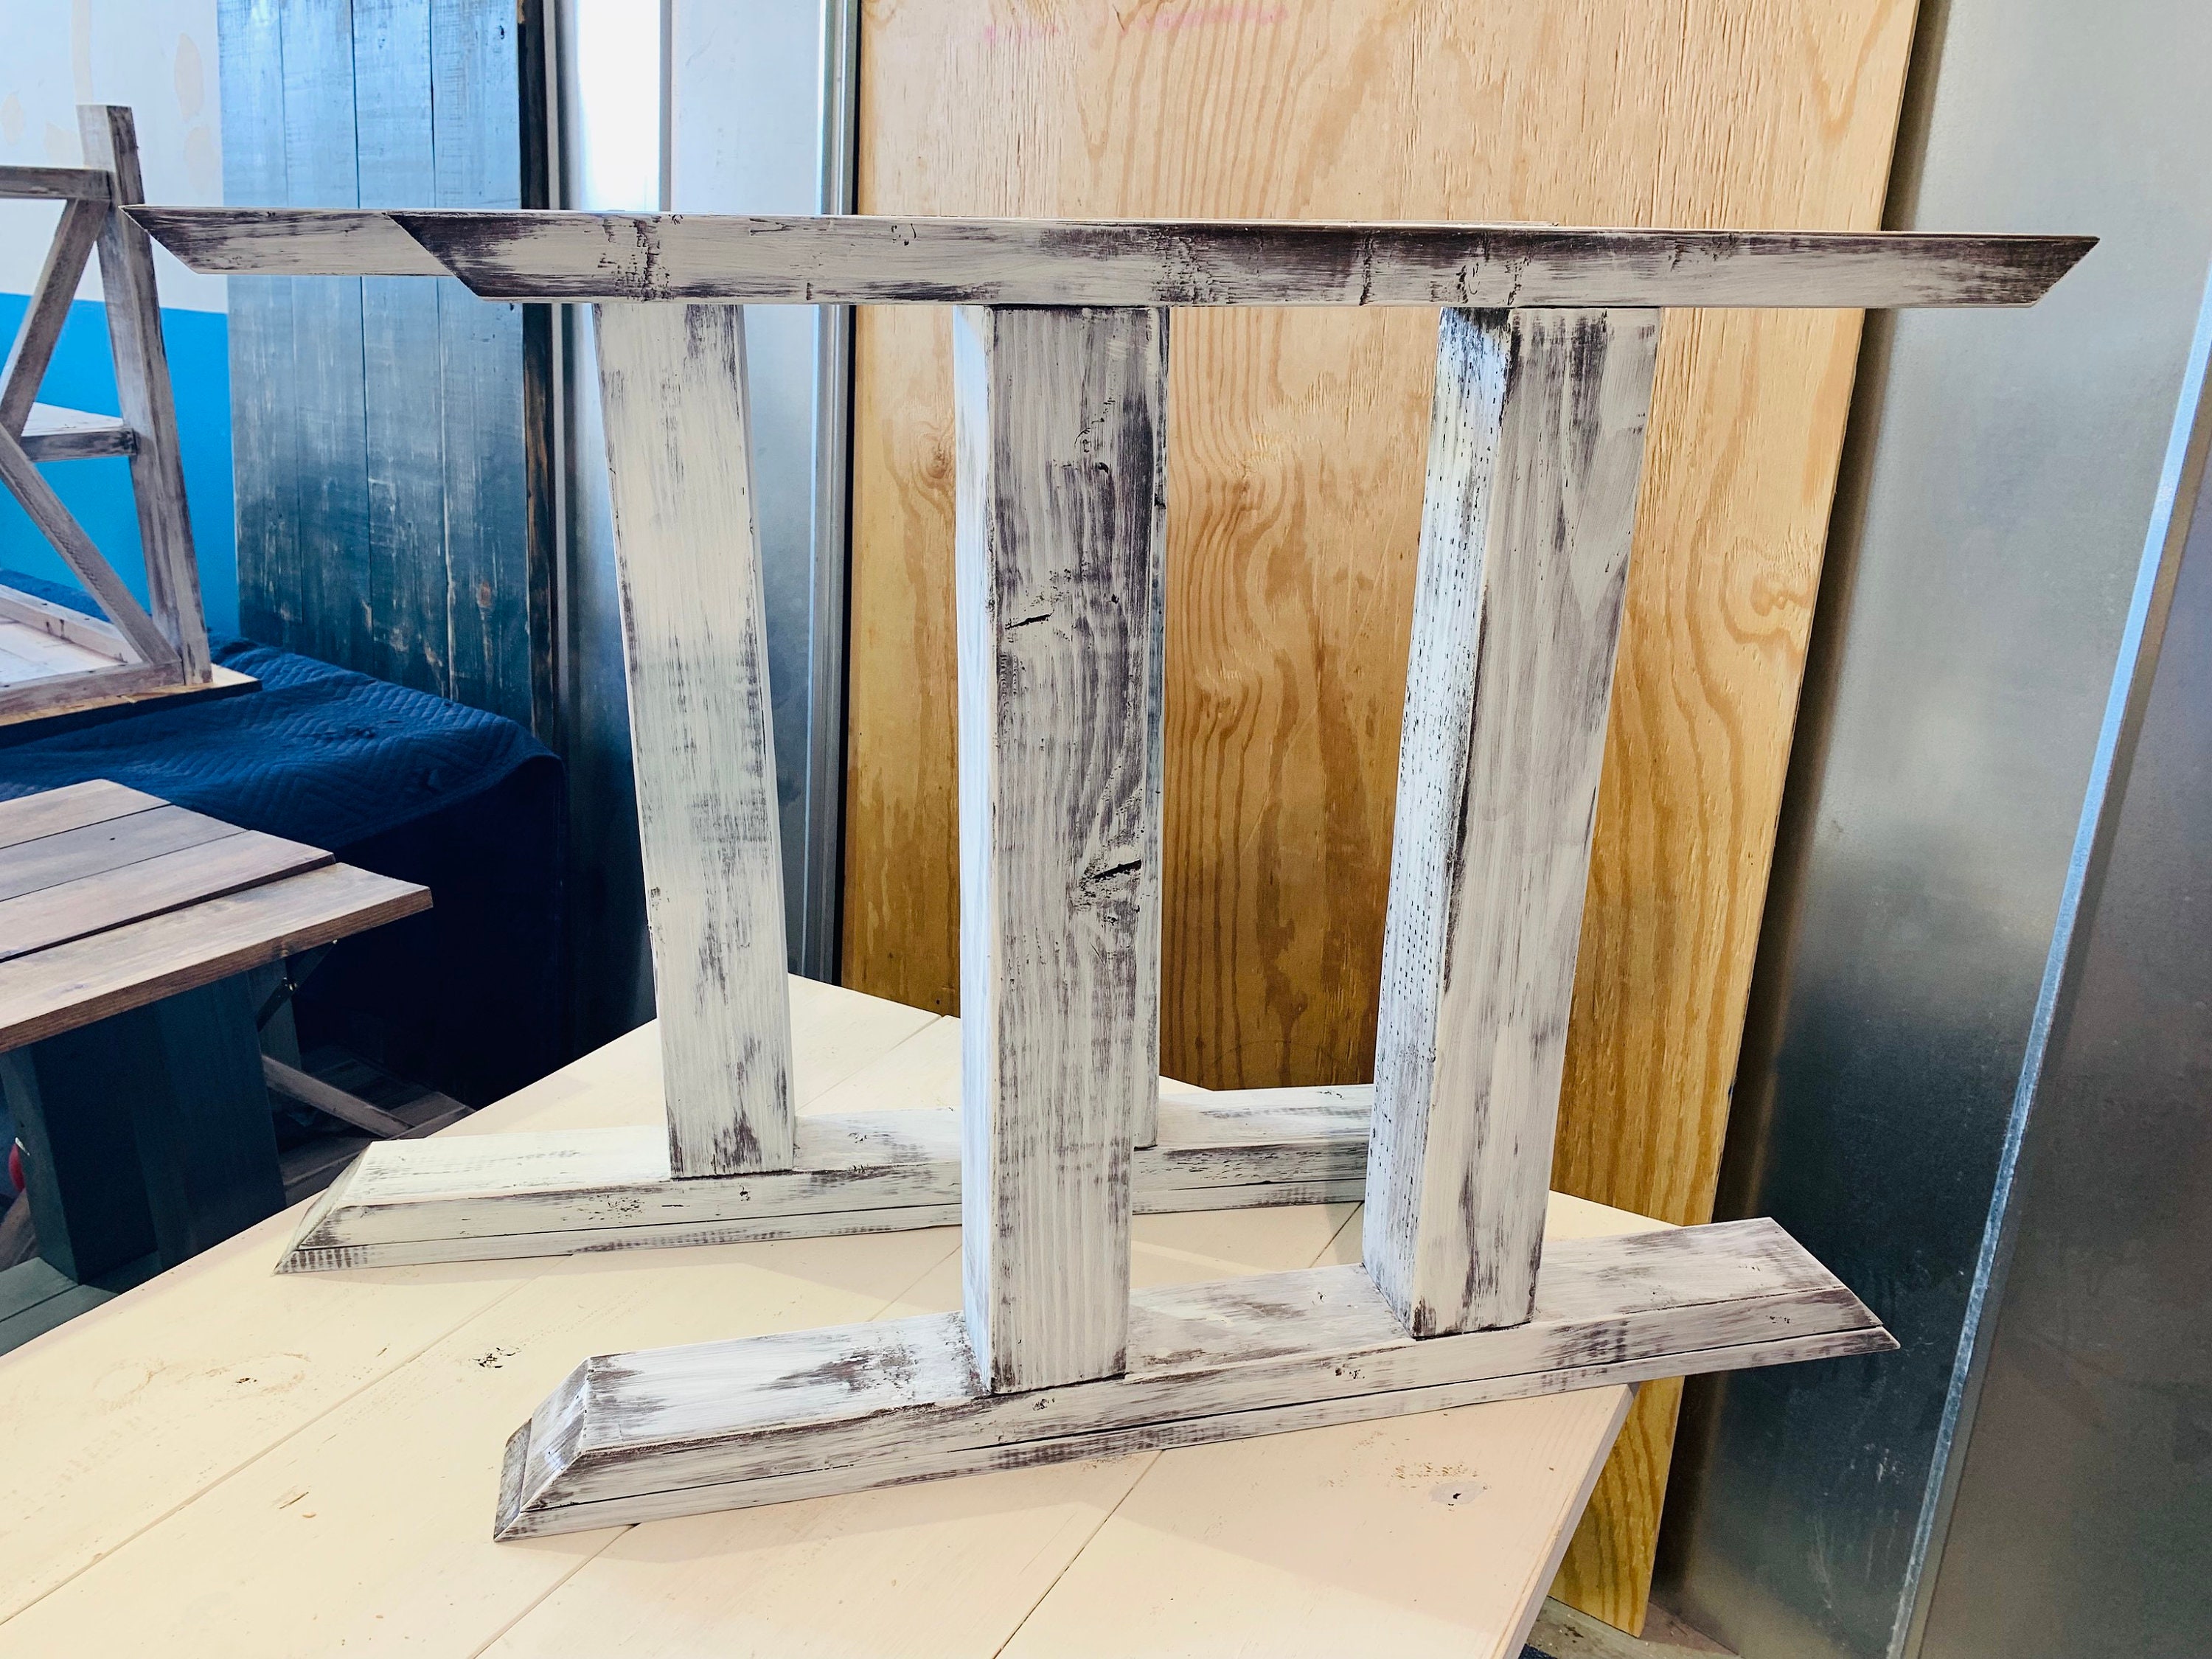
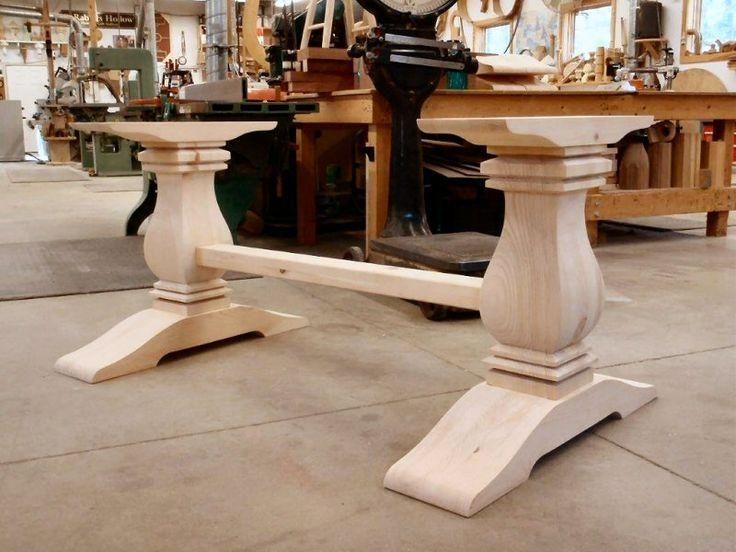
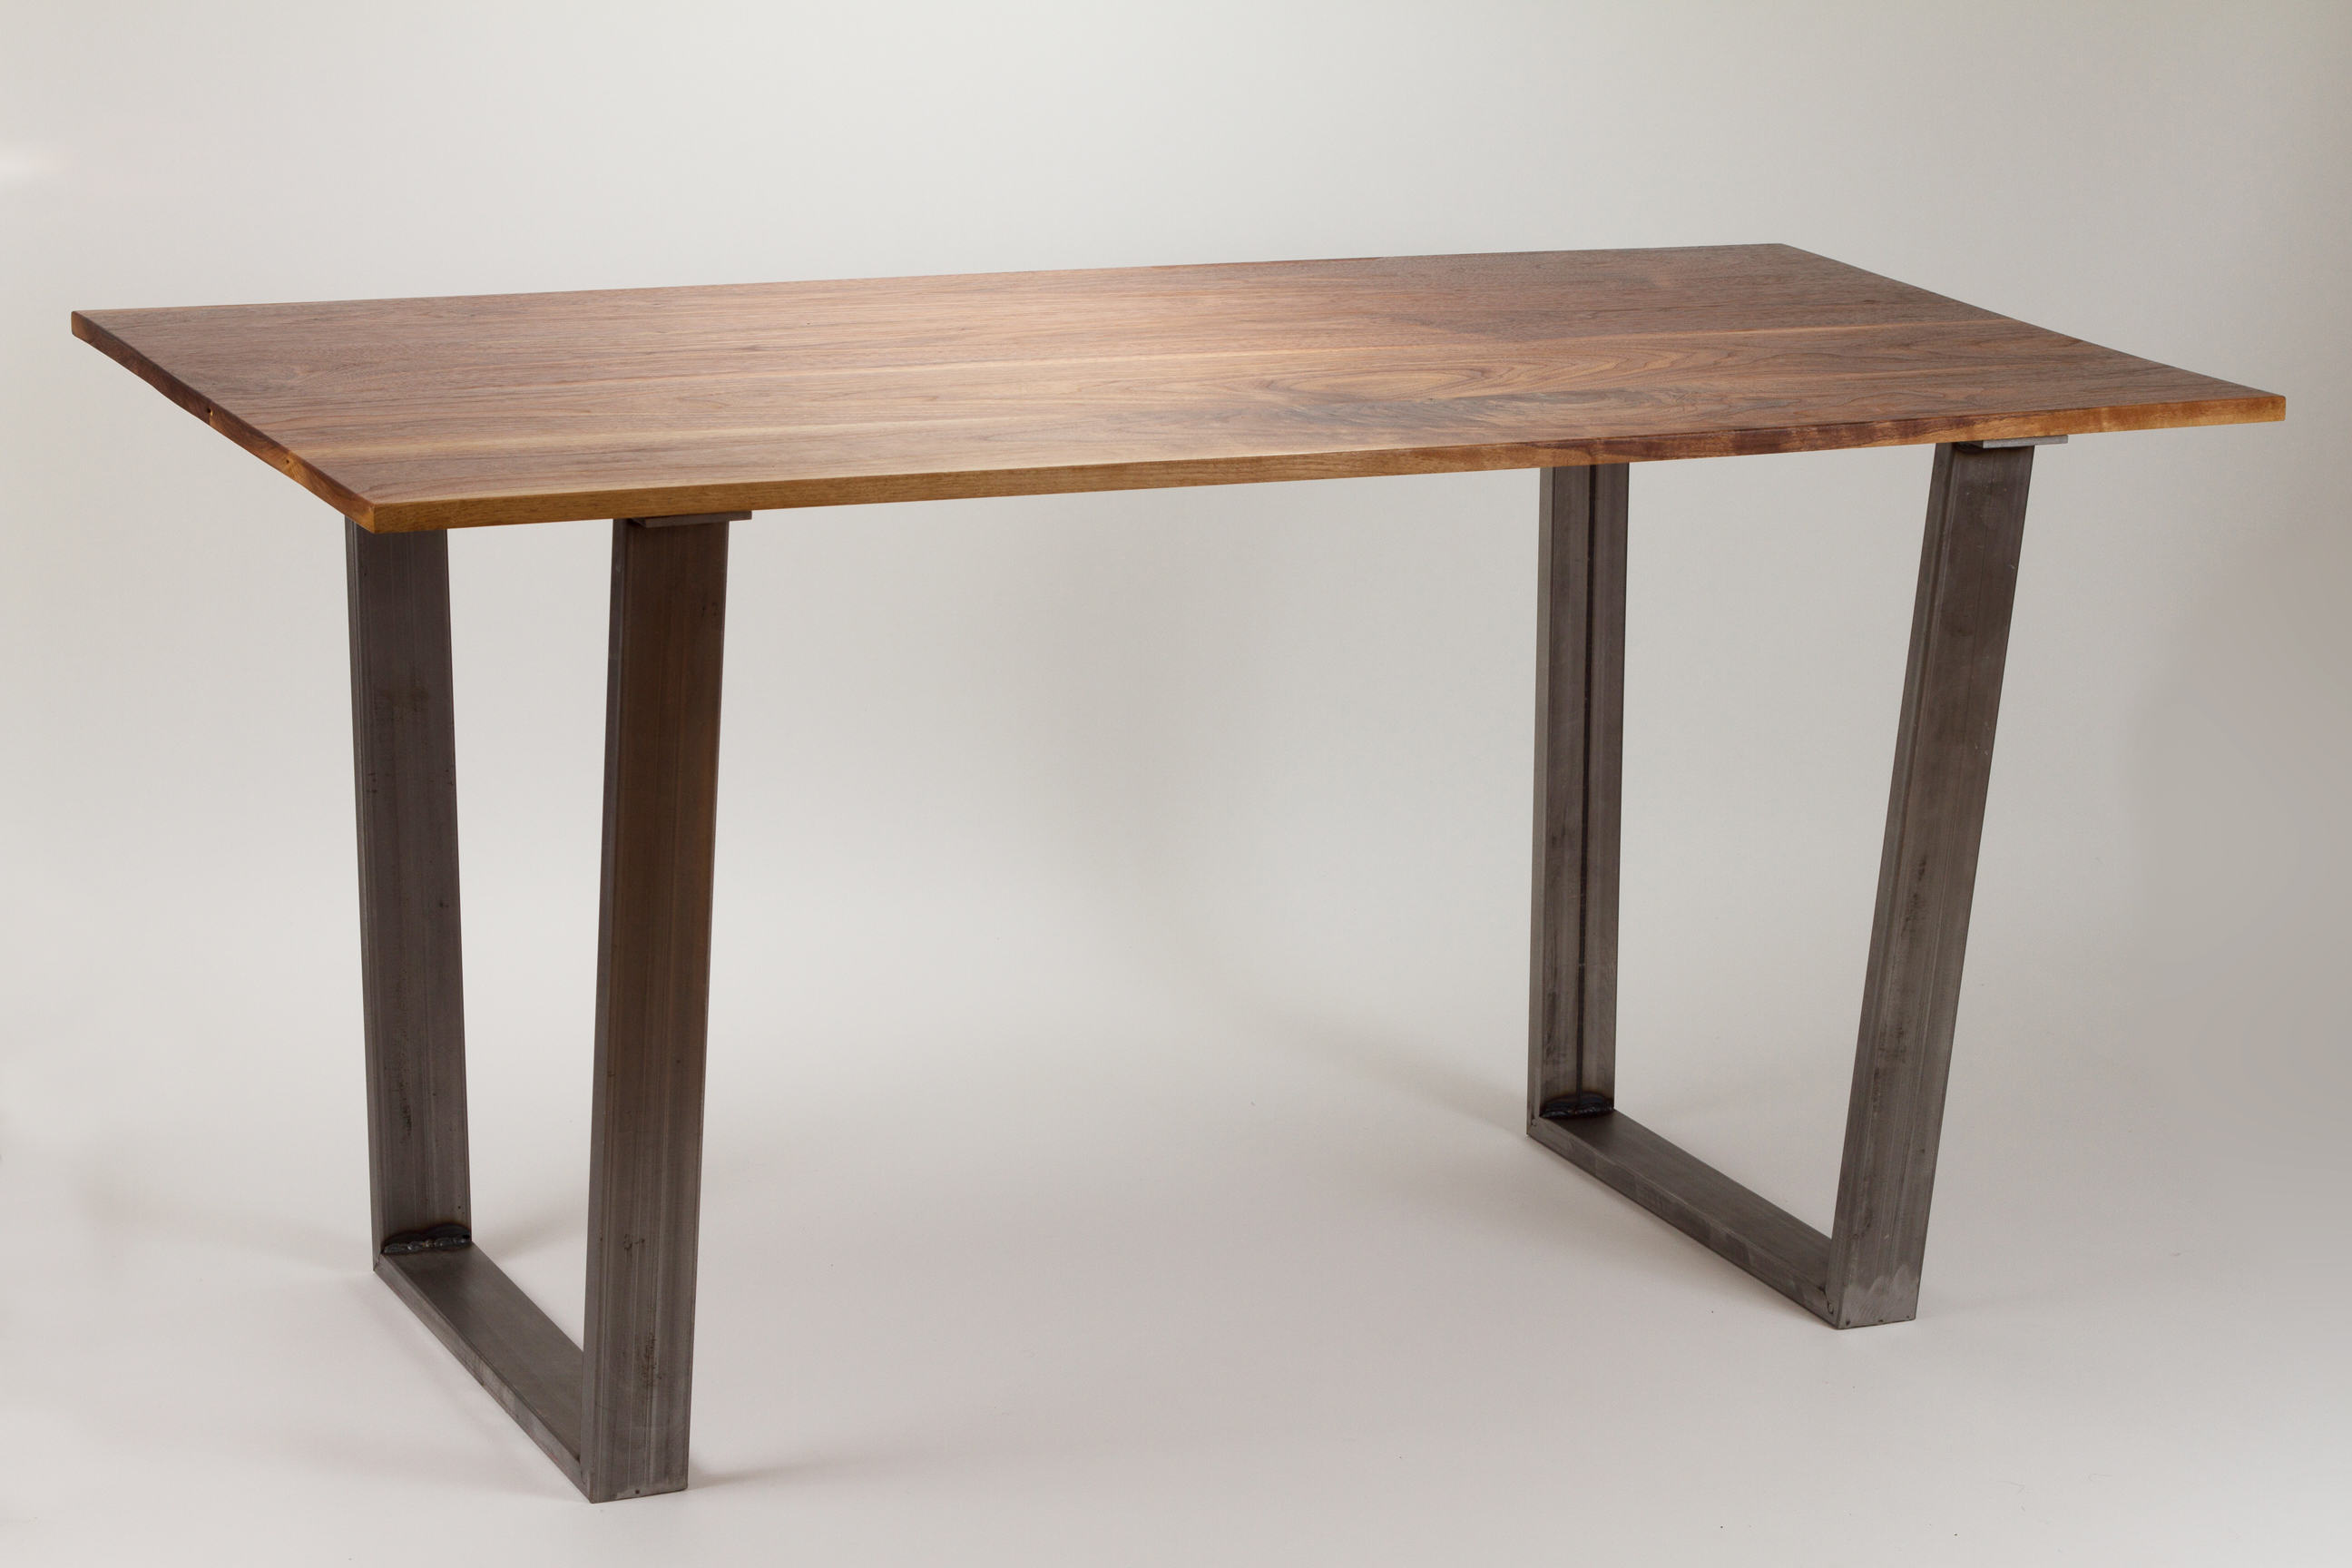
Choose the Right Legs: When selecting new legs, consider the height and style of your table. You want the legs to be the right height to ensure comfortable seating and the style should complement the overall look of your dining room.
Use Quality Materials: Invest in good quality table legs and wood glue to ensure a sturdy and long-lasting result.
Don't Rush: Take your time during the process and make sure each step is done carefully and accurately for the best outcome.
Transform Your Dining Room Table with New Legs
Changing the legs on your dining room table can completely transform its appearance and give your dining room a fresh new look. Whether you want to modernize your table or simply improve its functionality, this DIY project is a great way to revamp your dining space without breaking the bank.
Benefits of Changing Legs on Dining Room Table

Enhanced Aesthetics
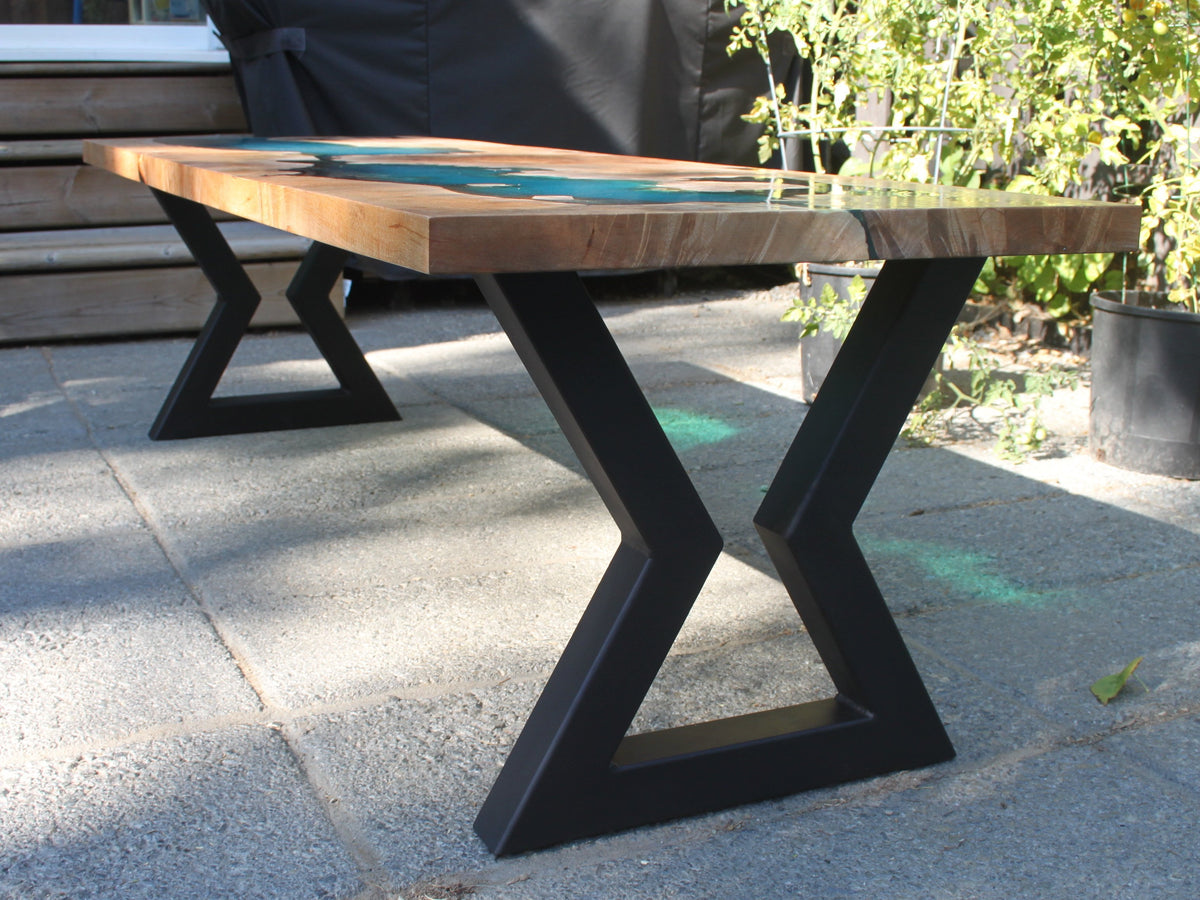
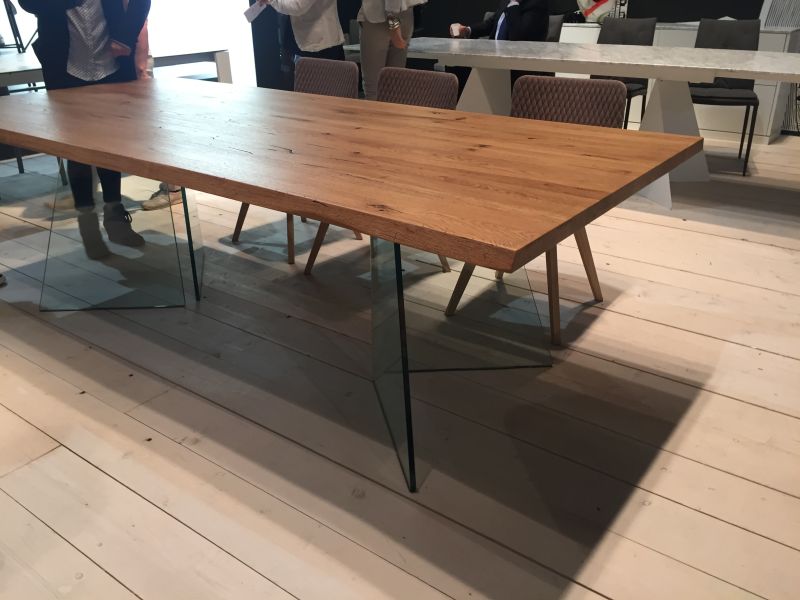
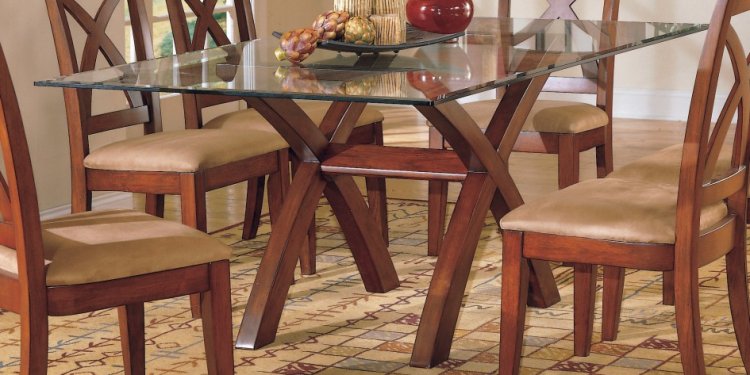
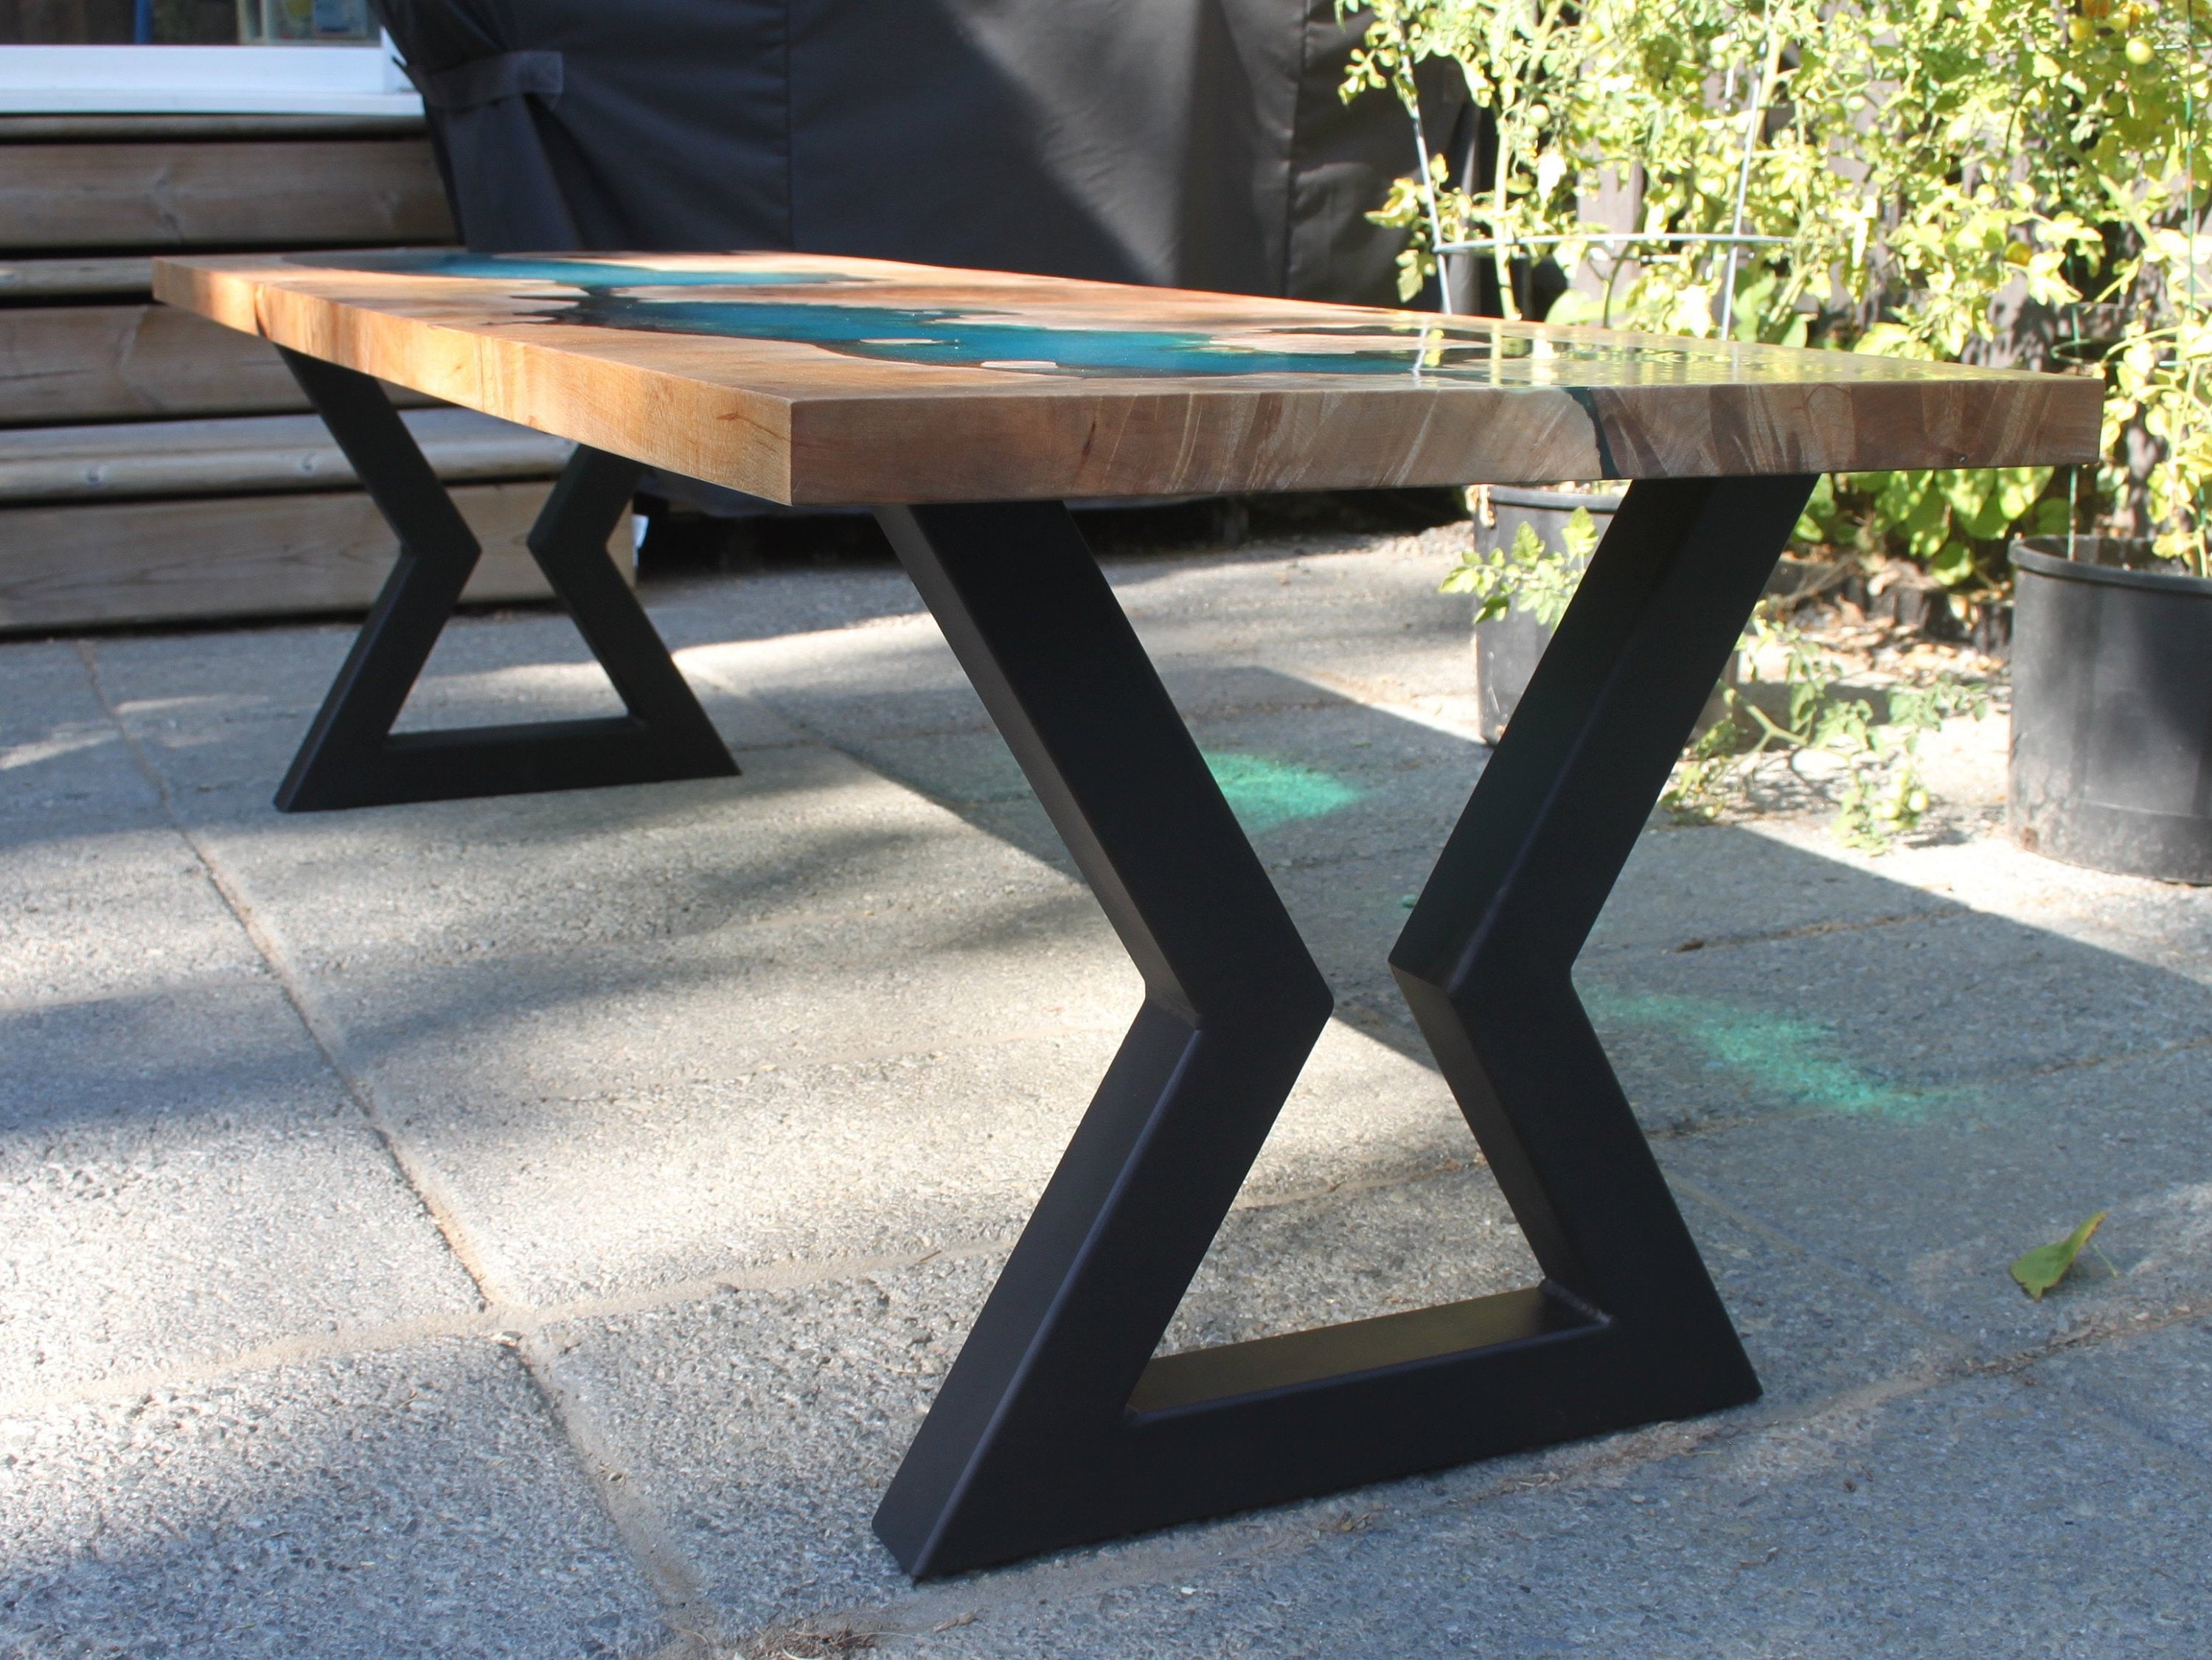
 One of the main benefits of changing the legs on your dining room table is the enhanced aesthetics it can bring to your space. The legs of a table are often overlooked, but they can have a significant impact on the overall look and feel of a room. By updating the legs of your dining room table, you can give it a whole new look that will elevate the design of your entire space. Choose
stylish and modern
legs to give your dining room a more contemporary feel, or opt for
ornate and intricate
legs for a more traditional and elegant look.
Customization
 Changing the legs on your dining room table also allows for
customization
to fit your specific design preferences and needs. You can choose the height, style, and materials of the legs to perfectly complement your existing furniture and decor. With a wide range of options available, you can
personalize
your dining room table to make it truly unique and reflective of your taste and style.
Durable and Functional
 In addition to the visual benefits, changing the legs on your dining room table can also improve its
durability
and
functionality
. Over time, table legs can become worn or damaged, making the table unstable and less functional. By replacing the legs, you can ensure that your dining room table is
sturdy
and
secure
, providing a safe and comfortable dining experience for you and your guests.
Budget-Friendly
 Replacing the legs on your dining room table is a
cost-effective
way to refresh the look of your space without breaking the bank. Instead of purchasing an entirely new table, simply changing the legs can give your dining room a whole new look without a significant expense. You can also save money by opting for
affordable
materials such as wood or metal for the legs.
Conclusion
 In conclusion, changing the legs on your dining room table can have many benefits, including enhanced aesthetics, customization, durability, and budget-friendliness. With a wide range of options available, you can find the perfect legs to elevate the design of your dining room and make it a more functional and enjoyable space. So why not give your dining room table a new look and see the difference it can make in your home?


