How to Change a Fluorescent Light Fixture in the Kitchen
Fluorescent light fixtures have been a staple in kitchen lighting for decades. However, with the advancement of technology and the introduction of more energy-efficient options, many homeowners are looking to upgrade their kitchen lighting by replacing their old fluorescent fixtures. If you're one of those homeowners, don't worry. Changing a fluorescent light fixture in the kitchen is easier than you might think. In this article, we'll guide you through the process with easy-to-follow steps. So, let's get started!
Replacing a Fluorescent Light Fixture in the Kitchen
Before we dive into the steps, let's first understand why you might want to replace your fluorescent light fixture. Fluorescent lights are known for their harsh, cool-toned lighting, which can make your kitchen feel uninviting and sterile. Additionally, they can be expensive to operate and require frequent bulb replacement. By replacing your fluorescent light fixture, you can upgrade the look and feel of your kitchen while also saving on energy costs. Now, let's take a look at how you can replace your fluorescent light fixture in the kitchen.
Step-by-Step Guide for Changing a Fluorescent Light Fixture in the Kitchen
Step 1: Gather Materials
The first step in changing a fluorescent light fixture is to gather all the necessary materials. You will need a new light fixture, wire nuts, electrical tape, wire strippers, a screwdriver, and a ladder. It's important to have all the materials on hand before starting the process to avoid any interruptions.
Step 2: Turn Off Power
Before handling any electrical wiring, it's essential to turn off the power to the light fixture. You can do this by flipping the switch in the circuit breaker box. Once the power is off, use a non-contact voltage tester to ensure that the wires are no longer live.
Step 3: Remove the Old Fixture
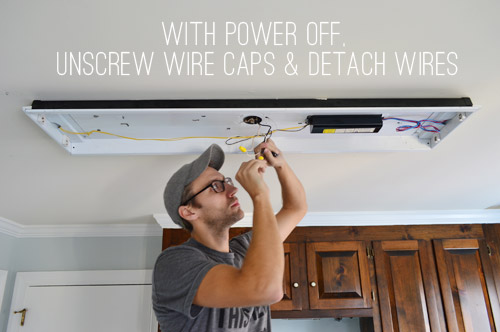
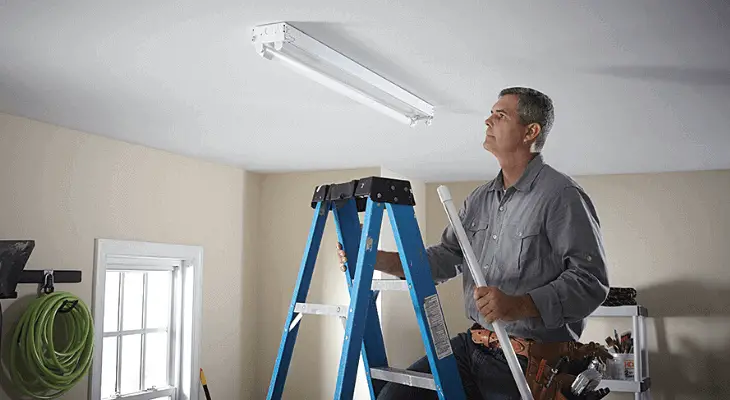
Using a screwdriver, remove the screws holding the old fixture in place. Carefully disconnect the wires from the fixture and remove it from the ceiling. If the fixture is attached to a metal bracket, you may need to use pliers to loosen it.
Step 4: Prepare the New Fixture
Before installing the new fixture, make sure to read the manufacturer's instructions carefully. Next, use wire strippers to expose about half an inch of wire from the end of each wire. Then, twist the exposed wires together with wire nuts to secure them. Cover the wire nuts with electrical tape for added safety.
Step 5: Mount the New Fixture
Using the screws provided with the new fixture, mount the bracket onto the ceiling. Then, connect the wires from the ceiling to the corresponding wires on the new fixture. Once connected, carefully push the wires back into the ceiling and attach the fixture to the bracket using the screws.
Step 6: Turn On Power and Test the Fixture
Now that the fixture is installed, it's time to turn the power back on. Flip the switch in the circuit breaker box and use the non-contact voltage tester to ensure that the wires are live. If everything looks good, turn the fixture on and make sure it is functioning correctly.
DIY: Replacing a Fluorescent Light Fixture in the Kitchen
If you're a fan of DIY projects, then you'll be happy to know that changing a fluorescent light fixture in the kitchen is a DIY-friendly task. With the right tools and materials, you can easily upgrade your kitchen lighting without hiring a professional. Just make sure to follow the steps outlined above and take all necessary safety precautions.
Upgrading Your Kitchen Lighting: Replacing a Fluorescent Light Fixture
Replacing a fluorescent light fixture in your kitchen is a quick and easy way to upgrade your kitchen's overall look and feel. With the variety of lighting options available, you can choose a fixture that complements your kitchen's design and provides the perfect amount of light. Plus, with the added benefit of energy efficiency, you'll be saving money while also elevating your kitchen's ambiance.
Easy Steps for Changing a Fluorescent Light Fixture in the Kitchen
If you're worried about the difficulty of changing a fluorescent light fixture, don't be. With the simple steps outlined in this article, you'll have your new fixture installed in no time. Just remember to take your time, follow the instructions, and prioritize safety.
Replacing an Old Fluorescent Light Fixture in the Kitchen
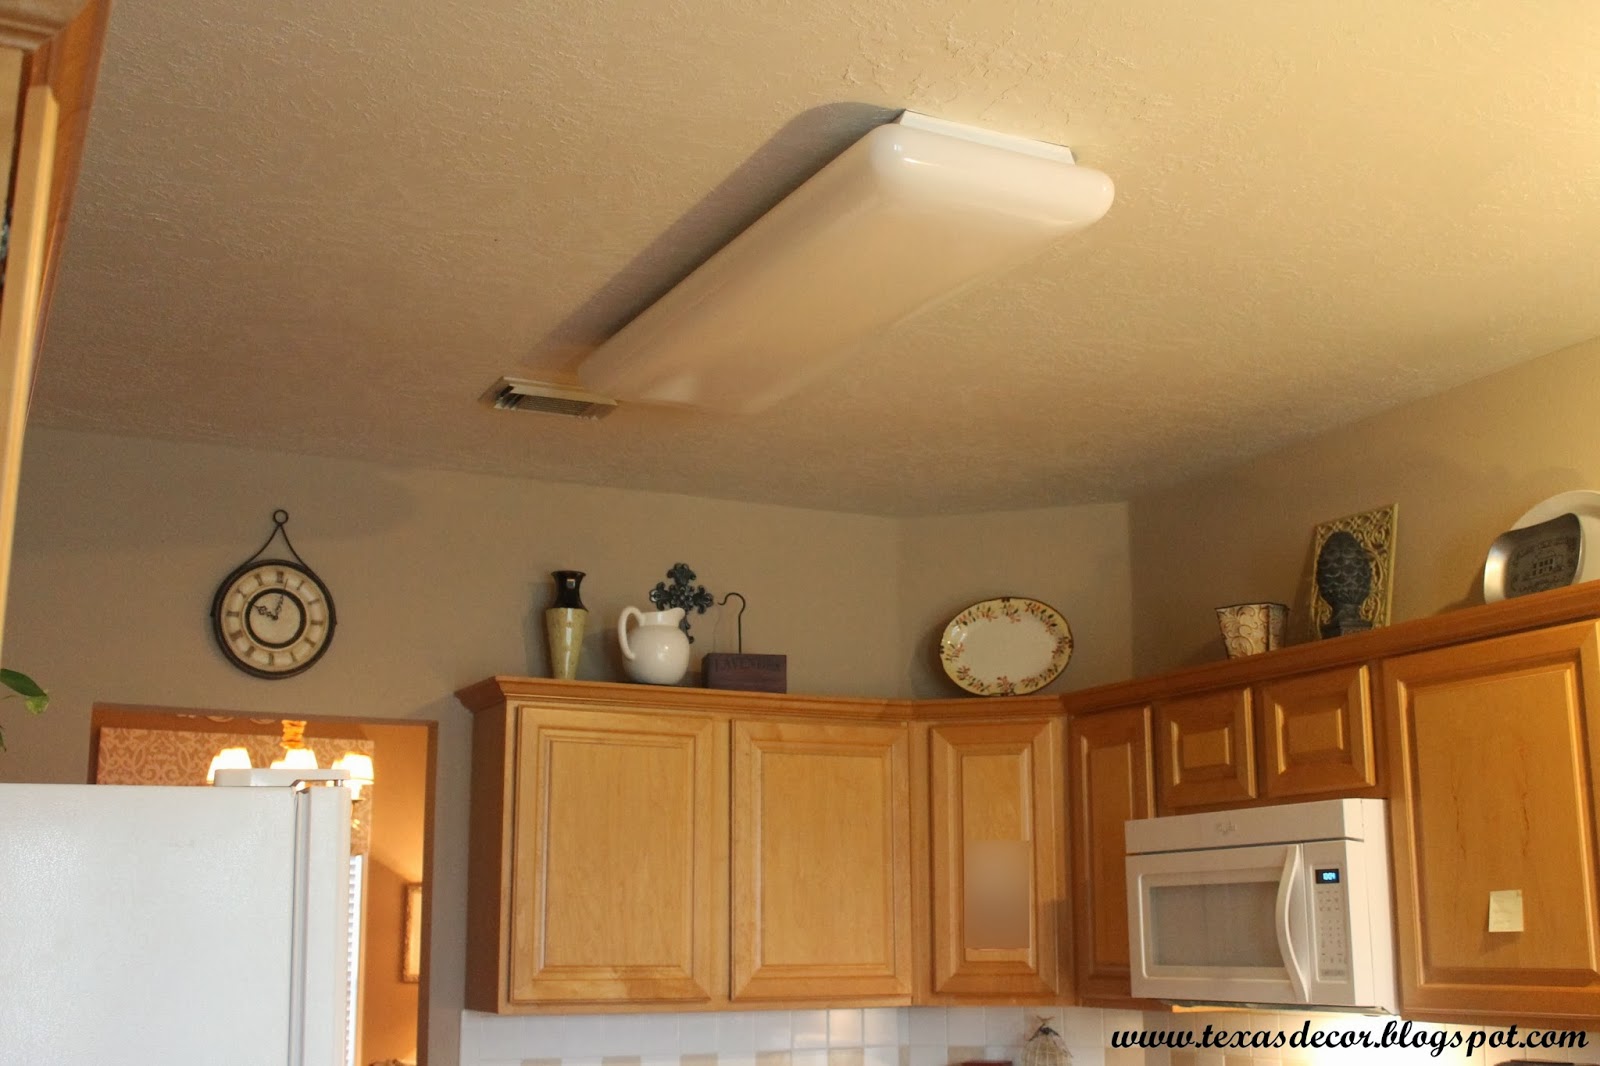
Old fluorescent light fixtures can be a real eyesore in your kitchen. Not only do they emit harsh lighting, but they can also make your kitchen look outdated. By replacing your old fixture, you can give your kitchen a much-needed update and create a more welcoming atmosphere.
Transform Your Kitchen with a New Fluorescent Light Fixture
The lighting in your kitchen plays a significant role in the overall look and feel of the space. By replacing your old fluorescent light fixture with a new, modern option, you can transform your kitchen into a warm and inviting space that you'll love spending time in.
How to Install a New Fluorescent Light Fixture in Your Kitchen
Installing a new fluorescent light fixture in your kitchen is a relatively simple task that can make a big difference in the look and functionality of your space. By following the steps outlined in this article, you'll have a new fixture installed in no time, and you'll love the results.
Upgrade Your Kitchen Lighting: Changing a Fluorescent Light Fixture
Upgrading your kitchen lighting is an excellent way to enhance the overall look and feel of your space. By swapping out your old fluorescent light fixture with a new, energy-efficient option, you can save money and create a more inviting atmosphere in your kitchen. So why wait? Follow the steps outlined in this article and start enjoying your new lighting today!
Why You Should Consider Changing Your Fluorescent Light Fixture in the Kitchen

The Benefits of Upgrading Your Kitchen Lighting
 When it comes to designing your dream kitchen, lighting is often an overlooked aspect. However, it plays a crucial role in both the functionality and aesthetics of your space. If you have an old fluorescent light fixture in your kitchen, it may be time to consider upgrading to a more modern and efficient option. Not only will this improve the overall look of your kitchen, but it can also provide numerous benefits.
Improved Energy Efficiency
One of the main reasons to switch from a fluorescent light fixture to a more modern option is the energy efficiency it offers. Fluorescent lights use significantly more energy compared to LED or CFL lights. By making the switch, you can save money on your energy bills and reduce your carbon footprint.
Enhanced Aesthetics
The lighting in your kitchen can greatly impact the overall look and feel of the space. Fluorescent lights have a harsh and unflattering glare, which can make your kitchen feel dull and uninviting. By upgrading to a more modern light fixture, you can create a warm and welcoming atmosphere in your kitchen. Additionally, there are various styles and designs of modern light fixtures that can add a touch of elegance and personality to your space.
Better Task Lighting
Fluorescent lights are known for their flickering and buzzing, which can be distracting and irritating when trying to work in the kitchen. Upgrading to a more modern light fixture can provide better task lighting that is consistent and doesn't produce any annoying sounds. This will make it easier to prepare meals, read recipes, and perform other tasks in the kitchen.
Increased Home Value
If you're planning to sell your home in the future, upgrading your kitchen lighting can significantly increase its value. A well-lit and visually appealing kitchen is a major selling point for potential buyers. By investing in a modern light fixture, you can attract more buyers and potentially increase the selling price of your home.
Final Thoughts
 In conclusion, changing your fluorescent light fixture in the kitchen to a more modern option can bring numerous benefits. From improved energy efficiency and aesthetics to better task lighting and increased home value, it's a worthwhile investment for any homeowner. So, if you're looking to upgrade your kitchen, don't forget to consider the lighting and make the switch to a more efficient and stylish option.
















:max_bytes(150000):strip_icc()/nectar-6e868e9a044a438895703d613f5f474b.jpg)

