Caulking around a kitchen sink is an essential task that helps to keep your sink area clean and free from water damage. It may seem like a daunting task, but with the right tools and techniques, you can achieve a professional-looking finish. Here are the steps to follow for a successful caulk around your white kitchen sink.How to Caulk Around a Kitchen Sink


How to Caulk Around a Kitchen Sink


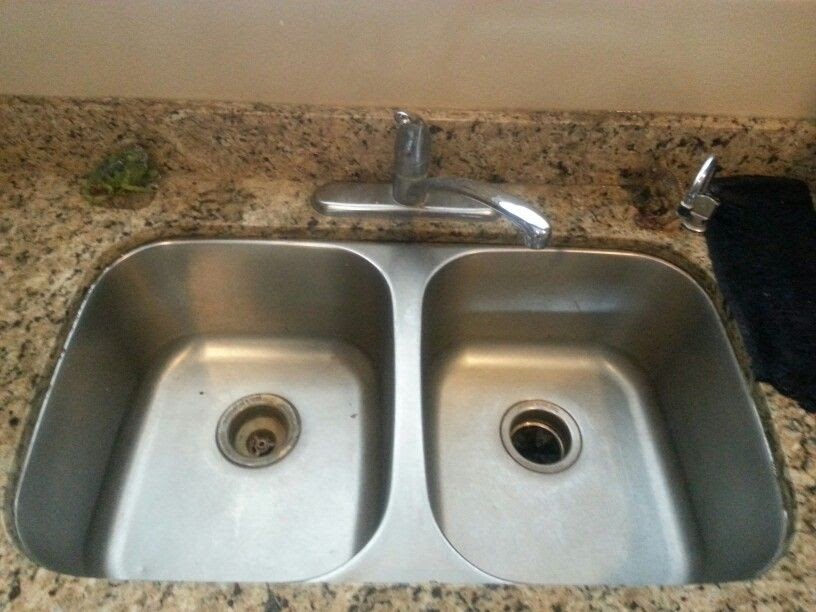
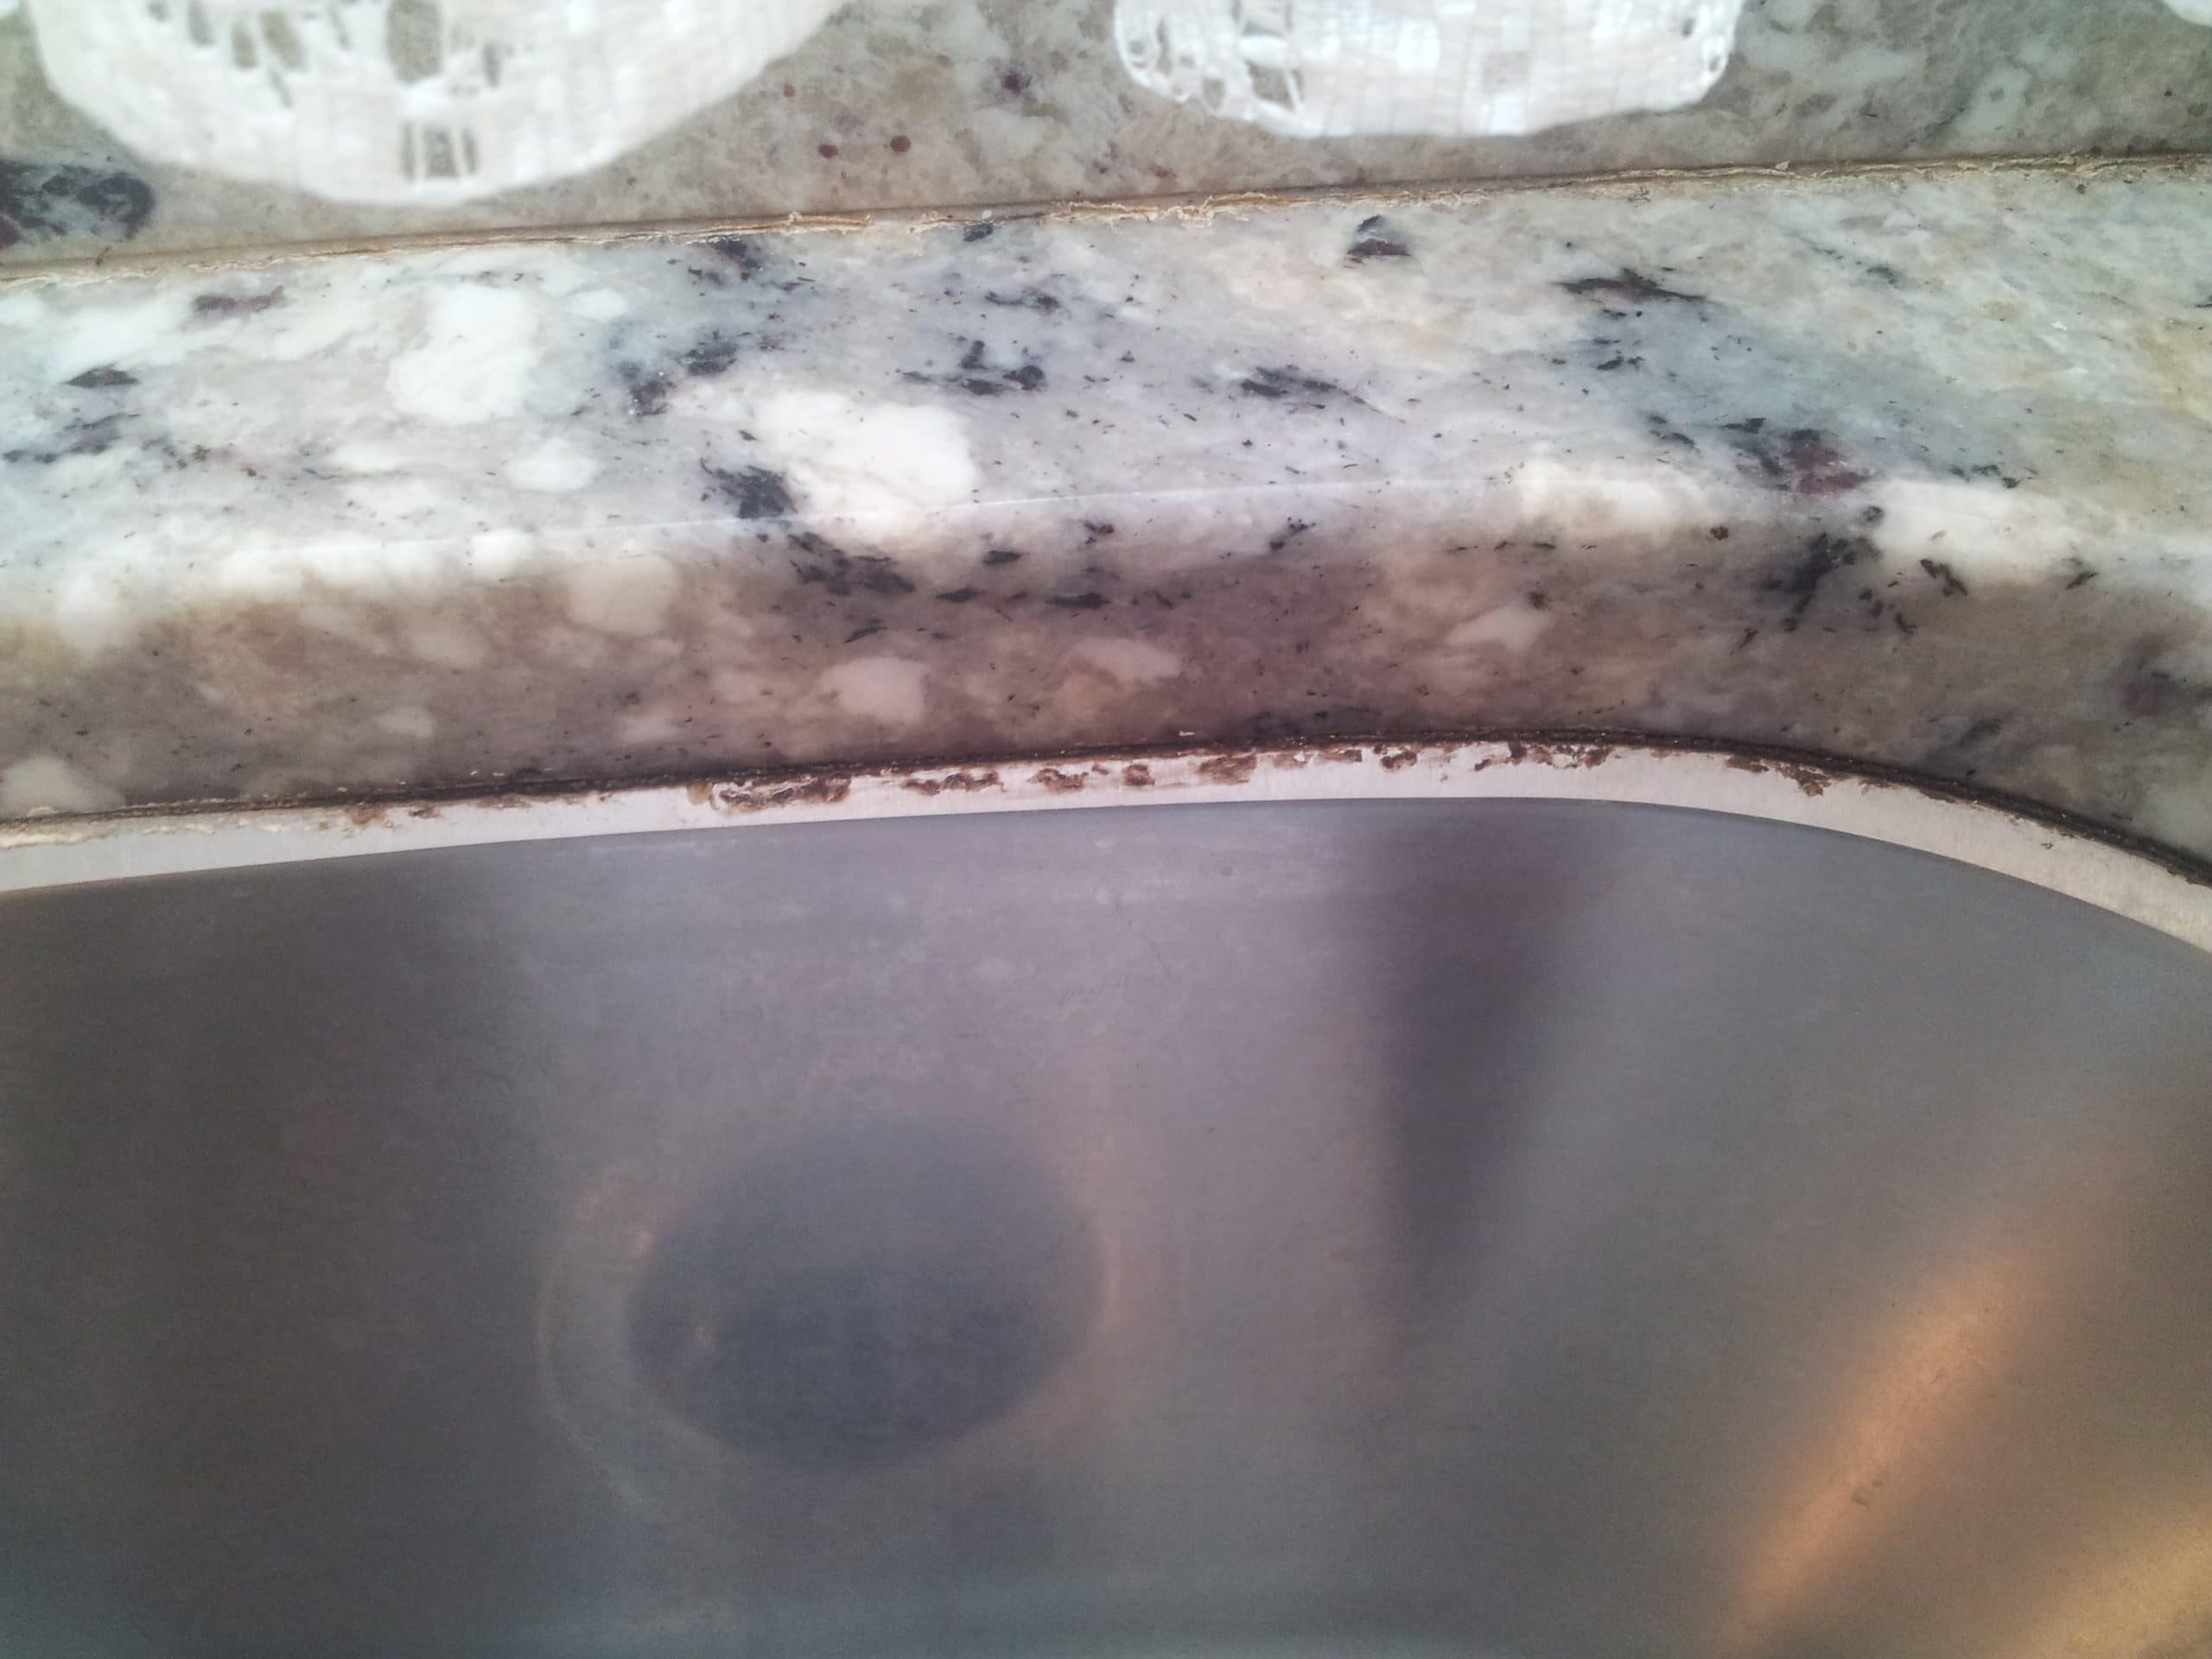
If you already have caulk around your kitchen sink that needs to be replaced, the first step is to remove the old caulk. This can be done using a caulk remover tool or a razor blade. Make sure to remove all the old caulk and clean the area thoroughly before proceeding with the new caulk.How to Remove Caulk from a Kitchen Sink


How to Remove Caulk from a Kitchen Sink


:max_bytes(150000):strip_icc()/how-to-remove-old-caulk-1824827-01-3d0370c59e124dbbaa6560c68bab111c.jpg)


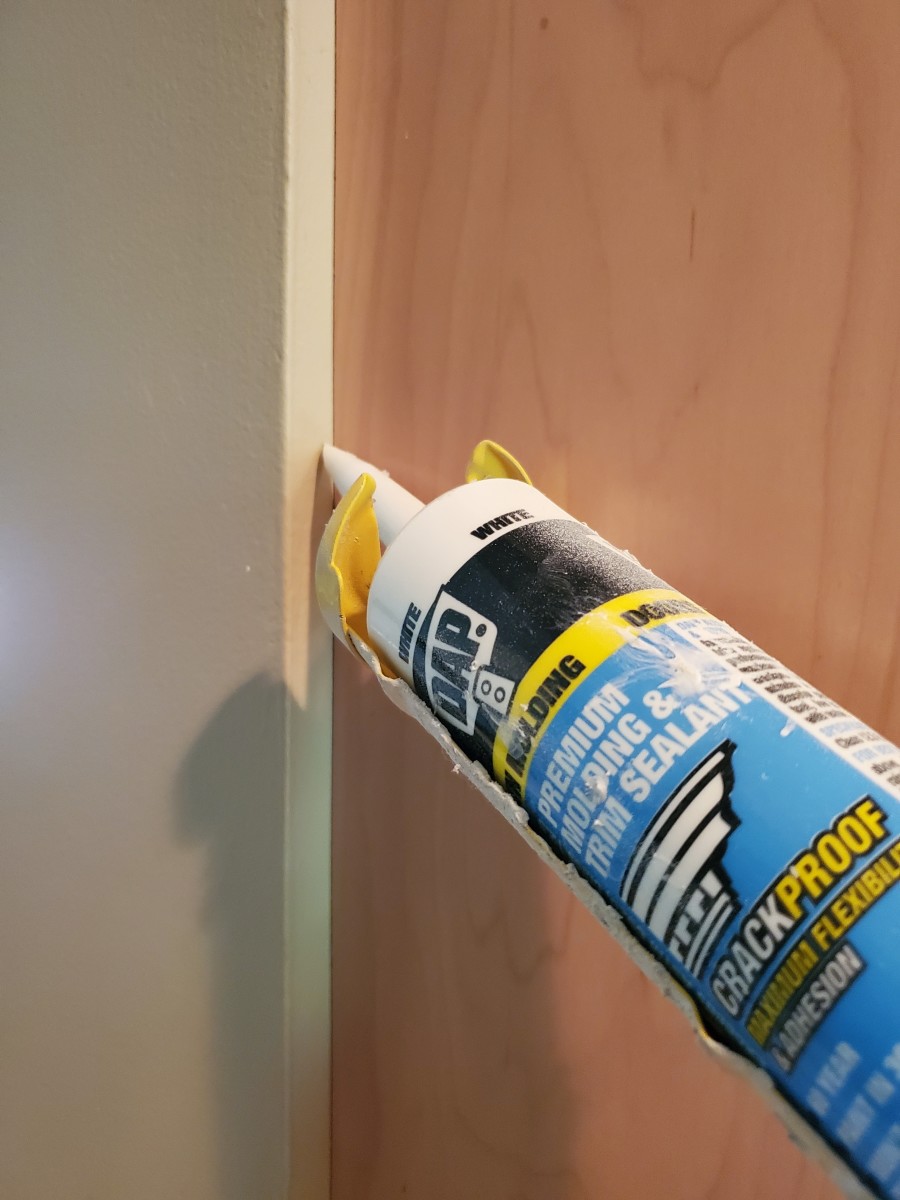
When choosing a caulk for your white kitchen sink, it's important to select one that is specifically designed for use in wet areas and is mold and mildew resistant. Look for a caulk that is also paintable and can be cleaned easily with water. Some popular options include silicone, acrylic, and latex caulk.Best Caulk for White Kitchen Sink


Best Caulk for White Kitchen Sink


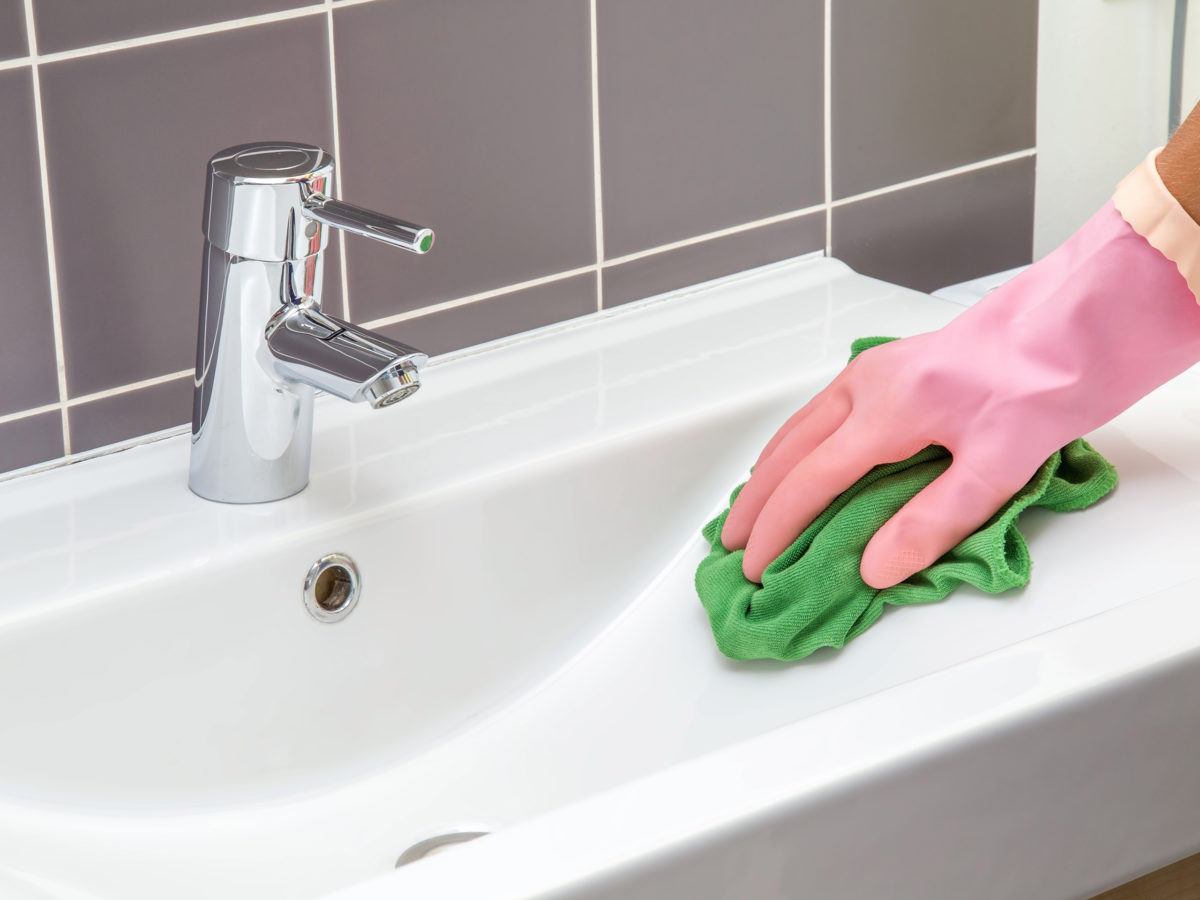
Before applying new caulk, it's crucial to clean the area around your white kitchen sink thoroughly. Use a mild cleaner and a scrub brush to remove dirt, grime, and any remaining traces of old caulk. Rinse the area with water and let it dry completely before proceeding.How to Clean Caulk Around a White Kitchen Sink

How to Clean Caulk Around a White Kitchen Sink


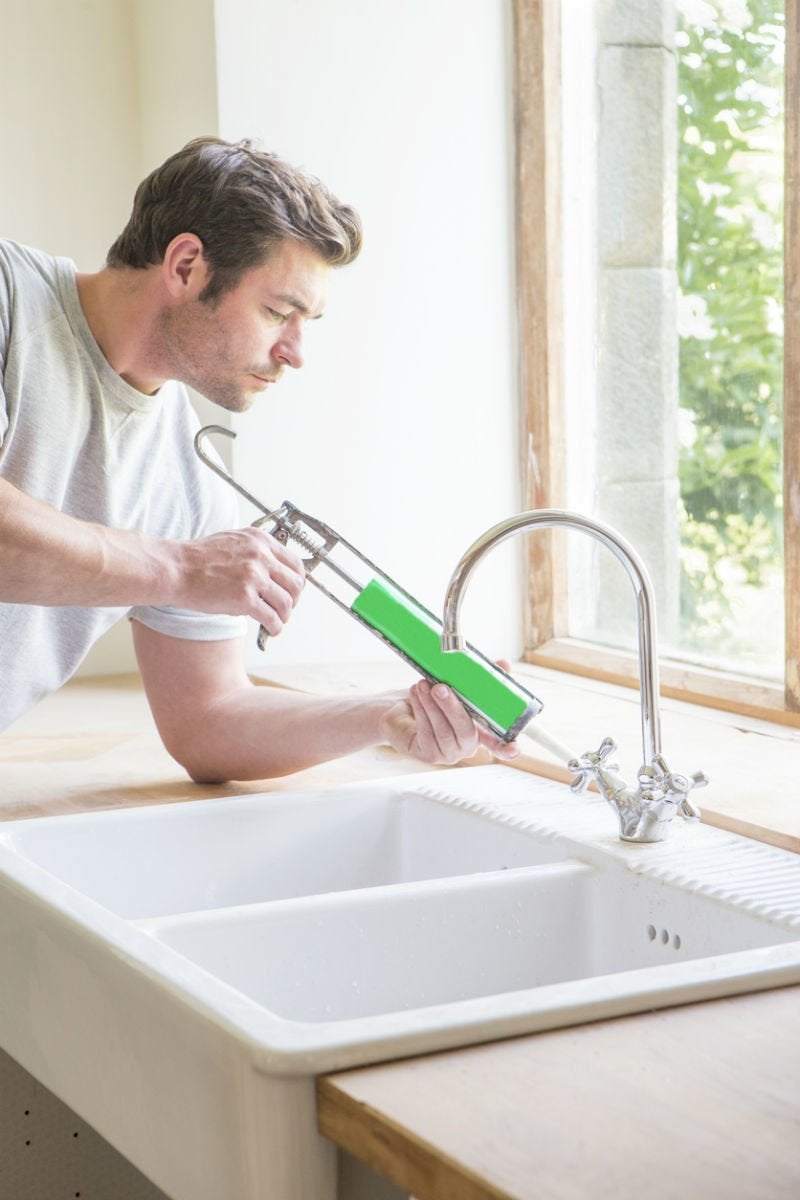
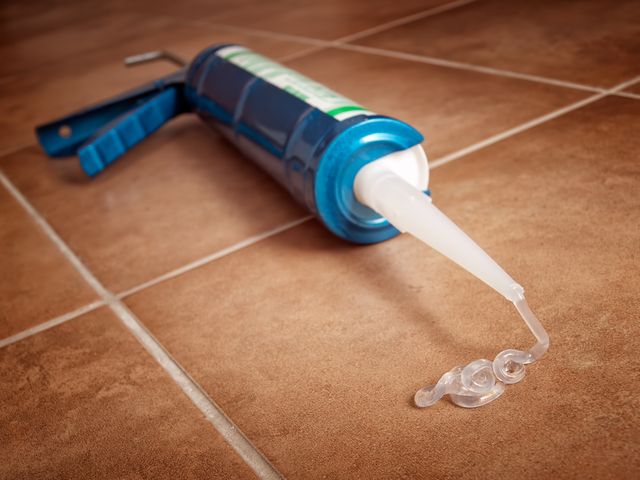
Now that your sink area is clean and dry, it's time to apply the new caulk. Start by loading the caulk into a caulking gun and cutting the tip at a 45-degree angle. Apply an even bead of caulk along the seam between the sink and the countertop, making sure to fill any gaps or cracks. Use a caulk smoothing tool or your finger to smooth out the caulk and create a clean finish.How to Re-Caulk a White Kitchen Sink


How to Re-Caulk a White Kitchen Sink


Caulking can be a messy process, but these tips can help make it easier and less stressful:Tips for Caulking a White Kitchen Sink


Tips for Caulking a White Kitchen Sink


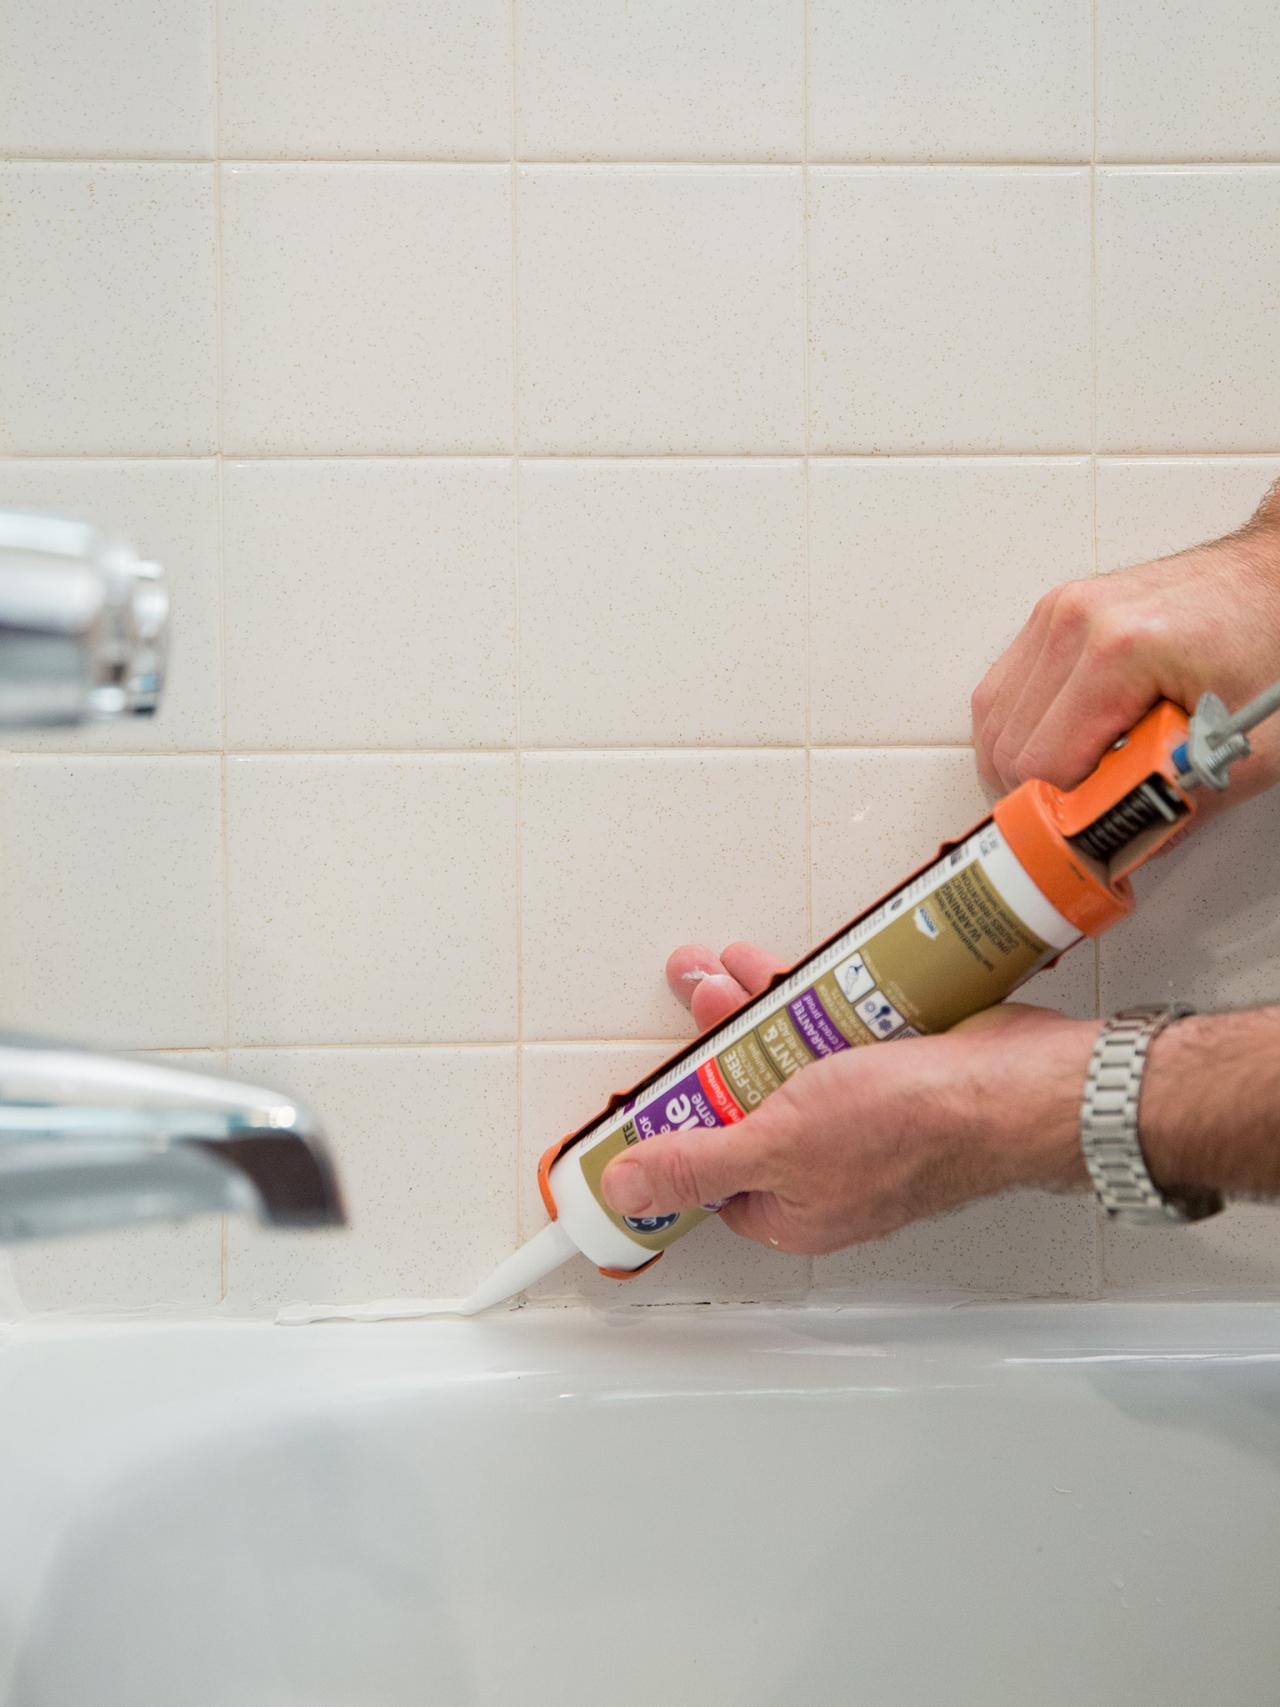
The primary purpose of caulking around a kitchen sink is to create a watertight seal that prevents water from seeping into the countertop or cabinets. To ensure a proper seal, make sure to fill any gaps between the sink and the countertop with caulk and smooth it out evenly.How to Seal a White Kitchen Sink with Caulk


How to Seal a White Kitchen Sink with Caulk


Having the right tools can make all the difference when it comes to achieving a professional-looking caulk job. Some essential tools for caulking around a white kitchen sink include a caulking gun, caulk smoothing tool, scraper, and a damp cloth for cleaning up any excess caulk.Caulking Tools for a White Kitchen Sink


Caulking Tools for a White Kitchen Sink


Cracking caulk can be frustrating and can ruin the appearance of your white kitchen sink. To prevent this from happening, make sure to choose a high-quality caulk that is specifically designed for use in wet areas. It's also essential to properly clean and prepare the area before applying the caulk and to avoid using the sink for at least 24 hours to allow the caulk to fully dry and cure.How to Prevent Caulk from Cracking Around a White Kitchen Sink

How to Prevent Caulk from Cracking Around a White Kitchen Sink


Choosing the right caulk color is crucial for achieving a seamless and professional finish. For a white kitchen sink, it's best to choose a clear or white caulk that will blend in with the sink and countertops. If you have a colored sink or countertop, you may want to choose a caulk color that matches or complements it.How to Choose the Right Caulk Color for a White Kitchen Sink


How to Choose the Right Caulk Color for a White Kitchen Sink


Caulking Around White Kitchen Sink: A Guide to Achieving a Professional and Clean Look

The Importance of Caulking in House Design
 When it comes to house design, every detail matters. From the color of the walls to the type of flooring, each element contributes to the overall aesthetic of a home. One aspect that is often overlooked but plays a crucial role in maintaining a clean and polished look is caulking.
Caulking
is the process of sealing gaps and joints to prevent air and water leakage. Not only does it improve the appearance of your house, but it also helps in energy efficiency and prevents potential water damage. In this article, we will focus on the importance of caulking around a white kitchen sink and how it can enhance the overall design of your kitchen.
When it comes to house design, every detail matters. From the color of the walls to the type of flooring, each element contributes to the overall aesthetic of a home. One aspect that is often overlooked but plays a crucial role in maintaining a clean and polished look is caulking.
Caulking
is the process of sealing gaps and joints to prevent air and water leakage. Not only does it improve the appearance of your house, but it also helps in energy efficiency and prevents potential water damage. In this article, we will focus on the importance of caulking around a white kitchen sink and how it can enhance the overall design of your kitchen.
Why Caulk Around a White Kitchen Sink?
 A kitchen sink is one of the most used and essential fixtures in a home. It is where you wash dishes, prepare food, and even fill up a glass of water. With all the daily wear and tear, it is no surprise that the caulking around your kitchen sink can become cracked and discolored over time.
White kitchen sinks
are particularly prone to showing signs of wear and tear, making it crucial to regularly check and replace the caulking around them. Not only does it improve the appearance, but it also prevents water from seeping into the countertop, which can lead to mold and mildew growth.
A kitchen sink is one of the most used and essential fixtures in a home. It is where you wash dishes, prepare food, and even fill up a glass of water. With all the daily wear and tear, it is no surprise that the caulking around your kitchen sink can become cracked and discolored over time.
White kitchen sinks
are particularly prone to showing signs of wear and tear, making it crucial to regularly check and replace the caulking around them. Not only does it improve the appearance, but it also prevents water from seeping into the countertop, which can lead to mold and mildew growth.
How to Caulk Around a White Kitchen Sink
 Now that we understand the importance of caulking around a white kitchen sink, let's dive into the steps on how to achieve a professional and clean look. The first step is to remove the old caulking. You can use a putty knife or a razor blade to carefully scrape off the old caulk. Next, clean the area thoroughly with a mild cleaner and let it dry completely. Before applying the new caulk, it is essential to
prime the area
with a primer specifically designed for kitchen and bath use. This will ensure that the caulk adheres properly and prevents any potential mold growth. Finally, using a caulk gun, carefully apply the caulk along the edges of the sink, smoothing it out with a caulk finishing tool or your finger. Wipe away any excess caulk and let it dry for at least 24 hours before using the sink.
Now that we understand the importance of caulking around a white kitchen sink, let's dive into the steps on how to achieve a professional and clean look. The first step is to remove the old caulking. You can use a putty knife or a razor blade to carefully scrape off the old caulk. Next, clean the area thoroughly with a mild cleaner and let it dry completely. Before applying the new caulk, it is essential to
prime the area
with a primer specifically designed for kitchen and bath use. This will ensure that the caulk adheres properly and prevents any potential mold growth. Finally, using a caulk gun, carefully apply the caulk along the edges of the sink, smoothing it out with a caulk finishing tool or your finger. Wipe away any excess caulk and let it dry for at least 24 hours before using the sink.
In Conclusion
 Caulking around a white kitchen sink may seem like a small task, but it can make a significant impact on the overall design and functionality of your kitchen. By regularly checking and replacing the caulk, you can maintain a clean and polished look while preventing potential water damage. So the next time you're doing a deep clean of your kitchen, don't forget to give your sink some love and attention by caulking around it.