Caulking or using silicone around a kitchen sink is an essential part of maintaining a clean and functional kitchen. Over time, the area around your sink can become worn out and damaged, leading to leaks and potential water damage. By properly caulking or using silicone, you can prevent water from seeping into unwanted areas and keep your kitchen looking pristine. Here's a step-by-step guide on how to caulk or silicone around your kitchen sink.How to Caulk or Silicone Around a Kitchen Sink


How to Caulk or Silicone Around a Kitchen Sink


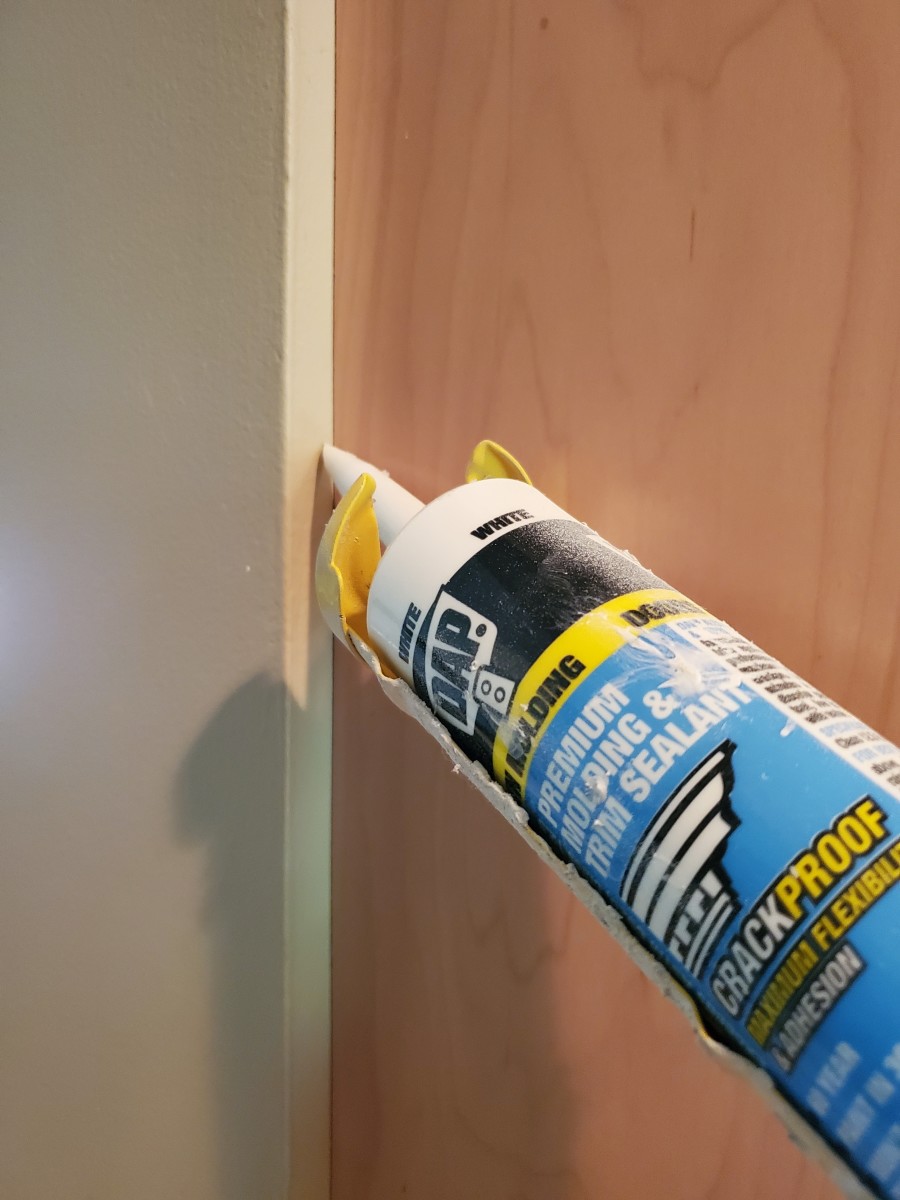
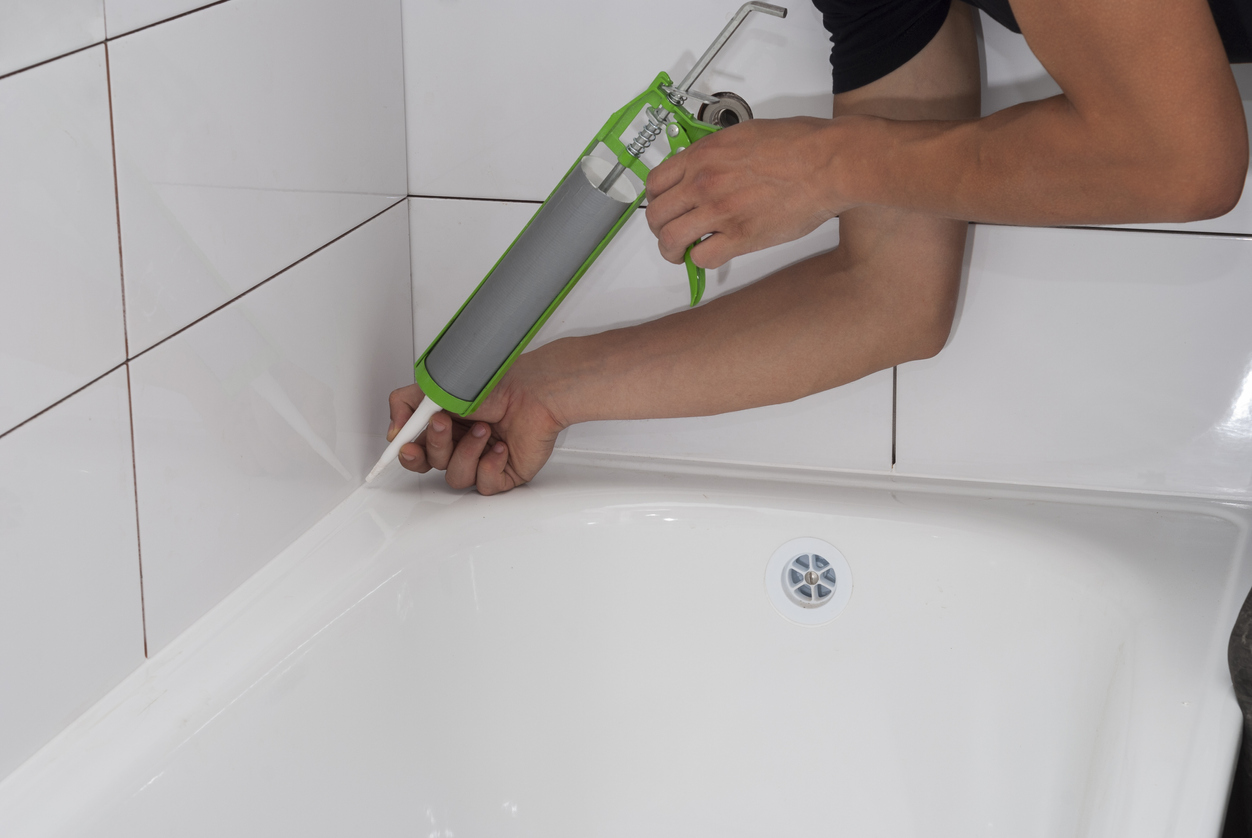
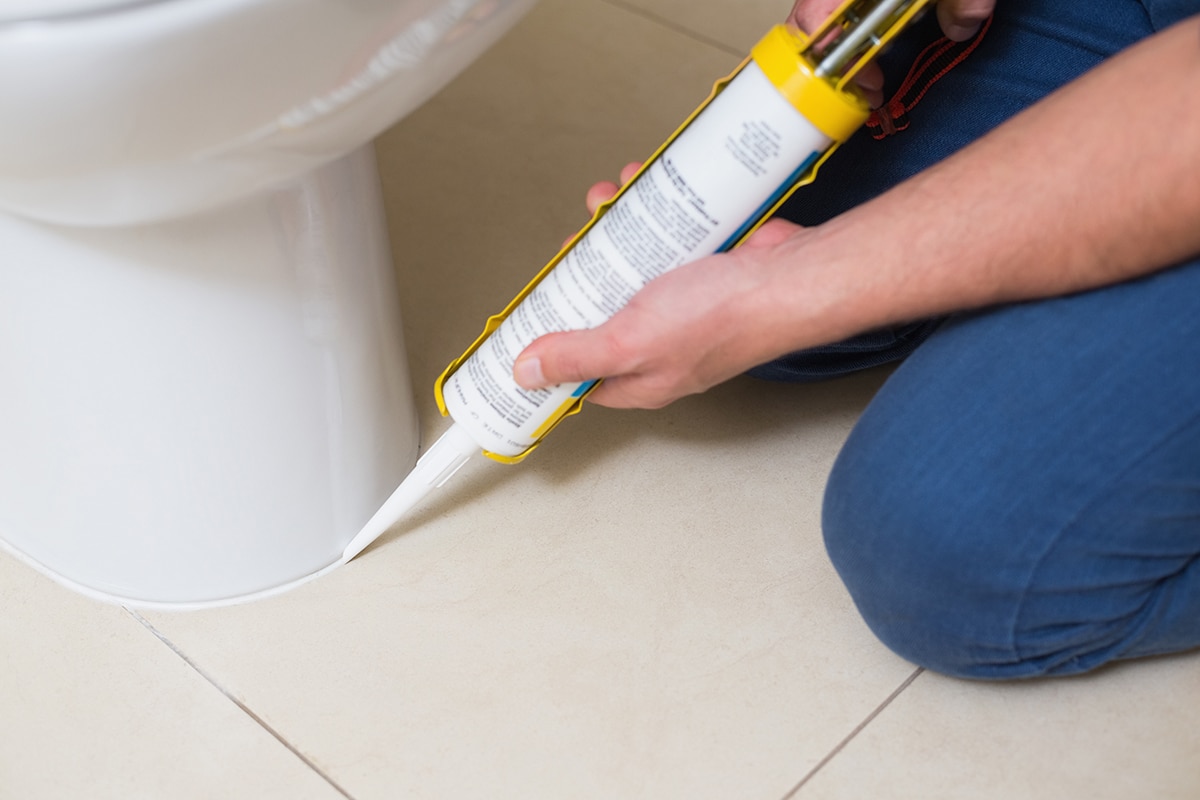
Caulking a kitchen sink may seem like a daunting task, but with the right tools and technique, it can be a quick and easy job. The first step is to gather your materials, which include caulk, a caulk gun, a putty knife or scraper, and a damp cloth. Before you begin, make sure the area around your sink is clean and dry. Then, using your putty knife or scraper, remove any old caulk or silicone from the edges of your sink. Next, load the caulk gun with your chosen caulk and hold it at a 45-degree angle to the edge of your sink. Slowly squeeze the trigger while moving the gun along the edge of the sink, making a continuous line of caulk. Once you've gone all the way around the sink, use your finger or a damp cloth to smooth out the caulk and create a neat finish. Let the caulk dry for at least 24 hours before using your sink again.How to Properly Caulk a Kitchen Sink

How to Properly Caulk a Kitchen Sink


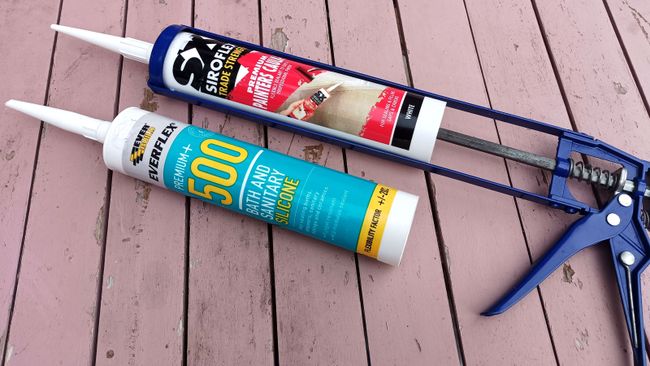
Choosing the right caulk for your kitchen sink is crucial for achieving a long-lasting seal. The best type of caulk to use is silicone caulk, as it is waterproof and flexible, making it ideal for use in areas prone to moisture and movement. Look for a caulk that is specifically labeled for use around sinks and is mold and mildew-resistant. Some popular brands include GE Silicone II and DAP Kwik Seal Plus.Best Caulk for Kitchen Sink


Best Caulk for Kitchen Sink


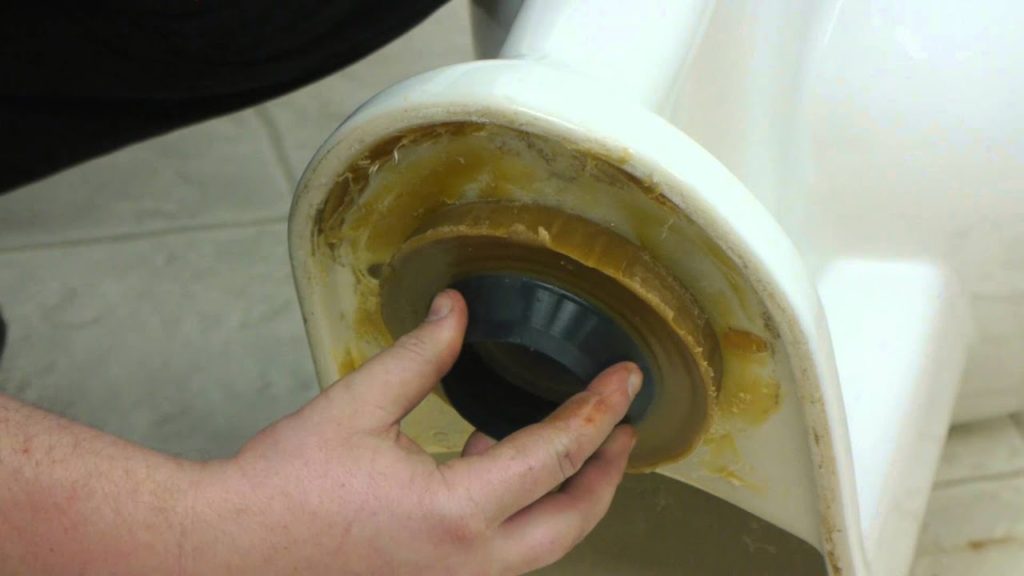
Before you can apply new caulk, you'll need to remove any old caulk or silicone from around your kitchen sink. This can be done using a putty knife, scraper, or caulk removal tool. Carefully scrape away the old caulk, making sure to remove all traces of it. You may need to use a solvent or caulk remover to loosen any stubborn caulk. Once all the old caulk is removed, thoroughly clean and dry the area before applying new caulk.How to Remove Old Caulk from Kitchen Sink


How to Remove Old Caulk from Kitchen Sink

:max_bytes(150000):strip_icc()/how-to-remove-old-caulk-1824827-01-3d0370c59e124dbbaa6560c68bab111c.jpg)


/how-to-remove-old-caulk-1824827-hero-4863fcf5169e426da8f822429ed46301.jpg)
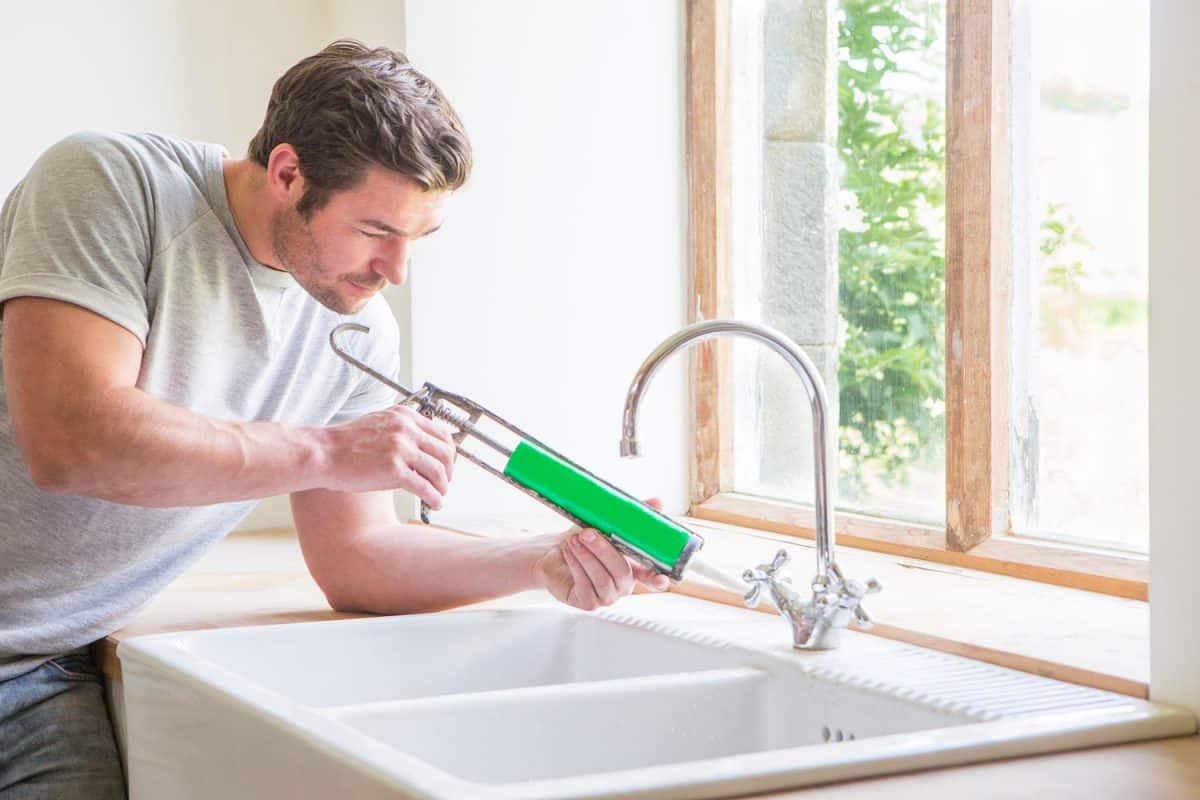
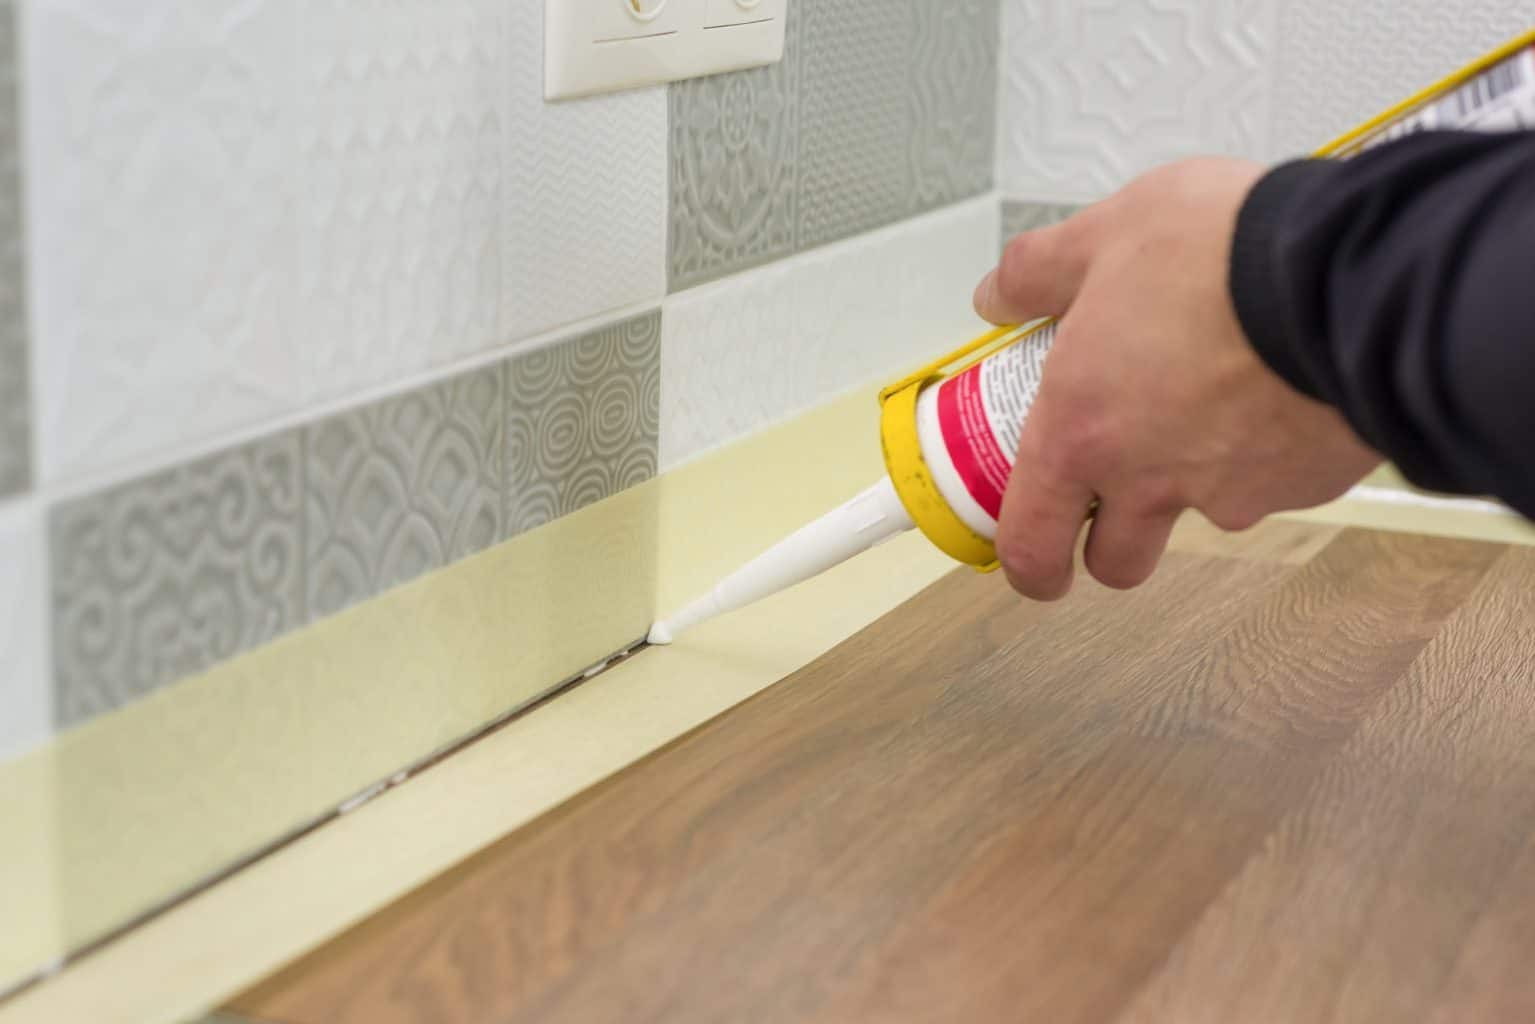
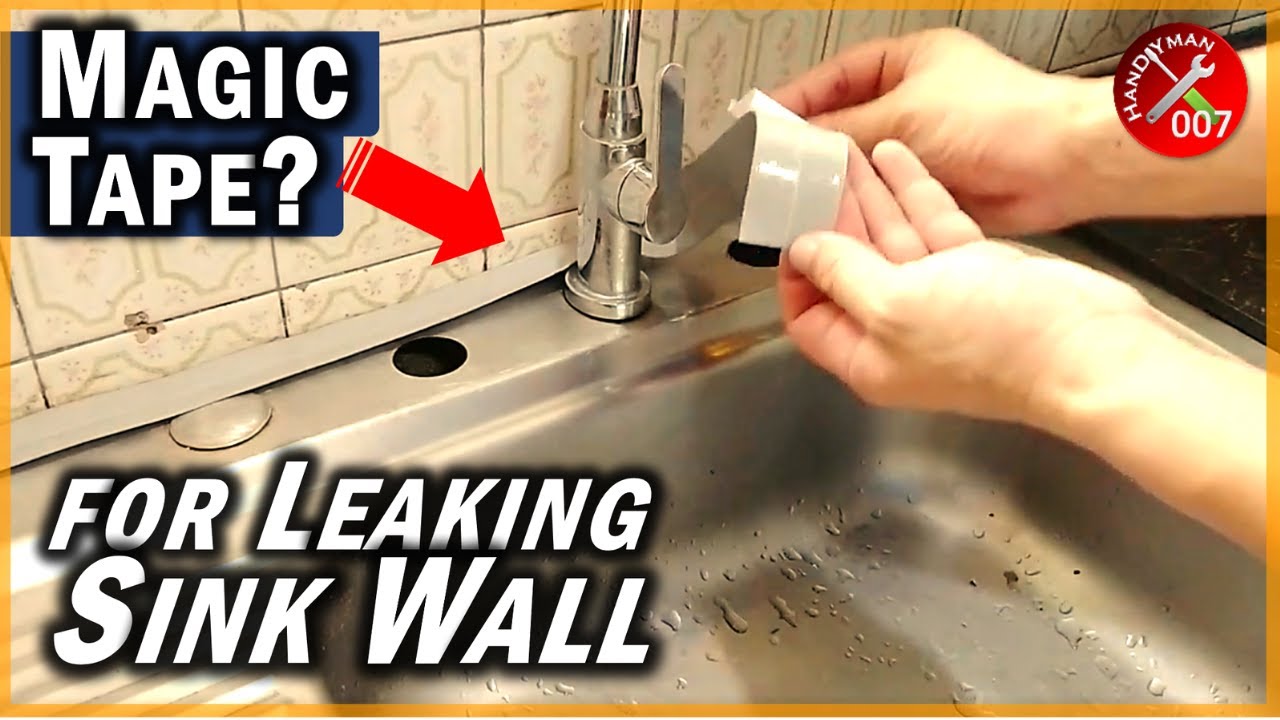
Applying silicone around a kitchen sink is similar to caulking, but there are a few key differences. Firstly, silicone is thicker and stickier than caulk, so you'll need to apply it with a bit more force. Start by loading your silicone gun and holding it at a 45-degree angle to the edge of your sink. Squeeze the trigger, but be prepared for a little resistance. As you move the gun along the edge of the sink, use your finger or a damp cloth to smooth out the silicone and create a neat finish. Let the silicone dry for at least 24 hours before using your sink again.How to Apply Silicone Around Kitchen Sink

How to Apply Silicone Around Kitchen Sink


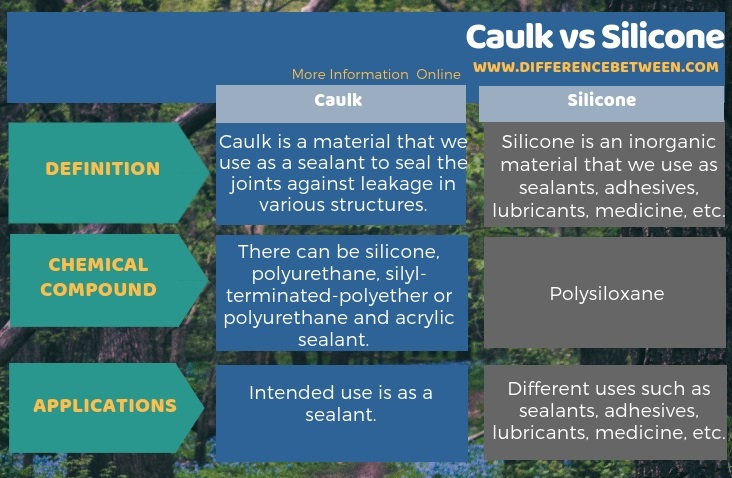
When it comes to sealing a kitchen sink, many people wonder whether caulk or silicone is the better choice. While both products can create a watertight seal, silicone is the superior option for areas prone to moisture and movement. Caulk can shrink and crack over time, making it less effective in preventing leaks. Silicone, on the other hand, is flexible and waterproof, making it the better choice for long-term use.Caulk vs Silicone for Kitchen Sink


Caulk vs Silicone for Kitchen Sink


The frequency of caulking around a kitchen sink will depend on factors such as the type of caulk used and the amount of wear and tear your sink receives. Generally, it's a good idea to check the caulk around your sink once a year and touch up any areas that may have become worn or damaged. If you notice any signs of water damage or mold, it's essential to recaulk immediately to prevent further damage.How Often Should You Caulk Around a Kitchen Sink


How Often Should You Caulk Around a Kitchen Sink


Sealing a kitchen sink with caulk is a straightforward process that can help prevent water damage and keep your sink looking clean and tidy. Begin by removing any old caulk or silicone from the edges of your sink. Then, using a caulk gun, apply a continuous line of caulk around the edge of the sink, making sure to fill any gaps or cracks. Smooth out the caulk with your finger or a damp cloth, and let it dry for at least 24 hours before using your sink.How to Seal a Kitchen Sink with Caulk


How to Seal a Kitchen Sink with Caulk


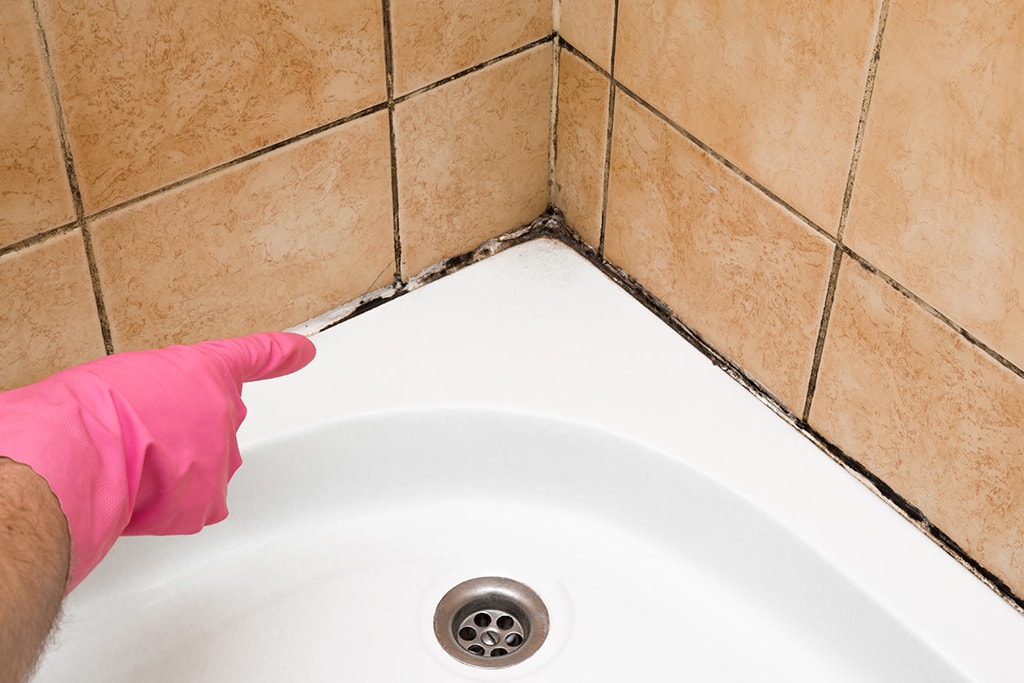
Mold is a common issue in areas where moisture is present, making the kitchen sink a prime location for mold growth. To prevent mold from forming in the caulk around your kitchen sink, make sure to use a mold and mildew-resistant caulk. Regularly cleaning and drying the area around your sink can also help prevent mold growth. If you do notice mold, use a mixture of water and bleach to clean the area thoroughly.How to Prevent Mold in Caulk Around Kitchen Sink

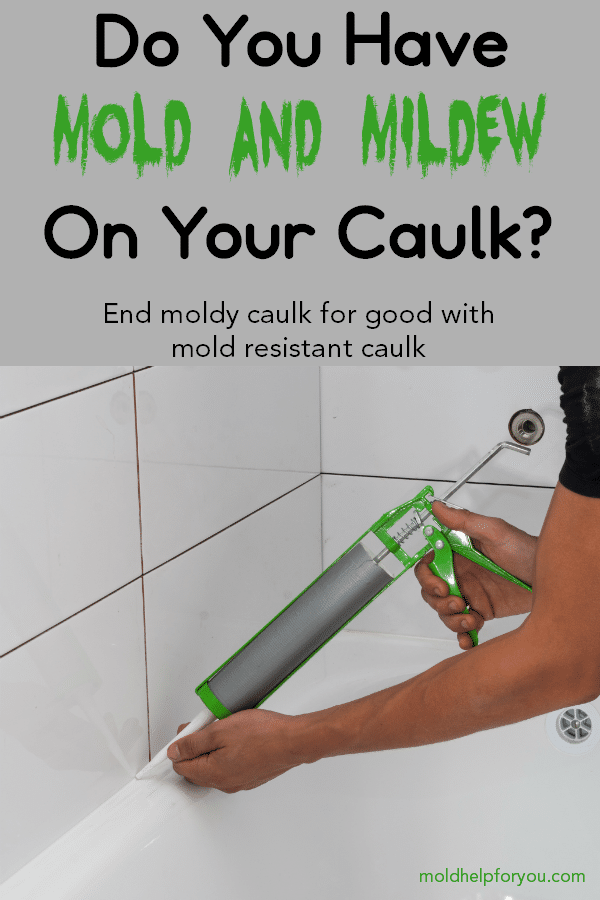
How to Prevent Mold in Caulk Around Kitchen Sink


Over time, caulk can become cracked and damaged, allowing water to seep into unwanted areas. If you notice cracks in the caulk around your kitchen sink, it's essential to repair them as soon as possible to prevent further damage. Begin by removing any old caulk and cleaning the area thoroughly. Then, apply a new bead of caulk, making sure to fill any gaps or cracks. Smooth out the caulk and let it dry for at least 24 hours before using your sink again.How to Repair Cracked Caulk Around Kitchen Sink

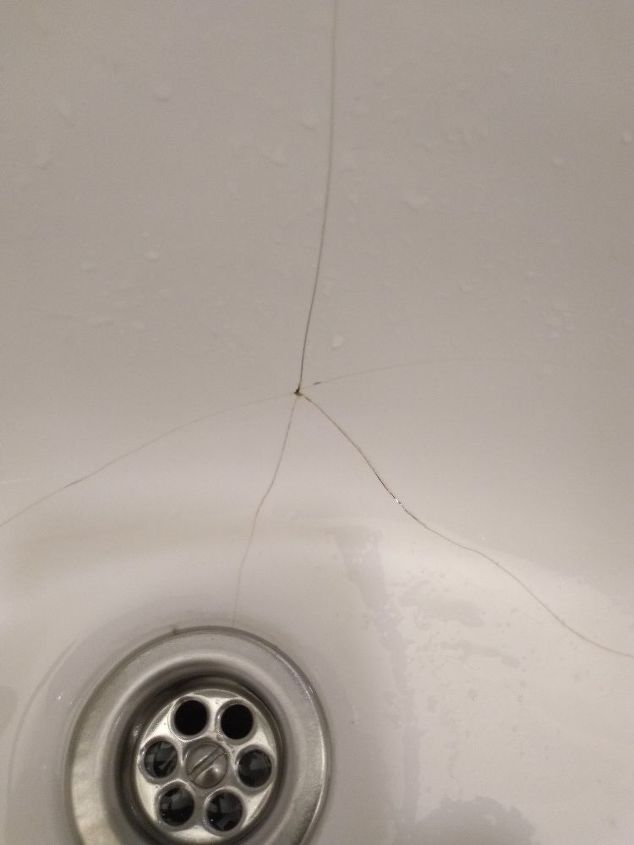

How to Repair Cracked Caulk Around Kitchen Sink

Why Caulk or Silicone is the Perfect Choice for Your Kitchen Sink

Enhance the Look and Functionality of Your Kitchen
 When it comes to designing your dream kitchen, every detail matters. From the color of the walls to the type of countertop, homeowners put a lot of thought into each element. However, one area that is often overlooked is the
kitchen sink
. While it may seem like a small detail, choosing the right sealant, such as
caulk
or
silicone
, for your kitchen sink can make a big difference in both the look and functionality of your space.
When it comes to designing your dream kitchen, every detail matters. From the color of the walls to the type of countertop, homeowners put a lot of thought into each element. However, one area that is often overlooked is the
kitchen sink
. While it may seem like a small detail, choosing the right sealant, such as
caulk
or
silicone
, for your kitchen sink can make a big difference in both the look and functionality of your space.
Sealing Out Water and Moisture
 The main purpose of using caulk or silicone around your kitchen sink is to create a waterproof seal. This is especially important in areas where water is constantly present, such as around the edges of your sink. Without a proper seal, water can seep through and cause damage to your cabinets and countertops.
Caulk
and
silicone
are both
waterproof sealants
that can prevent this from happening, ensuring that your kitchen stays dry and free from any potential water damage.
The main purpose of using caulk or silicone around your kitchen sink is to create a waterproof seal. This is especially important in areas where water is constantly present, such as around the edges of your sink. Without a proper seal, water can seep through and cause damage to your cabinets and countertops.
Caulk
and
silicone
are both
waterproof sealants
that can prevent this from happening, ensuring that your kitchen stays dry and free from any potential water damage.
Flexibility and Durability
 Another advantage of using caulk or silicone around your kitchen sink is their flexibility and durability. Unlike other types of sealants, such as grout, caulk and silicone have the ability to expand and contract with temperature changes and movement. This means that even if your sink shifts slightly or experiences extreme temperatures, the sealant will not crack or break, keeping your kitchen protected. This flexibility also makes them ideal for use in high traffic areas, as they can withstand constant use without deteriorating.
Easy to Clean and Maintain
 With all the cooking and cleaning that happens in the kitchen, it's important to choose a sealant that is easy to clean and maintain.
Caulk
and
silicone
are both
low-maintenance options
that can be easily wiped down with a damp cloth. They also have a smooth surface, making it difficult for dirt and grime to build up. This not only keeps your kitchen looking clean and fresh, but also helps to prevent the growth of mold and mildew.
With all the cooking and cleaning that happens in the kitchen, it's important to choose a sealant that is easy to clean and maintain.
Caulk
and
silicone
are both
low-maintenance options
that can be easily wiped down with a damp cloth. They also have a smooth surface, making it difficult for dirt and grime to build up. This not only keeps your kitchen looking clean and fresh, but also helps to prevent the growth of mold and mildew.
Affordable and Versatile
 Finally, caulk and silicone are both
affordable and versatile options
for sealing around your kitchen sink. They come in a variety of colors and can be easily matched to your sink and countertop, creating a seamless and cohesive look. They are also easy to apply, making them a great choice for DIY projects. This cost-effective solution can add a professional touch to your kitchen without breaking the bank.
In conclusion, choosing the right sealant for your kitchen sink is an important decision that should not be overlooked. With their waterproof properties, flexibility, low-maintenance, and affordability, caulk and silicone are the perfect choices for sealing around your kitchen sink. Not only will they enhance the look and functionality of your kitchen, but they will also provide long-lasting protection for your space. Consider using these
highly effective sealants
for your next kitchen renovation project.
Finally, caulk and silicone are both
affordable and versatile options
for sealing around your kitchen sink. They come in a variety of colors and can be easily matched to your sink and countertop, creating a seamless and cohesive look. They are also easy to apply, making them a great choice for DIY projects. This cost-effective solution can add a professional touch to your kitchen without breaking the bank.
In conclusion, choosing the right sealant for your kitchen sink is an important decision that should not be overlooked. With their waterproof properties, flexibility, low-maintenance, and affordability, caulk and silicone are the perfect choices for sealing around your kitchen sink. Not only will they enhance the look and functionality of your kitchen, but they will also provide long-lasting protection for your space. Consider using these
highly effective sealants
for your next kitchen renovation project.