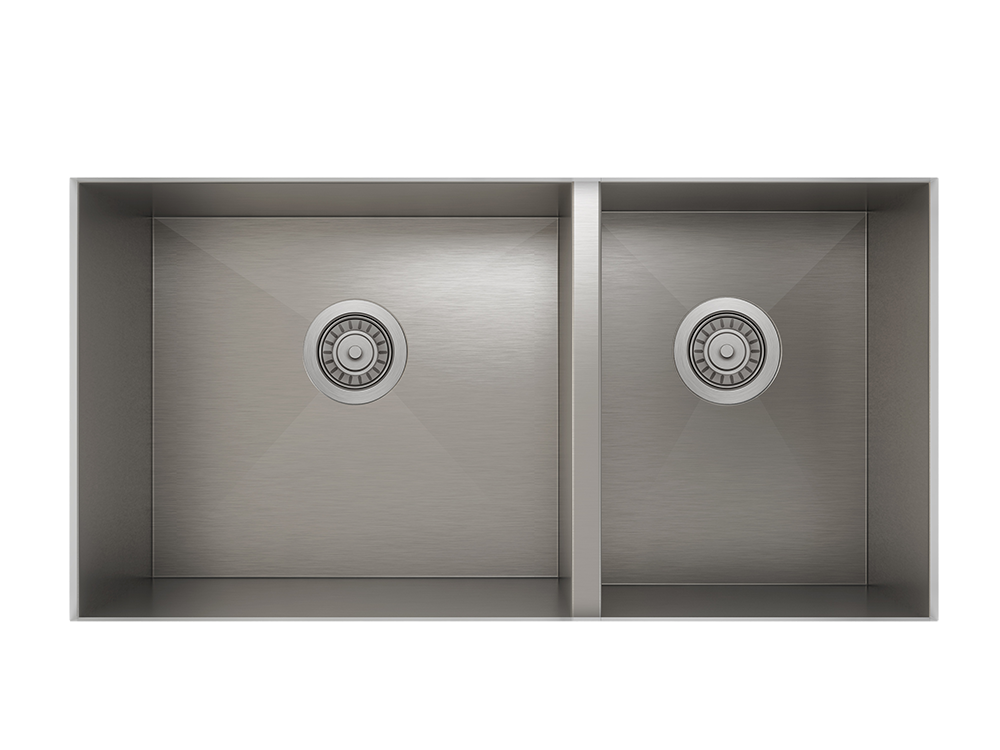
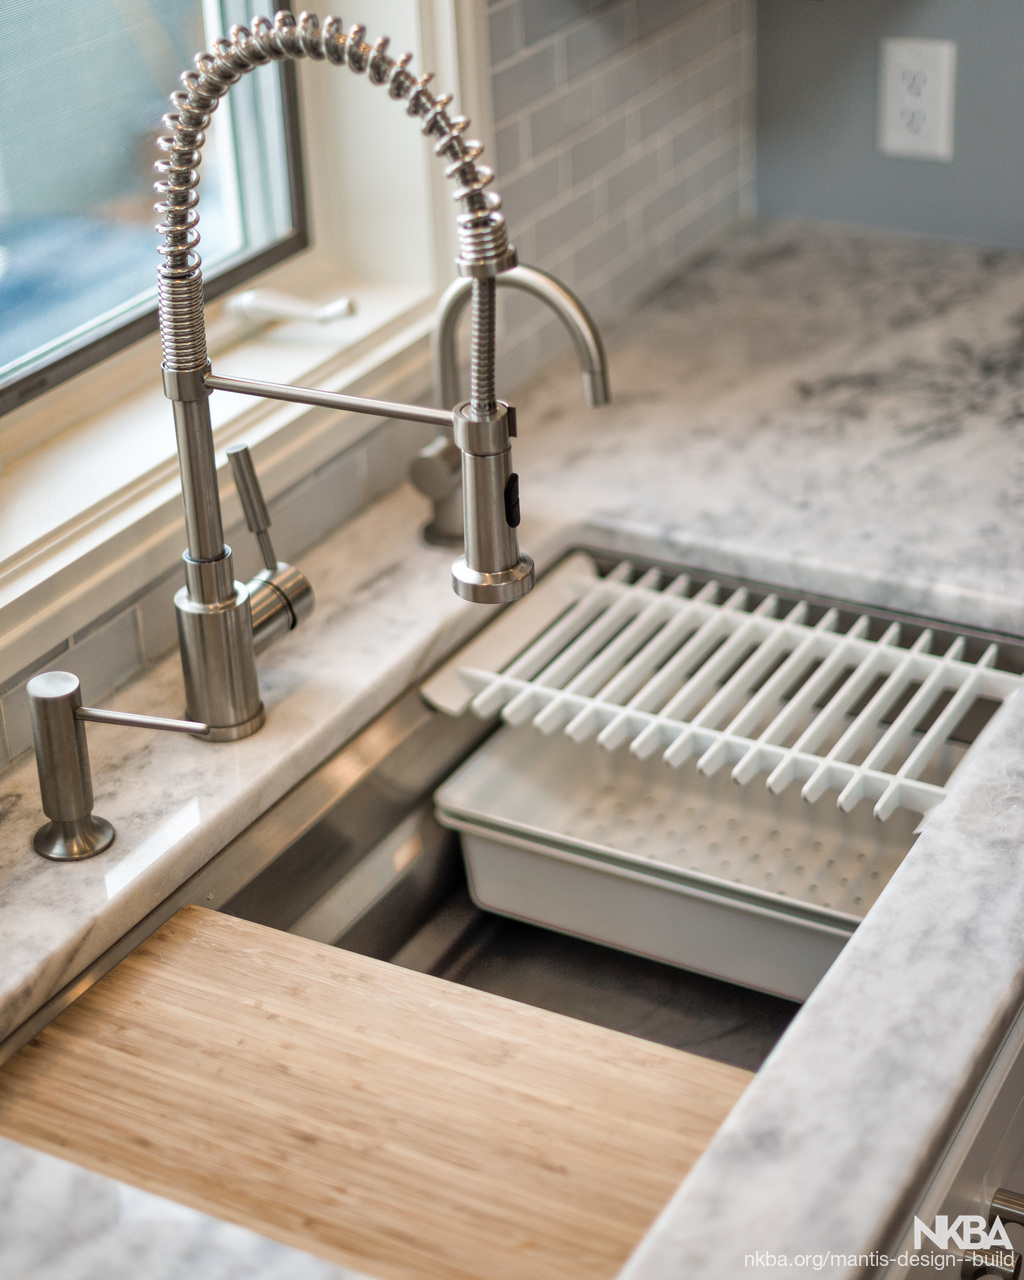
How to Replace an Undermount Kitchen Sink
Are you tired of your old, worn out undermount kitchen sink? Or maybe you just want to update the look of your kitchen with a new sink? Whatever the reason, replacing an undermount kitchen sink is a task that can easily be done by yourself with the right tools and knowledge. In this guide, we will walk you through the steps of replacing an undermount kitchen sink, giving you the confidence to tackle this project on your own.
Replacing an Undermount Sink: A How-To Guide
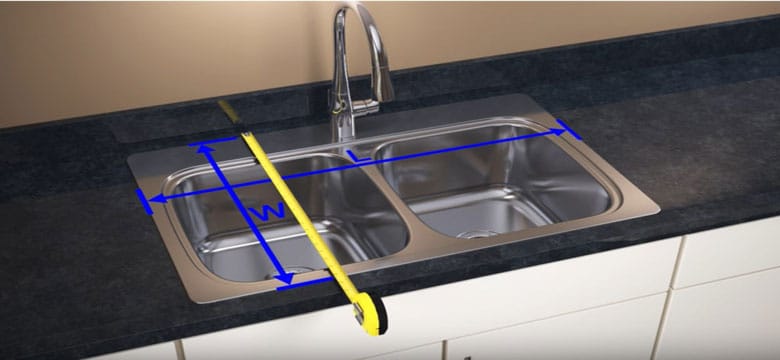
Replacing an undermount sink may seem like a daunting task, but with the right tools and a little bit of patience, it can be done easily. The first step is to measure your current sink and the space it occupies. This will ensure that the new sink you choose will fit perfectly in its place.
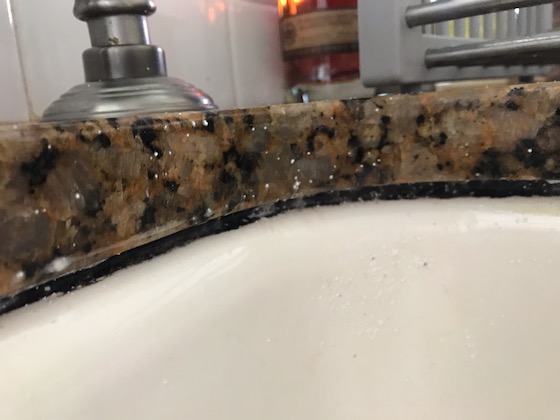
Once you have your new sink, it's time to remove the old one. Start by turning off the water supply to your sink and disconnecting the plumbing. Next, use a utility knife to cut through the caulk that seals the sink to the countertop. Gently lift the sink out of its place, being careful not to damage the countertop.
Step-by-Step Guide to Replacing an Undermount Kitchen Sink
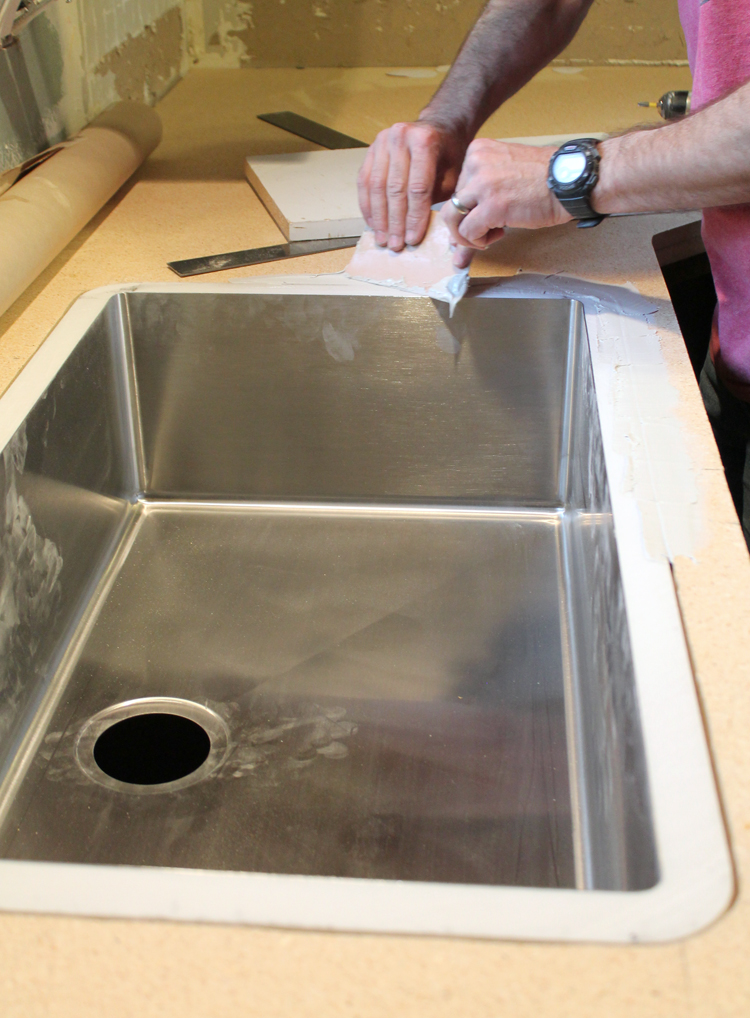
With the old sink removed, it's time to prepare the area for the new one. Clean the countertop thoroughly and remove any remaining caulk or debris. If your new sink is a different size than the old one, you may need to make adjustments to the opening in the countertop.
Next, place the new sink in the opening and secure it with clips or brackets. Make sure the sink is level and then connect the plumbing back in place. Apply a new bead of caulk around the edges of the sink to seal it to the countertop.
Finally, turn the water supply back on and test for any leaks. If everything looks good, you now have a brand new undermount kitchen sink!
DIY: How to Replace an Undermount Kitchen Sink
Replacing an undermount kitchen sink is a project that you can easily do yourself, saving you time and money. However, it's important to note that this task may require some basic plumbing skills. If you're not comfortable with plumbing, it's best to call a professional to help you with the installation.
But for those who are up for the challenge, replacing an undermount kitchen sink can be a fun and rewarding project. Not only will you have a new sink that adds to the look of your kitchen, but you'll also have the satisfaction of completing the task on your own.
Replacing an Undermount Kitchen Sink: Tips and Tricks
If you've never replaced an undermount kitchen sink before, there are a few tips and tricks that can make the process smoother. First, make sure to have all the necessary tools and materials before starting the project. This includes a utility knife, pliers, screwdriver, caulk gun, and of course, the new sink.
Another tip is to have someone help you with the installation. This is especially useful when it comes to lifting and positioning the sink in place. And lastly, take your time and be patient. Rushing through the installation can lead to mistakes and errors that can be costly to fix.
Can You Replace an Undermount Kitchen Sink Yourself?
As mentioned before, replacing an undermount kitchen sink is a task that can be done by yourself. However, it's important to assess your own skills and comfort level before attempting this project.
If you have experience with basic plumbing tasks and are confident in your abilities, then replacing an undermount kitchen sink should be no problem. But if you're unsure or have never done any plumbing work, it may be best to leave this project to the professionals.
The Process of Replacing an Undermount Kitchen Sink
The process of replacing an undermount kitchen sink may seem overwhelming at first, but it can be broken down into simple steps. First, remove the old sink and clean the area thoroughly. Then, install the new sink and secure it in place. Finally, connect the plumbing and test for any leaks. With a little bit of patience and the right tools, you can have a new sink in no time.
Replacing an Undermount Kitchen Sink: What You Need to Know
Before attempting to replace an undermount kitchen sink, there are a few important things you need to know. First, make sure to choose a sink that fits the space and is compatible with your countertop material. You should also have a basic understanding of plumbing and be prepared to make any necessary adjustments to the opening in your countertop.
It's also important to note that undermount sinks require additional support, such as clips or brackets, to hold them in place. Make sure to have these on hand before starting the installation process.
Undermount Kitchen Sink Replacement: A Comprehensive Guide
This guide has covered the basics of replacing an undermount kitchen sink, but there may be additional steps or considerations depending on your specific situation. If you're unsure about any part of the process, it's best to consult a professional for guidance.
But for those who are ready to take on the task, this comprehensive guide has provided all the necessary information and tips to successfully replace an undermount kitchen sink on your own.
Replacing an Undermount Kitchen Sink: Common Mistakes to Avoid
Replacing an undermount kitchen sink may seem like a simple task, but there are some common mistakes that can easily be made. One of the most common mistakes is not properly supporting the sink, which can lead to damage to the countertop or sink itself.
Another mistake is not properly sealing the sink to the countertop, which can result in leaks and water damage. It's also important to make sure the sink is level before securing it in place. Taking your time and following the steps carefully can help you avoid these and other common mistakes.
The Benefits of Replacing an Undermount Kitchen Sink
Enhanced Aesthetics
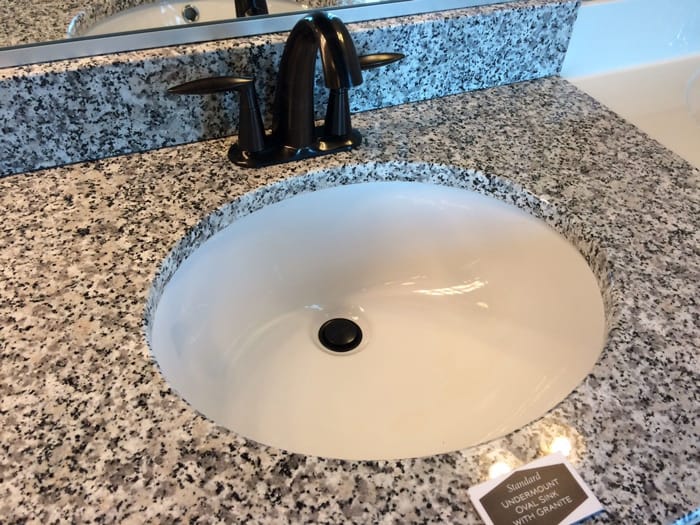
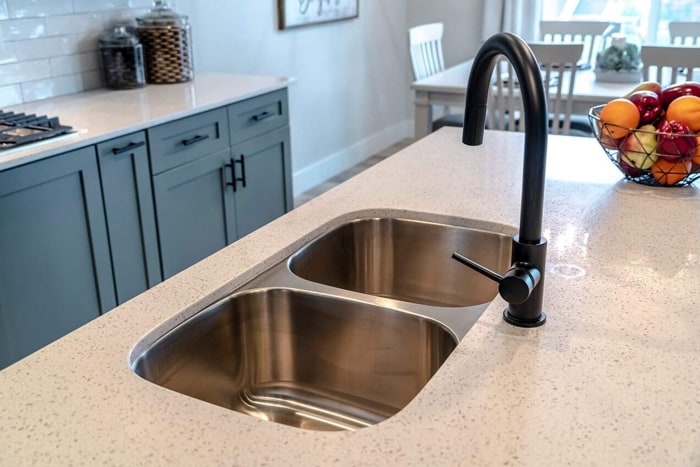
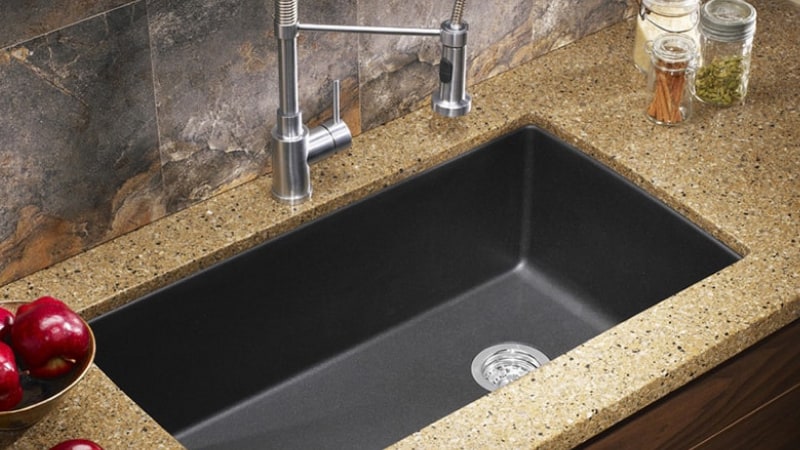
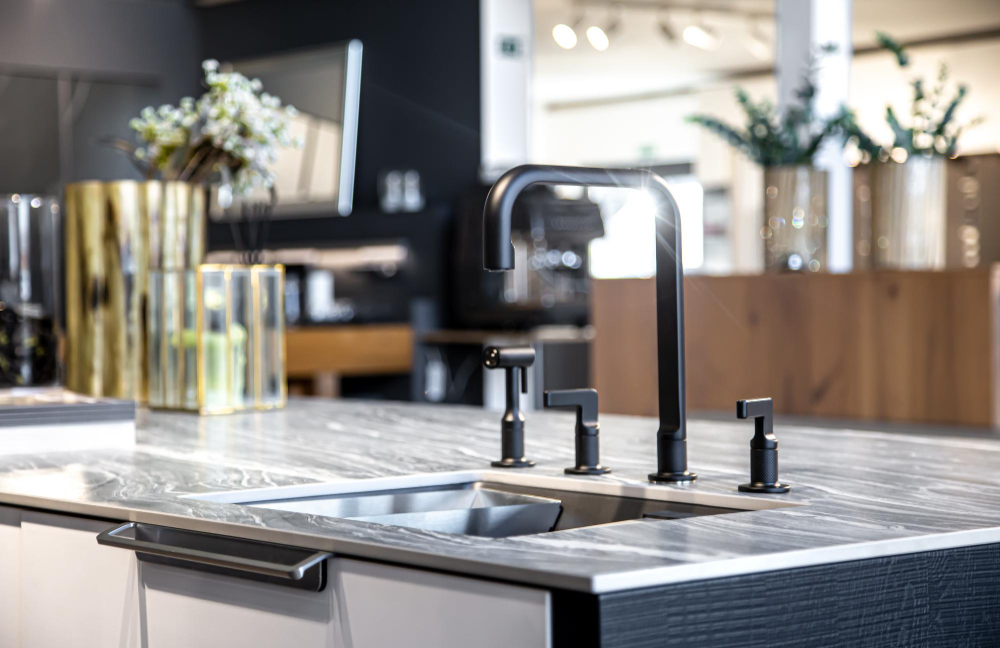
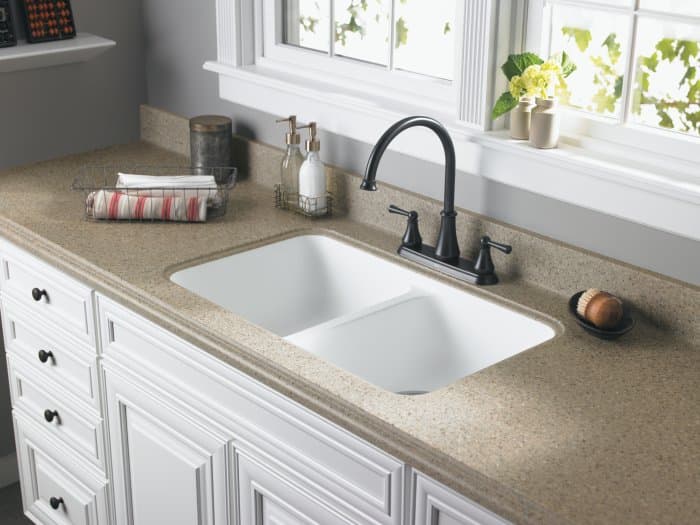
 Replacing an undermount kitchen sink can greatly enhance the aesthetics of your kitchen. The sleek and seamless design of an undermount sink creates a modern and clean look that can instantly elevate the overall design of your kitchen. With the sink mounted underneath the countertop, there are no visible edges or lips, providing a smooth and uninterrupted flow. This can also give the illusion of a larger and more open space, making your kitchen feel more spacious and inviting.
Upgrading to an undermount kitchen sink can add value to your home and make it more attractive to potential buyers in the future.
Easier to Clean
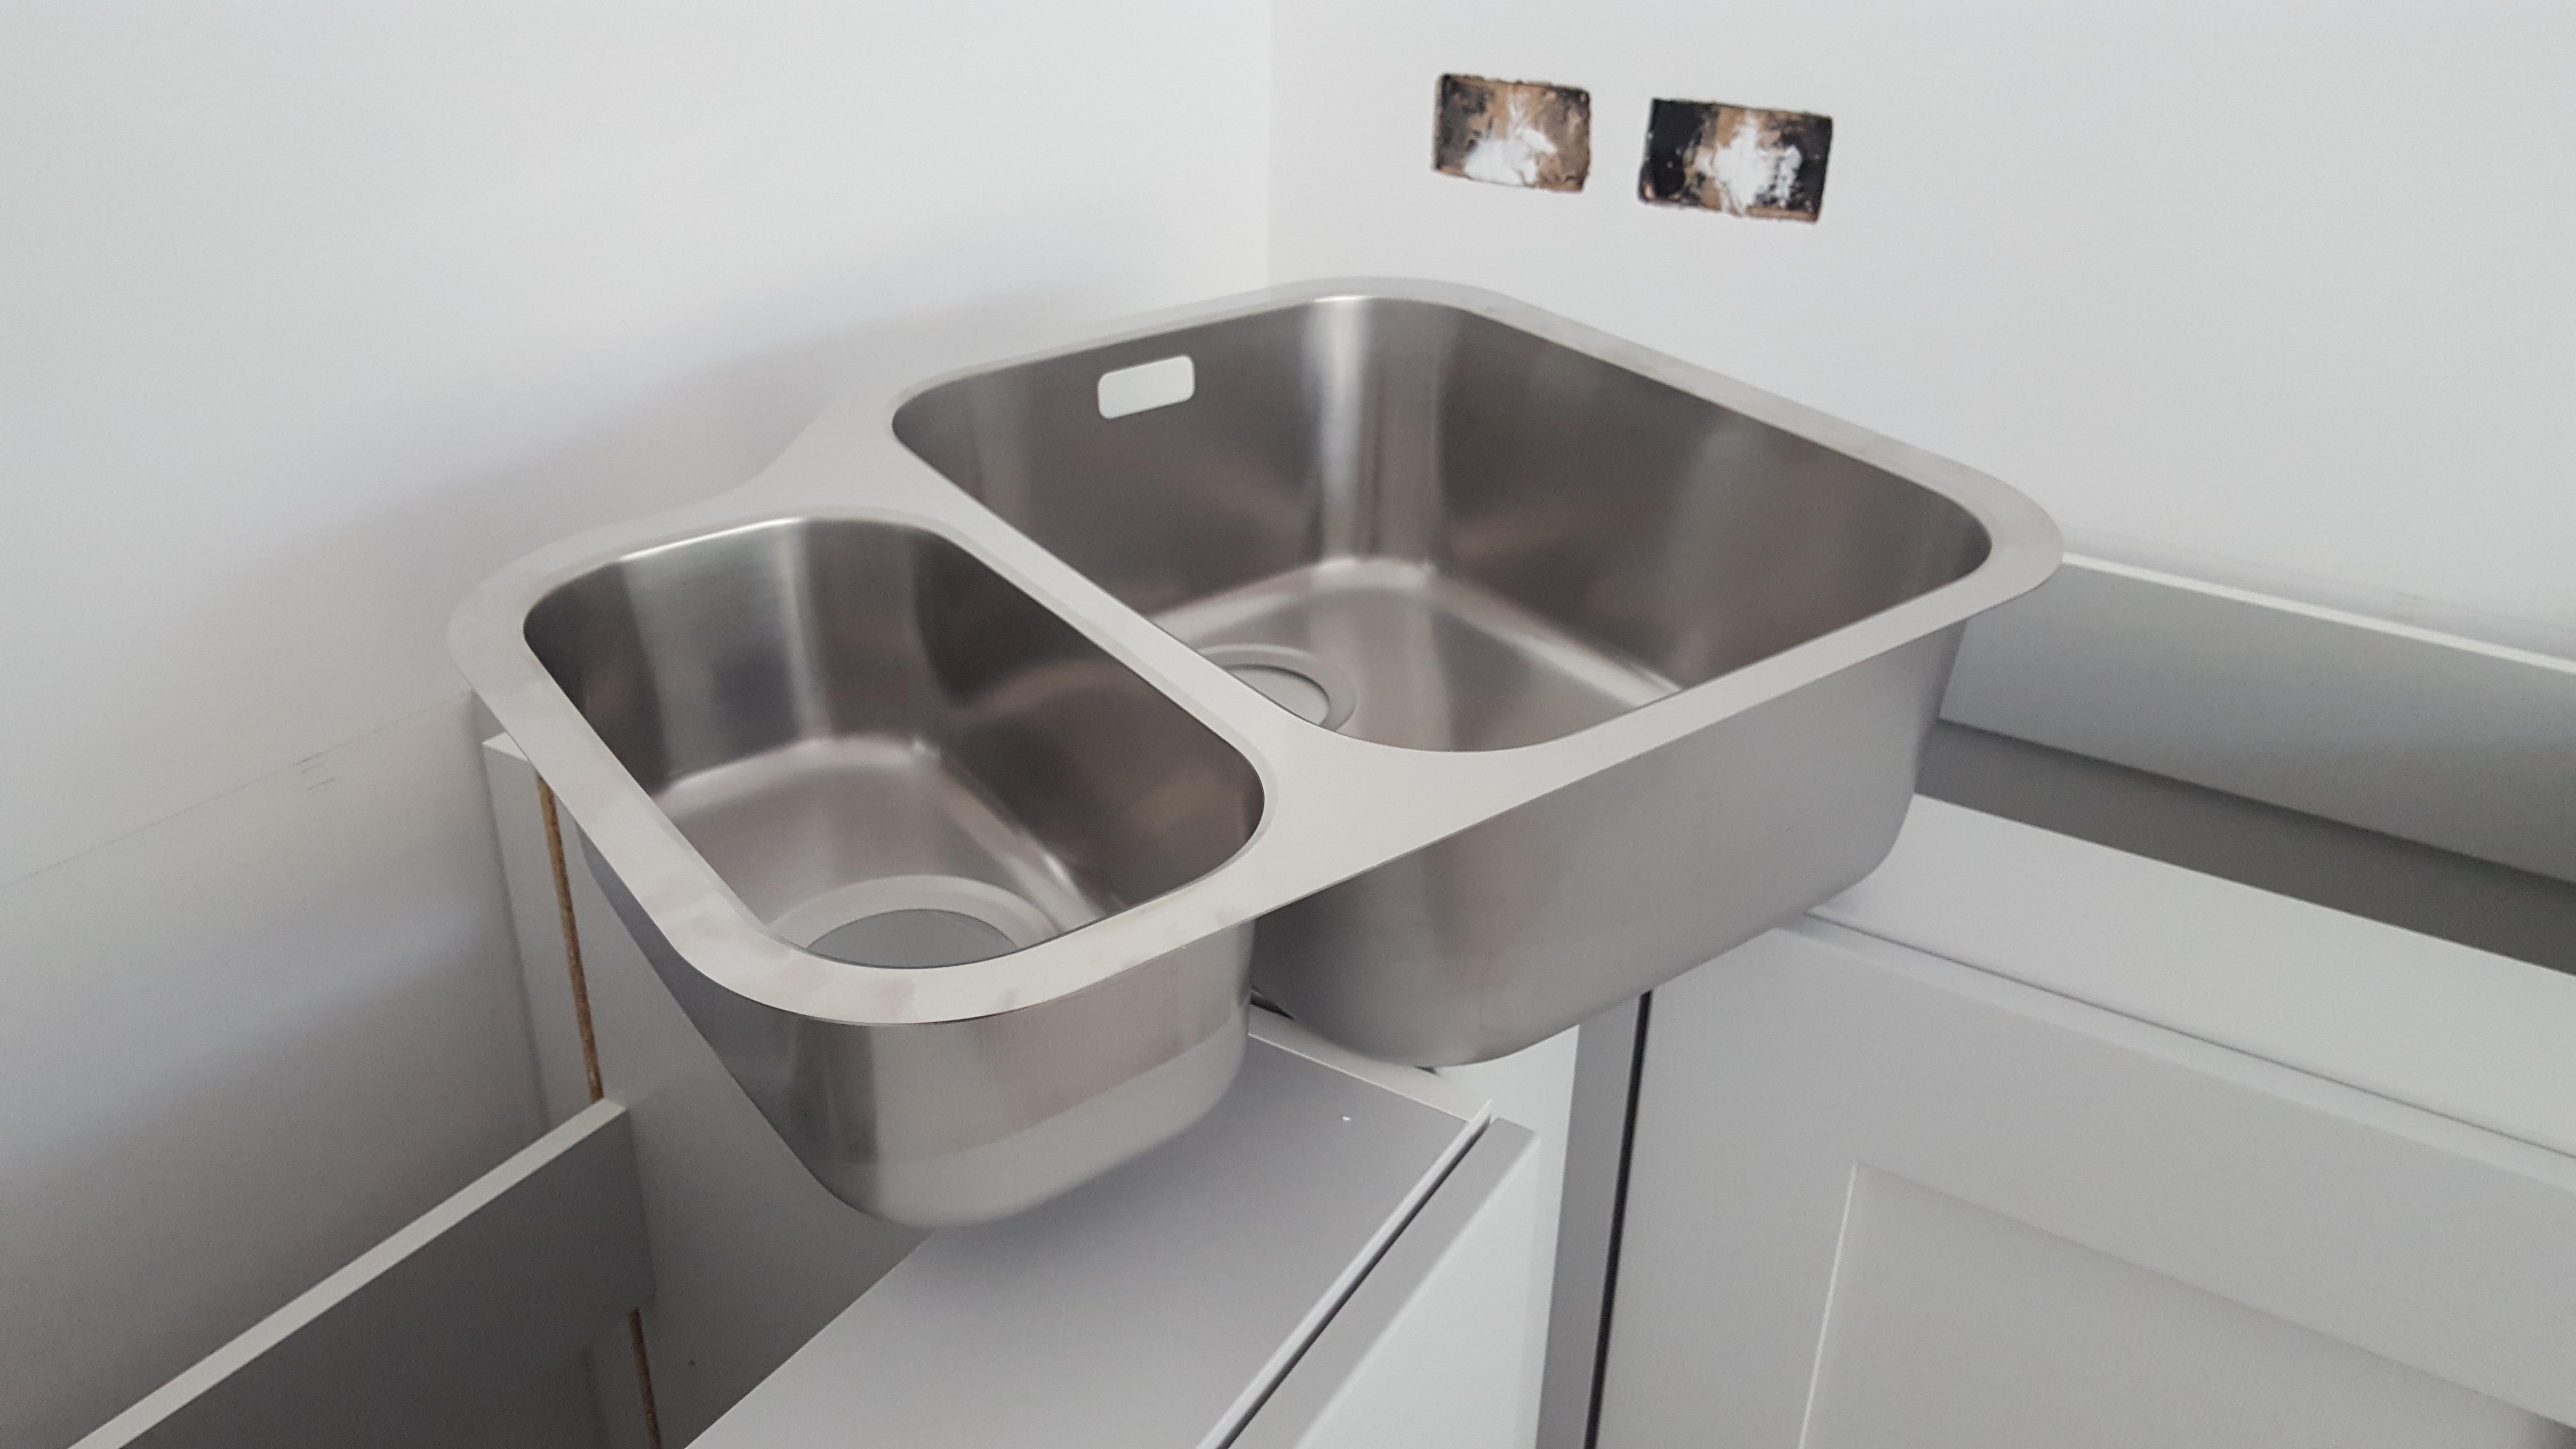 One of the main advantages of an undermount kitchen sink is that it is easier to clean. With no edges or lips, there is no place for food particles or debris to get caught and accumulate. This makes cleaning up after meal prep and washing dishes a breeze.
Additionally, with no edge to obstruct your movements, you can easily wipe crumbs and spills directly into the sink without having to worry about them getting stuck on the edges.
This can save you time and effort in your daily kitchen maintenance routine.
More Counter Space
 Another benefit of replacing your kitchen sink with an undermount one is that it can provide you with more counter space. Without a rim or lip, you can utilize the entire surface of your countertop, giving you more room for food prep, cooking, and other kitchen tasks. This can be especially beneficial for smaller kitchens where counter space is limited.
Furthermore, with the sink mounted underneath the counter, you can easily brush debris and water directly into the sink, freeing up even more counter space.
Customizable Options
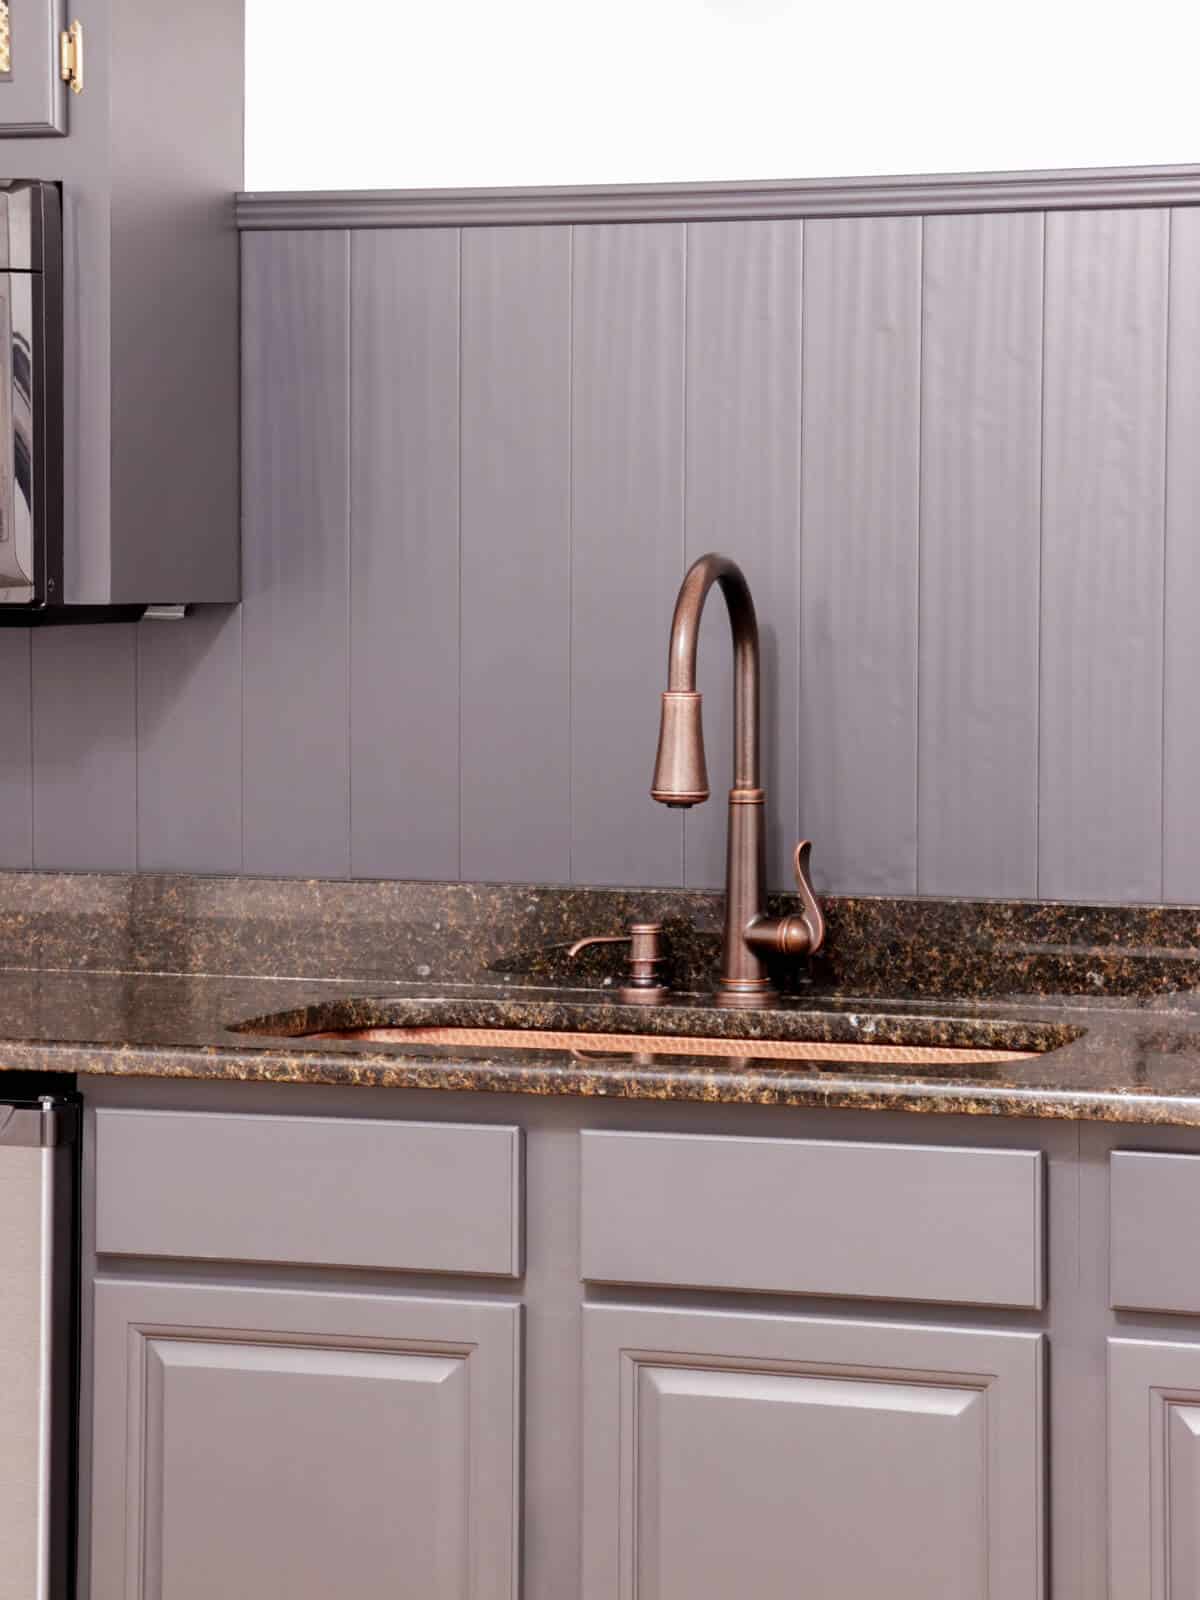
 Undermount kitchen sinks come in a variety of materials, sizes, and styles, allowing you to customize your sink to your specific needs and preferences. This can include choosing a material that complements your kitchen design, such as stainless steel or granite, or opting for a larger or deeper sink to accommodate your cooking and cleaning needs.
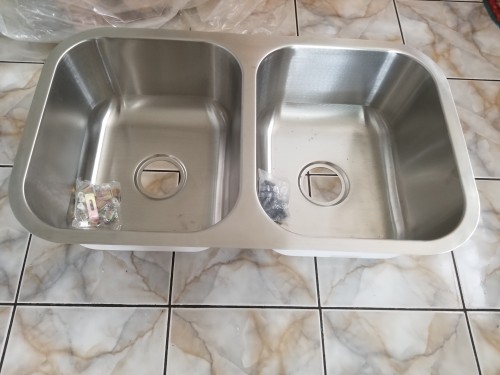
Replacing your undermount kitchen sink also gives you the opportunity to upgrade to a dual-basin sink, allowing you to multitask and make the most out of your sink space.
In conclusion, replacing an undermount kitchen sink can have numerous benefits for both the functionality and aesthetics of your kitchen. With its sleek design, easy cleaning, and customizable options, it is a popular choice among homeowners looking to upgrade their kitchen. If you are considering replacing your kitchen sink,
be sure to consult a professional to ensure proper installation and to make the most out of your new undermount sink.

