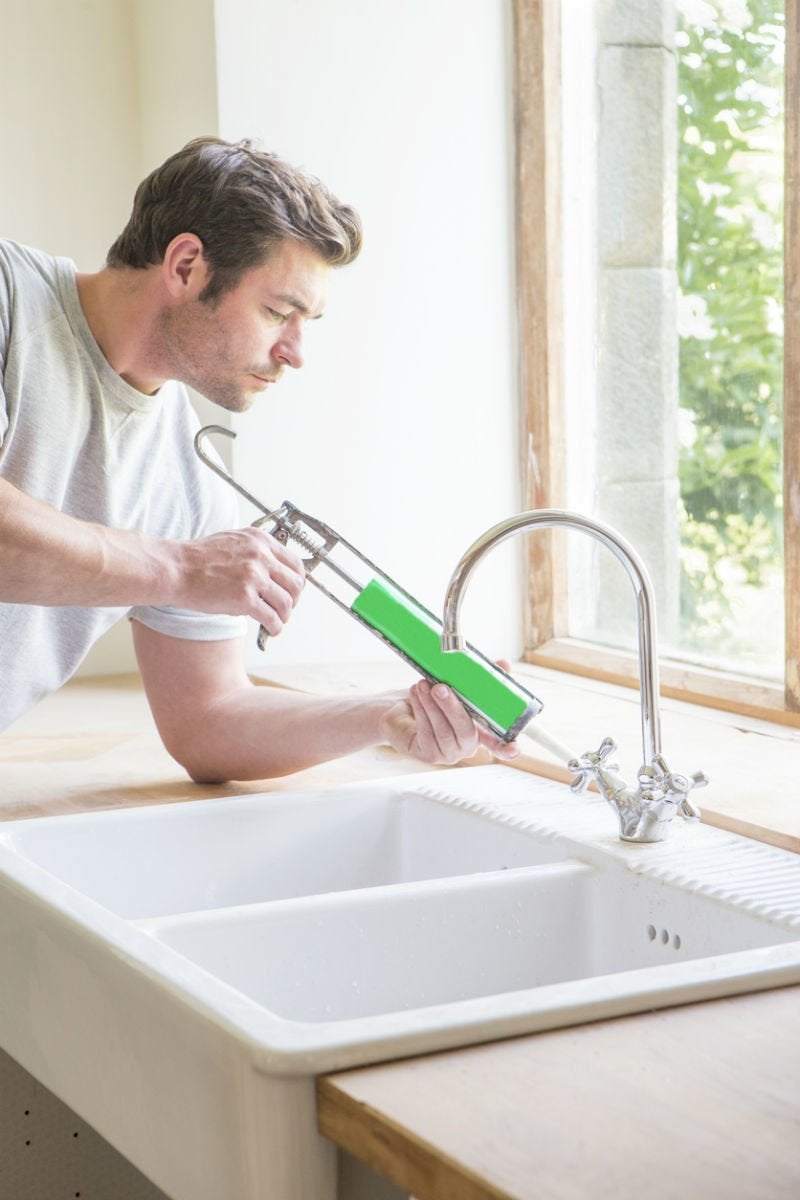
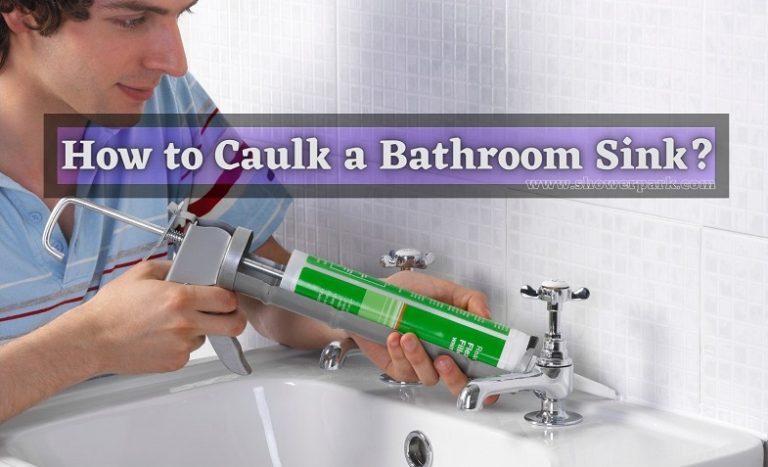
A bathroom sink is an essential part of any bathroom, but it can quickly become a source of frustration if it's not properly caulked. Caulking around a bathroom sink is not only important for aesthetics, but it also helps prevent water damage and mold growth. In this article, we will discuss the top 10 MAIN_calking tips for your bathroom sink to ensure a clean and long-lasting finish. Top 10 MAIN_calking around bathroom sink


Caulking around bathroom sink


Before beginning the caulking process, it's important to gather all the necessary materials. You will need a caulk gun, caulk, a putty knife, a damp cloth, and painter's tape. Make sure to choose a high-quality caulk that is specifically designed for use in bathrooms. 1. Caulking around bathroom sink


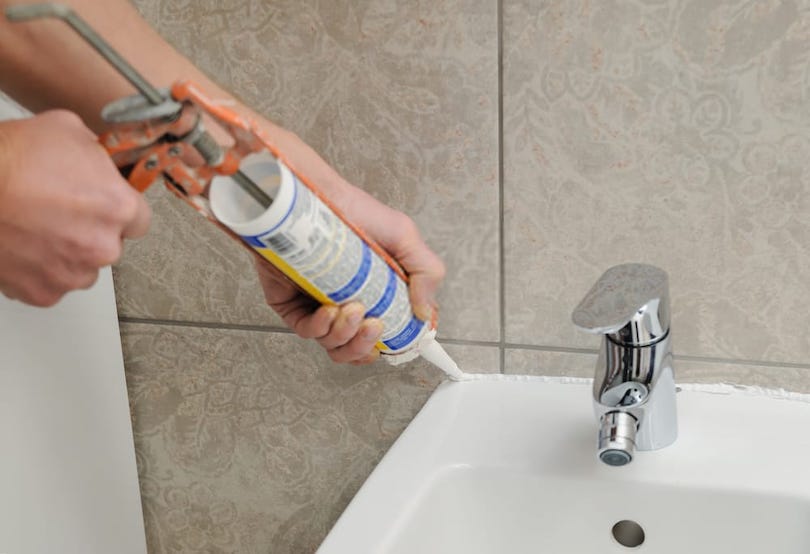
How to caulk around a bathroom sink


Start by cleaning the area around the sink with a mild cleaner and a damp cloth. This will remove any dirt, grime, or old caulk that may be present. Then, use painter's tape to create a clean edge around the sink. This will help keep the caulk in a neat line and prevent it from spreading onto other surfaces. 2. How to caulk around a bathroom sink


Best caulk for bathroom sink


When it comes to choosing the best caulk for your bathroom sink, it's important to consider the type of material your sink is made of. For sinks made of non-porous materials like porcelain or ceramic, silicone caulk is the best choice as it is waterproof and flexible. For sinks made of porous materials like marble or granite, acrylic caulk is a better option as it adheres better to these surfaces. 3. Best caulk for bathroom sink

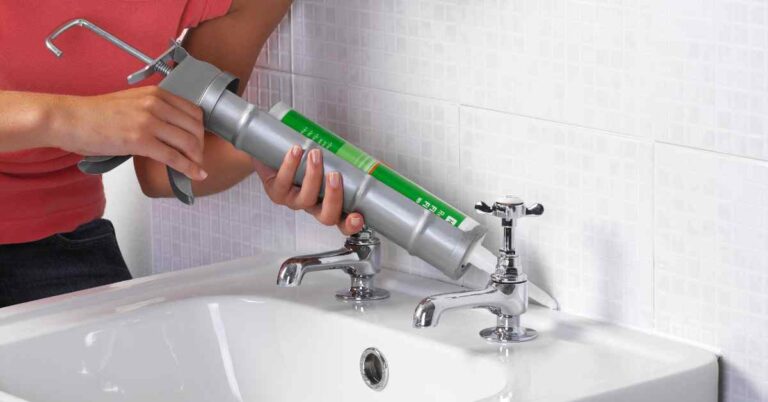
Tips for caulking around bathroom sink


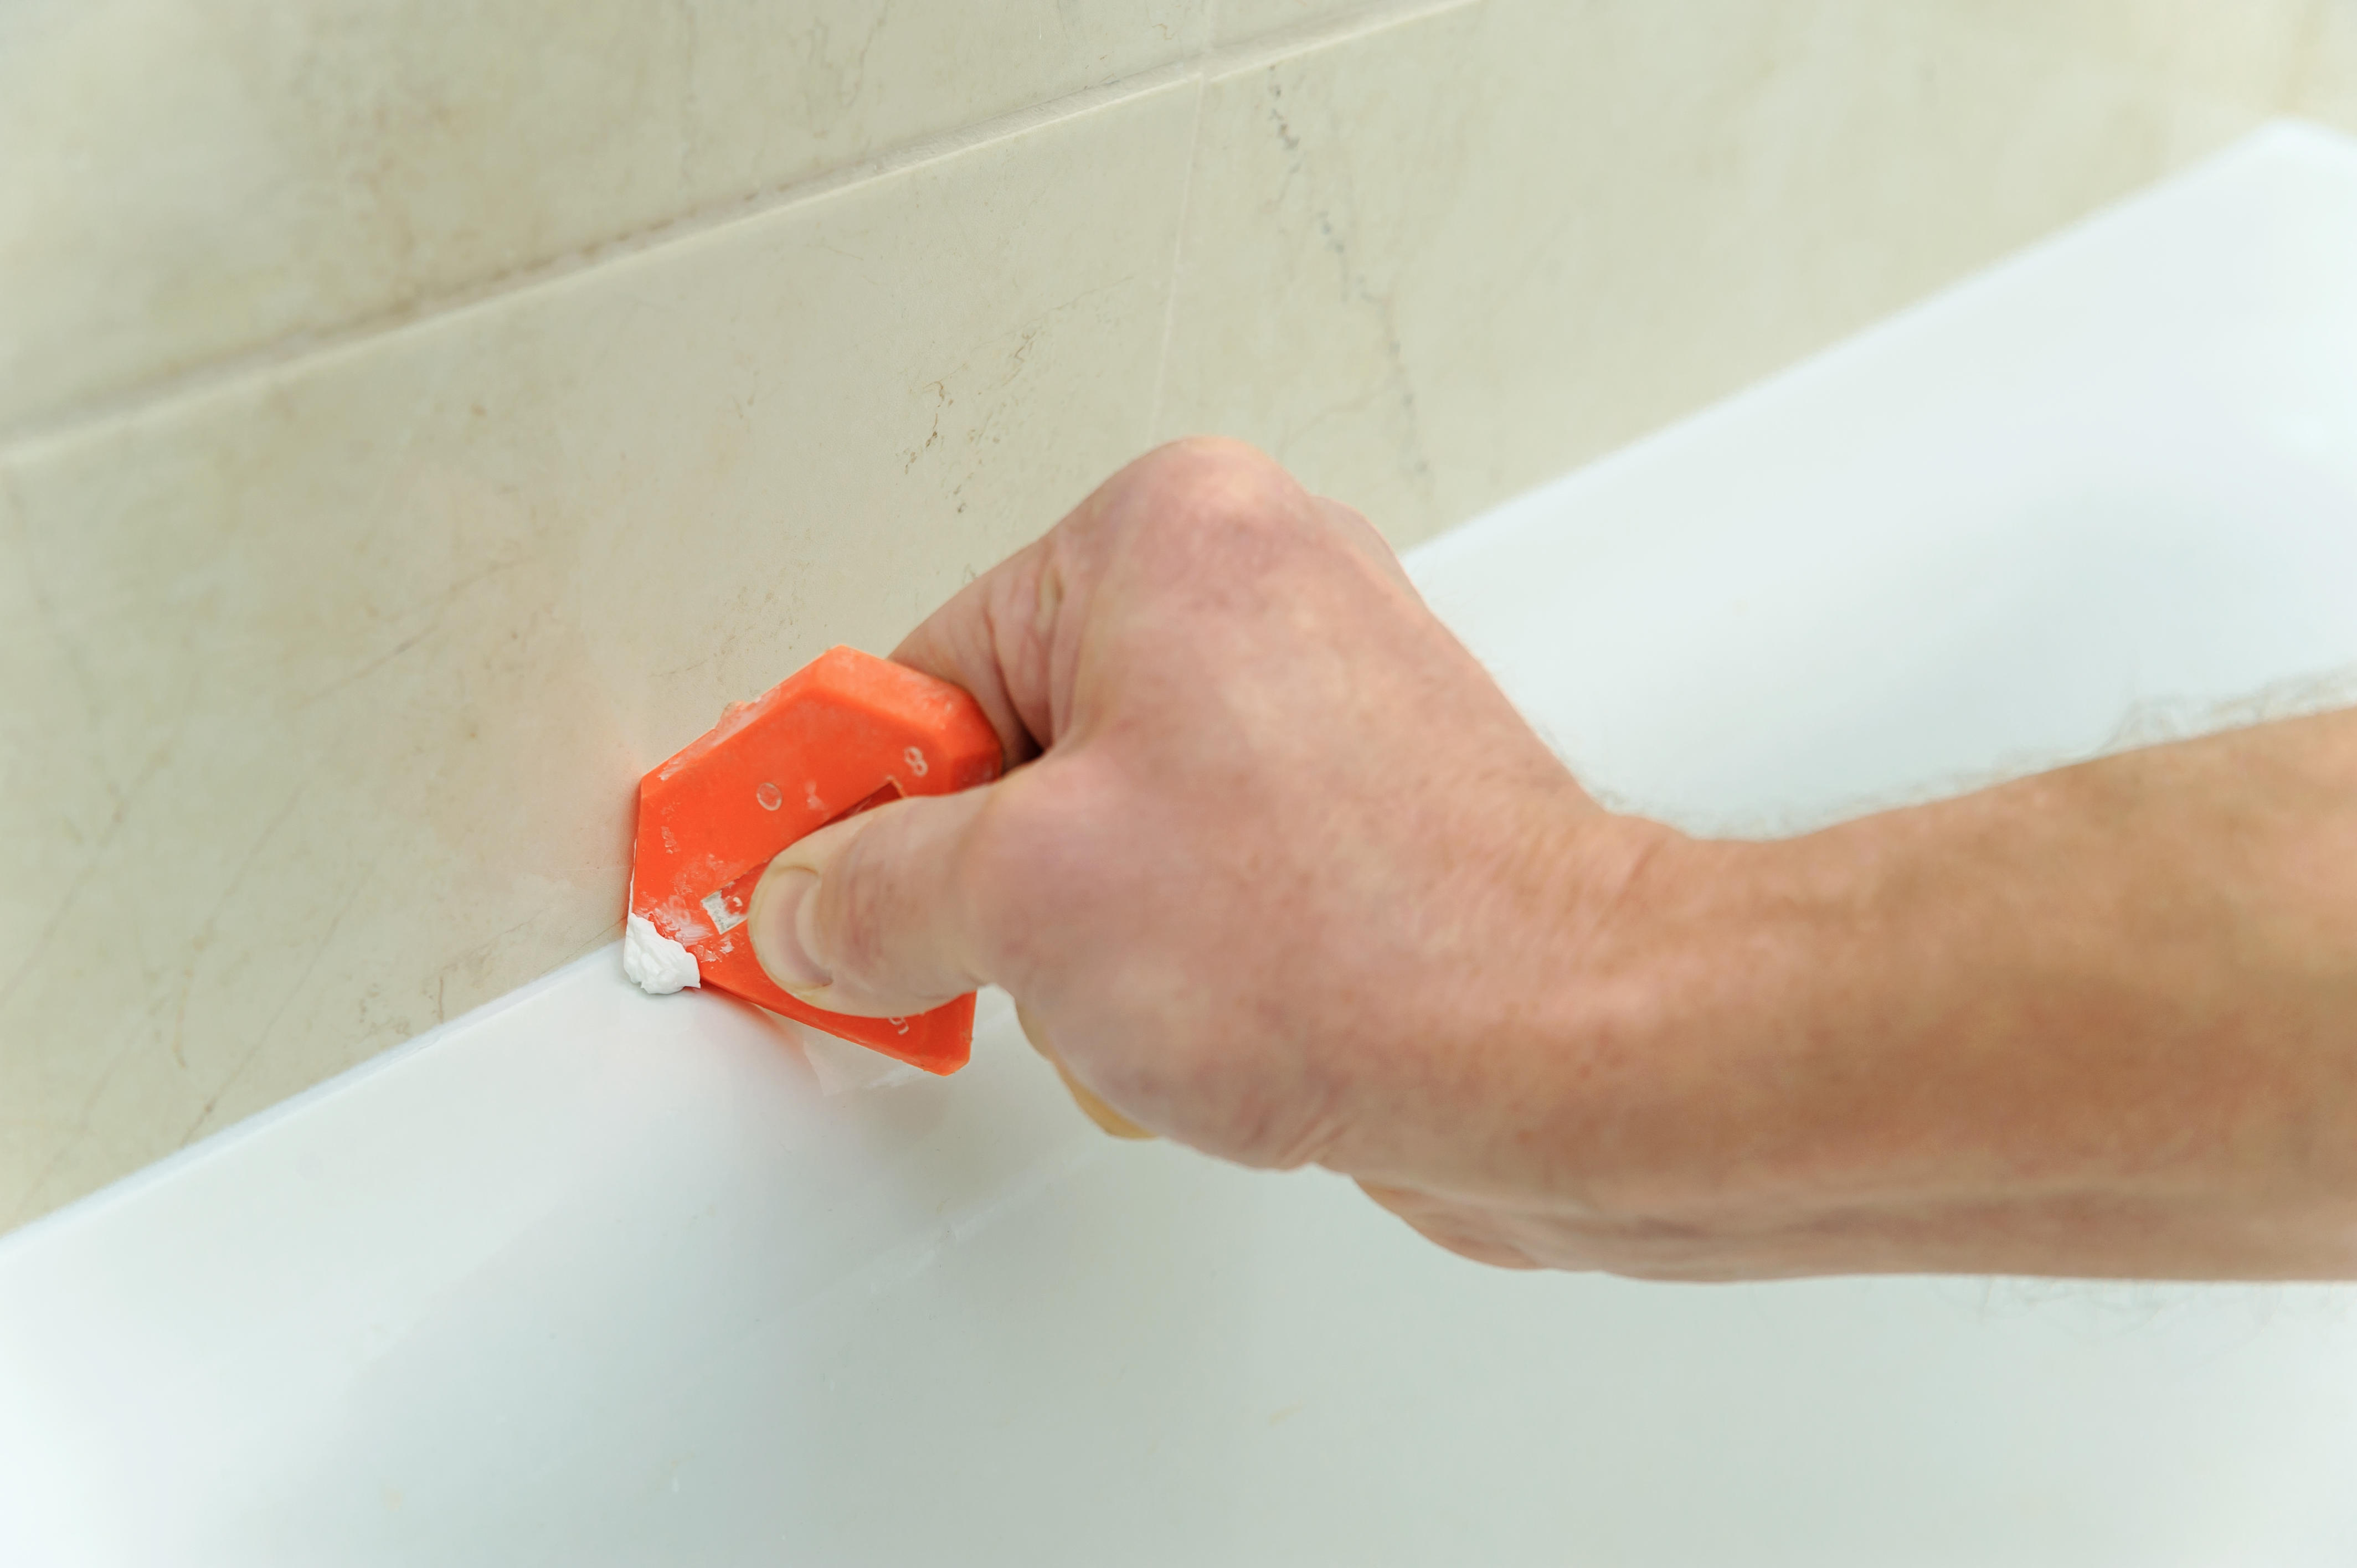
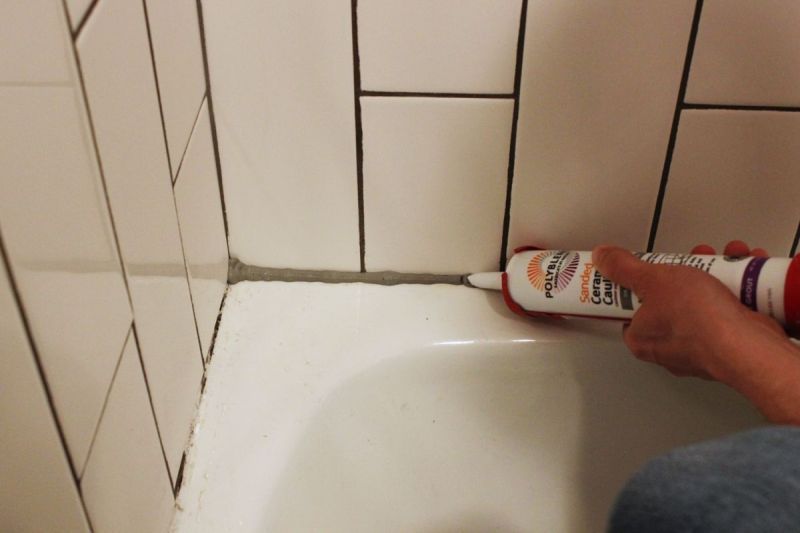
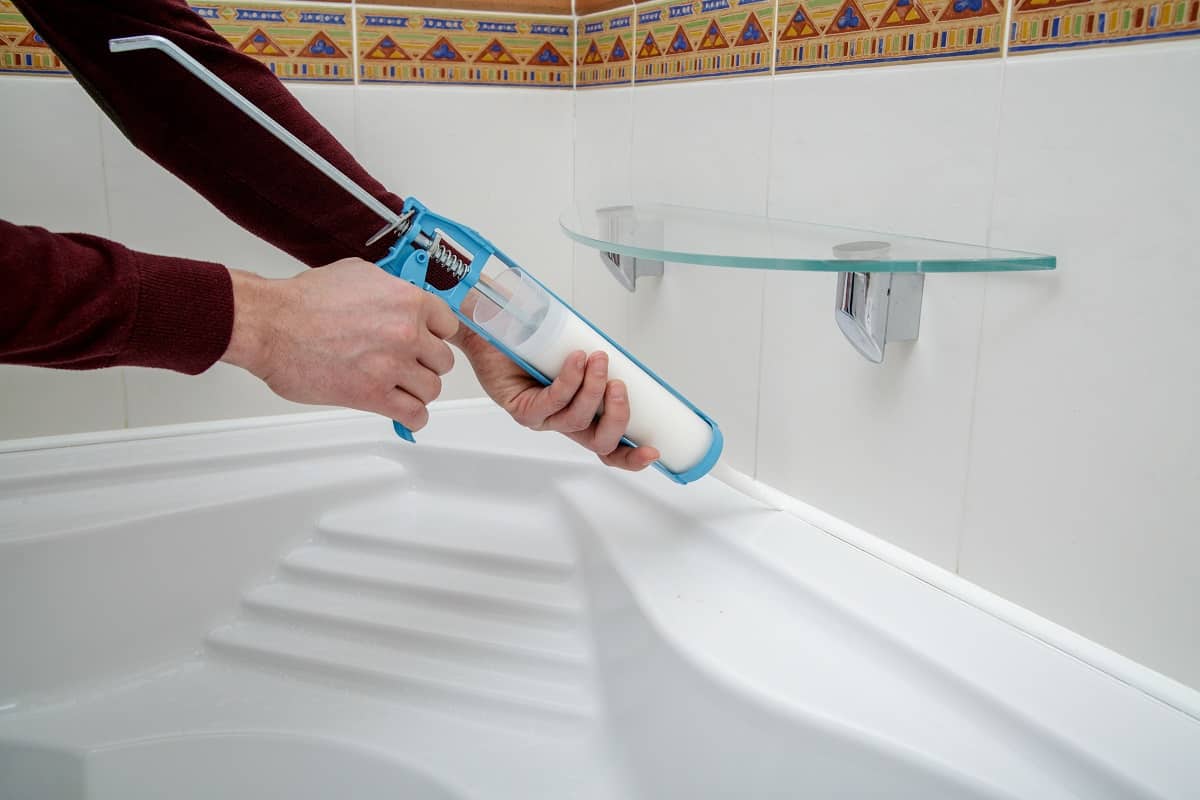
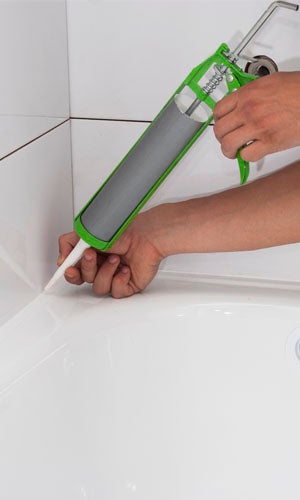
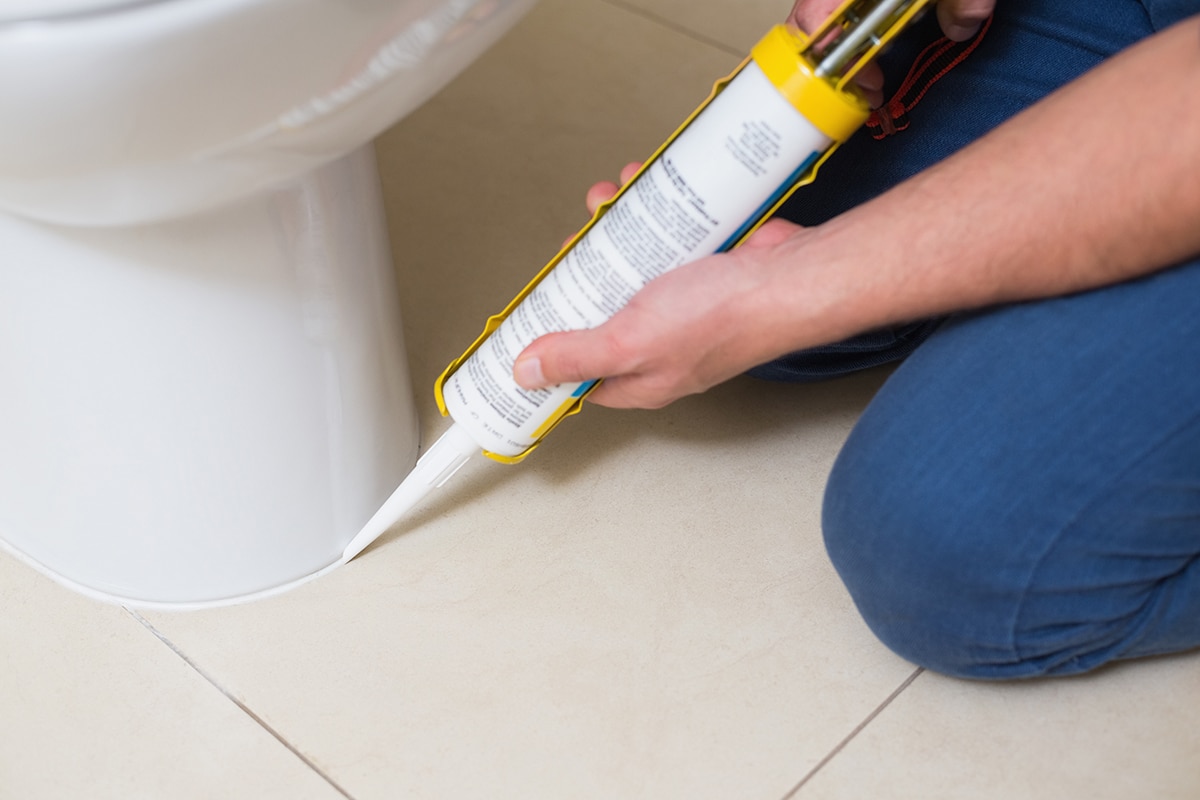
To achieve a professional-looking finish, it's important to follow a few tips. First, make sure to cut the tip of the caulk tube at a 45-degree angle for a smooth application. Also, don't apply too much pressure on the caulk gun as it can result in an uneven line. Finally, run your finger along the caulk line to smooth it out and remove any excess. 4. Tips for caulking around bathroom sink


Step-by-step guide for caulking around bathroom sink


Step 1: Clean the area around the sink with a mild cleaner and a damp cloth. Step 2: Use painter's tape to create a clean edge around the sink. Step 3: Cut the tip of the caulk tube at a 45-degree angle. Step 4: Apply a thin, even line of caulk around the edge of the sink. Step 5: Use your finger or a putty knife to smooth out the caulk line and remove any excess. Step 6: Remove the painter's tape immediately after smoothing out the caulk. 5. Step-by-step guide for caulking around bathroom sink


Common mistakes when caulking around bathroom sink


One of the most common mistakes when caulking around a bathroom sink is not properly cleaning the area beforehand. This can result in the caulk not adhering properly and causing it to peel or crack. Another mistake is not using enough caulk, which can result in gaps and water leakage. Make sure to follow the instructions on the caulk tube for the appropriate amount to use. 6. Common mistakes when caulking around bathroom sink


How to remove old caulk from bathroom sink
:max_bytes(150000):strip_icc()/how-to-remove-old-caulk-1824827-01-3d0370c59e124dbbaa6560c68bab111c.jpg)

:max_bytes(150000):strip_icc()/how-to-remove-old-caulk-1824827-hero-4863fcf5169e426da8f822429ed46301.jpg?strip=all)


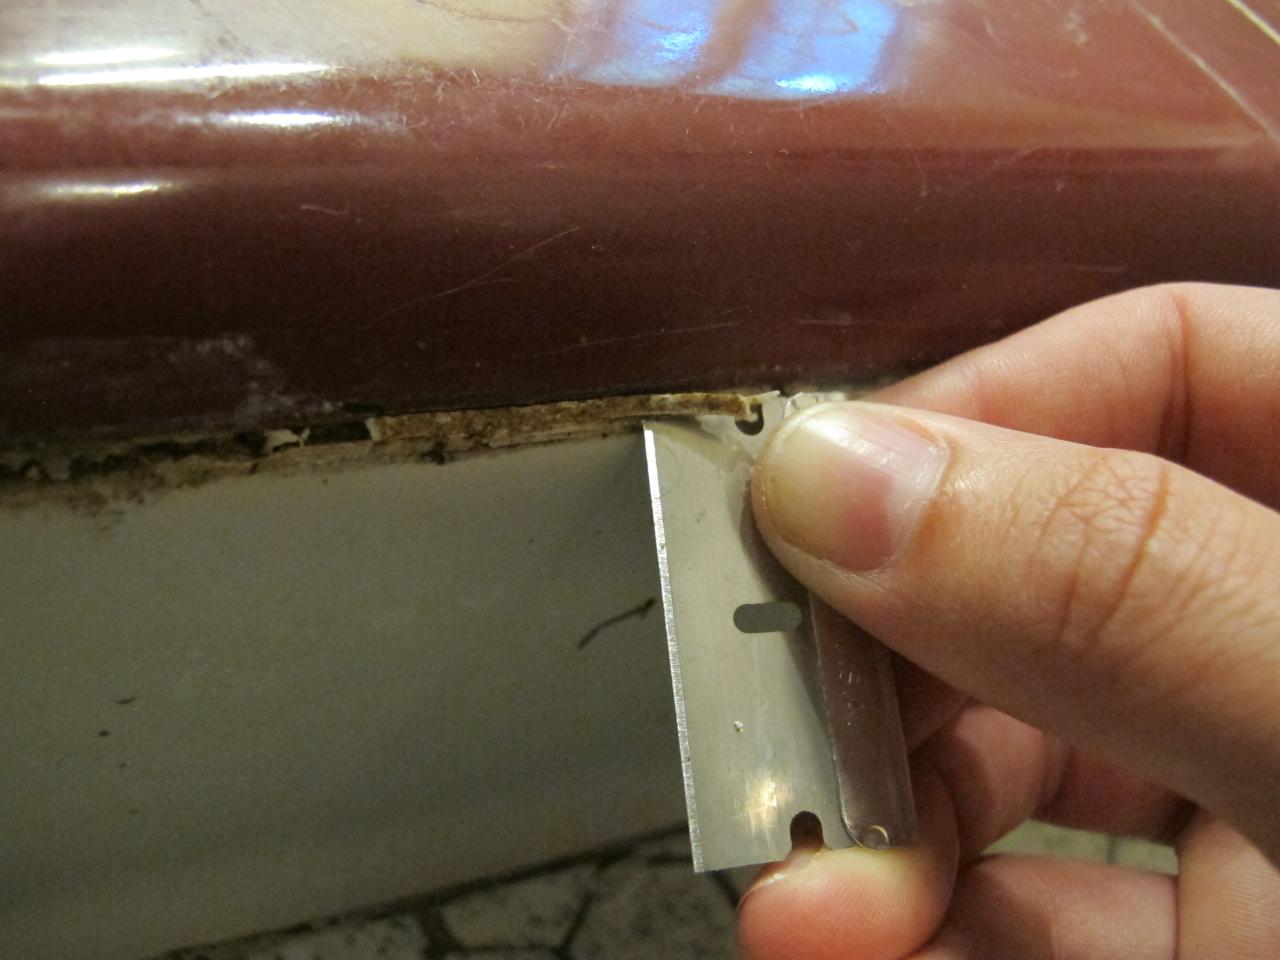

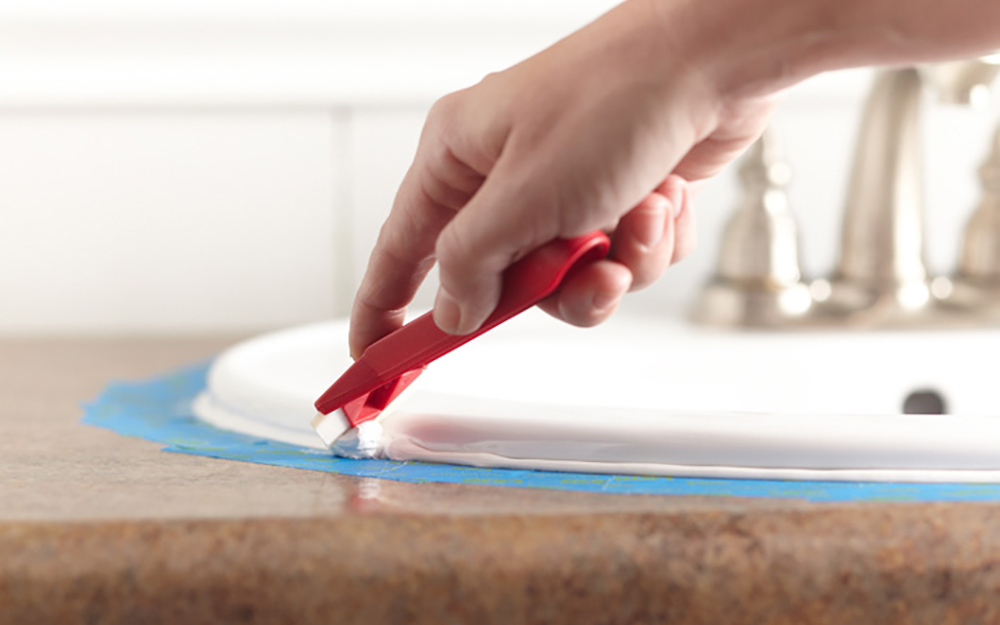
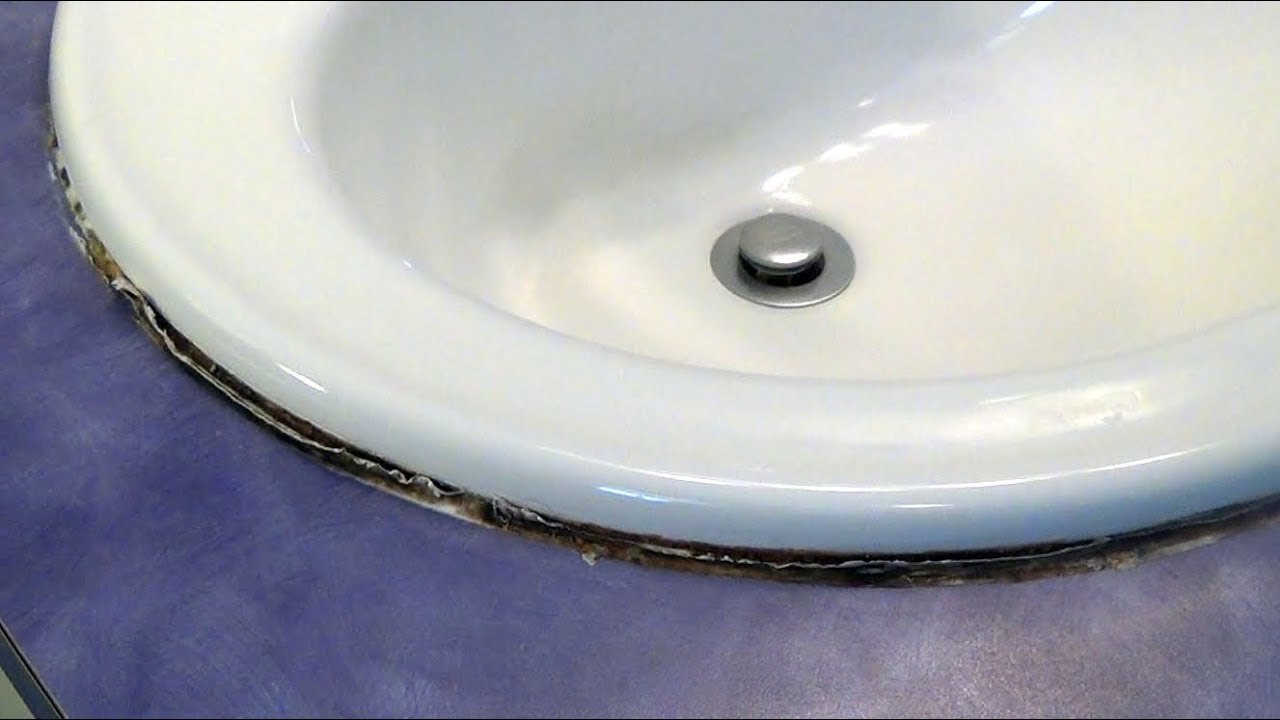
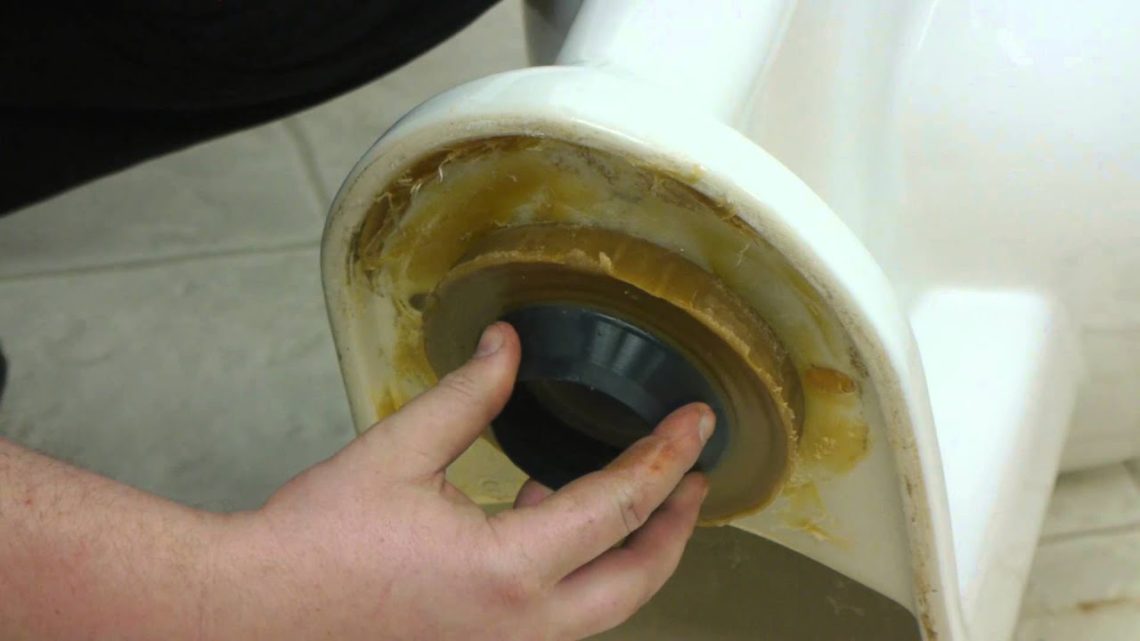
If you're re-caulking your bathroom sink, it's important to remove the old caulk first. You can use a caulk removal tool or a sharp utility knife to carefully scrape away the old caulk. Then, clean the area with a mild cleaner and a damp cloth before applying the new caulk. 7. How to remove old caulk from bathroom sink


Waterproof caulk for bathroom sink

As mentioned earlier, silicone caulk is the best choice for a waterproof seal around a bathroom sink. It is resistant to water, mold, and mildew, making it the ideal choice for a damp environment. Make sure to look for a caulk that specifically states it is waterproof on the packaging. 8. Waterproof caulk for bathroom sink
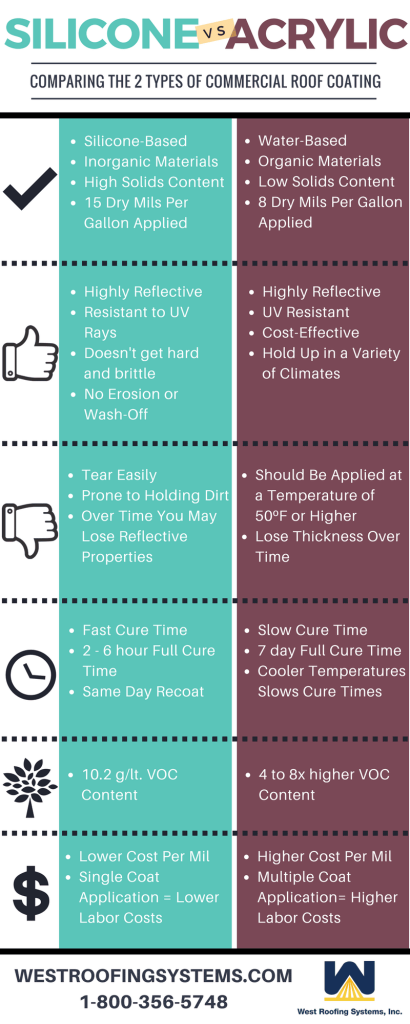


Silicone vs. acrylic caulk for bathroom sink
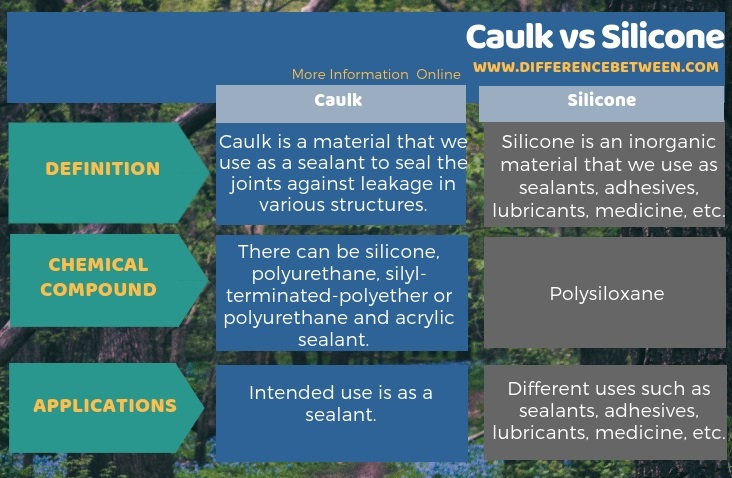

Both silicone and acrylic caulk have their benefits, but it ultimately depends on the type of sink you have. As mentioned earlier, silicone caulk is best for non-porous surfaces, while acrylic caulk is better for porous surfaces. Silicone caulk is also more flexible, making it a better choice for areas that may experience movement. 9. Silicone vs. acrylic caulk for bathroom sink

How often should you caulk around bathroom sink
Why Calking Around the Bathroom Sink is Essential for a Well-Designed House
 When it comes to designing a house, attention to detail is key. Every element, big or small, needs to be carefully considered in order to create a cohesive and functional space. One area that often gets overlooked is the bathroom sink. While it may seem like a minor detail, the calking around the bathroom sink plays a crucial role in both the aesthetic and functionality of the space.
The Importance of Proper Calking
 Calking is the process of filling in gaps and joints with a waterproof sealant in order to prevent water and moisture from seeping in. In the bathroom, this is especially important as it is a high-moisture area. Without proper calking, water can seep into the walls and floors, causing damage and potentially leading to mold and mildew growth. This not only affects the structural integrity of your house but also poses health risks to you and your family.
Aesthetic Appeal
 Aside from its practical purposes, calking also plays a significant role in the overall look of your bathroom. The right calking can enhance the appearance of your sink and create a clean and polished finish. On the other hand, old or poorly done calking can be unsightly and diminish the overall design of your bathroom.
DIY or Hire a Professional?
 While calking may seem like a simple task, it requires precision and skill to achieve the desired results. For those with experience and the right tools, DIY calking can be a cost-effective option. However, if you're not confident in your abilities, it's best to hire a professional to ensure the job is done correctly. Improper calking can lead to leaks and water damage, which can end up costing you more in the long run.
Conclusion
 In conclusion, calking around the bathroom sink is an essential step in creating a well-designed house. Not only does it protect your home from water damage, but it also adds to the aesthetic appeal of your bathroom. Whether you choose to tackle this task yourself or hire a professional, proper calking is crucial for a functional and visually pleasing bathroom. Don't overlook this important detail in your house design and ensure that your bathroom sink is properly calked for a beautiful and functional space.