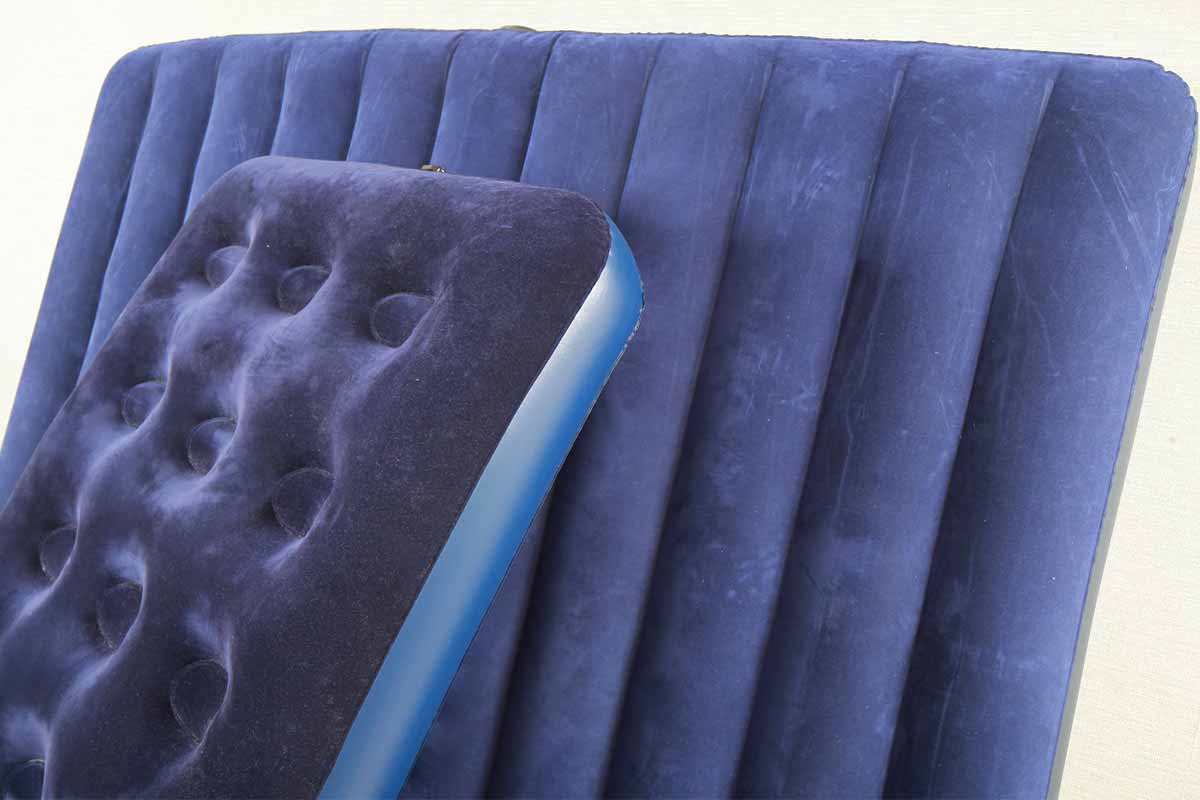
Discovering a bubble in your air mattress can be a frustrating experience, especially if you were planning on using it for a camping trip or for guests staying over. However, it is a common issue that can be easily fixed with the right tools and techniques. In this article, we will guide you through the steps of fixing a bubble in an air mattress and also provide tips on how to prevent them from occurring in the future.How to Fix a Bubble in an Air Mattress


How to Fix a Bubble in an Air Mattress


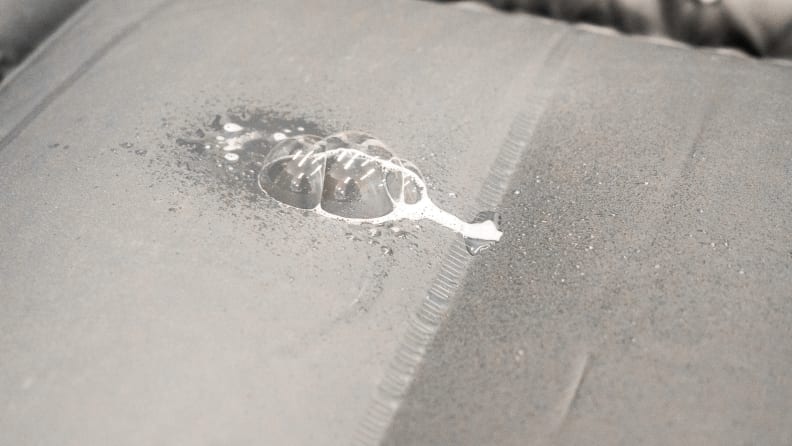
The first step to fixing a bubble in an air mattress is to locate the source of the problem. Inspect the mattress carefully and look for any visible tears or holes. If the bubble is caused by a hole, you can easily patch it up using a repair kit specifically designed for air mattresses. These kits usually come with adhesive patches and instructions on how to use them. If the bubble is caused by a leak in the seam or valve, the repair process may be a bit more complicated. In this case, you will need to deflate the mattress completely and clean the area around the leak with rubbing alcohol. Next, apply a generous amount of adhesive to the damaged area and press it firmly against the mattress. Allow the adhesive to dry completely before inflating the mattress again.How to Repair a Bubble in an Air Mattress


How to Repair a Bubble in an Air Mattress


If you do not have a repair kit on hand, you can still fix a bubble in your air mattress using household items. One common method is to use a bike tire repair kit, which usually includes patches and glue that can be used to fix holes in the mattress. Simply follow the instructions on the kit to patch up the bubble. Another DIY solution is to use duct tape to cover the bubble. While this may not be the most aesthetically pleasing option, it can provide a temporary fix until you can purchase a proper repair kit.DIY Fix for a Bubble in an Air Mattress


DIY Fix for a Bubble in an Air Mattress


For a quick and easy solution, you can use a hot glue gun to fix a bubble in your air mattress. Simply deflate the mattress and apply a small amount of hot glue to the bubble. Use a piece of scrap fabric or paper to press the glue down and allow it to dry completely before inflating the mattress again. Another option is to use a vinyl repair adhesive, which is specifically designed for repairing air mattresses. Apply a small amount of the adhesive to the bubble and use a piece of plastic wrap to press it down. Allow it to dry completely before inflating the mattress.Quick and Easy Solution for a Bubble in an Air Mattress

Quick and Easy Solution for a Bubble in an Air Mattress


While fixing a bubble in an air mattress is relatively simple, it is always better to prevent them from occurring in the first place. Here are some tips to help you avoid bubbles in your air mattress: 1. Proper Inflation: Over-inflating your air mattress can put additional strain on the seams and cause bubbles to form. Be sure to follow the manufacturer's instructions for proper inflation. 2. Avoid Sharp Objects: Keep your air mattress away from sharp objects that can puncture or tear the material. This includes rocks, branches, and even zippers on your clothes or sleeping bag. 3. Use a Protective Cover: If you are using your air mattress for camping, consider using a protective cover or tarp underneath to prevent any damage from the ground. 4. Proper Storage: When not in use, store your air mattress in a dry and cool place. Avoid storing it in direct sunlight or extreme temperatures, as this can weaken the material and cause bubbles to form.Preventing Bubbles in Your Air Mattress


Preventing Bubbles in Your Air Mattress


Now that you know how to fix and prevent bubbles in your air mattress, let's take a look at some of the common causes: 1. Age: Over time, the material of your air mattress can become worn and weakened, making it more susceptible to bubbles and leaks. 2. Poor Quality Material: Investing in a high-quality air mattress can greatly reduce the chances of bubbles forming. Cheaper materials are more prone to tearing and punctures. 3. Rough Handling: If you are constantly dragging or pulling your air mattress, it can cause strain on the seams and lead to bubbles and leaks. 4. Overloading: Be sure not to exceed the weight limit of your air mattress. Overloading can put excessive pressure on the material and cause it to weaken.Common Causes of Bubbles in Air Mattresses


Common Causes of Bubbles in Air Mattresses


:max_bytes(150000):strip_icc()/home-water-pressure-problems-2718730-v4-3639a1eeda0945239e64b0fe6b6d3401.gif)


If you are in need of a repair kit for your air mattress, here are some of the best products available: 1. Coleman Air Mattress Repair Kit: This kit includes adhesive patches and a tube of glue specifically designed for repairing air mattresses. 2. Tear-Aid Vinyl Repair Kit: This kit is great for repairing small holes and tears in your air mattress. It is also waterproof and can be used on a variety of materials. 3. Intex Vinyl Repair Kit: This kit includes adhesive patches and a tube of glue, as well as a patch for repairing larger tears or holes.Best Products for Fixing a Bubble in an Air Mattress


Best Products for Fixing a Bubble in an Air Mattress

To ensure a successful repair, here are some expert tips to keep in mind: 1. Test for Leaks: Before attempting to fix the bubble, inflate the mattress and spray it with soapy water. If you see bubbles forming, it means there is a leak that needs to be fixed first. 2. Use Sandpaper: If the surface of your air mattress is too smooth, the adhesive may not stick properly. Use sandpaper to roughen up the surface before applying the adhesive. 3. Inflate and Deflate Slowly: When inflating and deflating your air mattress, do it slowly and evenly. This can help prevent strain on the seams and reduce the chances of bubbles forming.Expert Tips for Fixing a Bubble in an Air Mattress

Expert Tips for Fixing a Bubble in an Air Mattress

If you are using a patch to fix the bubble in your air mattress, here are the steps to follow: 1. Clean the Area: Deflate the mattress and clean the area around the bubble with rubbing alcohol. This will ensure proper adhesion for the patch. 2. Apply the Patch: Remove the backing from the patch and apply it to the bubble, pressing down firmly to ensure it sticks. 3. Allow it to Dry: Give the patch enough time to dry completely before inflating the mattress again. This can take anywhere from 24-48 hours.How to Patch a Bubble in an Air Mattress

How to Patch a Bubble in an Air Mattress


Proper maintenance can greatly extend the lifespan of your air mattress and prevent bubbles from forming. Here are some maintenance tips to keep in mind: 1. Clean Regularly: Be sure to clean your air mattress regularly to remove any dirt or debris that can weaken the material. 2. Check for Leaks: Every time you use your air mattress, be sure to check for leaks and patch them up immediately to prevent them from getting bigger. 3. Store Properly: When not in use, be sure to store your air mattress in a dry and cool place. Avoid storing it in direct sunlight or extreme temperatures, as this can weaken the material. 4. Be Gentle: Avoid dragging or pulling your air mattress, as this can cause strain on the seams and lead to bubbles and leaks. With these tips and tricks, you should now be able to easily fix and prevent bubbles in your air mattress. Remember to always follow the manufacturer's instructions and use high-quality materials for the best results.Avoiding Bubbles in Your Air Mattress: Maintenance Tips


Avoiding Bubbles in Your Air Mattress: Maintenance Tips


The Importance of Choosing the Right Air Mattress for Your Home
Creating a Comfortable and Functional Living Space
 When it comes to designing your home, every detail matters. From the color of the walls to the style of furniture, each element contributes to the overall look and feel of your living space. One often overlooked aspect of home design is the
air mattress
. While it may seem like a small and insignificant piece of furniture, choosing the right one can make a big difference in the comfort and functionality of your home.
When it comes to designing your home, every detail matters. From the color of the walls to the style of furniture, each element contributes to the overall look and feel of your living space. One often overlooked aspect of home design is the
air mattress
. While it may seem like a small and insignificant piece of furniture, choosing the right one can make a big difference in the comfort and functionality of your home.
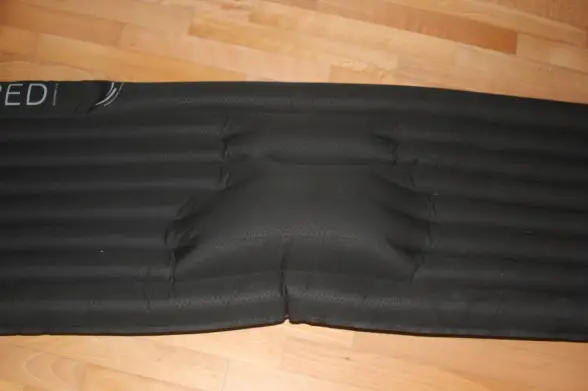
The Problem with Bubbles in Air Mattresses
 One common issue that many people face with air mattresses is the formation of bubbles. These pockets of air can make the mattress uncomfortable to sleep on and can even lead to deflation over time. This problem is often caused by uneven distribution of air within the mattress, which can occur when it is not properly inflated or when it is placed on an uneven surface.
How to Prevent Bubbles in Your Air Mattress
 The good news is that there are steps you can take to prevent bubbles from forming in your air mattress. First and foremost, it is important to properly inflate the mattress. This means using a pump and following the manufacturer's instructions for the recommended level of inflation. Additionally, make sure to place the mattress on a flat and even surface to ensure equal distribution of air.
Another important factor to consider is the quality of the
air mattress
you choose. Investing in a high-quality mattress made from durable materials can greatly reduce the chances of bubbles forming. Look for features such as reinforced seams and puncture-resistant materials to ensure longevity and prevent air leakage.
The good news is that there are steps you can take to prevent bubbles from forming in your air mattress. First and foremost, it is important to properly inflate the mattress. This means using a pump and following the manufacturer's instructions for the recommended level of inflation. Additionally, make sure to place the mattress on a flat and even surface to ensure equal distribution of air.
Another important factor to consider is the quality of the
air mattress
you choose. Investing in a high-quality mattress made from durable materials can greatly reduce the chances of bubbles forming. Look for features such as reinforced seams and puncture-resistant materials to ensure longevity and prevent air leakage.
Choosing the Right Air Mattress for Your Needs
 When selecting an air mattress, it is important to consider your specific needs and preferences. Do you need a mattress for occasional guests or for everyday use? Will it be used indoors or outdoors? These factors can help you determine the type and size of mattress that will best suit your needs.
Additionally, consider the level of comfort you desire. Some air mattresses come with built-in pumps and adjustable firmness settings, while others may have additional features such as plush pillow tops. Take the time to research and read reviews to find the best option for your comfort and budget.
In conclusion, the
bubble in air mattress
may seem like a minor inconvenience, but it can greatly impact the comfort and functionality of your home. By properly inflating and placing your air mattress on a flat surface, as well as investing in a high-quality and suitable option, you can prevent bubbles from forming and enjoy a comfortable and refreshing night's sleep. So next time you are considering an air mattress for your home, remember the importance of choosing the right one.
When selecting an air mattress, it is important to consider your specific needs and preferences. Do you need a mattress for occasional guests or for everyday use? Will it be used indoors or outdoors? These factors can help you determine the type and size of mattress that will best suit your needs.
Additionally, consider the level of comfort you desire. Some air mattresses come with built-in pumps and adjustable firmness settings, while others may have additional features such as plush pillow tops. Take the time to research and read reviews to find the best option for your comfort and budget.
In conclusion, the
bubble in air mattress
may seem like a minor inconvenience, but it can greatly impact the comfort and functionality of your home. By properly inflating and placing your air mattress on a flat surface, as well as investing in a high-quality and suitable option, you can prevent bubbles from forming and enjoy a comfortable and refreshing night's sleep. So next time you are considering an air mattress for your home, remember the importance of choosing the right one.