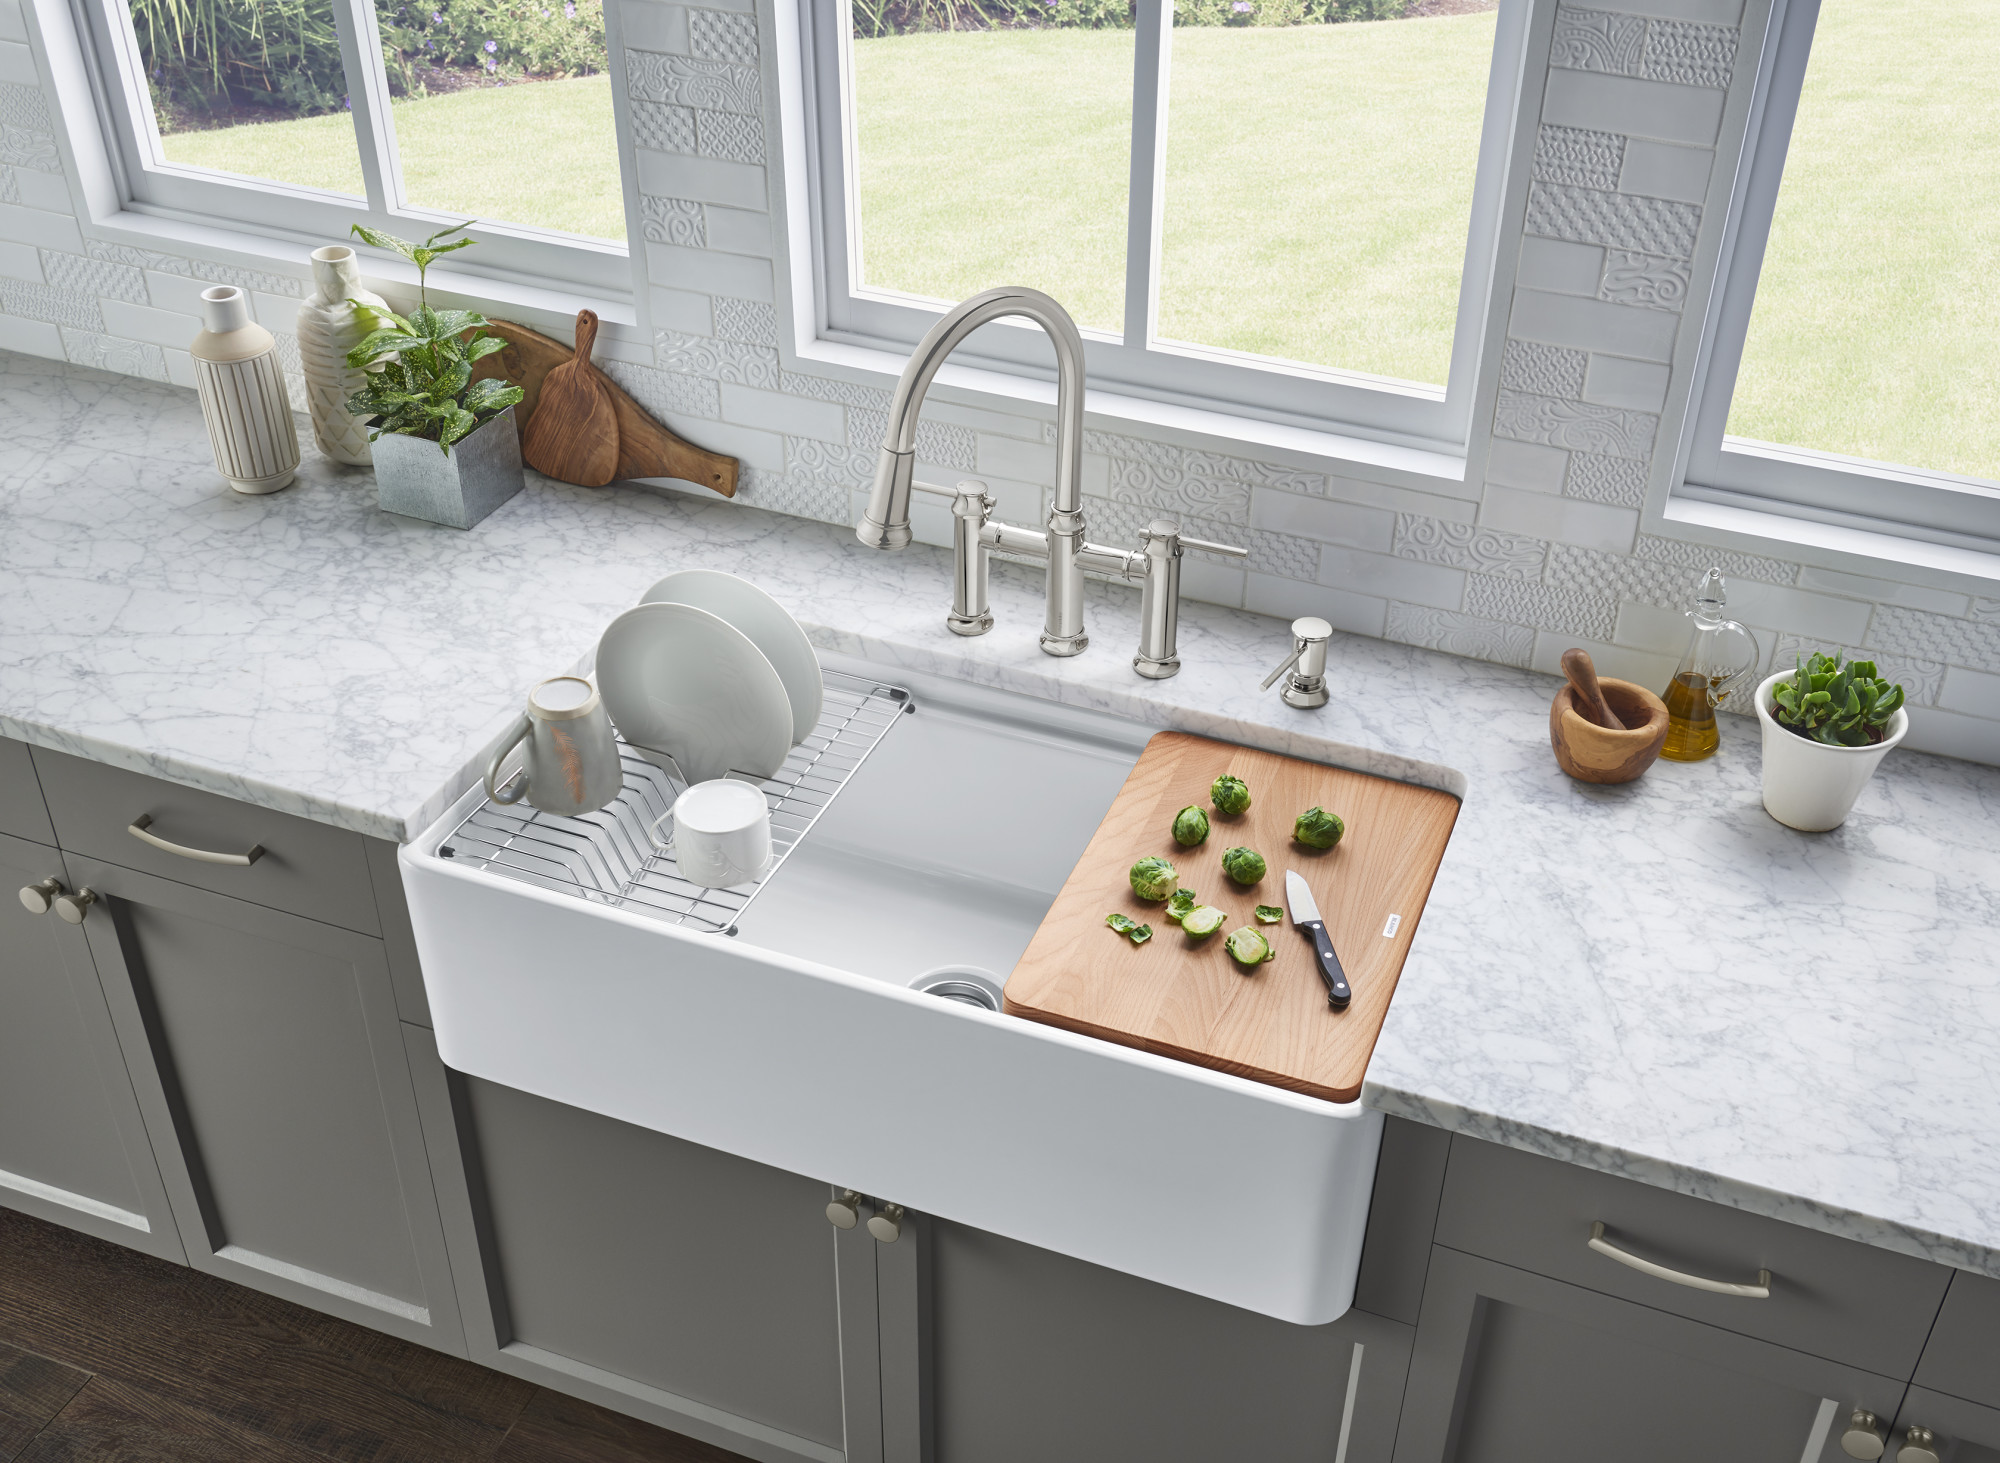
If you're planning to remodel your kitchen, one of the important tasks you'll need to tackle is installing a new sink. The sink is an essential part of any kitchen, and a good quality sink can make your life a lot easier. When it comes to kitchen sinks, Blanco is a well-known and trusted brand that offers a variety of options to suit your needs and preferences. In this article, we will guide you through the process of installing a Blanco kitchen sink drain, so you can have a smooth and hassle-free experience.Blanco Kitchen Sink Drain Installation: A Necessary Step in Your Kitchen Renovation
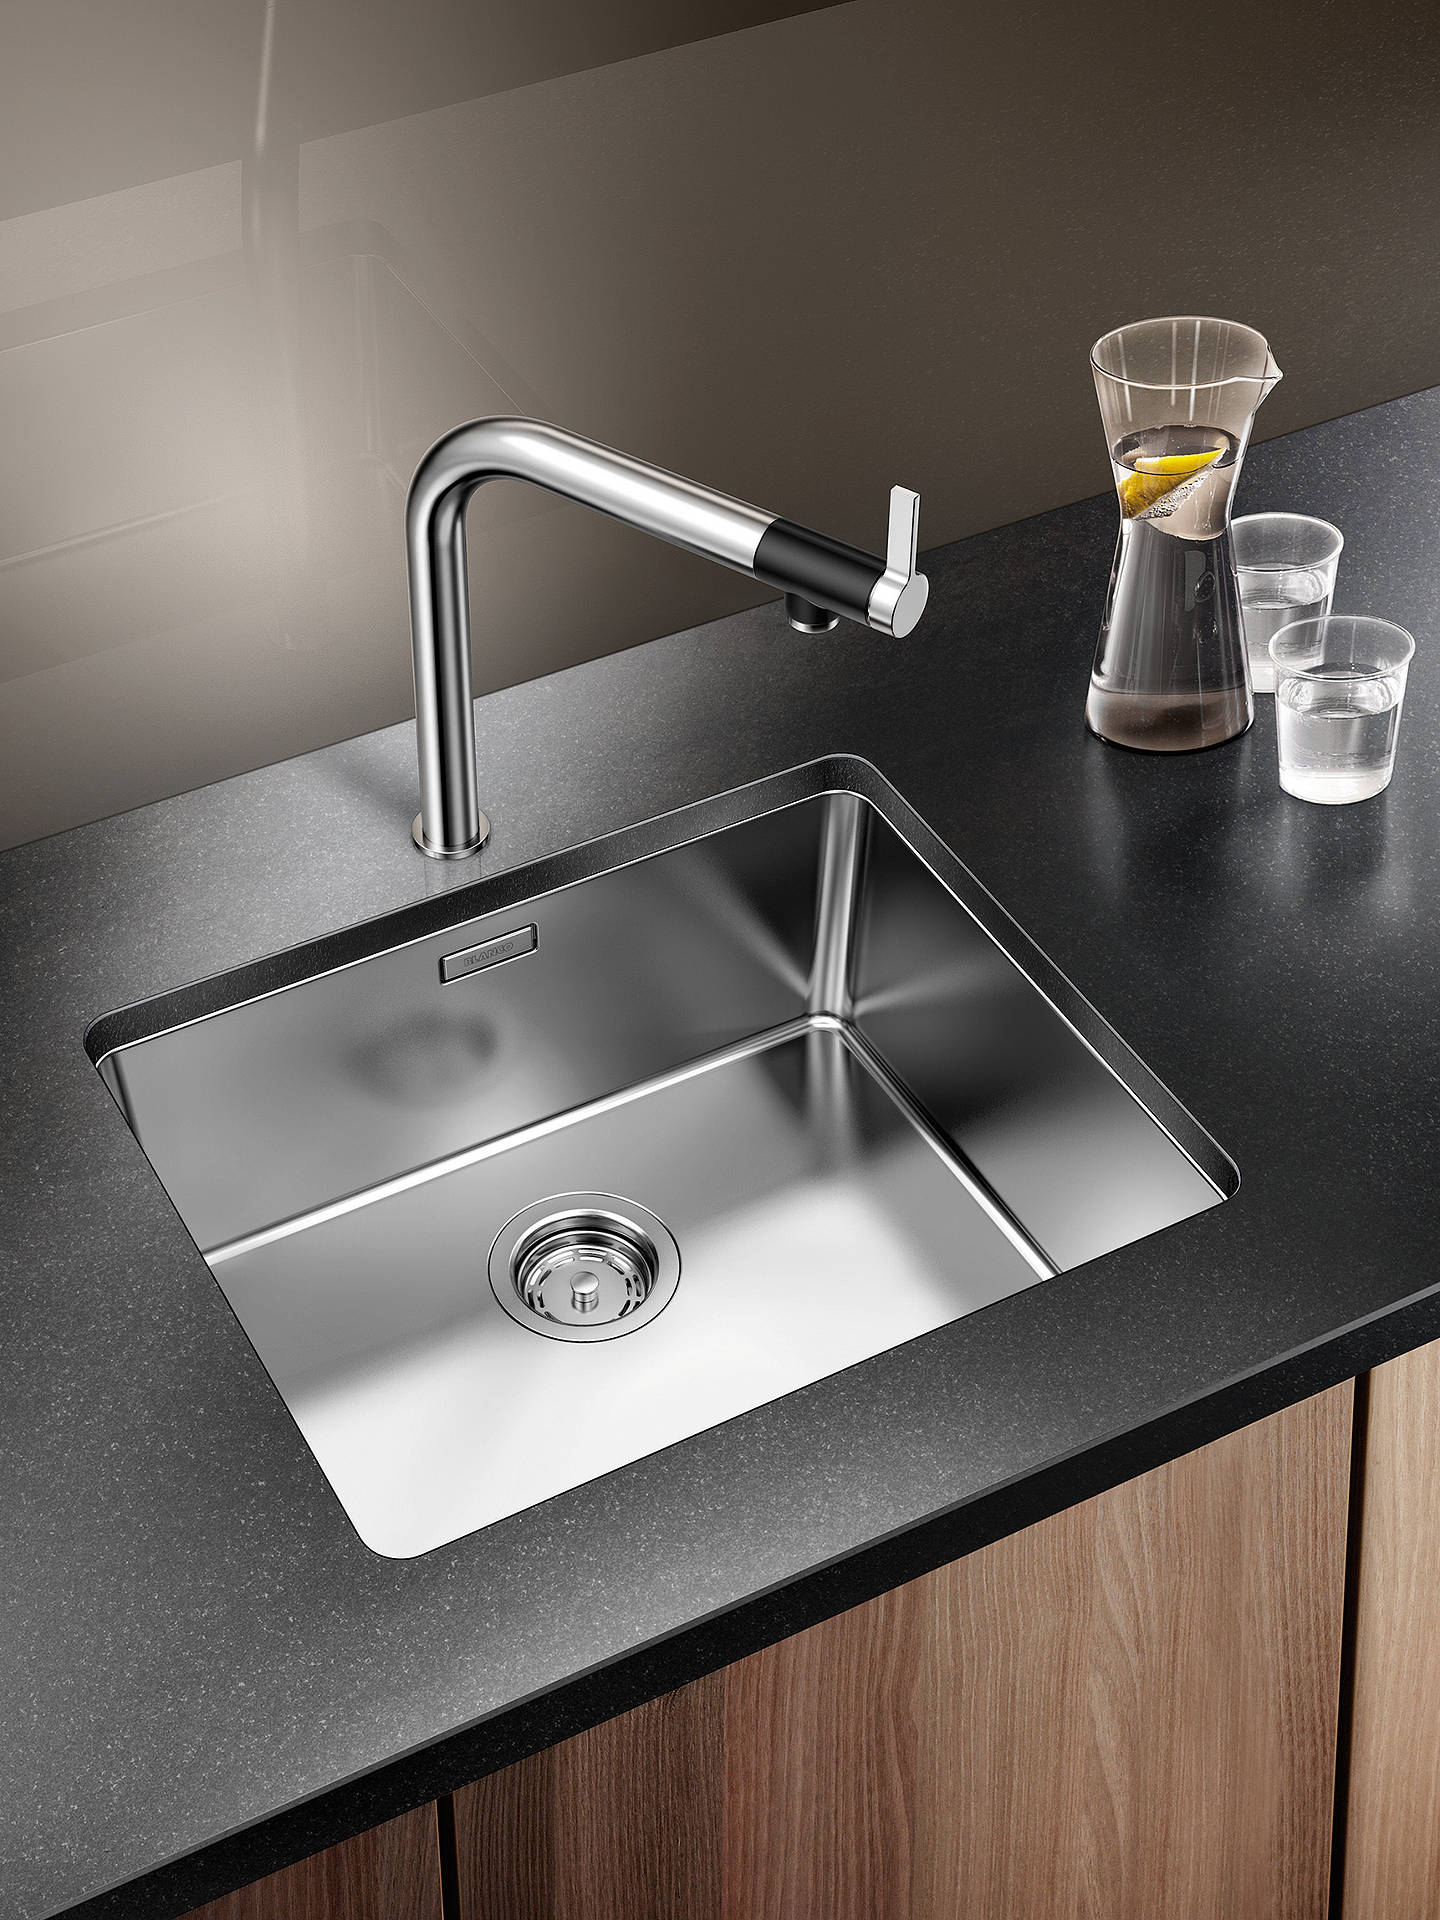


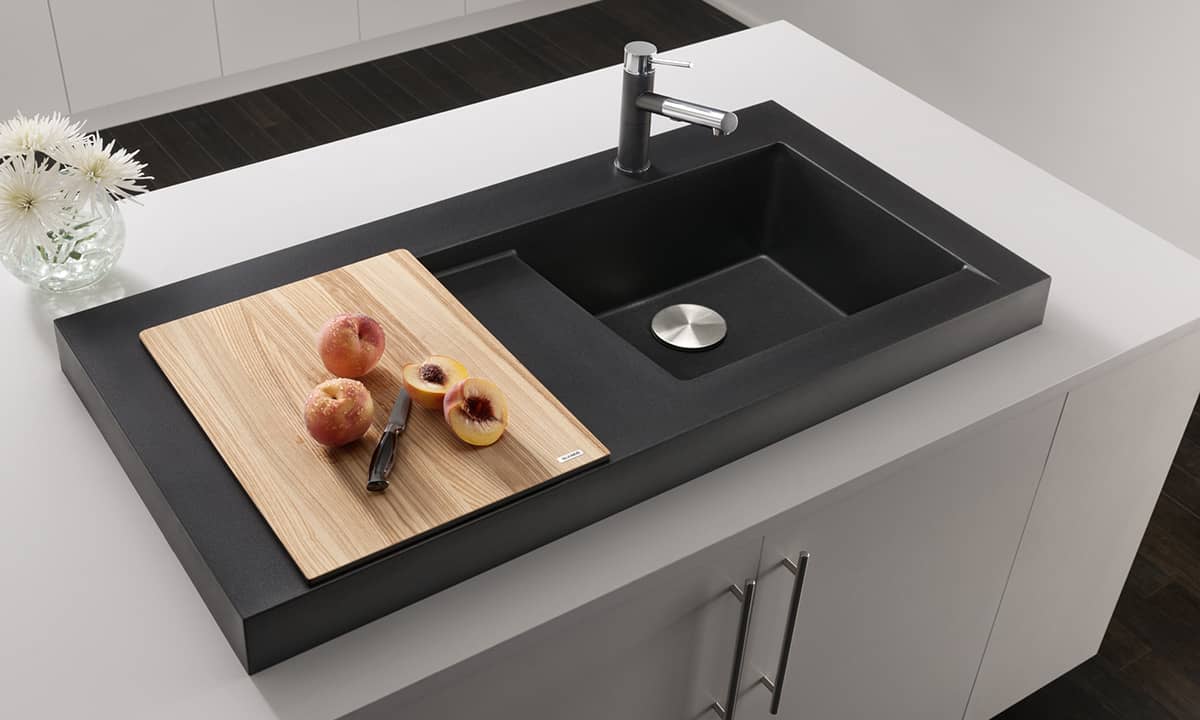
Blanco Kitchen Sink Drain Installation

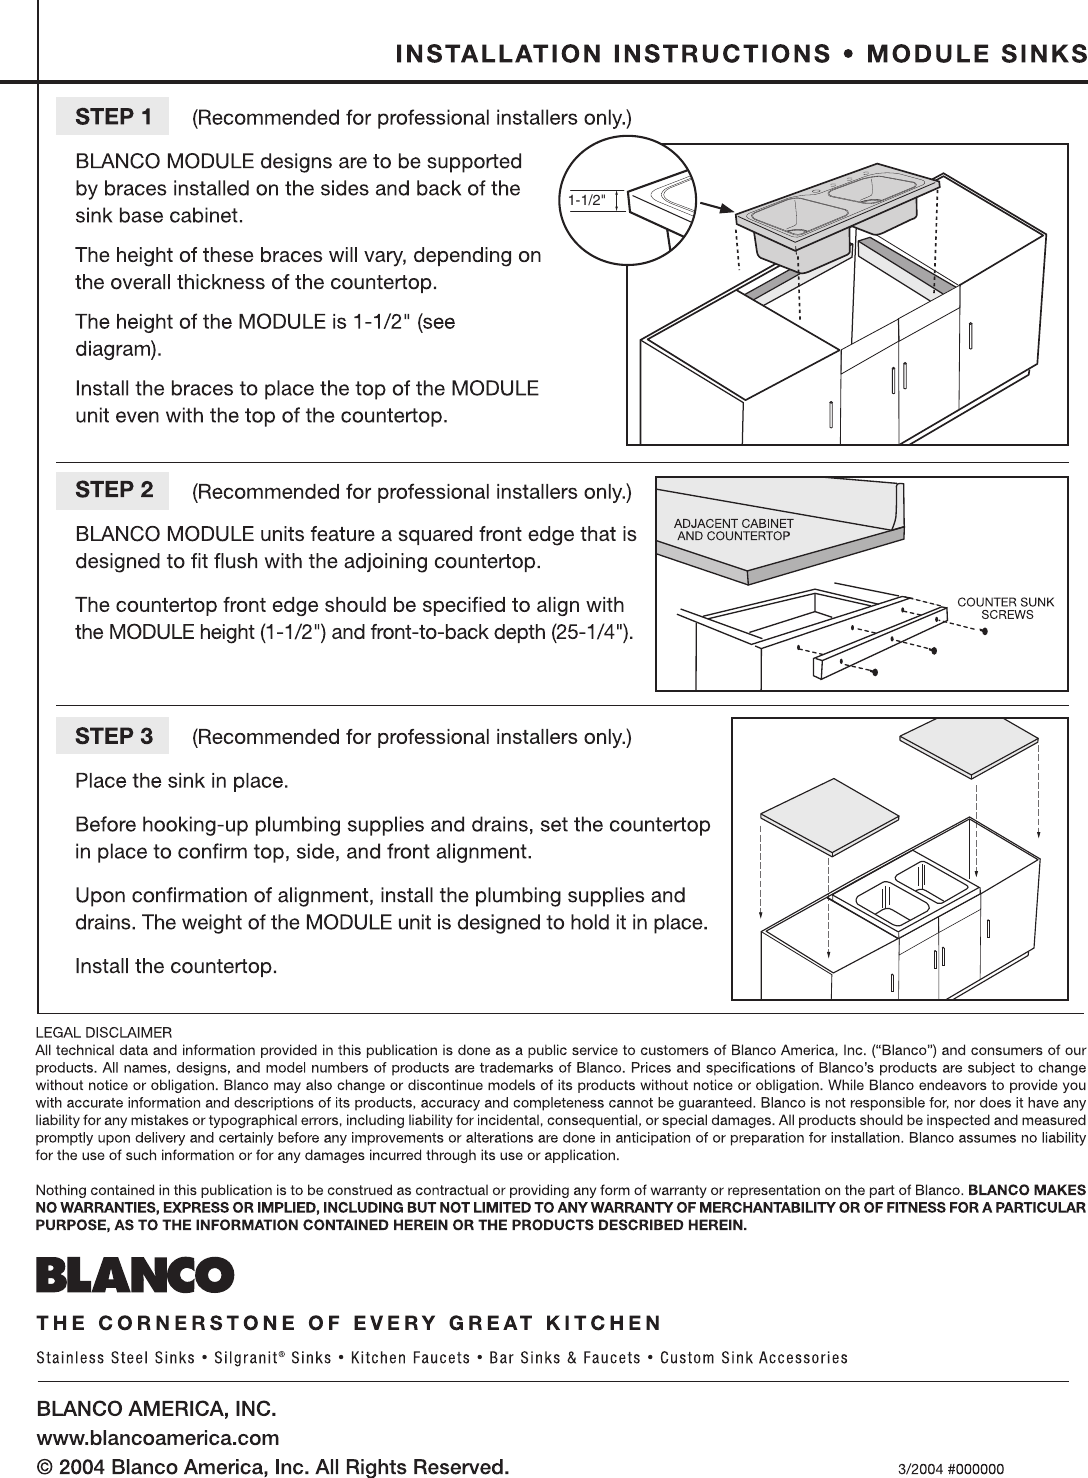
Installing a Blanco kitchen sink drain may seem like a daunting task, but with the right tools and instructions, you can do it yourself in no time. Here's a step-by-step guide to help you get started:How to Install a Blanco Kitchen Sink Drain in 5 Easy Steps


How to Install a Blanco Kitchen Sink Drain

:max_bytes(150000):strip_icc()/how-to-install-a-sink-drain-2718789-hero-24e898006ed94c9593a2a268b57989a3.jpg)

/how-to-install-a-sink-drain-2718789-hero-b5b99f72b5a24bb2ae8364e60539cece.jpg)
The first step in any project is to gather all the necessary tools and materials. For installing a Blanco kitchen sink drain, you will need a screwdriver, a wrench, plumber's putty, silicone sealant, and the installation kit that comes with the sink. Make sure you have all these tools handy before you begin.Step 1: Gather Your Tools


Step-by-Step Guide for Installing a Blanco Kitchen Sink Drain


Start by placing the sink upside down on a soft cloth or towel to avoid scratching the surface. Remove the old drain if you're replacing an existing sink. Next, apply a thin layer of plumber's putty around the drain opening. This will create a watertight seal between the sink and the drain.Step 2: Prepare the Sink for Installation


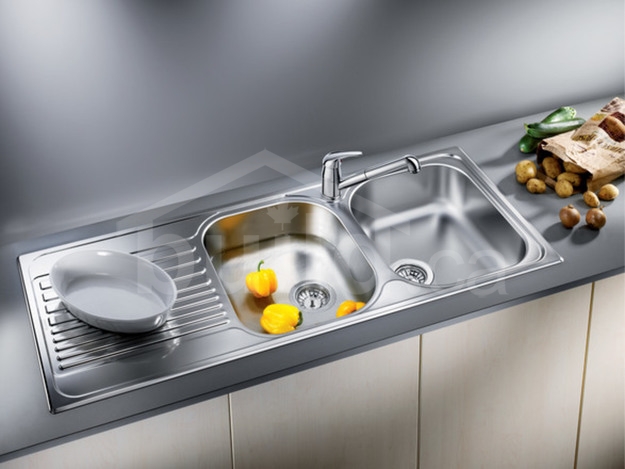
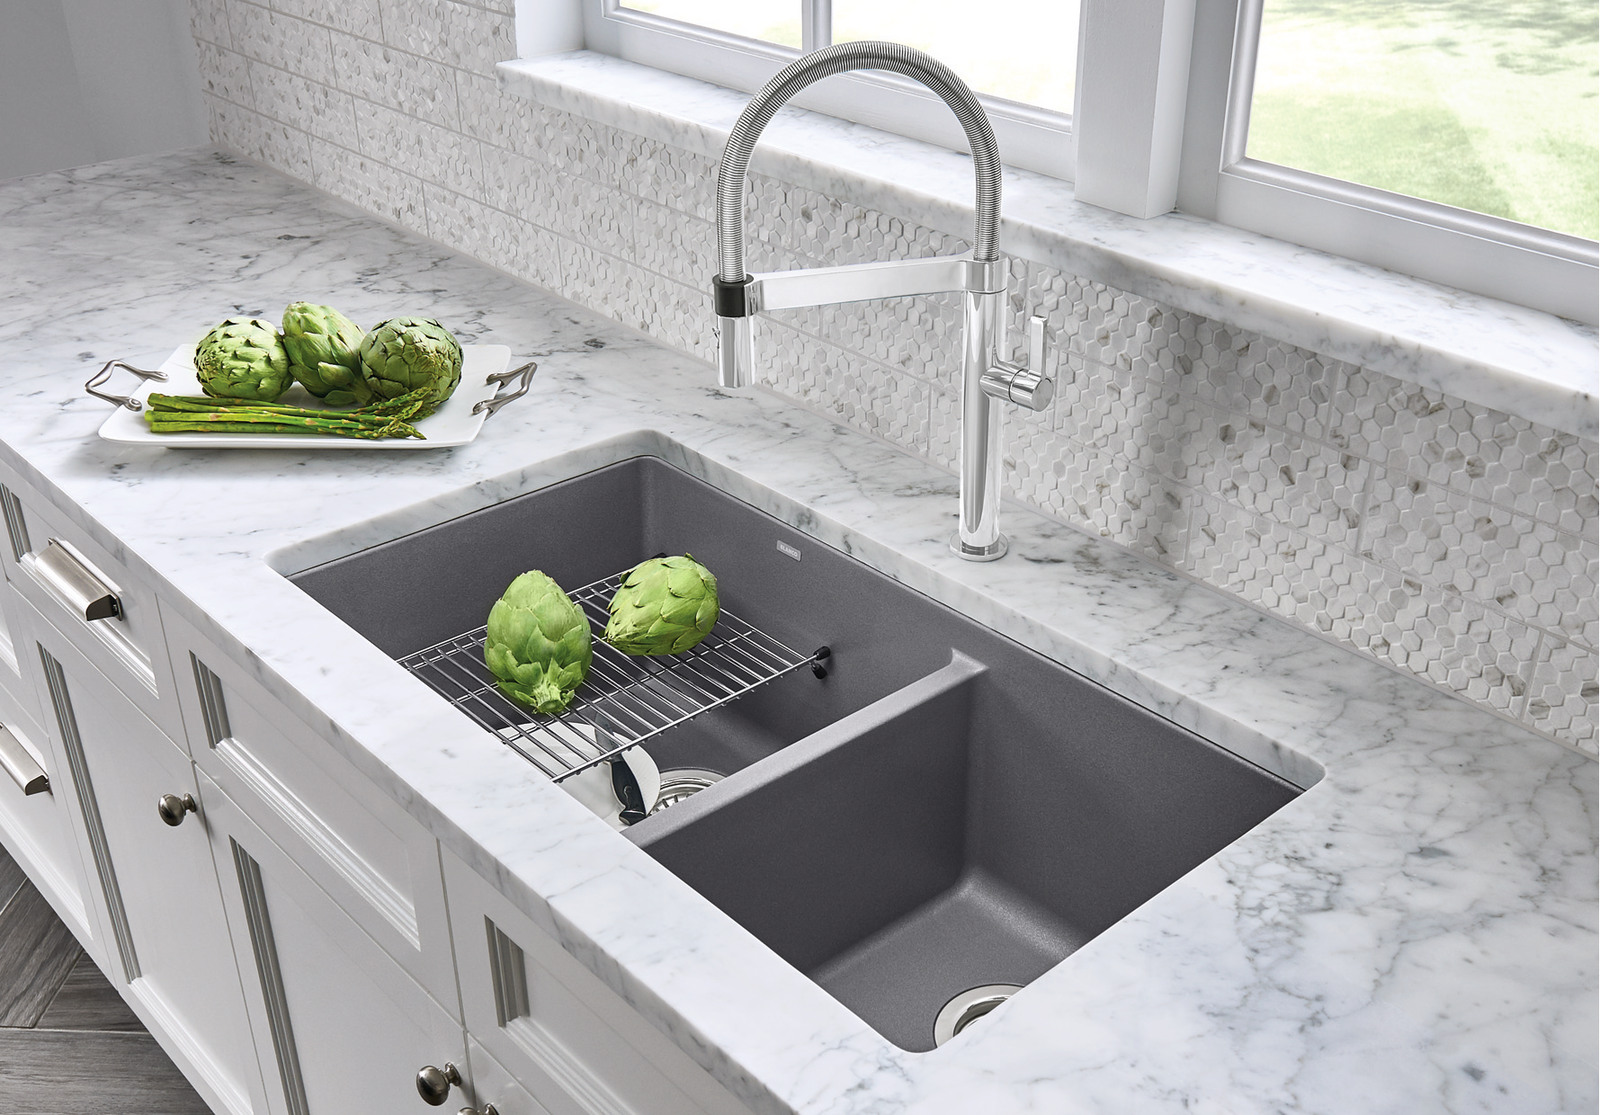
Blanco Kitchen Sink Drain Assembly Instructions
/how-to-install-a-sink-drain-2718789-hero-24e898006ed94c9593a2a268b57989a3.jpg)


Take the drain assembly and insert it into the opening from the bottom of the sink. Secure it in place by tightening the mounting bolts with a wrench. Make sure the rubber gasket is properly aligned and the assembly is snugly fitted in the opening.Step 3: Install the Drain Assembly


DIY Blanco Kitchen Sink Drain Installation


Once the drain assembly is in place, attach the P-trap to the bottom of the sink. The P-trap is a curved pipe that helps to prevent sewer gases from entering your home. Connect the P-trap to the drain assembly by tightening the slip nuts with a wrench.Step 4: Connect the Drain to the P-Trap
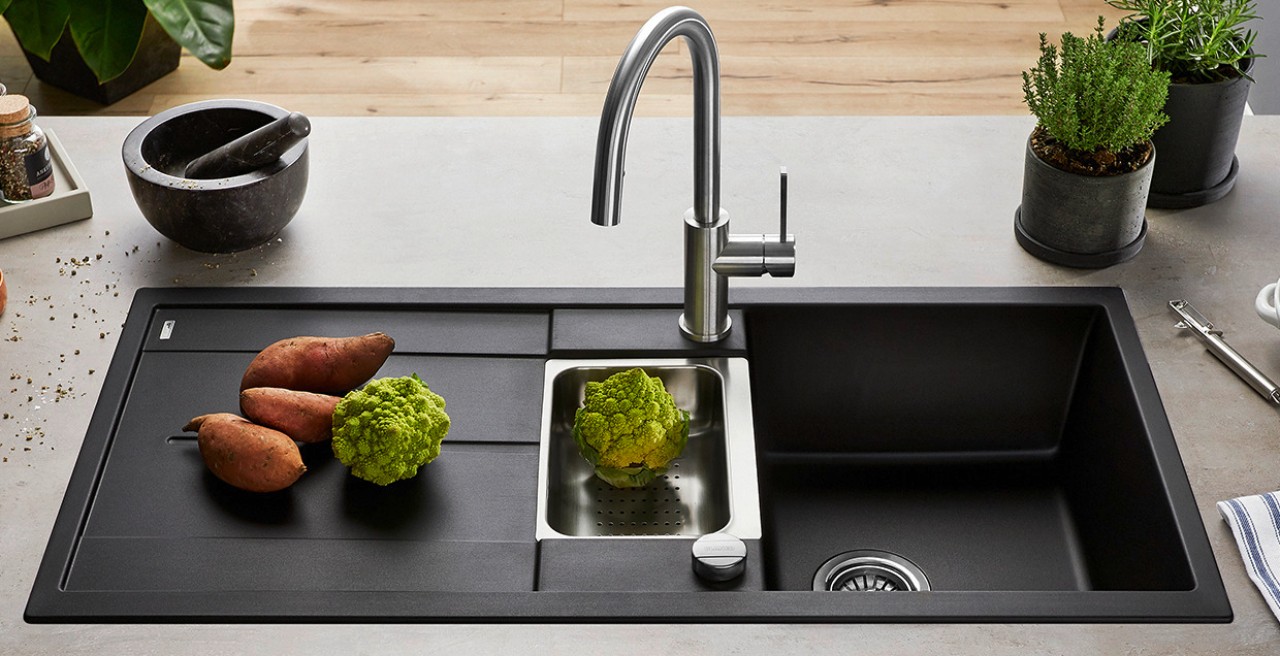
Blanco Kitchen Sink Drain Replacement


To ensure a watertight seal, apply a bead of silicone sealant around the edge of the sink where it meets the countertop. Wipe off any excess sealant with a damp cloth. Next, attach the sink to the countertop by tightening the mounting clips with a screwdriver. Once everything is securely in place, run water through the sink to check for any leaks. If there are no leaks, your Blanco kitchen sink drain installation is complete!Step 5: Seal the Sink and Drain


Tools Needed for Installing a Blanco Kitchen Sink Drain


Here are a few additional tips and tricks to keep in mind when installing a Blanco kitchen sink drain:Blanco Kitchen Sink Drain Assembly Instructions: Tips and Tricks

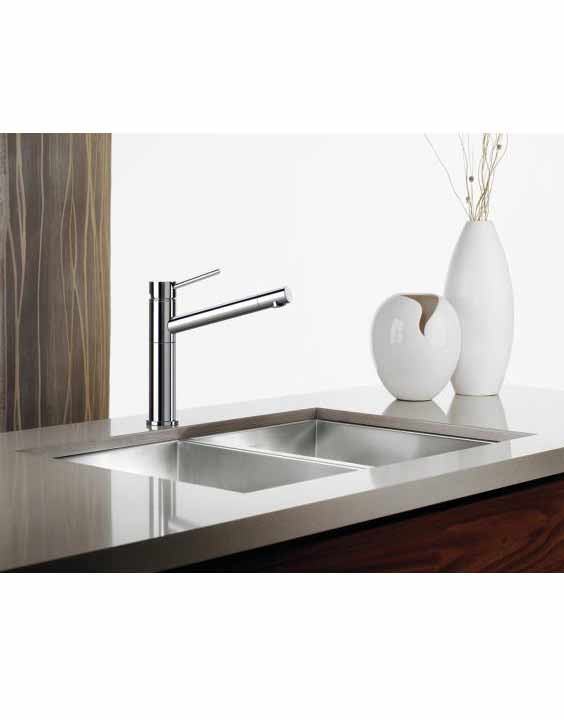
Blanco Kitchen Sink Drain Installation Video Tutorial

Hiring a professional plumber to install your kitchen sink drain can be expensive. By opting for a DIY installation, you can save both time and money. Plus, it can be a satisfying experience to see your hard work pay off with a beautifully installed Blanco kitchen sink drain.DIY Blanco Kitchen Sink Drain Installation: Save Time and Money


Common Mistakes to Avoid When Installing a Blanco Kitchen Sink Drain


If your current kitchen sink is old and worn out, it may be time to replace the entire sink, including the drain, to give your kitchen a fresh new look. You may also want to replace the drain if it starts to leak or if it gets damaged in any way. In such cases, it's best to replace the drain with a new one to ensure proper functioning and avoid any further issues.Blanco Kitchen Sink Drain Replacement: When to Consider Replacing Your Drain


Blanco Kitchen Sink Drain Installation Troubleshooting
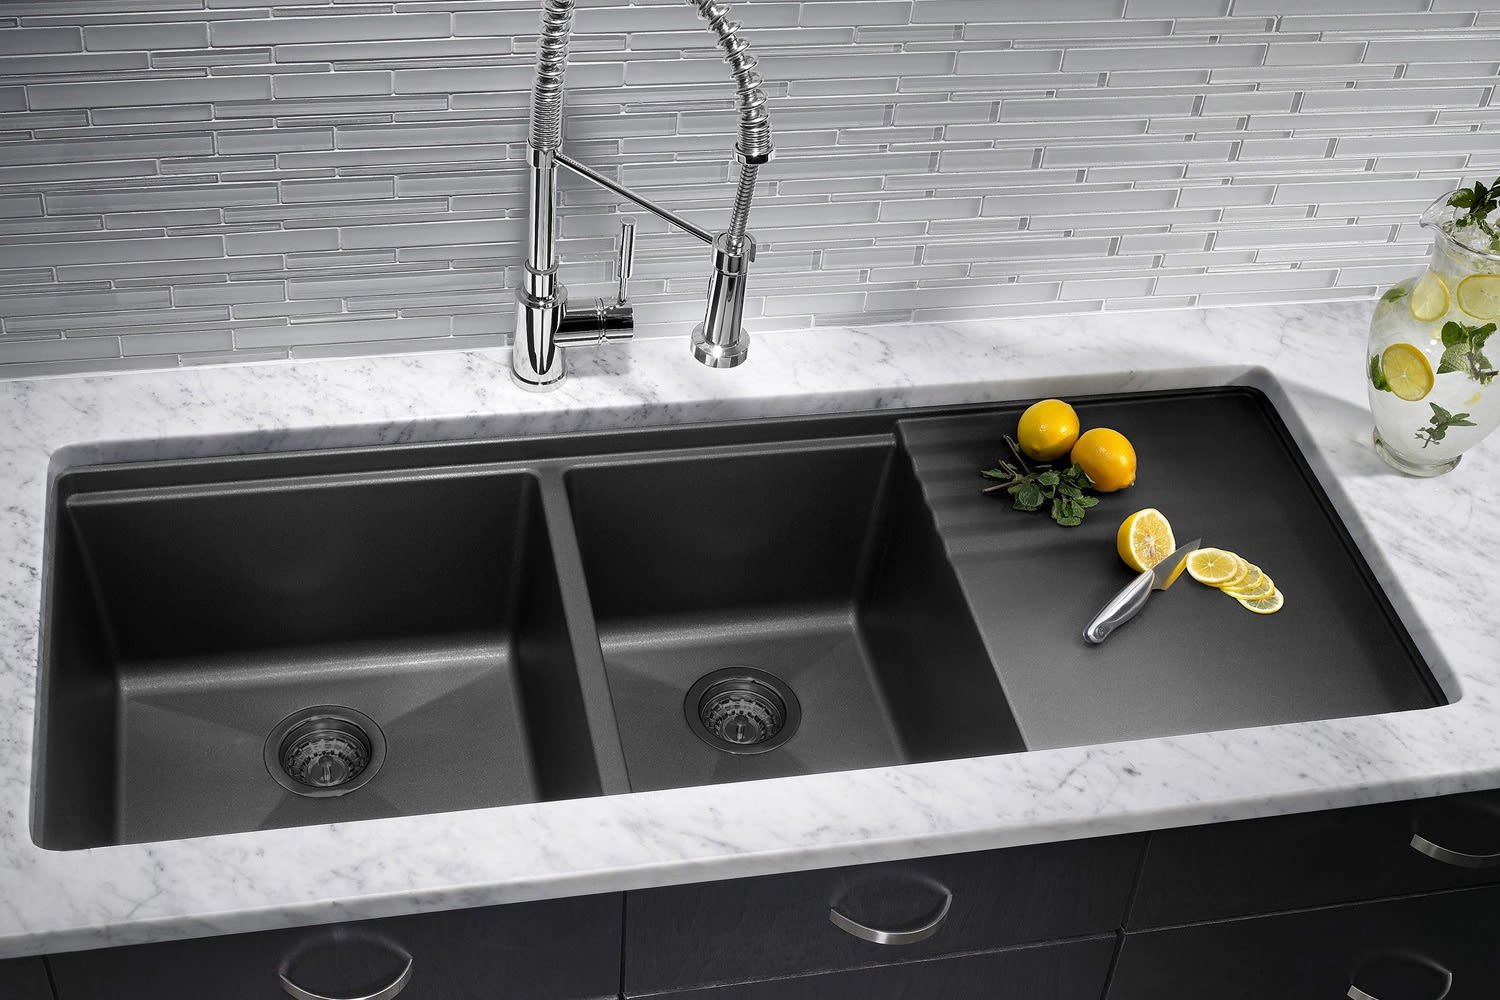
Proper Drain Installation for Your Blanco Kitchen Sink
Why Drain Installation is Important
 Installing a kitchen sink may seem like a simple task, but it is crucial to ensure that it is done correctly. One essential aspect of sink installation is the drain. A proper drain installation ensures the efficient flow of water and prevents any potential plumbing issues down the line. For Blanco kitchen sinks, it is essential to follow specific guidelines for drain installation to ensure the best performance and longevity of your sink.
Steps for Drain Installation
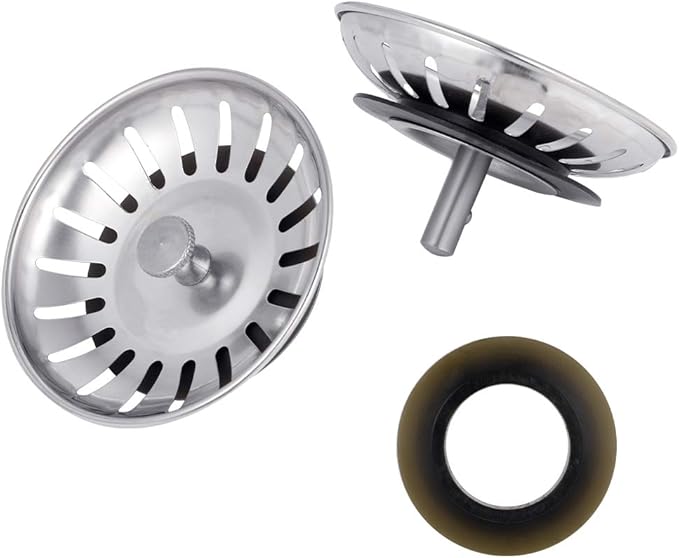
 To begin, gather all the necessary tools and materials for the installation. These may include a plumber's putty, a drain assembly, a rubber washer, a basket strainer, and a pipe wrench. Make sure to read the manufacturer's instructions for specific guidelines on your Blanco kitchen sink model.
Begin by applying
plumber's putty
around the underside of the strainer flange. Then, insert the strainer into the sink's drain hole and press it firmly into place. Next, place the rubber washer onto the strainer's tailpiece and secure it with the gasket and locknut. Use a pipe wrench to tighten the locknut, making sure not to over-tighten it.
To begin, gather all the necessary tools and materials for the installation. These may include a plumber's putty, a drain assembly, a rubber washer, a basket strainer, and a pipe wrench. Make sure to read the manufacturer's instructions for specific guidelines on your Blanco kitchen sink model.
Begin by applying
plumber's putty
around the underside of the strainer flange. Then, insert the strainer into the sink's drain hole and press it firmly into place. Next, place the rubber washer onto the strainer's tailpiece and secure it with the gasket and locknut. Use a pipe wrench to tighten the locknut, making sure not to over-tighten it.
Connecting the Drain Pipe
 Once the strainer is in place, it is time to connect the drain pipe. Start by applying
plumber's putty
to the underside of the sink's drain hole. Then, insert the drain pipe from the sink's bottom and secure it with a washer and locknut. Again, use a pipe wrench to tighten the locknut, making sure not to over-tighten it.
Next, connect the other end of the drain pipe to the main
plumbing line
. Use a metal pipe cutter to cut the pipe to the necessary length if needed. Make sure to use the appropriate fittings and connectors for a secure and leak-free connection.
Once the strainer is in place, it is time to connect the drain pipe. Start by applying
plumber's putty
to the underside of the sink's drain hole. Then, insert the drain pipe from the sink's bottom and secure it with a washer and locknut. Again, use a pipe wrench to tighten the locknut, making sure not to over-tighten it.
Next, connect the other end of the drain pipe to the main
plumbing line
. Use a metal pipe cutter to cut the pipe to the necessary length if needed. Make sure to use the appropriate fittings and connectors for a secure and leak-free connection.
Testing the Drain
 Once the drain is installed, it is crucial to test it before using the sink. First, fill the sink with water and let it drain completely. Check for any leaks around the drain and tighten any connections if needed. Then, run the water and check for proper drainage. If everything looks good, you have successfully installed the drain for your Blanco kitchen sink.
In Conclusion
 Proper
drain installation
is crucial for the efficient functioning of your Blanco kitchen sink. It is essential to follow the manufacturer's instructions and use the appropriate tools and materials. If you are unsure about the installation process, it is best to consult a professional plumber for assistance. With a well-installed drain, you can enjoy your Blanco kitchen sink for years to come.
Proper
drain installation
is crucial for the efficient functioning of your Blanco kitchen sink. It is essential to follow the manufacturer's instructions and use the appropriate tools and materials. If you are unsure about the installation process, it is best to consult a professional plumber for assistance. With a well-installed drain, you can enjoy your Blanco kitchen sink for years to come.