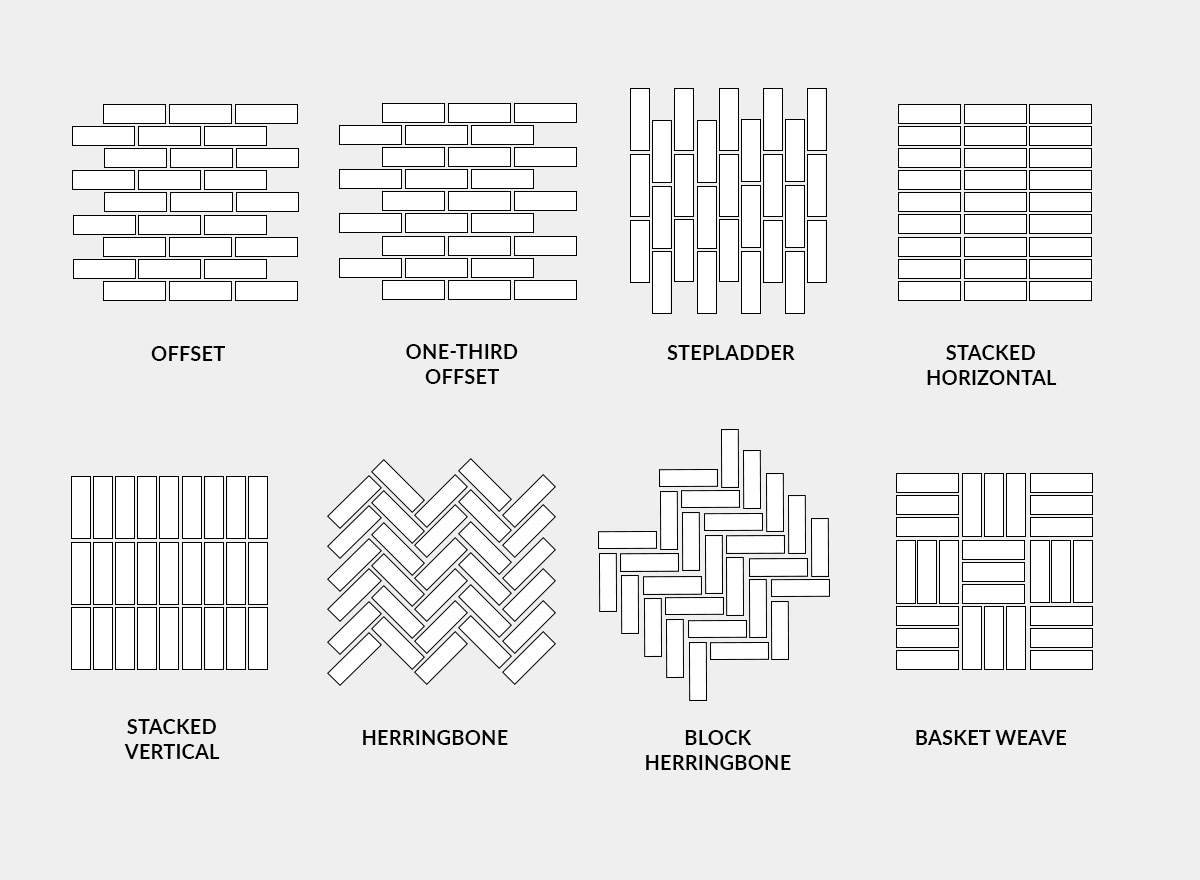
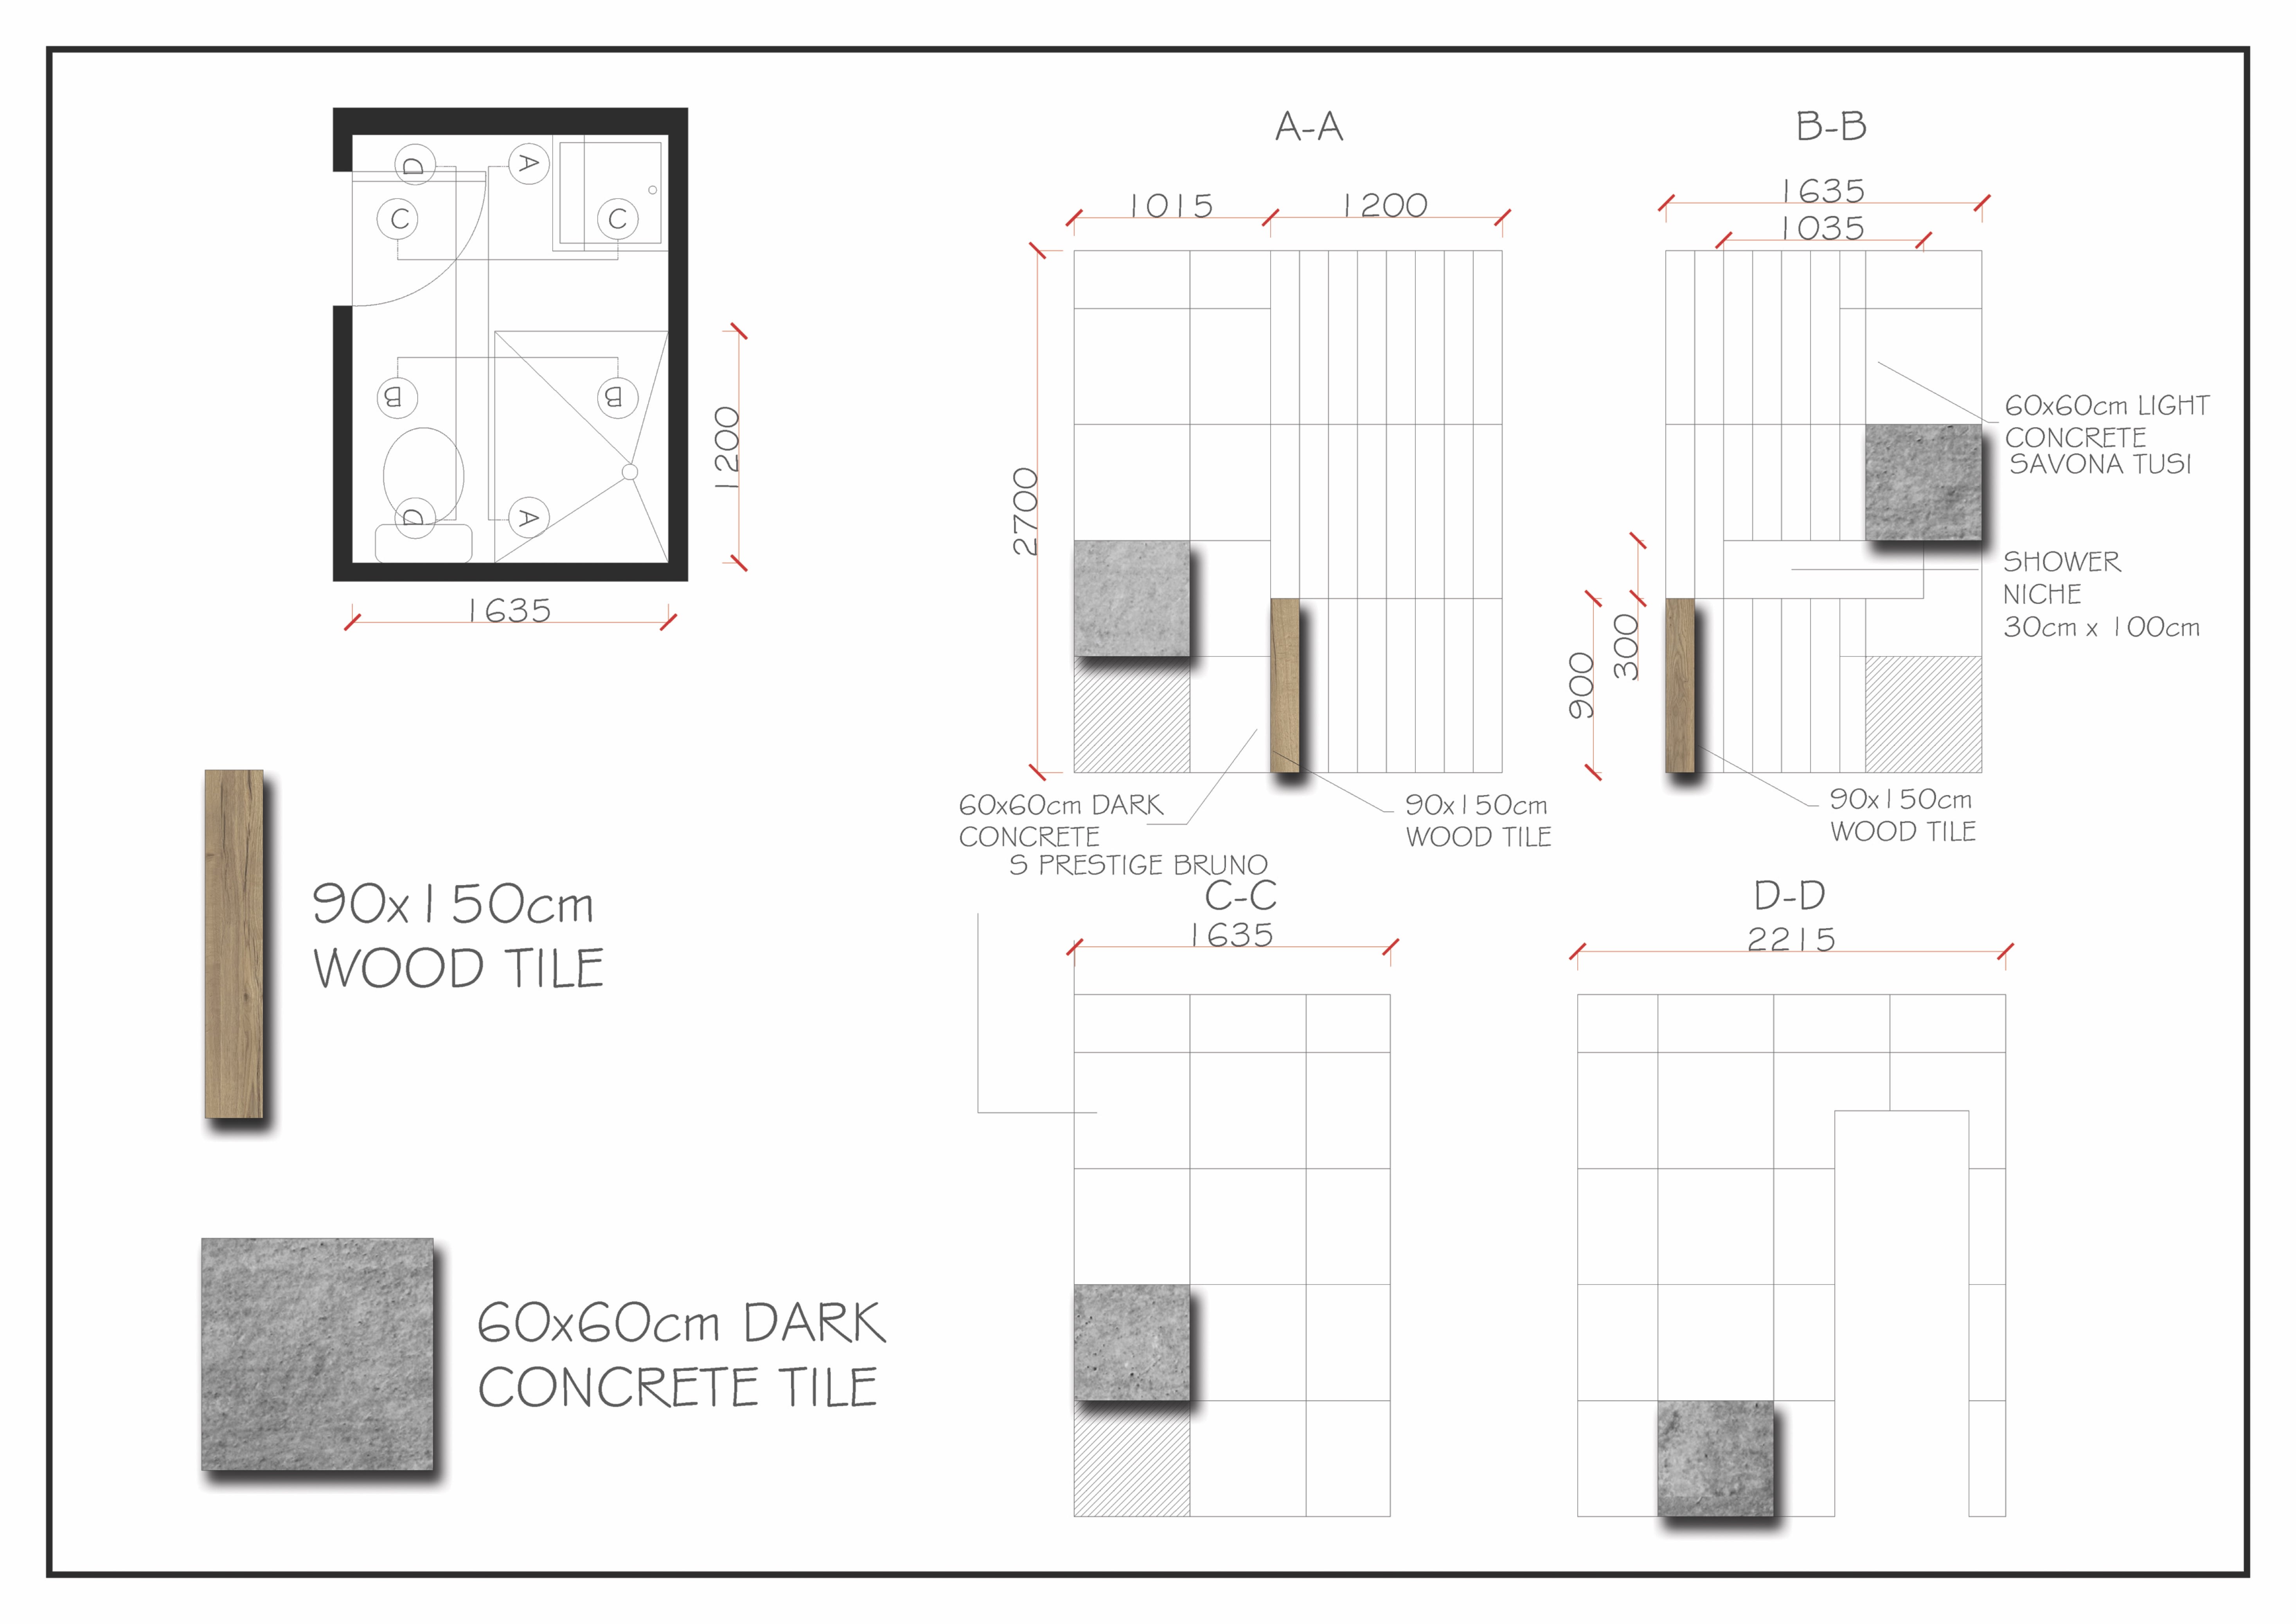
Before starting any tiling project, it is important to measure and plan the layout of the tiles. This will help ensure a smooth and aesthetically pleasing finish. Begin by measuring the dimensions of your kitchen wall and determining the number of tiles needed. It is also important to take into account any obstacles such as outlets or windows that may require special cuts. Use a pencil to mark the layout on the wall, ensuring that the tiles are evenly spaced and aligned.1. Measure and plan the layout of the tiles
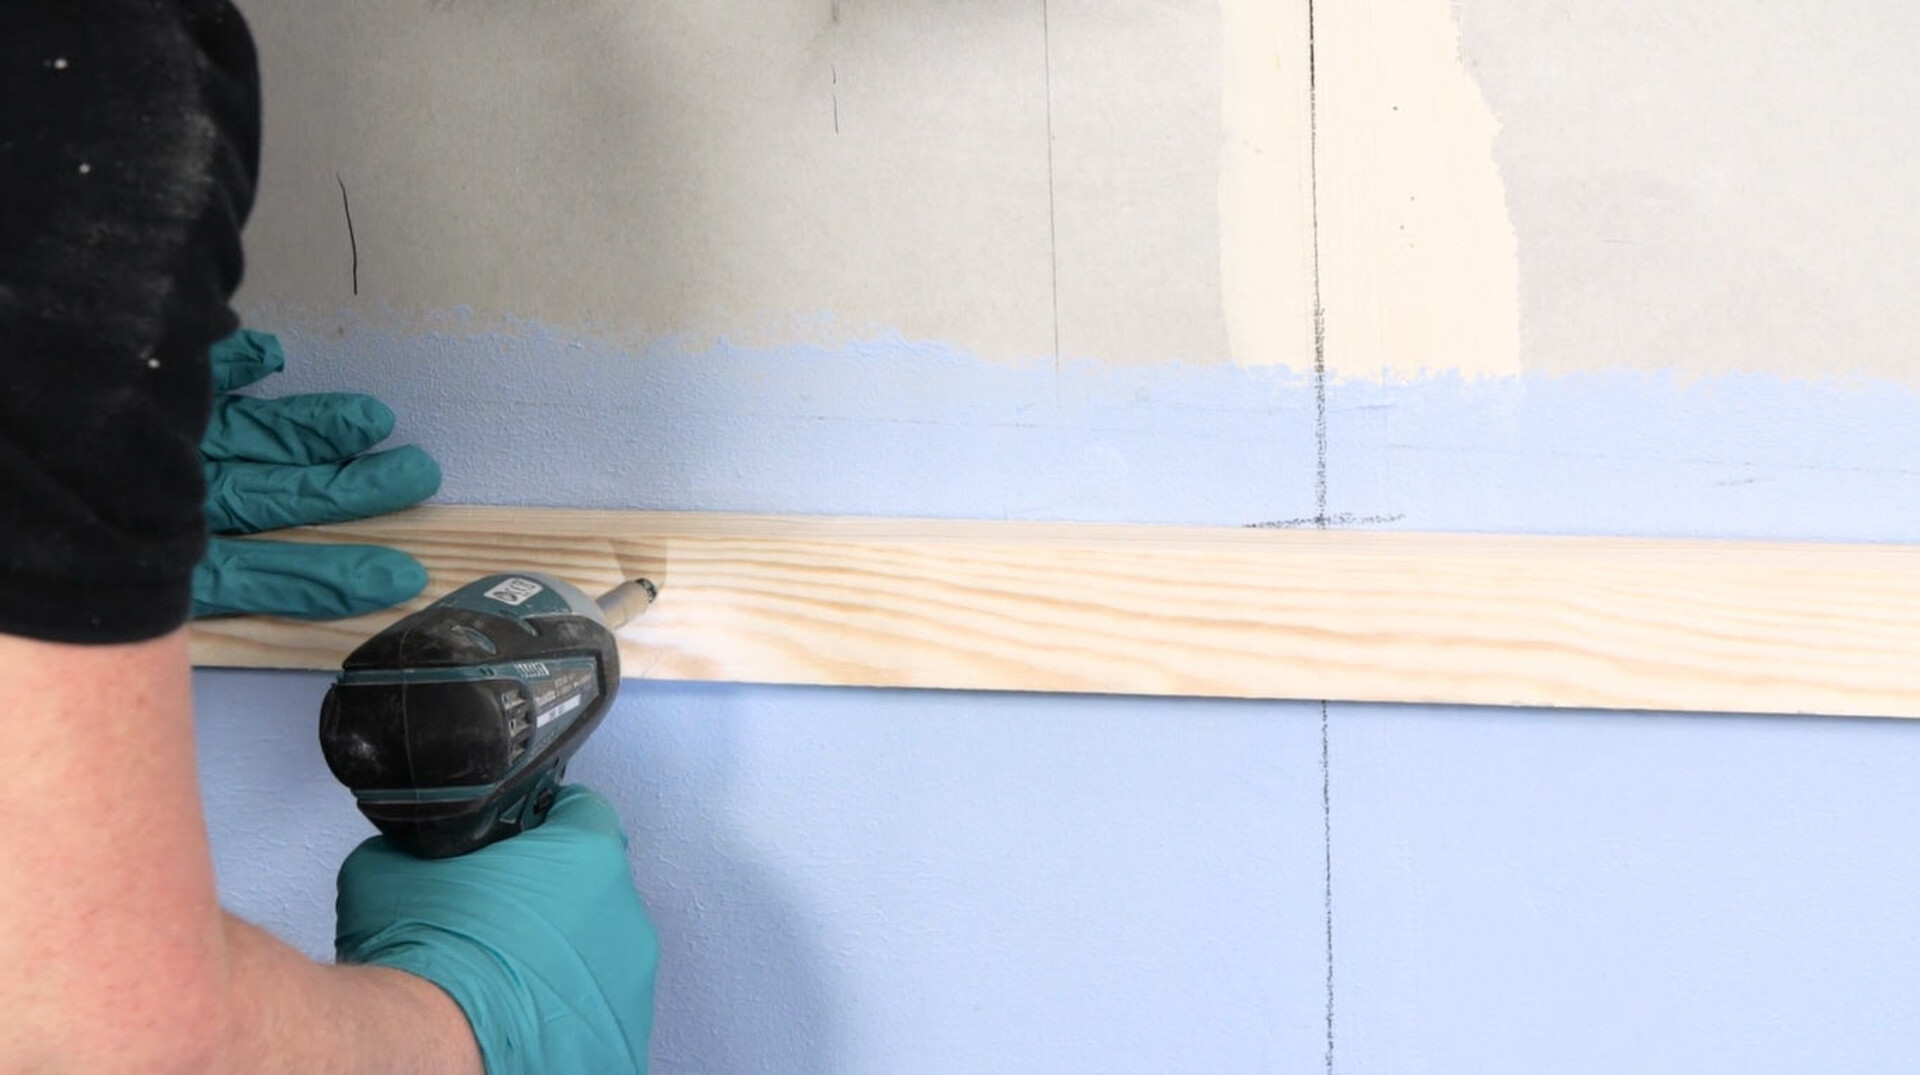
Proper preparation of the wall surface is crucial for a successful tiling project. Begin by cleaning the wall thoroughly to remove any dirt, dust, or grease. If the wall is painted, lightly sand the surface to create a rougher texture for better adhesive adhesion. For new walls, it is recommended to prime the surface with a tile primer to ensure better adhesion and prevent moisture from seeping through the wall.2. Prepare the wall surface
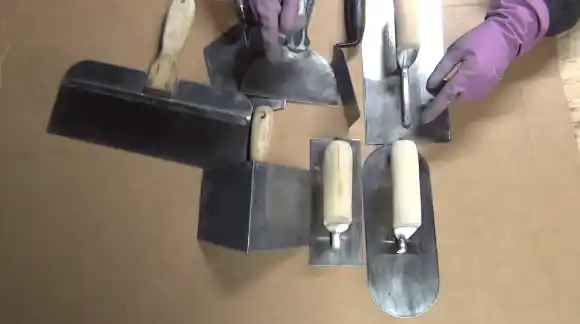
Make sure you have all the necessary tools and materials before starting the tiling process. These may include a tile cutter, trowel, tile spacers, sponge, and grout float. It is also important to use the right type of adhesive and grout for your specific tiles. Read the manufacturer's instructions carefully to ensure you have the correct tools and materials for the job.3. Gather necessary tools and materials
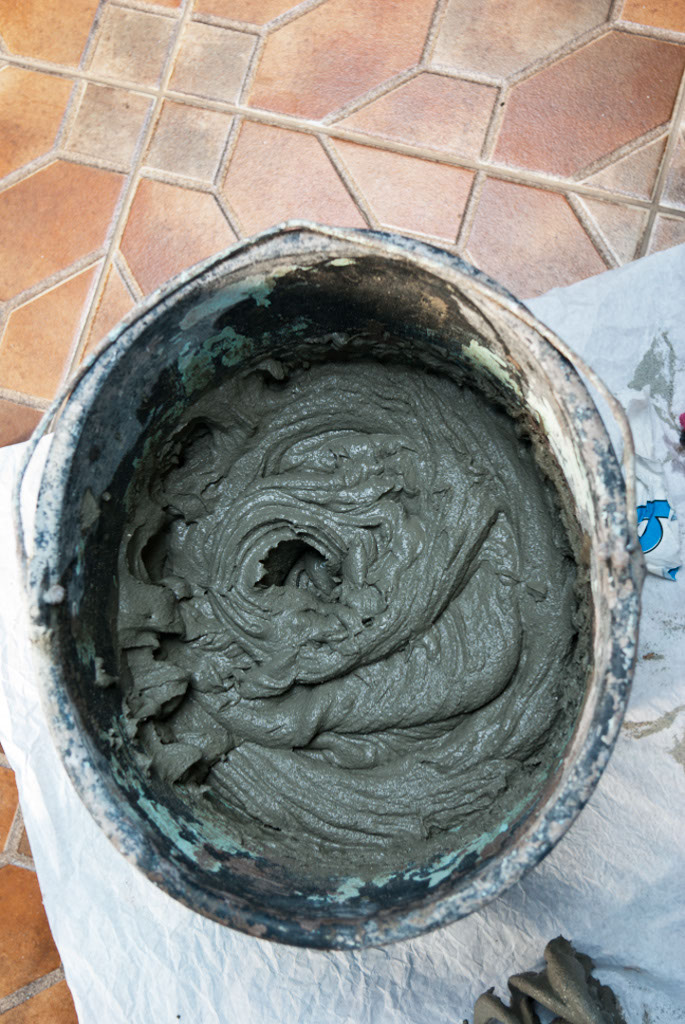
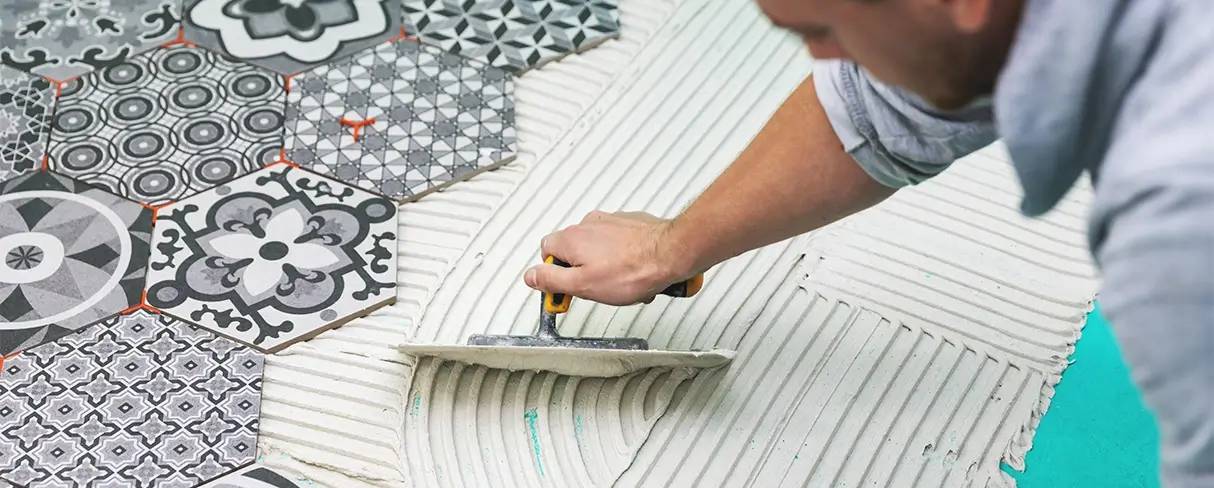
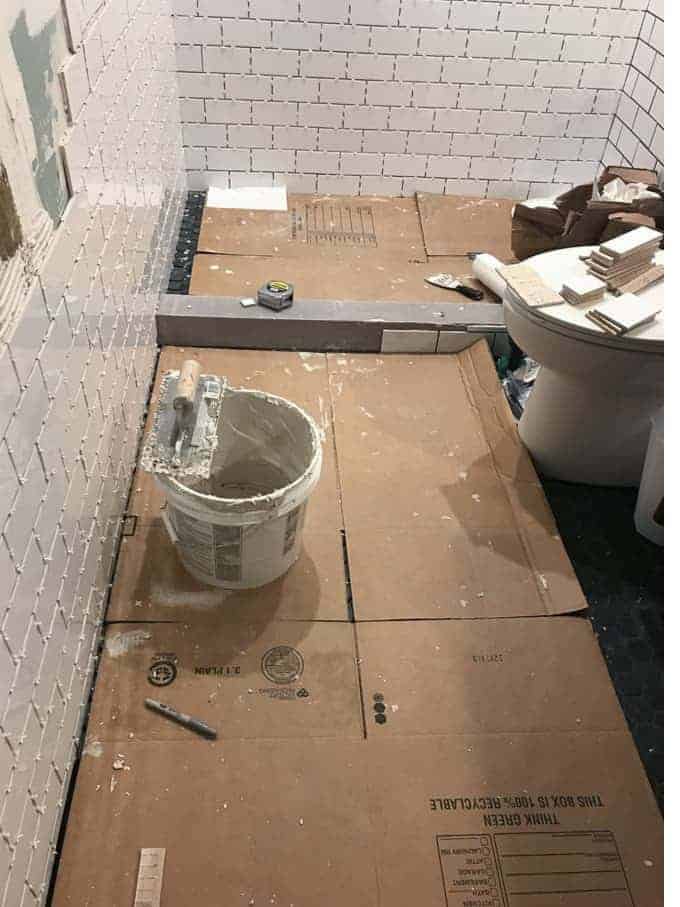
Once you have gathered all the necessary tools and materials, it's time to mix the tile adhesive. Follow the manufacturer's instructions carefully and mix the adhesive to the right consistency. It should be similar to toothpaste, not too thick or too runny. Using the notched edge of the trowel, apply the adhesive to the wall in small sections, starting at the bottom and working your way up.4. Mix the tile adhesive according to instructions
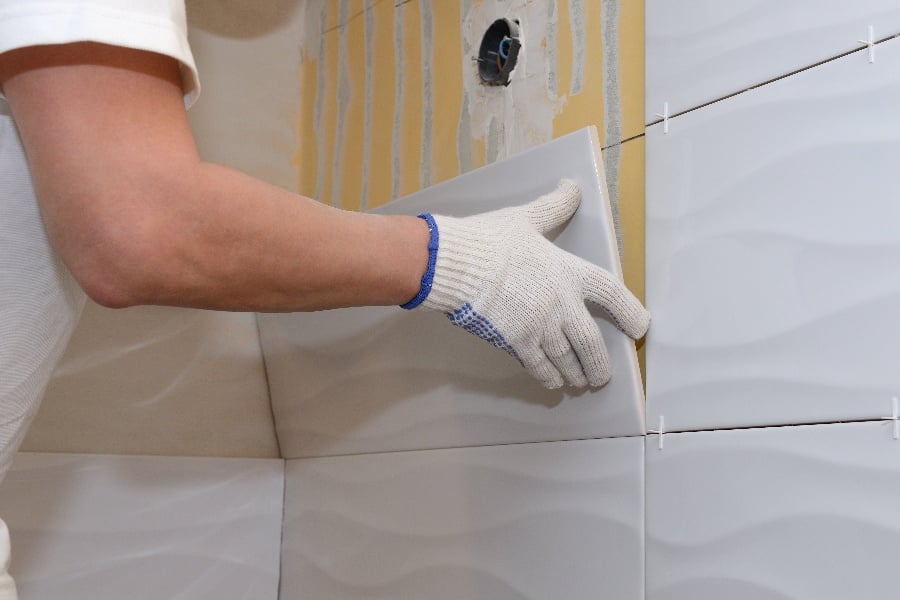
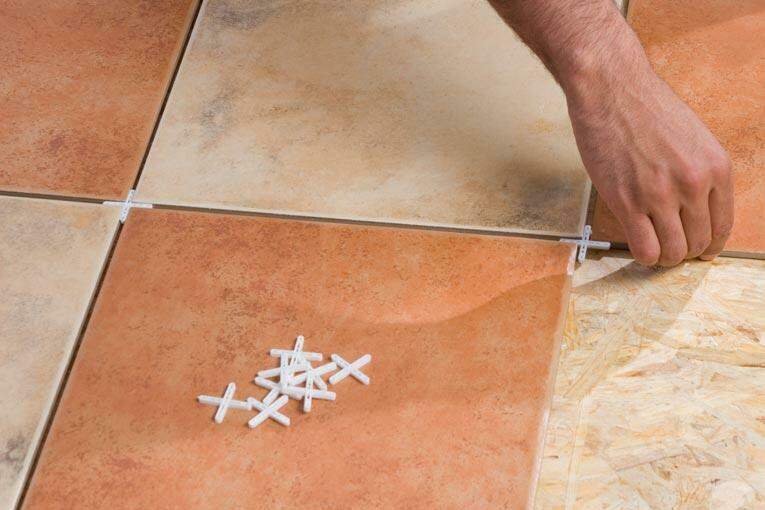
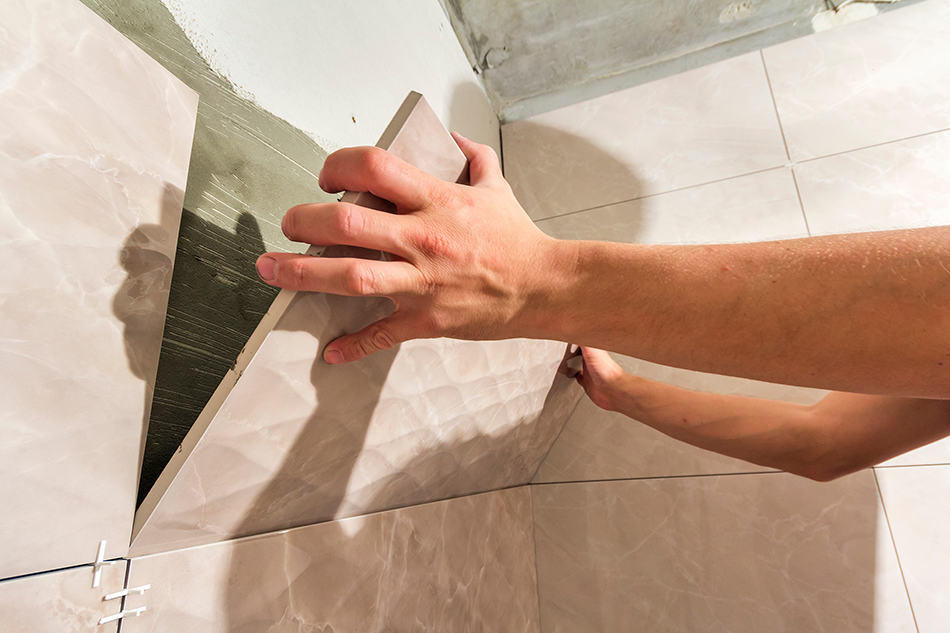
Always start tiling from the bottom of the wall and work your way up. This will prevent any tiles from sliding down and ensure a smooth finish. Apply a small amount of pressure to each tile as you place it on the wall to ensure it sticks to the adhesive. Use tile spacers to maintain even spacing between tiles. It is recommended to start with a full tile at the bottom and work your way up, leaving any cuts for the top row.5. Start tiling from the bottom of the wall
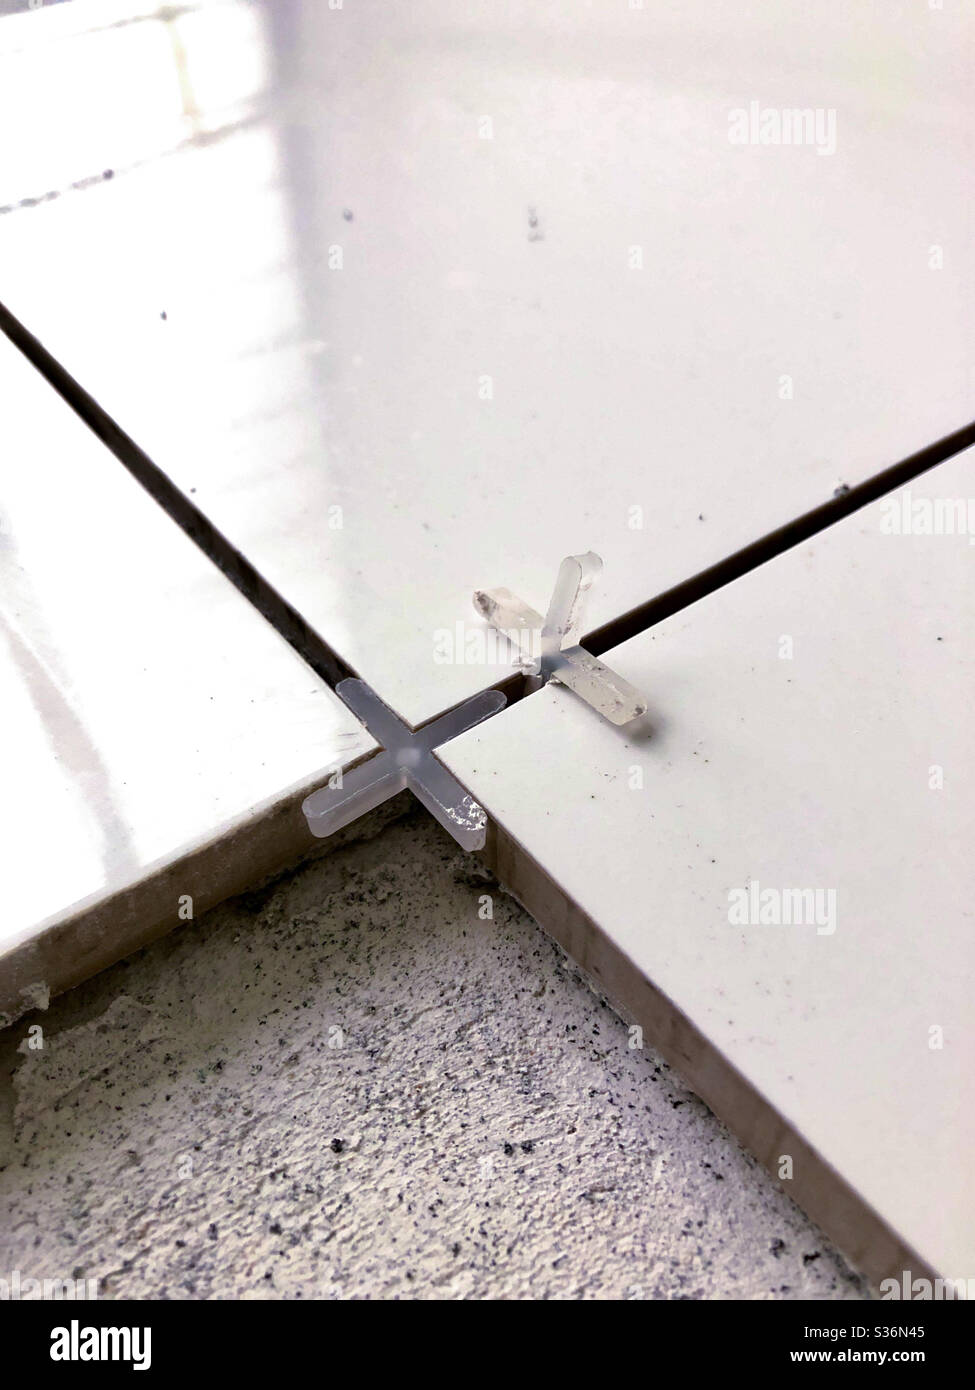
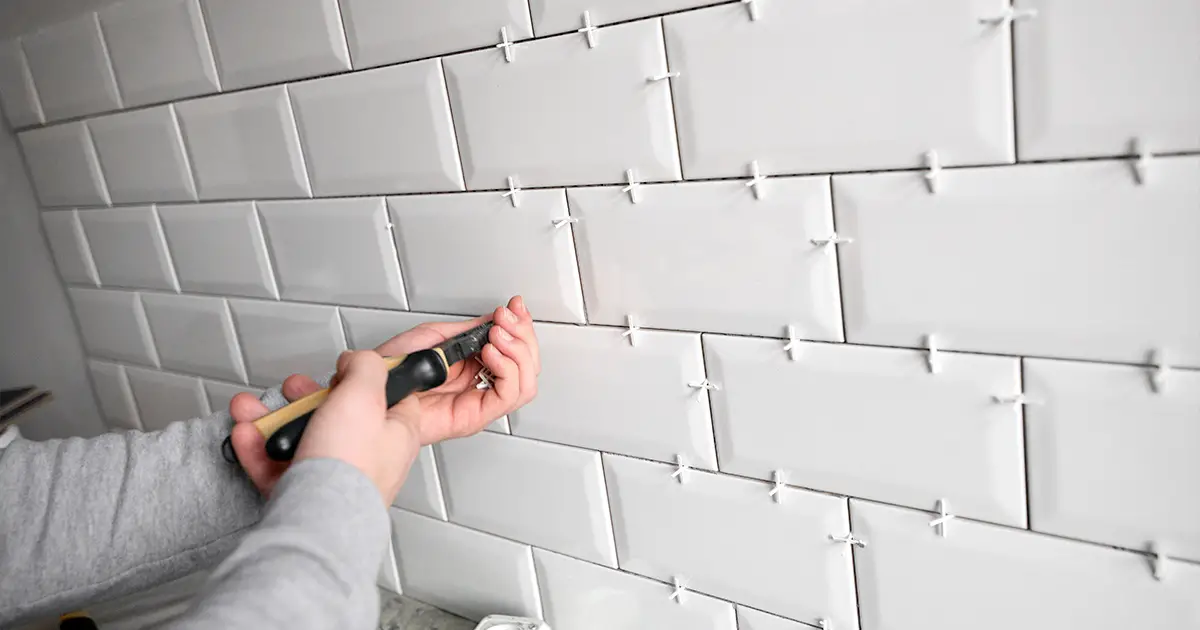
As you continue tiling, make sure to use spacers to maintain even spacing between tiles. This will help create a professional and polished look. It is important to regularly check that the tiles are level and adjust as needed. Any excess adhesive that squeezes out from between the tiles can be wiped away with a damp sponge.6. Use spacers to ensure even spacing between tiles
When you reach the edges or corners of the wall, you will likely need to cut the tiles to fit. Measure and mark the tiles before cutting them with a tile cutter. It is always better to cut the tiles slightly smaller than needed and then trim as needed for a perfect fit. Use sandpaper to smooth any rough edges on the cut tiles.7. Cut tiles to fit around edges and corners
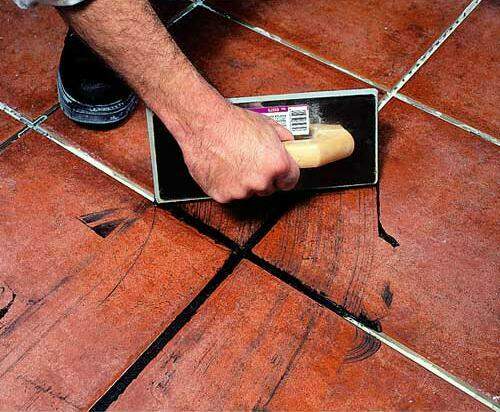
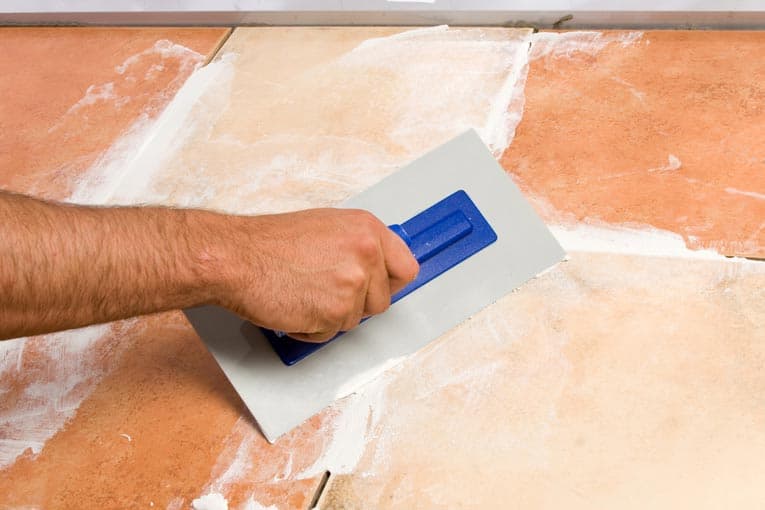
Once the tiles are all in place and the adhesive has dried, it's time to apply the grout. Mix the grout according to the manufacturer's instructions and apply it using a grout float. Make sure to fill all the gaps between tiles, pressing the grout into the joints. Use a damp sponge to wipe off any excess grout from the surface of the tiles. Repeat this process until all the gaps are filled with grout.8. Apply grout between tiles
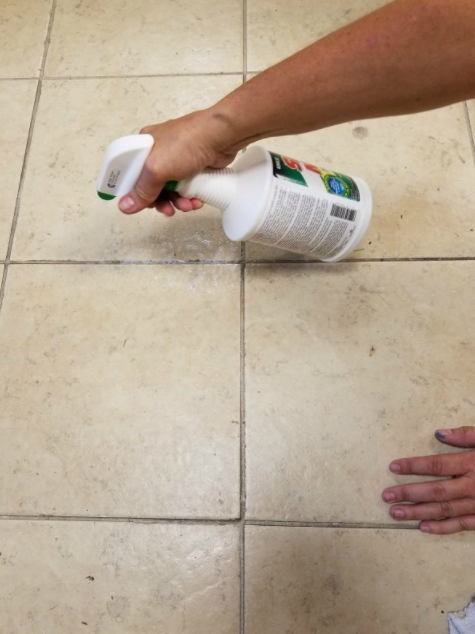
After applying the grout, use a clean, damp sponge to wipe off any excess grout from the surface of the tiles. Rinse the sponge frequently and continue wiping until the tiles are clean and the grout lines are smooth. Let the grout dry for at least 24 hours before moving on to the next step.9. Wipe off excess grout and let dry
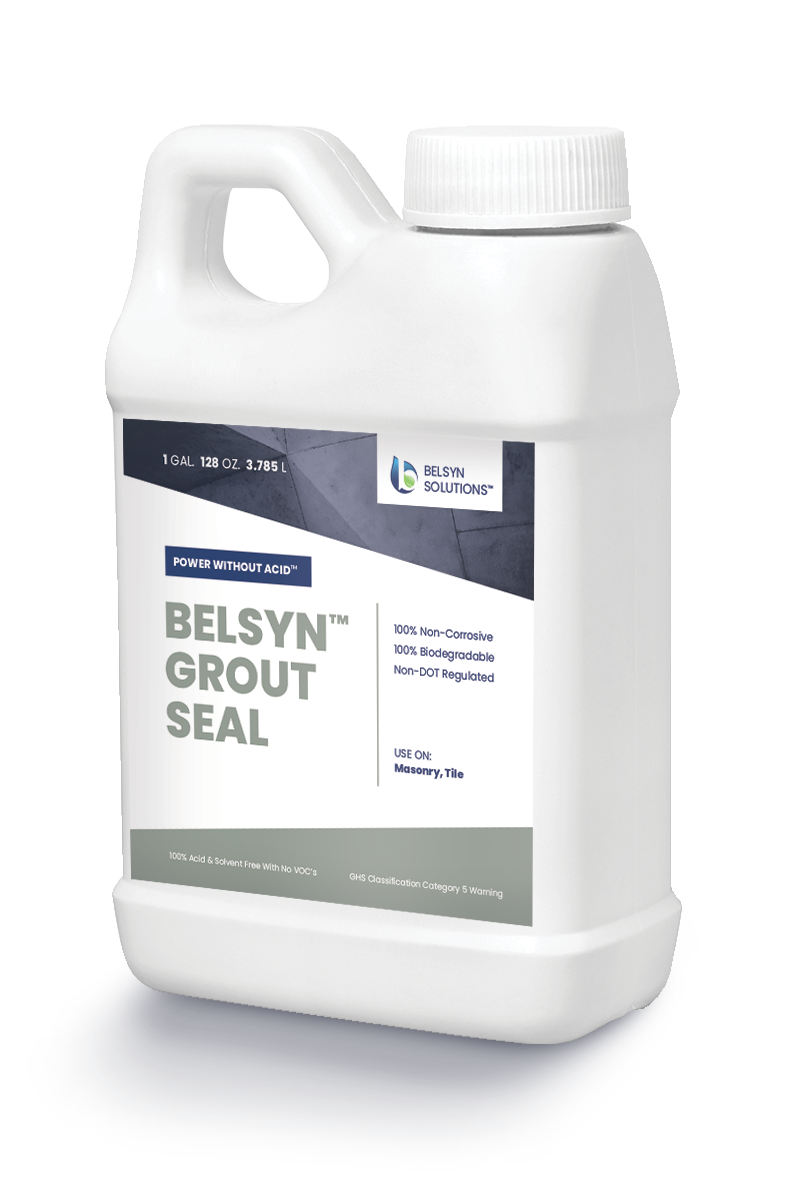
Once the grout is completely dry, it is recommended to seal it for added protection. This will help prevent staining and discoloration in the future. Follow the manufacturer's instructions for the grout sealer and apply it using a small brush or roller. Make sure to wipe off any excess sealer from the tiles before it dries. In conclusion, tiling a kitchen wall may seem like a daunting task, but with the right tools, materials, and techniques, it can be a relatively simple and rewarding DIY project. By following these 10 steps, you can achieve a beautifully tiled kitchen wall that will add style and functionality to your space. Remember to take your time, measure carefully, and be patient, and you will have a stunning tiled kitchen wall in no time.10. Seal the grout for added protection
The Importance of Properly Tiling a Kitchen Wall

Why Tiling is Essential for Every Kitchen Design
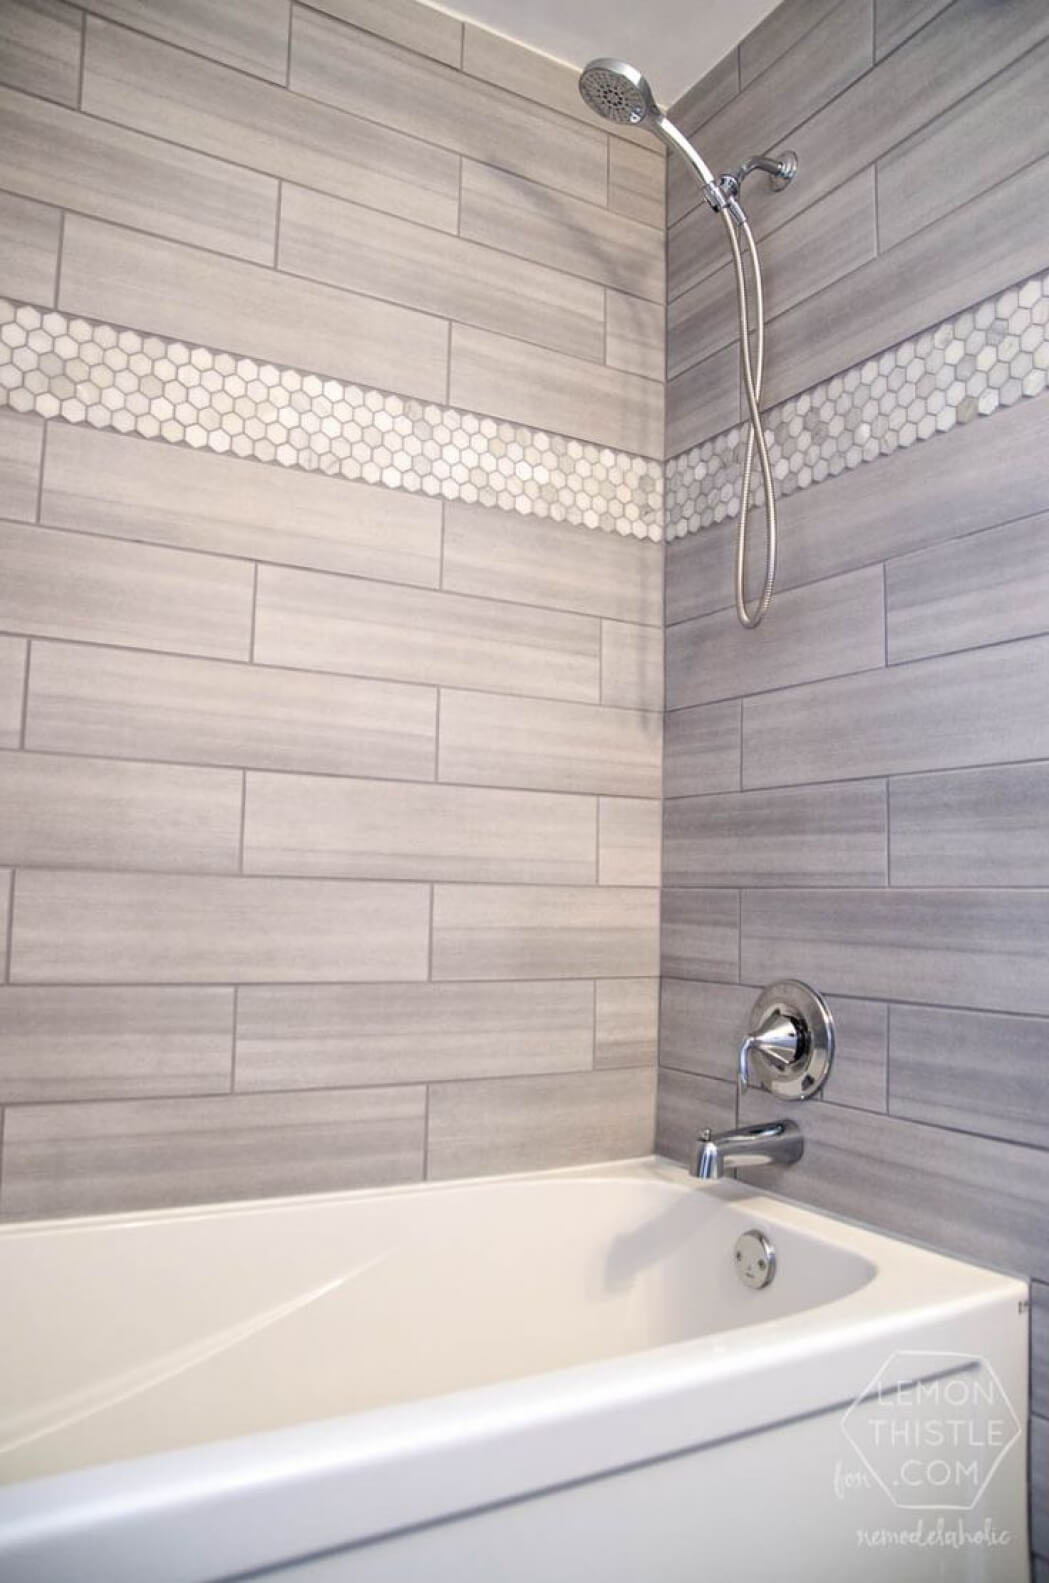
 When it comes to designing a kitchen, tiling is one of the most crucial elements to consider. It not only enhances the overall appearance of the space, but also provides practical benefits such as protecting the walls from water damage and being easy to clean. However, the key to achieving a beautifully tiled kitchen wall lies in the proper installation process. In this article, we will discuss the best way to tile a kitchen wall to ensure a professional and long-lasting result.
Choose the Right Tiles for Your Kitchen
 Before starting the tiling process, it is important to choose the right tiles for your kitchen. Consider factors such as the style and color scheme of your kitchen, as well as the size and material of the tiles.
Porcelain, ceramic, and glass tiles
are popular choices for kitchen walls due to their durability and water resistance. Additionally, consider the
size of the tiles
, as larger tiles can make a small kitchen look more spacious while smaller tiles can add texture and visual interest.
Prepare the Wall Surface
 Once you have chosen the perfect tiles for your kitchen, the next step is to prepare the wall surface. Make sure the wall is clean, dry, and free of any cracks or bumps.
Use a level and measuring tape
to mark the center of the wall and create a guideline for tile placement. It is also recommended to use a
tile adhesive
specifically designed for the type of tiles you have chosen.
Properly Install the Tiles
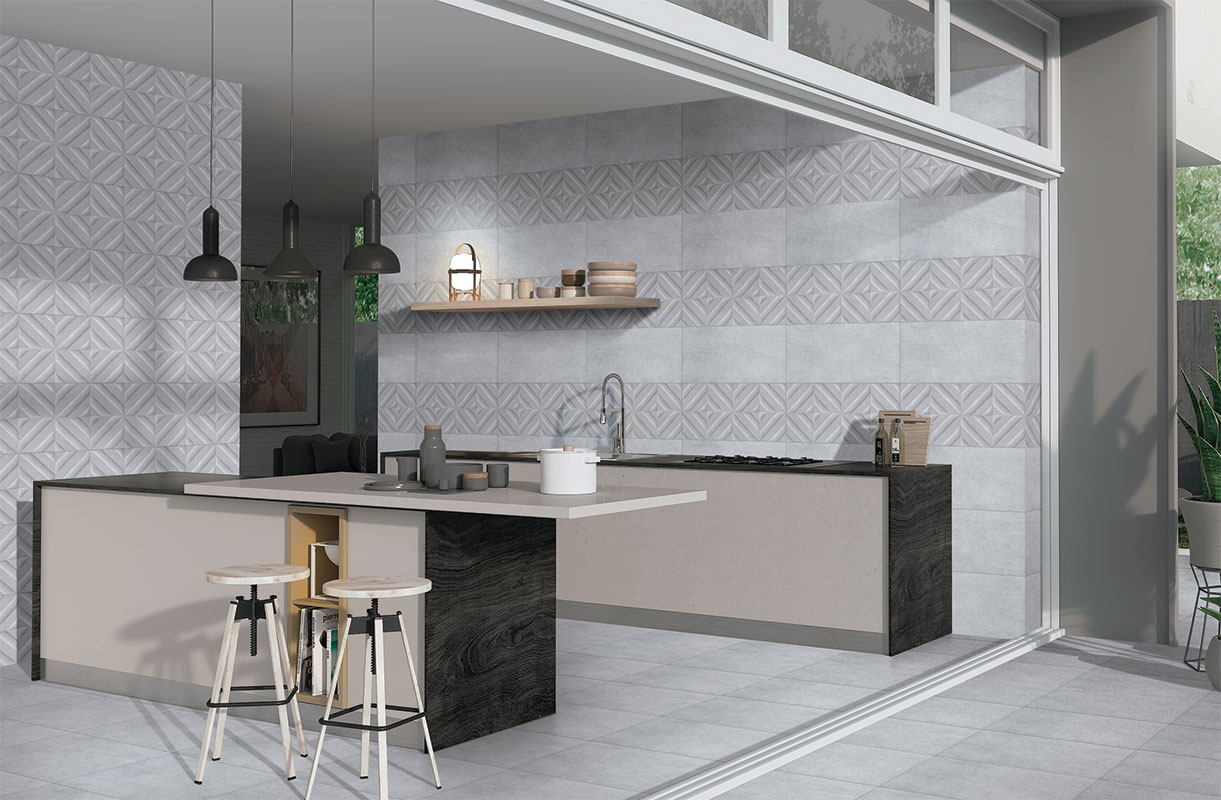 When installing the tiles, start at the center point and work your way outward.
Spread the adhesive evenly
on the wall using a notched trowel and press the tiles firmly into place. Use tile spacers to ensure even spacing between each tile. Once the adhesive has dried, remove the spacers and
apply grout
between the tiles using a grout float. Wipe away any excess grout with a damp sponge and let it dry before applying a
sealer
to protect the tiles from stains and water damage.
Seek Professional Help if Needed
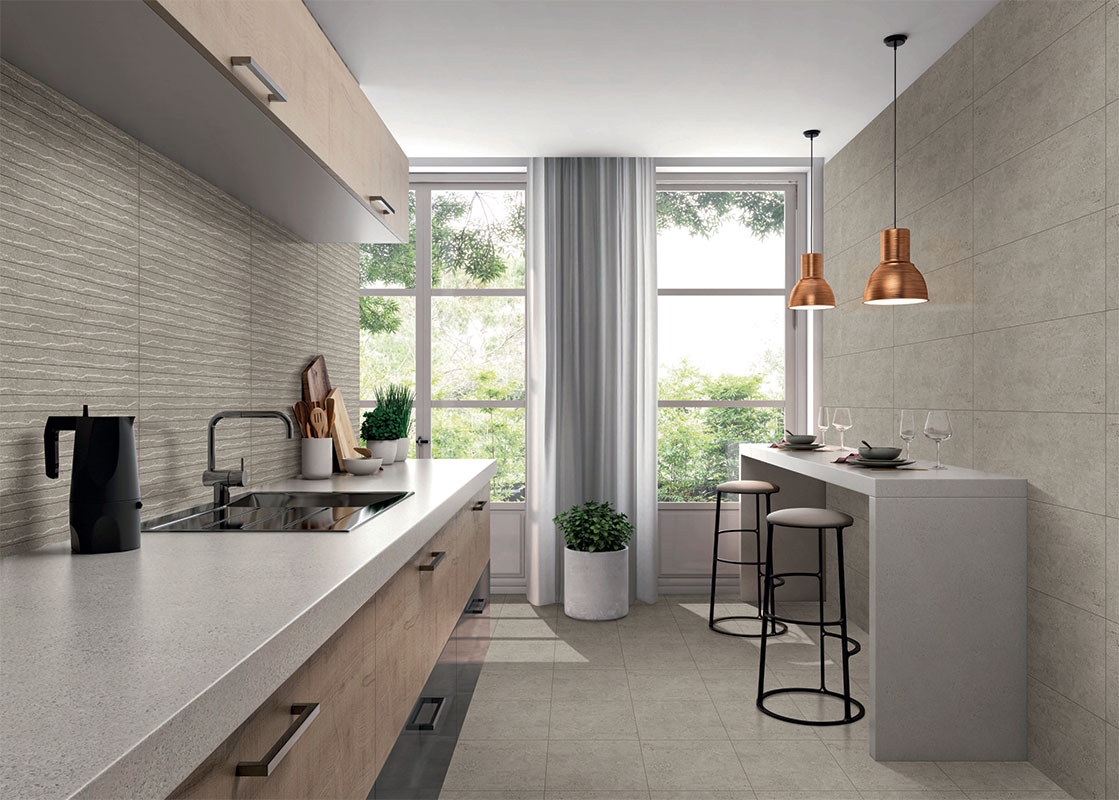 Tiling a kitchen wall may seem like a simple task, but it can be a challenging and time-consuming process. If you are not confident in your tiling skills, it is best to seek professional help. A professional tiler can ensure that the tiles are installed properly and can offer valuable advice on the best type of tiles and installation for your specific kitchen design.
In Conclusion
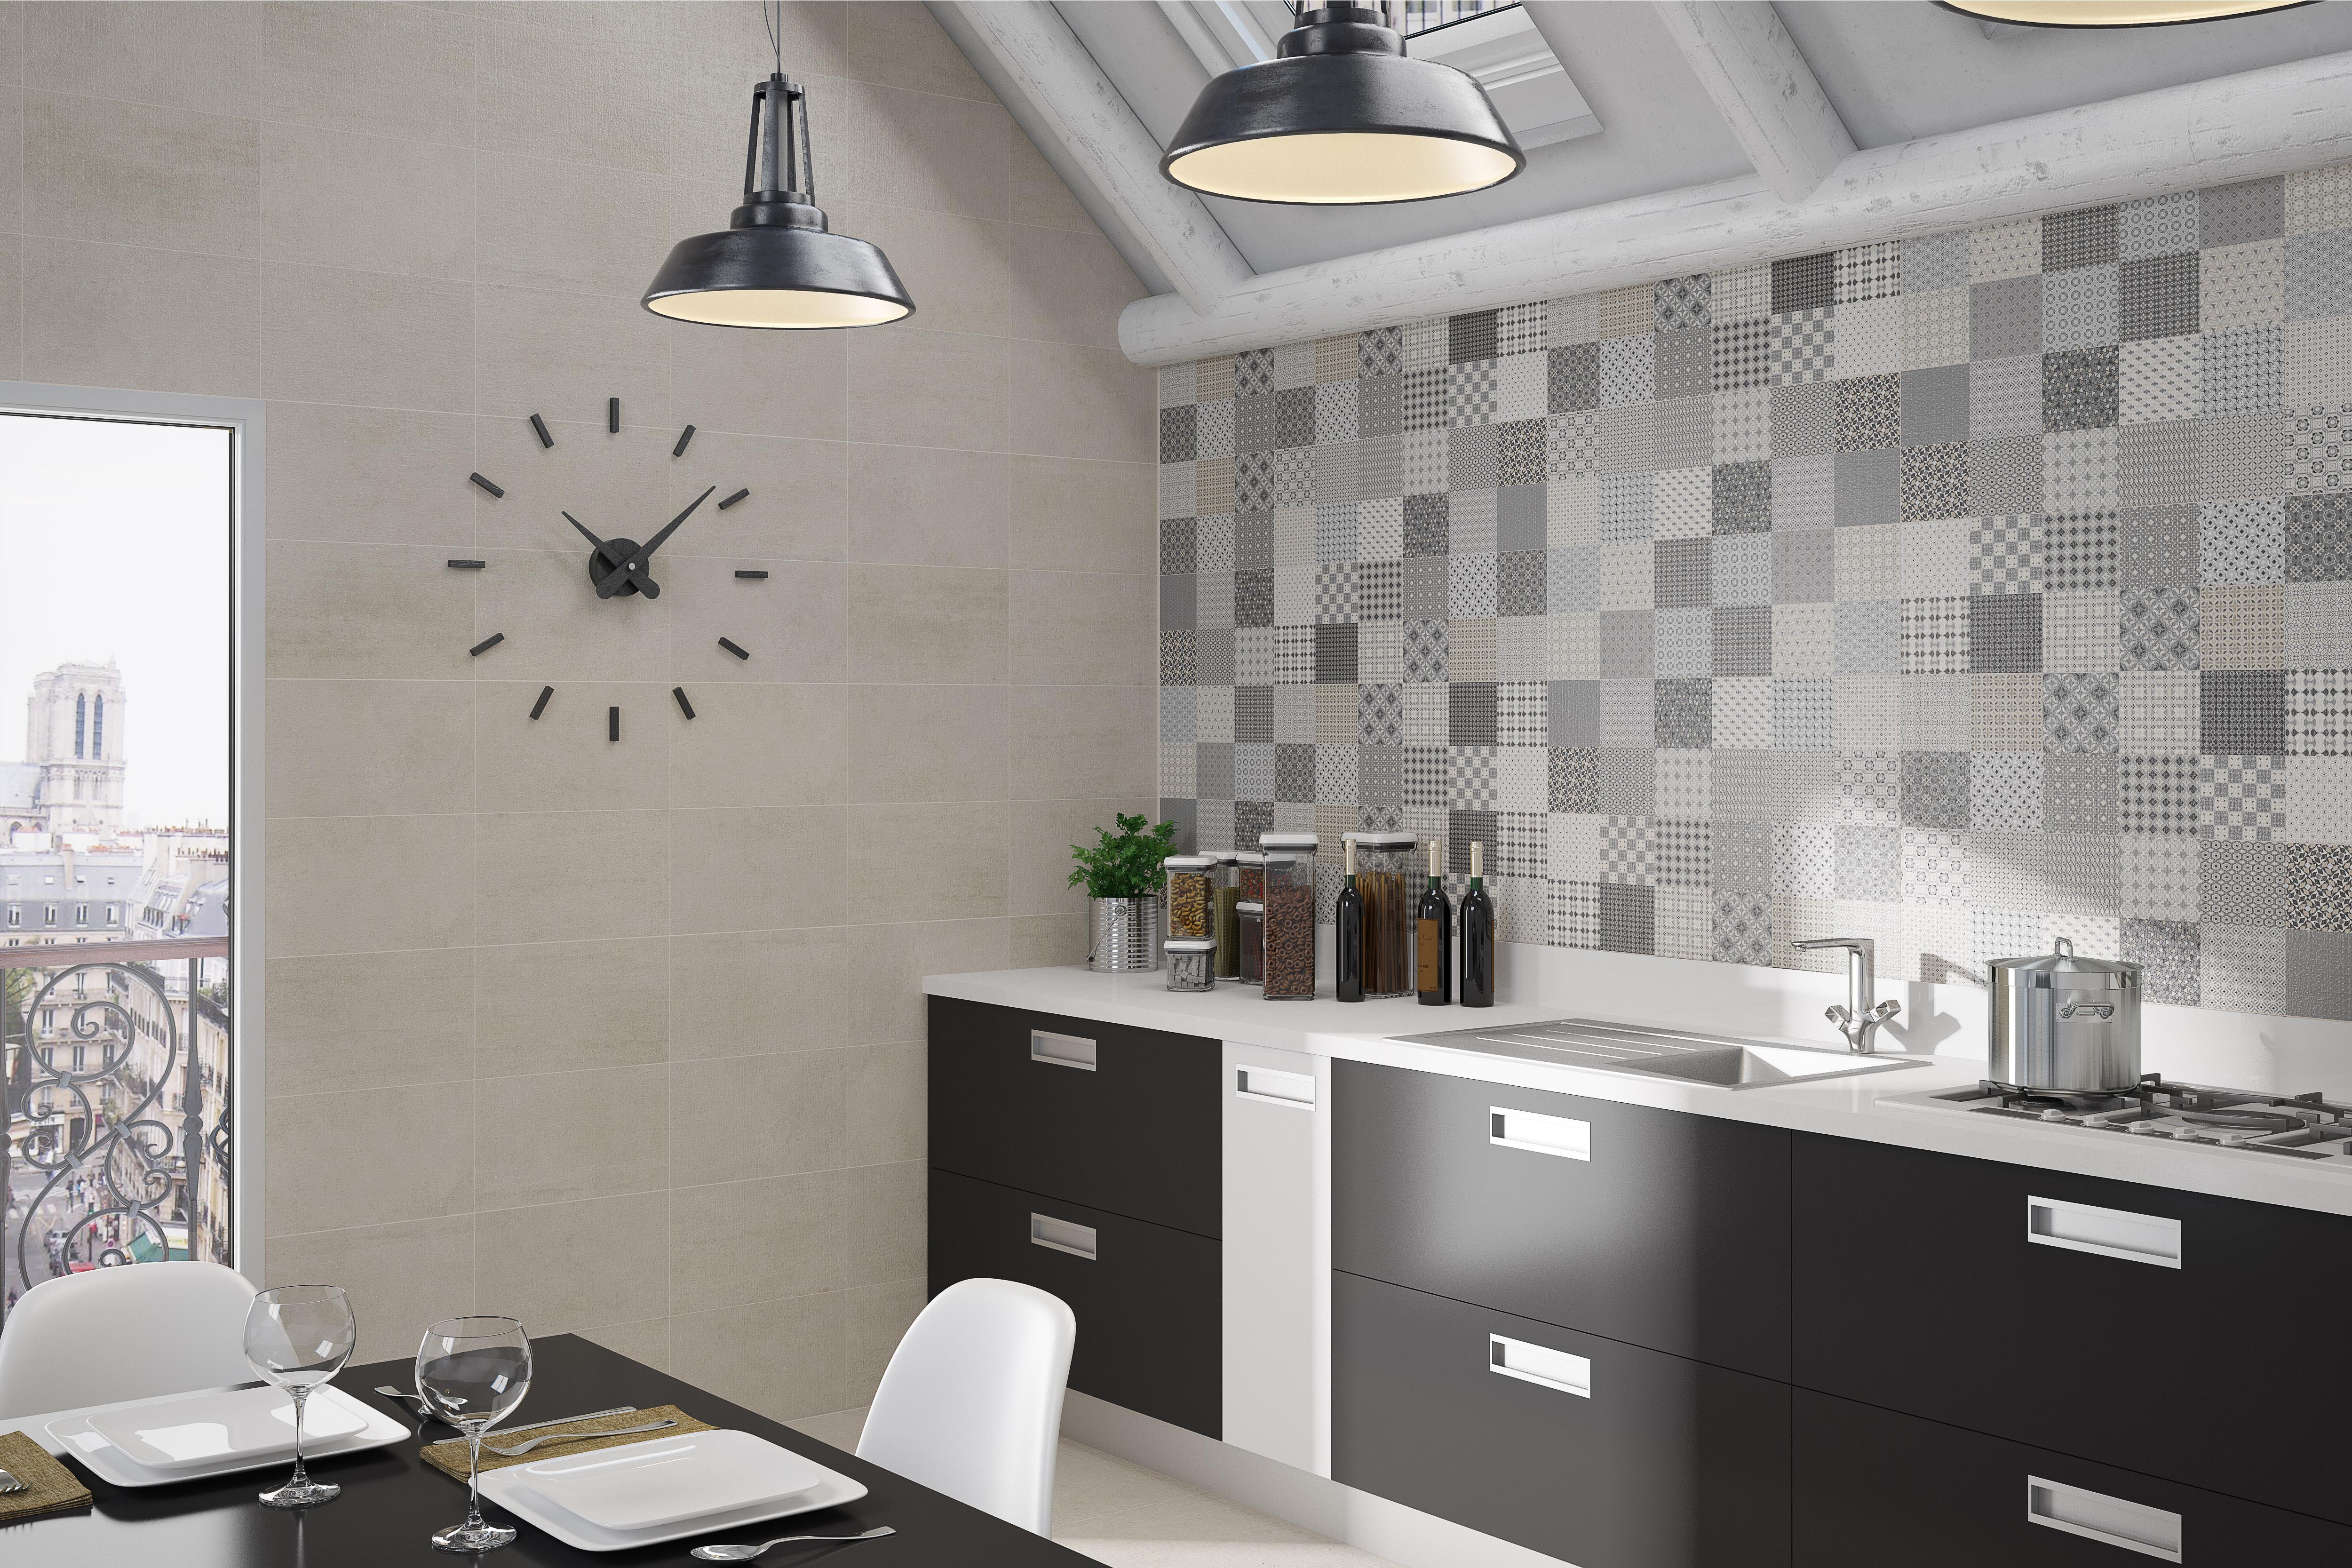 Tiling a kitchen wall is an essential part of creating a beautiful and functional kitchen. By following the above steps and
choosing the right tiles
, properly preparing the wall surface, and ensuring a correct installation process, you can achieve a stunning and long-lasting result that will elevate the overall design of your kitchen. Don't be afraid to seek professional help if needed, as a properly tiled kitchen wall will significantly enhance the overall look and feel of your kitchen.


































:max_bytes(150000):strip_icc()/remove_tile_grout_in_a_few_simple_steps_1822630_01-b72988e0255c448fbdcdc3b03d3372e9.jpg)

:max_bytes(150000):strip_icc()/remove_tile_grout_in_a_few_simple_steps_1822630_05-04d3c943310447a7a6a54c39d4ed52c4.jpg)





-1920w.jpeg)
