1. Use a Patch Kit Specifically Designed for Air Mattresses
If you notice a leak in your air mattress, the first step is to find a patch kit specifically designed for air mattresses. These kits often come with all the necessary materials and instructions to effectively seal the leak. Look for kits that are made for your specific type of air mattress to ensure the best results.


1. Use a patch kit specifically designed for air mattresses


2. Apply a Layer of Rubber Cement to the Leak and Let it Dry Before Adding a Patch
Rubber cement is a strong adhesive that can effectively seal small leaks in air mattresses. Before applying the patch, make sure the area around the leak is clean and dry. Then, apply a layer of rubber cement to the leak and let it dry completely before adding a patch. This will ensure that the patch adheres properly and creates a strong seal.


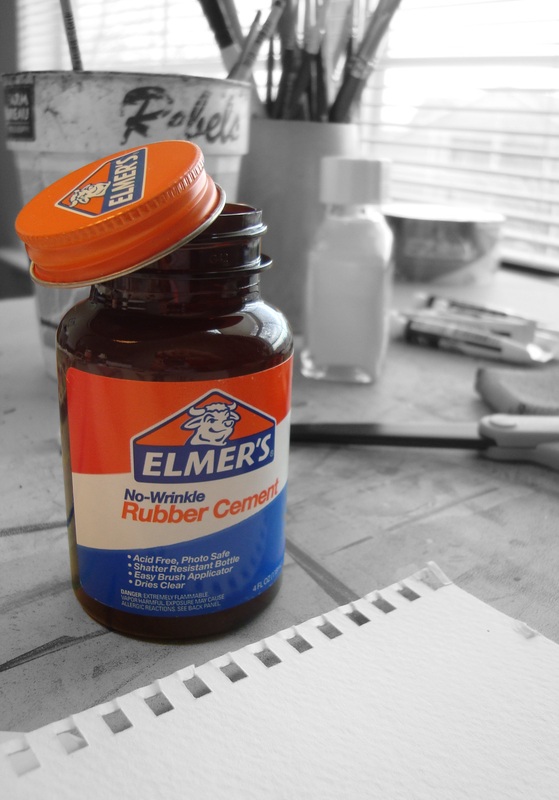
2. Apply a layer of rubber cement to the leak and let it dry before adding a patch


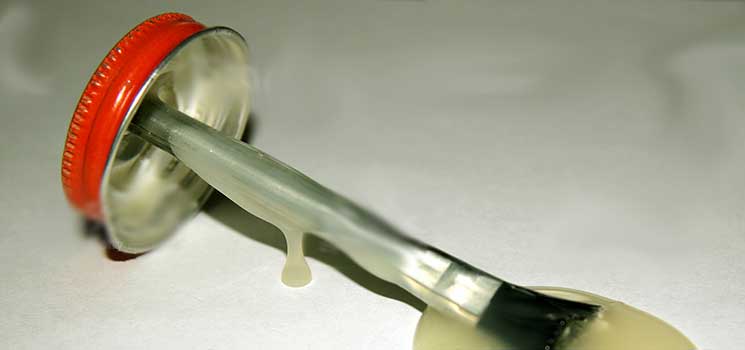


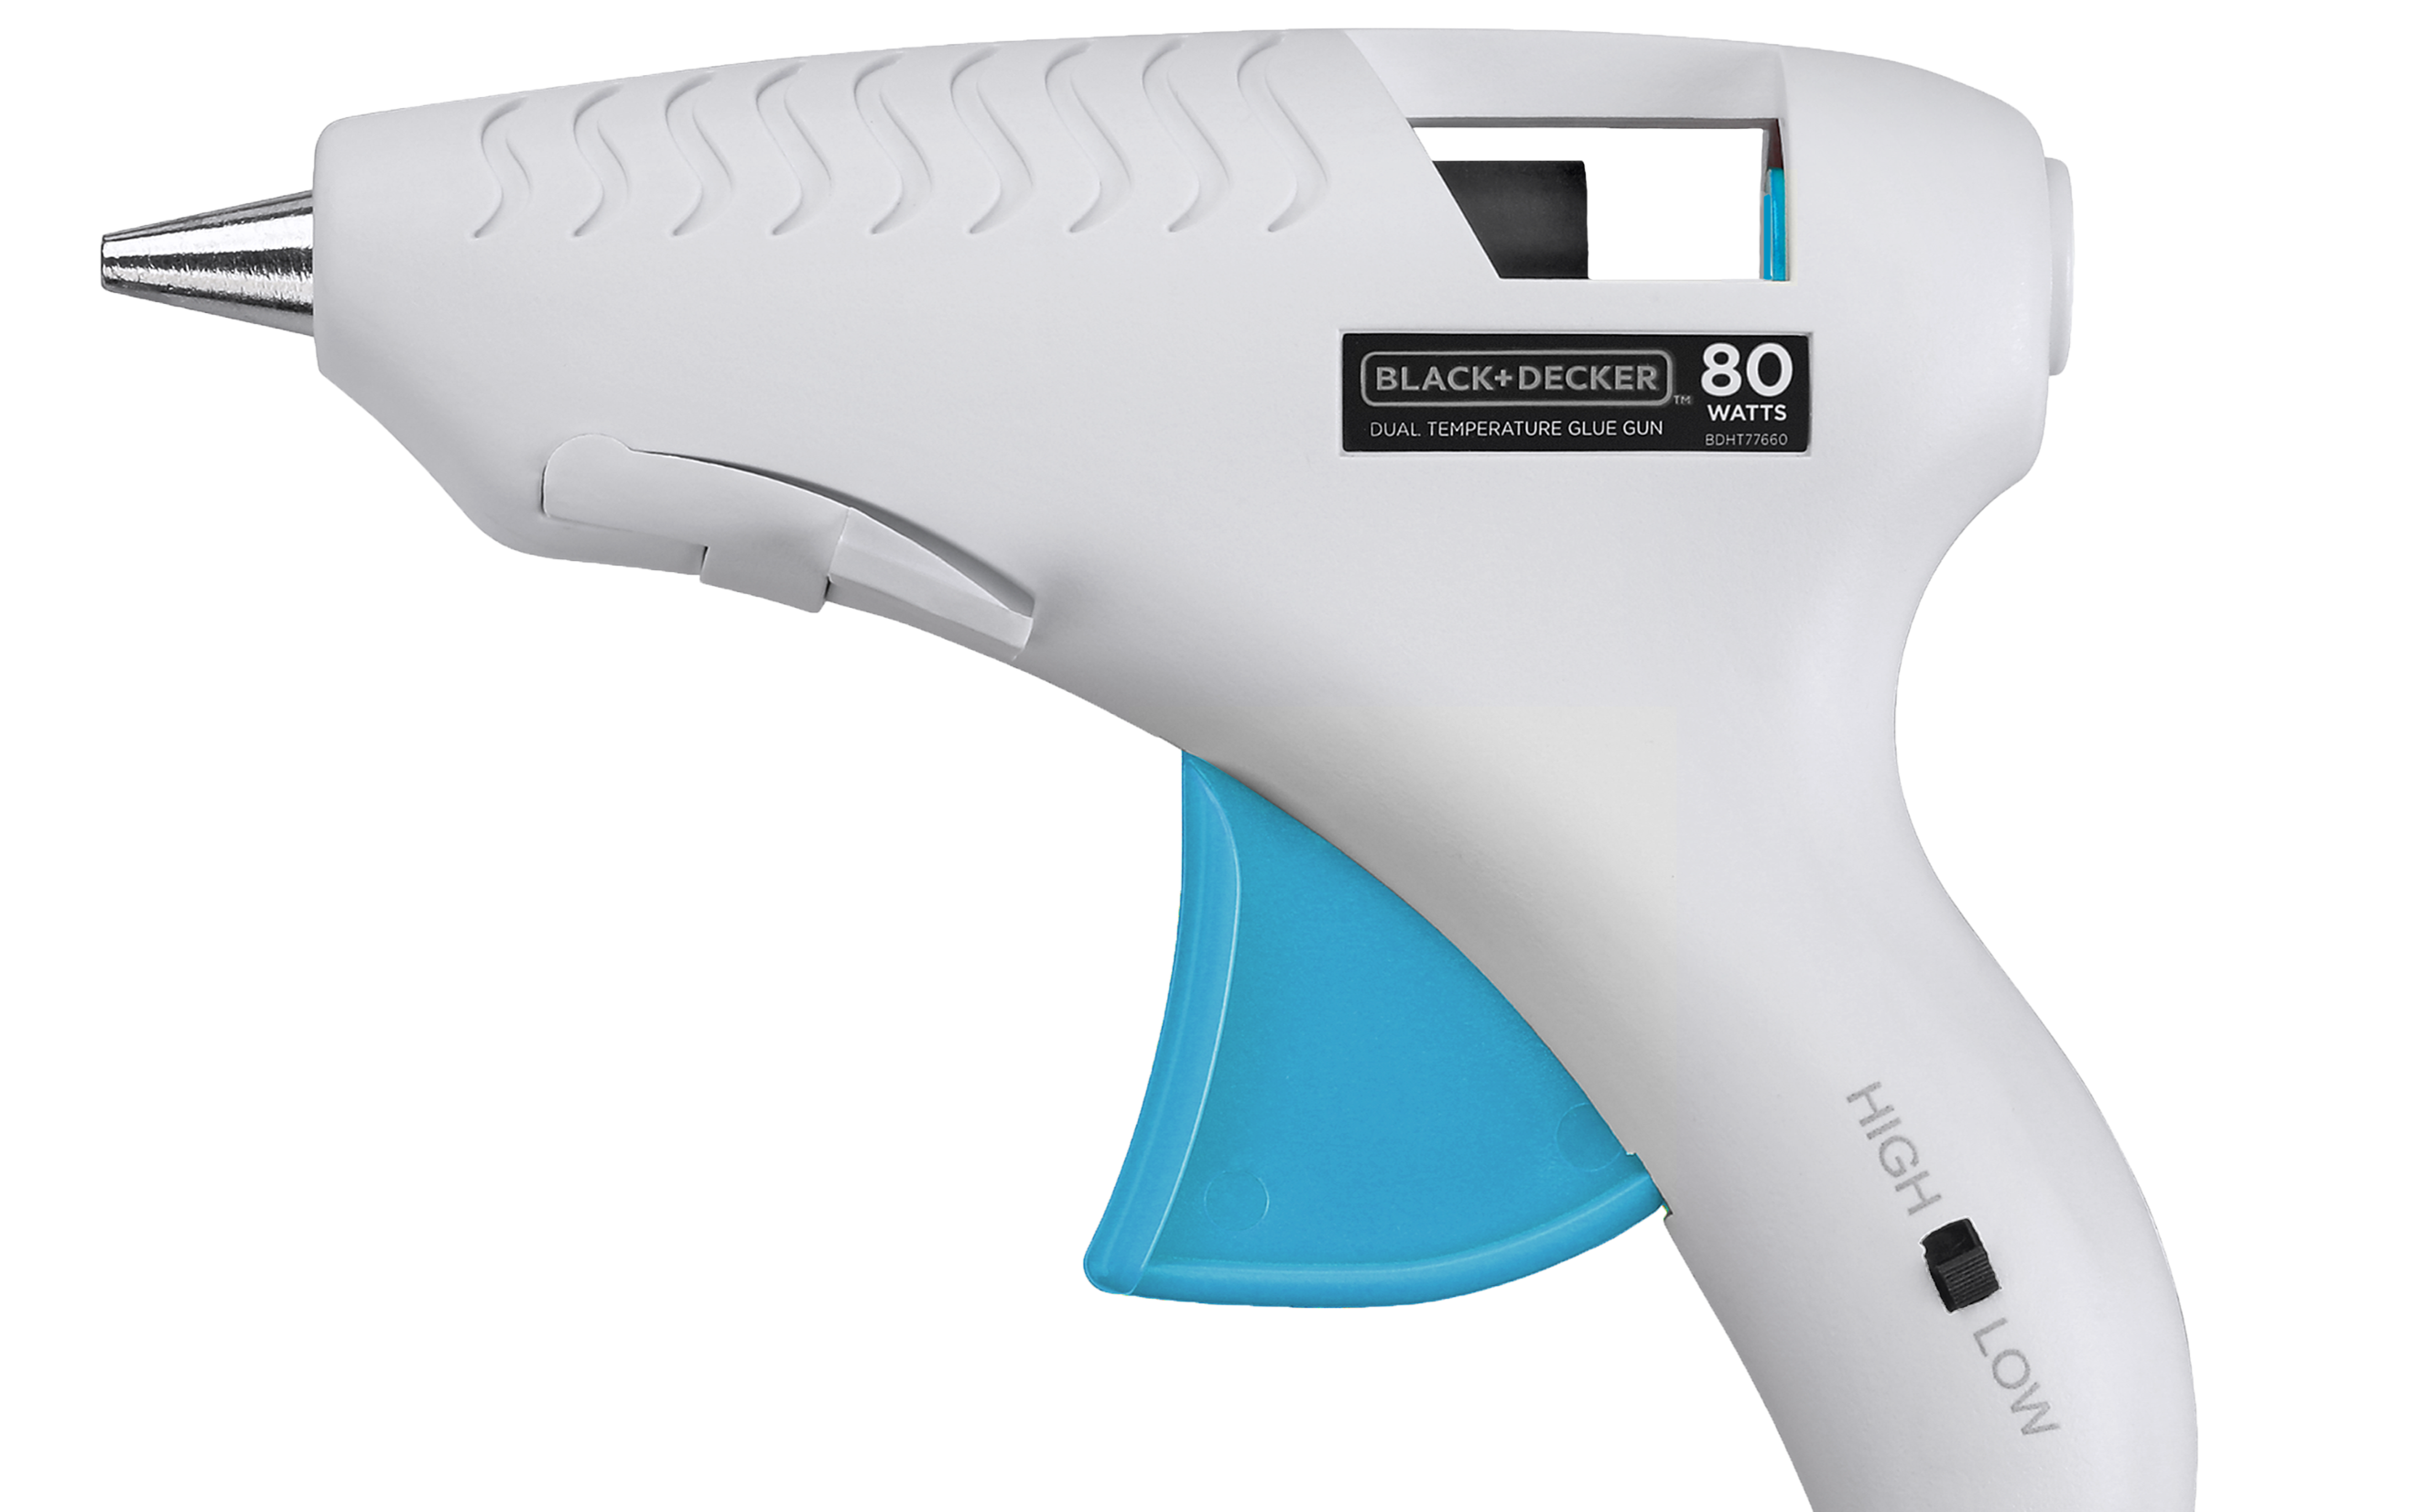
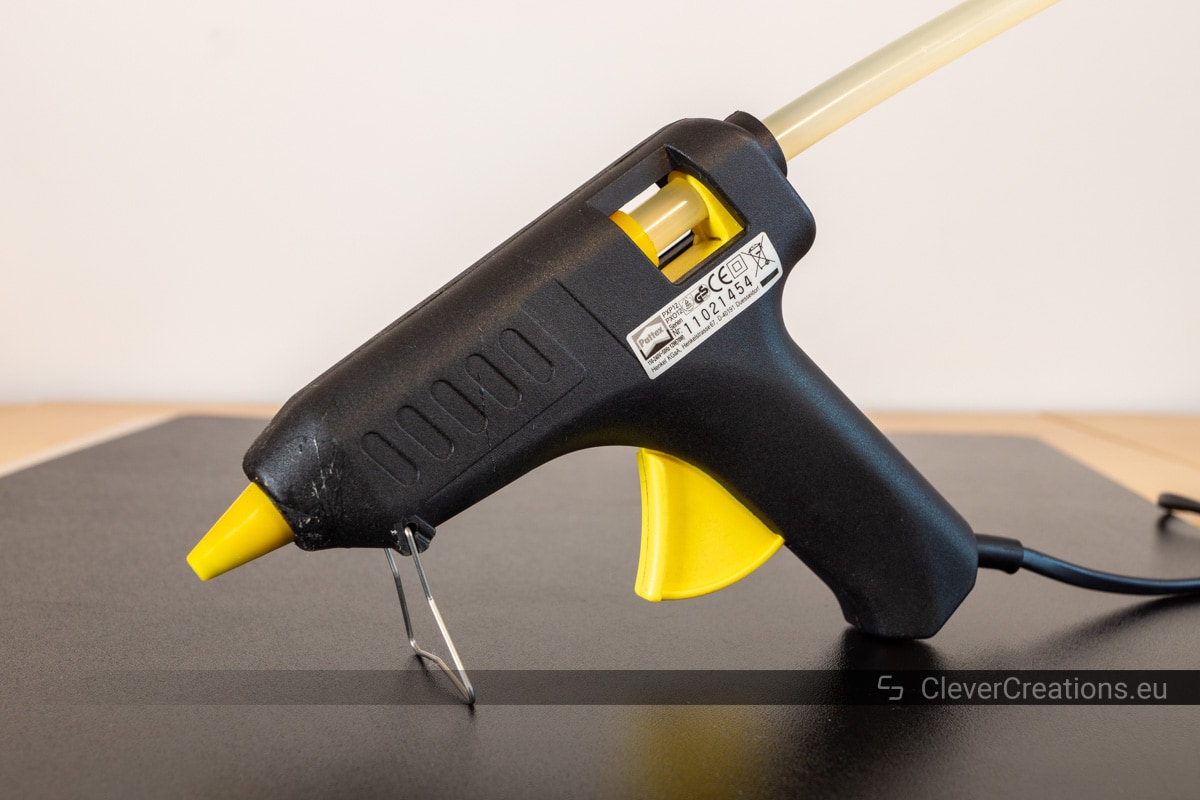
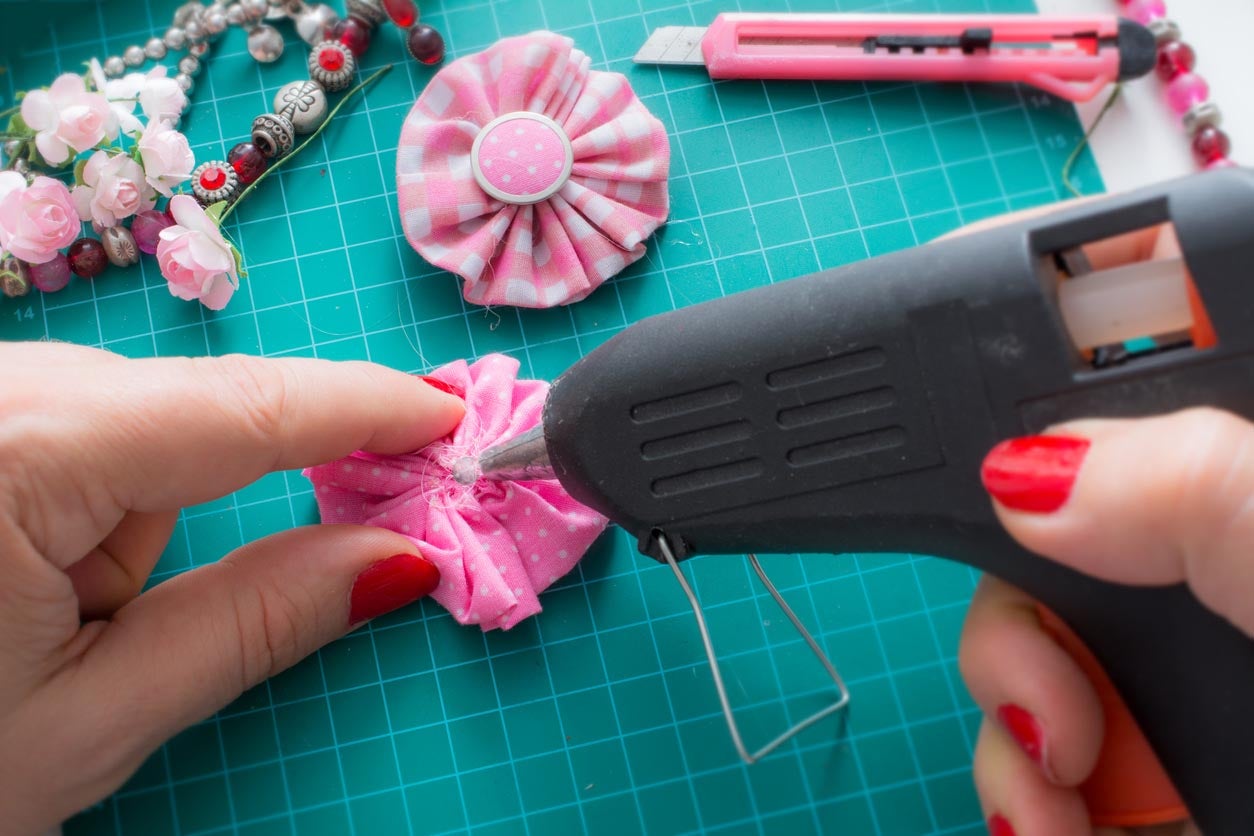
3. Use a Hot Glue Gun to Seal the Leak
Another option for sealing a leak in your air mattress is to use a hot glue gun. This method works best for smaller leaks and can be a quick and easy solution. Simply heat up the glue gun, apply a small amount of glue to the leak, and smooth it out with a flat object. Let the glue dry completely before inflating the mattress again.


3. Use a hot glue gun to seal the leak


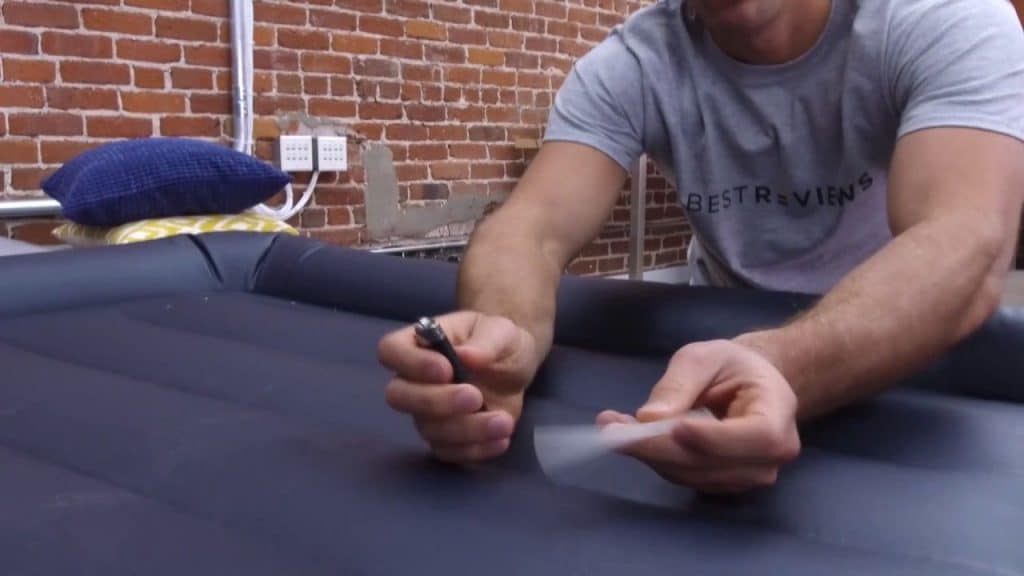
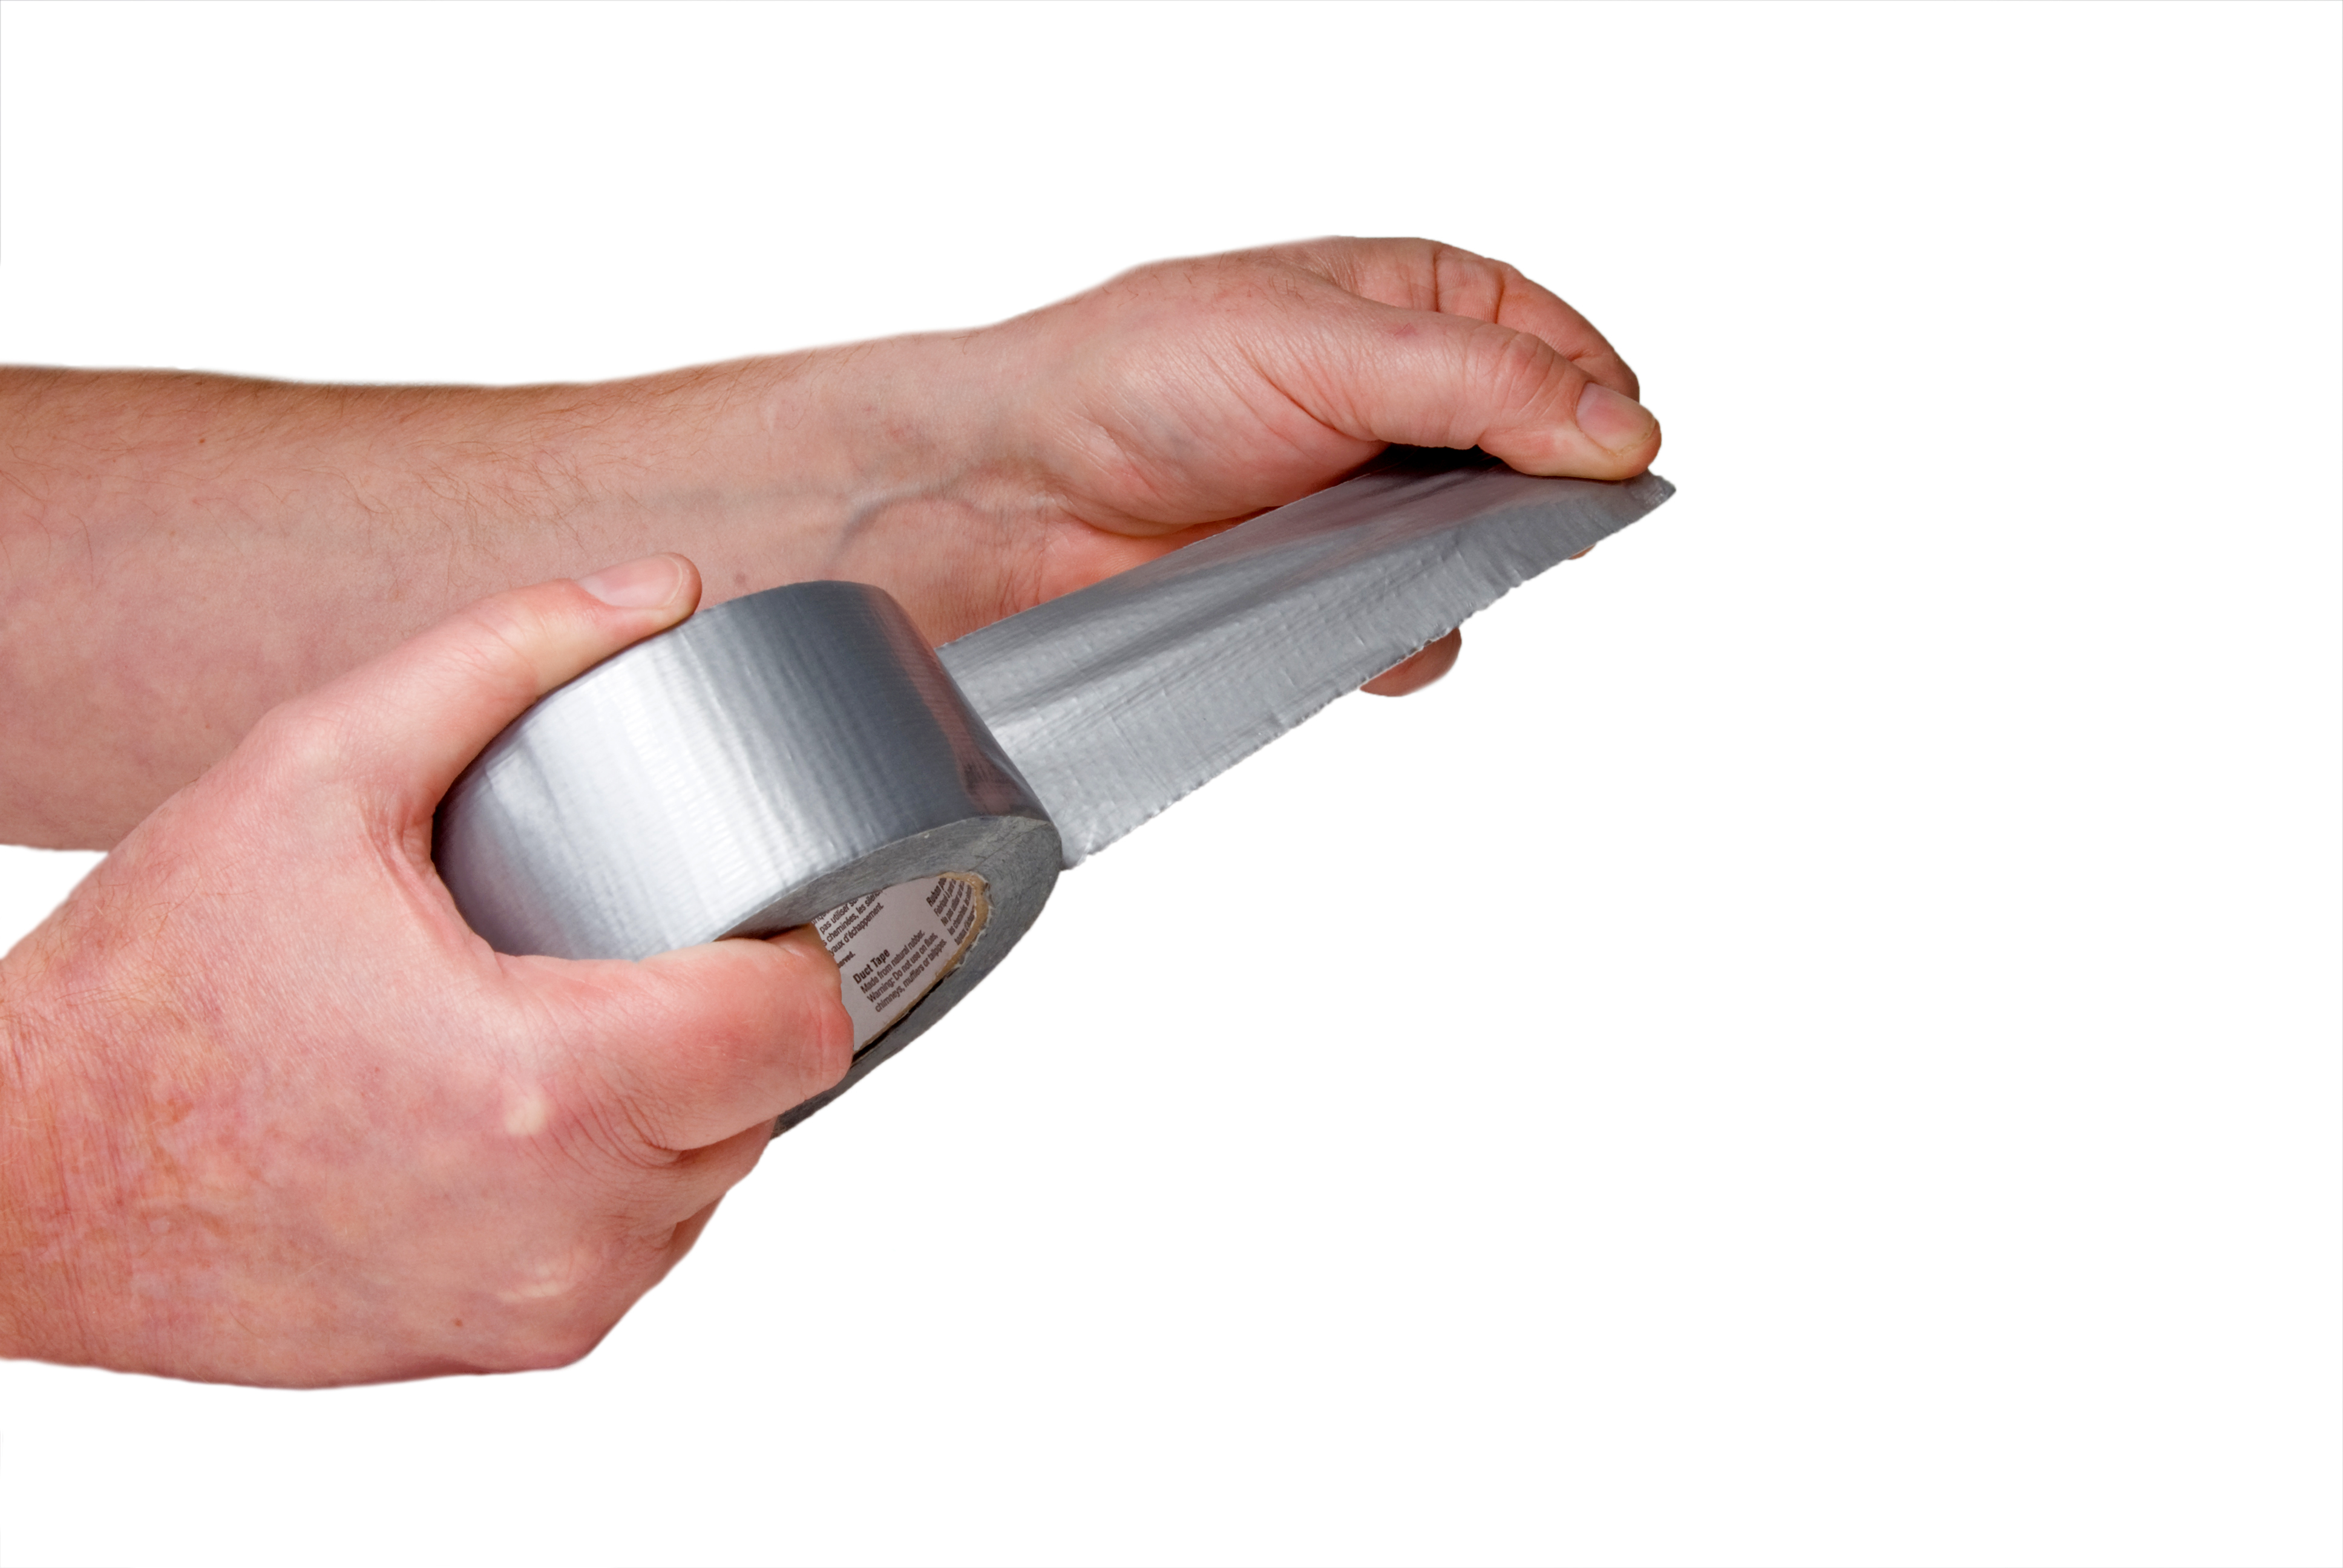
4. Apply a Layer of Duct Tape Over the Leak
Duct tape is a versatile and strong adhesive that can also be used to seal air mattress leaks. Simply cut a piece of duct tape large enough to cover the leak and apply it directly over the damaged area. Press down firmly to create a strong seal. Keep in mind that this method may not be as long-lasting as others, so it's best used as a temporary solution.


4. Apply a layer of duct tape over the leak


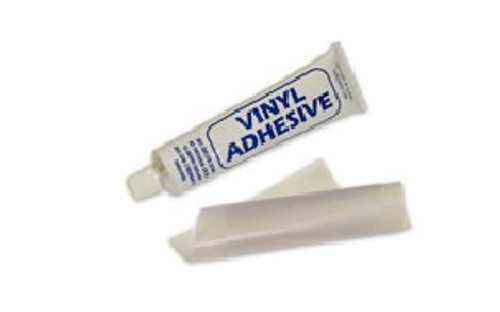
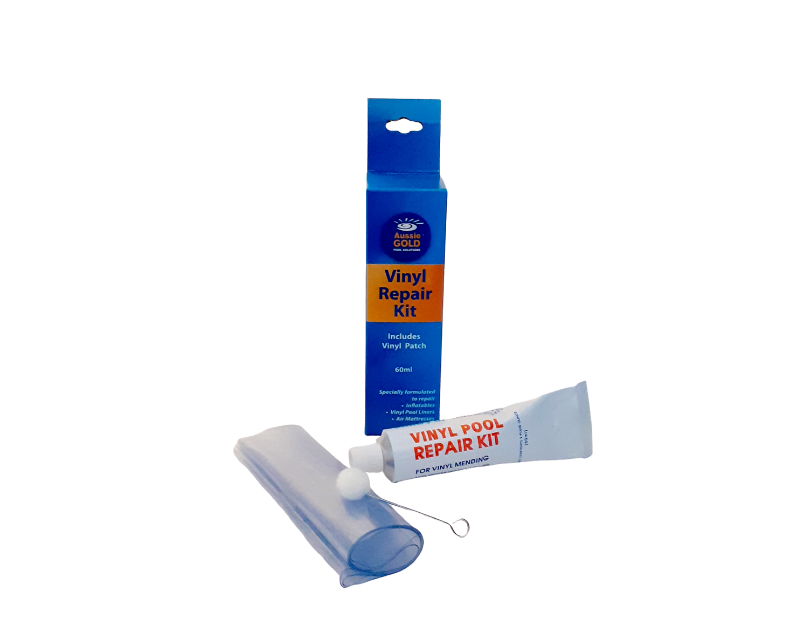
5. Use a Vinyl Repair Kit to Patch the Leak
Vinyl repair kits are specifically designed to fix leaks in vinyl materials, making them a great option for air mattresses. These kits usually come with patches and adhesive, as well as instructions for how to effectively repair the leak. Follow the instructions carefully for the best results.
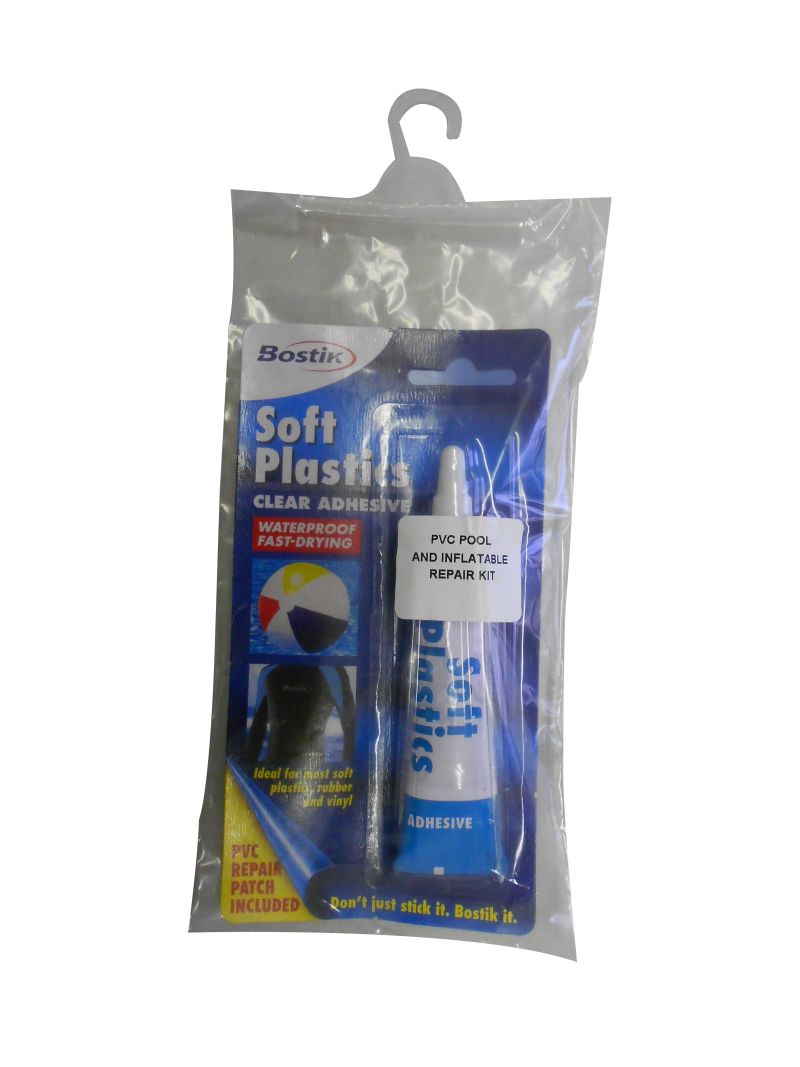


5. Use a vinyl repair kit to patch the leak


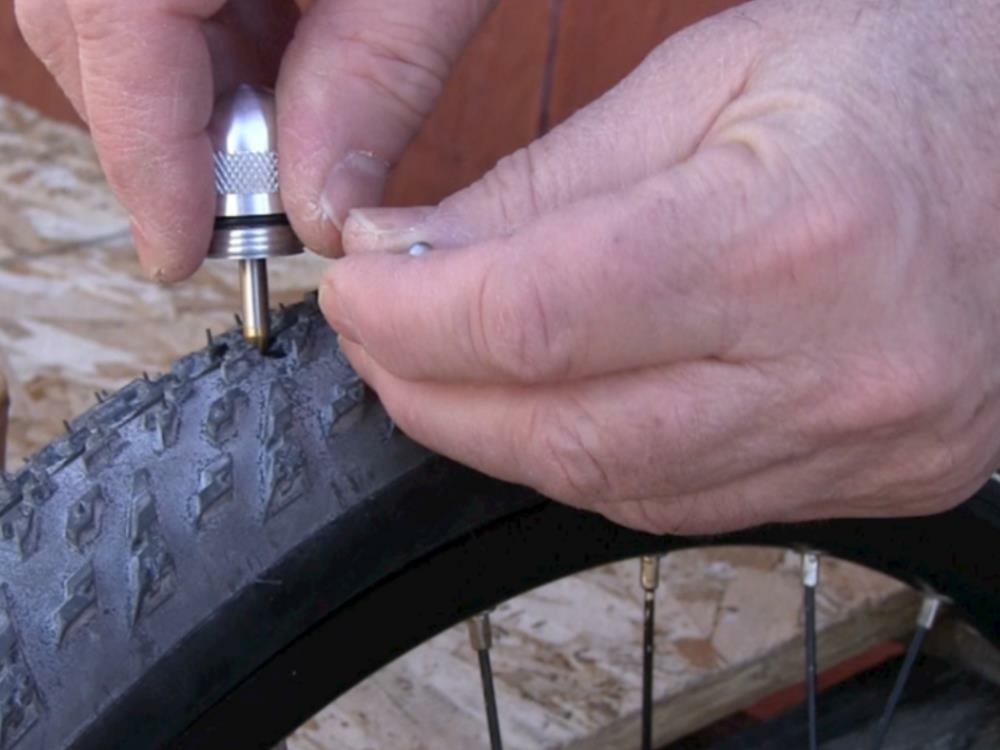
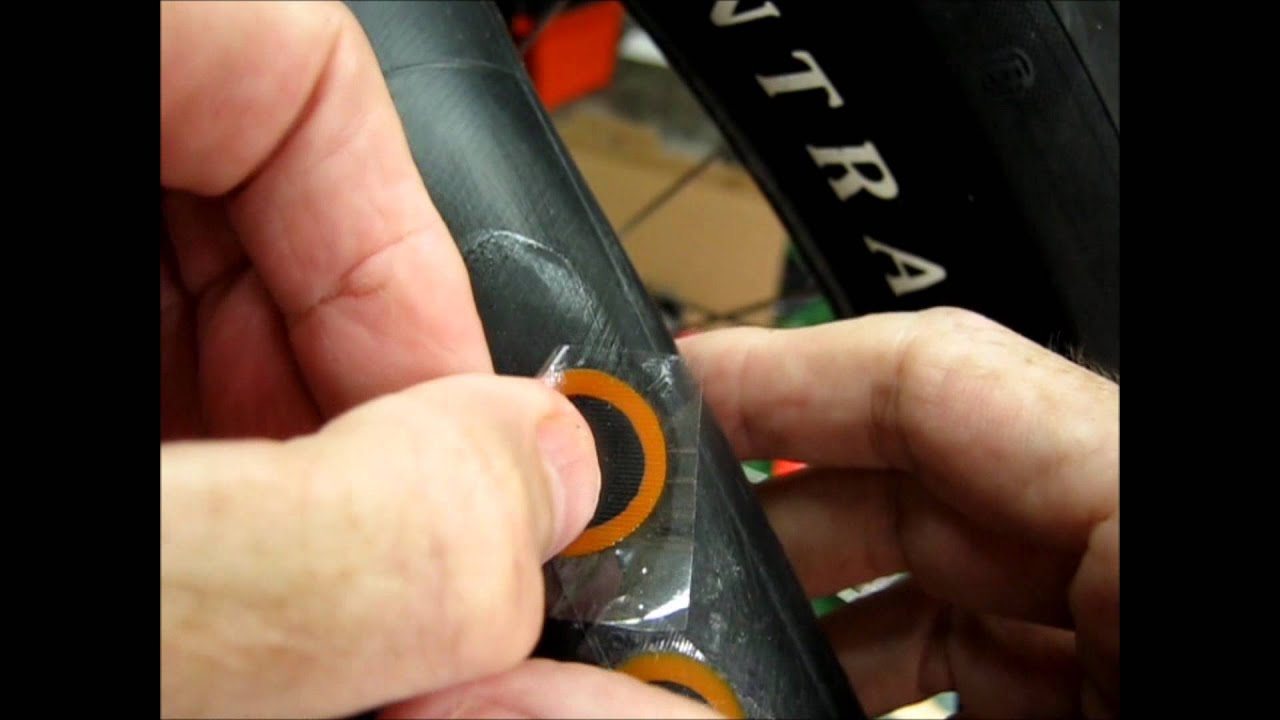
6. Use a Bicycle Tire Repair Kit to Patch the Leak
If you don't have a vinyl repair kit on hand, a bicycle tire repair kit can also do the trick. These kits often come with patches and adhesive that can effectively seal small leaks in air mattresses. Just make sure to clean and dry the area before applying the patch.


6. Use a bicycle tire repair kit to patch the leak


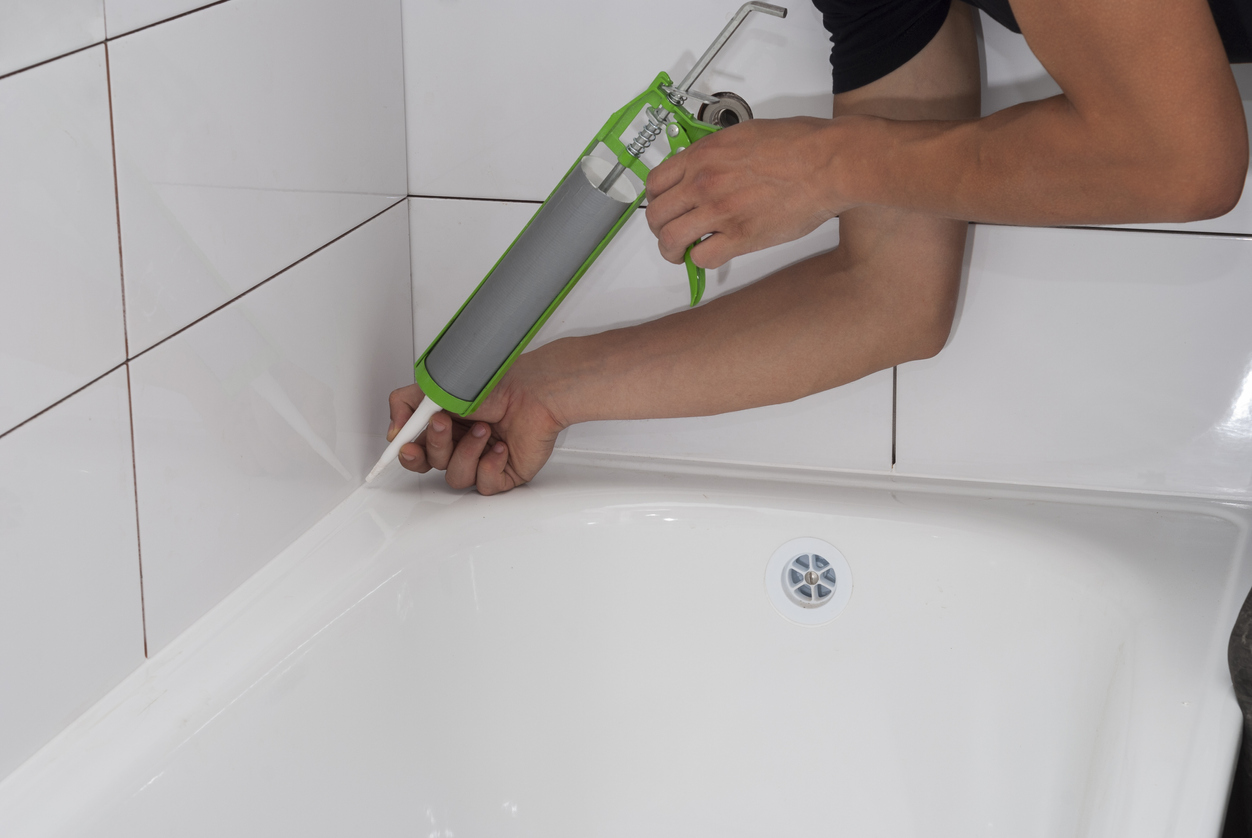
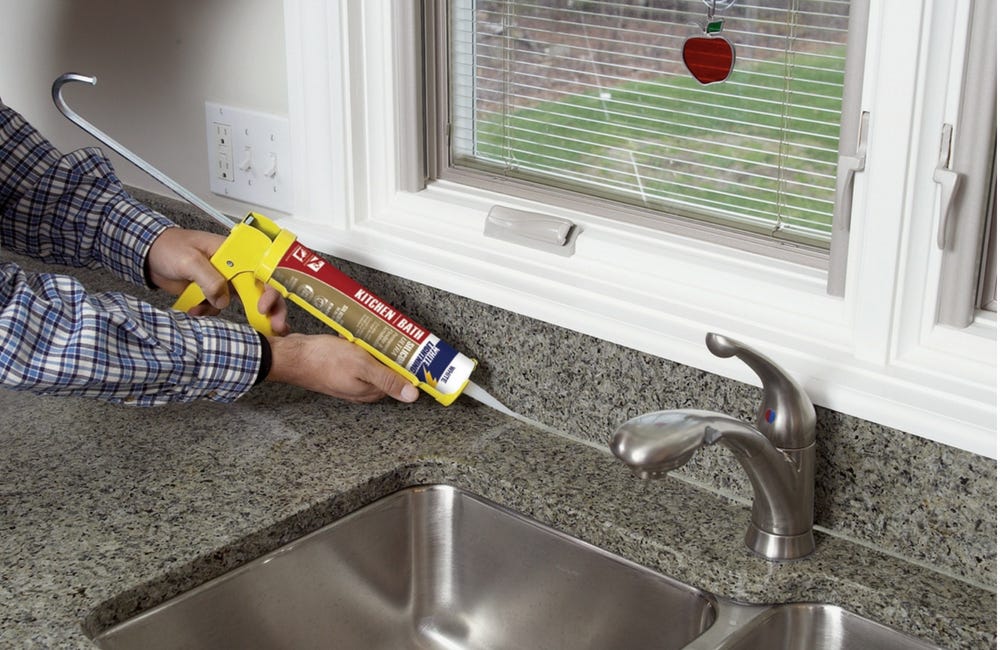
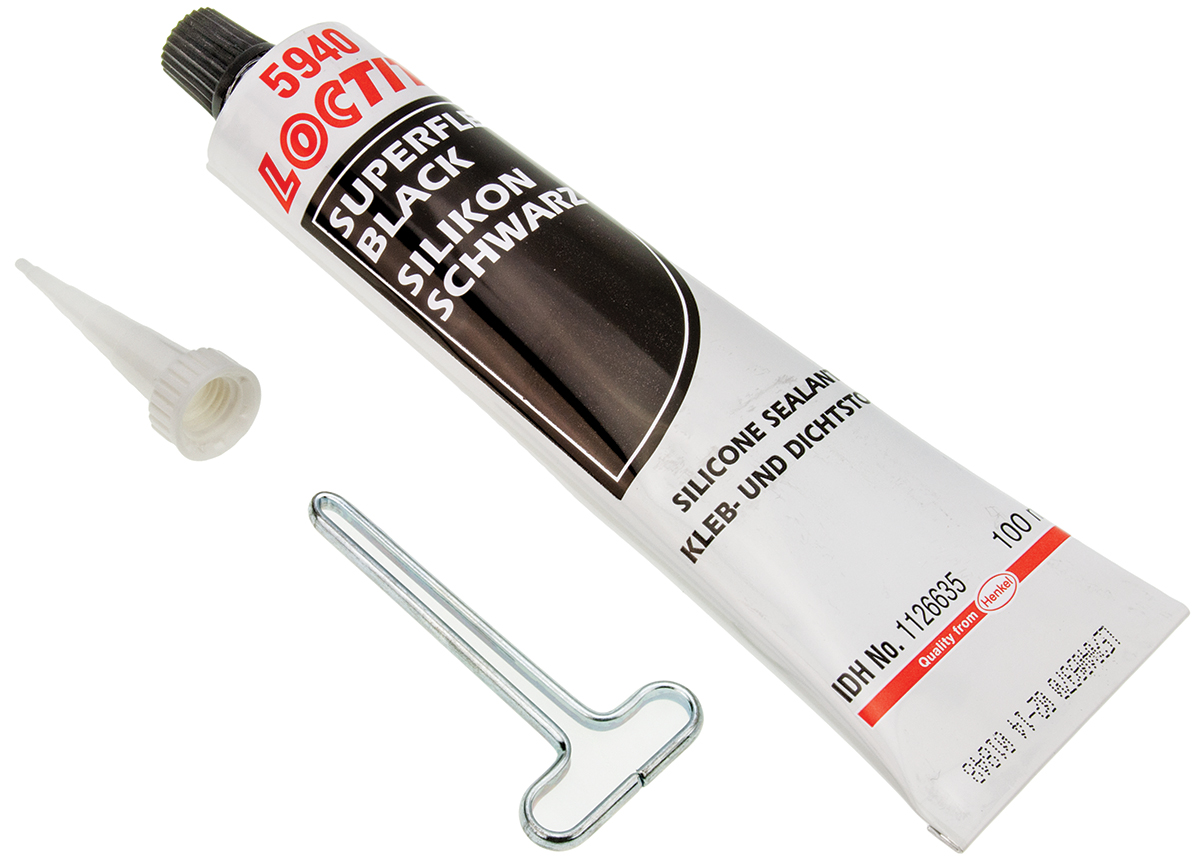
7. Use a Silicone Sealant to Seal the Leak
Silicone sealant is a strong and waterproof adhesive that can be used to seal air mattress leaks. This method works best for larger leaks or tears. Apply the sealant directly to the damaged area and smooth it out with a flat object. Let it dry completely before inflating the mattress again.
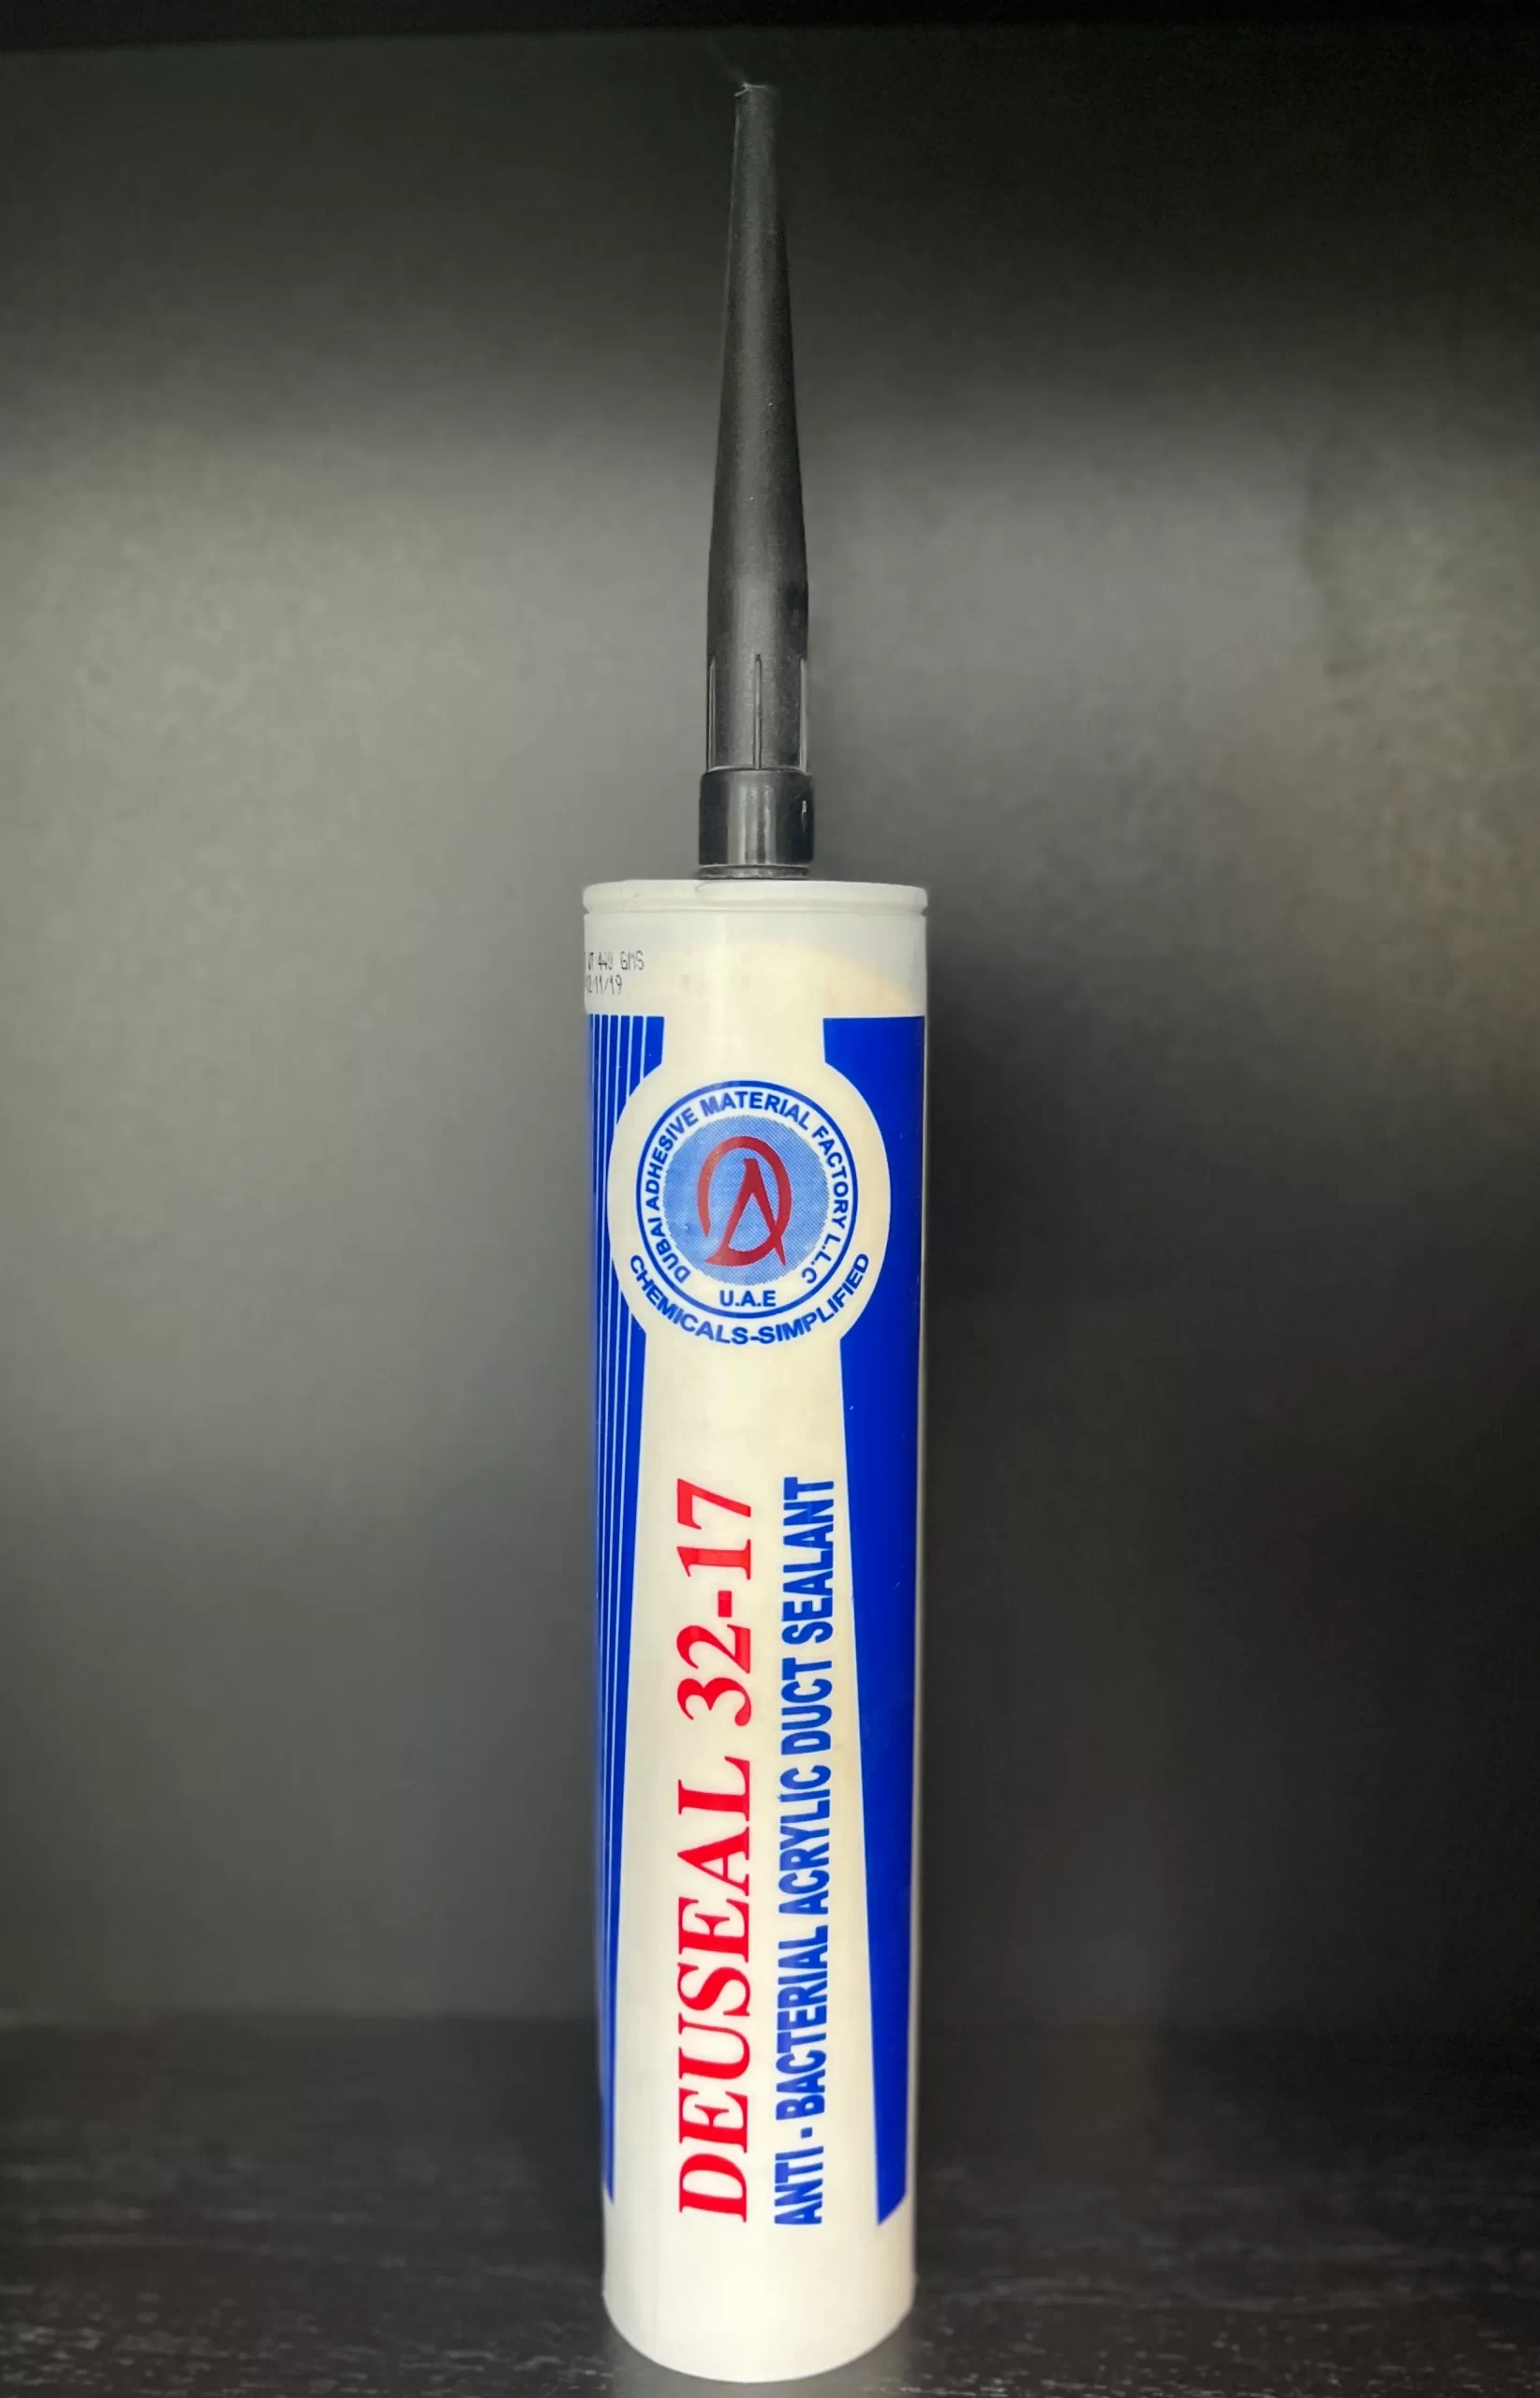

7. Use a silicone sealant to seal the leak
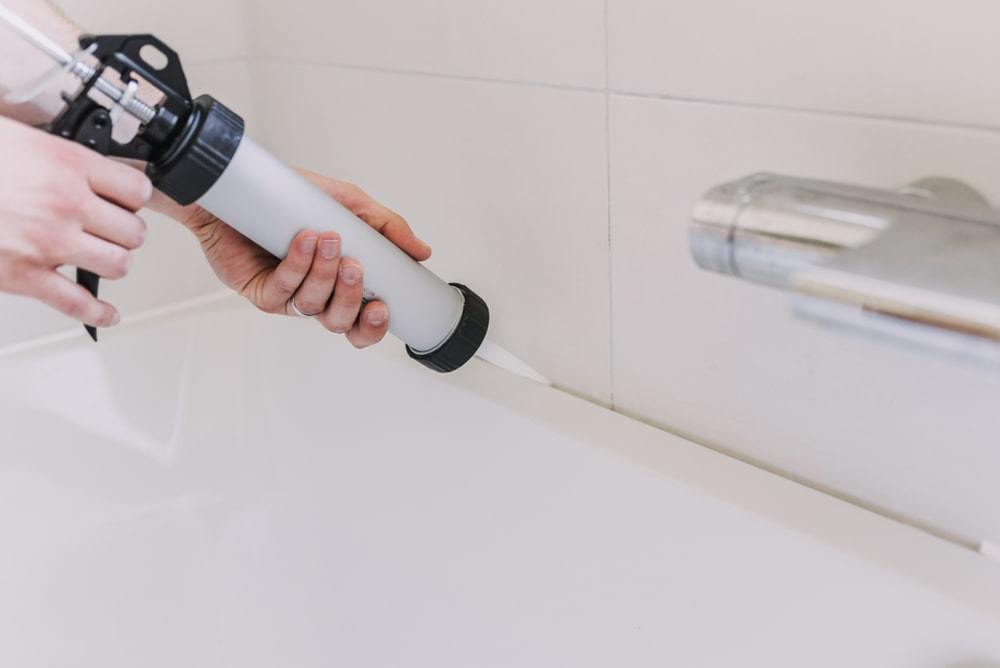

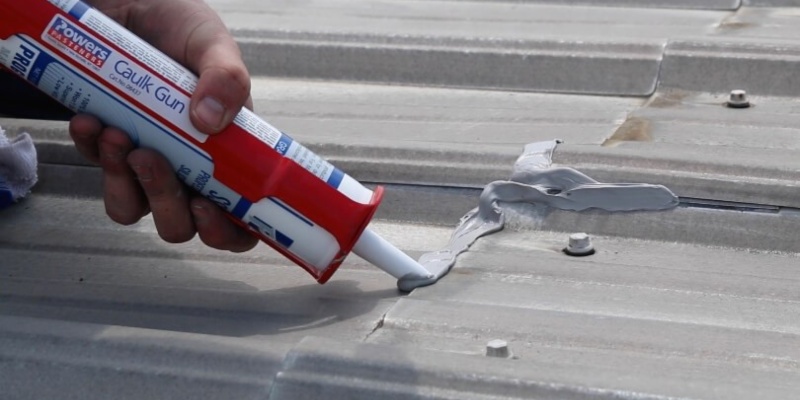


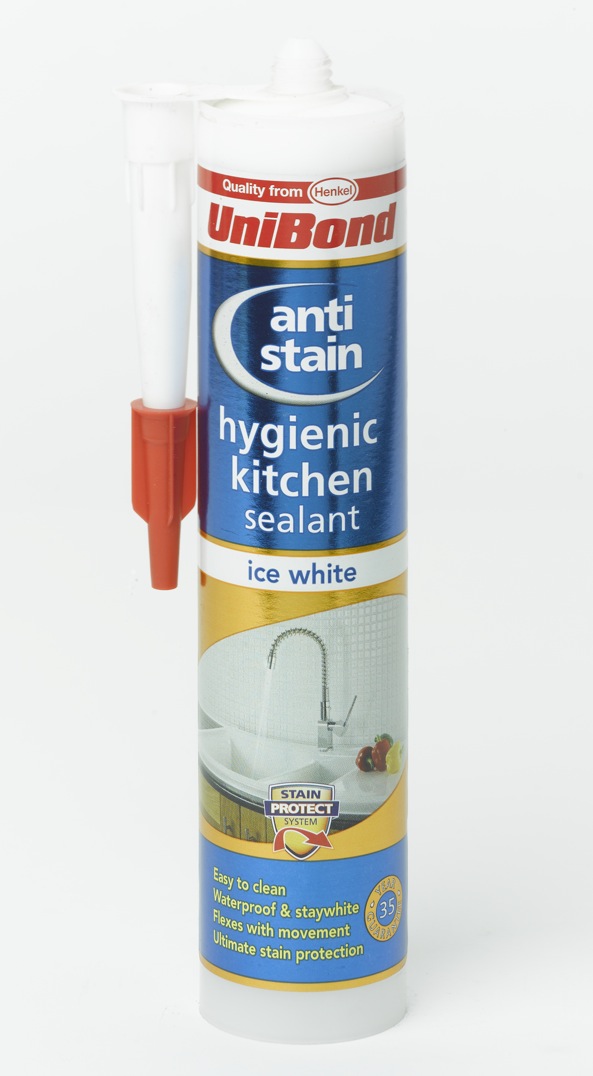
8. Use a Waterproof Adhesive to Seal the Leak
If you're dealing with a particularly stubborn leak, using a waterproof adhesive may be your best bet. These adhesives are designed to create a strong and long-lasting bond, making them ideal for fixing air mattress leaks. Just make sure to follow the instructions carefully for the best results.


8. Use a waterproof adhesive to seal the leak


9. Use a Hair Straightener to Seal the Leak
This may sound unconventional, but a hair straightener can actually be used to seal small leaks in air mattresses. Simply heat up the straightener and run it over the damaged area to melt the plastic and create a seal. Make sure to use caution and not hold the straightener in one spot for too long to avoid causing further damage.


9. Use a hair straightener to seal the leak


10. Use a Candle or Wax to Seal the Leak
If you don't have access to any of the above materials, a candle or wax can also be used to seal air mattress leaks. Simply melt a small amount of wax over the leak and smooth it out with a flat object. This method may not be as long-lasting as others, but it can be a quick and easy solution in a pinch.
Don't let a leaky air mattress ruin your camping trip or guest's sleepover. With these 10 best ways to seal a leak in an air mattress, you can easily fix the problem and get back to enjoying a comfortable night's sleep. Just remember to choose the method that best suits your needs and follow the instructions carefully for the best results.


10. Use a candle or wax to seal the leak


The Best Way to Seal a Leak in Your Air Mattress

Why it is Important to Fix a Leak in Your Air Mattress
 A leak in your air mattress can be a major inconvenience, especially if you rely on it for guests or camping trips. Not only does it disrupt your sleep, but it can also lead to a deflated mattress and a potentially uncomfortable night. Additionally, leaving a leak unsealed can cause further damage to your air mattress, making it unusable in the future. That's why it's important to address a leak as soon as you notice it.
Step-by-Step Guide to Sealing a Leak in Your Air Mattress
 Step 1:
Identify the leak. The first step is to locate the source of the leak. Inflate your air mattress and carefully run your hand over the surface, feeling for any escaping air. You can also listen for a hissing sound to pinpoint the leak.
Step 2:
Clean and dry the area. Once you have located the leak, clean the surrounding area with a mild soap and water solution. Be sure to dry the area thoroughly before proceeding.
Step 3:
Use a patch kit. Most air mattresses come with a patch kit specifically designed for repairing leaks. If you don't have a patch kit, you can purchase one at your local hardware store. Follow the instructions on the patch kit to properly seal the leak.
Step 4:
Apply a sealant. If your air mattress did not come with a patch kit or if the kit did not work, you can use a sealant specifically designed for air mattresses. Apply the sealant to the leak and let it dry according to the instructions on the product.
Step 5:
Test the seal. Once the patch or sealant has dried, inflate your air mattress to check if the leak has been sealed. If there are still signs of air escaping, repeat the process or consult a professional.
Step 1:
Identify the leak. The first step is to locate the source of the leak. Inflate your air mattress and carefully run your hand over the surface, feeling for any escaping air. You can also listen for a hissing sound to pinpoint the leak.
Step 2:
Clean and dry the area. Once you have located the leak, clean the surrounding area with a mild soap and water solution. Be sure to dry the area thoroughly before proceeding.
Step 3:
Use a patch kit. Most air mattresses come with a patch kit specifically designed for repairing leaks. If you don't have a patch kit, you can purchase one at your local hardware store. Follow the instructions on the patch kit to properly seal the leak.
Step 4:
Apply a sealant. If your air mattress did not come with a patch kit or if the kit did not work, you can use a sealant specifically designed for air mattresses. Apply the sealant to the leak and let it dry according to the instructions on the product.
Step 5:
Test the seal. Once the patch or sealant has dried, inflate your air mattress to check if the leak has been sealed. If there are still signs of air escaping, repeat the process or consult a professional.
Tips for Preventing Future Leaks
 To avoid future leaks in your air mattress, there are a few preventative measures you can take. First, be mindful of where you place your air mattress. Avoid placing it on rough or sharp surfaces that could puncture the material. Additionally, be careful when inflating and deflating your mattress, as excessive force can also cause leaks. Finally, be sure to properly store your air mattress when not in use to prevent damage.
In Conclusion
 By following these steps, you can effectively seal a leak in your air mattress and ensure a comfortable night's sleep. Remember to regularly check your air mattress for any potential leaks and take preventative measures to avoid them in the future. With proper care, your air mattress can provide many comfortable nights for years to come.