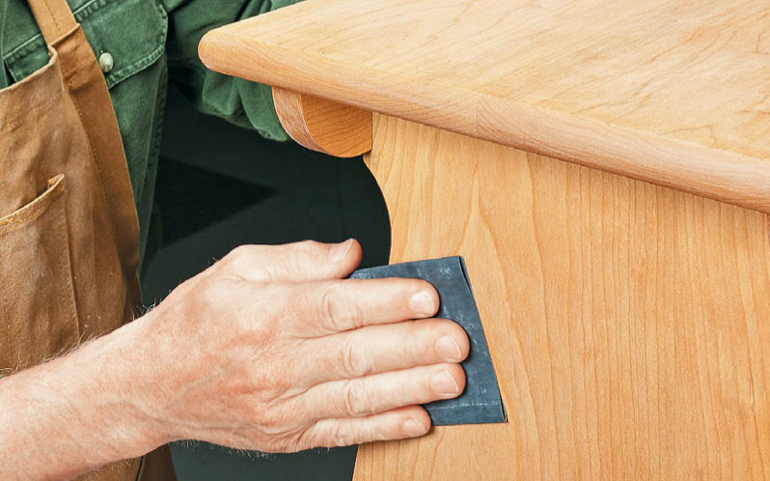
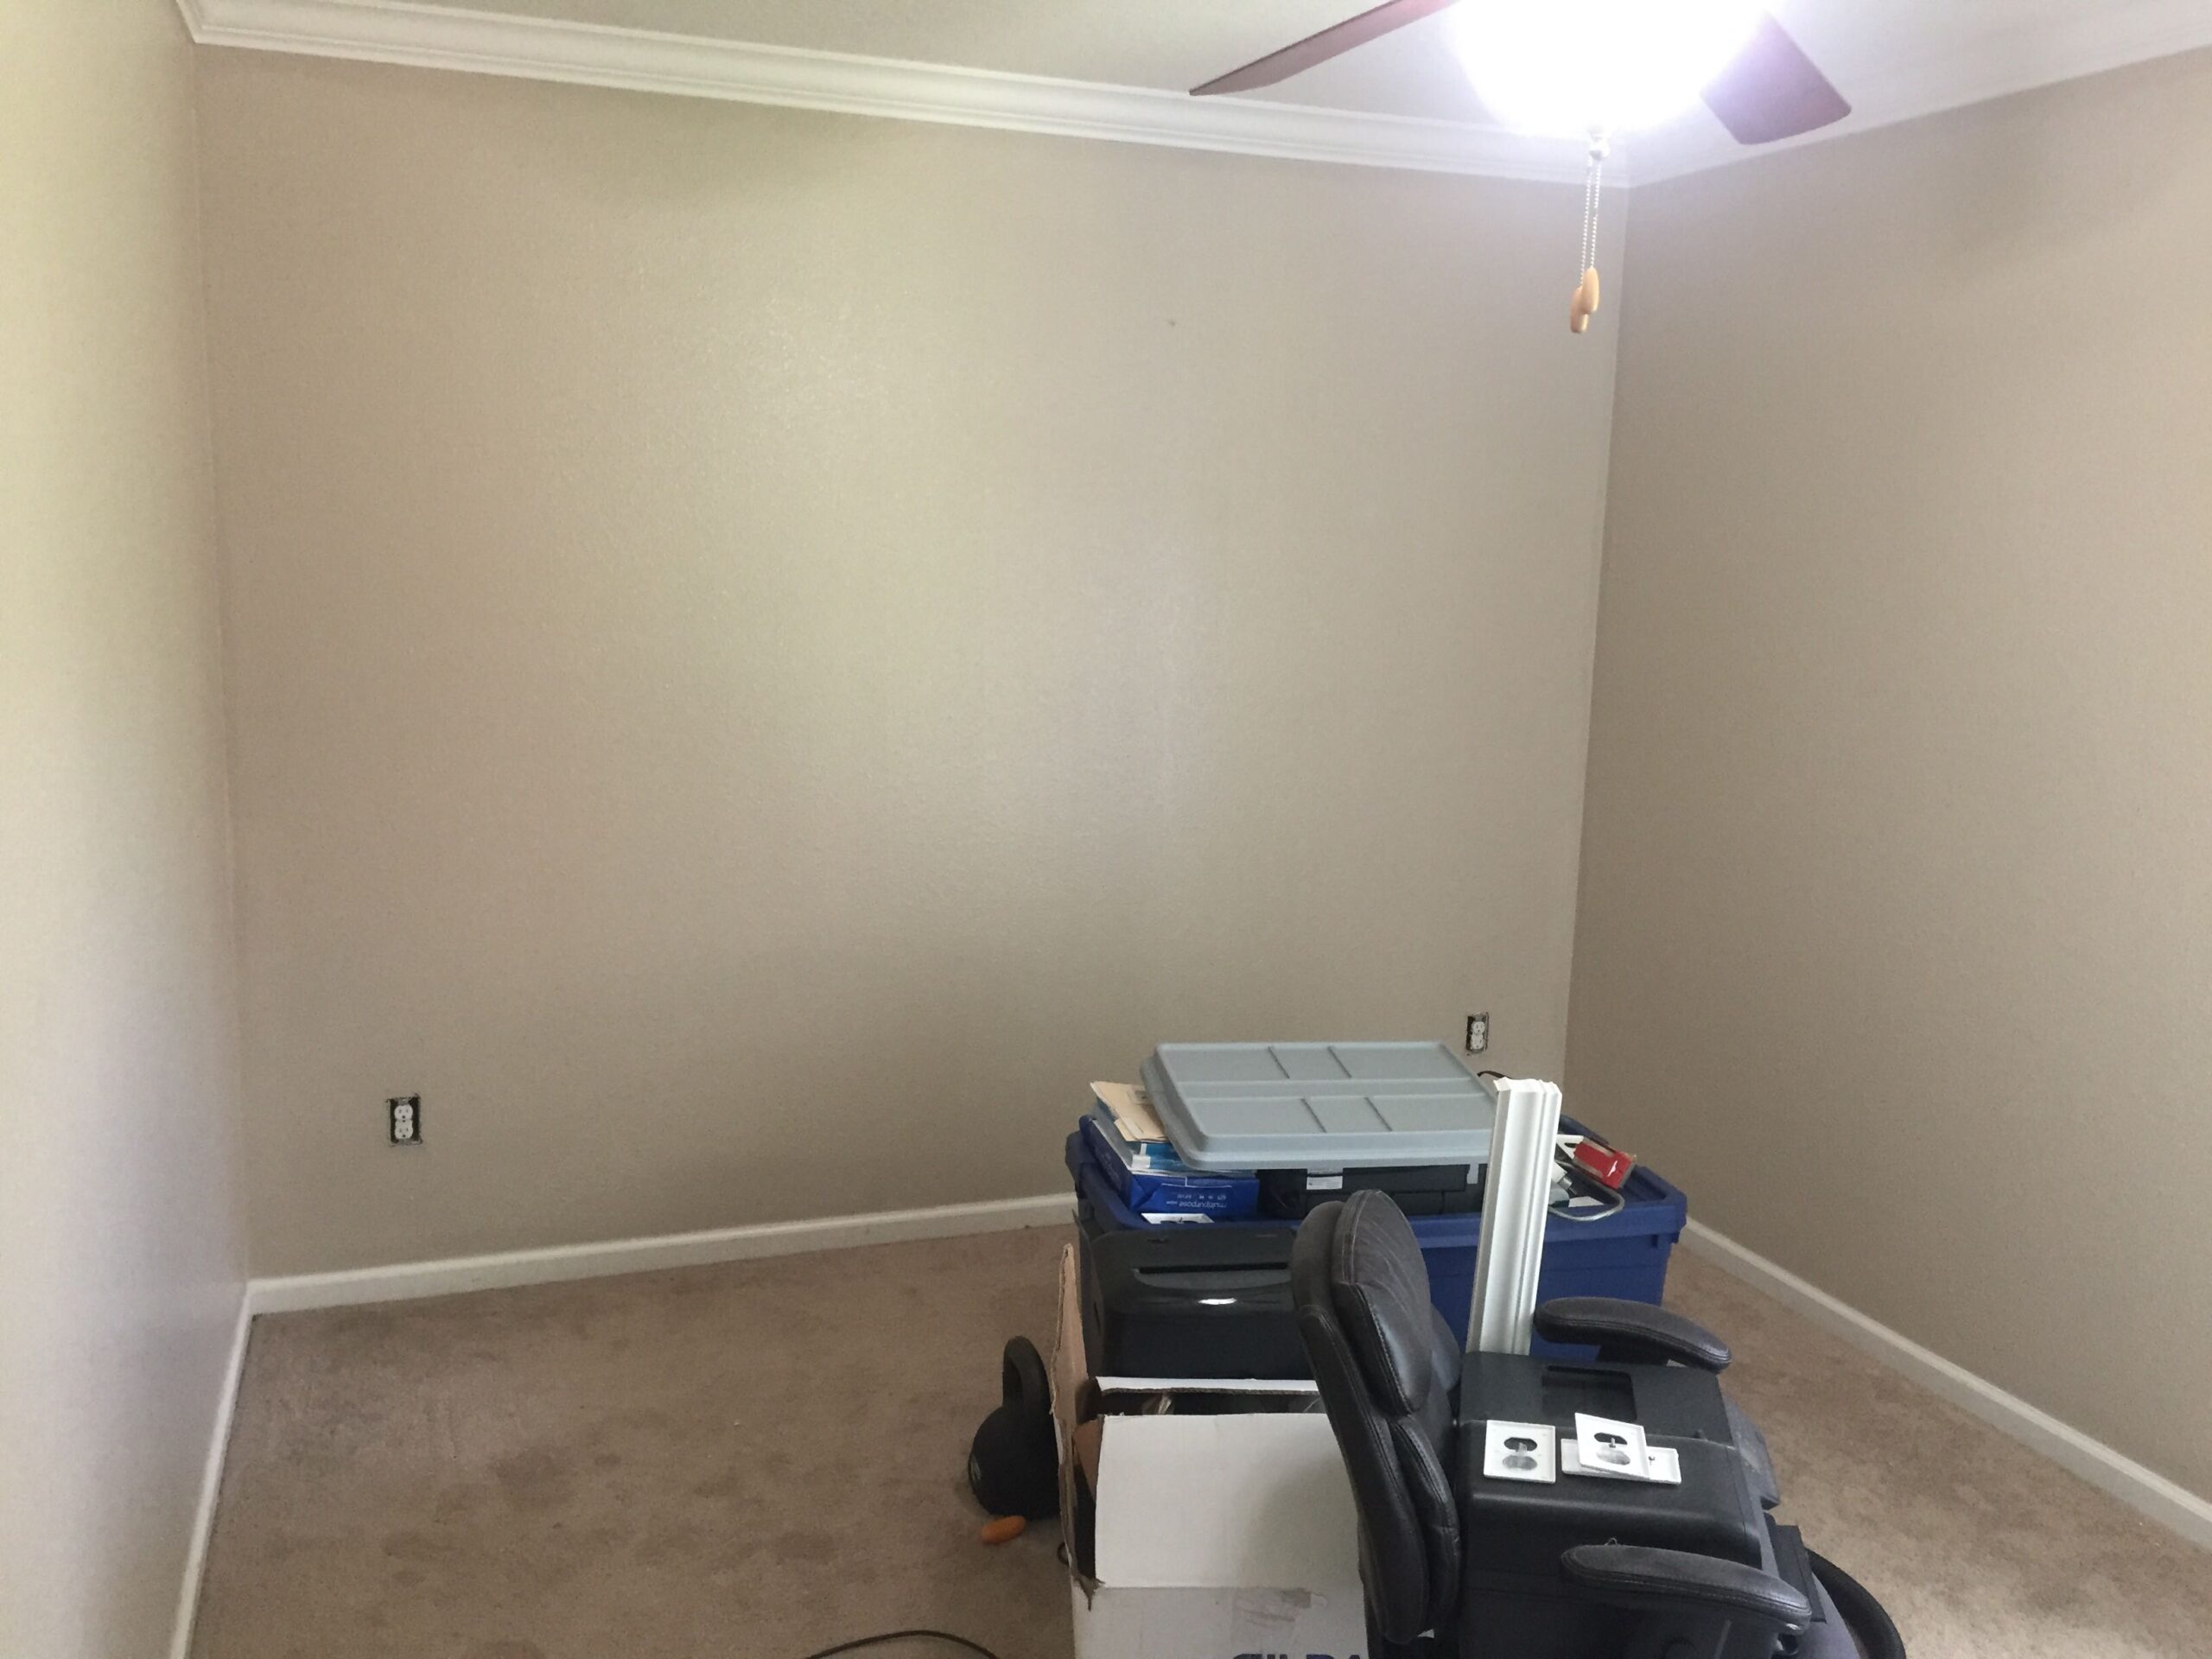
Before you can begin painting your kitchen walls, it's important to properly prepare them. This will ensure that your paint job lasts longer and looks more professional. Start by removing any nails, screws, or hooks from the walls and filling in any holes or cracks with spackling paste. Then, use a sanding block to smooth out any rough patches and wipe down the walls with a damp cloth to remove any dust or debris.1. Prep Your Kitchen Walls
Choosing the right paint for your kitchen walls can make all the difference in the final result. Consider the color and finish you want, as well as the type of paint. For kitchens, it's best to use a semi-gloss or satin finish as they are more durable and easier to clean. Look for paints that are specifically designed for high moisture areas to prevent peeling or mold growth.2. Choose the Right Paint
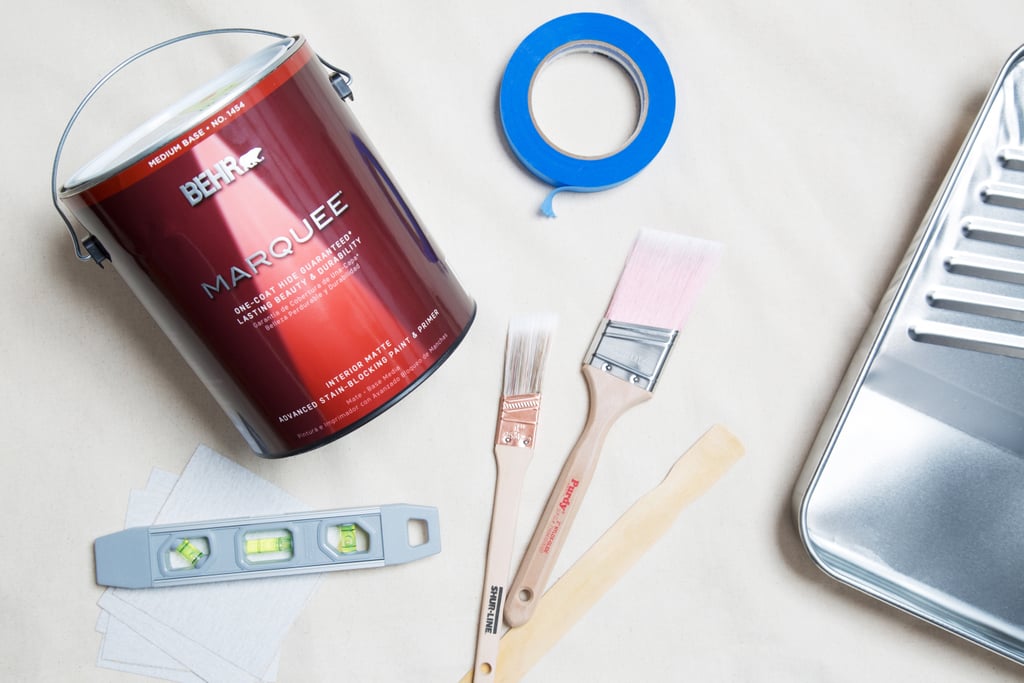
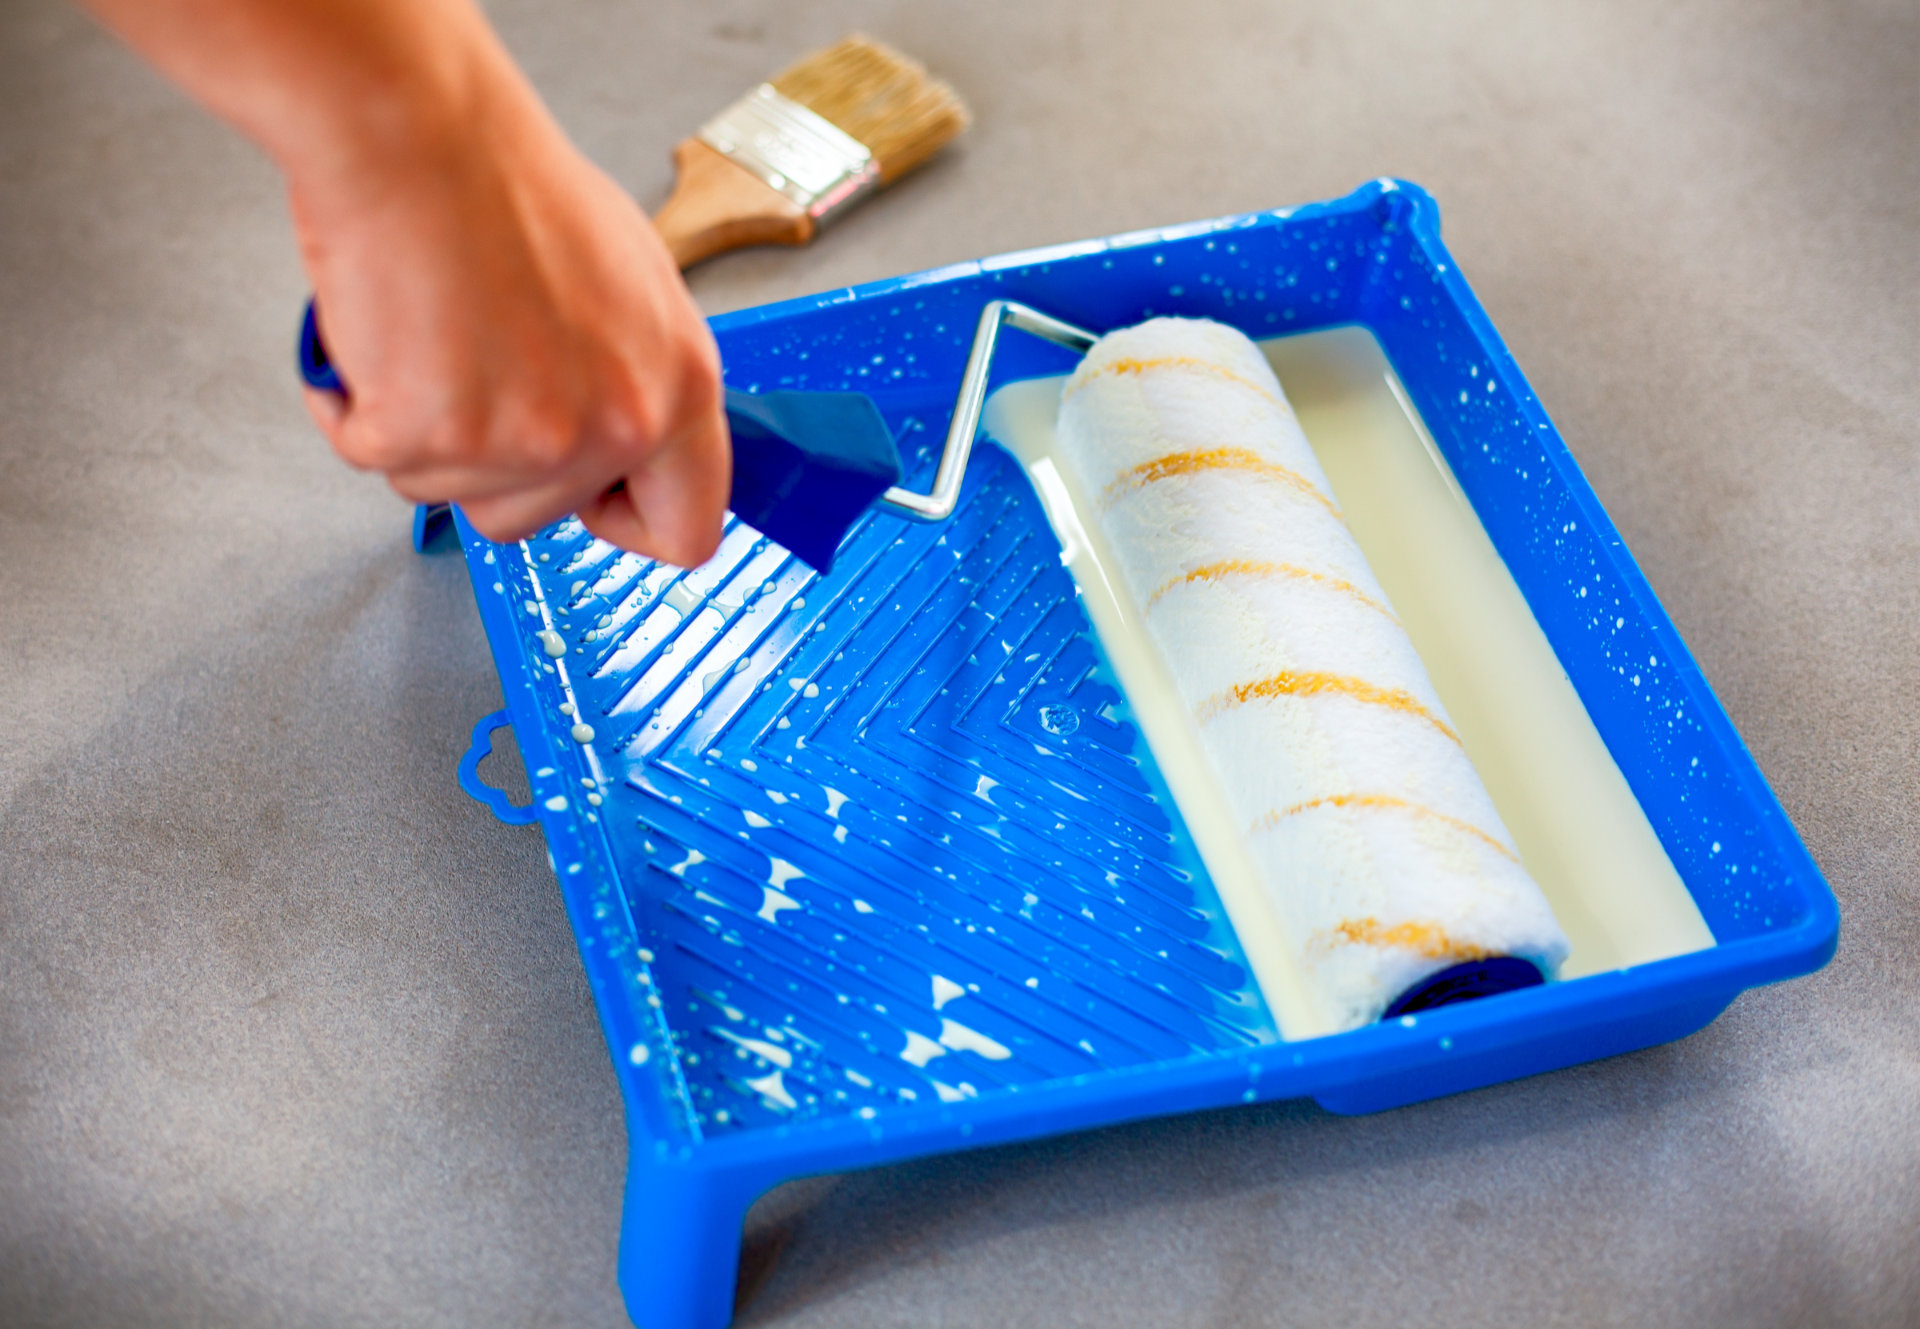
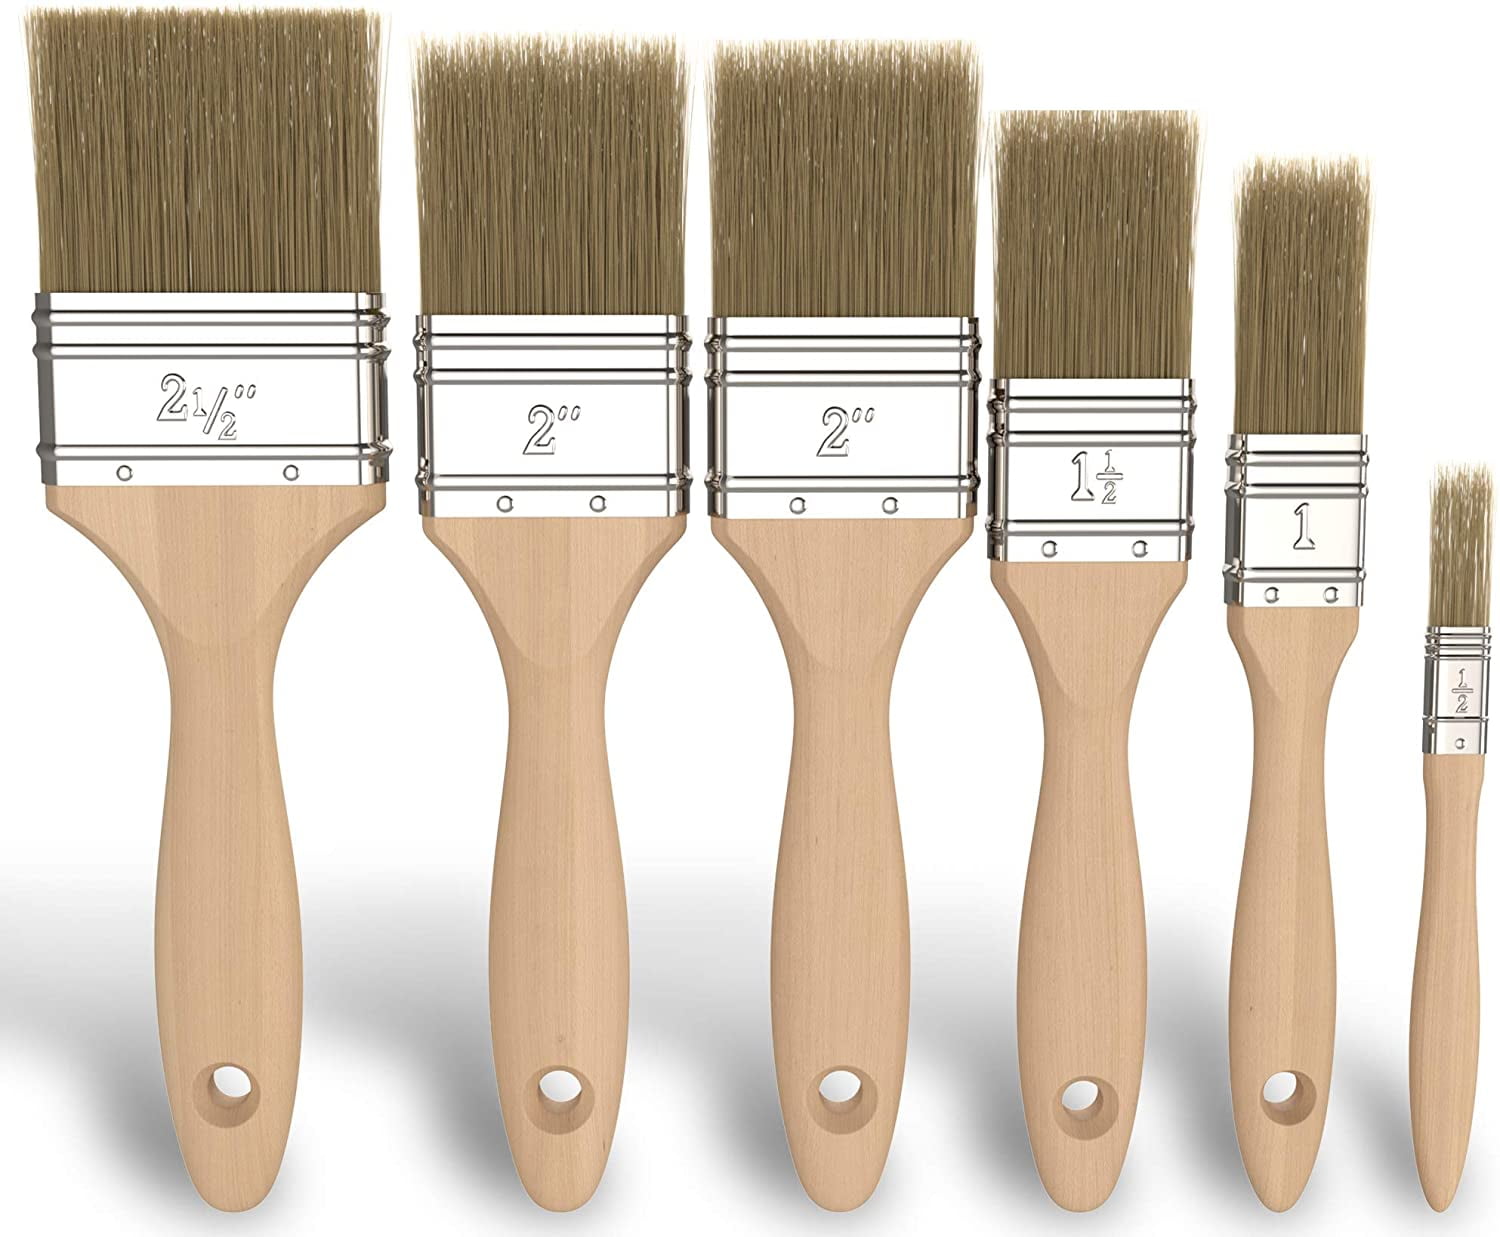
Before you start painting, make sure you have all the necessary supplies. This includes paint, primer, painter's tape, drop cloths, paint trays, paint rollers, and brushes. You may also need a ladder if you have tall walls or ceilings. Having all your supplies on hand will make the painting process go more smoothly.3. Gather Your Supplies
Painting can get messy, so it's important to protect your floors and furniture from drips and spills. Lay down drop cloths or old sheets to cover the floors and move any furniture out of the way. If you can't move larger furniture, cover it with plastic sheets or old towels.4. Protect Your Floors and Furniture
Before you start painting, make sure your walls are clean and free of any dirt, grease, or stains. Use a mild cleaner to wash the walls and then rinse them thoroughly with water. Once the walls are dry, apply a coat of primer to help the paint adhere better and create a more even finish.5. Clean and Prime Your Walls
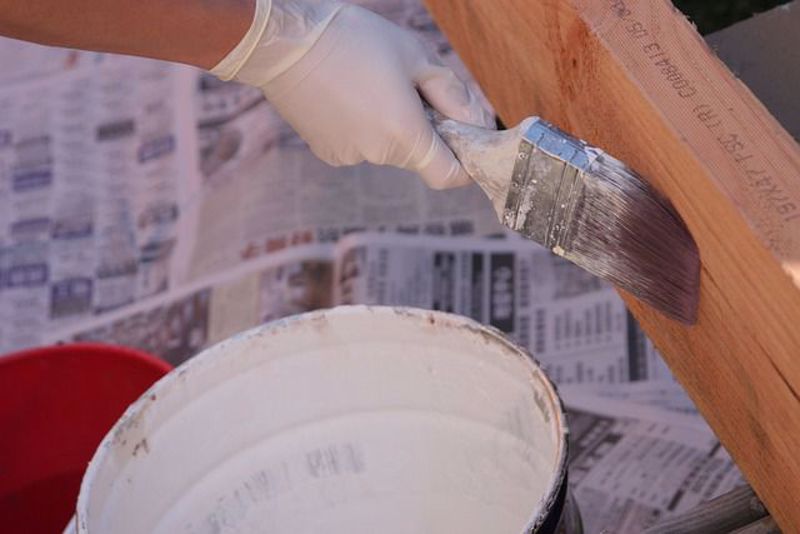
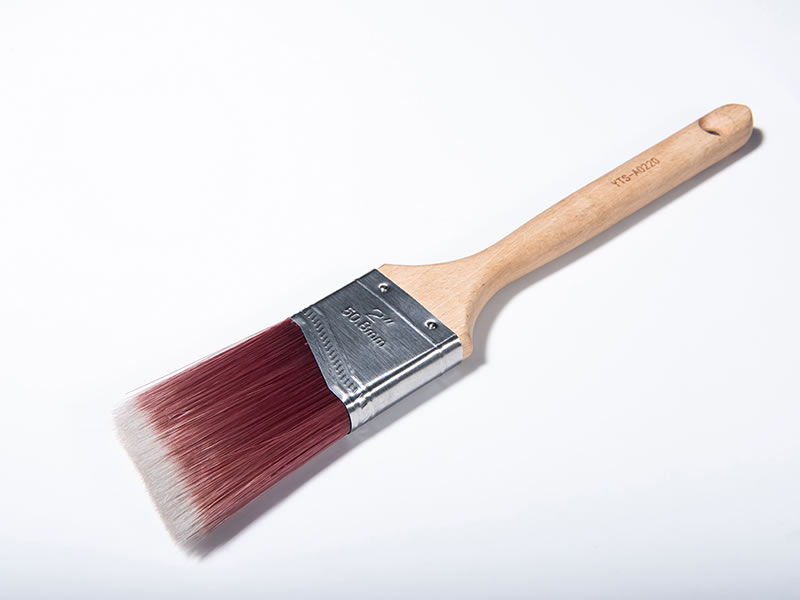
When it comes to painting edges and corners, it's best to use a paintbrush instead of a roller. This will give you more control and help you avoid getting paint on adjacent surfaces. Use a small, angled brush to paint along the edges of the walls, around trim, and in corners.6. Use a Paintbrush for Edges and Corners
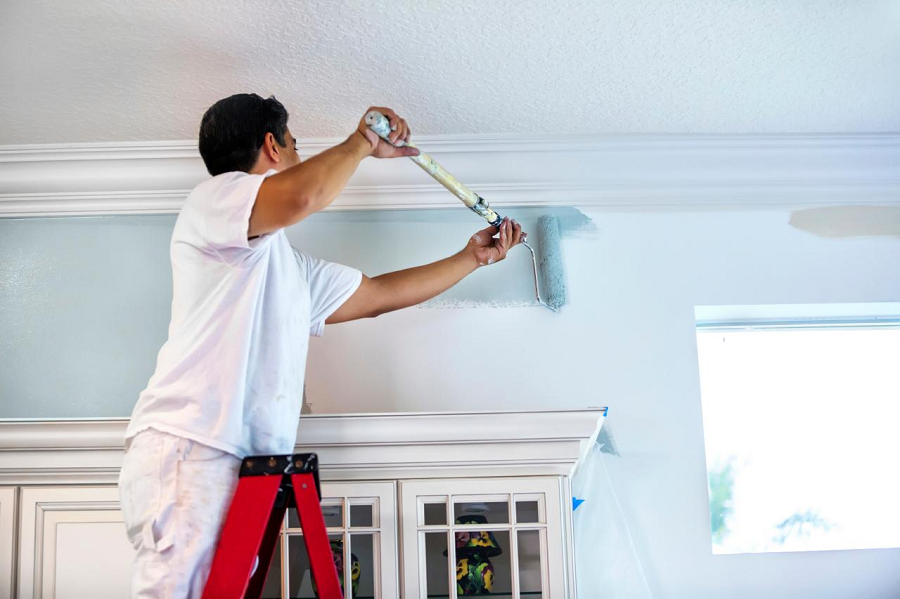
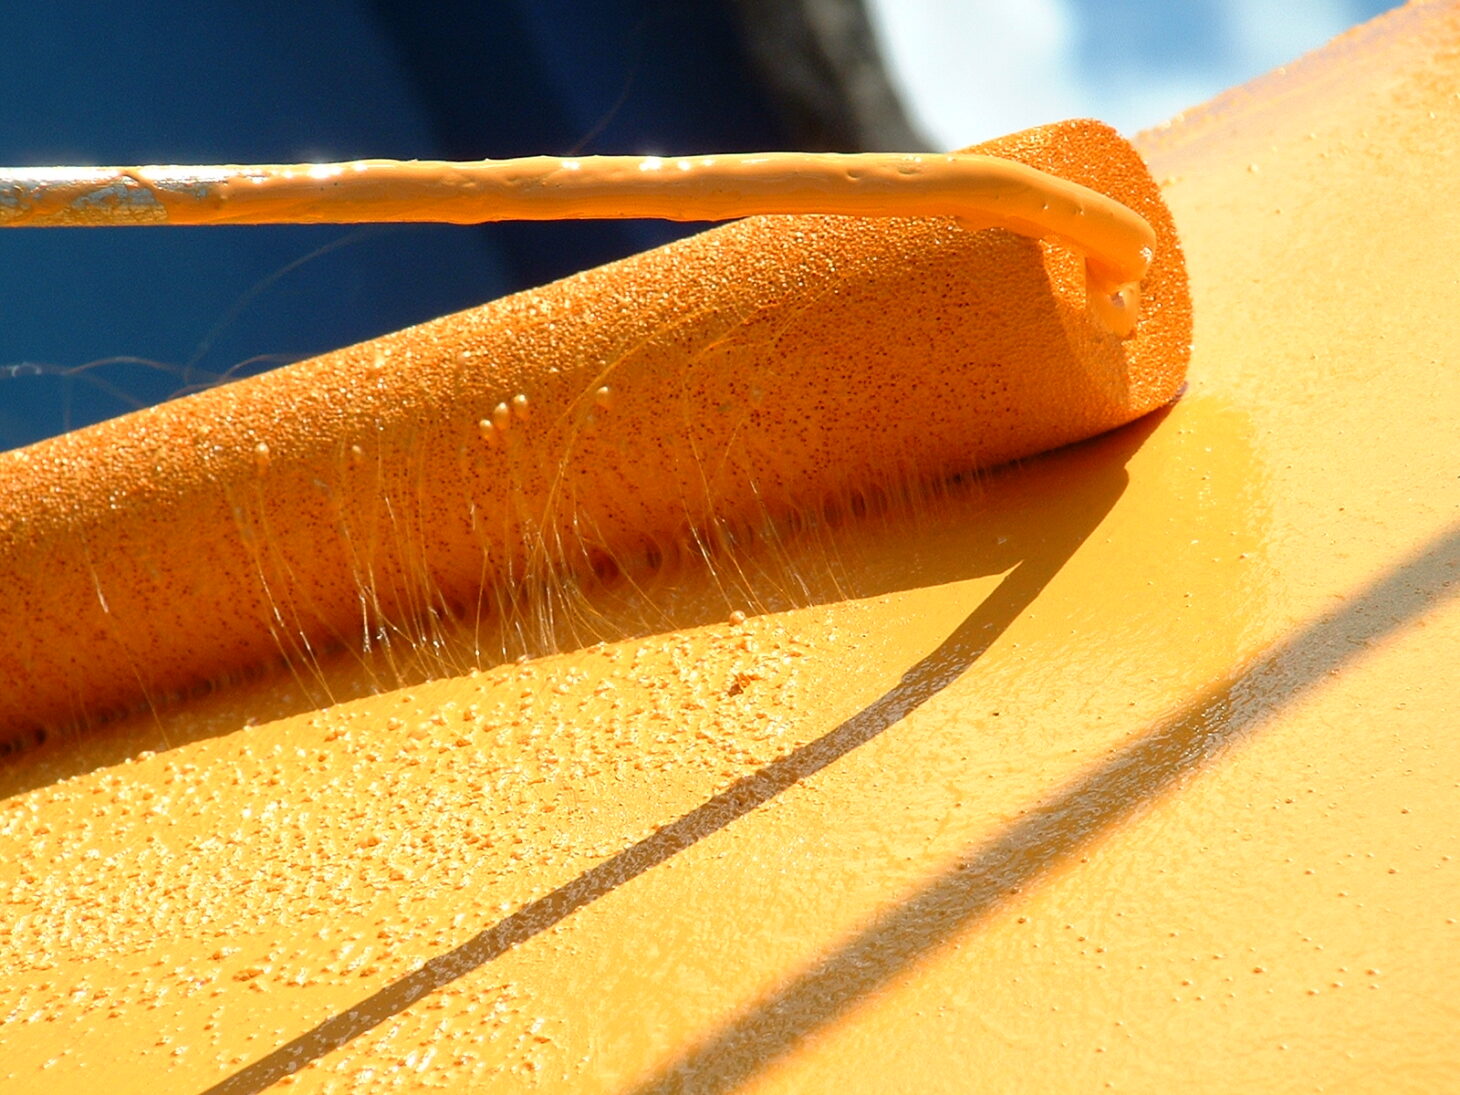
Once the edges and corners are done, it's time to roll on the paint. Use a paint roller with a medium nap to cover large areas quickly and evenly. Start at the top of the wall and work your way down, using long, vertical strokes. Be sure to overlap each stroke slightly to avoid leaving any gaps.7. Roll on the Paint
For a professional-looking finish, it's important to apply a second coat of paint. This will help to even out any streaks or missed spots and create a more vibrant color. Wait for the first coat to dry completely before applying the second coat, following the same process as before.8. Apply a Second Coat
Once you've finished painting, it's important to let the walls dry completely before moving on to any touch-ups or adding any decorations. This can take anywhere from a few hours to overnight, depending on the type of paint and the humidity in your home. Be patient and resist the temptation to touch the walls before they are fully dry.9. Let the Paint Dry
After the paint has dried, it's time to clean up. Remove the drop cloths and tape, clean your brushes and rollers, and put away any leftover paint. Take a step back and admire your newly painted kitchen walls. They will look fresh and bright, and you can now enjoy spending time in a space that feels brand new. With these 10 steps, you can achieve a professional-looking paint job on your kitchen walls. Remember to properly prep your walls, choose the right paint, protect your floors and furniture, and take your time to ensure a high-quality finish. Now, go and transform your kitchen with a fresh coat of paint!10. Clean Up and Enjoy Your Newly Painted Kitchen Walls
Choosing the Right Paint Color for Your Kitchen Walls

Why Choosing the Right Paint Color Matters
 Choosing the right paint color for your kitchen walls is a crucial decision when it comes to designing your home. The color of your walls can greatly impact the overall look and feel of your kitchen. It can also affect the mood and ambiance of the space.
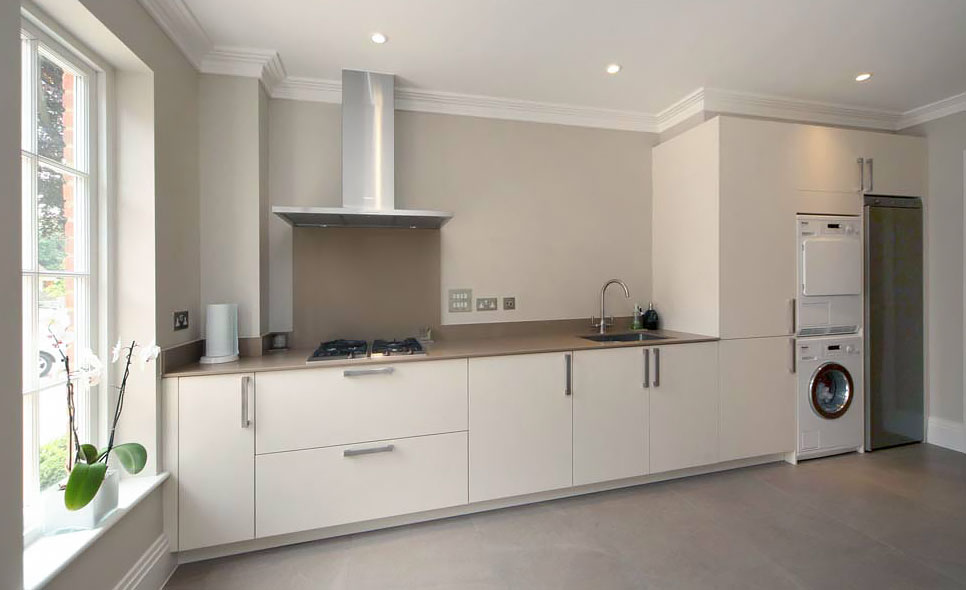
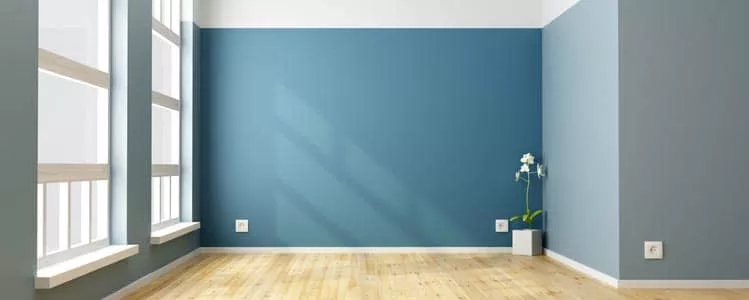
Neutral colors such as white, beige, and gray are popular choices for kitchen walls as they provide a clean and timeless look. However, bold and vibrant colors can also add personality and character to your kitchen.
Before you pick up that paintbrush, here are some tips to help you choose the best color for your kitchen walls.
Consider the Lighting in Your Kitchen
 The lighting in your kitchen can greatly affect how the paint color will look on your walls.
Natural light can make colors appear brighter and more vibrant, while artificial light can make them appear dull and muted.
It is important to test the paint color in different lighting conditions before making your final decision.
This will help you get a better idea of how the color will look in your kitchen.
Take the Size of Your Kitchen into Consideration
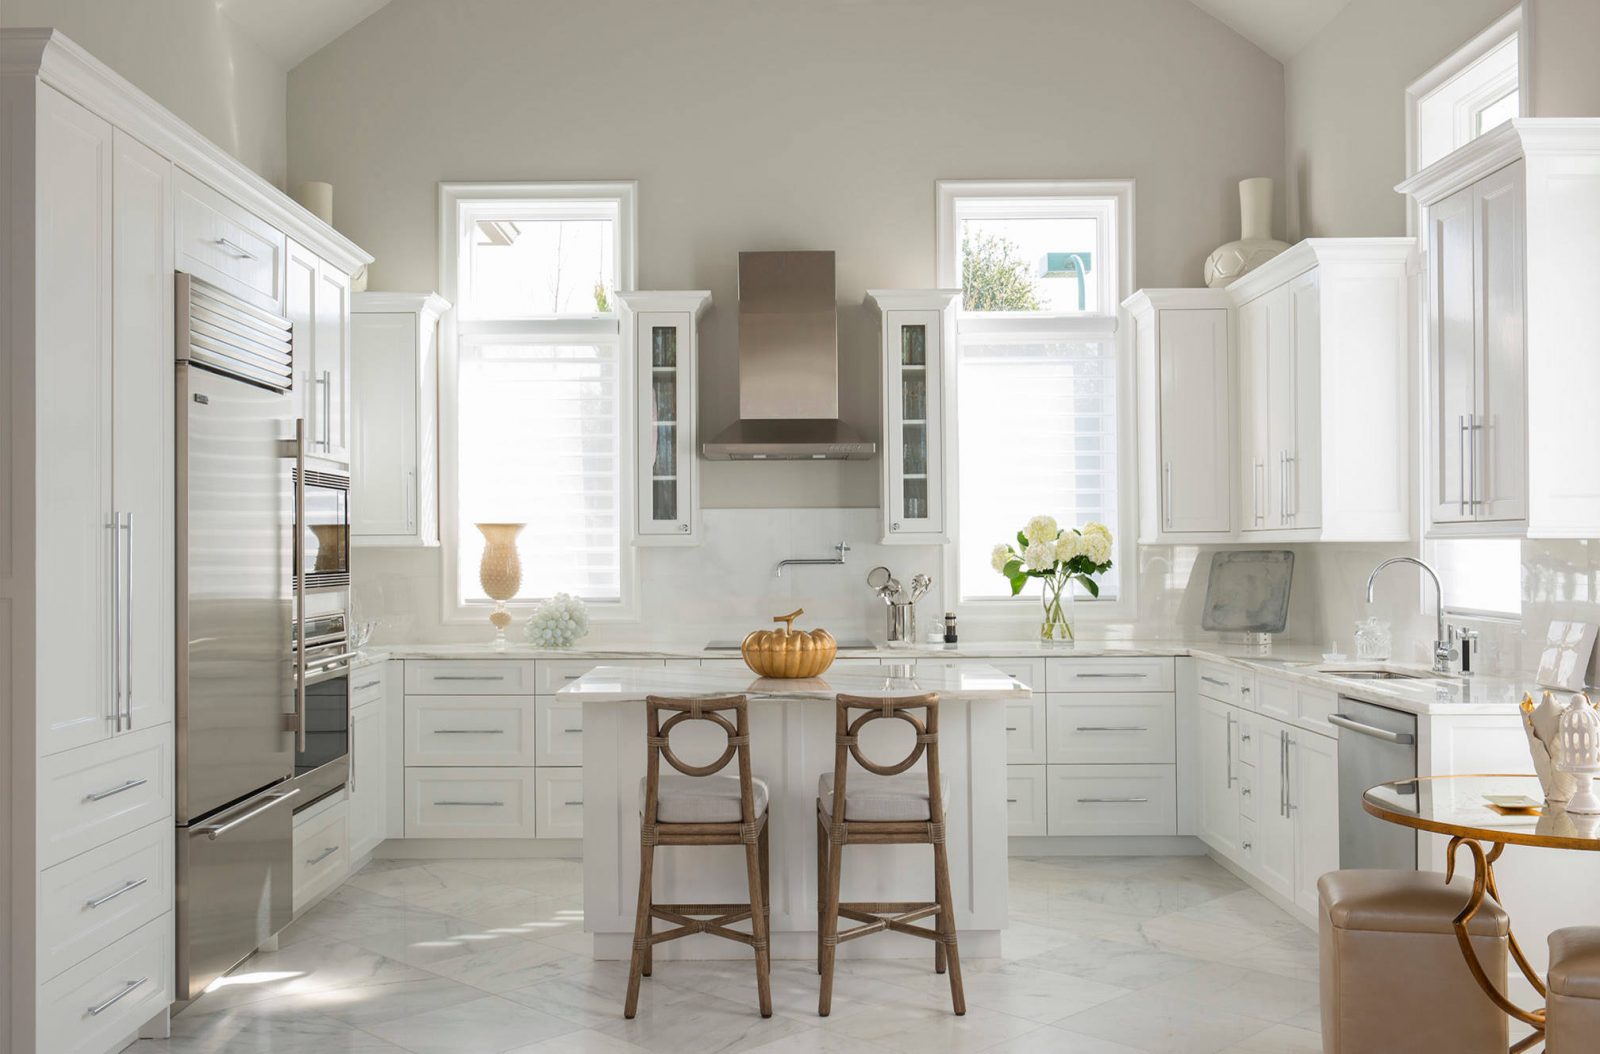 The size of your kitchen is another important factor to consider when choosing a paint color for your walls.
If you have a small kitchen, it is best to stick to lighter colors as they can make the space appear larger and more open.
On the other hand, if you have a large kitchen, you can experiment with darker colors to add depth and warmth to the room.
Think About the Style of Your Kitchen
 The style of your kitchen should also be taken into consideration when choosing a paint color.
For a modern and sleek kitchen, cool tones like gray, blue, or green can create a sophisticated and clean look.
For a more traditional or rustic kitchen, warm and earthy tones like beige, brown, or yellow can add a cozy and inviting feel.
Remember to choose a color that complements the existing style and elements of your kitchen.
Don't Be Afraid to Get Creative
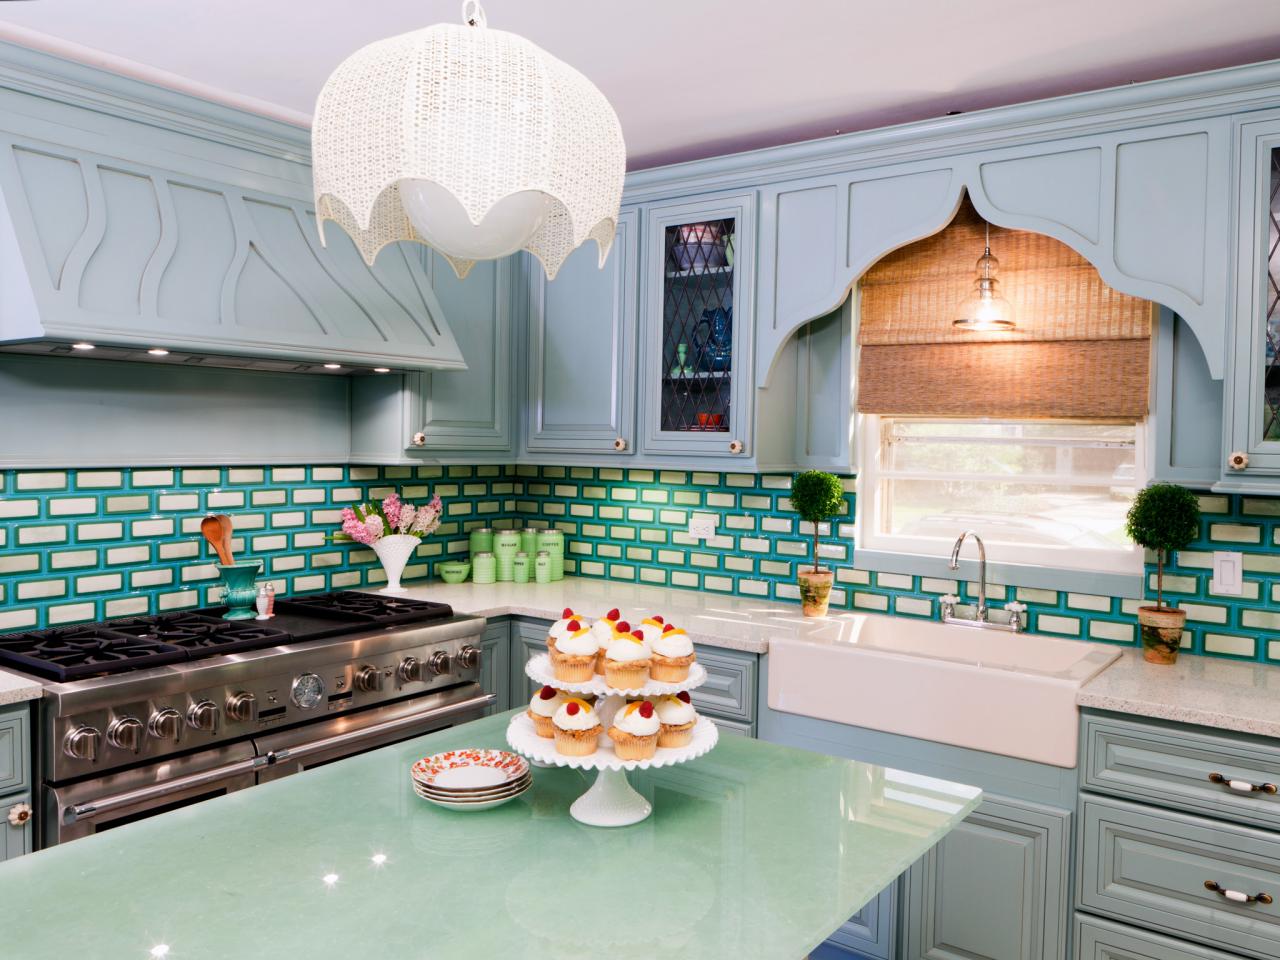 While neutral colors are a safe choice, don't be afraid to step out of your comfort zone and get creative with your kitchen wall color.
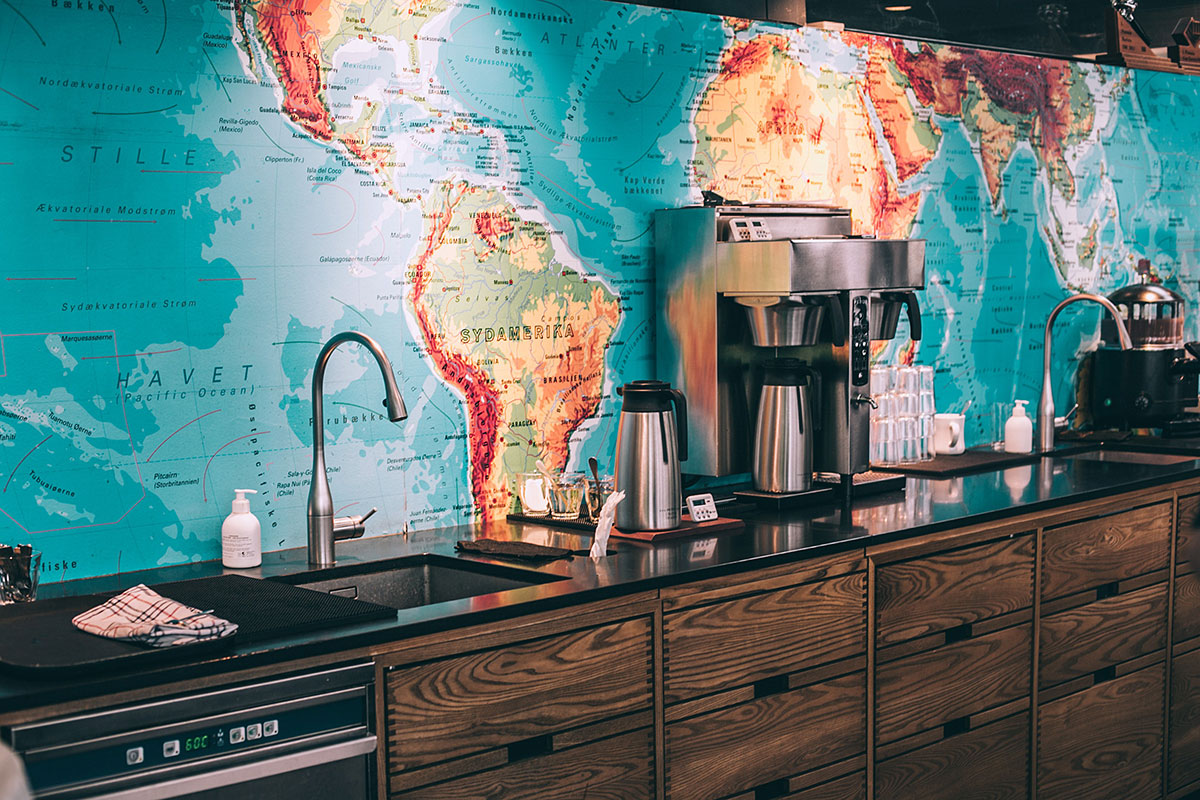
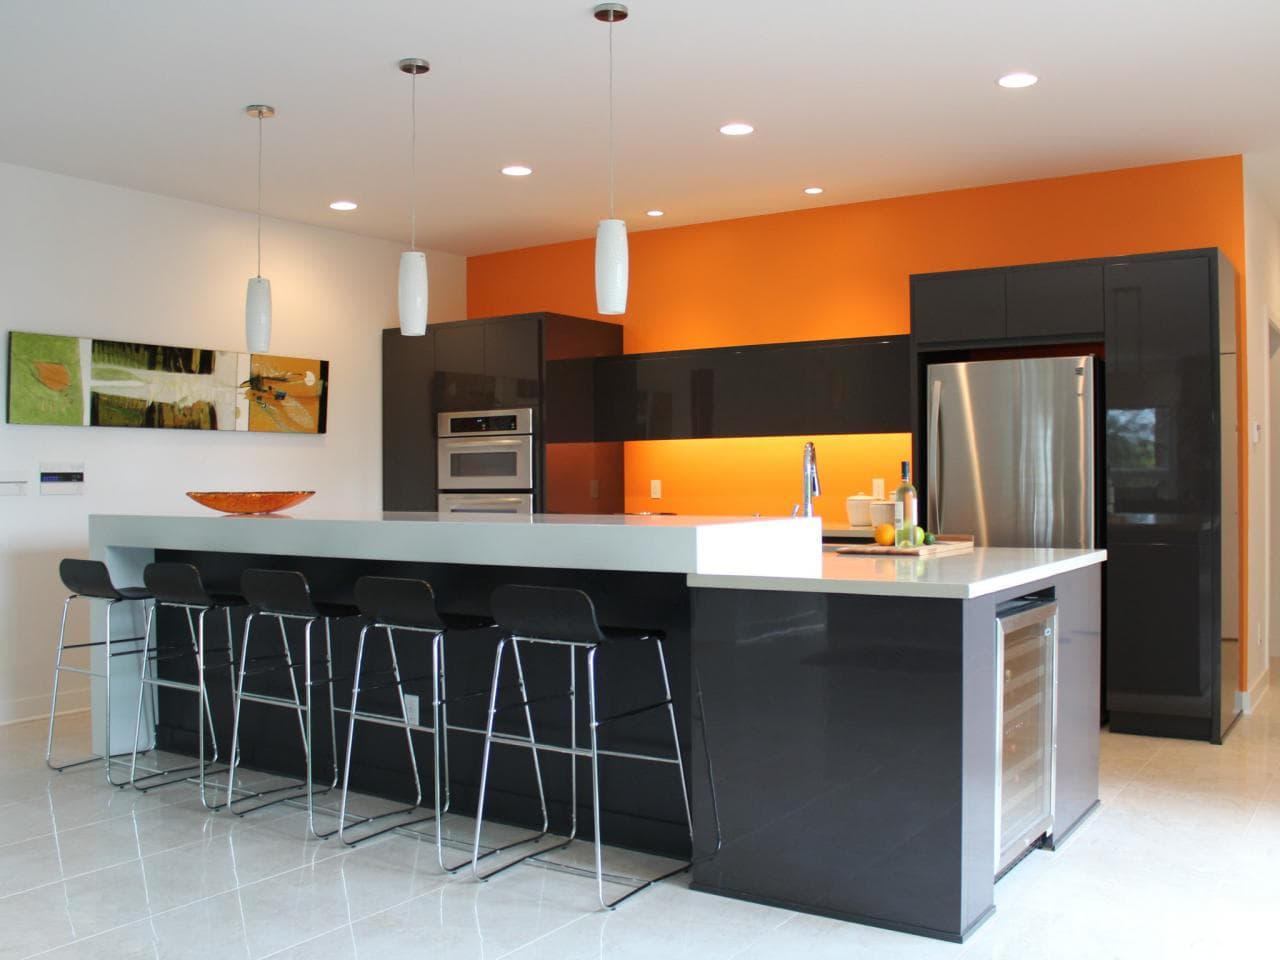
Adding an accent wall in a bold color or using a two-tone color scheme can add interest and personality to your kitchen.
Just make sure to choose colors that still complement the overall look and feel of your kitchen.
Final Thoughts
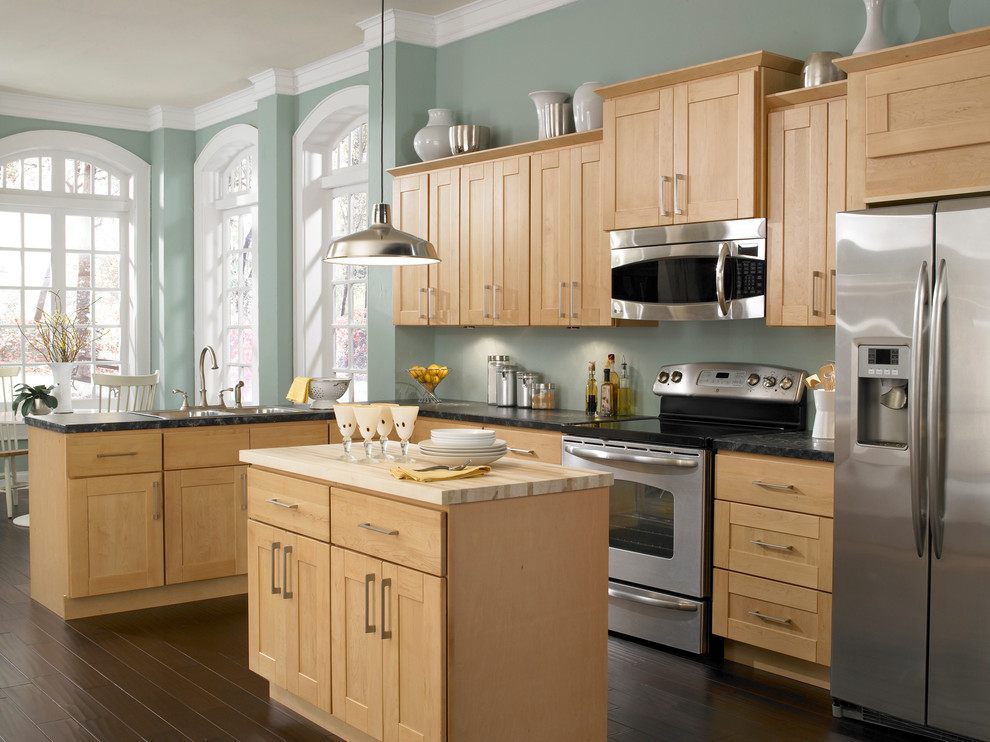 When it comes to painting your kitchen walls, there is no one-size-fits-all solution.
It is important to consider the lighting, size, style, and your personal preferences before making a decision.
Take your time and don't be afraid to experiment until you find the perfect color that will make your kitchen truly shine.
With these tips in mind, you can confidently choose the best paint color for your kitchen walls and create a beautiful and welcoming space for you and your family to enjoy.


