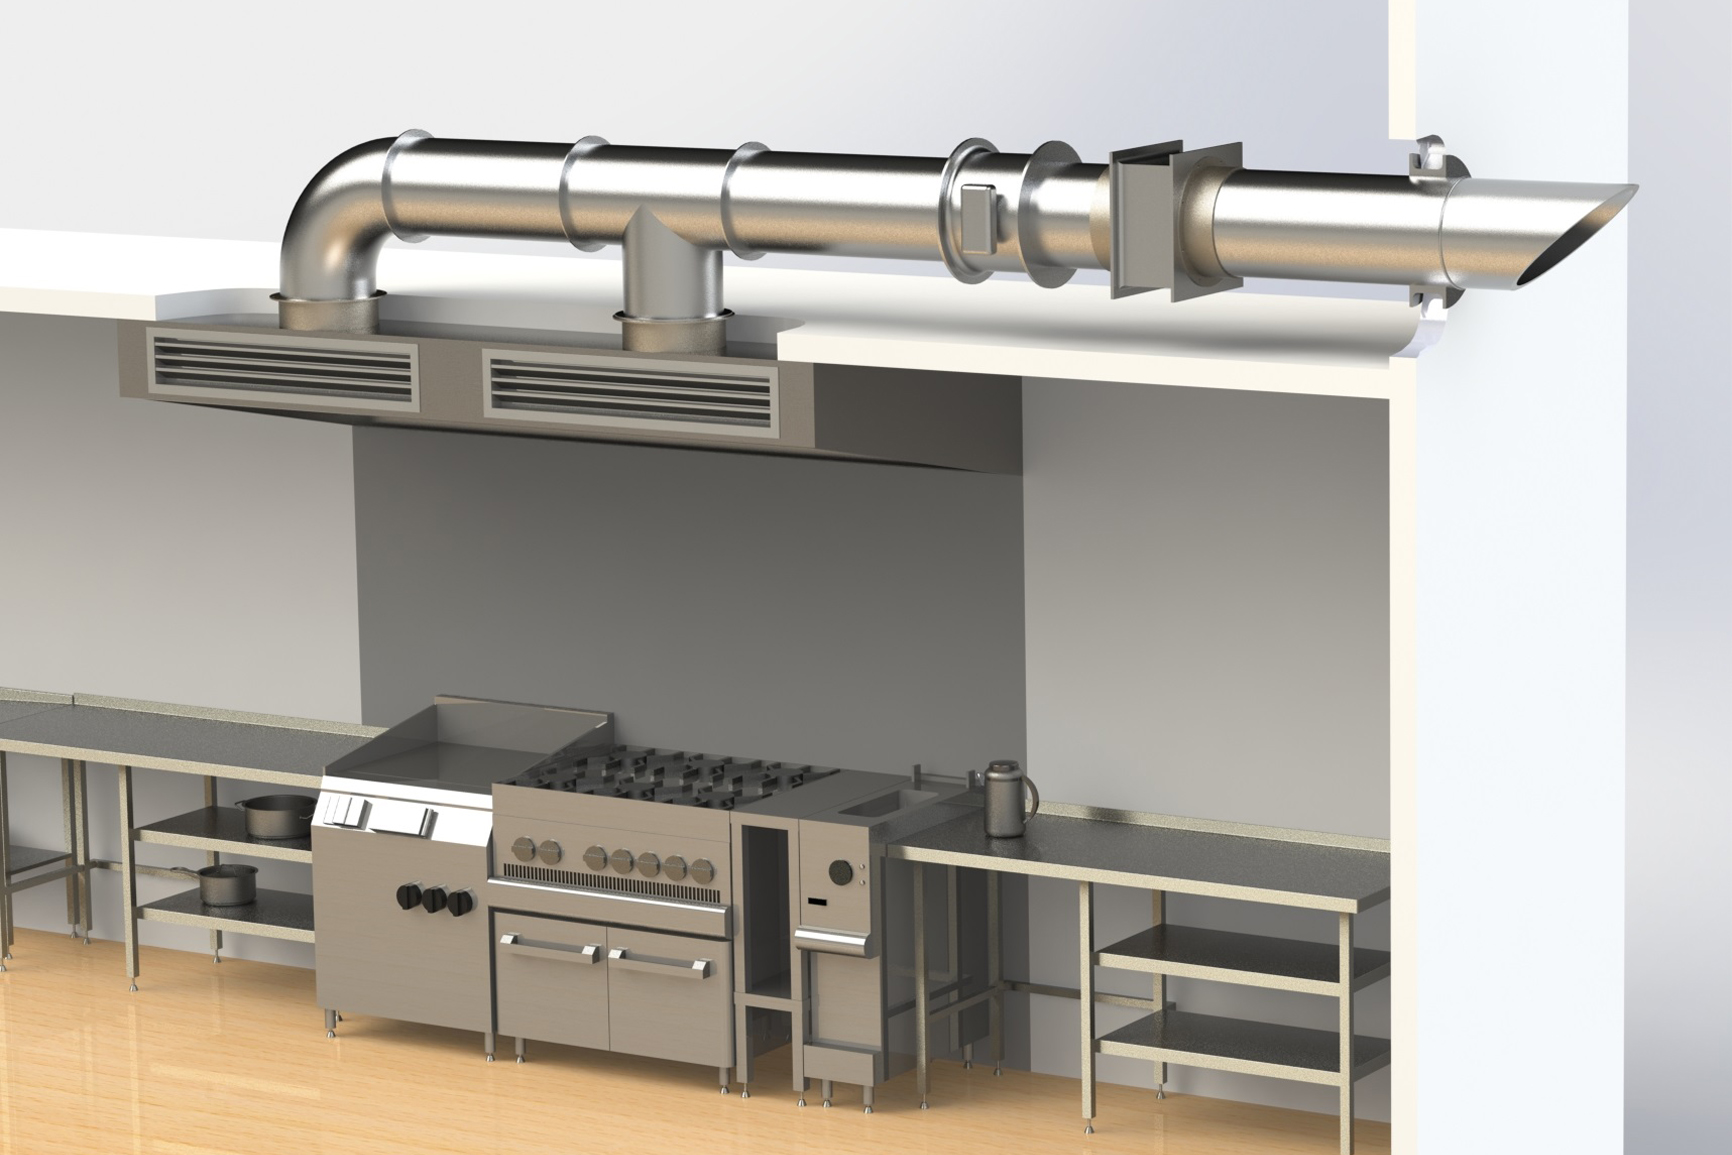
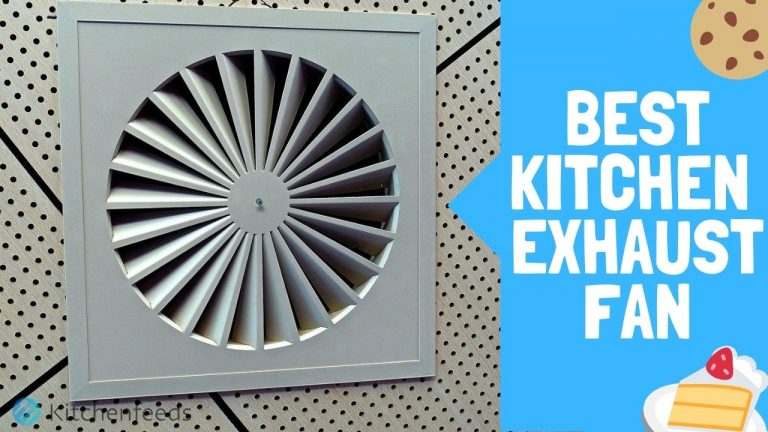
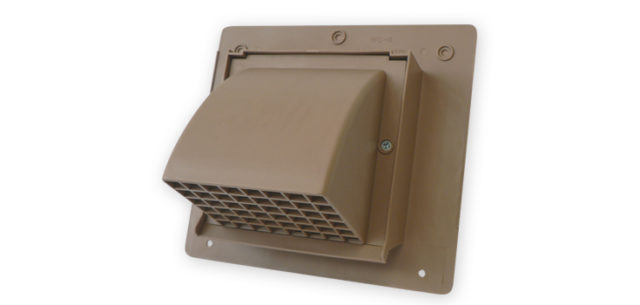
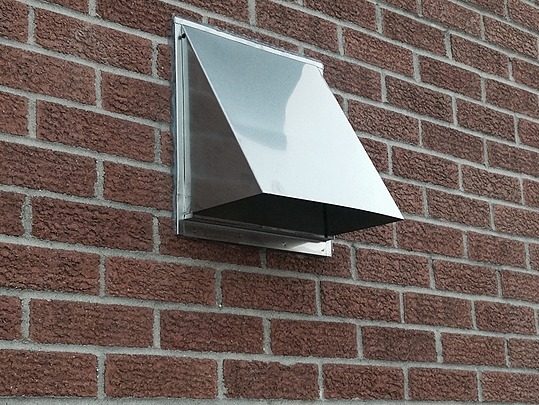
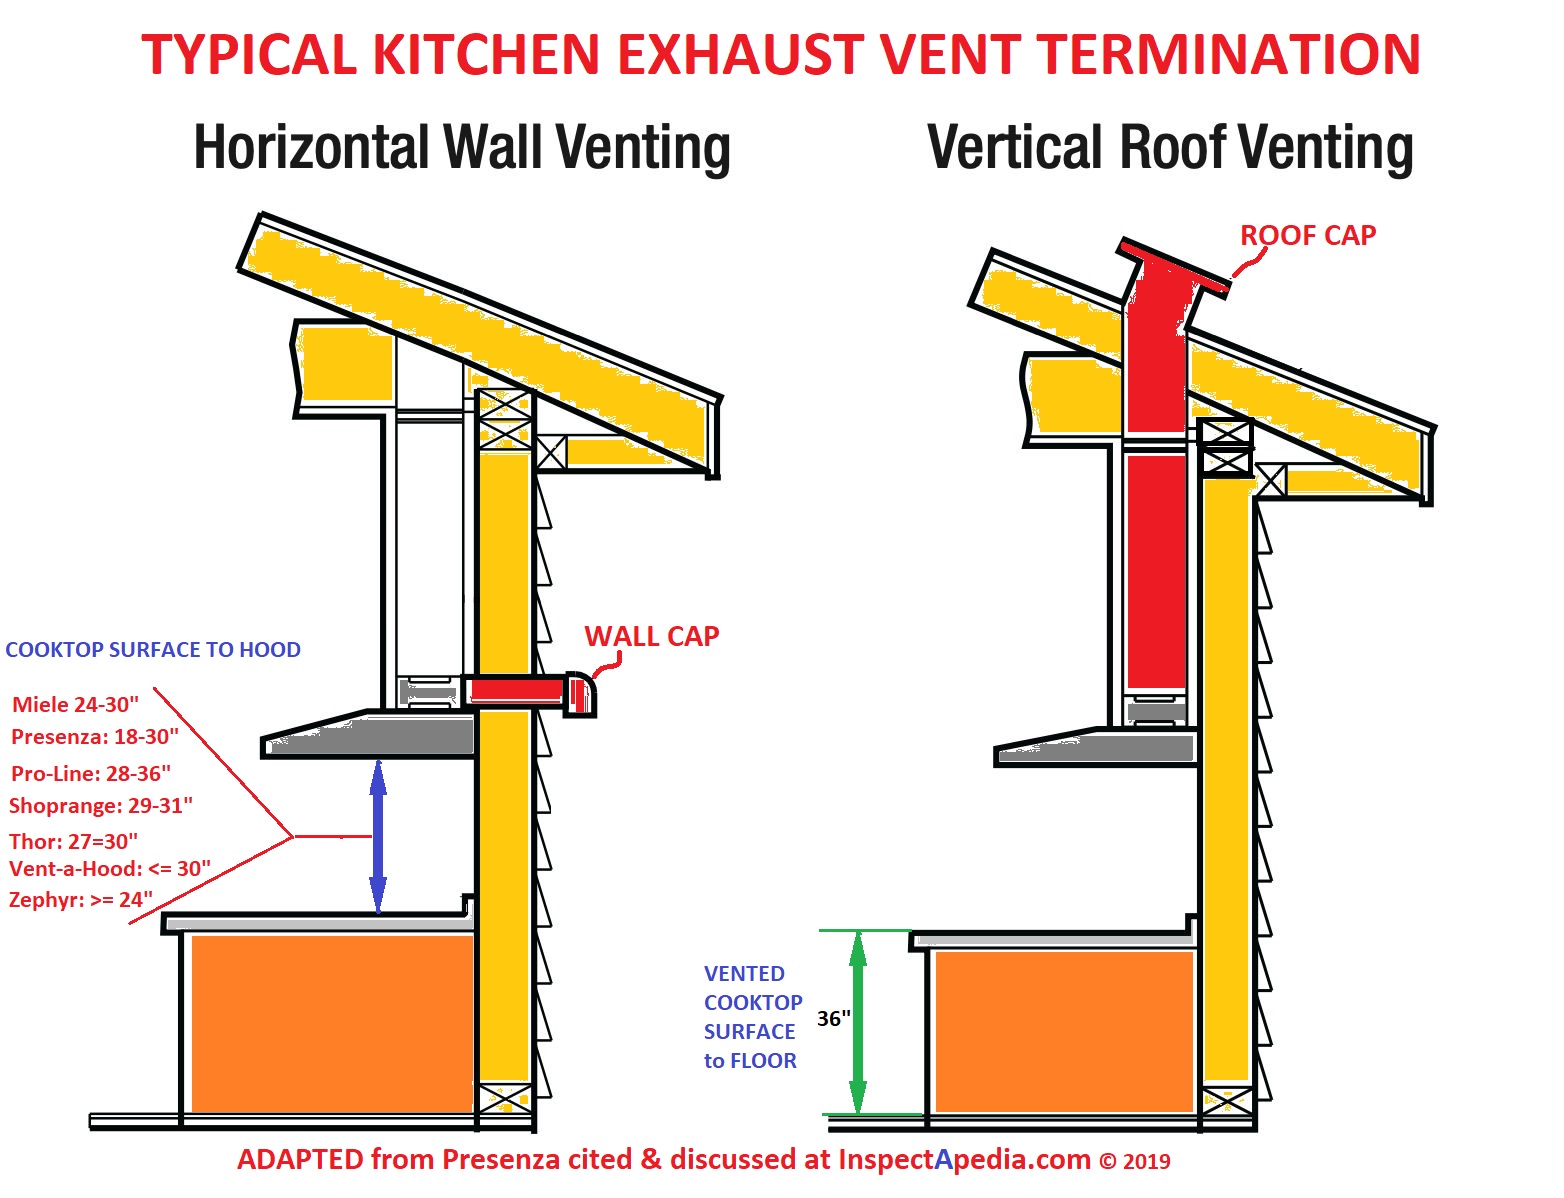
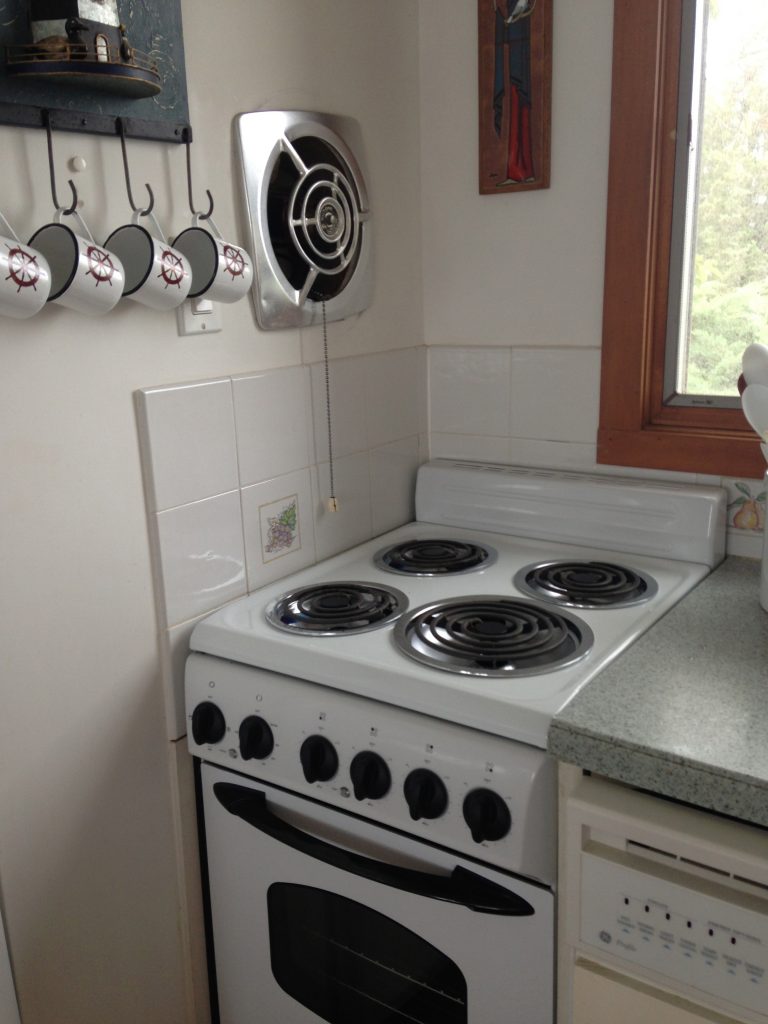
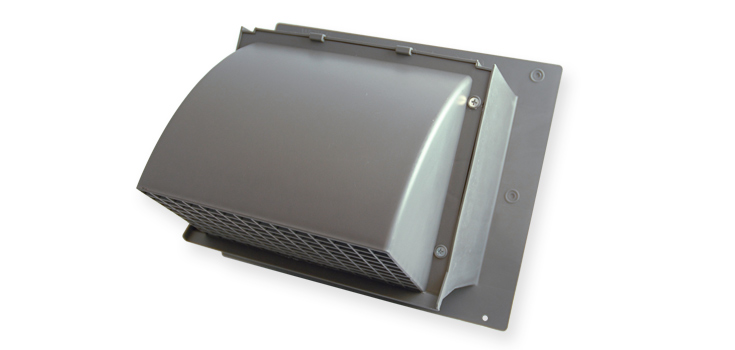
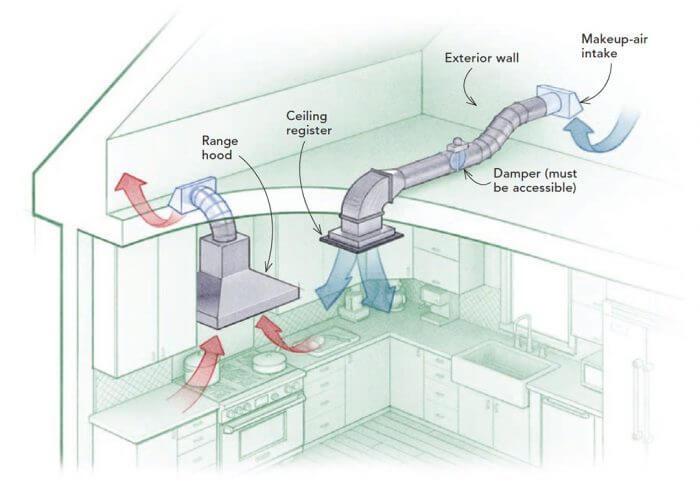
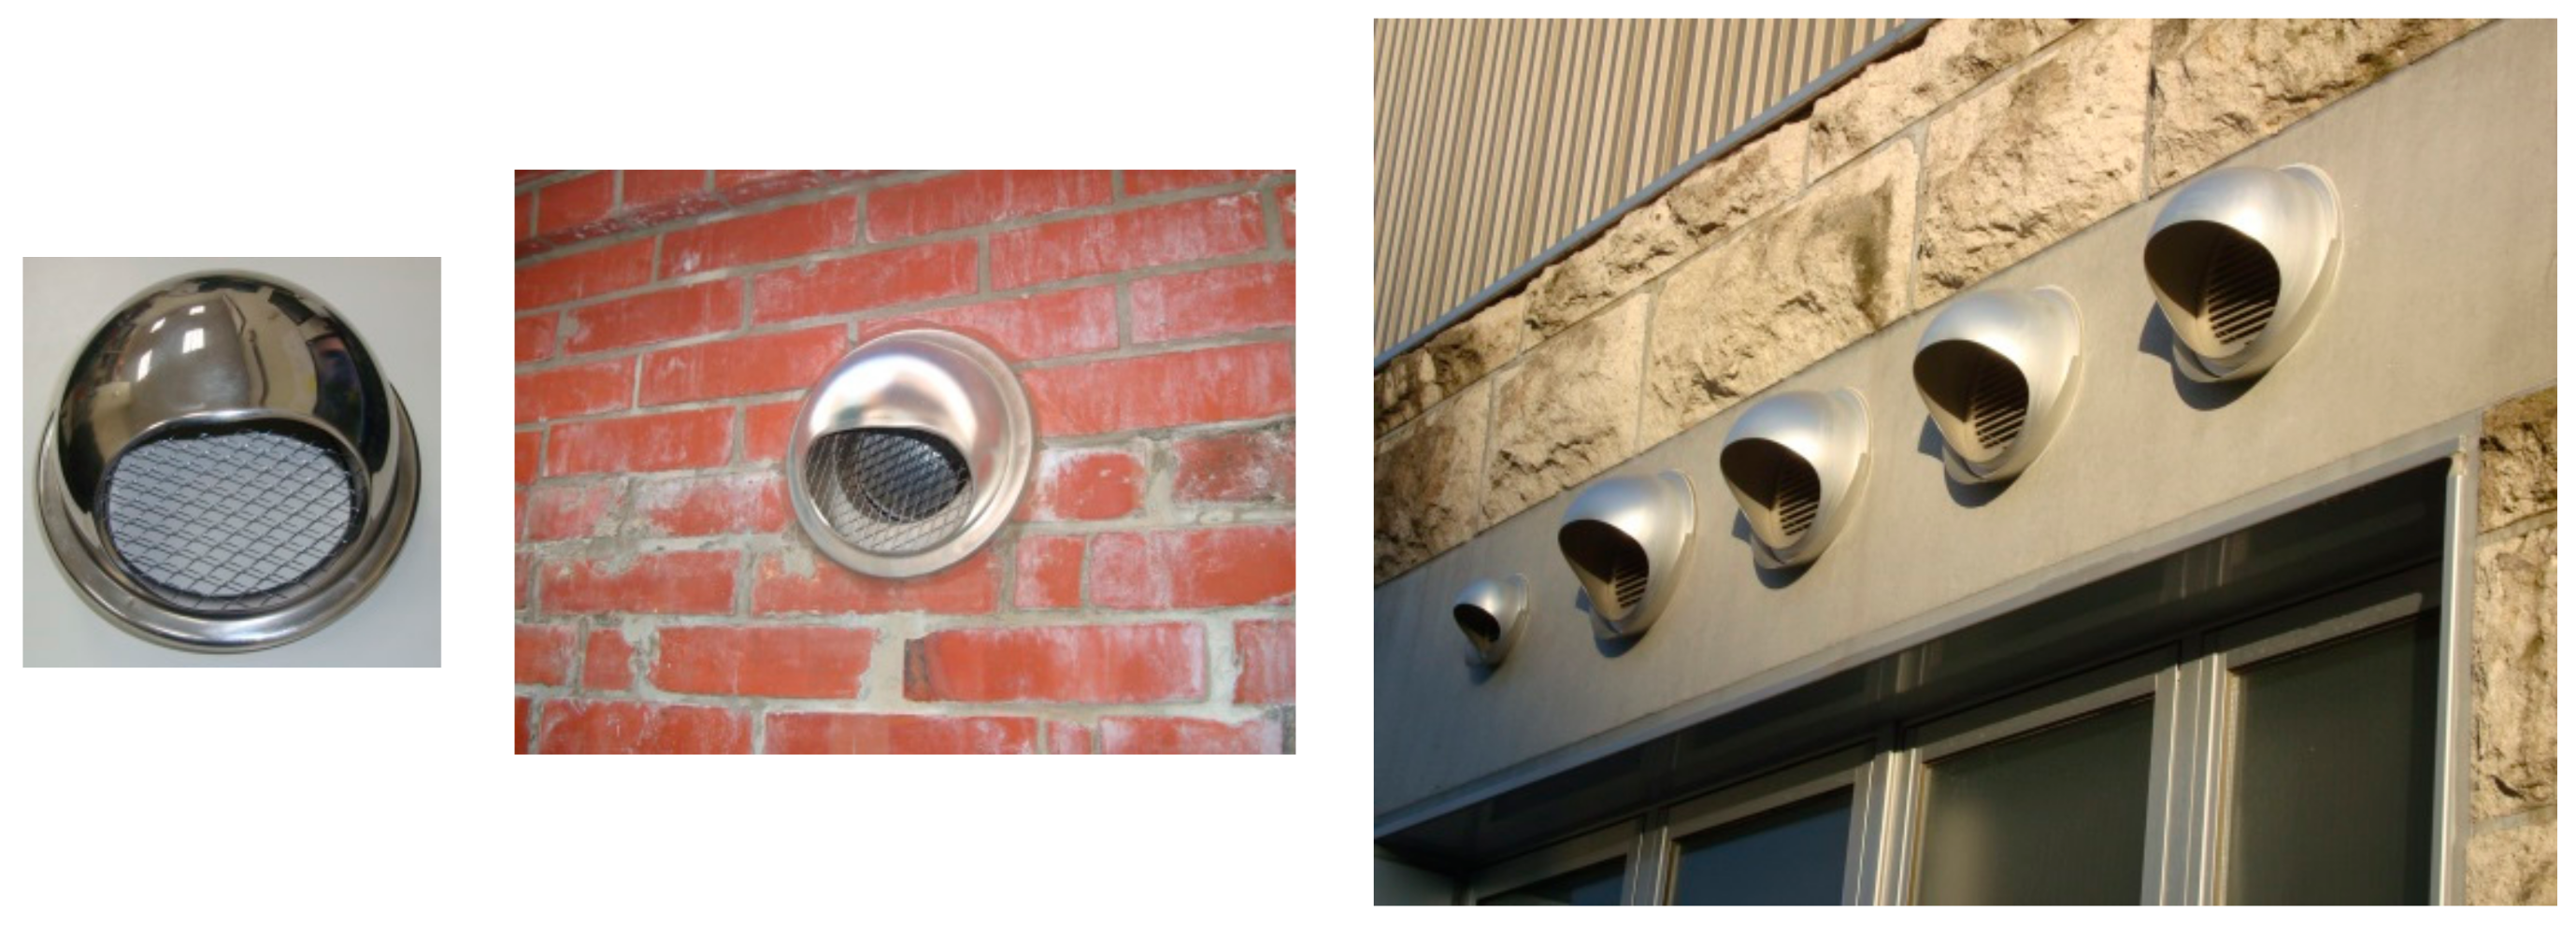
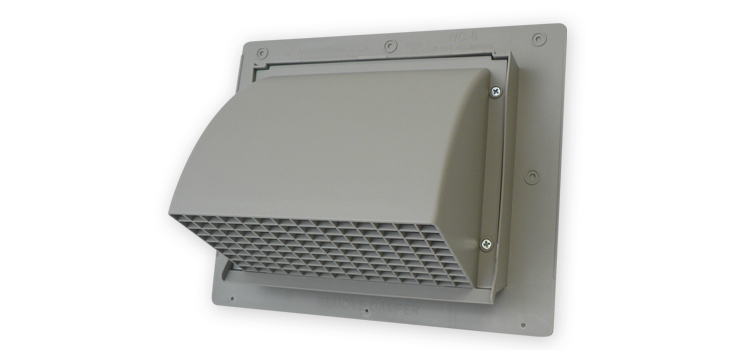
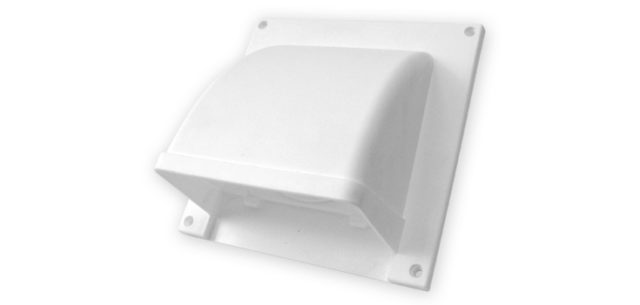
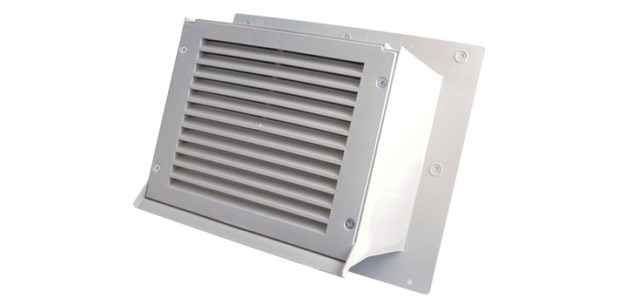
Kitchen exhaust wall caps come in various types and designs, each with their own unique features and benefits. Here are 10 main types of kitchen exhaust wall caps that you should know about: 1. Standard Wall Caps - These are the most common type of kitchen exhaust wall caps, featuring a simple design that is easy to install and maintain. 2. Low Profile Wall Caps - These are designed to be less visible and more aesthetically pleasing, making them a popular choice for modern kitchen designs. 3. Wind-Resistant Wall Caps - As the name suggests, these wall caps are designed to withstand strong winds, making them ideal for use in areas with high wind speeds. 4. Backdraft Wall Caps - These wall caps include a backdraft damper to prevent outside air from entering the kitchen through the exhaust vent. 5. Damperless Wall Caps - These wall caps do not have a backdraft damper, allowing for maximum airflow and better ventilation. 6. Built-In Damper Wall Caps - These wall caps have a built-in damper for added convenience and improved airflow control. 7. Bird Screen Wall Caps - These wall caps have a mesh screen to prevent birds and other pests from entering the exhaust vent. 8. Pest Resistant Wall Caps - These wall caps are designed with features to prevent pests such as rodents and insects from entering the exhaust vent. 9. Louvered Wall Caps - These wall caps have a series of angled slats that allow for better air flow while keeping out rain and debris. 10. Custom Wall Caps - If none of the standard wall cap designs fit your needs, you can opt for a custom-made wall cap to suit your specific requirements.Types of Kitchen Exhaust Wall Caps
To ensure the effectiveness and longevity of your kitchen exhaust wall cap, it is important to follow these best practices: 1. Regular Cleaning and Maintenance - Regularly cleaning and maintaining your wall cap will help prevent buildup of grease and debris, which can clog the vent and reduce its efficiency. 2. Proper Installation - Make sure to follow the manufacturer's instructions for installation to ensure proper function and prevent any potential hazards. 3. Use Quality Materials - Invest in a high-quality wall cap made from durable materials to ensure it can withstand the elements and last for years to come. 4. Seal Any Gaps - It is important to seal any gaps between the wall cap and the wall to prevent air leaks, which can affect the efficiency of your ventilation system. 5. Regular Inspections - Periodic inspections of your wall cap can help identify any issues or damage early on, allowing for timely repairs or replacements.Best Practices for Kitchen Exhaust Wall Caps
When choosing a kitchen exhaust wall cap, there are a few factors to consider: 1. Size and Compatibility - Make sure to choose a wall cap that is the right size and compatible with your existing exhaust vent. 2. Material - Consider the material of the wall cap and choose one that is durable and suitable for the climate in your area. 3. Design and Aesthetics - Choose a design that not only fits your kitchen's aesthetic but also meets your functional needs. 4. Budget - Determine a budget and compare prices of different wall caps to find one that offers the best value for your money.Choosing the Right Kitchen Exhaust Wall Cap
Using a kitchen exhaust wall cap offers several benefits: 1. Improved Air Quality - A wall cap helps to remove excess moisture, smoke, and odors from your kitchen, improving the overall air quality. 2. Better Ventilation - A well-designed wall cap can help improve the airflow in your kitchen, making it more comfortable to cook and reducing the risk of mold or mildew growth. 3. Protection from Pests - By preventing pests from entering your kitchen through the exhaust vent, a wall cap can help maintain a hygienic and pest-free environment. 4. Energy Efficiency - A properly installed wall cap can help reduce energy consumption by improving the efficiency of your ventilation system.Benefits of Using a Kitchen Exhaust Wall Cap
Here are some tips to keep in mind when installing a kitchen exhaust wall cap: 1. Choose the Right Location - The wall cap should be installed in a location that allows for proper ventilation and is easily accessible for maintenance. 2. Follow Building Codes - Make sure to follow local building codes and regulations when installing the wall cap. 3. Use the Right Tools - Make sure to have all the necessary tools for installation, such as a drill, screwdriver, and caulking gun. 4. Check for Obstructions - Before installing, check for any obstructions that may hinder the proper installation and function of the wall cap.Installation Tips for Kitchen Exhaust Wall Caps
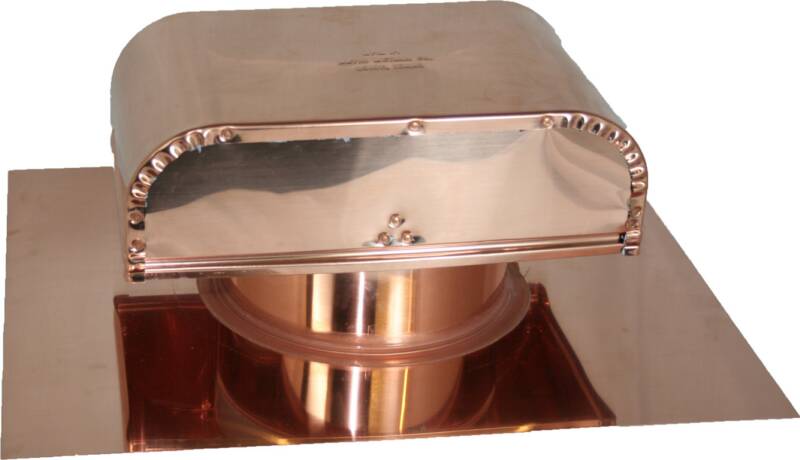
The most commonly used materials for kitchen exhaust wall caps include: 1. Aluminum - Lightweight and corrosion-resistant, making it a popular choice for wall caps. 2. Stainless Steel - Durable and long-lasting, but more expensive than other materials. 3. Galvanized Steel - A budget-friendly option, but may not withstand harsh weather conditions as well as other materials. 4. Copper - Offers a unique and attractive look, but may be prone to discoloration over time.Common Materials Used for Kitchen Exhaust Wall Caps
To ensure your kitchen exhaust wall cap functions properly, regular maintenance is necessary: 1. Clean Regularly - Remove any buildup of grease and debris on the wall cap to prevent clogs and maintain proper airflow. 2. Inspect for Damage - Check for any damage or wear and tear on the wall cap and make necessary repairs or replacements. 3. Replace Damaged Parts - If any parts of the wall cap are damaged, it is important to replace them to maintain the effectiveness of the vent system.Proper Maintenance for Kitchen Exhaust Wall Caps
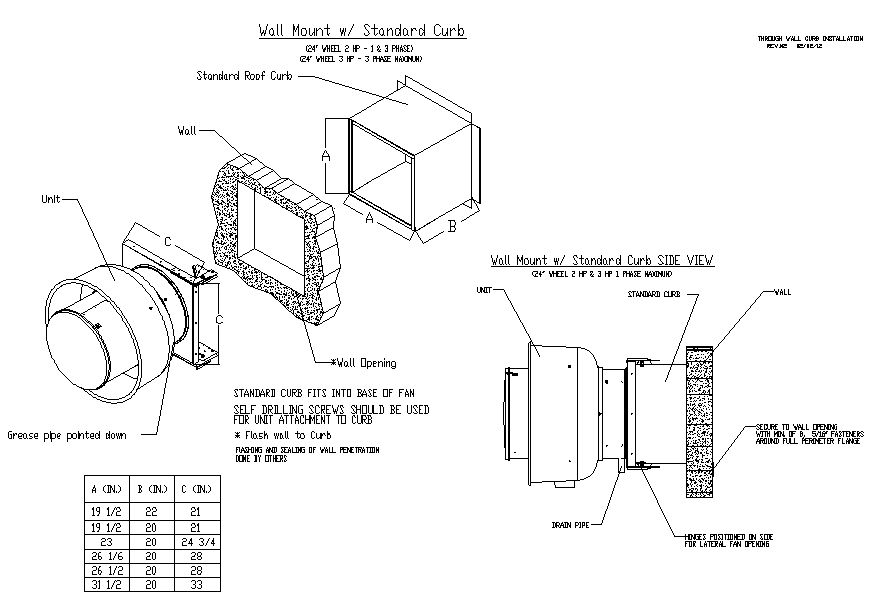
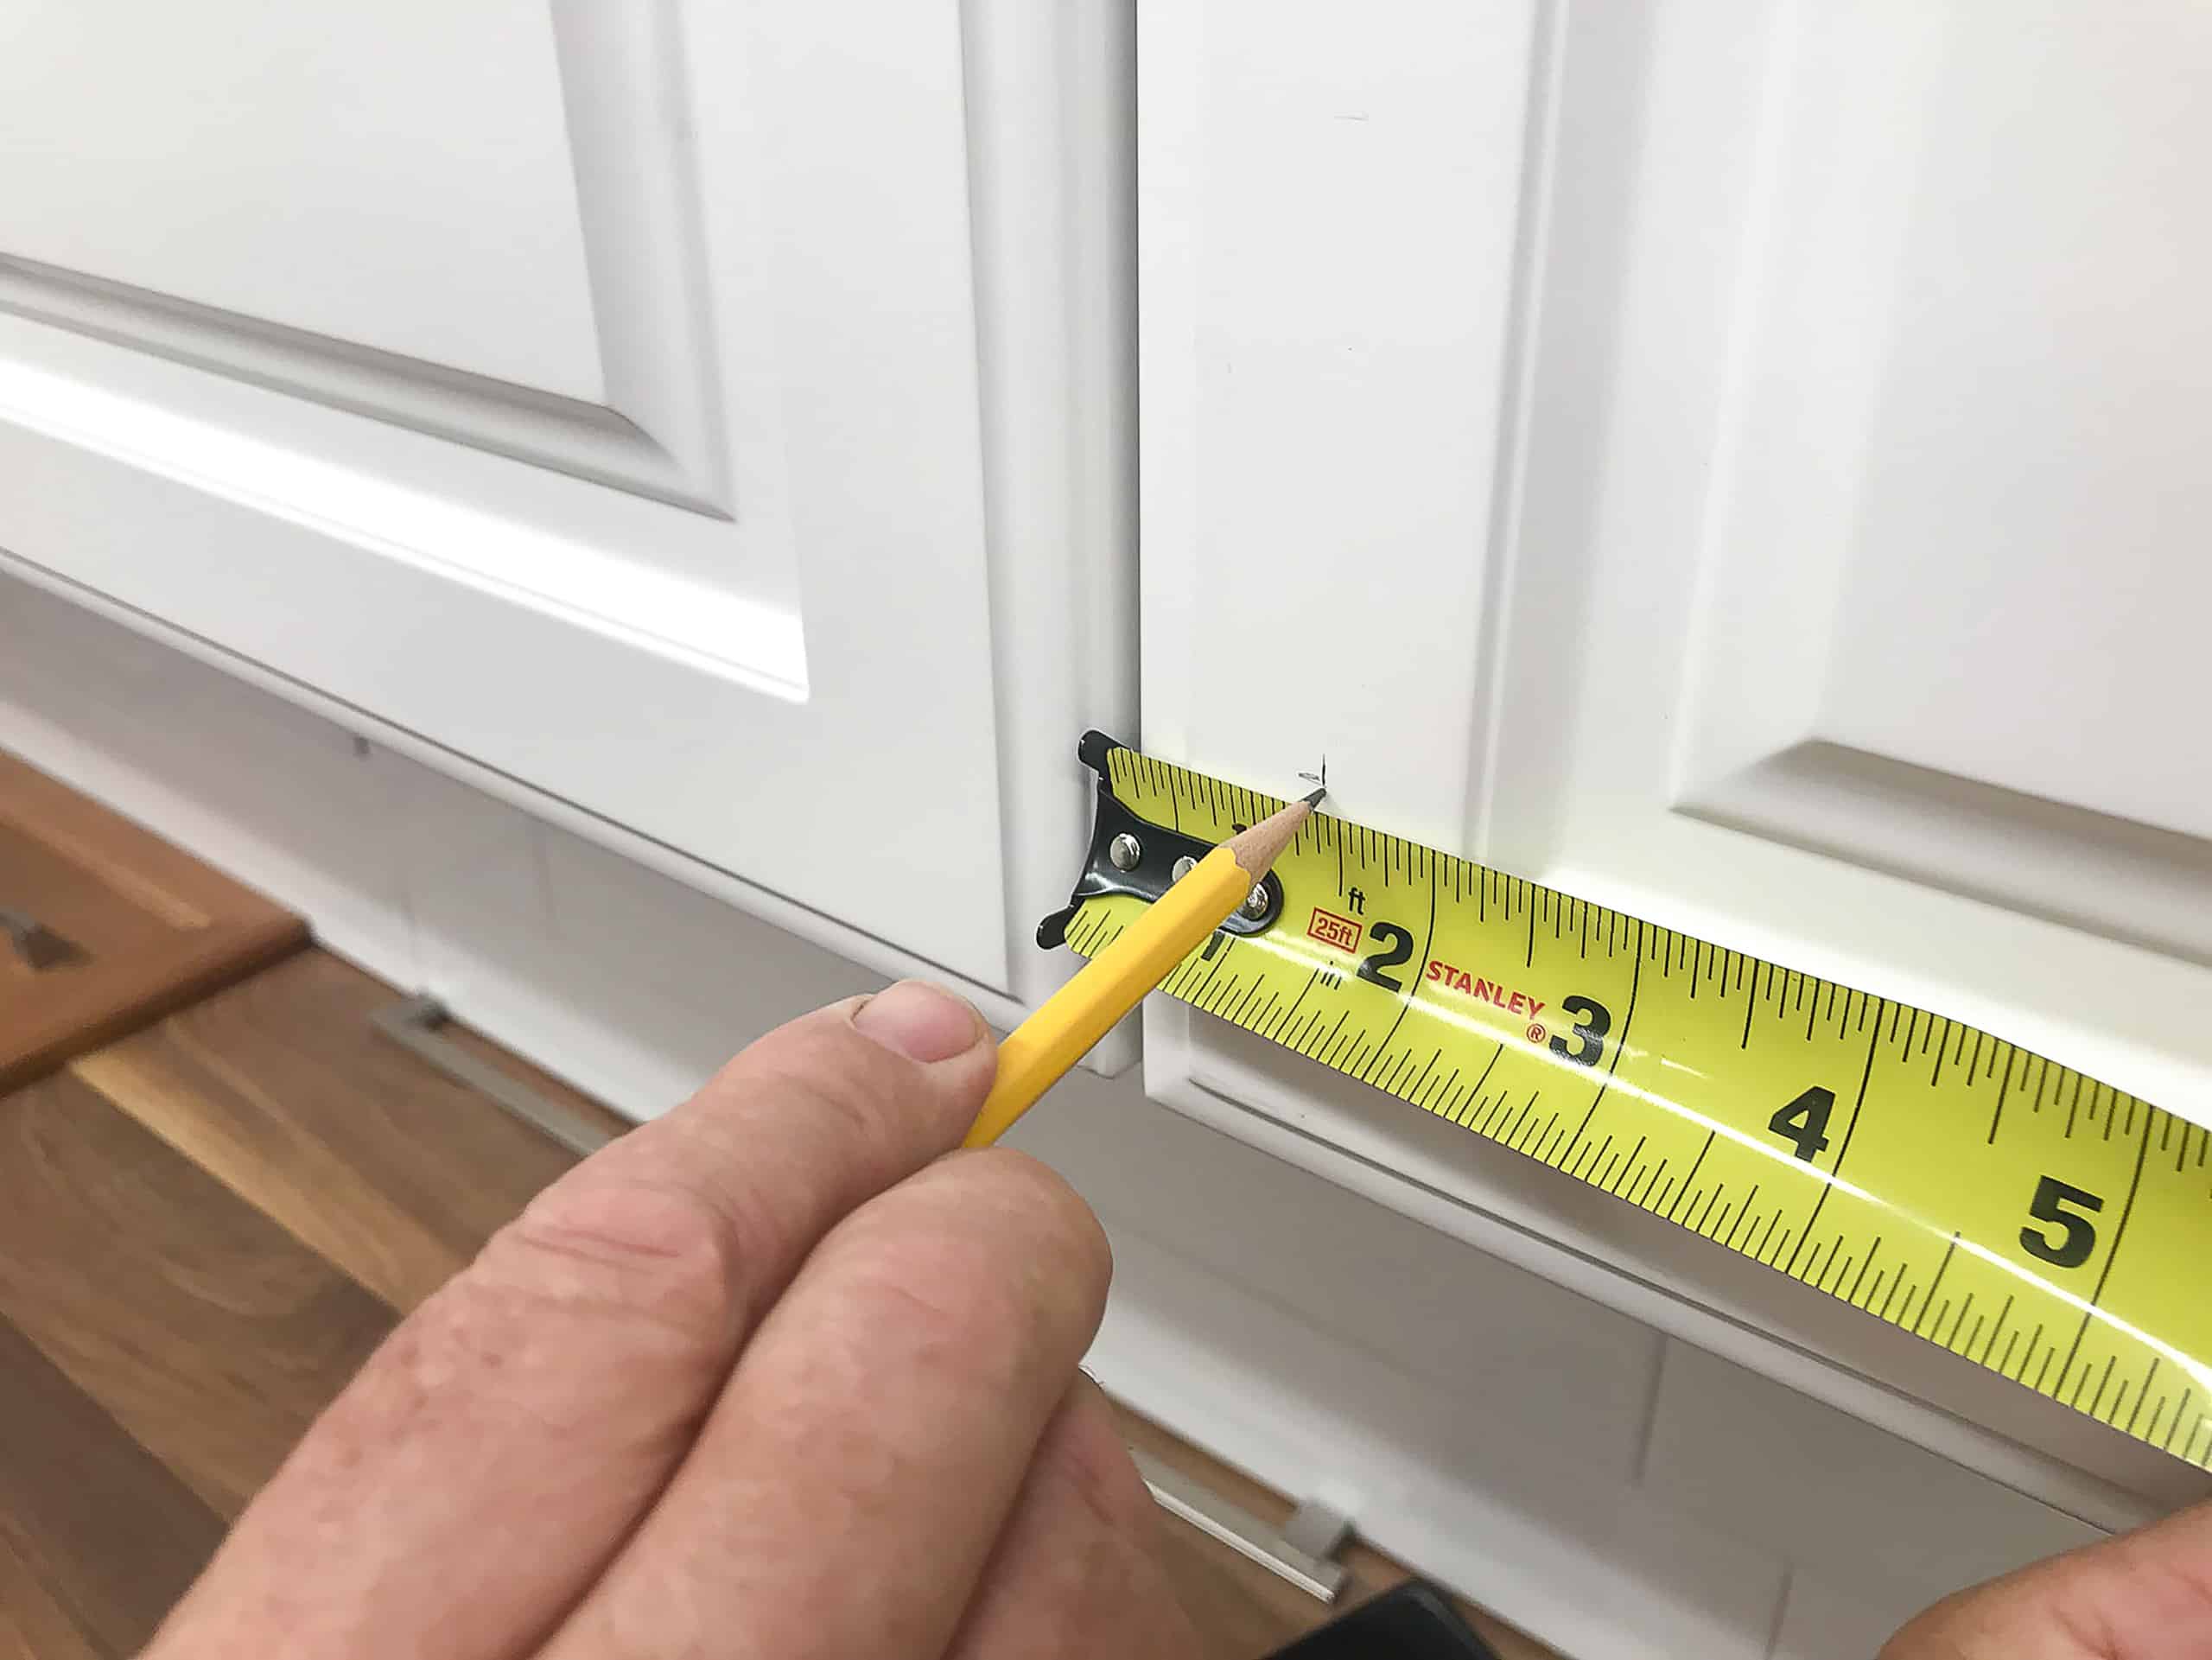
When measuring for a kitchen exhaust wall cap, follow these steps: 1. Measure the Duct - Measure the diameter of the exhaust duct to determine the size of the wall cap needed. 2. Measure the Wall - Measure the thickness of the wall to ensure the wall cap will fit properly. 3. Consider the Clearance - Make sure to leave enough clearance between the wall cap and any obstructions to ensure proper function.How to Measure for a Kitchen Exhaust Wall Cap
When comparing different designs of kitchen exhaust wall caps, consider factors such as: 1. Functionality - Choose a design that offers the most efficient and effective ventilation for your kitchen. 2. Durability - Consider the materials used and choose a design that is durable and can withstand the elements. 3. Compatibility - Make sure the design is compatible with your existing exhaust vent. 4. Aesthetics - Choose a design that not only functions well, but also complements the overall look of your kitchen.Comparing Different Kitchen Exhaust Wall Cap Designs
When installing a kitchen exhaust wall cap, it is important to follow building codes and regulations, which may include: 1. Proper Ventilation - Building codes may specify minimum requirements for ventilation in kitchens to ensure a safe and healthy environment. 2. Clearance Requirements - There may be specific requirements for the distance between the wall cap and other structures or obstructions. 3. Material Standards - Building codes may specify the type of materials that can be used for kitchen exhaust wall caps. 4. Fire Safety - To prevent fires, building codes may have regulations for the materials and installation of kitchen exhaust wall caps. In conclusion, choosing the right kitchen exhaust wall cap and following proper installation and maintenance practices can help improve the air quality and functionality of your kitchen. With the wide variety of designs and materials available, you can find a wall cap that not only meets your functional needs but also enhances the aesthetic of your kitchen. Always make sure to follow building codes and consult a professional if needed for proper installation and safety. Understanding Building Codes for Kitchen Exhaust Wall Caps
Additional Body Paragraph for "Best Practice for Kitchen Exhaust Wall Cap Types"

Choosing the Right Wall Cap for Your Kitchen Exhaust System
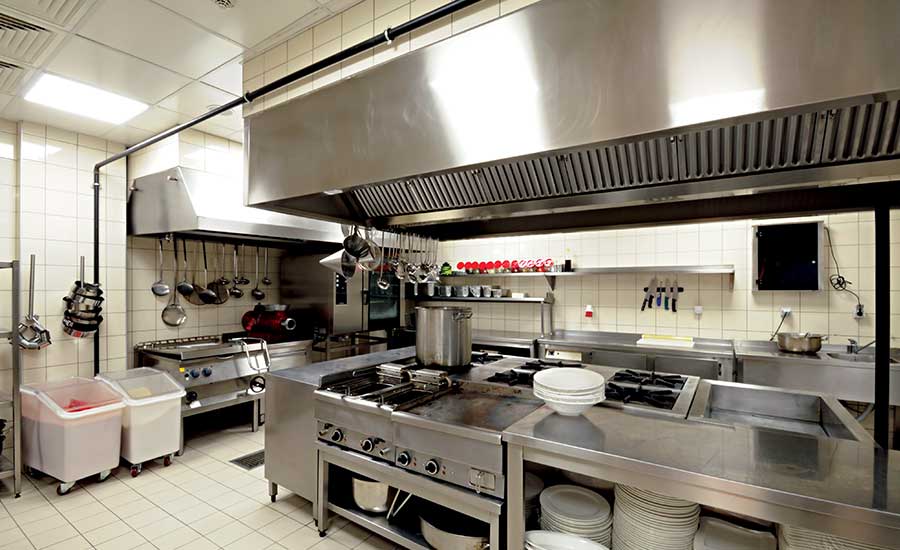 When it comes to designing a kitchen, the exhaust system is often one of the most overlooked elements. However, choosing the right
kitchen exhaust wall cap type
is crucial for maintaining good air quality and preventing potential hazards such as grease buildup. With a wide variety of options available, it can be overwhelming to determine which wall cap is best for your kitchen. In this article, we will discuss the best practices for selecting the right
wall cap
to ensure optimal functionality and safety in your kitchen.
Consider the Location and Size of Your Kitchen
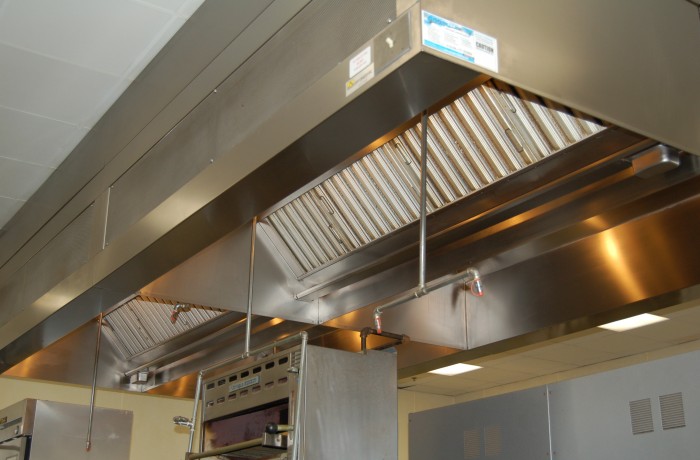 Before deciding on a
wall cap
, it is important to consider the location and size of your kitchen. Is your kitchen situated in a busy urban area with heavy traffic and pollution? Or is it in a quiet suburban neighborhood with cleaner air? The location of your kitchen will determine the amount of pollutants that need to be filtered out by your exhaust system. Additionally, the size of your kitchen will also play a role in the
wall cap
selection. A larger kitchen with more cooking appliances will require a more powerful exhaust system and a larger wall cap to accommodate.
Choose the Right Material
 When it comes to
wall cap
materials, there are several options to choose from, including stainless steel, aluminum, and copper. Each material has its own benefits and drawbacks. Stainless steel is a popular choice for its durability and resistance to corrosion. Aluminum is lightweight and affordable, but may not be as sturdy as stainless steel. Copper is an aesthetically pleasing option, but it can be more expensive. Consider the needs of your kitchen and budget when selecting the material for your
wall cap
.
Proper Installation
 No matter which
wall cap
you choose, proper installation is essential for optimal functionality. It is important to hire a professional to install your
wall cap
to ensure it is correctly connected to the exhaust system and properly sealed to prevent any air leaks. A poorly installed
wall cap
can lead to inadequate ventilation and potential fire hazards.
Regular Maintenance
 To ensure your
kitchen exhaust wall cap
continues to function properly, it is important to schedule regular maintenance appointments. This includes cleaning and replacing any filters, as well as inspecting for any potential issues. Regular maintenance will not only keep your kitchen air clean, but it will also extend the lifespan of your
wall cap
.
In conclusion, choosing the right
wall cap
for your kitchen exhaust system is crucial for maintaining good air quality and preventing potential hazards. Consider the location and size of your kitchen, choose the right material, and ensure proper installation and maintenance to ensure the optimal functionality of your
wall cap
. By following these best practices, you can have a well-designed and efficient kitchen exhaust system that will keep your kitchen clean and safe for years to come.


