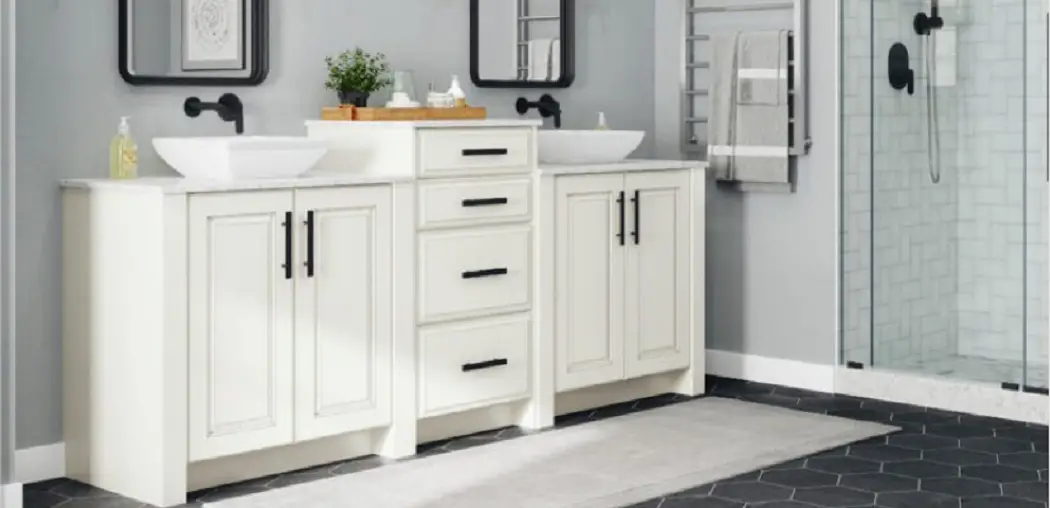
Installing a bathroom vanity on wavy walls can be a daunting task, but with the right knowledge and tools, it can be done easily and efficiently. Wavy walls can add character and charm to a bathroom, but they can also pose some challenges when it comes to installation. In this article, we will provide a step-by-step guide on how to install a bathroom vanity on wavy walls, as well as some tips and best practices to ensure a successful installation.Bathroom Vanity Installation on Wavy Walls


Bathroom Vanity Installation on Wavy Walls
:max_bytes(150000):strip_icc()/8_IMG_3767-56a4a2753df78cf772835b72.JPG)


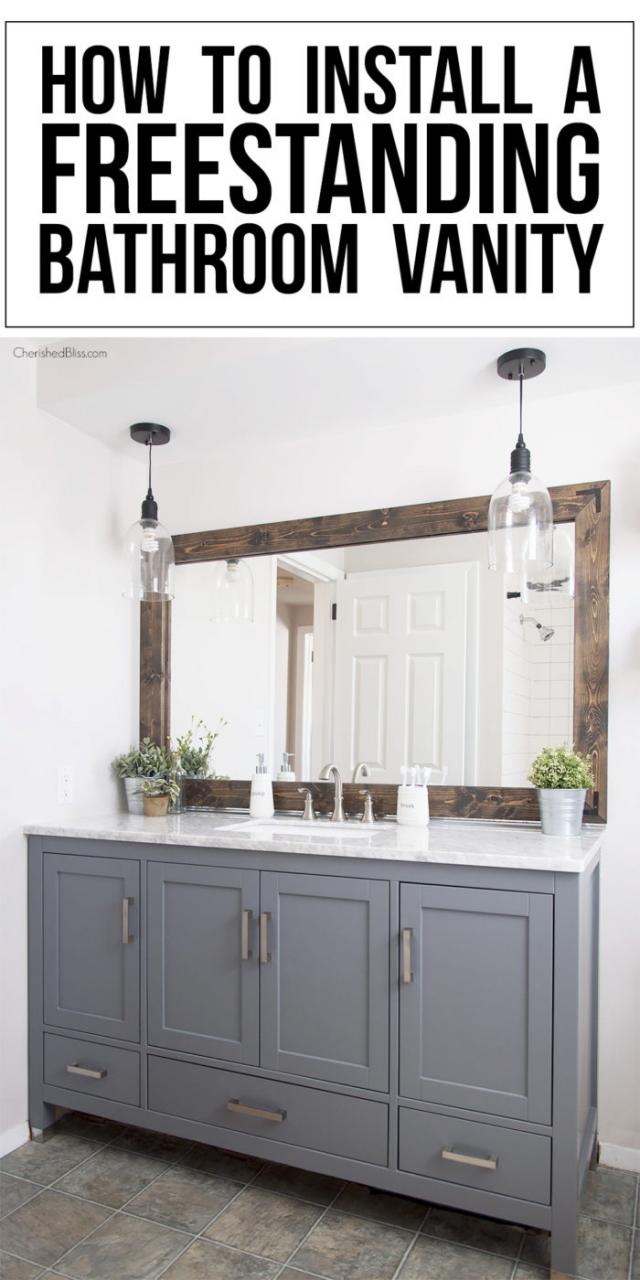
Before starting the installation process, it is important to measure the space where the vanity will be installed. Wavy walls can create uneven surfaces, so it is crucial to have accurate measurements to ensure the vanity will fit properly. Once you have the measurements, you can follow these steps to install your bathroom vanity on wavy walls:How to Install a Bathroom Vanity on Wavy Walls

How to Install a Bathroom Vanity on Wavy Walls
:max_bytes(150000):strip_icc()/8_IMG_3767-56a4a2753df78cf772835b72.JPG)


/155068606-56a4a2985f9b58b7d0d7ef19.jpg)
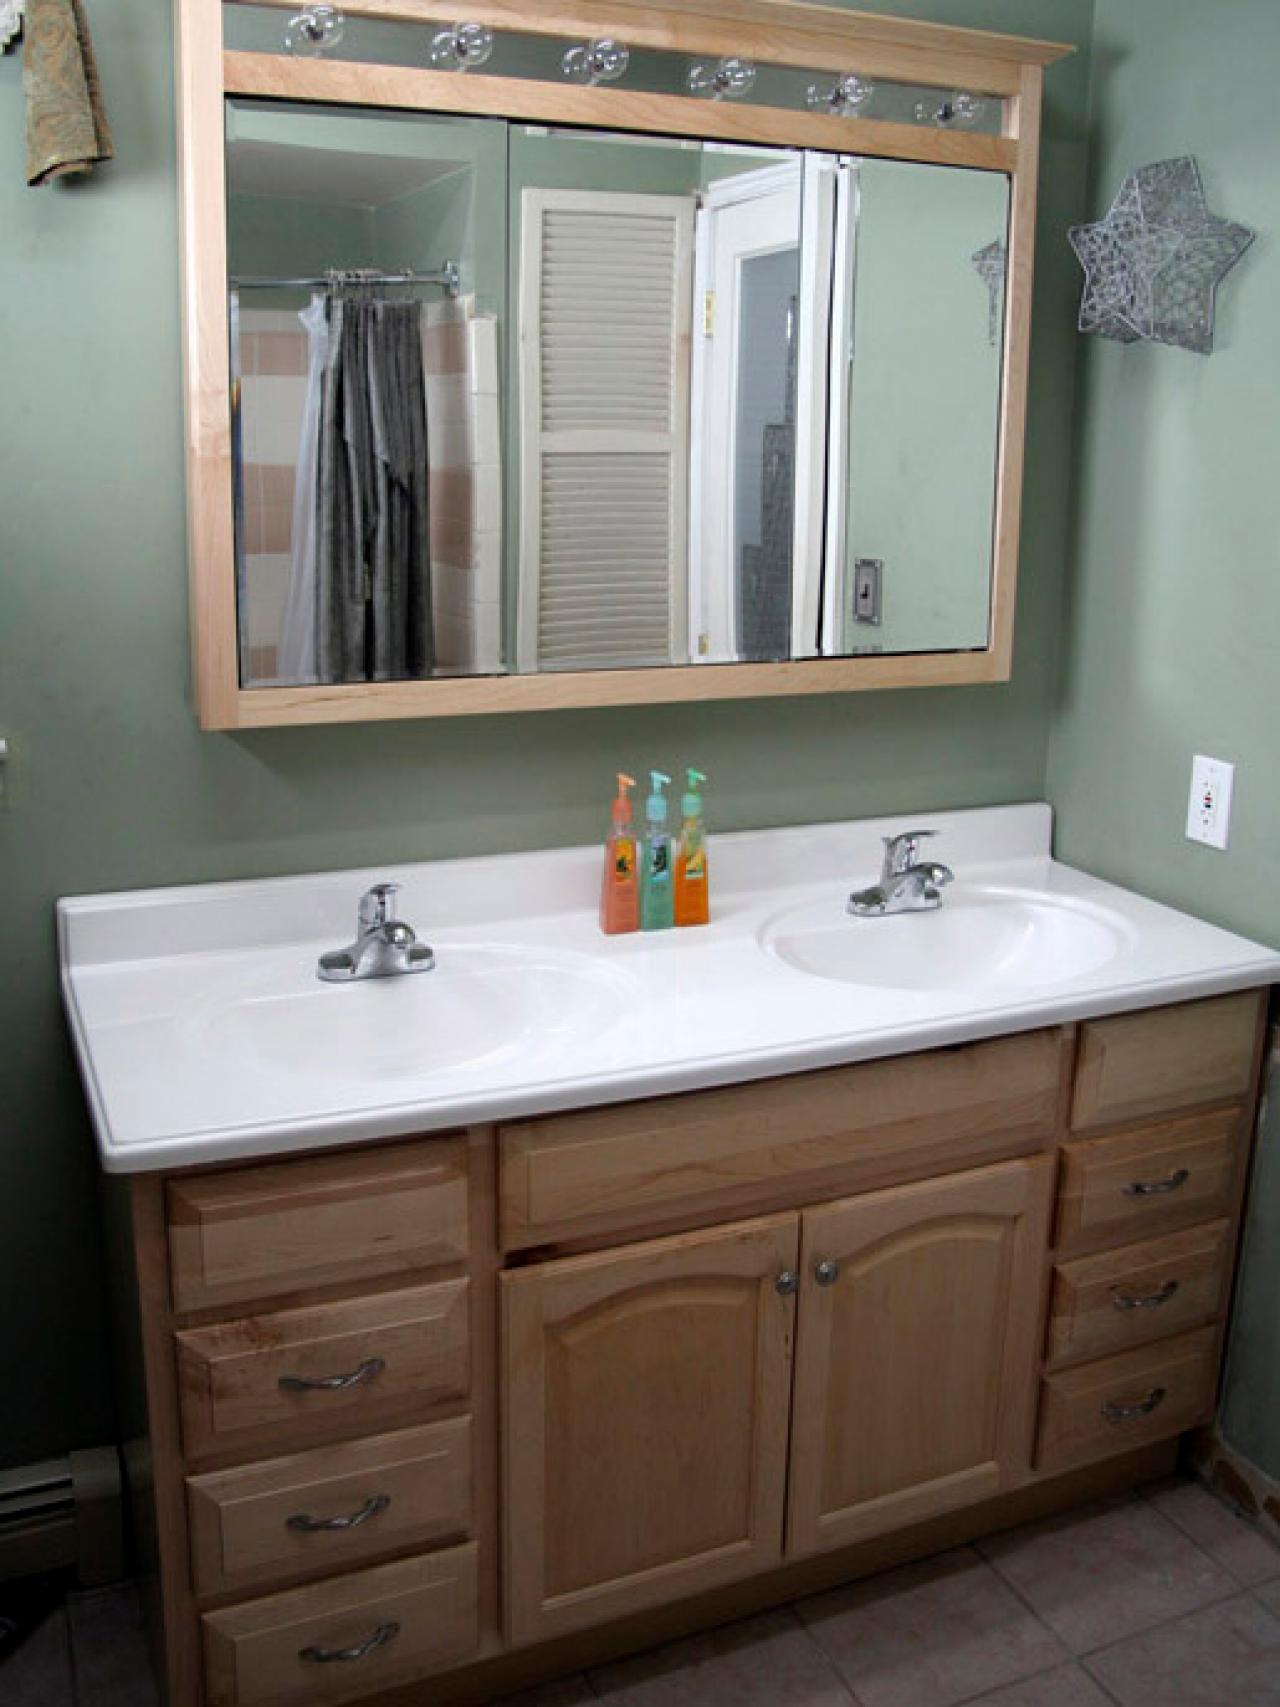
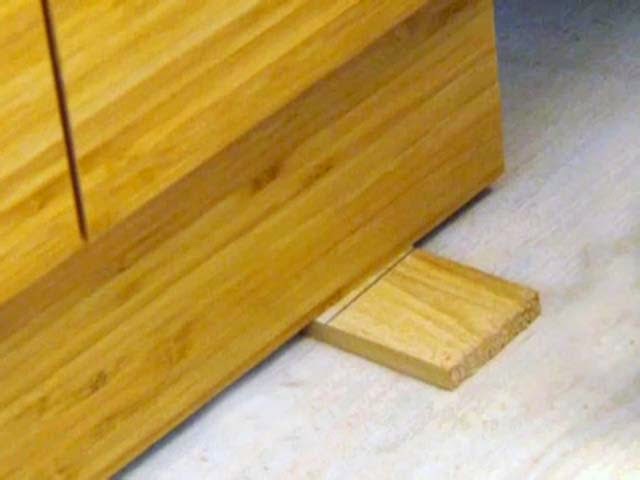
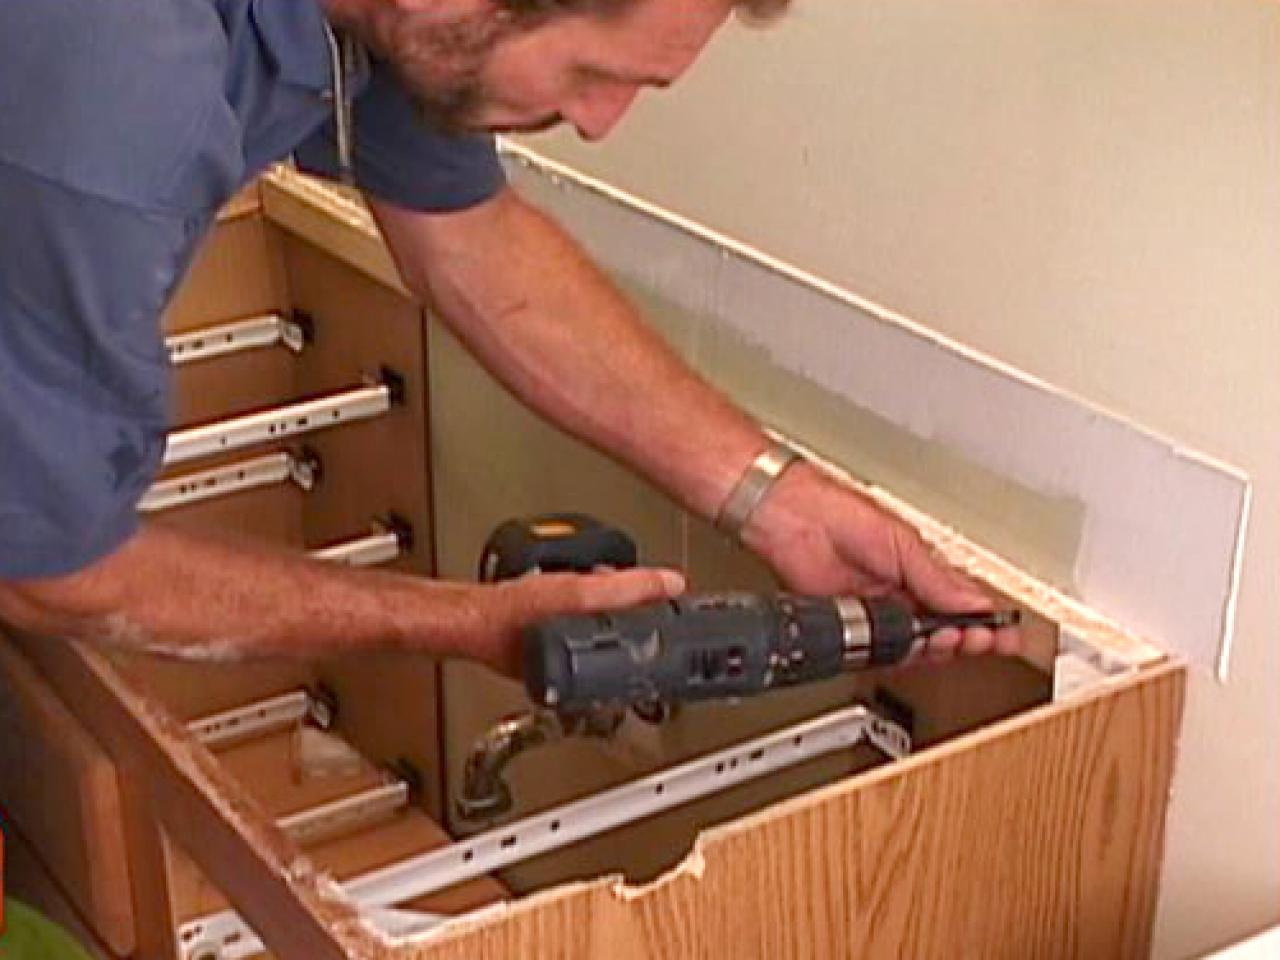
1. Use a level to mark the height of the vanity on the wall. This will ensure that the vanity is installed straight and level, even on wavy walls. 2. Use shims to level the vanity if the walls are extremely wavy. Shims are small, thin pieces of wood that can be placed under the vanity to level it out. Make sure to evenly distribute the shims to avoid any wobbling or instability. 3. Use a stud finder to locate and mark the studs on the wall. This is important for securing the vanity to the wall for added stability. 4. Pre-drill holes in the back of the vanity to match up with the marked studs on the wall. 5. Secure the vanity to the wall using screws, making sure to hit the studs for added support. 6. Use caulk to seal any gaps between the vanity and the wall. This will give the vanity a more finished look and prevent any moisture from seeping in.Tips for Installing a Bathroom Vanity on Wavy Walls


Tips for Installing a Bathroom Vanity on Wavy Walls


Installing a bathroom vanity on wavy walls requires some additional steps to ensure a successful installation. Here is a more detailed guide to help you through the process:Wavy Wall Bathroom Vanity Installation Guide

Wavy Wall Bathroom Vanity Installation Guide
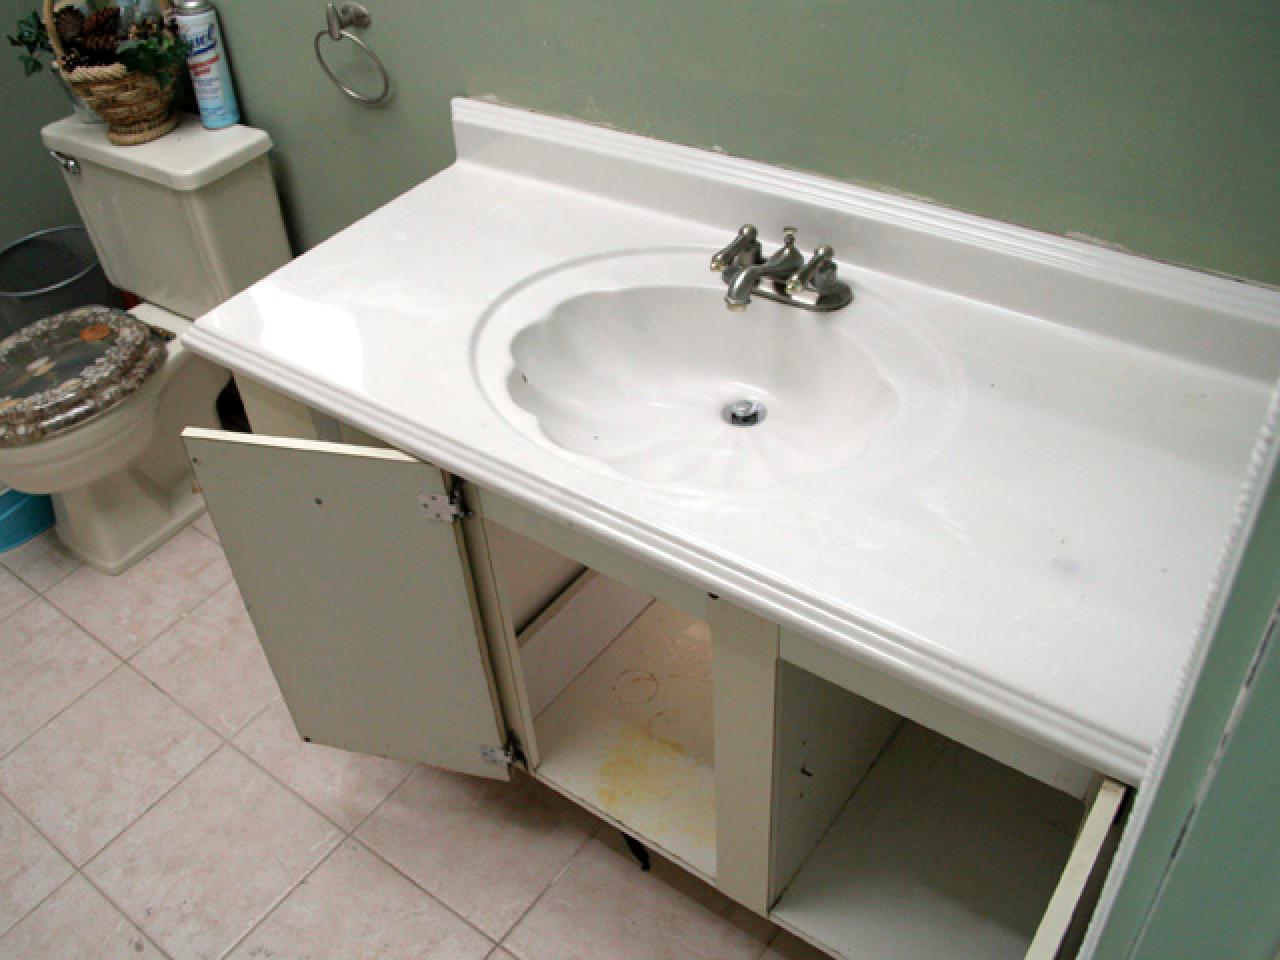
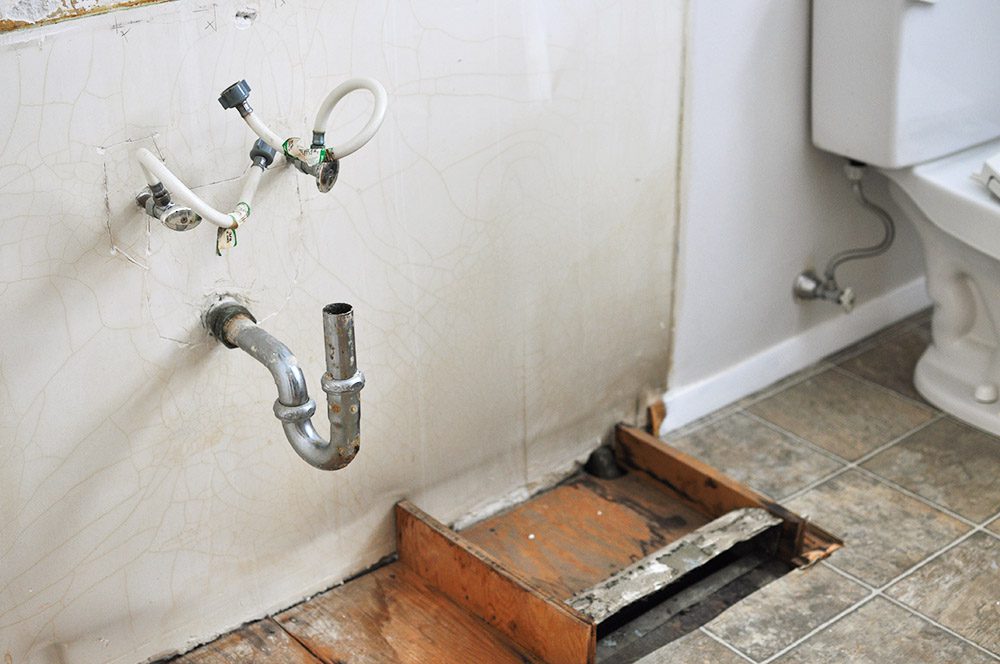
Start by clearing out the space where the vanity will be installed. This includes removing any old vanity, sink, and countertop. Make sure to turn off the water supply before disconnecting any plumbing.Step 1: Prepare the Space


Step-by-Step Bathroom Vanity Installation on Wavy Walls


Measure the space where the vanity will be installed, taking into account the wavy walls. Measure the height, width, and depth of the space to ensure a proper fit for the vanity.Step 2: Measure the Space

Best Practices for Installing a Bathroom Vanity on Wavy Walls


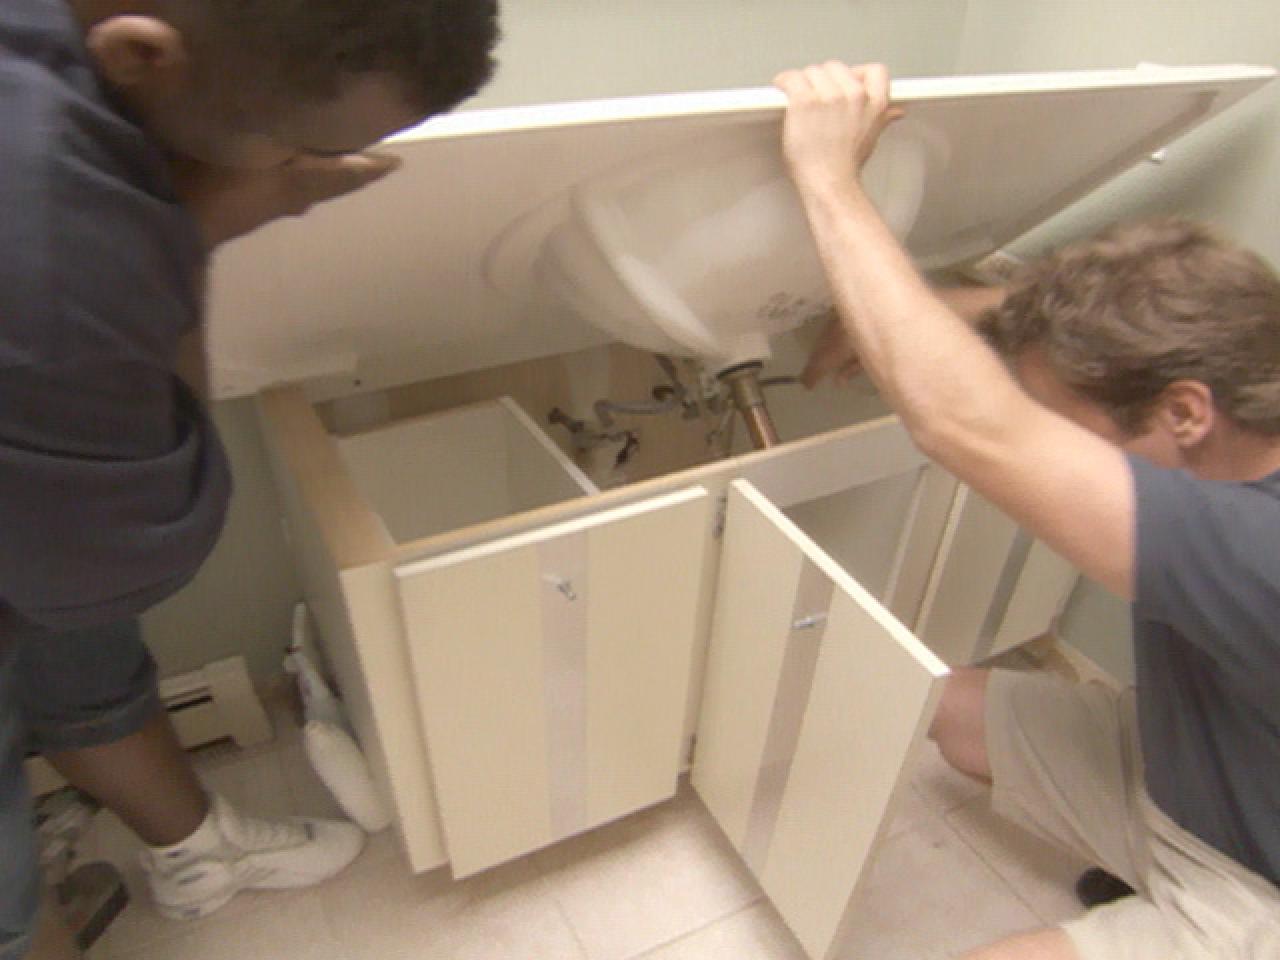
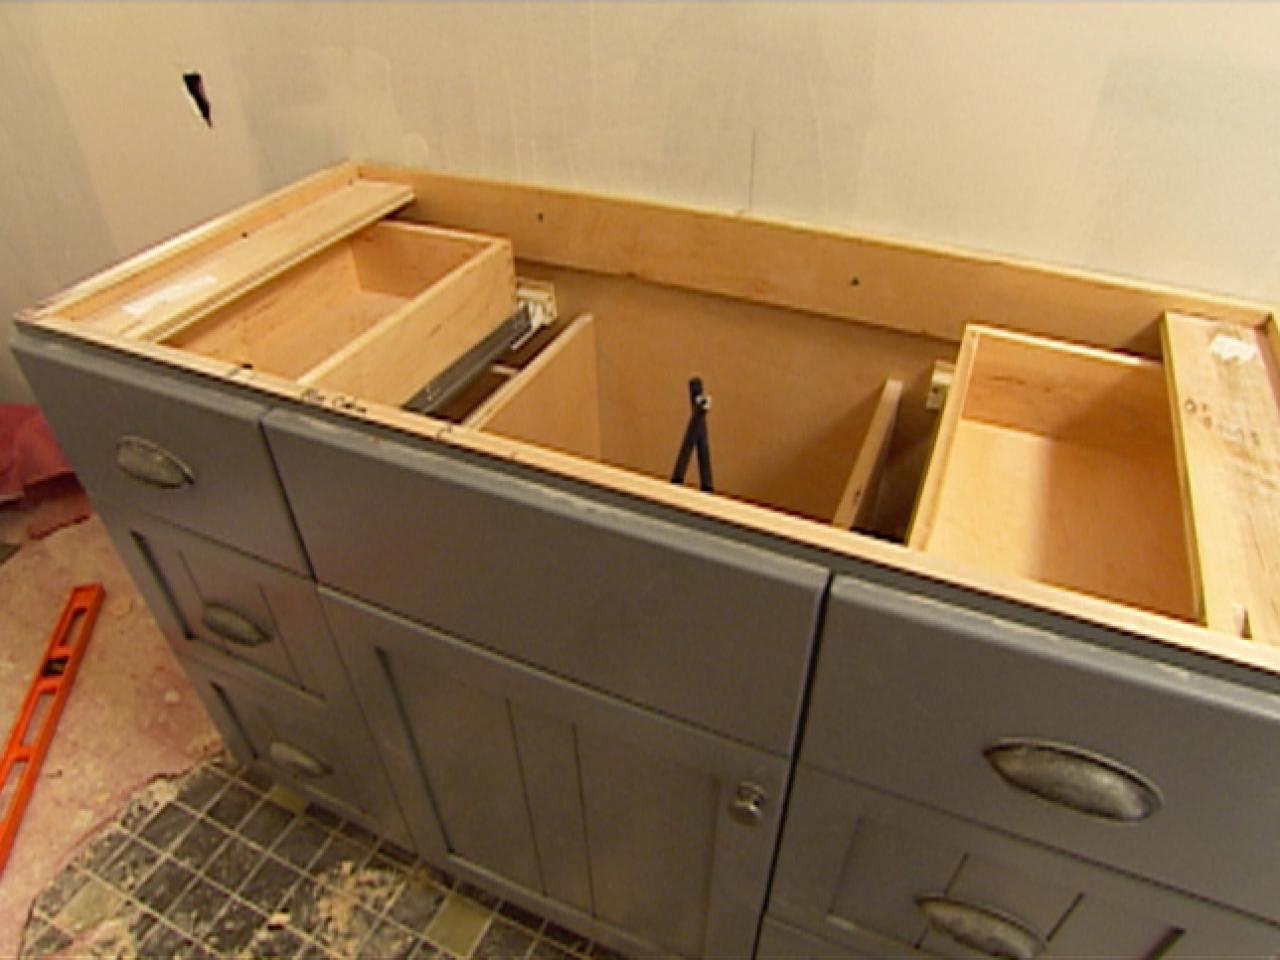
Assemble the vanity according to the manufacturer's instructions. Make sure to follow the steps carefully to avoid any mistakes.Step 3: Assemble the Vanity


Common Challenges with Bathroom Vanity Installation on Wavy Walls


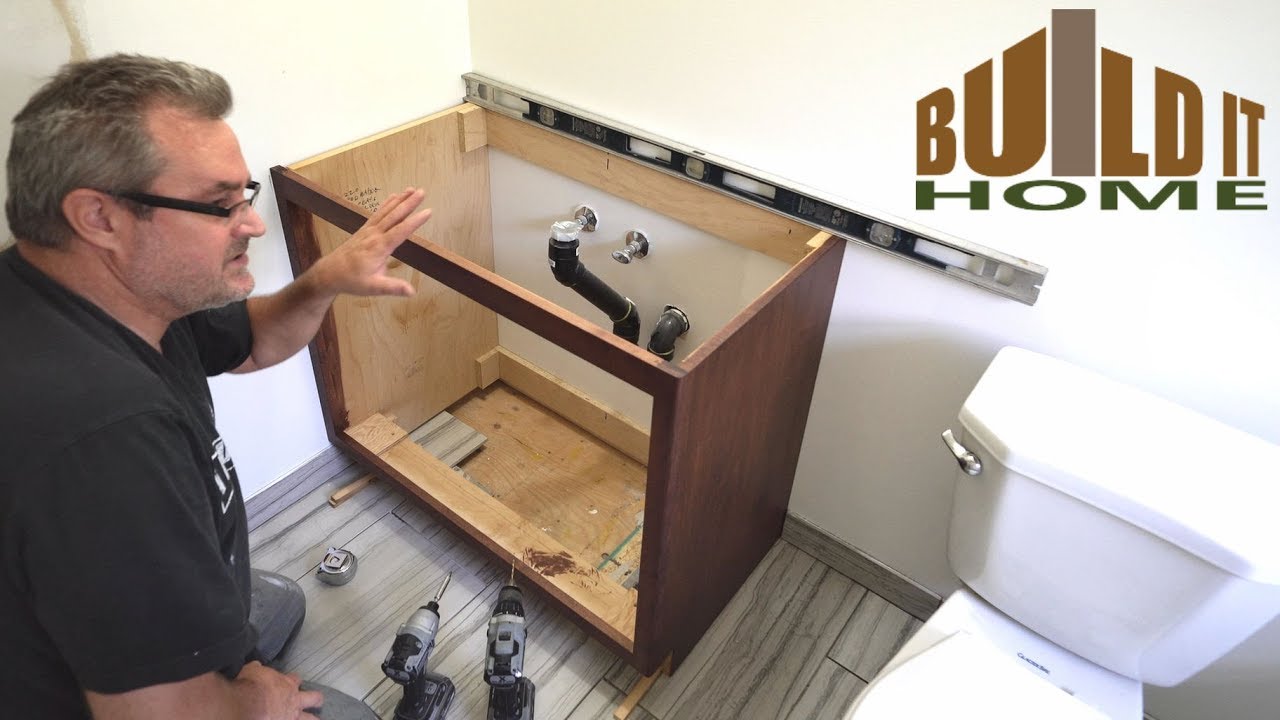
Use a level to mark the height of the vanity on the wall. This will ensure that the vanity is installed straight and level, even on wavy walls.Step 4: Mark the Wall


DIY Bathroom Vanity Installation on Wavy Walls


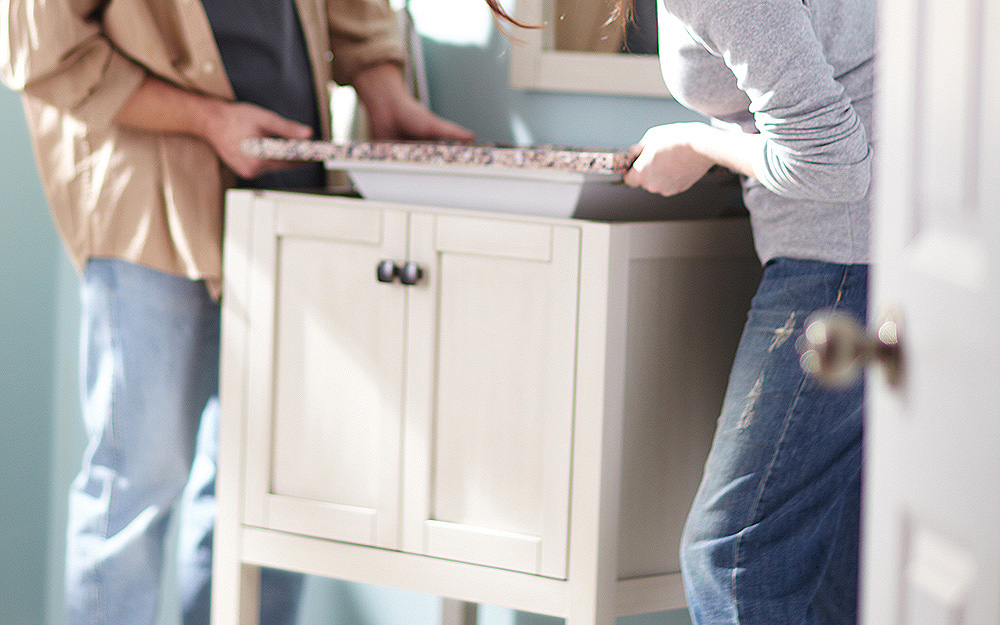
Place the assembled vanity into position, making sure it is level. Use shims if necessary to level out the vanity. Use a stud finder to locate the studs on the wall and mark them.Step 5: Install the Vanity


Professional Bathroom Vanity Installation on Wavy Walls


Pre-drill holes in the back of the vanity to match up with the marked studs on the wall. Secure the vanity to the wall using screws, making sure to hit the studs for added support.Step 6: Secure the Vanity to the Wall


Cost of Installing a Bathroom Vanity on Wavy Walls

:max_bytes(150000):strip_icc()/8_IMG_3767-56a4a2753df78cf772835b72.JPG)

How to Overcome the Challenges of Installing a Bathroom Vanity on Wavy Walls

The Importance of Proper Planning
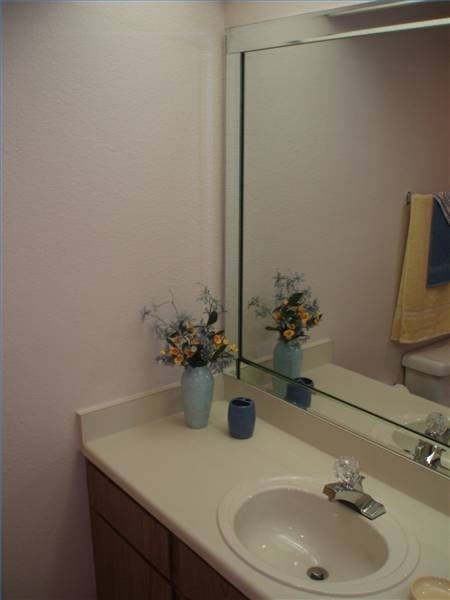
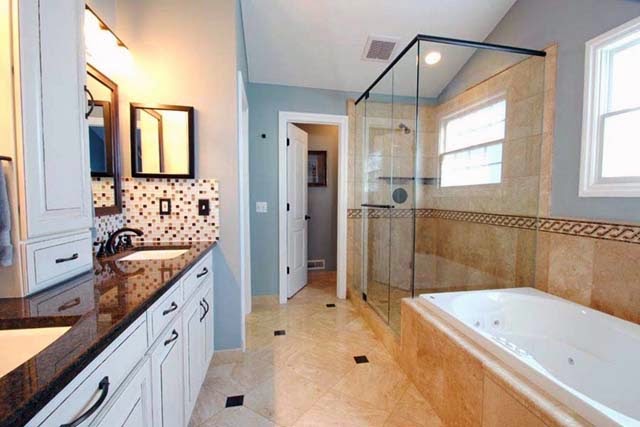
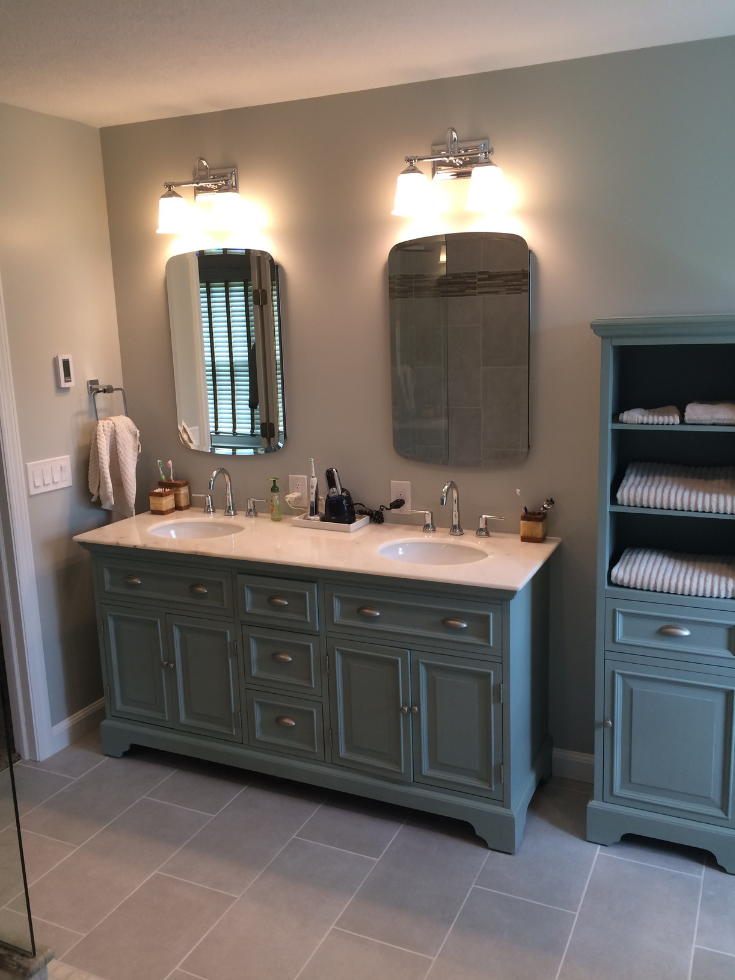
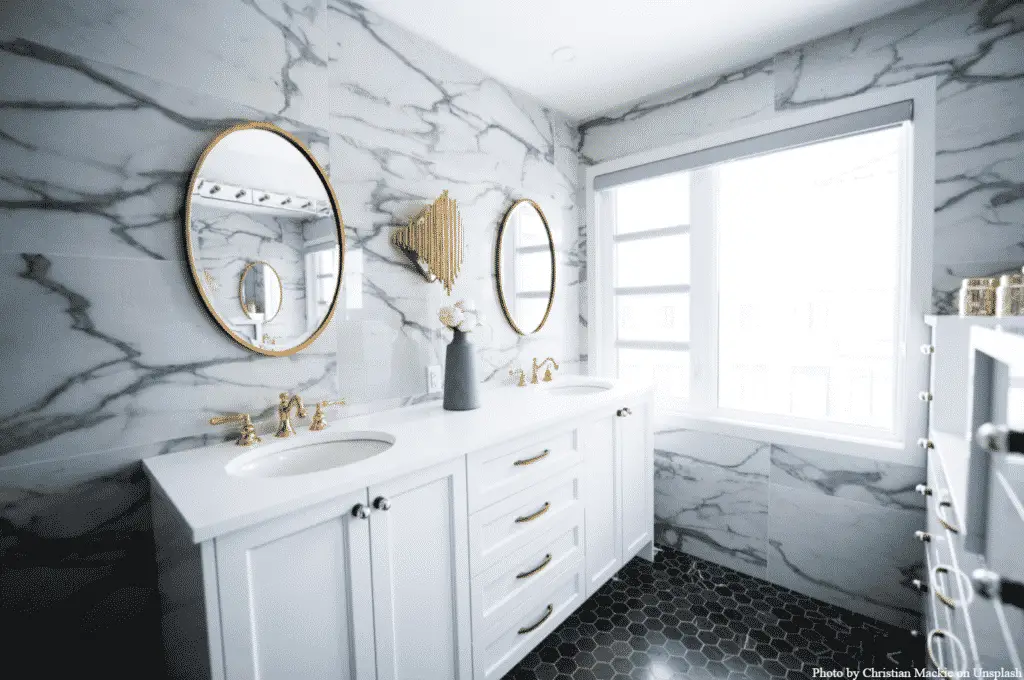
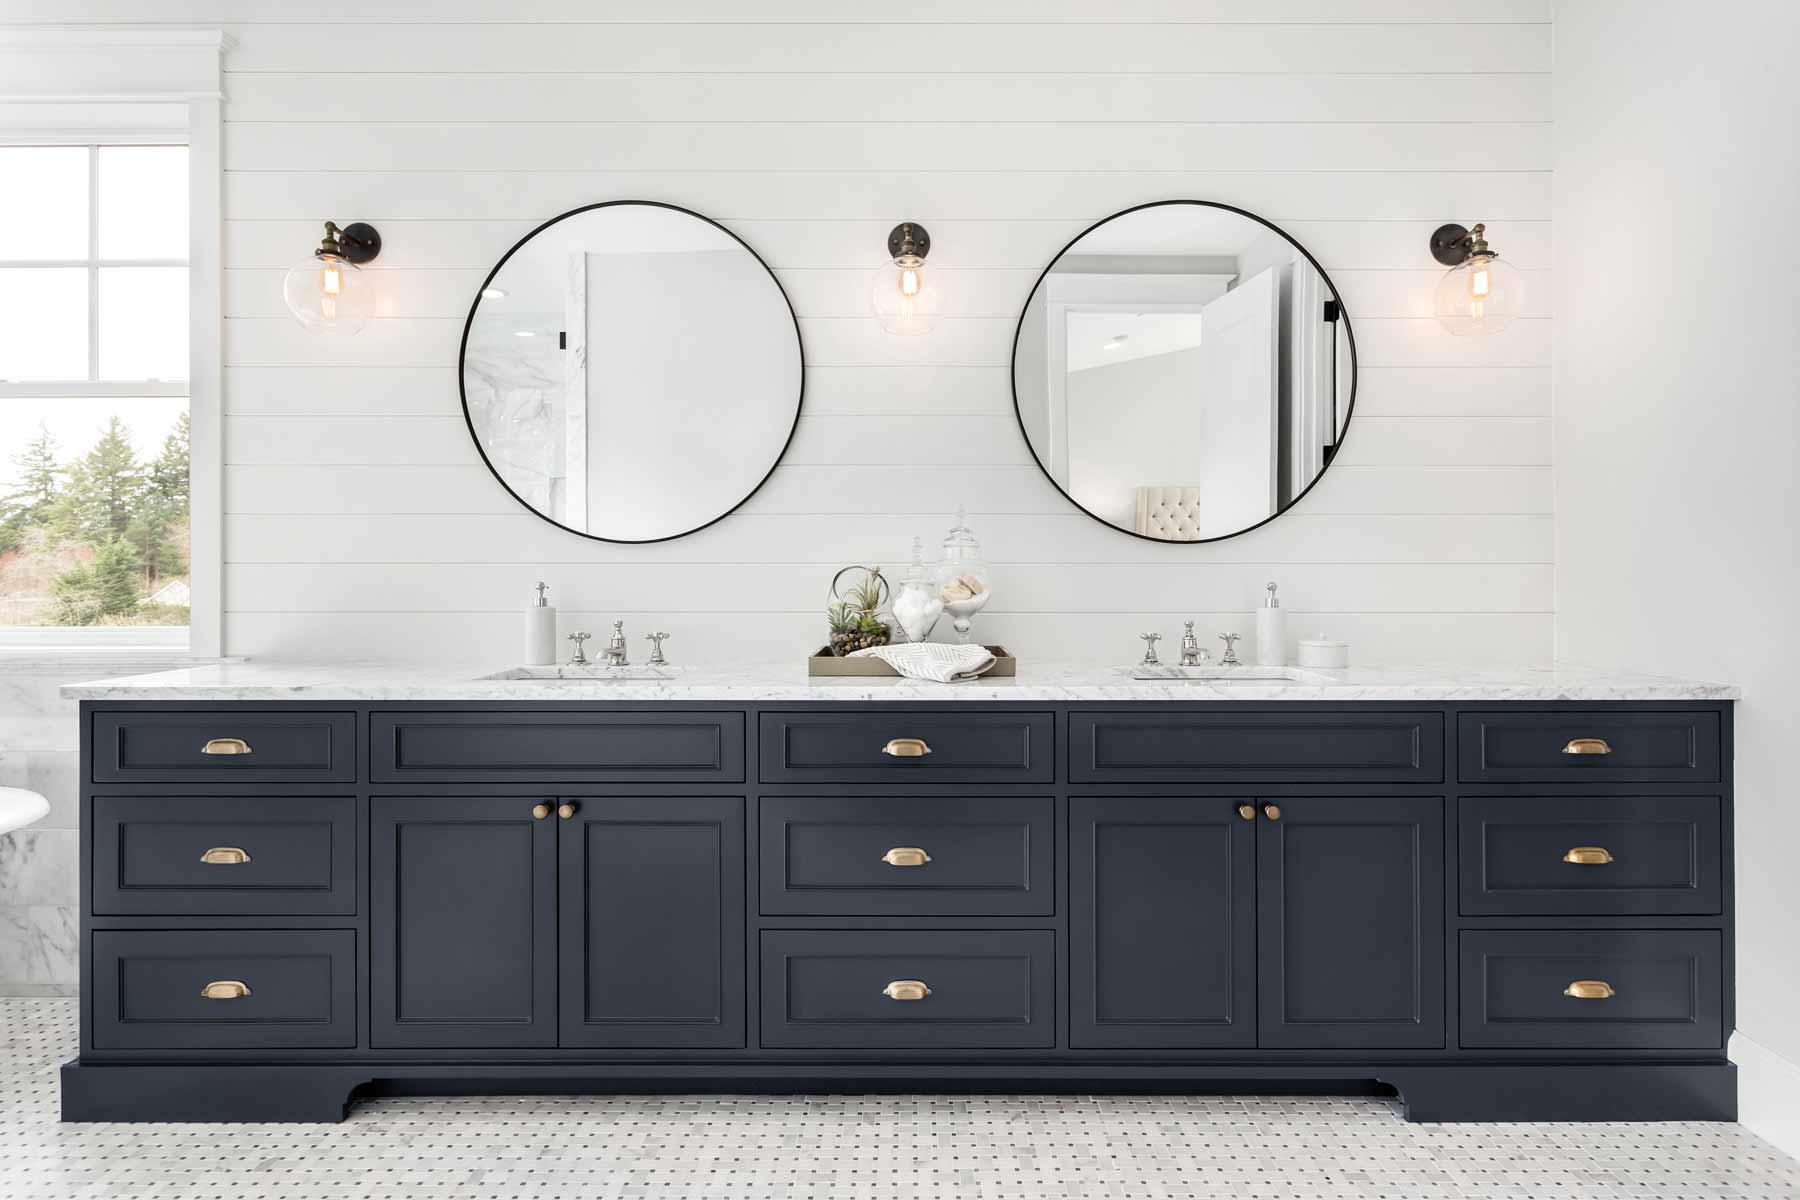
 Installing a new bathroom vanity can completely transform the look and feel of your bathroom. However, when faced with wavy walls, the installation process can become a bit more challenging. Wavy walls can make it difficult to achieve a level and secure installation, which can affect the overall aesthetics and functionality of your vanity. But fear not, with proper planning and techniques, you can successfully install a beautiful bathroom vanity on wavy walls.
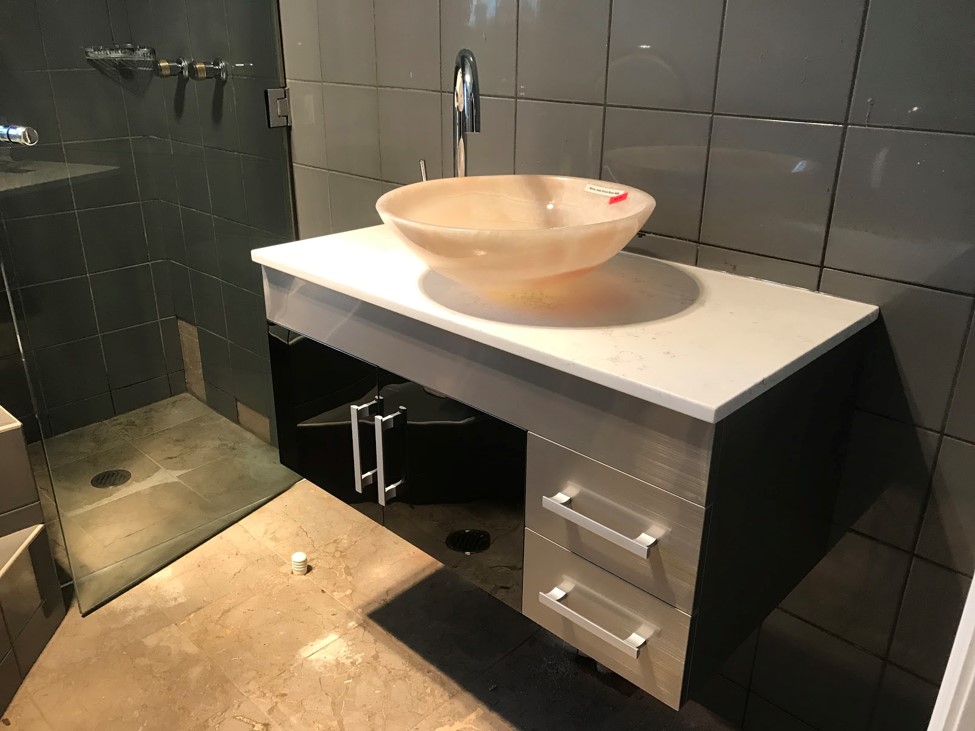
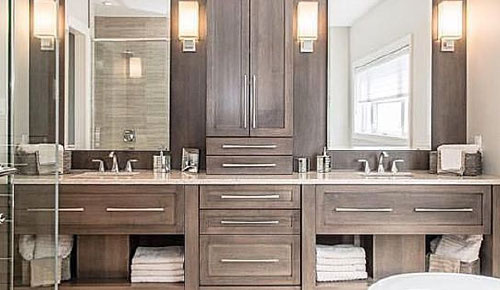
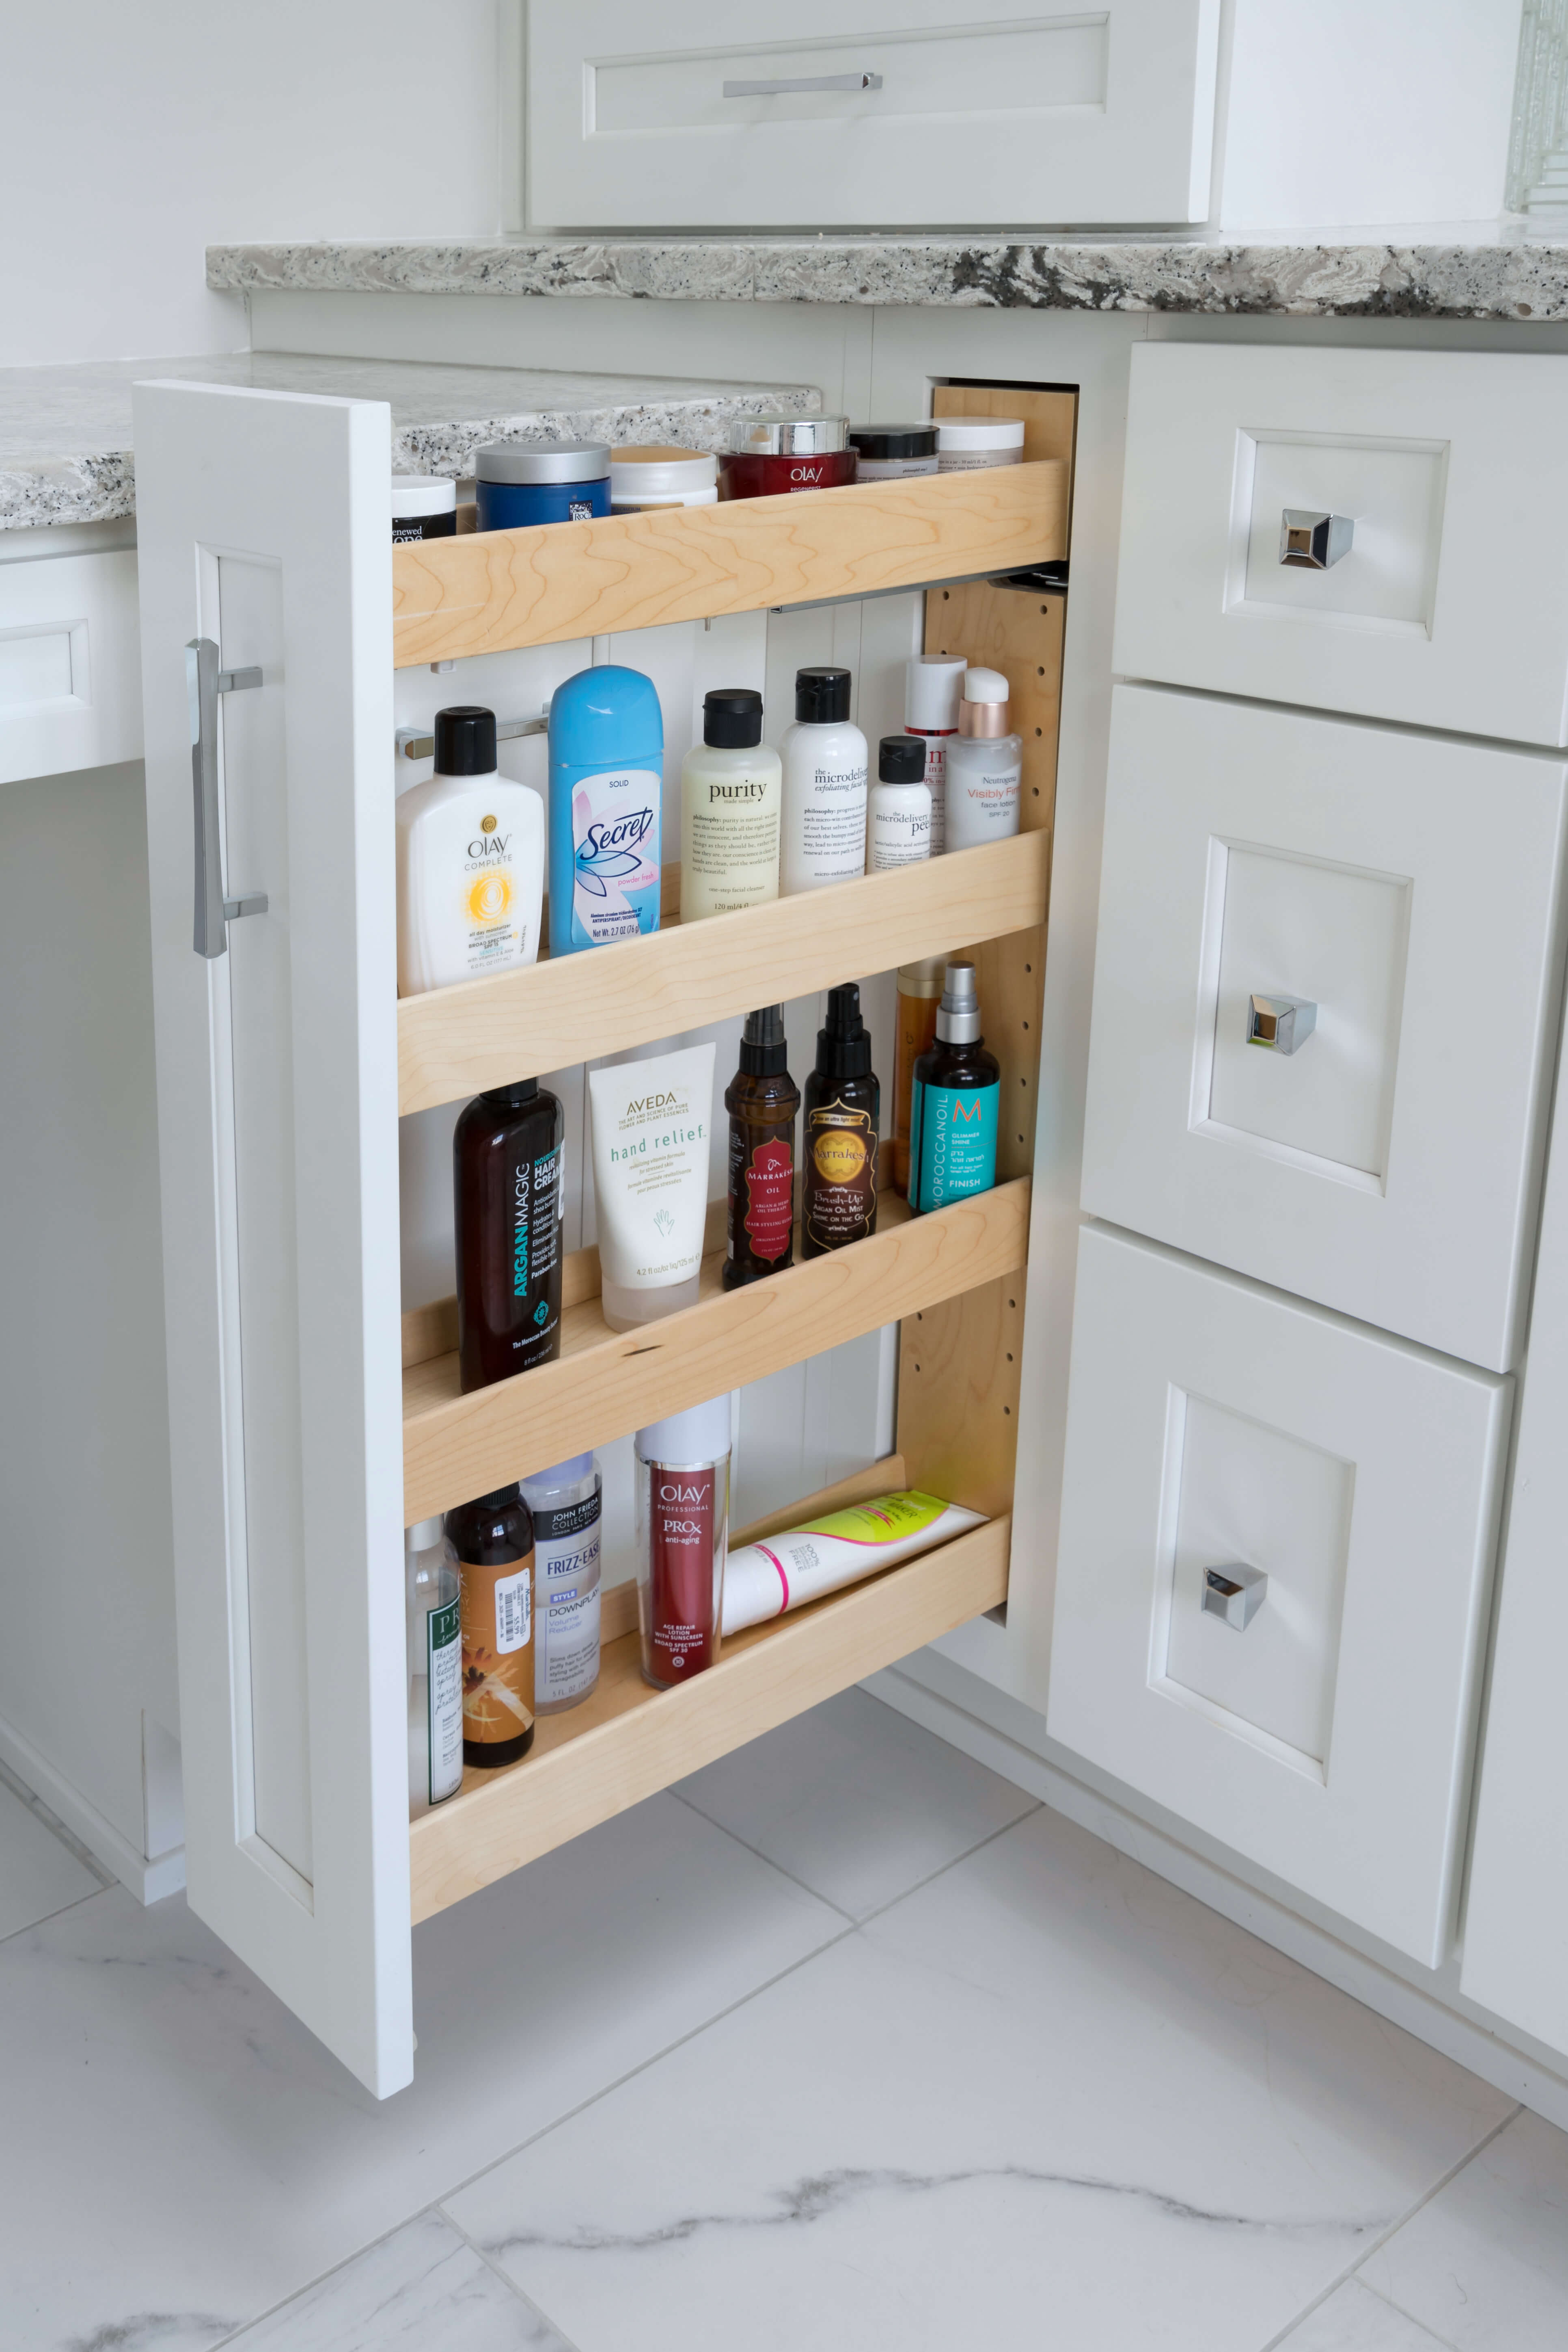
Choose the Right Vanity
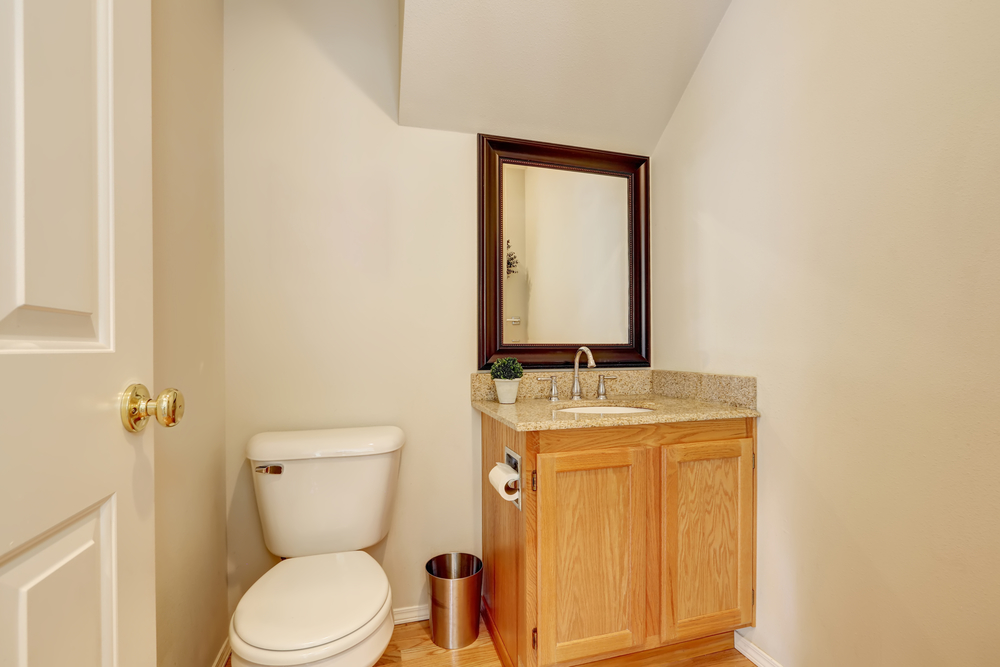
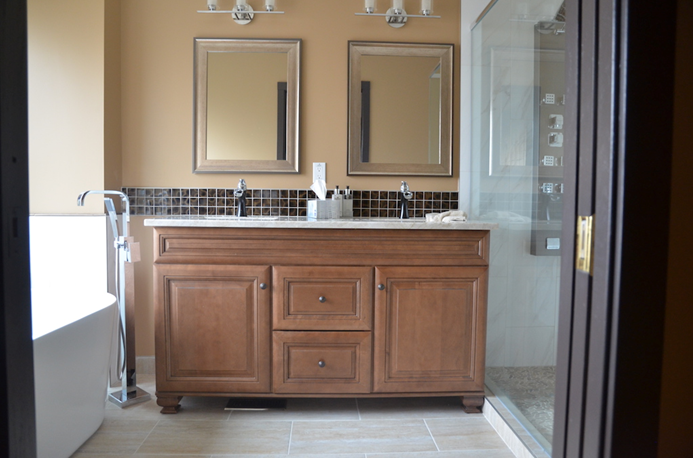
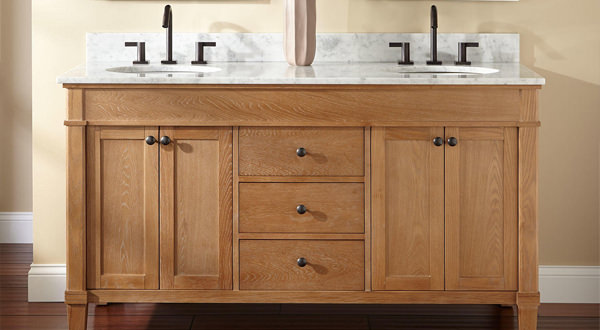
 When dealing with wavy walls, it's crucial to choose the right vanity for your space. Look for vanities with adjustable legs or wall-mounted options to accommodate for any unevenness in the walls. This will help ensure a level and sturdy installation.
Bathroom vanity installation
requires precise measurements and careful consideration of the space. With wavy walls, it's even more important to measure and plan accurately to avoid any potential issues during installation. Take into account the height, width, and depth of the vanity, as well as the space needed for plumbing and electrical connections.
When dealing with wavy walls, it's crucial to choose the right vanity for your space. Look for vanities with adjustable legs or wall-mounted options to accommodate for any unevenness in the walls. This will help ensure a level and sturdy installation.
Bathroom vanity installation
requires precise measurements and careful consideration of the space. With wavy walls, it's even more important to measure and plan accurately to avoid any potential issues during installation. Take into account the height, width, and depth of the vanity, as well as the space needed for plumbing and electrical connections.
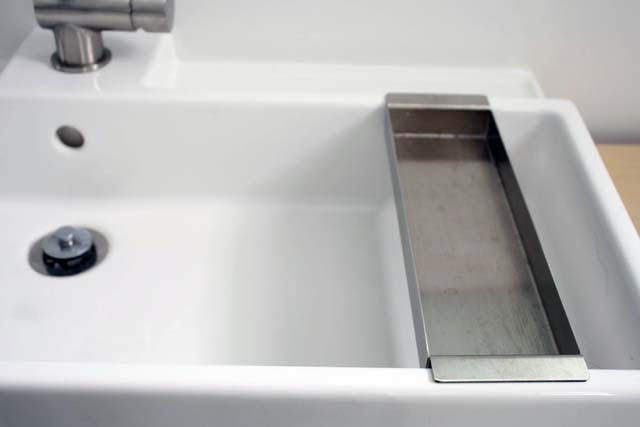
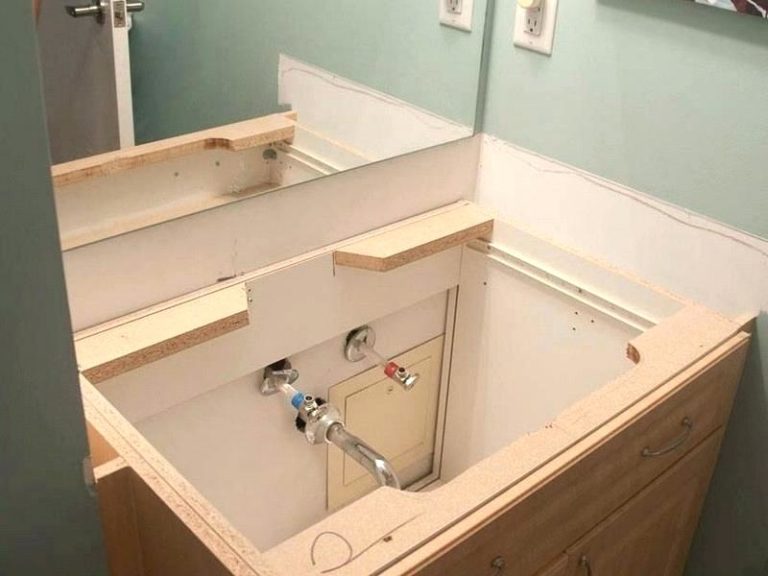
Prep the Walls
 Before installing the vanity, it's essential to prepare the walls properly. This includes filling in any gaps or holes in the walls and sanding down any uneven surfaces. For severe waviness, consider using a self-leveling compound to create a smooth and level surface for the vanity to rest on.
Pro tip:
Use a level and measuring tape to ensure the walls are straight and plumb before beginning the installation process.
Before installing the vanity, it's essential to prepare the walls properly. This includes filling in any gaps or holes in the walls and sanding down any uneven surfaces. For severe waviness, consider using a self-leveling compound to create a smooth and level surface for the vanity to rest on.
Pro tip:
Use a level and measuring tape to ensure the walls are straight and plumb before beginning the installation process.
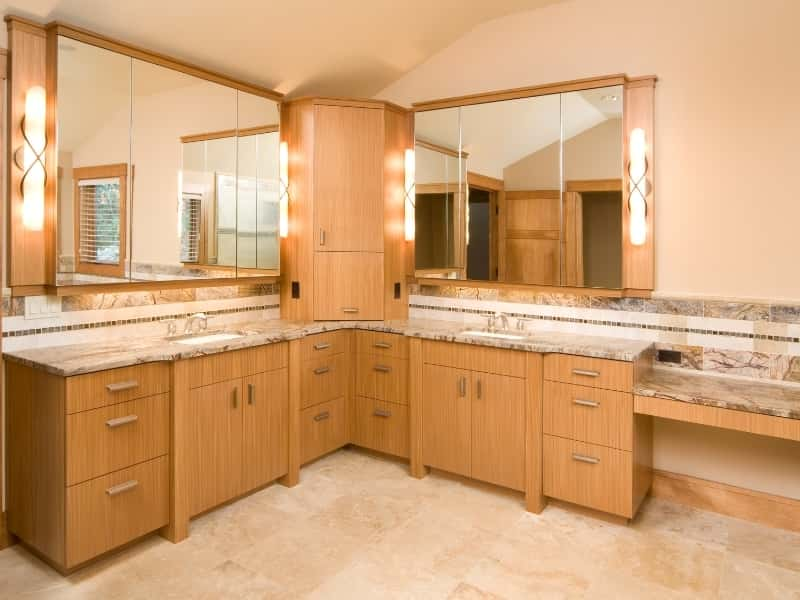
Secure the Vanity
 Once the walls are prepped and the vanity is in place, it's time to secure it properly. If your vanity has adjustable legs, make sure they are all set to the same height and use shims if necessary to level the vanity. If you have a wall-mounted vanity, use anchors and screws to secure it to the wall.
Featured keyword:
wavy walls
Once the walls are prepped and the vanity is in place, it's time to secure it properly. If your vanity has adjustable legs, make sure they are all set to the same height and use shims if necessary to level the vanity. If you have a wall-mounted vanity, use anchors and screws to secure it to the wall.
Featured keyword:
wavy walls
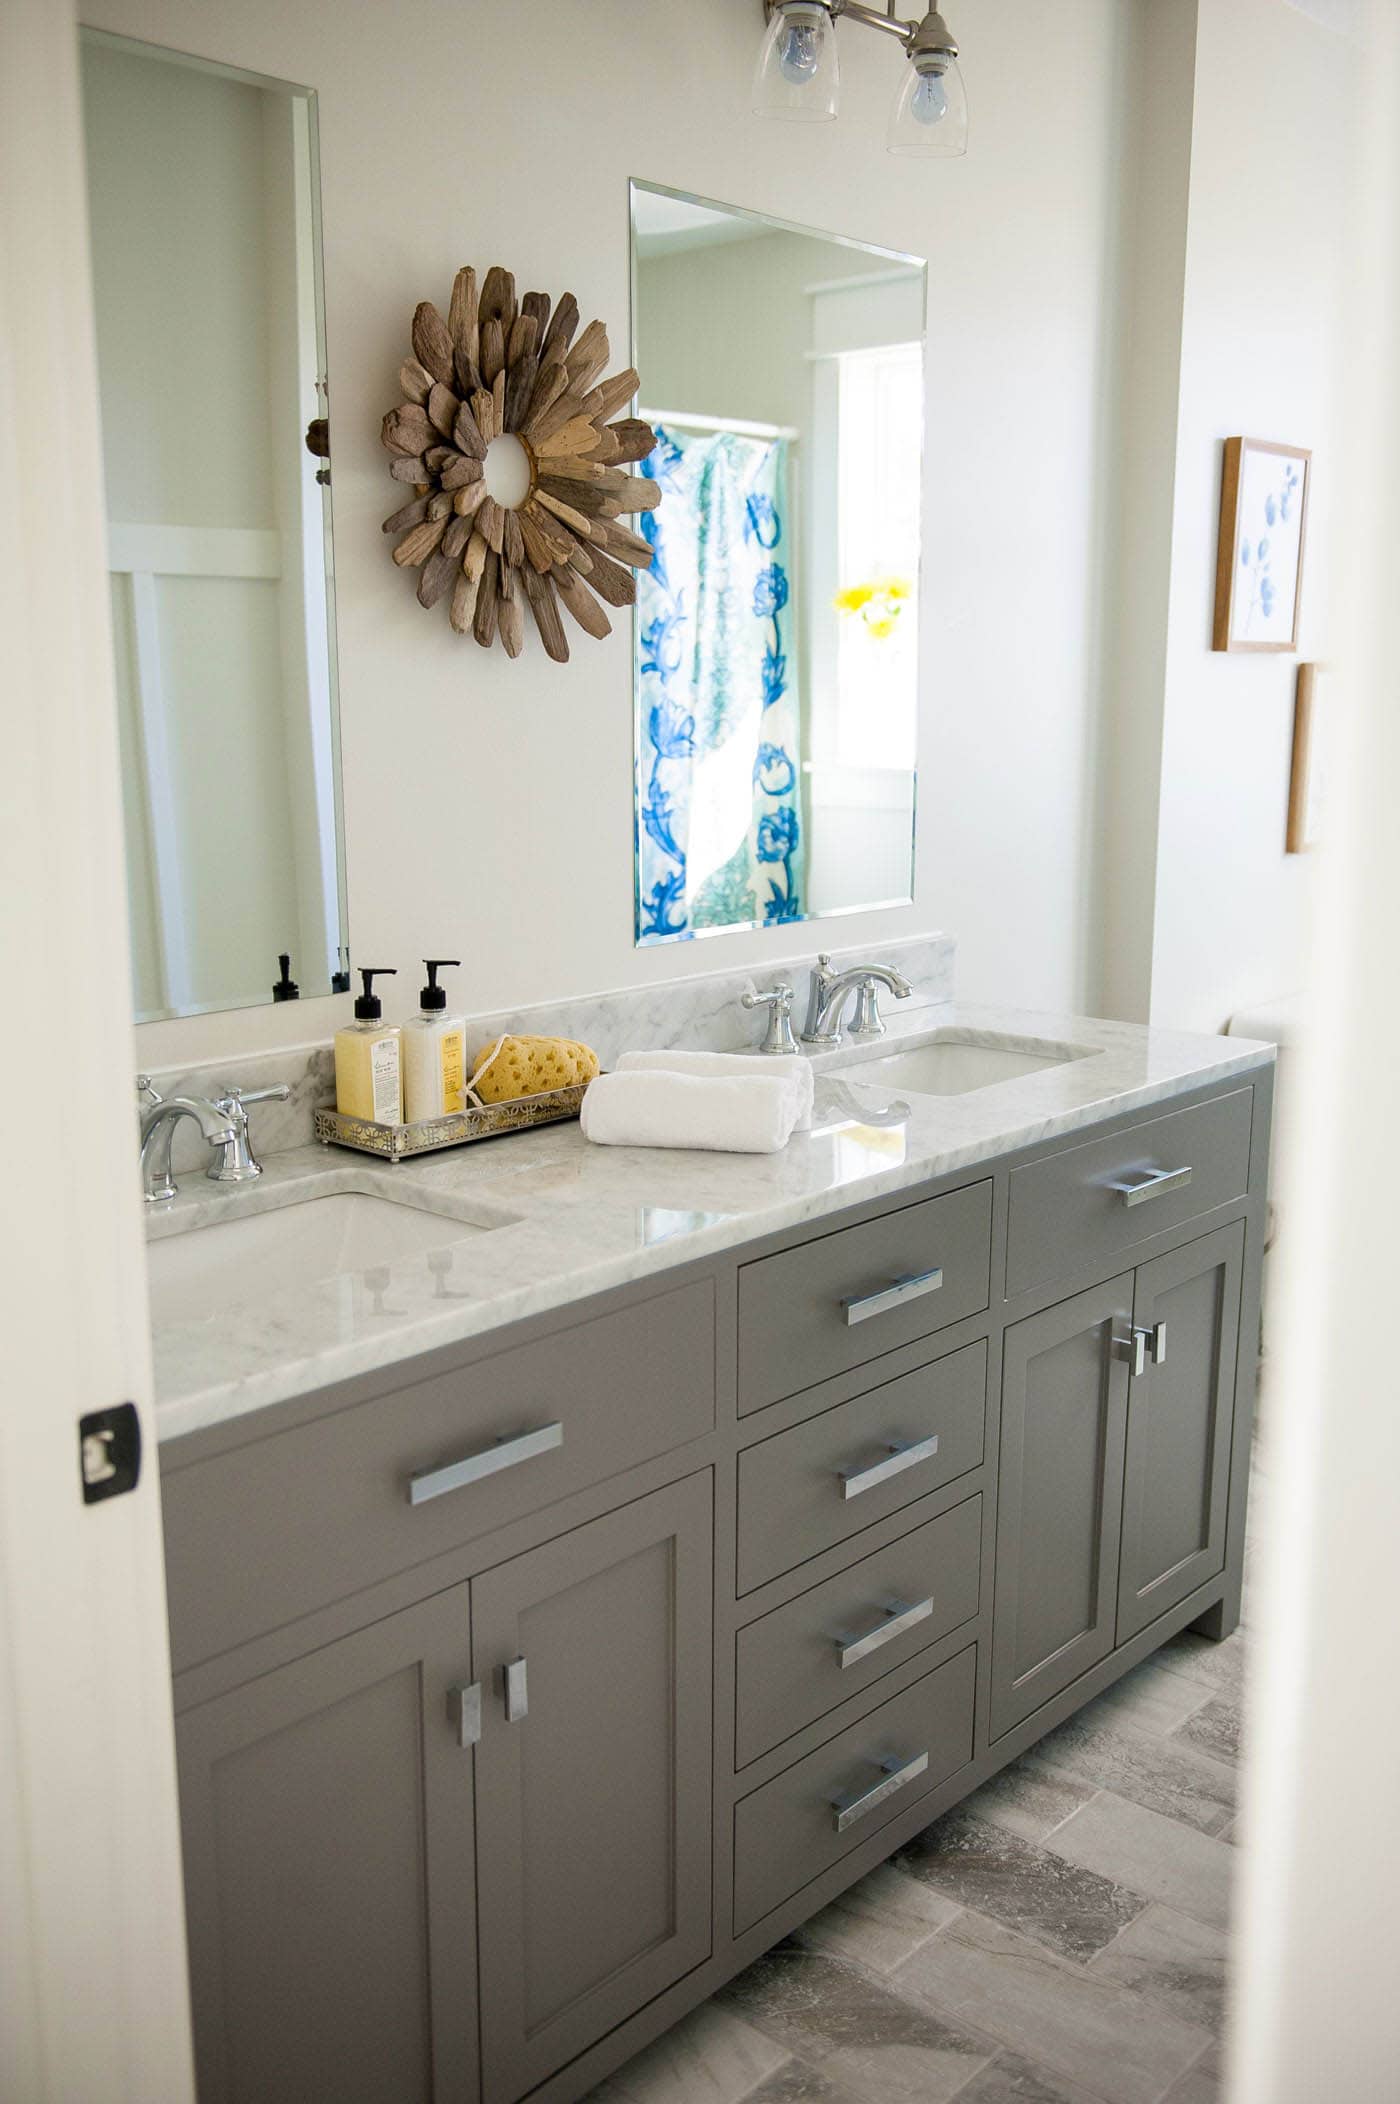
Final Touches
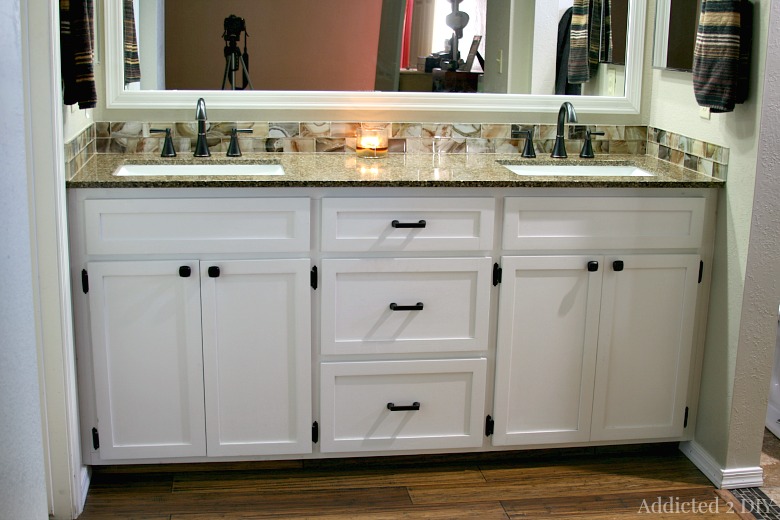
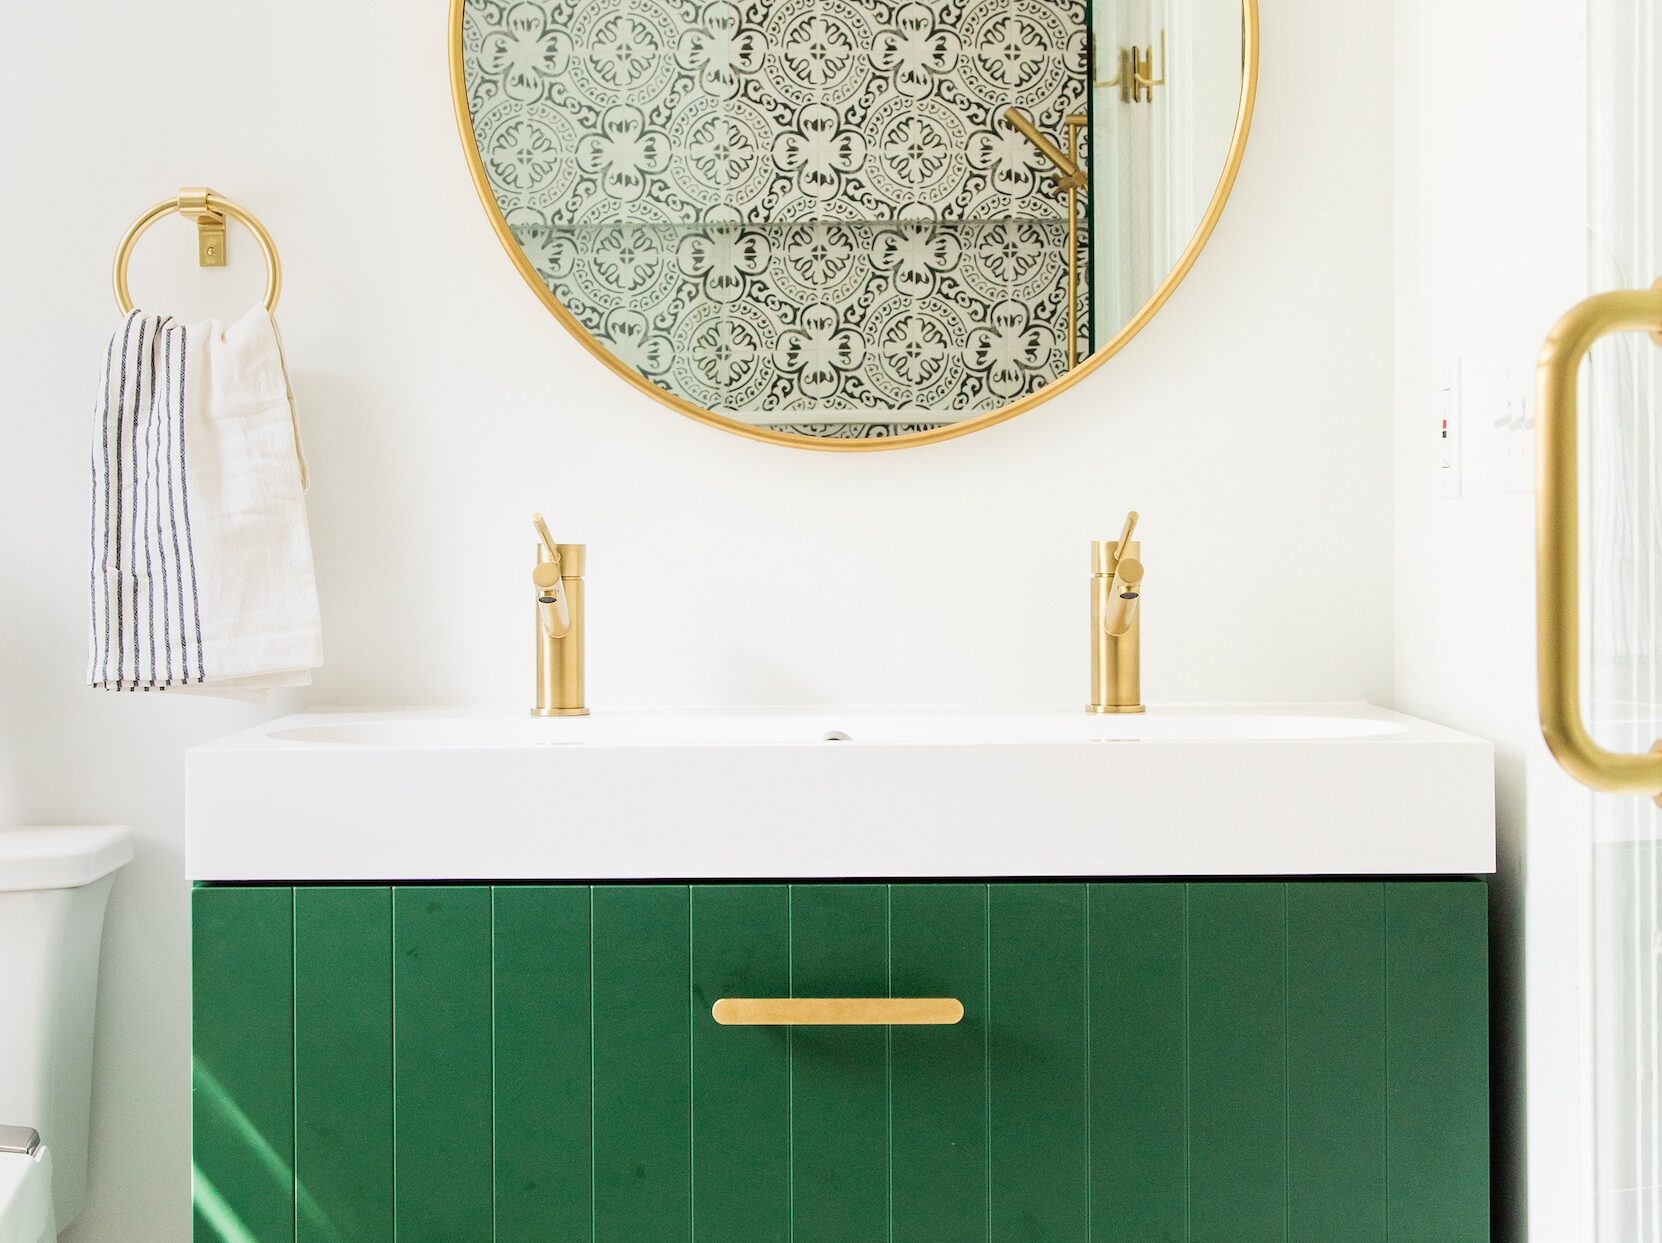
 After the vanity is installed, make any necessary adjustments to ensure it is level and secure. Once everything is in place, add the finishing touches by caulking around the edges for a seamless and professional look.
In conclusion, installing a bathroom vanity on wavy walls may seem daunting, but with proper planning and techniques, it can be done successfully. Take the time to choose the right vanity, prepare the walls, and secure the vanity properly for a beautiful and functional addition to your bathroom.
Main keyword:
bathroom vanity installation
After the vanity is installed, make any necessary adjustments to ensure it is level and secure. Once everything is in place, add the finishing touches by caulking around the edges for a seamless and professional look.
In conclusion, installing a bathroom vanity on wavy walls may seem daunting, but with proper planning and techniques, it can be done successfully. Take the time to choose the right vanity, prepare the walls, and secure the vanity properly for a beautiful and functional addition to your bathroom.
Main keyword:
bathroom vanity installation