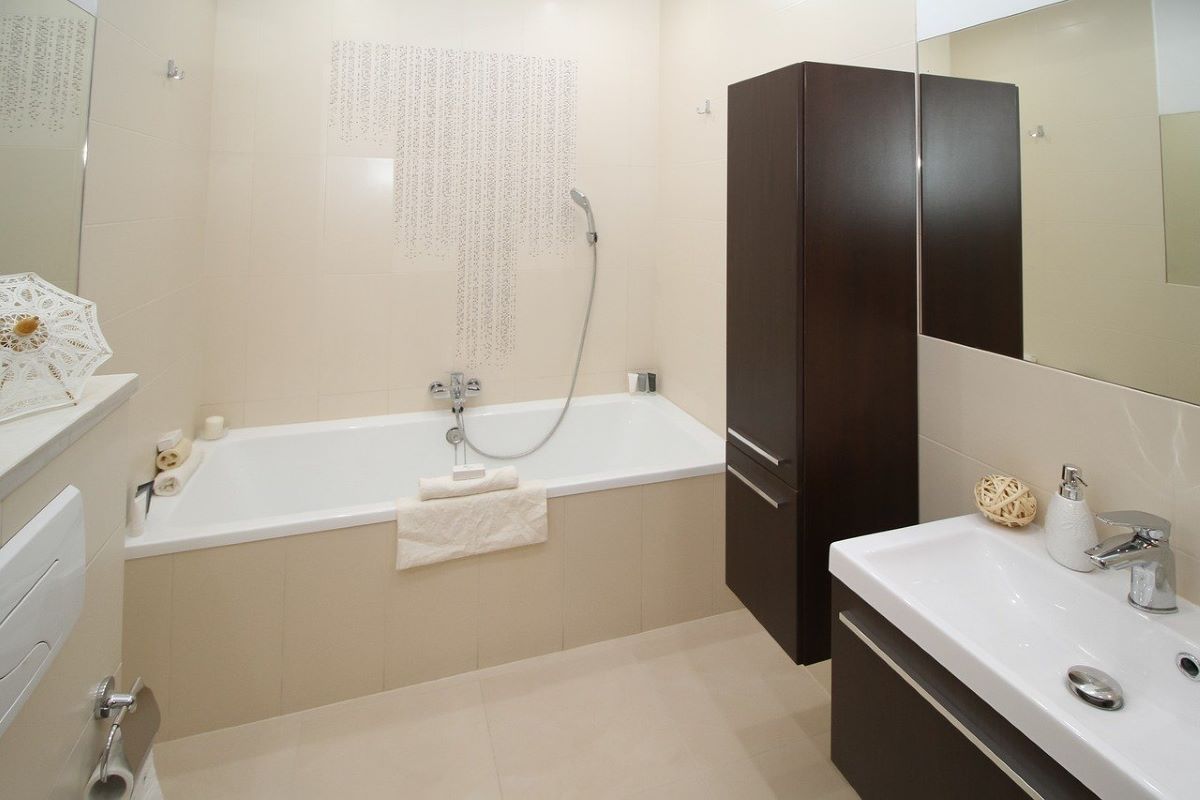
Installing a bathroom vanity may seem like a daunting task, but with the right tools and knowledge, it can be a fairly simple and rewarding DIY project. A bathroom vanity not only adds functional storage space to your bathroom, but it also serves as a beautiful focal point. Follow this step-by-step guide for a successful bathroom vanity installation.Bathroom Vanity Installation Guide
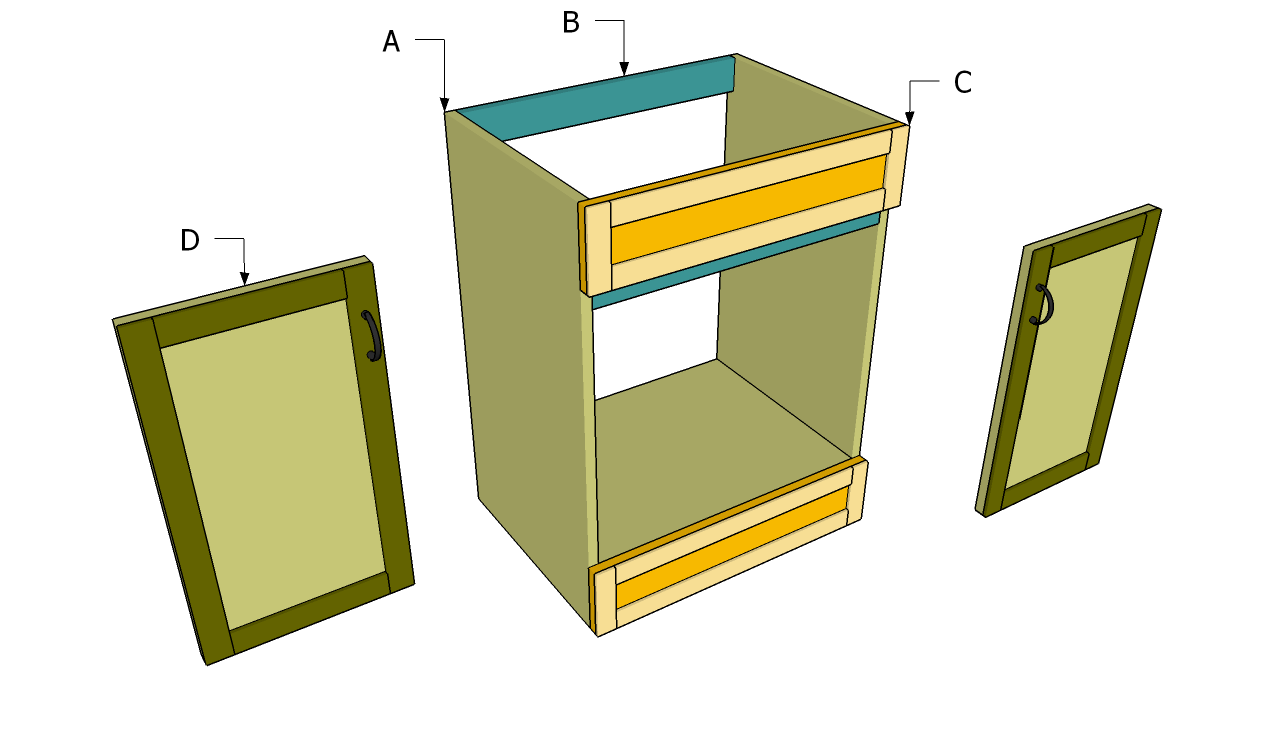
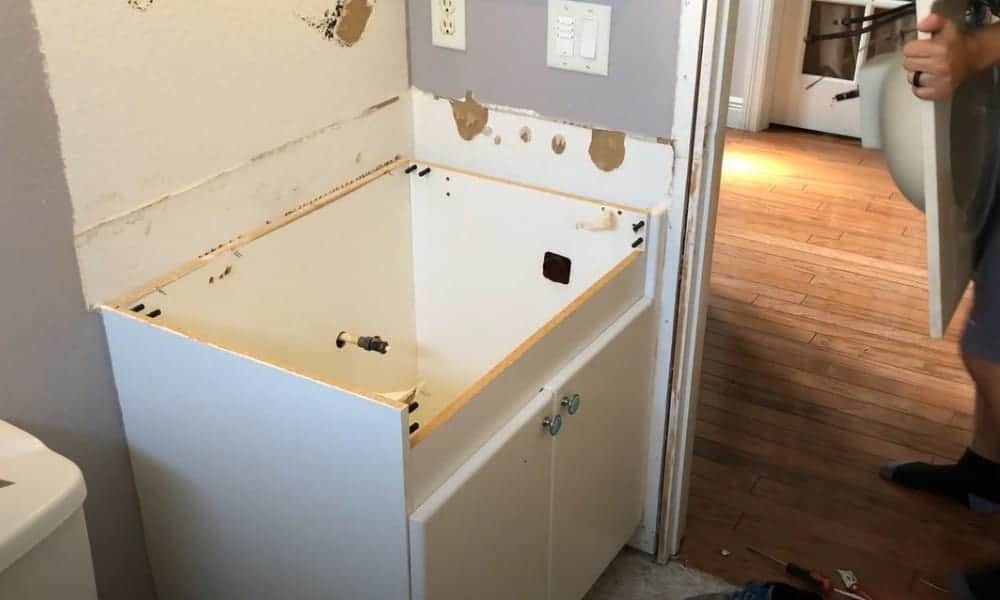
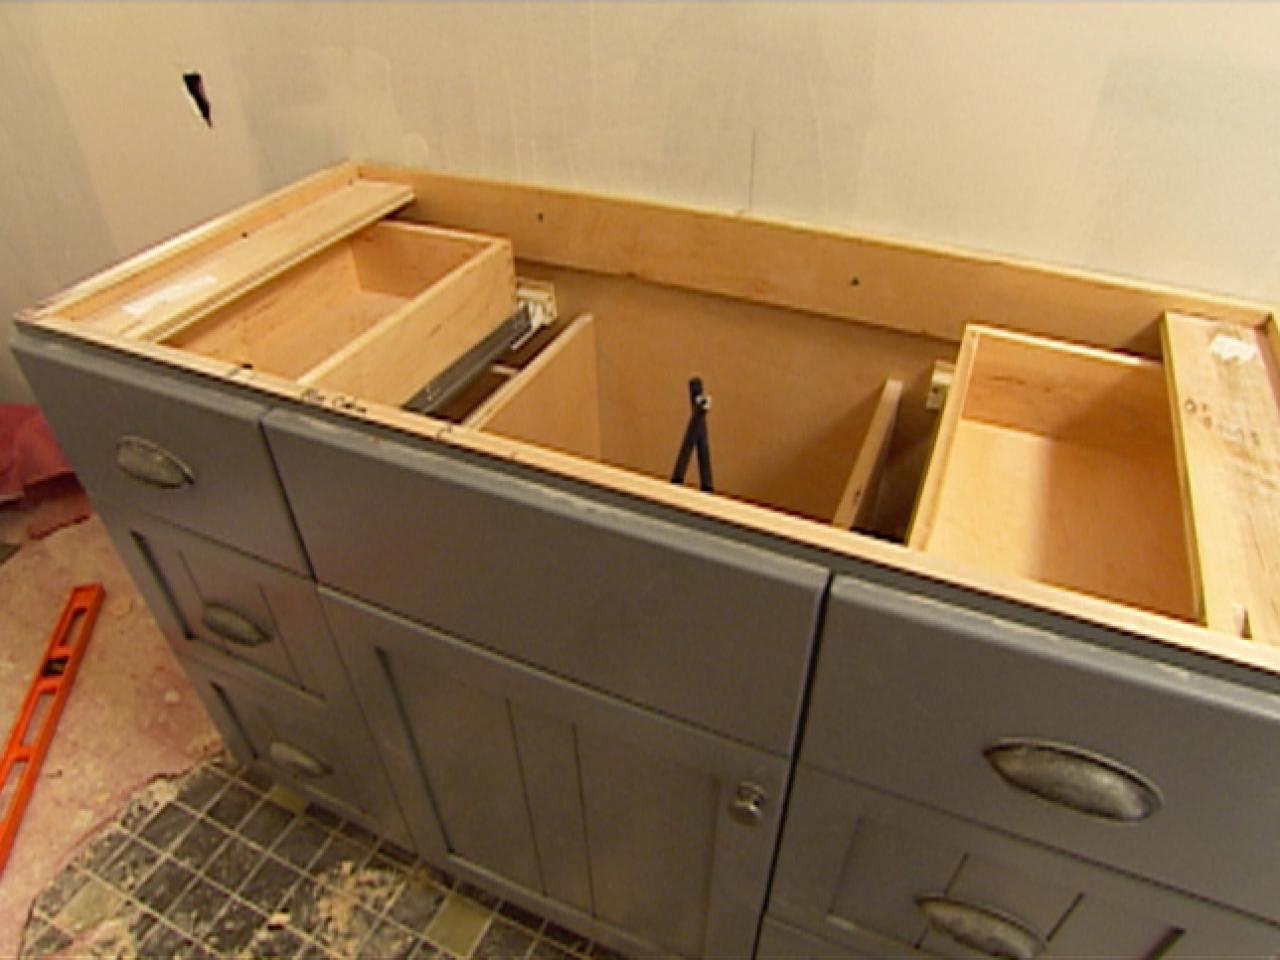
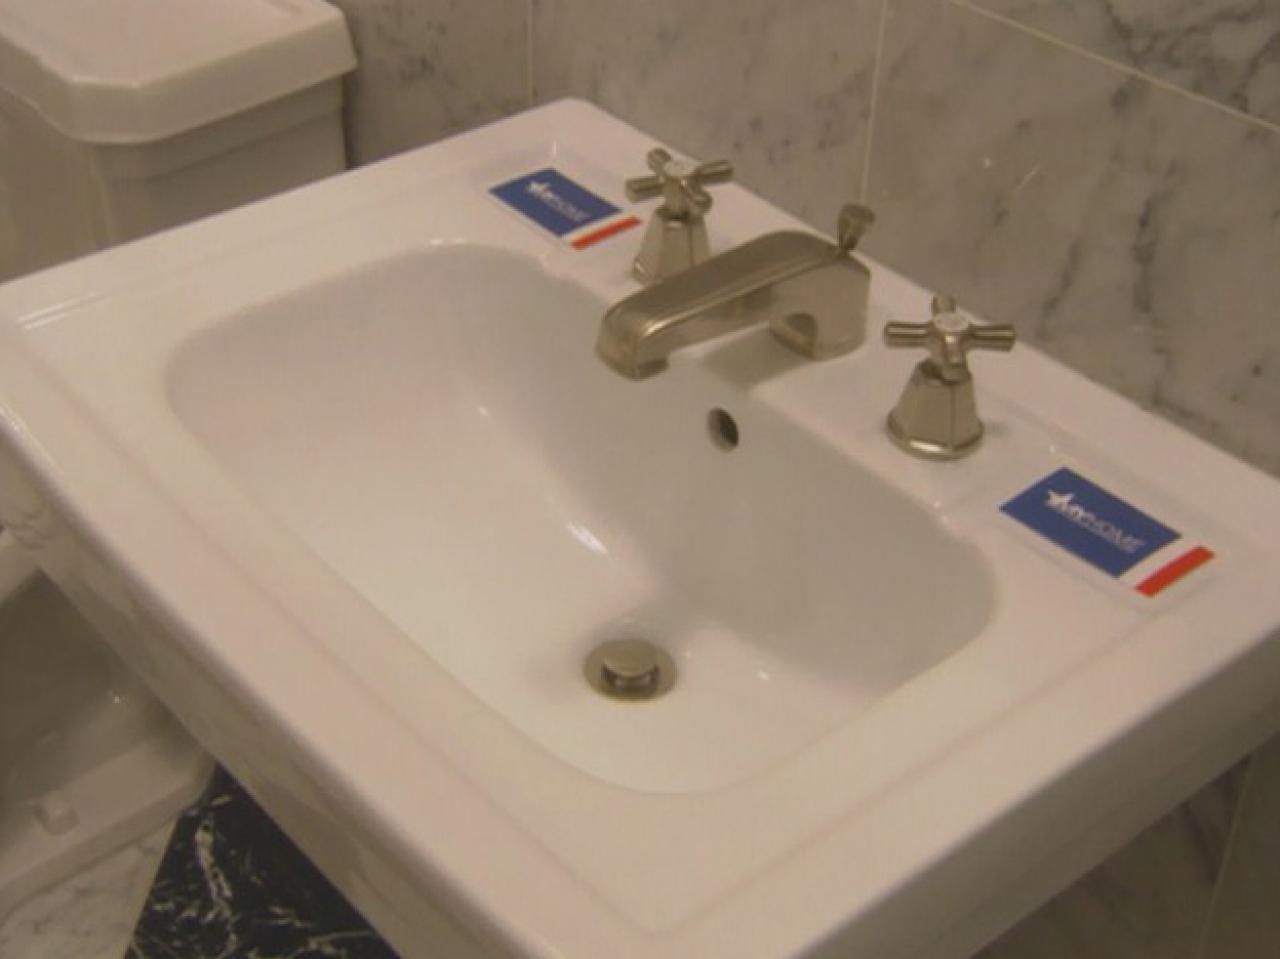
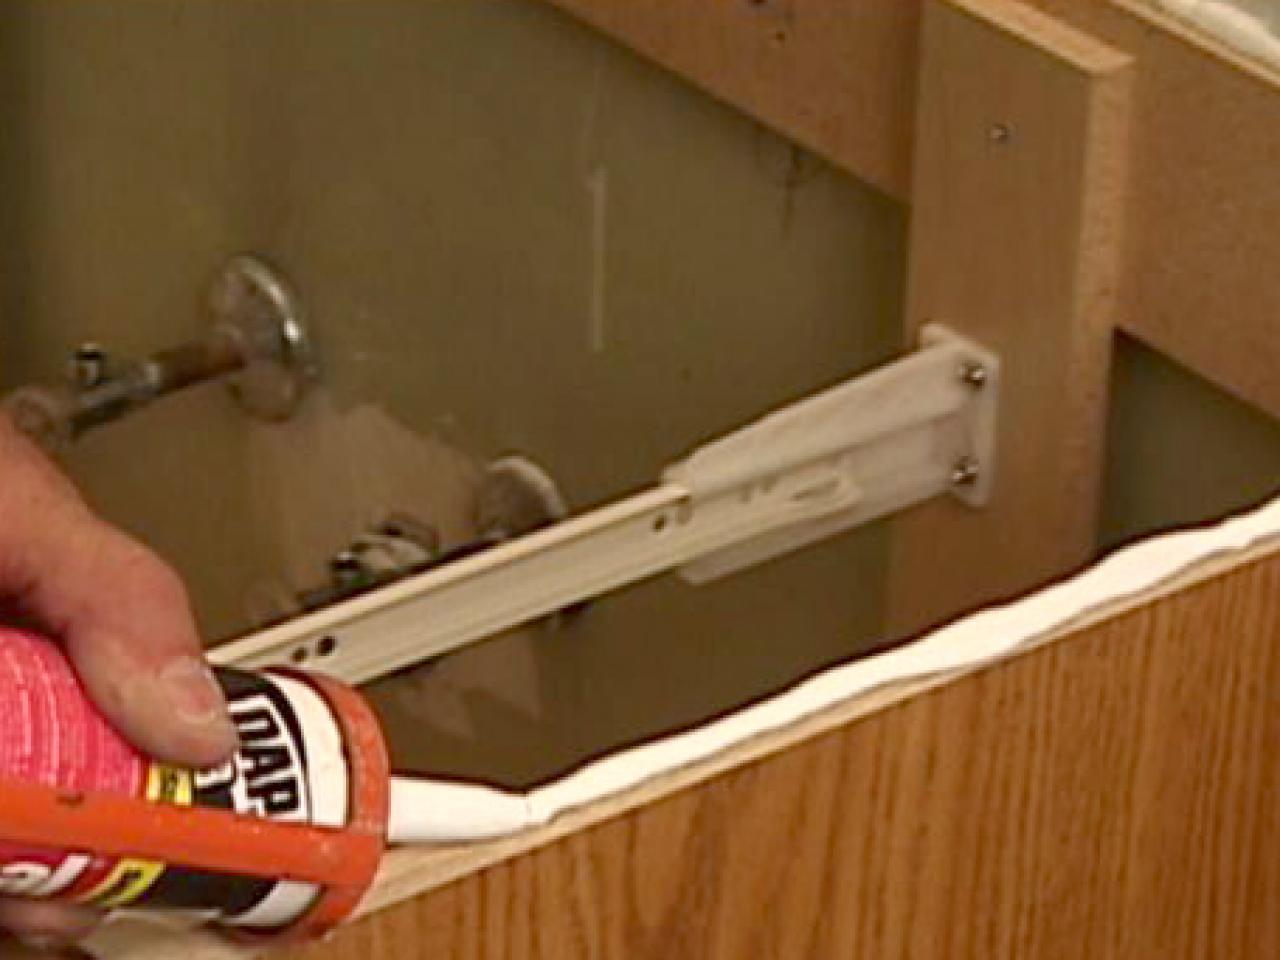
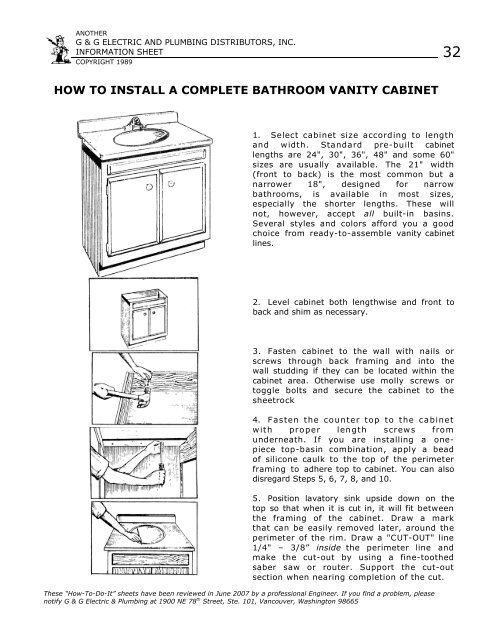
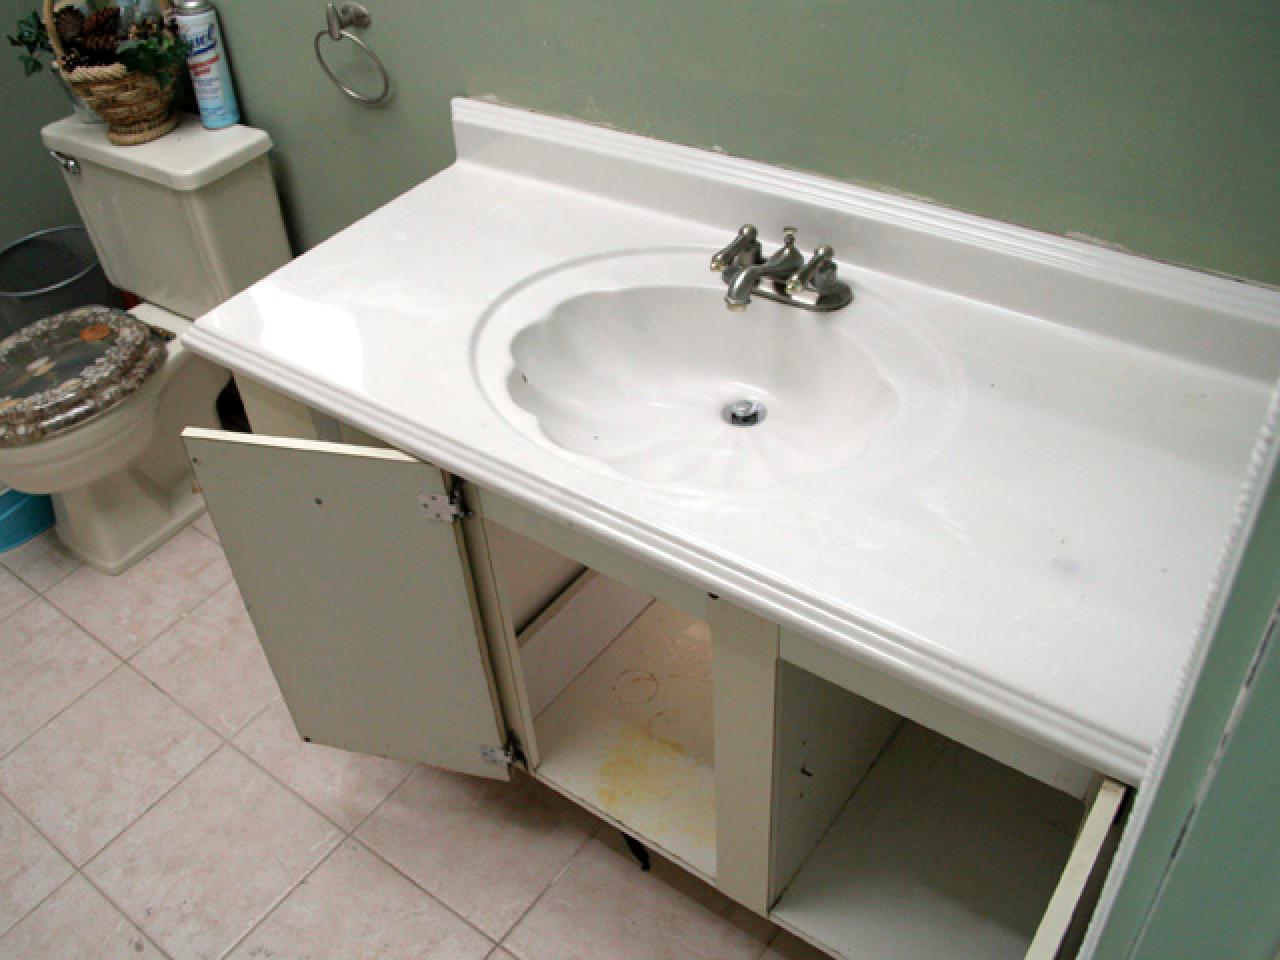
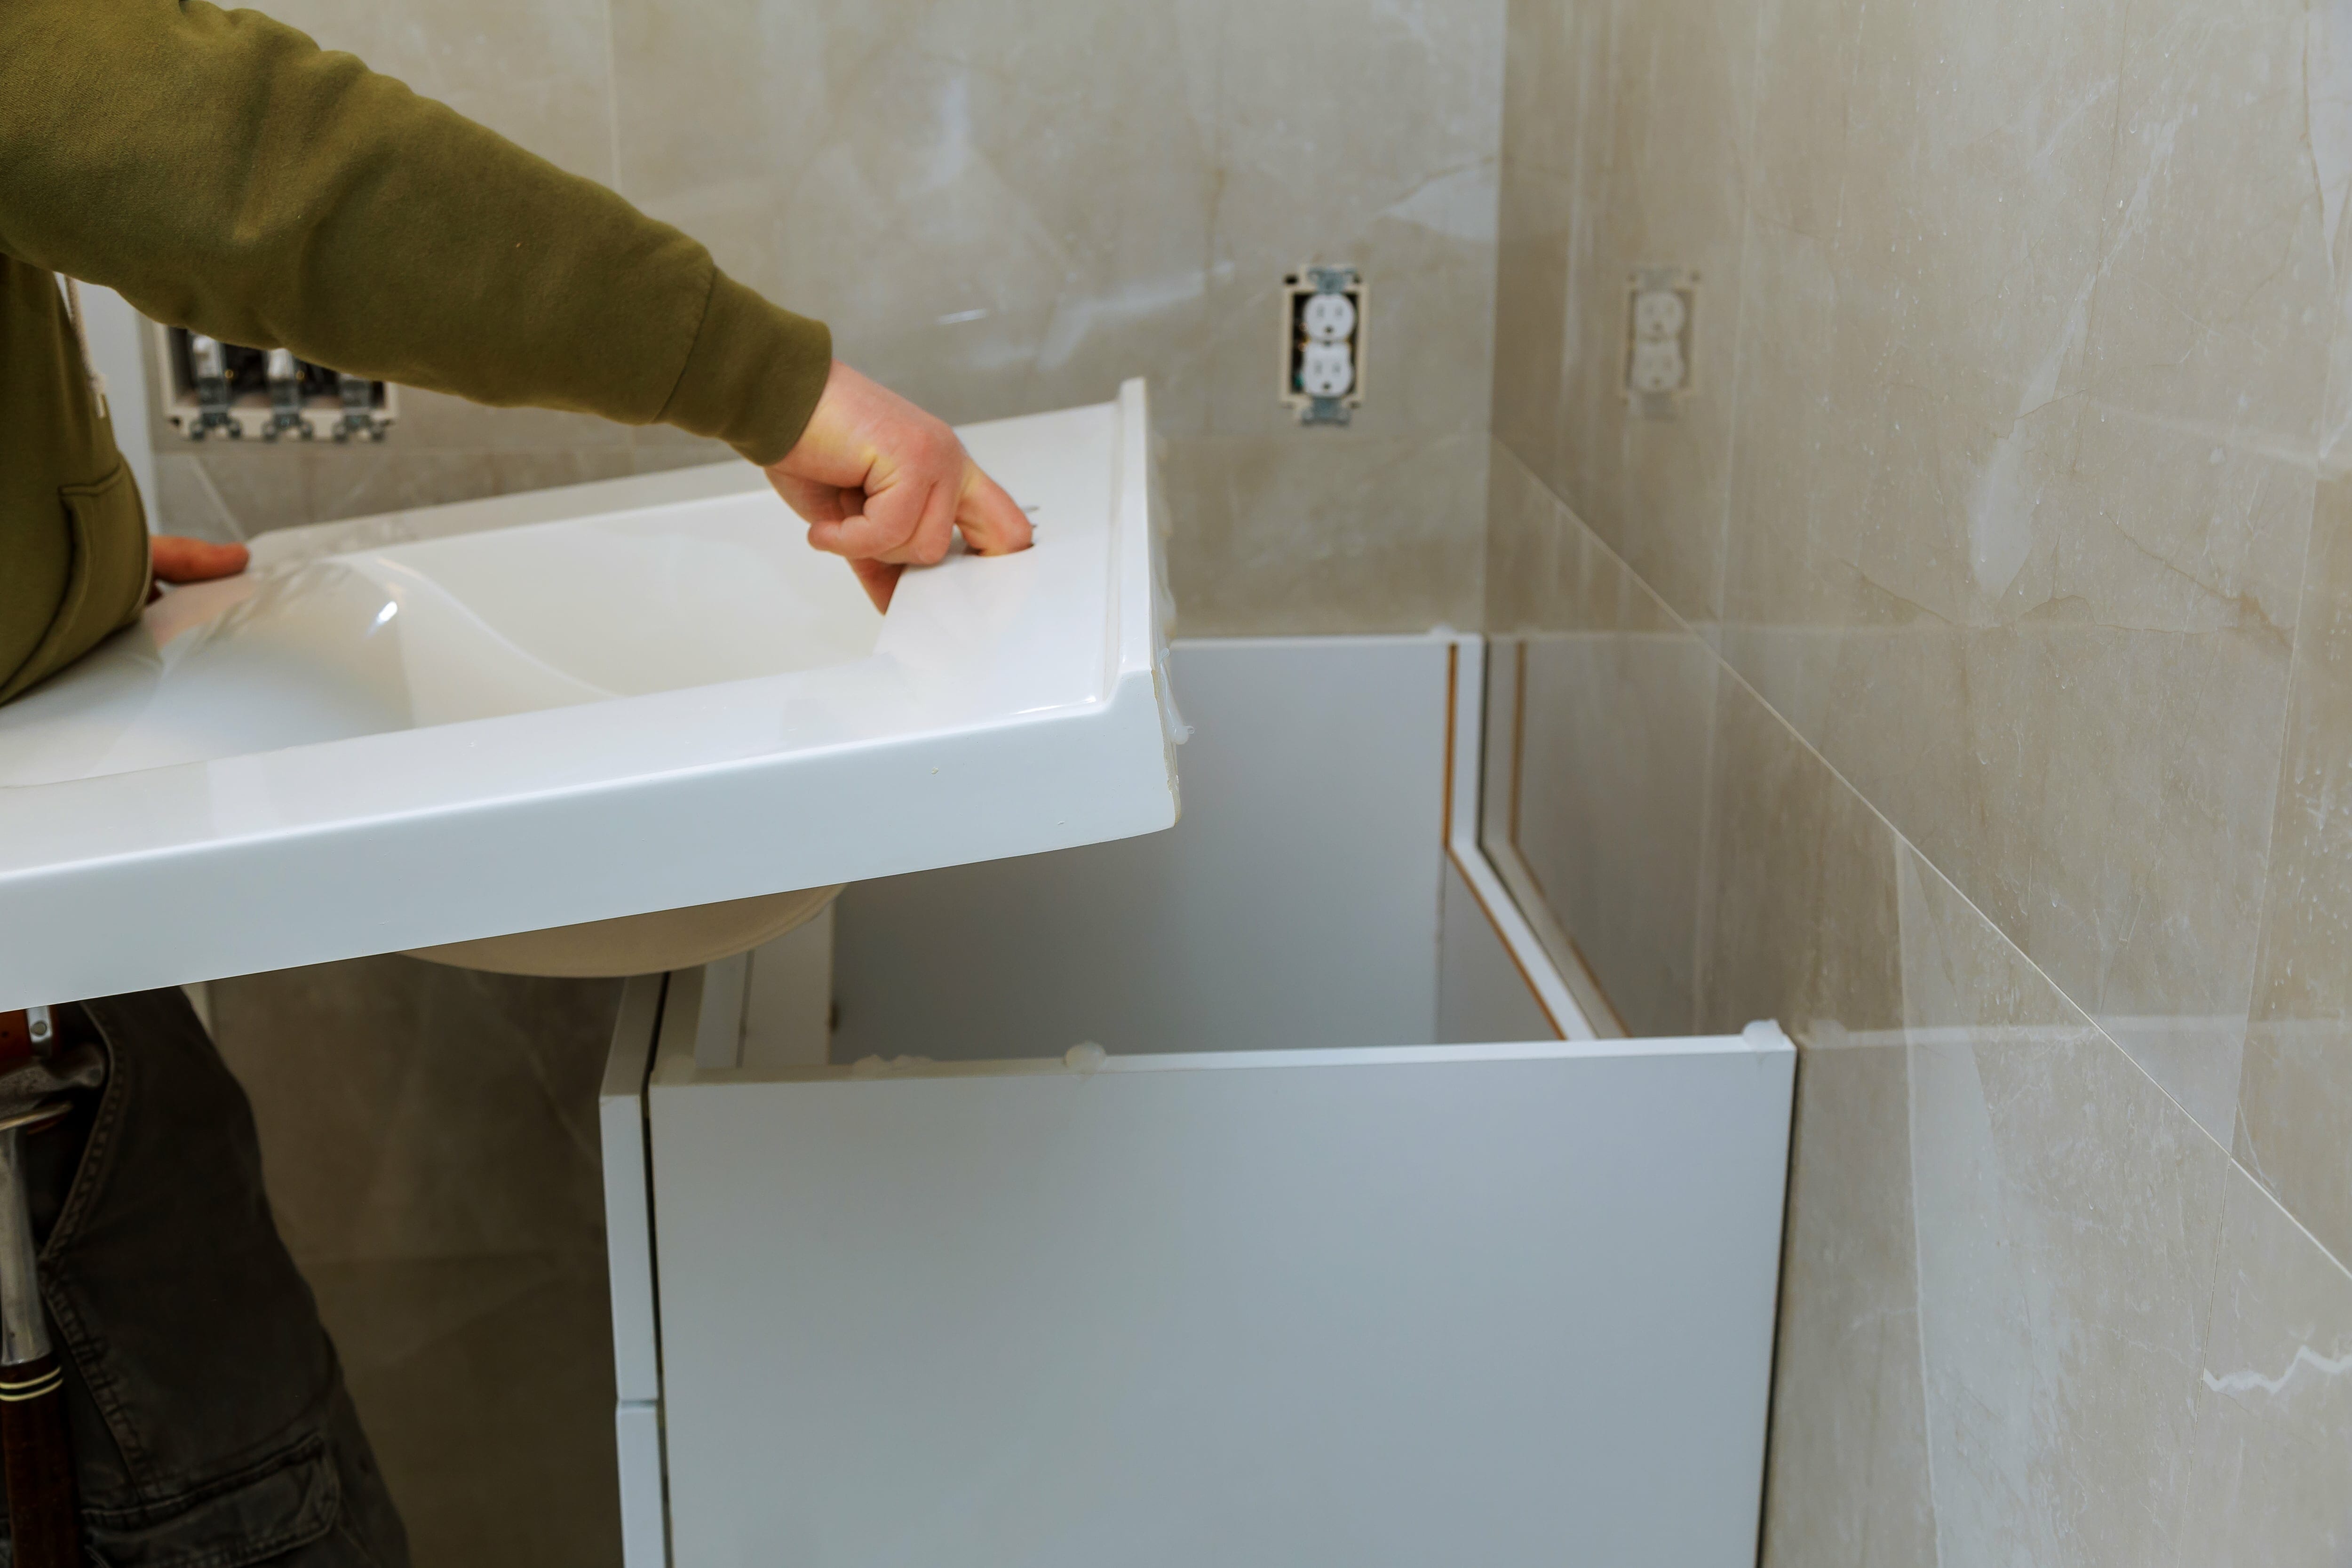
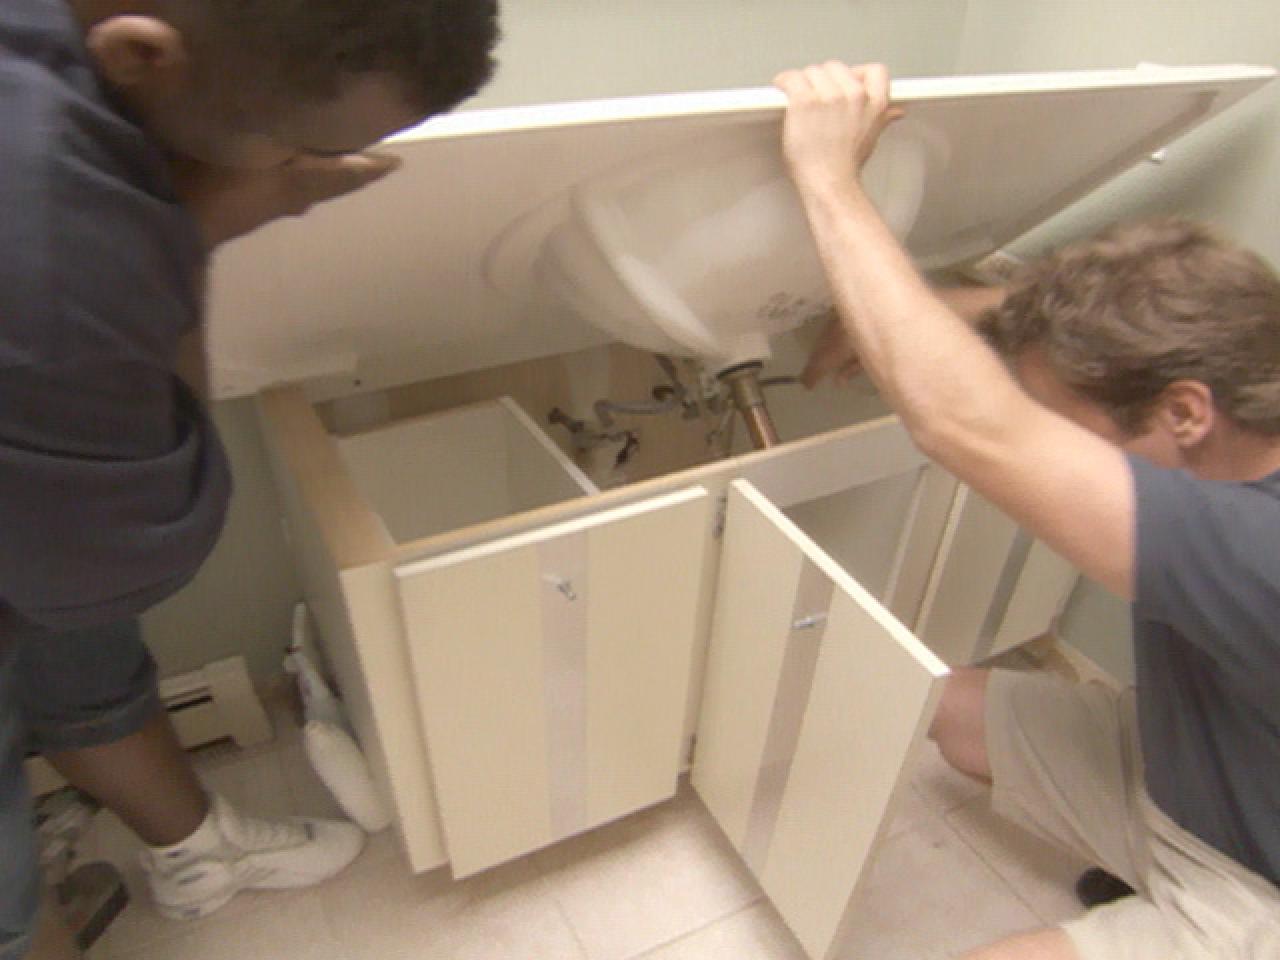
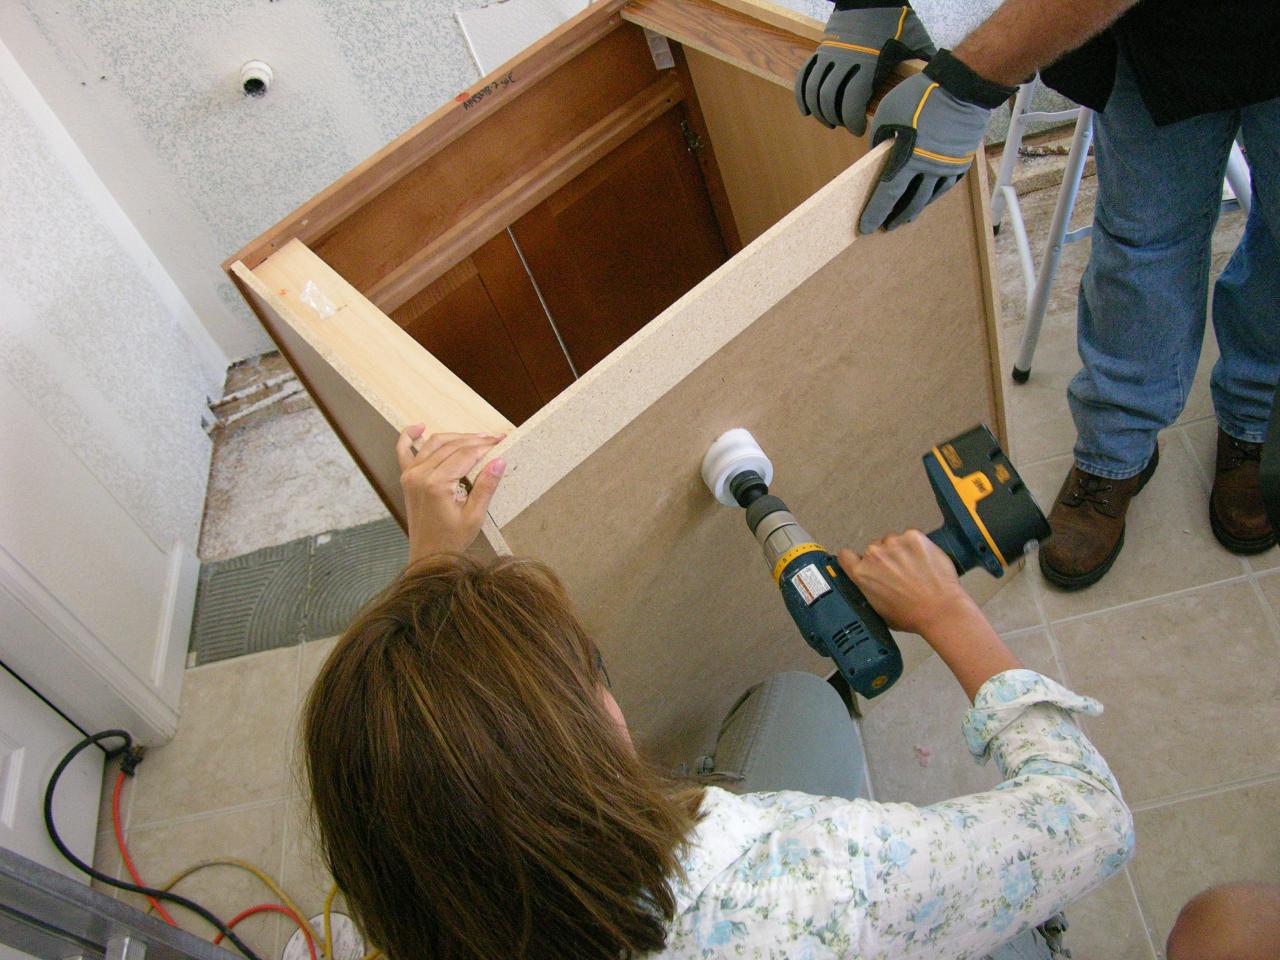
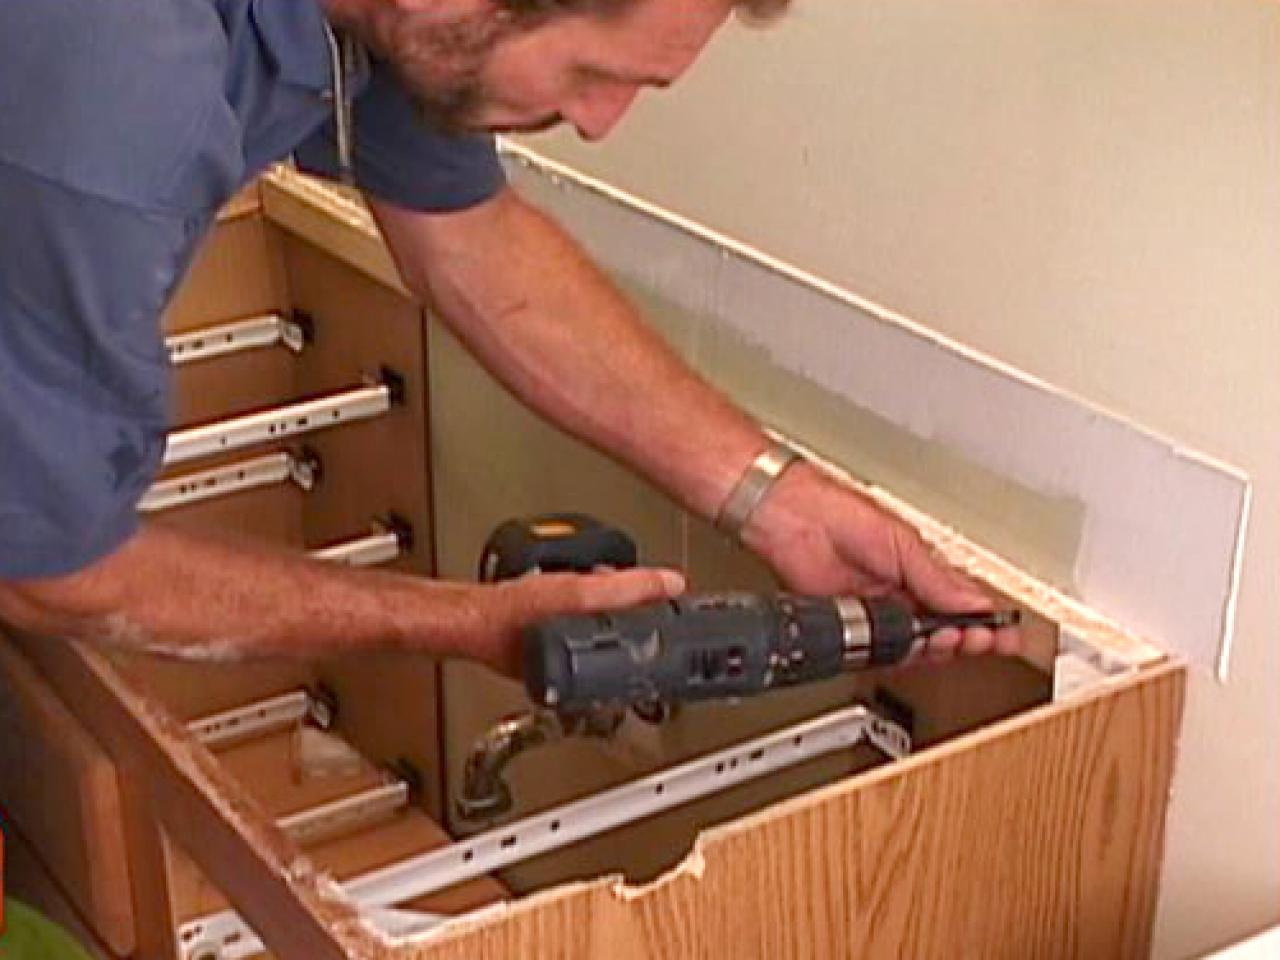
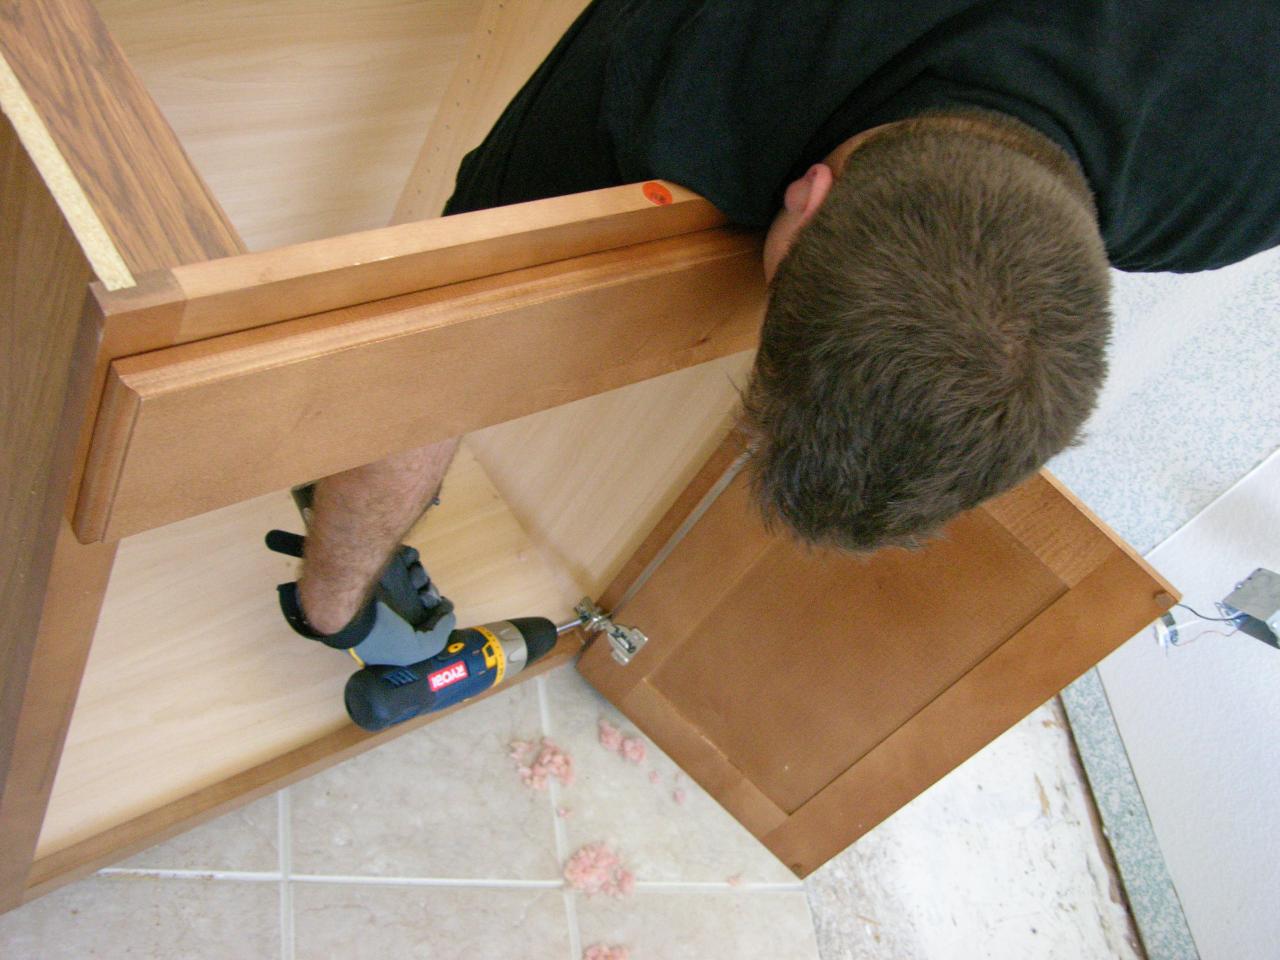
Before you begin, gather all the necessary tools and materials. This includes a new vanity, sink, faucet, plumbing supplies, measuring tape, level, drill, screws, and a wrench. It's also important to turn off the water supply and disconnect any existing plumbing before starting the installation process. Step 1: Measure and Prep Use a measuring tape to determine the exact dimensions of your vanity and mark the placement on the wall. Make sure there is enough clearance for the vanity doors and drawers to open and close without obstruction. Use a level to ensure the vanity is plumb and mark the placement for any necessary cuts in the wall or floor. Step 2: Assemble the Vanity Follow the manufacturer's instructions to assemble the vanity. This may involve attaching legs, shelves, and drawers. Be sure to secure all pieces tightly with screws. Step 3: Install the Vanity Carefully lift the assembled vanity into place and align it with the marked placement on the wall. Use a drill to secure the vanity to the wall studs with screws. Double check that the vanity is level before moving on to the next step. Step 4: Install the Sink and Faucet Attach the sink to the vanity according to the manufacturer's instructions. Then, install the faucet and any necessary plumbing supplies. This may involve connecting water supply lines and attaching the drain pipes. Step 5: Connect the Plumbing Once the sink and faucet are in place, connect the plumbing to the water supply and drain pipes. Make sure connections are tight and secure to prevent any leaks. Step 6: Finishing Touches Install any remaining hardware such as knobs or handles on the vanity doors and drawers. Use a silicone sealant to seal any gaps between the vanity and the wall or floor. Reconnect the water supply and turn it on to check for any leaks. If everything looks good, you're done!Step-by-Step Bathroom Vanity Installation
Installing a bathroom vanity yourself can save you money on labor costs and give you a sense of accomplishment. However, it's important to know your limitations. If you don't have experience with plumbing or carpentry, it may be best to hire a professional to ensure the job is done safely and correctly.DIY Bathroom Vanity Installation
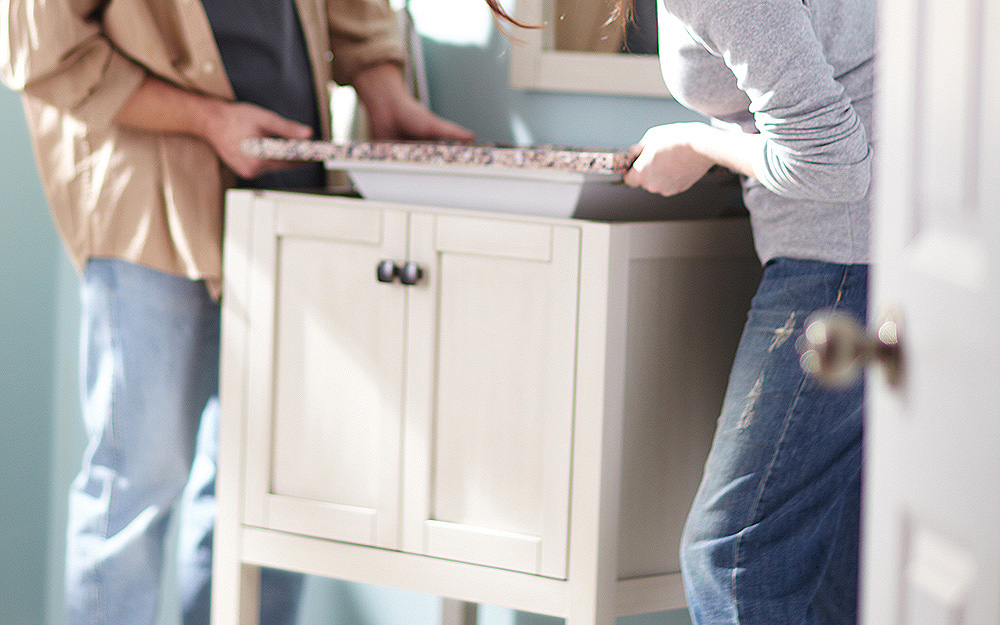
Here are a few tips to keep in mind during your bathroom vanity installation: - Measure twice, cut once. It's important to have accurate measurements to ensure a smooth installation. - Use a level to make sure your vanity is straight and level. - Don't overtighten screws or plumbing connections, as this can cause damage. - Use a silicone sealant to prevent water damage and mold growth. - Allow for adequate ventilation to prevent moisture buildup and prolong the life of your vanity.Bathroom Vanity Installation Tips
Follow the step-by-step guide outlined above for a successful bathroom vanity installation. Remember to turn off the water supply and disconnect any existing plumbing before starting the process.How to Install a Bathroom Vanity
Always read and follow the manufacturer's instructions when installing a bathroom vanity. They may include specific steps or tools needed for your particular vanity model.Bathroom Vanity Installation Instructions
With the right tools and knowledge, installing a bathroom vanity can be a rewarding and relatively easy DIY project. Follow the step-by-step guide and be sure to take your time and double check your measurements for a successful installation.Installing a Bathroom Vanity
Here's a checklist to help you prepare for your bathroom vanity installation: - Gather all necessary tools and materials. - Measure and mark the placement for your vanity. - Assemble the vanity according to the manufacturer's instructions. - Secure the vanity to the wall studs with screws. - Install the sink and faucet. - Connect the plumbing. - Install any remaining hardware. - Seal any gaps with silicone sealant. - Reconnect the water supply and check for leaks.Bathroom Vanity Installation Checklist
If you're a visual learner, watching a bathroom vanity installation video can be helpful. There are many tutorials available online that can guide you through the process step-by-step.Bathroom Vanity Installation Video
Here are a few common mistakes to avoid during your bathroom vanity installation: - Not turning off the water supply and disconnecting plumbing before starting the installation process. - Not properly measuring and aligning the vanity, resulting in an uneven or crooked installation. - Overtightening screws or plumbing connections, which can cause damage. - Not sealing gaps between the vanity and the wall or floor, leading to water damage and mold growth. With this guide and some careful planning, you can successfully install a bathroom vanity and transform your bathroom into a beautiful and functional space. Remember to take your time and don't be afraid to ask for help if needed. Happy renovating!Common Mistakes in Bathroom Vanity Installation
Additional Tips for a Successful Bathroom Vanity Installation
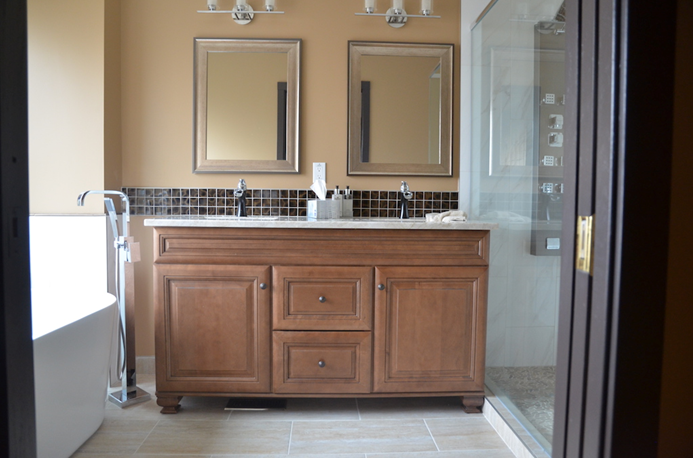
1. Measure Twice, Cut Once
 Before you start the installation process, it is crucial to accurately measure the space where your
bathroom vanity
will be placed. This will ensure that your vanity fits perfectly and doesn't interfere with other fixtures in your bathroom. Measure the width, depth, and height of the space and compare it to the dimensions of your chosen vanity. It is always better to double-check your measurements to avoid any costly mistakes.
2. Choose the Right Tools
 Having the right tools for the job can make all the difference in a successful
bathroom vanity installation
. Make sure you have a level, drill, screwdriver, and a variety of screws and anchors. You may also need a saw for any necessary cuts and a caulking gun for a clean finish. Having these tools on hand will make the installation process smoother and more efficient.
3. Use Quality Materials
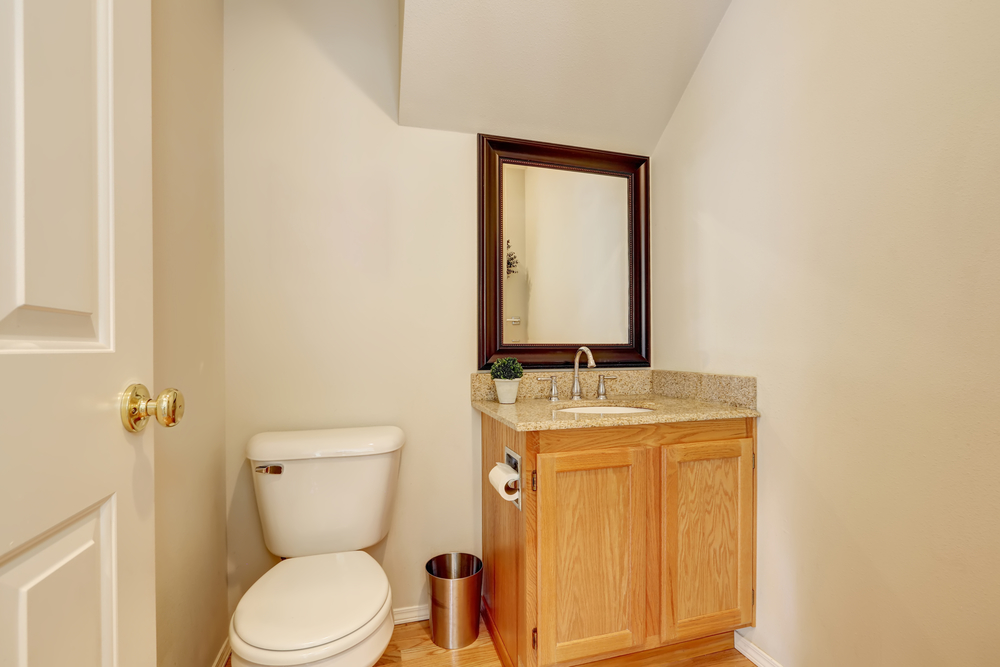 Investing in quality materials for your
bathroom vanity
installation is essential for a long-lasting and visually appealing result. This includes choosing a solid and sturdy vanity, as well as using durable screws and anchors. Additionally, using high-quality caulk and adhesive will ensure that your vanity is securely attached to the wall and any necessary seams are properly sealed.
4. Consider Plumbing and Electrical Work
 If your
bathroom vanity
requires plumbing or electrical work, it is best to hire a professional to ensure everything is done correctly and safely. However, if you are confident in your abilities, make sure to turn off the water and electricity before attempting any work. It is also important to follow all safety precautions and local building codes.
5. Don't Rush
 Installing a
bathroom vanity
may seem like a simple task, but it is important not to rush through the process. Take your time to ensure that everything is level, properly aligned, and securely attached. This will not only result in a better-looking vanity but also prevent any future issues or repairs.
Conclusion
 Following these additional tips will help make your
bathroom vanity installation
a success. Remember to measure carefully, use the right tools and materials, and take your time to ensure a professional-looking end result. And most importantly, don't be afraid to ask for help if you need it. Now, you are ready to transform your bathroom with a beautiful and functional vanity.






:max_bytes(150000):strip_icc()/build-something-diy-vanity-594402125f9b58d58ae21158.jpg)







/155068606-56a4a2985f9b58b7d0d7ef19.jpg)










/155068606-56a4a2985f9b58b7d0d7ef19.jpg)


