If you've noticed that your bathroom sink is loose from the countertop, don't panic. This is a common issue that can easily be fixed with a few simple steps. Not only is a loose sink a nuisance, but it can also lead to more serious problems if left unattended. In this guide, we'll walk you through the process of fixing a bathroom sink that is loose from the countertop.
How to Fix a Bathroom Sink That is Loose from the Countertop
Before you begin, it's important to gather all the necessary tools and materials. This includes a wrench, screwdriver, plumber's putty, and silicone caulk. Additionally, make sure to turn off the water supply to your sink before starting any repairs. Once you have everything you need, follow these tips to secure your loose bathroom sink:
1. Identify the Problem - The first step is to determine why your sink is loose. In most cases, it's due to loose mounting clips, worn out nuts and bolts, or a broken sealant. Identifying the root cause will help you decide the best course of action for fixing it.
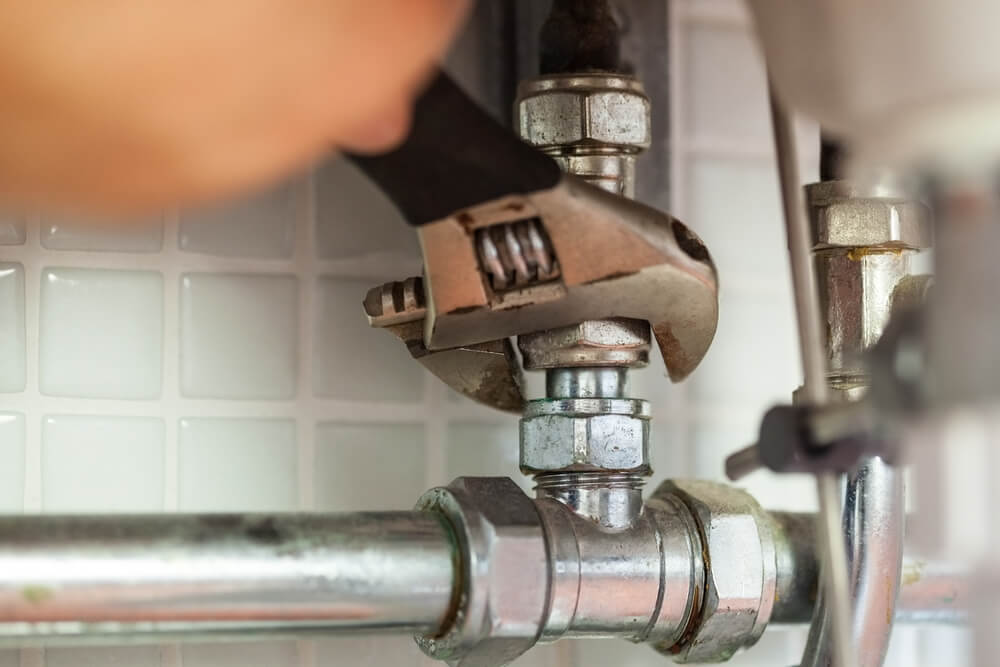
2. Tighten the Mounting Clips - If the mounting clips are the issue, you can easily tighten them with a wrench. Simply locate the clips under the sink and tighten them until the sink is secured in place.
3. Replace Worn Out Nuts and Bolts - If the nuts and bolts are the culprits, you will need to replace them. Use a screwdriver to remove the old ones and replace them with new ones. Make sure to tighten them securely to prevent the sink from becoming loose again.
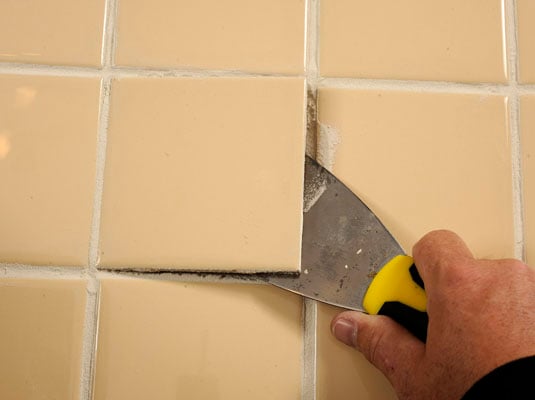
4. Reapply Sealant - If the sealant is damaged or worn out, it can cause the sink to become loose. To fix this, remove the old sealant with a putty knife and apply a new layer of plumber's putty or silicone caulk. This will create a strong seal and prevent the sink from moving.
Tips for Securing a Loose Bathroom Sink
Now that you know how to fix a loose bathroom sink, it's important to understand what causes it to become loose in the first place. Here are some common reasons why your sink may be loose:
1. Age - Over time, the nuts, bolts, and mounting clips that hold your sink in place can become worn out or rusted, causing the sink to become loose.
2. Poor Installation - If your sink was not installed properly to begin with, it can become loose over time. This is why it's important to hire a professional for installation to ensure everything is secure.
3. Heavy Use - If your sink is used frequently, it can put strain on the mounting clips and cause them to become loose.
Common Causes of a Loose Bathroom Sink
Now that you know the common causes of a loose bathroom sink, let's walk through the step-by-step process of tightening it:
Step 1: Turn Off the Water Supply - Before beginning any repairs, make sure to turn off the water supply to your sink. This will prevent any water from leaking or causing damage.
Step 2: Remove the Sink - If your sink is completely detached from the countertop, you will need to remove it completely. This will allow you to access the mounting clips and bolts underneath.
Step 3: Tighten Mounting Clips - Use a wrench to tighten the mounting clips until they are secure. Make sure not to over-tighten them as it can damage the clips.
Step 4: Replace Nuts and Bolts - If the nuts and bolts are damaged or worn out, replace them with new ones. Use a screwdriver to tighten them securely.
Step 5: Reapply Sealant - Once the sink is back in place, reapply a layer of plumber's putty or silicone caulk around the edges to create a strong seal.
Step 6: Turn On Water Supply - Once everything is secured and the sealant has dried, turn the water supply back on and check for any leaks. If everything looks good, your sink should now be secure and stable.
Step-by-Step Guide for Tightening a Loose Bathroom Sink
To fix a loose bathroom sink, you will need the following tools:
- Wrench: This will be used to tighten the mounting clips and bolts.
- Screwdriver: You will need this to remove and replace any damaged nuts and bolts.
- Plumber's Putty or Silicone Caulk: This will be used to create a strong seal around the edges of the sink.
Tools You Will Need to Fix a Loose Bathroom Sink
Prevention is key when it comes to avoiding a loose bathroom sink. Here are some tips to help keep your sink secure and stable:
1. Regular Maintenance - Inspect your sink regularly and look for any signs of damage or wear. This will allow you to catch any issues early on and prevent them from becoming bigger problems.
2. Use Proper Installation Techniques - Make sure your sink is installed properly by a professional to avoid any potential issues in the future.
3. Avoid Overloading the Sink - Be mindful of how much weight you put on your sink, as heavy objects can cause strain and loosen the mounting clips.
How to Prevent a Bathroom Sink from Becoming Loose
If your bathroom sink is still loose after following these steps, here are some additional troubleshooting tips to try:
1. Check for Any Loose Screws - Sometimes, loose screws can cause a sink to become unstable. Check all screws and tighten any that may be loose.
2. Clean the Area - Dirt and debris can cause issues with the sealant and mounting clips. Clean the area thoroughly and reapply sealant if necessary.
3. Consider a Professional Repair - If you've tried everything and your sink is still loose, it may be time to call a professional plumber to assess the situation.
Troubleshooting Tips for a Loose Bathroom Sink
While a loose bathroom sink can often be fixed with DIY methods, there are times when it's best to leave it to the professionals. Here are some situations where you should call a plumber for a loose sink:
1. Extensive Damage - If the damage to your sink is extensive, it's best to have a professional take care of it to ensure it's fixed properly.
2. Lack of Experience - If you're not comfortable with DIY repairs or don't have the necessary tools, it's best to hire a professional to avoid causing further damage.
3. Continuous Issues - If your sink keeps becoming loose even after attempting to fix it, it's best to have a professional assess the situation and provide a permanent solution.
When to Call a Professional for a Loose Bathroom Sink
If your sink has completely detached from the countertop, here's how you can reattach it:
Step 1: Clean the Area - Use a putty knife to scrape off any old sealant from the sink and countertop.
Step 2: Apply New Sealant - Apply a new layer of plumber's putty or silicone caulk around the edges of the sink.
Step 3: Place the Sink - Carefully place the sink back onto the countertop and press down firmly to create a strong seal.
Step 4: Secure with Mounting Clips - Use a wrench to tighten the mounting clips until the sink is securely in place.
Step 5: Turn on Water Supply - Once the sealant has dried, turn the water supply back on and check for any leaks.
How to Reattach a Bathroom Sink to the Countertop
When fixing a loose bathroom sink, it's important to avoid these common mistakes:
- Over-tightening: This can damage the mounting clips and bolts, causing even more issues.
- Using the Wrong Tools: Make sure to use the correct tools for the job to avoid causing damage.
- Not Turning off the Water Supply: Forgetting to turn off the water supply can lead to leaks and potential water damage.
- Skipping Regular Maintenance: Neglecting to regularly inspect and maintain your sink can lead to bigger issues in the future.
Common Mistakes to Avoid When Fixing a Loose Bathroom Sink
Bathroom Sink Loose from Countertop: Causes and Solutions

Introduction
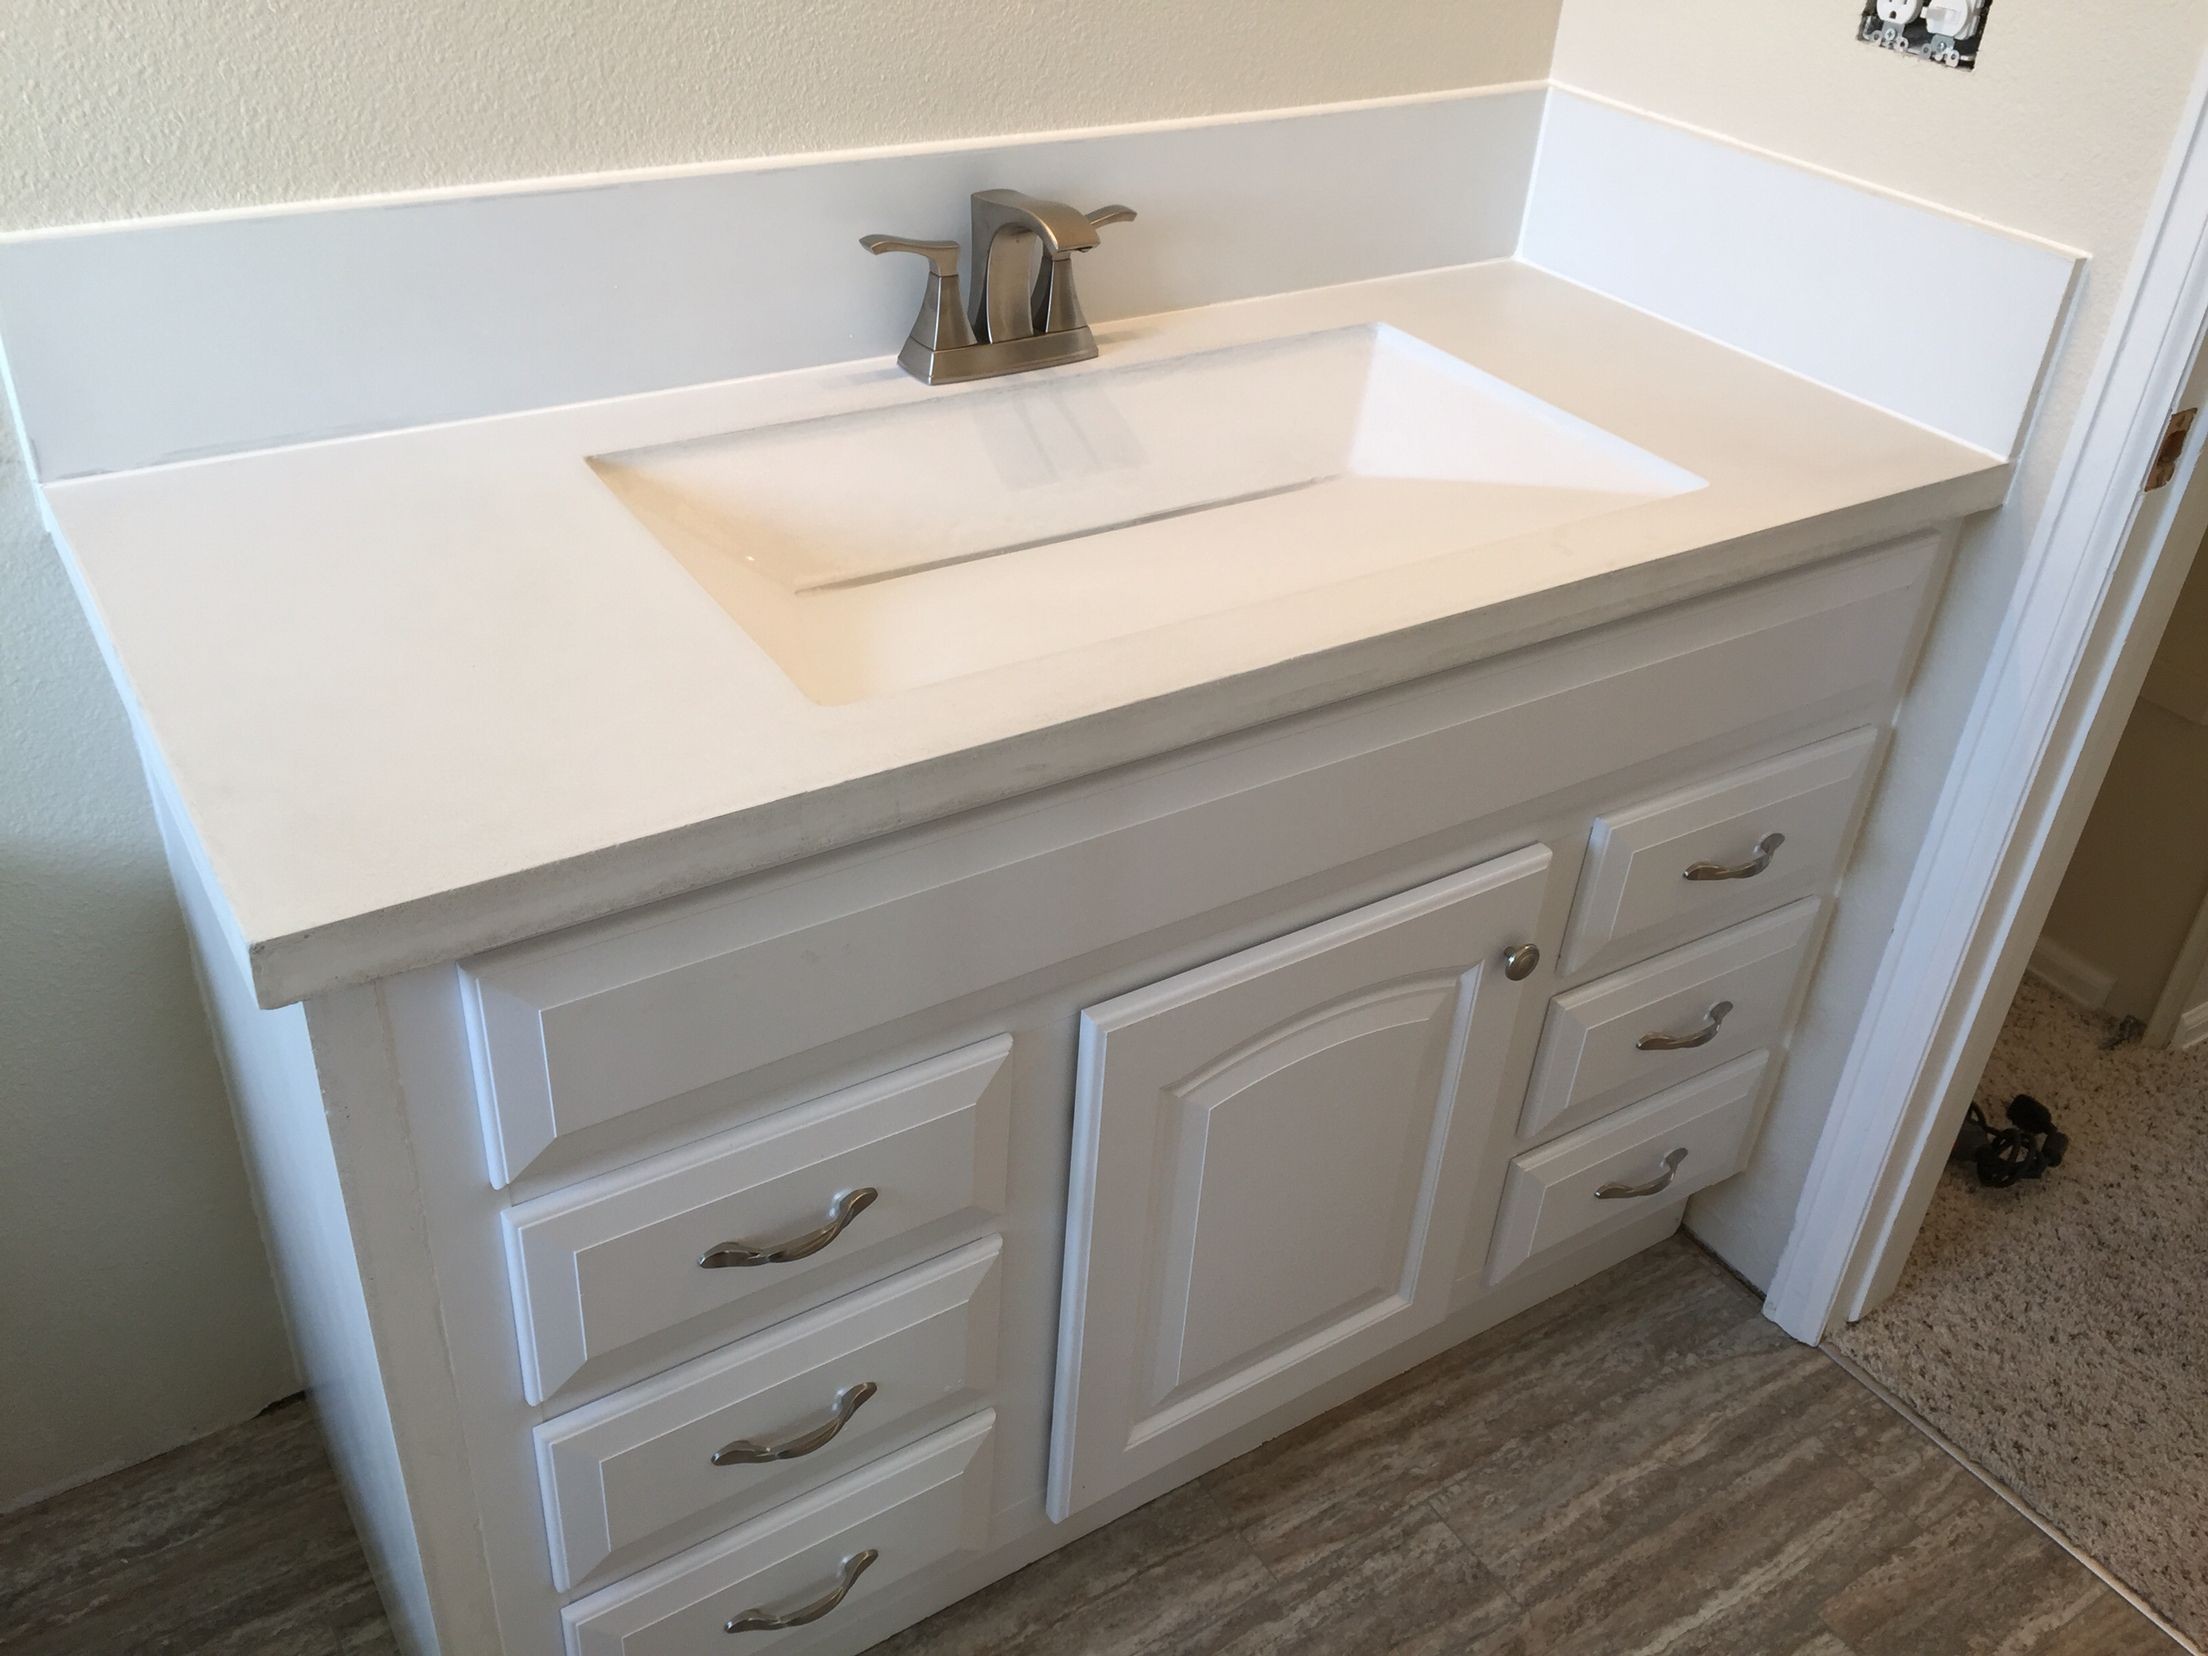 When it comes to house design, every detail matters. From the color scheme to the furniture, each element contributes to the overall aesthetic and functionality of a space. This includes the bathroom, which is often considered one of the most important rooms in a house. However, even the smallest issue can disrupt the smooth functioning of a bathroom, such as a loose sink from the countertop. This may seem like a minor inconvenience, but if left unaddressed, it can lead to bigger problems. In this article, we will discuss the causes of a bathroom sink becoming loose from the countertop and provide solutions to fix the issue.
The Cause
 Bathroom sink
is an essential fixture in any bathroom, and it is typically attached to the countertop with adhesive or clips. Over time, these components can become loose due to wear and tear, causing the sink to detach from the countertop. This can also happen if the sink was not installed properly in the first place or if the countertop itself is not strong enough to support the weight of the sink and water. Another common cause is water damage, which can weaken the adhesive or rot the wood underneath the countertop.
The Solution
 If you notice that your bathroom sink is loose from the countertop, it is important to address the issue as soon as possible to prevent further damage.
The first step is to locate the area where the sink is detached from the countertop. If the cause is water damage, it is crucial to fix the underlying issue before attempting to reattach the sink. This may involve replacing the damaged wood or reinforcing the countertop with additional support.
Next, you can try tightening the clips or screws that hold the sink in place. If the sink is still loose, you may need to purchase a new adhesive and reattach the sink to the countertop. Be sure to thoroughly clean and dry the surface before applying the adhesive to ensure a secure bond. For a more permanent solution, you can also consider investing in a stronger and more durable countertop material that can better support the weight of the sink.
Prevention
 To prevent a bathroom sink from becoming loose in the future, it is important to properly maintain it. This includes regularly checking for any signs of wear and tear and addressing issues promptly. It is also recommended to avoid placing excessive weight on the sink, such as heavy objects or leaning on it for support. Additionally, using a sealant around the edges of the sink can help prevent water damage and prolong the life of the adhesive.
In conclusion, a bathroom sink becoming loose from the countertop may seem like a small problem, but it can lead to bigger issues if ignored. By understanding the causes and implementing the right solutions, you can ensure that your sink stays securely attached to the countertop for many years to come, maintaining the functionality and aesthetic of your bathroom.


