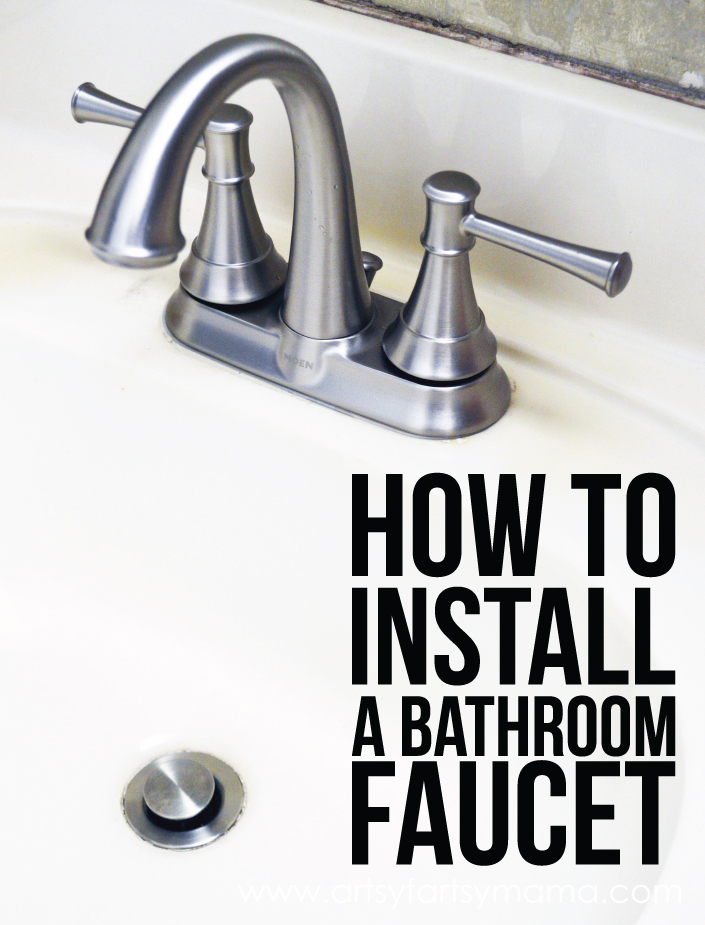
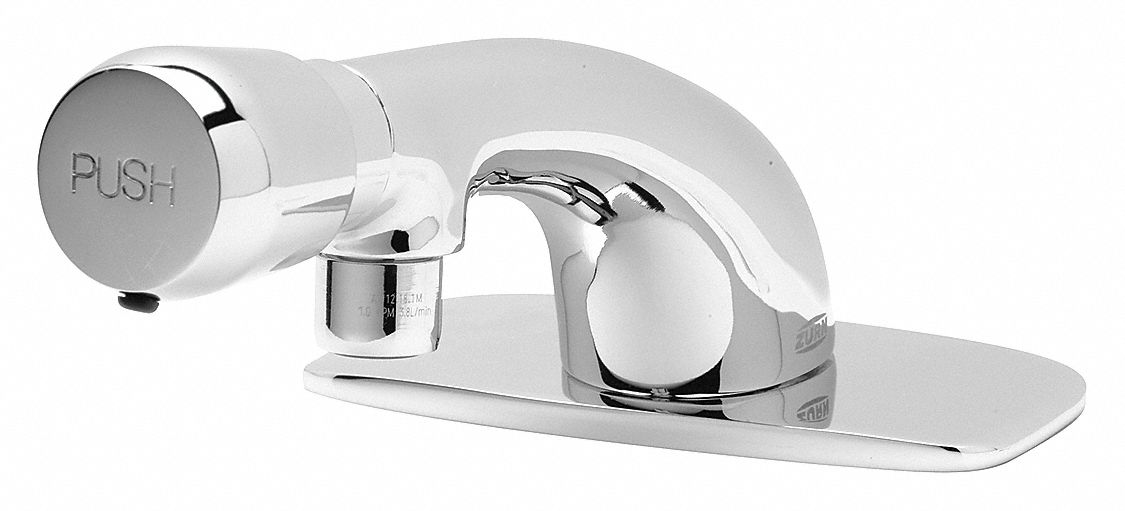
Installing a new bathroom sink faucet can be a great way to update the look of your bathroom without breaking the bank. It may seem like a daunting task, but with the right tools and a little bit of know-how, you can easily install a new faucet in your bathroom. In this article, we will provide a step-by-step guide on how to install a bathroom sink faucet and give you tips for a successful installation. Bathroom Sink Faucet Installation
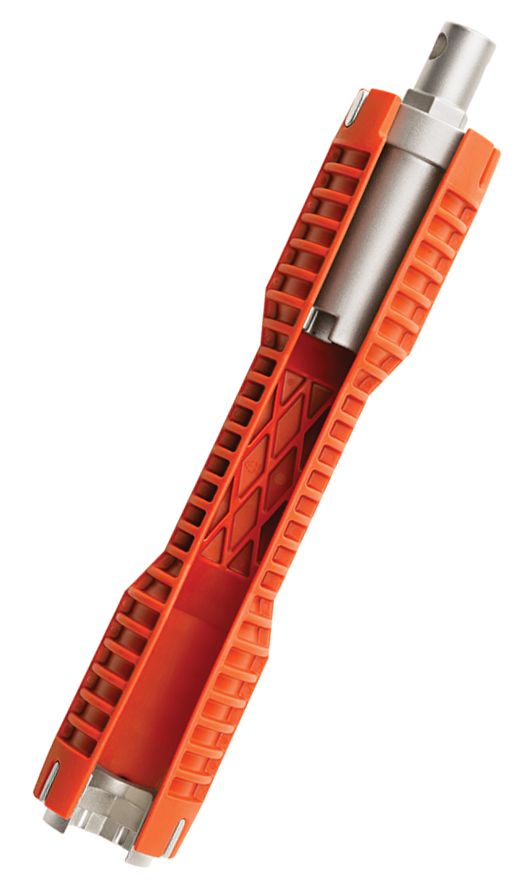
Before you begin the installation process, it's important to gather all the necessary tools and materials. You will need a new faucet, a basin wrench, an adjustable wrench, plumber's tape, silicone caulk, and a bucket or towel to catch any water that may spill during the installation. Once you have everything you need, follow these steps to install your new bathroom sink faucet: How to Install a Bathroom Sink Faucet
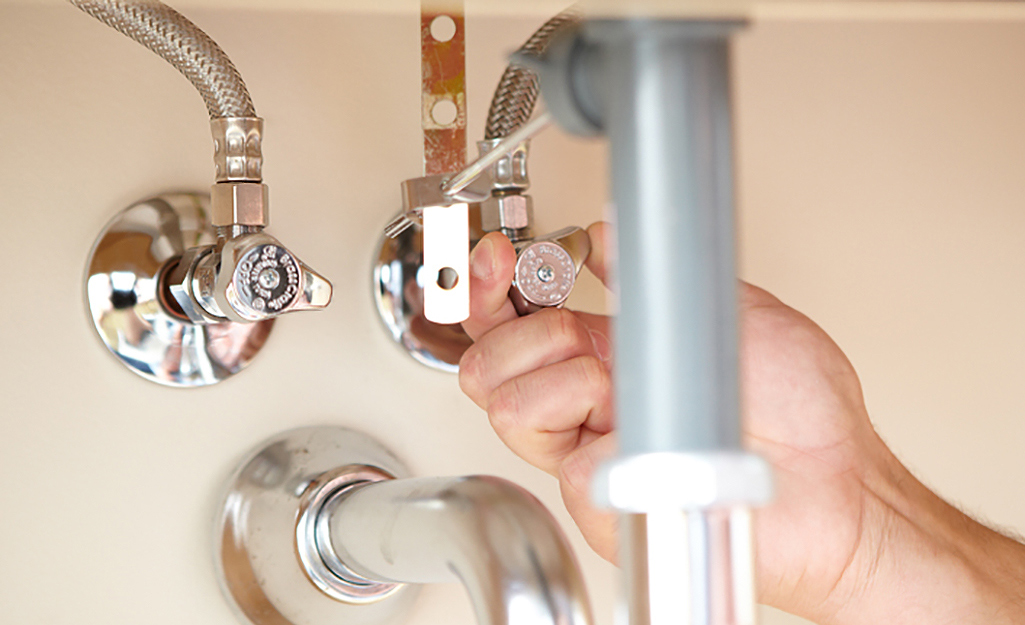
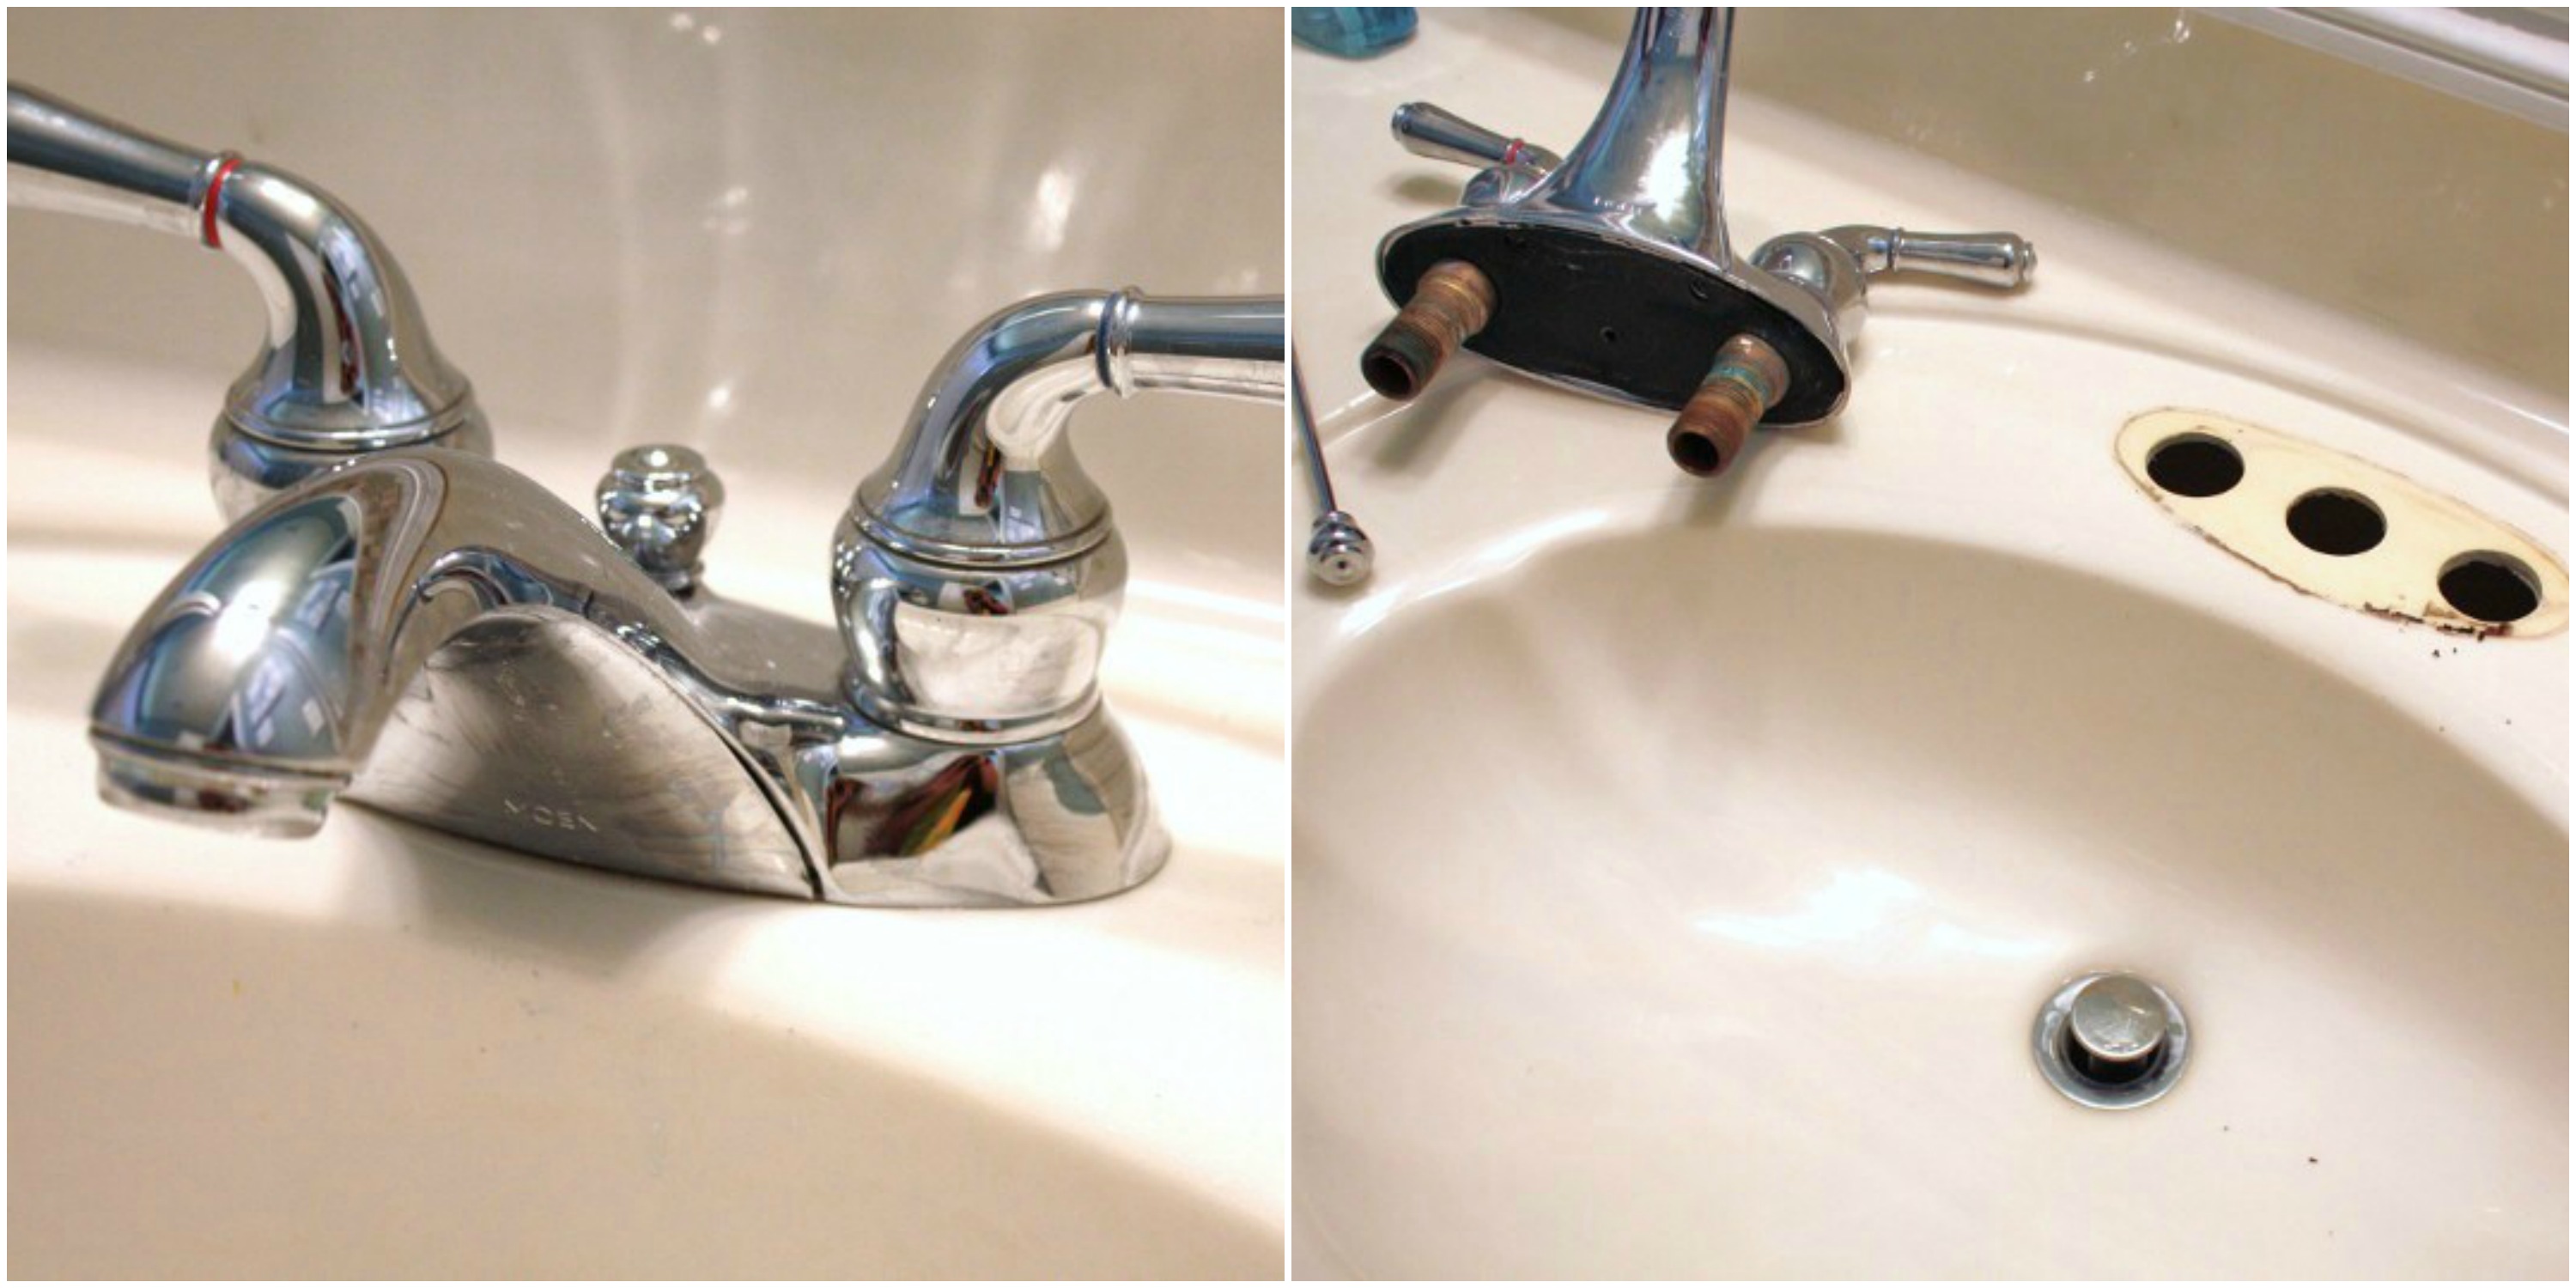
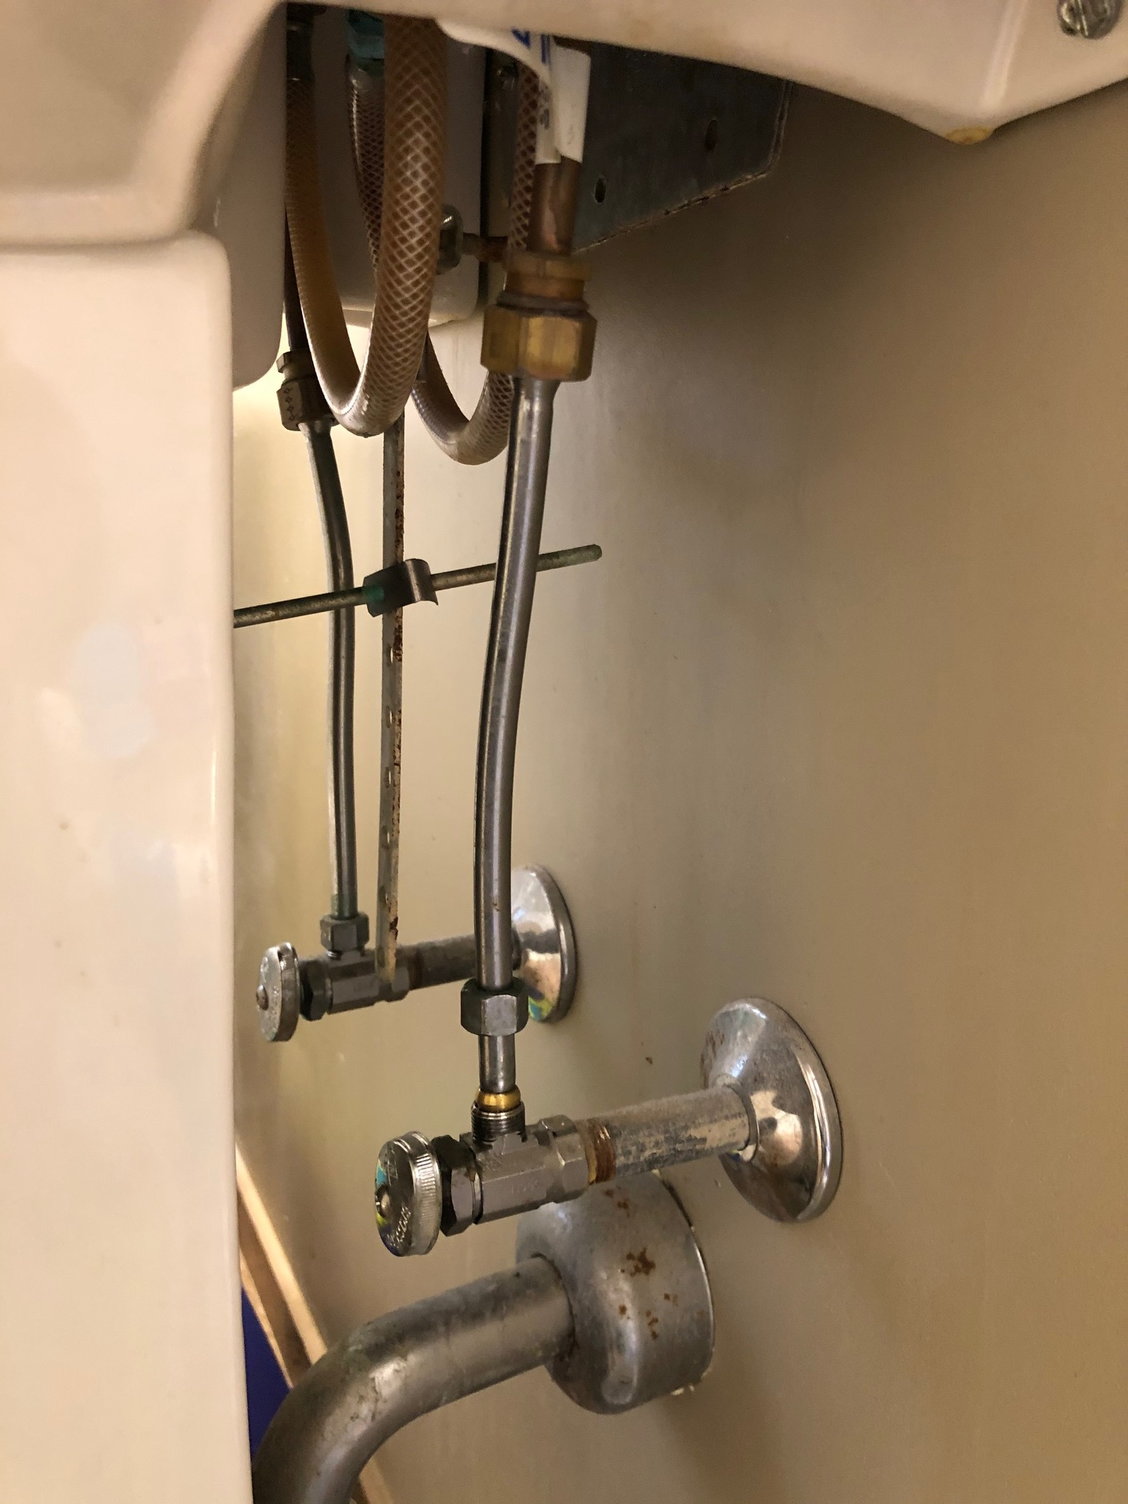
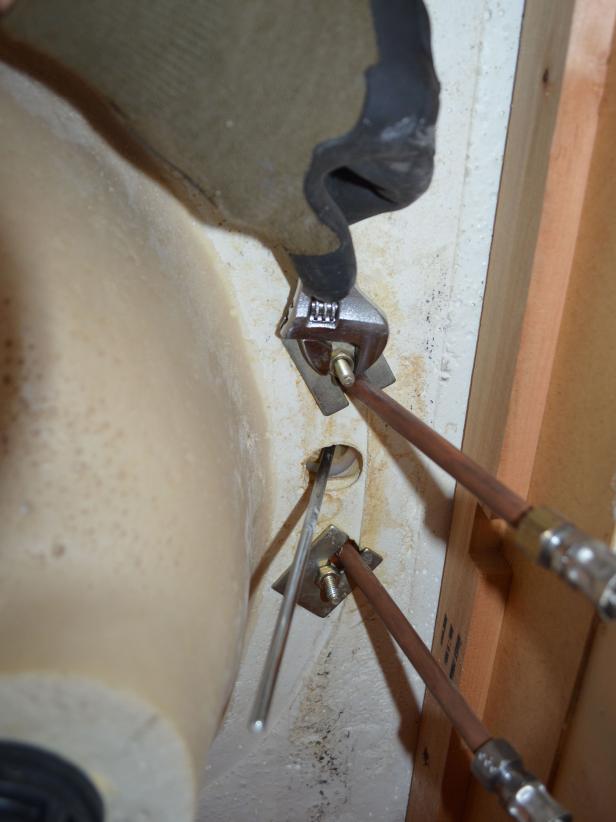
Start by turning off the water supply to the sink. This can usually be done by turning the valves under the sink clockwise. Next, remove the old faucet by loosening the nuts and disconnecting the water supply lines with your adjustable wrench. Make sure to place a bucket or towel under the pipes to catch any residual water. Once the old faucet is removed, clean the sink area thoroughly. Step 1: Remove the Old Faucet
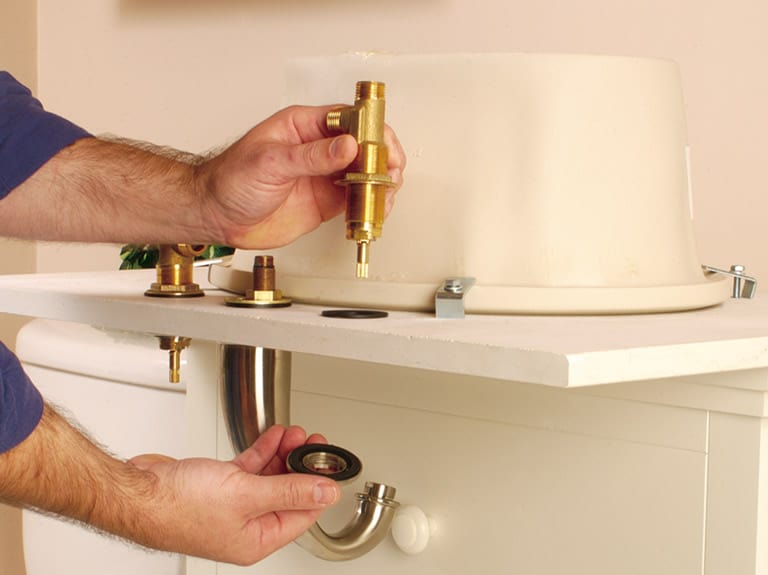
Before installing the new faucet, prep it by attaching the supply lines and any other components that may come with it. It's important to read the manufacturer's instructions carefully to ensure proper installation. Step 2: Prep the New Faucet
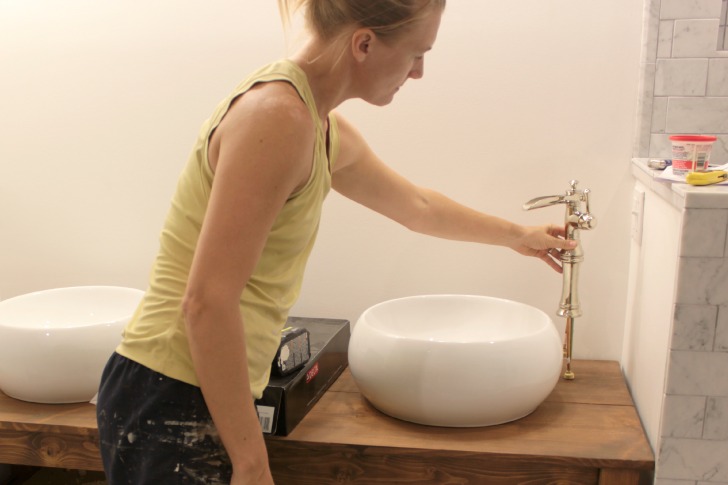
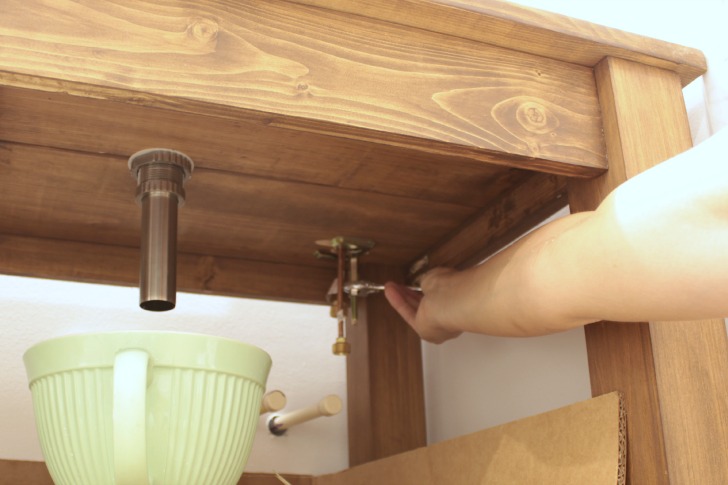
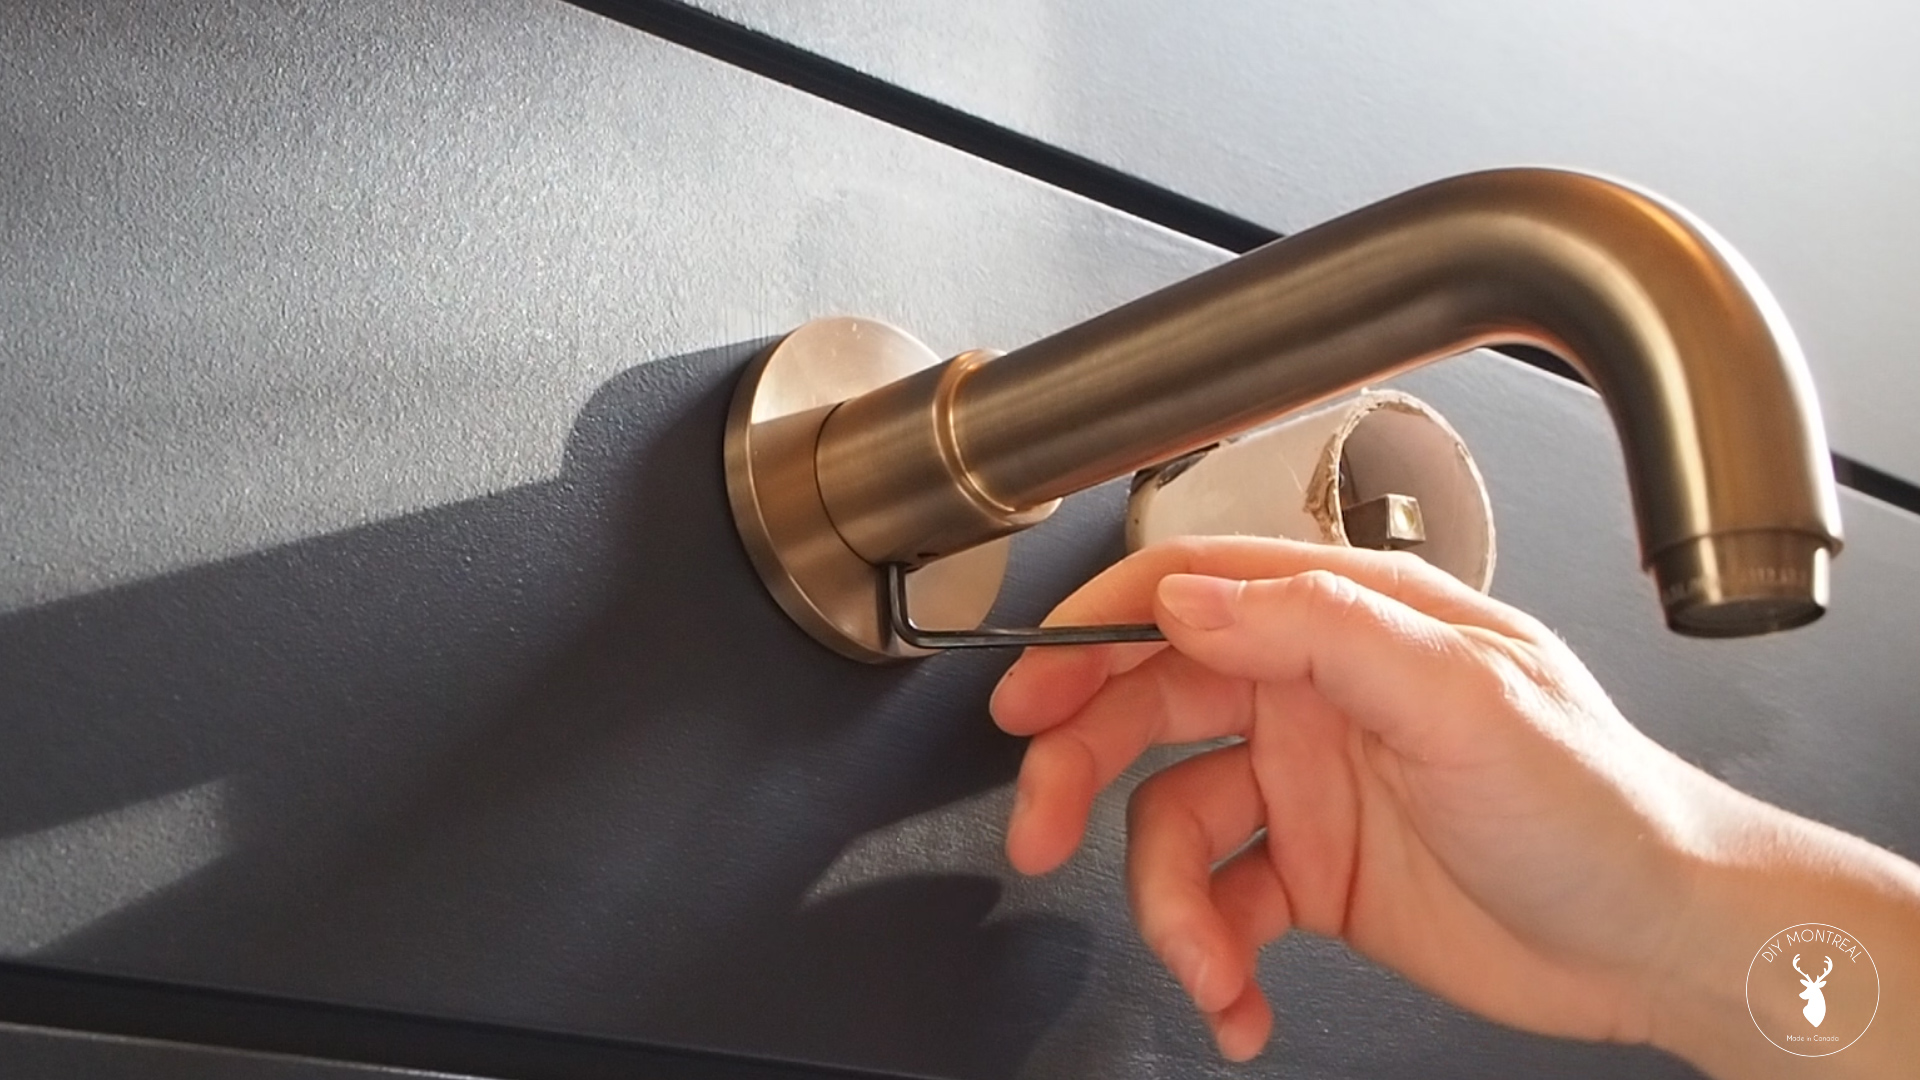
Place the new faucet into the designated holes on the sink and secure it with the mounting nuts provided. Use a basin wrench to tighten the nuts and make sure the faucet is securely in place. Step 3: Install the New Faucet
Using your adjustable wrench, connect the water supply lines to the new faucet. Make sure to use plumber's tape to ensure a tight seal. Step 4: Connect the Water Supply Lines
To prevent any water from leaking under the sink, apply a bead of silicone caulk around the base of the faucet. Smooth out the caulk with your finger or a caulk tool for a clean finish. Step 5: Apply Silicone Caulk
Once the caulk has dried, turn on the water supply and check for any leaks. If there are no leaks, you can now use your new bathroom sink faucet. Step 6: Turn on the Water Supply
Installing a bathroom sink faucet can be a DIY project for those who are handy and have some basic plumbing knowledge. However, if you are not confident in your abilities, it may be best to hire a professional to ensure the job is done correctly. A small mistake during installation could lead to costly repairs in the future. DIY Bathroom Sink Faucet Installation
While a DIY installation may save you money, there are benefits to hiring a professional for your bathroom sink faucet installation. A professional will have the necessary tools and expertise to ensure the faucet is installed correctly and will be able to quickly troubleshoot any issues that may arise. Additionally, hiring a professional can give you peace of mind knowing that the job is done correctly. Professional vs DIY Bathroom Sink Faucet Installation
Why Choose a Professional for Bathroom Sink Faucet Installation

The Importance of Proper Faucet Installation
 When it comes to designing and remodeling your home, every little detail matters. The same goes for your bathroom sink faucet installation. While it may seem like a simple and straightforward task, improper installation can lead to a variety of issues down the line. From leaks and water damage to a malfunctioning faucet, the consequences of a DIY installation can be costly and time-consuming. That's why it's crucial to hire a professional for your bathroom sink faucet installation.
Expertise and Experience
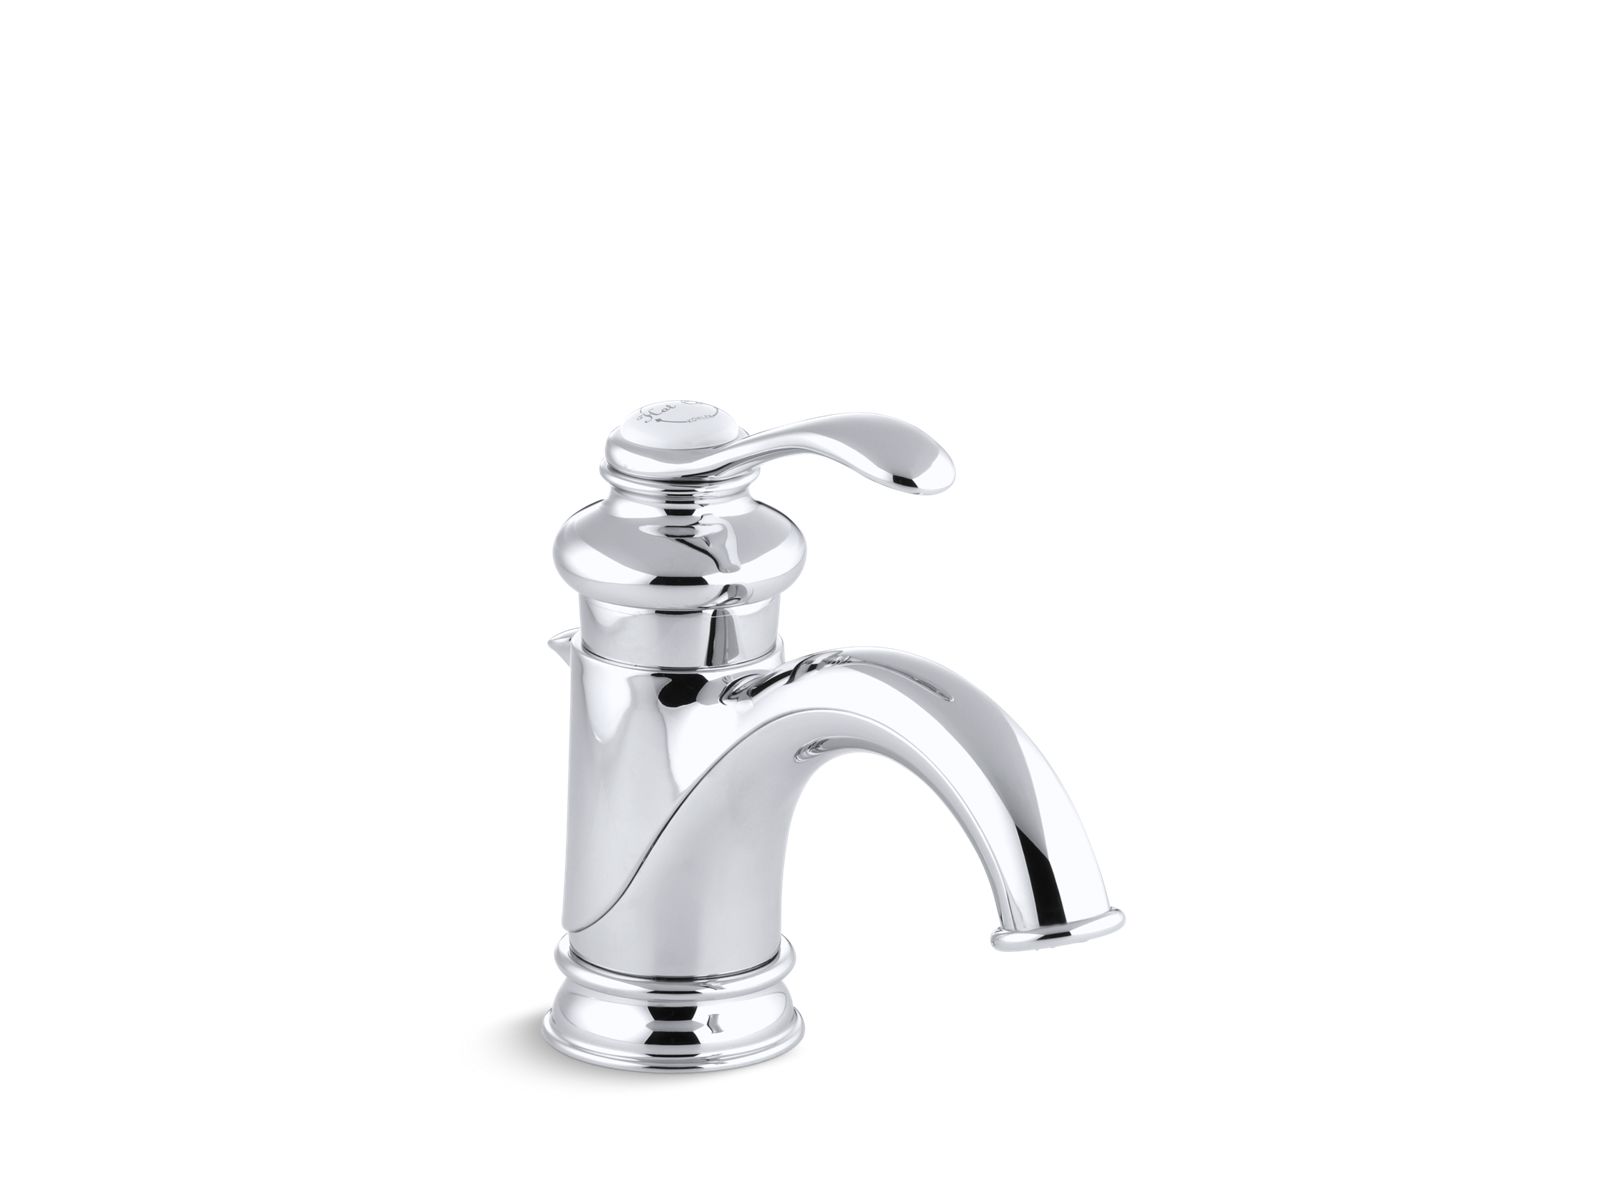
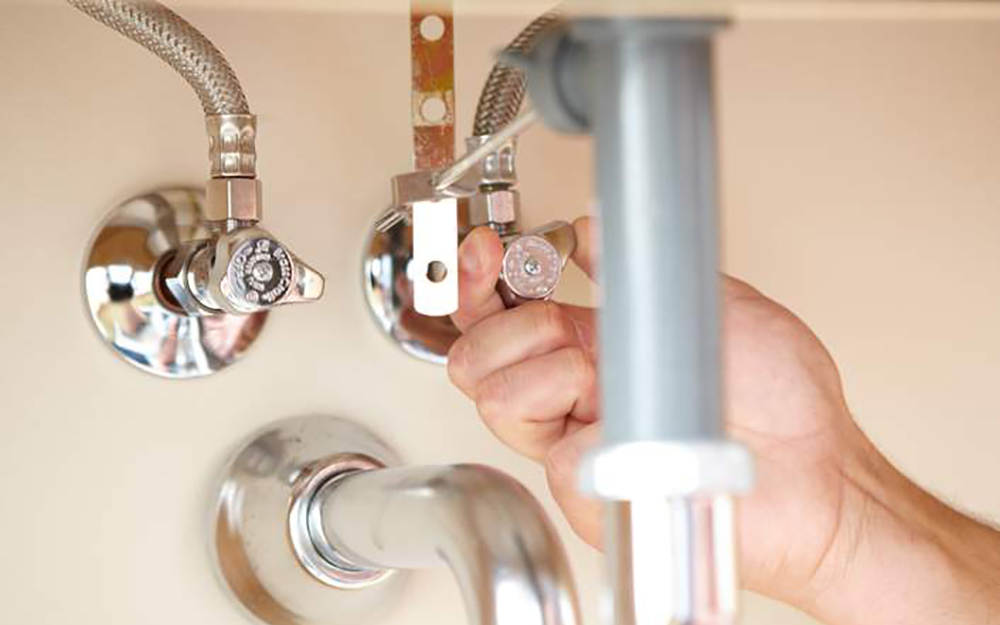 Professional plumbers have the necessary expertise and experience to handle any type of bathroom sink faucet installation. They are well-versed in the latest industry standards and techniques, ensuring that your faucet is installed correctly and efficiently. Their knowledge also extends to the different types of faucets available, from traditional to modern designs, and they can help you choose the best one for your bathroom's aesthetic and functionality.
Bathroom design
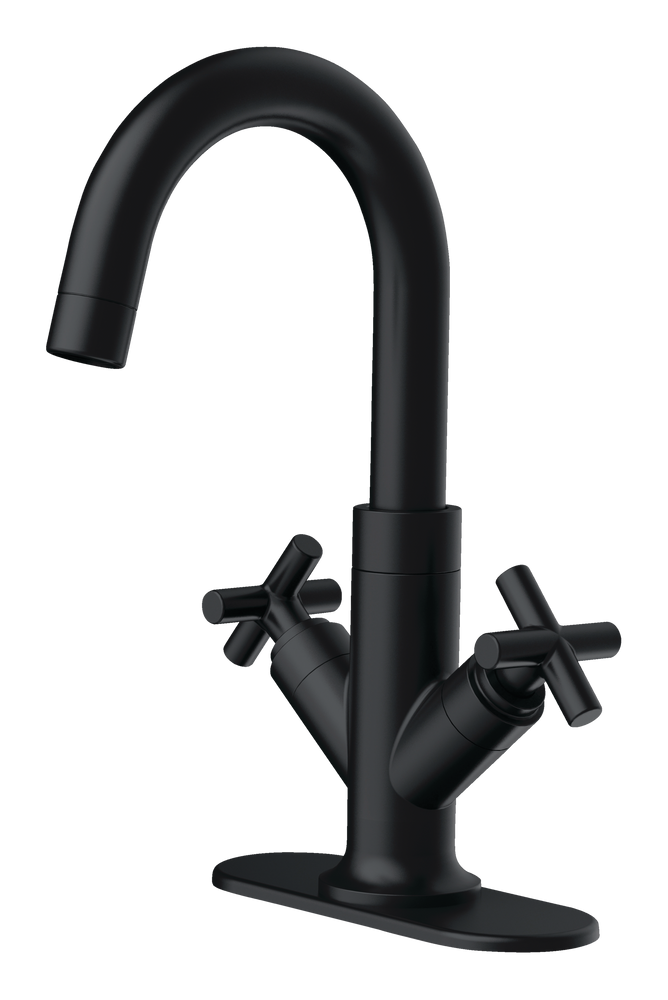
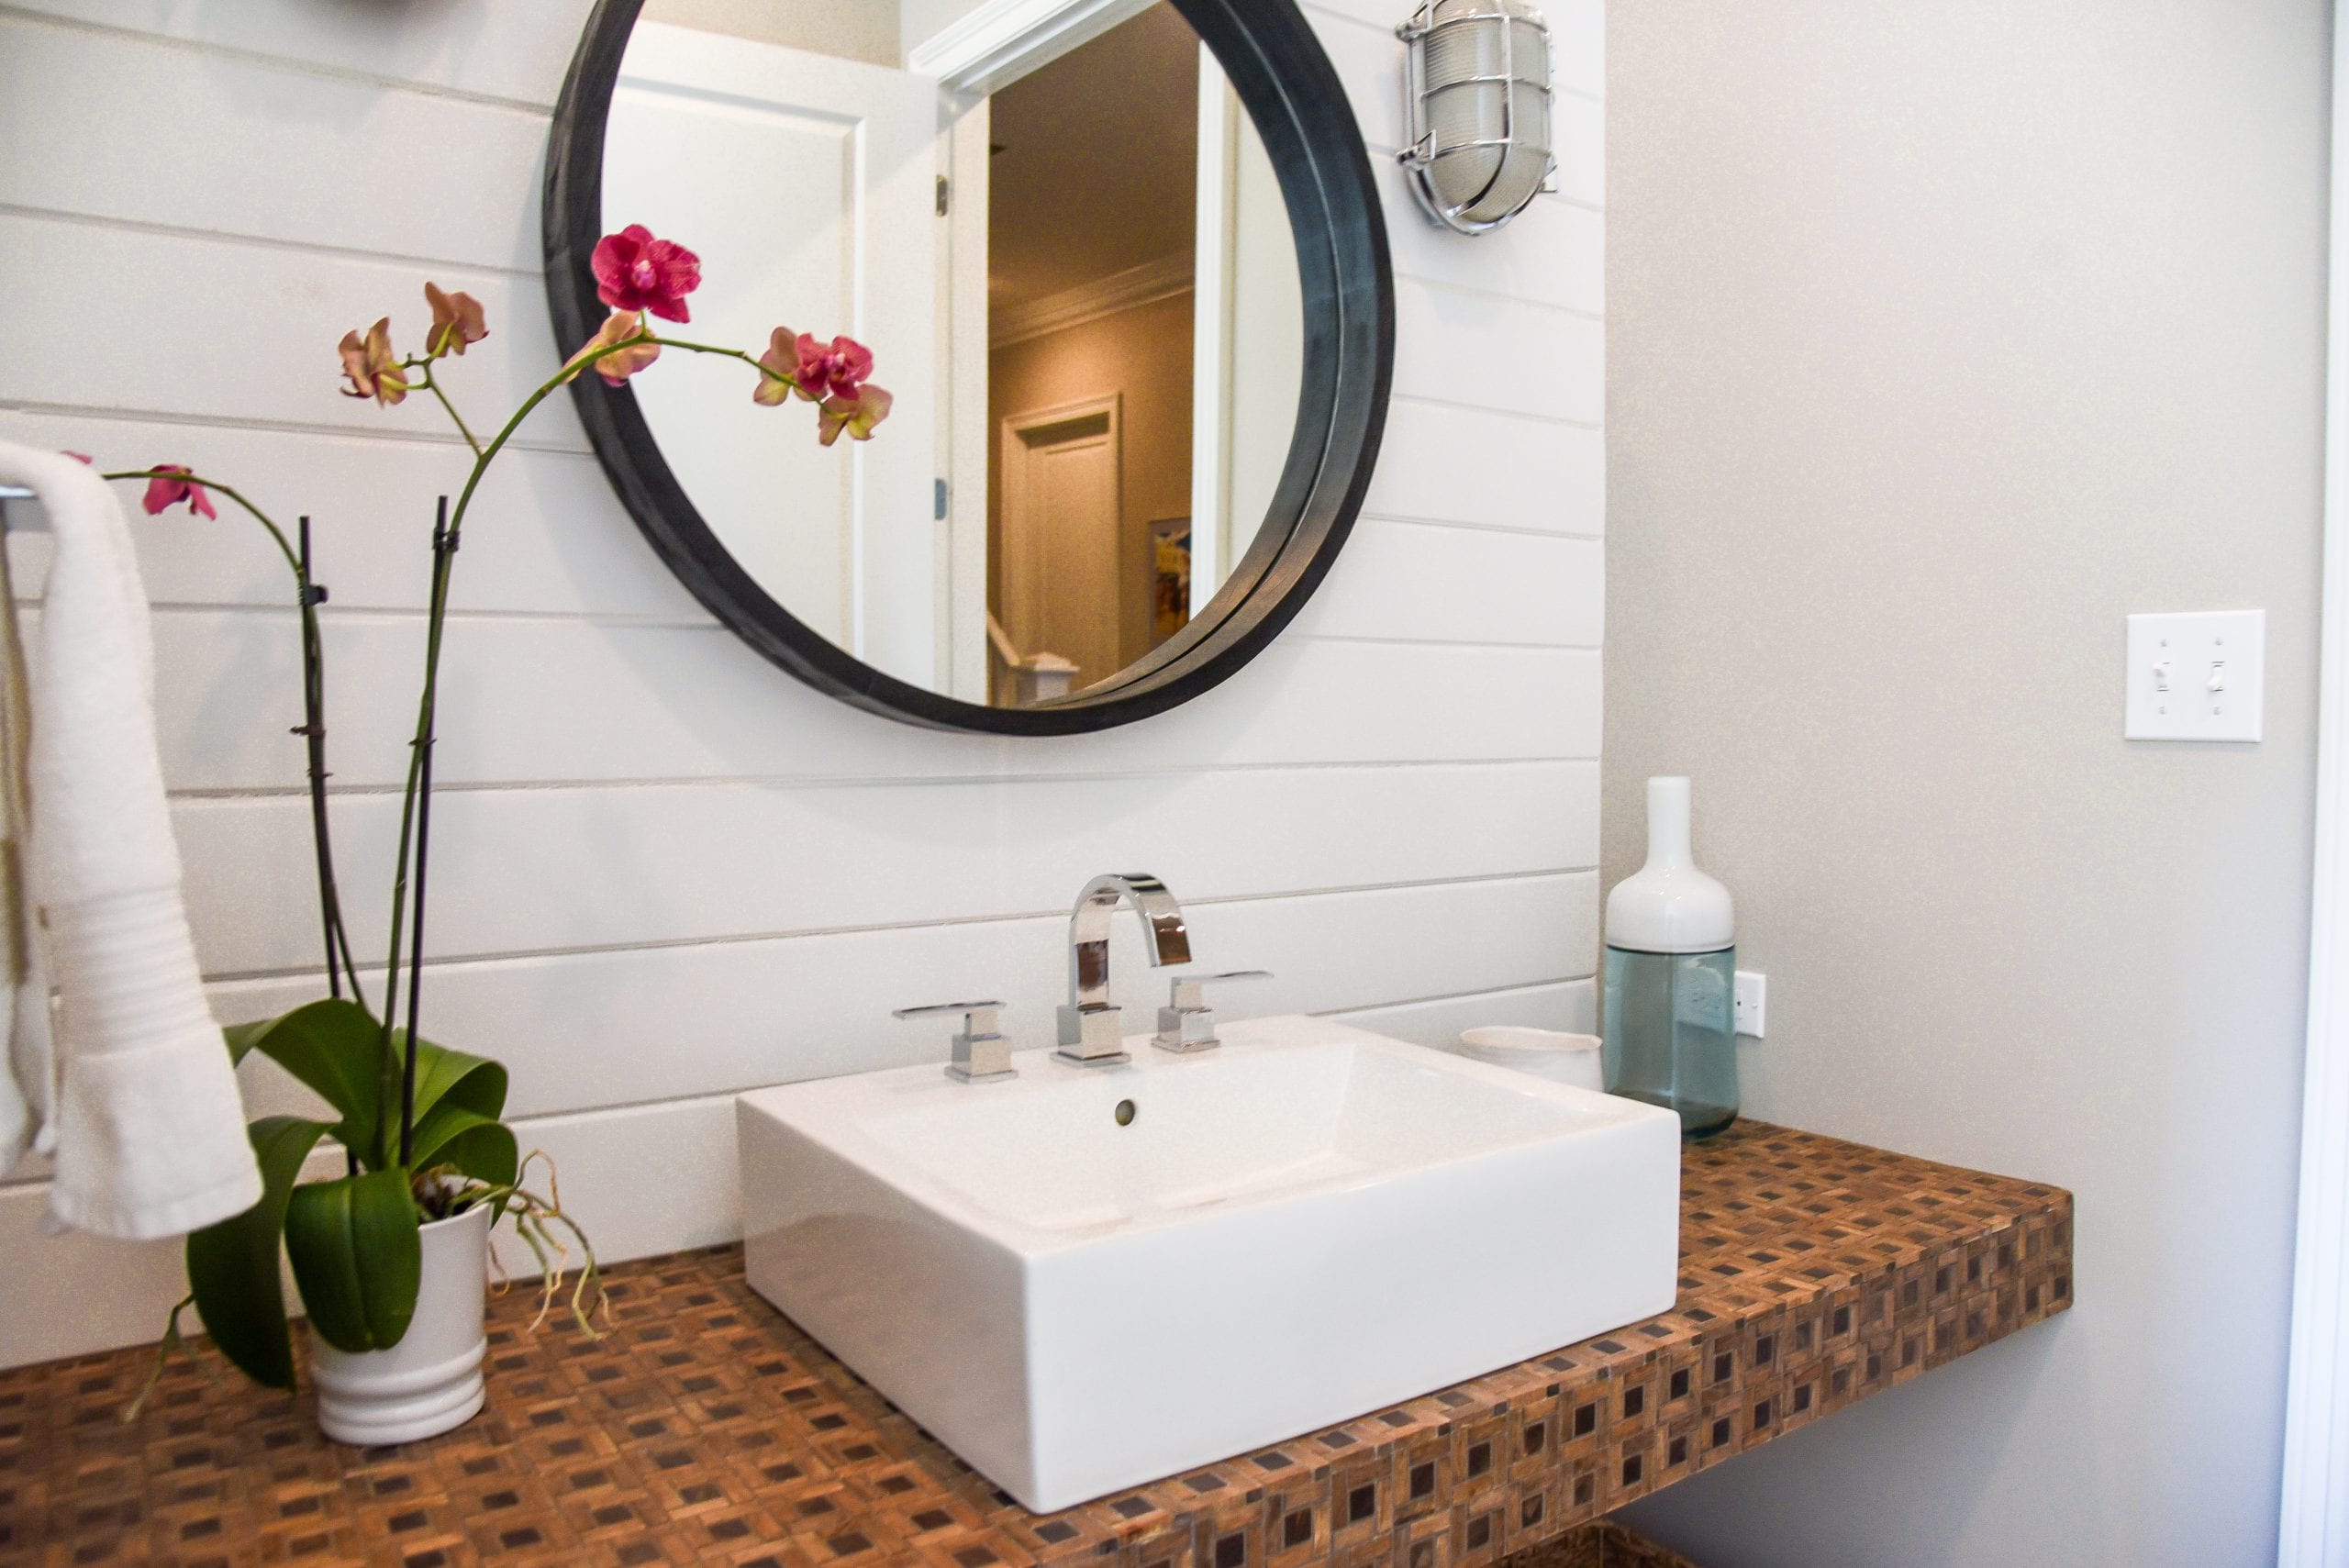
is an important aspect to consider when choosing a faucet. A professional plumber can guide you in selecting a faucet that not only complements your bathroom's design but also fits perfectly with your sink and other fixtures. With their keen eye for detail, they can ensure that your faucet is properly positioned and aligned, enhancing the overall look of your bathroom.
Quality Workmanship
 When it comes to your home, you want only the best quality workmanship. Professional plumbers have the necessary tools and equipment to install your bathroom sink faucet with precision and care. They also use high-quality materials to ensure that your faucet functions properly and lasts for years to come. Additionally, professional installation often comes with a warranty, giving you peace of mind and protection in case of any issues.
Time and Cost Savings
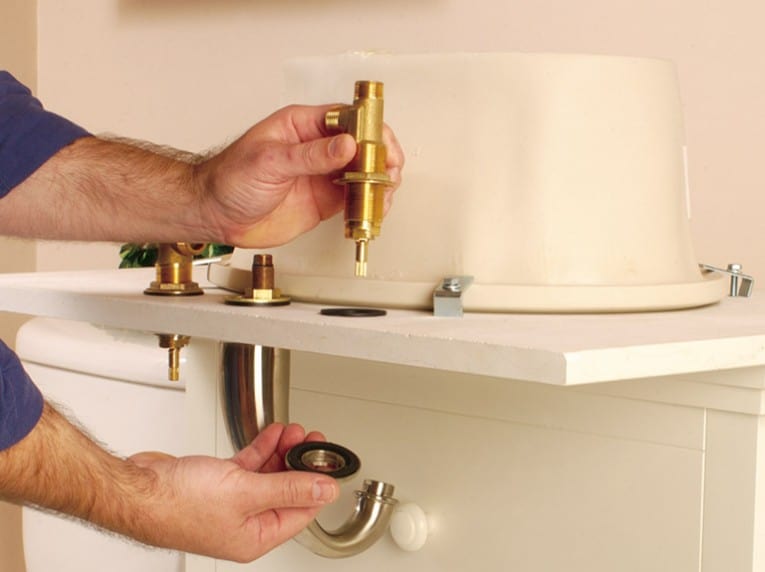 While it may seem cost-effective to install a bathroom sink faucet yourself, it can end up costing you more in the long run. Any mistakes or issues that arise from a DIY installation can lead to additional expenses for repairs or replacements. Hiring a professional for your faucet installation can save you time and money, as they have the necessary skills and experience to get the job done efficiently and effectively.
In conclusion, a professional bathroom sink faucet installation offers numerous benefits, from expertise and quality workmanship to time and cost savings. Don't risk the integrity and functionality of your faucet by attempting a DIY installation. Trust a professional to handle the job and enjoy a beautiful and functional bathroom sink for years to come.














:no_upscale()/cdn.vox-cdn.com/uploads/chorus_asset/file/19495086/drain_0.jpg)


