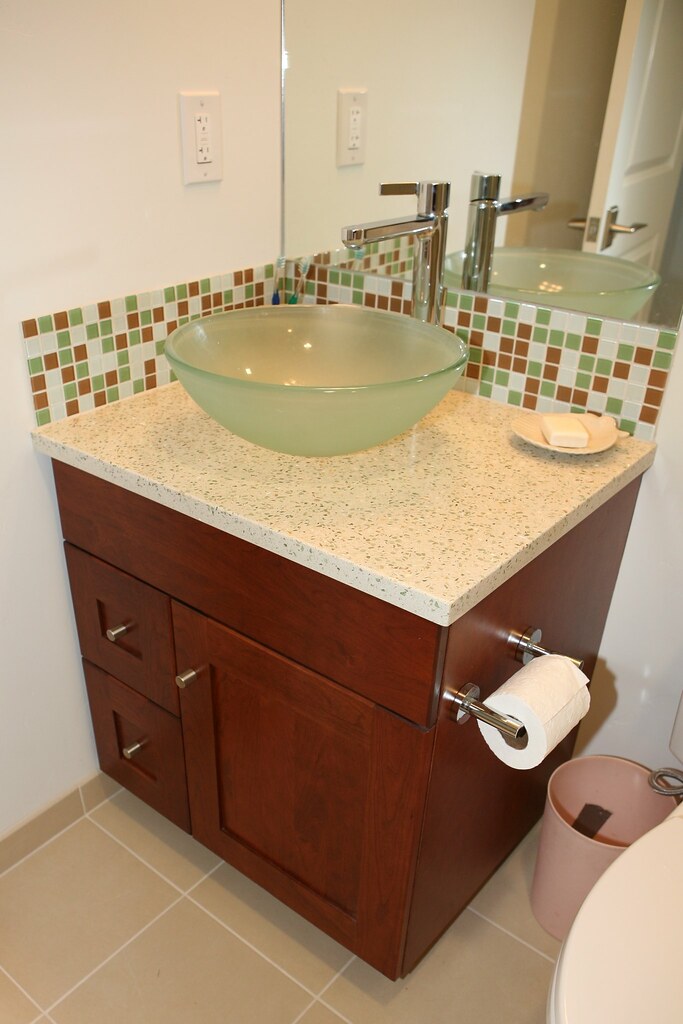
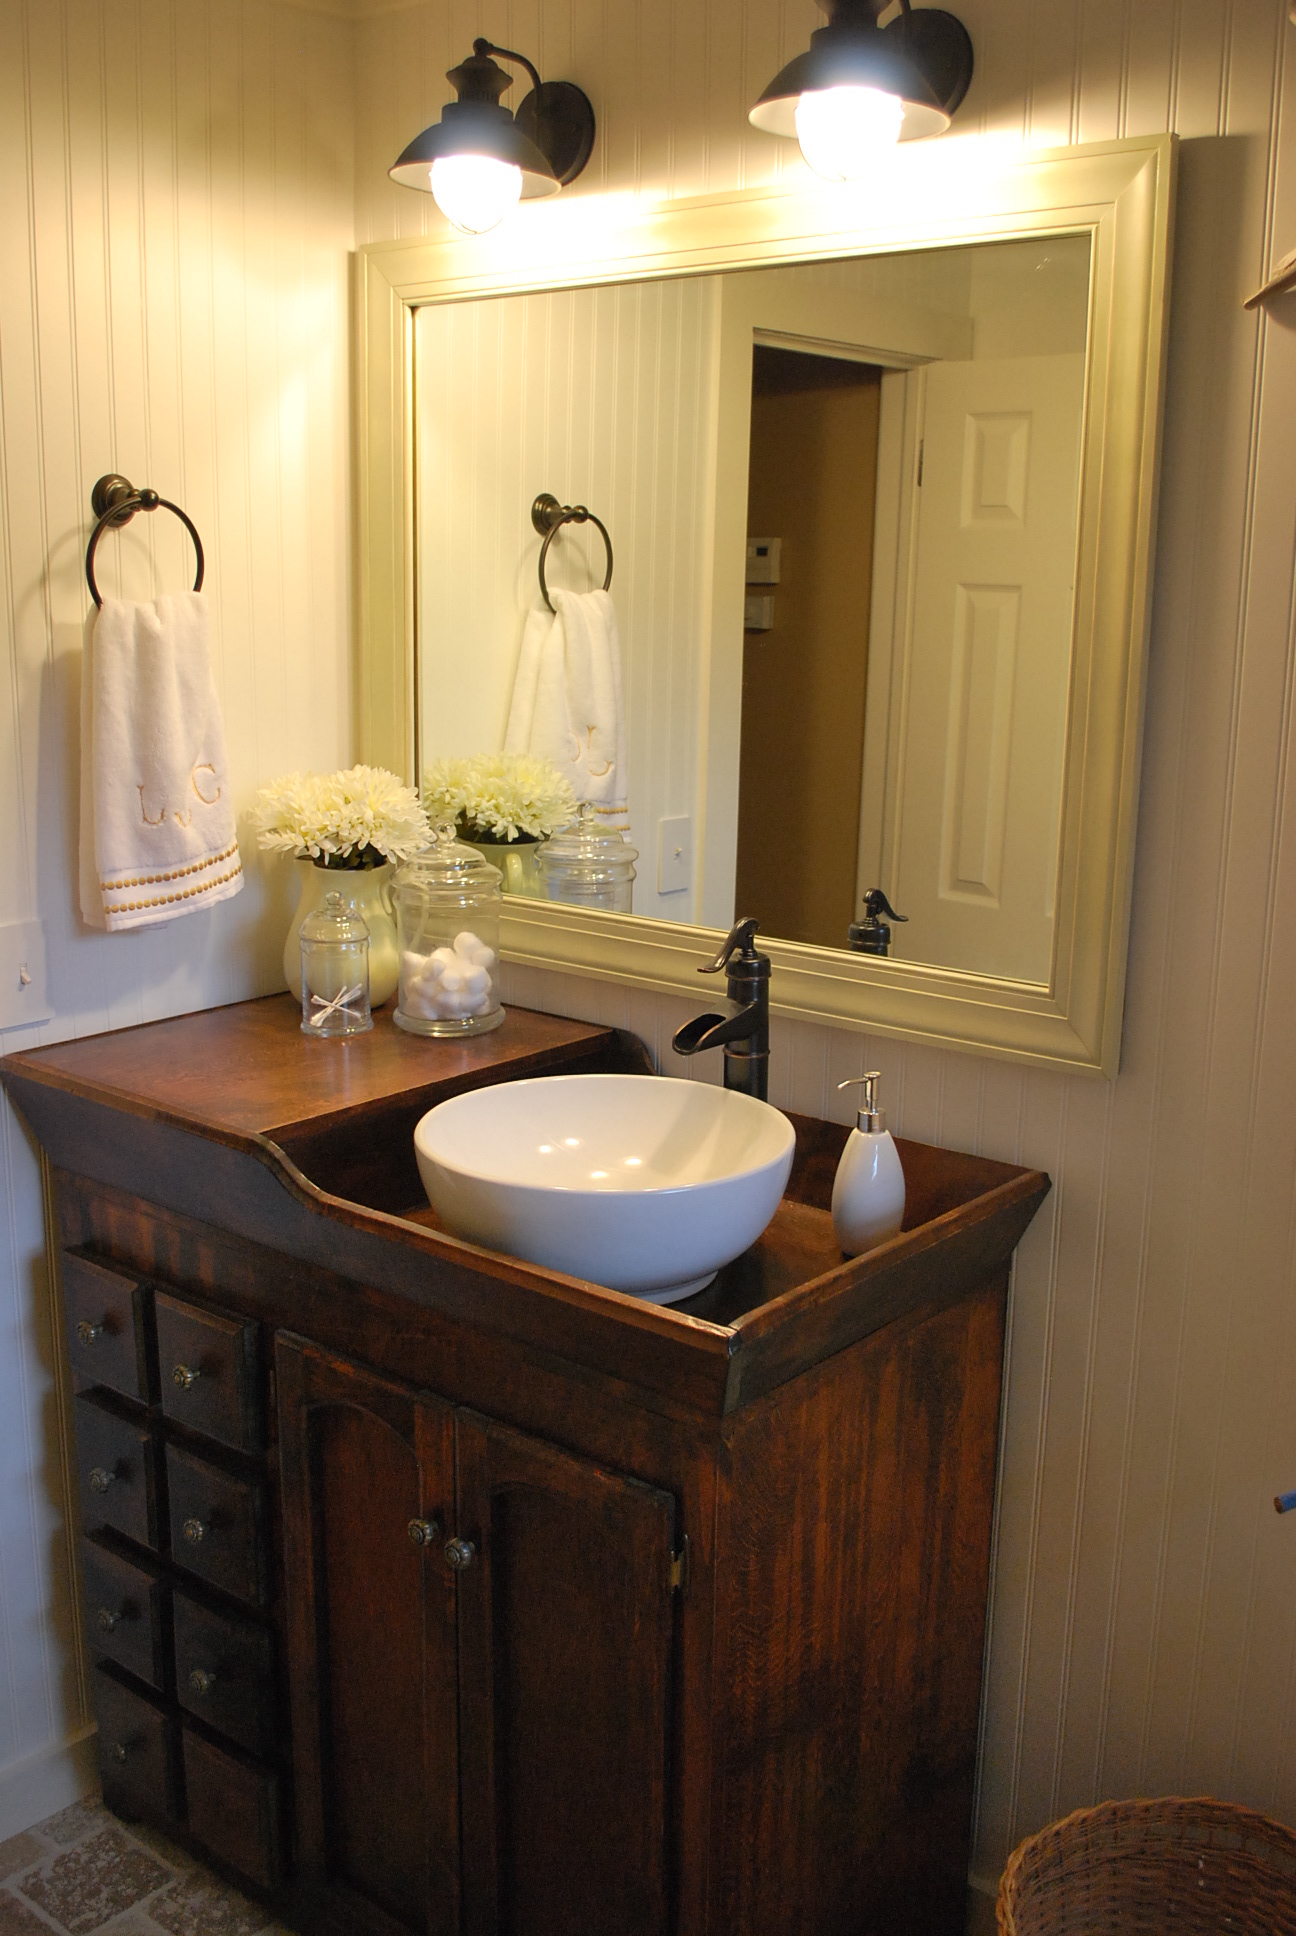
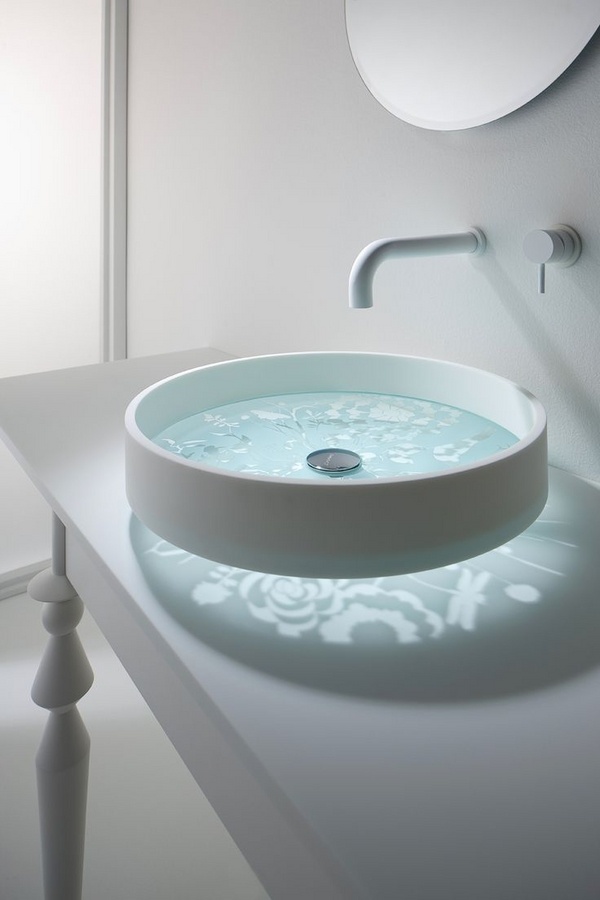
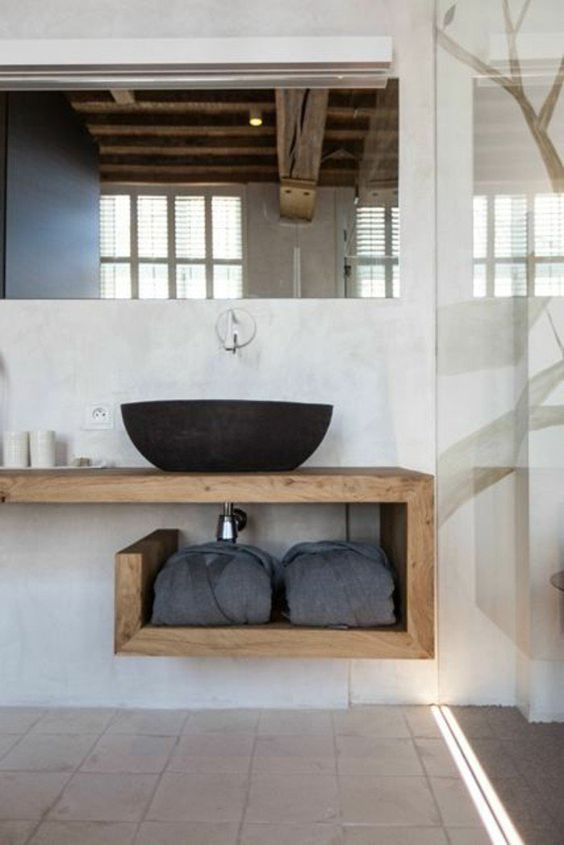
Installing a glass vessel sink in your bathroom can add a touch of elegance and modernity to your space. These stunning sinks come in a variety of shapes, colors, and designs, making it easy to find one that fits your personal style. However, installing a glass vessel sink is not as simple as swapping out a traditional sink. It requires careful planning and precise execution to ensure a successful and beautiful installation. Here's our step-by-step guide on how to install a glass vessel sink in your bathroom. Bathroom Glass Vessel Sink Installation
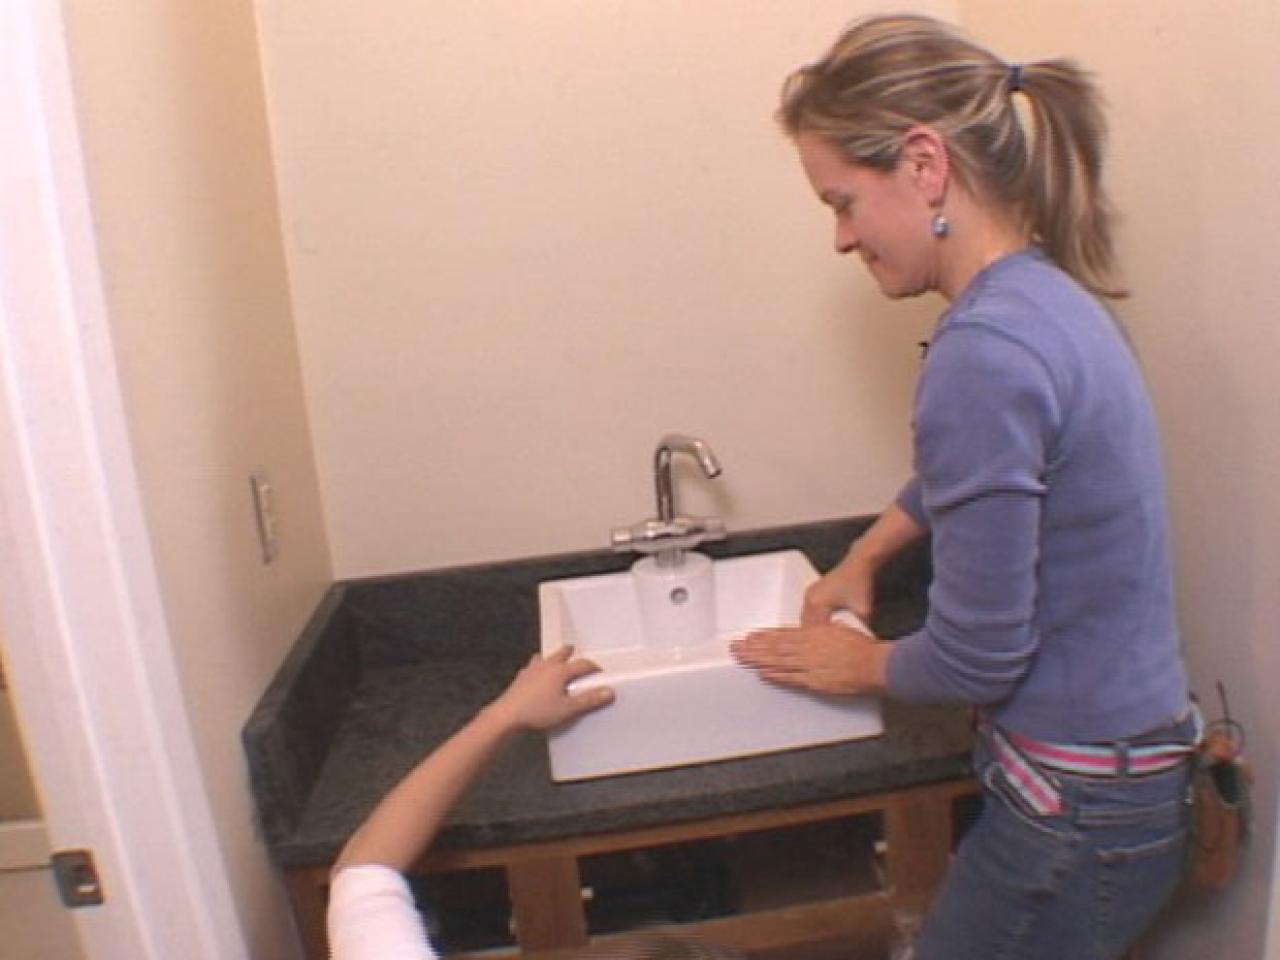
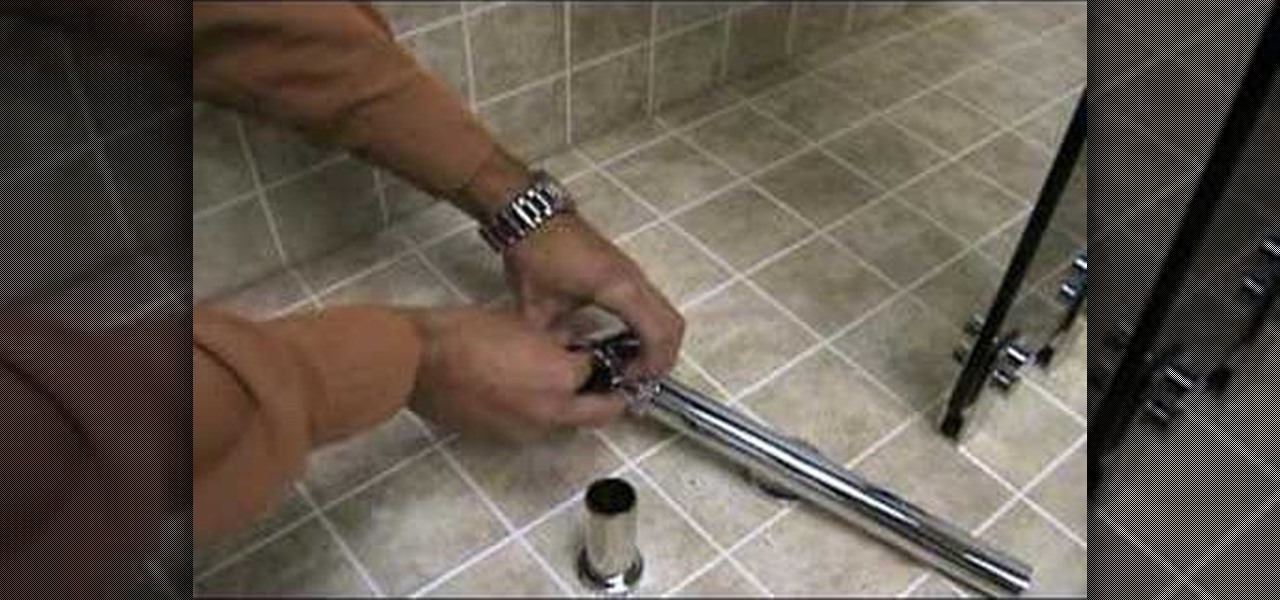
Before you start the installation process, make sure you have all the necessary tools and materials. This includes the sink, faucet, drain assembly, silicone caulk, plumber's putty, and a wrench. It's also helpful to have a bucket and towels on hand to catch any water spills. Step 1: Prepare the Sink and Countertop Start by placing the sink upside down on a soft surface to prevent any scratches or damage. Apply a thin layer of silicone caulk around the bottom of the sink's rim. Then, carefully turn the sink over and place it on the countertop. Press down firmly to create a seal between the sink and countertop. Step 2: Install the Faucet Follow the manufacturer's instructions to install the faucet onto the sink. This may involve attaching the handles, spout, and other components. Make sure to use plumber's putty to create a watertight seal between the faucet and sink. Step 3: Attach the Drain Assembly Next, attach the drain assembly to the sink. This typically involves screwing the drain flange onto the bottom of the sink and attaching the rubber gasket and lock nut. Again, use plumber's putty to create a seal between the drain and sink. Step 4: Connect the Water Supply Lines Using a wrench, connect the water supply lines to the faucet. Make sure to use thread seal tape on the connections to prevent any leaks. Step 5: Install the Sink on the Countertop Place the sink onto the countertop and align it with the drain and water supply lines. Use a wrench to tighten the connections and secure the sink in place. Step 6: Apply Silicone Caulk Using silicone caulk, create a seal around the edges of the sink where it meets the countertop. This will prevent any water from leaking underneath the sink and damaging the countertop. Step 7: Test and Adjust Turn on the water supply and test the sink to make sure everything is working properly. If there are any leaks, use a wrench to tighten the connections. Adjust the sink as needed to ensure it is level and properly aligned. How to Install a Glass Vessel Sink in Your Bathroom
Installing a glass vessel sink is a great DIY project for those with some plumbing experience. However, if you are not comfortable with these types of home projects, it's always best to hire a professional plumber. They have the necessary skills and experience to ensure a successful and safe installation. DIY Bathroom Renovation: Installing a Glass Vessel Sink
Here are a few tips to keep in mind when installing a glass vessel sink in your bathroom: Tips for Installing a Glass Vessel Sink in Your Bathroom
While installing a glass vessel sink is not a difficult process, there are some common mistakes that can occur. These include: Common Mistakes to Avoid When Installing a Glass Vessel Sink
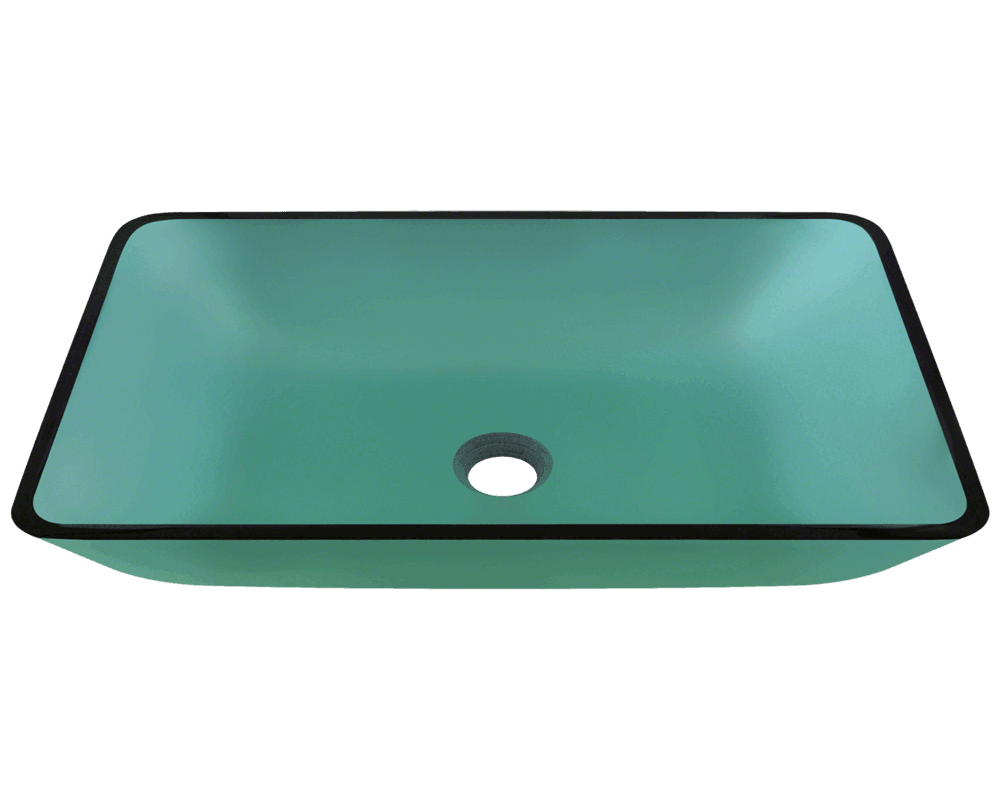
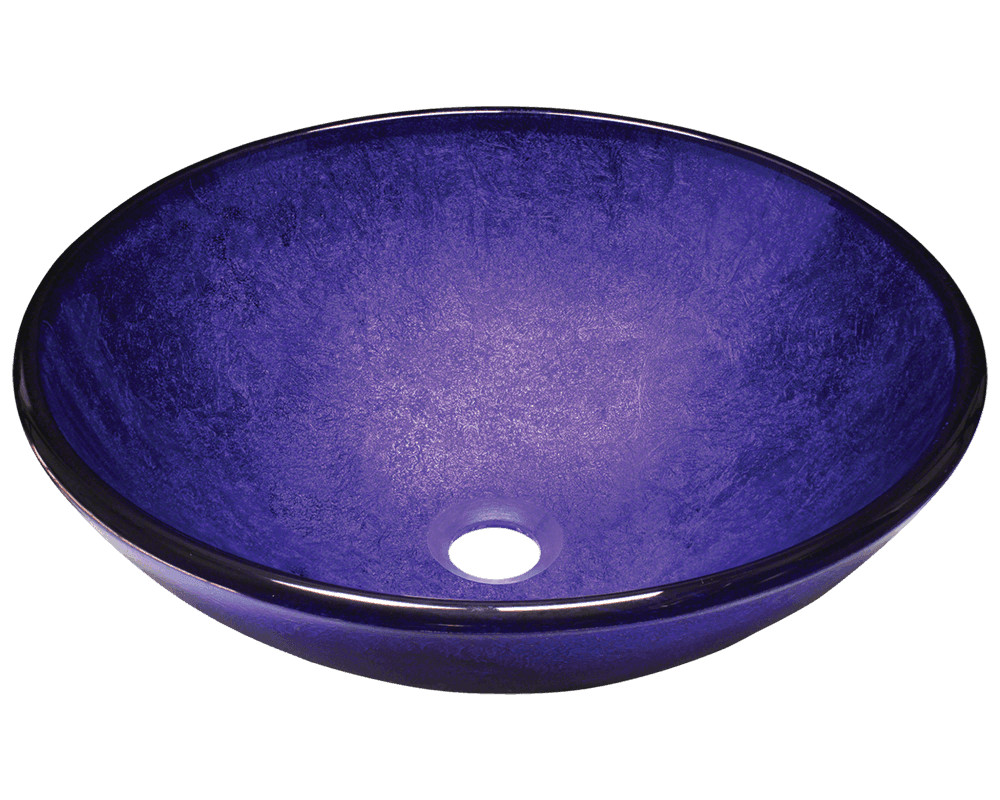
When it comes to choosing a glass vessel sink, the options are endless. You can find sinks in various shapes, sizes, colors, and designs, so it's important to choose one that fits your personal style and complements your bathroom's overall aesthetic. Consider the shape and size of your countertop, as well as the color and design of your bathroom, when selecting a sink. Choosing the Right Glass Vessel Sink for Your Bathroom
Here's a list of the tools and materials you will need for a successful glass vessel sink installation: Tools and Materials Needed for Installing a Glass Vessel Sink
Like any home renovation project, there are pros and cons to installing a glass vessel sink in your bathroom. Here are a few to consider: Pros: Pros and Cons of Installing a Glass Vessel Sink in Your Bathroom
Deciding whether to hire a professional or tackle the installation yourself ultimately depends on your level of experience and comfort with plumbing projects. If you have little to no experience, it's best to hire a professional to ensure a successful and safe installation. However, if you have some plumbing skills and feel confident in your abilities, installing a glass vessel sink yourself can save you money. Now that you have a better understanding of the process and considerations for installing a glass vessel sink in your bathroom, you can confidently embark on this stylish home renovation project. With careful planning and execution, you'll have a beautiful and functional addition to your bathroom in no time. Hiring a Professional vs. DIY: Bathroom Glass Vessel Sink Installation
Benefits of Installing a Bathroom Glass Vessel Sink

Enhances the Aesthetics of Your Bathroom
 When it comes to designing your bathroom, the sink is often seen as an afterthought. However, with the growing trend of glass vessel sinks, homeowners are now paying more attention to this important fixture. A glass vessel sink is not only functional but also adds a touch of elegance and modernity to any bathroom. Its sleek and transparent design creates an illusion of space, making the bathroom feel more open and spacious.
This unique feature will surely impress your guests and add value to your home.
Easy to Install and Maintain
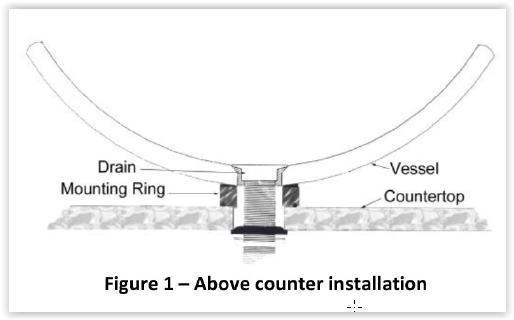 One of the main reasons why glass vessel sinks are becoming increasingly popular is because of their easy installation process. Unlike traditional undermount or drop-in sinks, glass vessel sinks sit on top of the countertop and do not require any complicated plumbing work. This makes it a great choice for DIY enthusiasts or those looking for a quick bathroom upgrade. Additionally,
maintaining a glass vessel sink is a breeze
as it only requires regular cleaning with a non-abrasive cleaner. The non-porous surface of the glass also makes it resistant to stains and bacteria, ensuring a clean and hygienic bathroom.
Versatility in Design
 Glass vessel sinks come in a variety of shapes, sizes, and colors, making it easy to find one that fits your personal style and complements your bathroom design. Whether you prefer a classic round shape or a more modern square design, there is a glass vessel sink for every taste.
You can also choose from frosted, clear, or colored glass to match your bathroom's color scheme and overall aesthetic.
This versatility in design makes glass vessel sinks a popular choice for those looking to add a unique touch to their bathroom.
Conclusion
 In conclusion, installing a glass vessel sink in your bathroom not only adds a touch of style and elegance but also has many practical benefits. Its easy installation process, low maintenance, and versatility in design make it a great choice for any homeowner.
So why settle for a boring traditional sink when you can elevate your bathroom's design with a stunning glass vessel sink?
Upgrade your bathroom today and enjoy the many benefits of this beautiful and functional fixture.


/bathroom-sink-523598998-5797c0dc5f9b58461f3d5c23.jpg)

