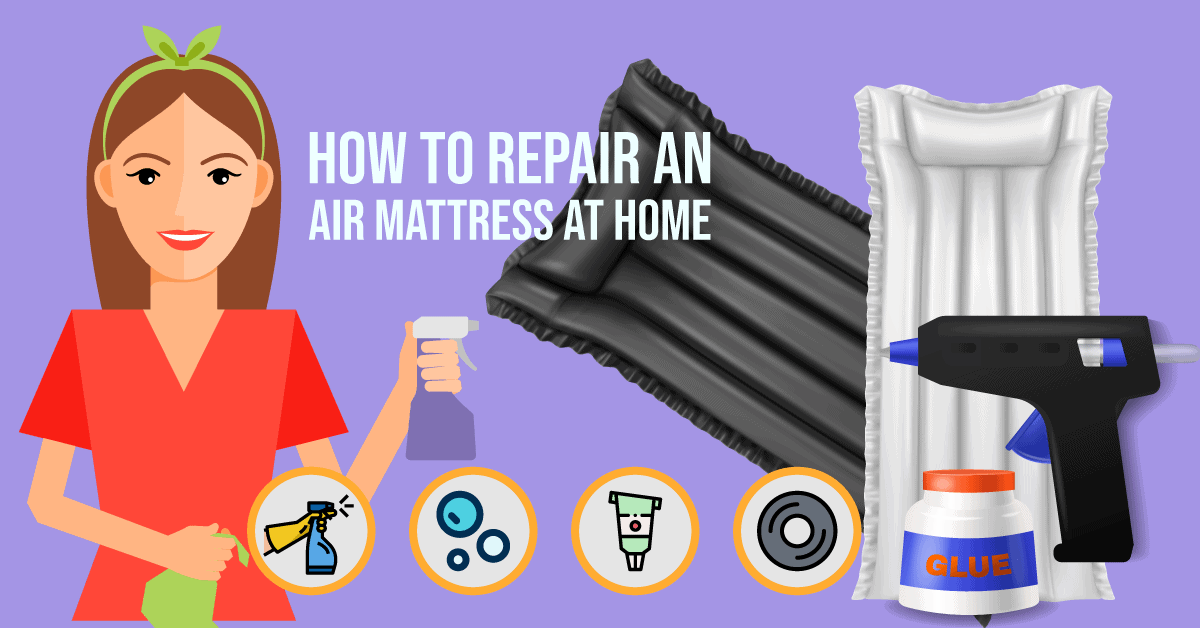
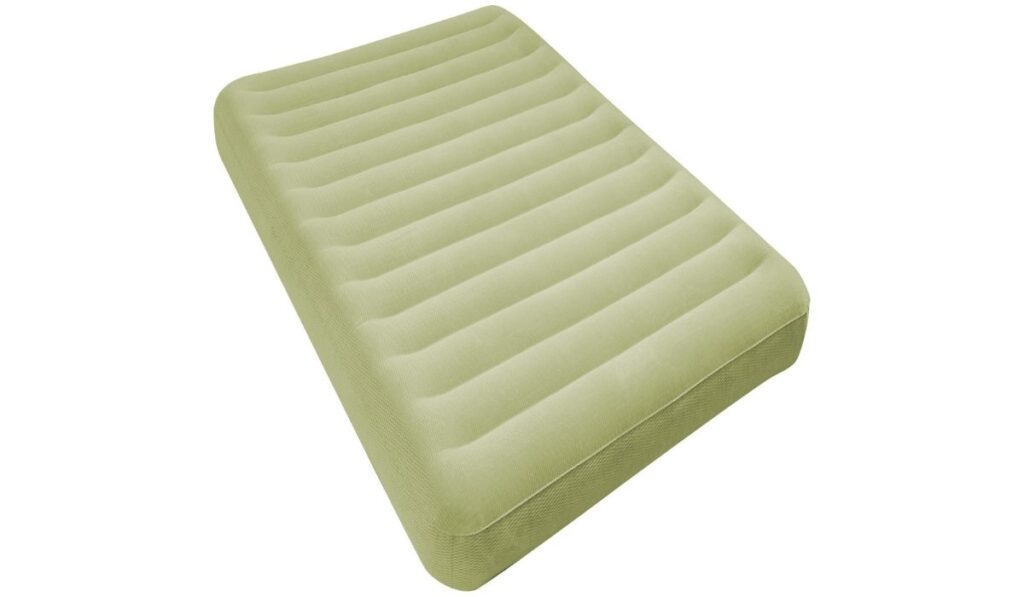
1. How to Patch an Air Mattress: 6 Steps (with Pictures) - wikiHow
Do you have an air mattress that is constantly deflating or has a hole in it? Don't worry, you don't have to throw it away and buy a new one. With a few simple steps, you can easily patch up your air mattress and have it ready for use in no time. Here's how:
Step 1: Identify the Leak
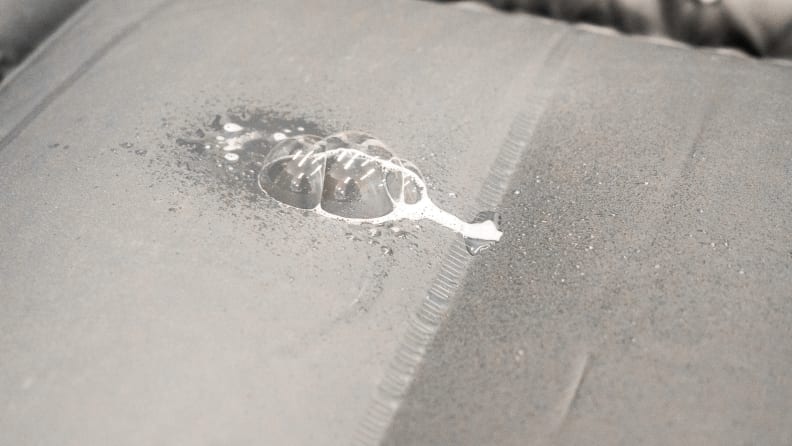
The first step in fixing your air mattress is to find the leak. Inflate the mattress and listen for any hissing sounds or feel for any air escaping. If the leak is not obvious, you can also use a mixture of dish soap and water to locate the leak. Apply the mixture to the mattress and look for bubbles forming, indicating the location of the leak.
Step 2: Gather Your Materials
To patch up your air mattress, you will need the following materials:
- Patch kit (usually included with the mattress)
- Sandpaper or a rough cloth
- Rubbing alcohol
- Scissors
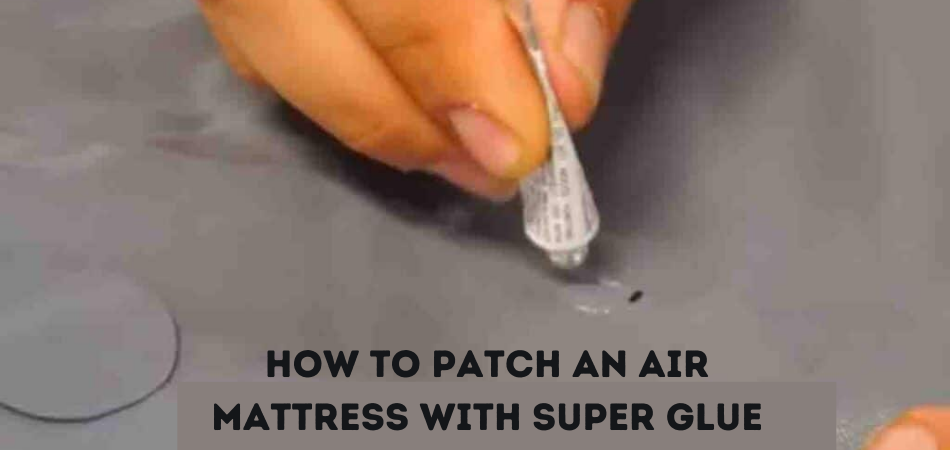
- Glue (if not included in the patch kit)
Step 3: Clean and Prep the Area
Before applying the patch, make sure to clean and prep the area where the leak is located. Use the rubbing alcohol to wipe down the area and remove any dirt or debris. Then, use the sandpaper or rough cloth to gently scuff the area where the patch will be applied. This will help the patch adhere better.
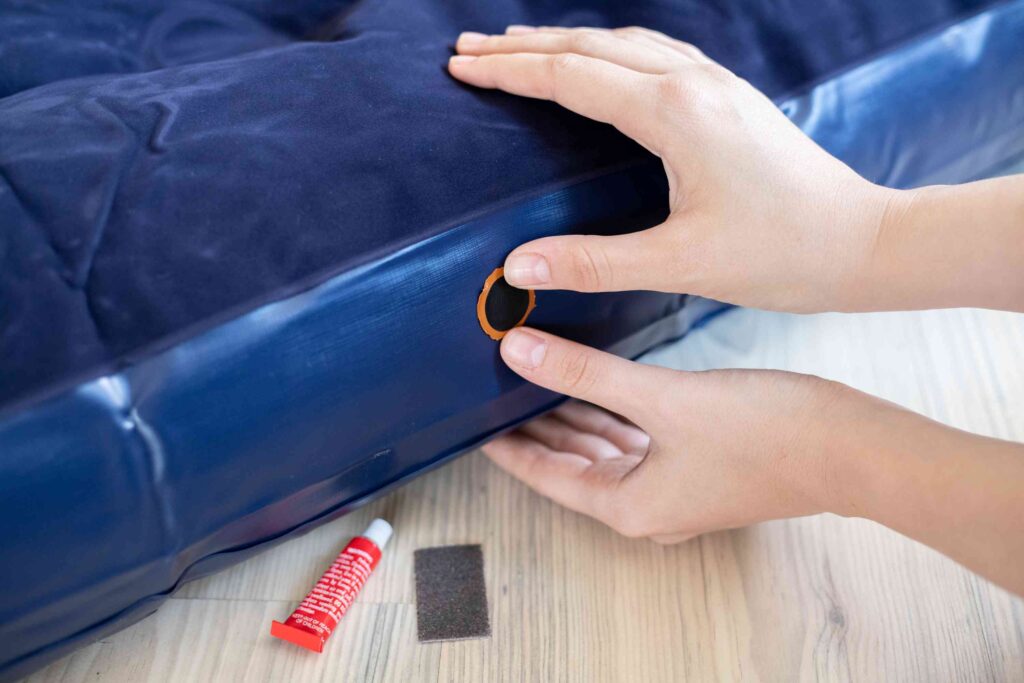
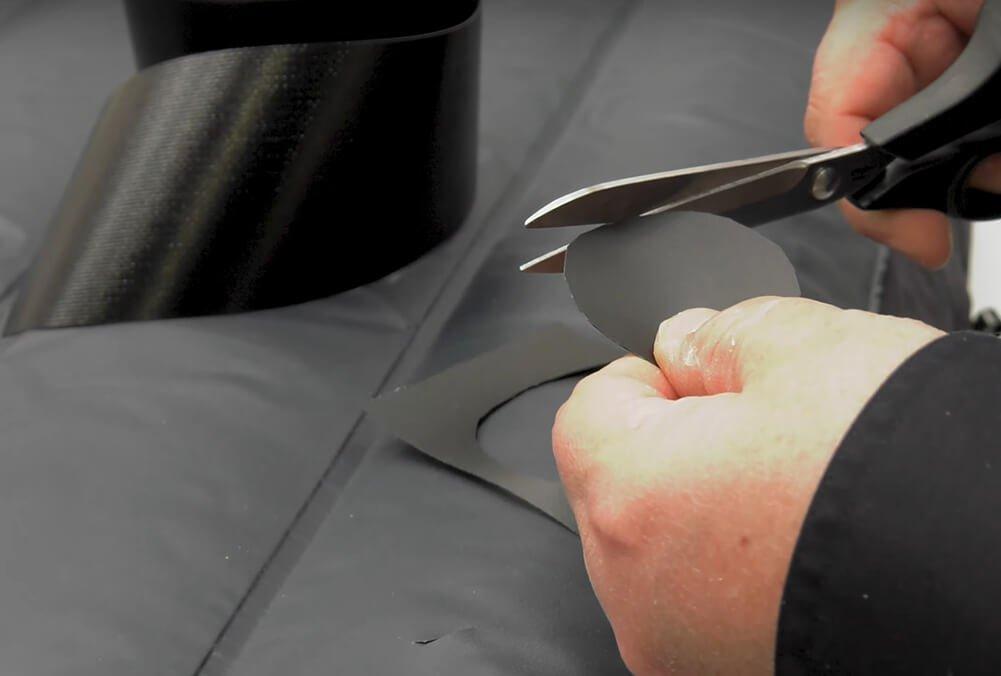
Step 4: Cut and Apply the Patch
Using the scissors, cut a patch from the patch kit that is slightly larger than the hole. Apply a thin layer of glue (if not already included in the patch kit) to the back of the patch and place it over the hole, pressing down firmly. Make sure there are no air bubbles trapped under the patch.
Step 5: Let it Dry
Allow the patch to dry for the recommended amount of time, usually around 24 hours. This will ensure that the patch has fully adhered to the mattress and will not come off easily.
Step 6: Test it Out
Once the patch is completely dry, inflate the mattress and check for any leaks. If there are no more leaks, your air mattress is ready to use again!


1. How to Patch an Air Mattress: 6 Steps (with Pictures) - wikiHow


2. How to Fix a Leak in an Air Mattress - YouTube
If you prefer a visual guide, you can also check out YouTube tutorials on how to fix a leak in an air mattress. There are plenty of videos available that can guide you through the process step by step.
Pro Tip: Use a Permanent Marker
If you have trouble finding the leak or if the leak is very small, you can use a permanent marker to mark the area where you suspect the leak might be. This will make it easier to locate the leak once the mattress is deflated.


2. How to Fix a Leak in an Air Mattress - YouTube


3. 5 Easy Steps to Fix a Leaky Air Mattress - Overstock.com
If you're in a rush and need a quick fix for your air mattress, here are 5 easy steps to fix a leaky air mattress:
Step 1: Clean and Dry the Area
Make sure the area around the leak is clean and dry before beginning the repair process.
Step 2: Use Duct Tape
Cut a small piece of duct tape and place it over the hole, making sure to cover the entire area. Press down firmly to ensure it sticks.
Step 3: Let it Dry
Allow the duct tape to dry for a few hours before using the air mattress again.
Step 4: Reinforce with More Tape
If the leak is still present, you can reinforce the patch with more duct tape, or even use a piece of plastic to cover the hole and secure it with duct tape.
Step 5: Test it Out
Inflate the mattress and check for any leaks. If there are no leaks, your temporary fix was successful and you can use the mattress as needed.


3. 5 Easy Steps to Fix a Leaky Air Mattress - Overstock.com


4. How to Fix a Hole in an Air Mattress - Sleep Advisor
If the hole in your air mattress is larger or more difficult to patch, you may need to use a different method to fix it. Here's how:
Step 1: Gather Your Materials
In addition to the materials listed in Step 2, you will also need a piece of fabric that is slightly larger than the hole in your air mattress.
Step 2: Cut and Prep the Fabric
Cut the fabric to fit the size of the hole and use the sandpaper or rough cloth to scuff the back of the fabric. Apply a thin layer of glue to the back of the fabric.
Step 3: Apply the Fabric
Place the fabric over the hole and press down firmly to ensure it sticks.
Step 4: Let it Dry
Allow the fabric to dry for the recommended amount of time before using the air mattress again.
Step 5: Test it Out
Inflate the mattress and check for any leaks. If there are no more leaks, your air mattress is good to go!


4. How to Fix a Hole in an Air Mattress - Sleep Advisor


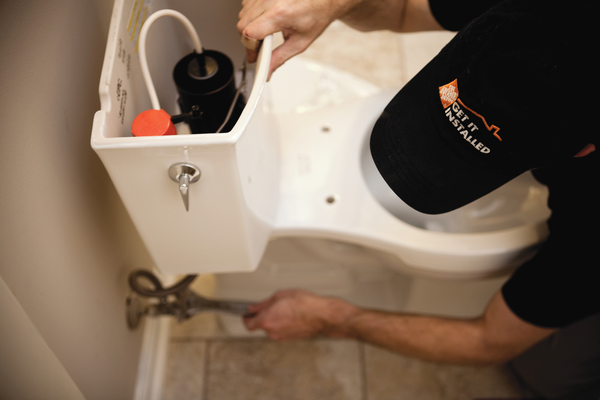
5. How to Repair an Air Mattress - The Home Depot
If you don't have a patch kit or duct tape on hand, you can also use a bicycle tire repair kit to fix a hole in your air mattress. Here's how:
Step 1: Clean and Dry the Area
As always, make sure the area around the leak is clean and dry before beginning the repair process.
Step 2: Cut the Patch
Using the rubber patch and glue from the bicycle tire repair kit, cut a patch that will cover the entire hole.
Step 3: Apply the Patch
Apply a thin layer of glue to the patch and place it over the hole, pressing down firmly.
Step 4: Let it Dry
Allow the patch to dry for the recommended amount of time before using the air mattress again.
Step 5: Test it Out
Inflate the mattress and check for any leaks. If there are no more leaks, your air mattress is good as new!


5. How to Repair an Air Mattress - The Home Depot


6. How to Fix a Leak in an Air Mattress - The Spruce
If you're in a pinch and don't have any patch kits or materials on hand, you can also use household items to temporarily fix a leak in your air mattress. Here's how:
Step 1: Identify the Leak
Using the methods mentioned in Step 1 of the first heading, locate the leak in your air mattress.
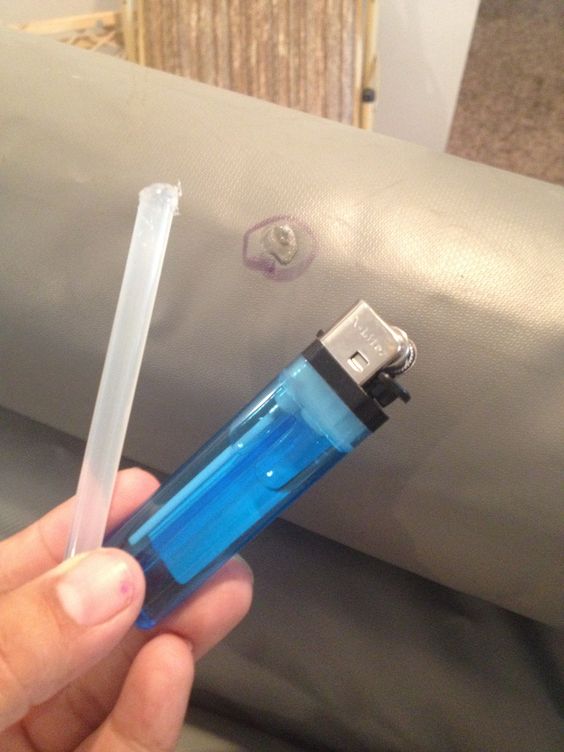
Step 2: Use a Hot Glue Gun
If the leak is small and easy to reach, you can use a hot glue gun to seal the hole. Simply apply a small amount of hot glue over the hole and let it dry completely before using the air mattress.
Step 3: Use a Sock as a Patch
If the hole is larger, you can use a sock as a temporary patch. Cut off the toe of the sock and place it over the hole, securing it with a rubber band or duct tape.
Step 4: Test it Out
Inflate the mattress and check for any leaks. If there are no leaks, your temporary fix was successful and you can use the mattress as needed.


6. How to Fix a Leak in an Air Mattress - The Spruce

7. How to Patch an Air Mattress - REI Co-op
If you're an outdoor enthusiast and often use your air mattress while camping or hiking, you may want to invest in a repair kit specifically designed for air mattresses. These kits are compact and easy to bring with you on your adventures. Here's how to use it:
Step 1: Identify the Leak
Again, use the methods mentioned in Step 1 of the first heading to locate the leak in your air mattress.
Step 2: Cut and Prep the Patch
Using the materials included in the repair kit, cut a patch that is slightly larger than the hole and prep it according to the instructions.
Step 3: Apply the Patch
Place the patch over the hole and press down firmly, making sure there are no air bubbles trapped underneath.
Step 4: Let it Dry
Allow the patch to dry for the recommended amount of time before using the air mattress again.
Step 5: Test it Out
Inflate the mattress and check for any leaks. If there are no leaks, your air mattress is good to go!


7. How to Patch an Air Mattress - REI Co-op


8. How to Fix a Hole in an Air Mattress - The Sleep Judge
If your air mattress has multiple holes or a large tear, you may need to use a more heavy-duty repair method. Here's how to fix a hole in an air mattress using a vinyl repair kit:
Step 1: Clean and Dry the Area
As always, make sure the area around the leak is clean and dry before beginning the repair process.
Step 2: Cut and Prep the Patch
Using the materials included in the vinyl repair kit, cut a patch that is slightly larger than the hole and prep it according to the instructions.
Step 3: Apply the Patch
Place the patch over the hole and press down firmly, making sure there are no air bubbles trapped underneath.
Step 4: Let it Dry
Allow the patch to dry for the recommended amount of time before using the air mattress again.
Step 5: Test it Out
Inflate the mattress and check for any leaks. If there are no leaks, your air mattress is good to go!

8. How to Fix a Hole in an Air Mattress - The Sleep Judge


9. How to Repair an Air Mattress with Duct Tape - The Sleep Judge
If you don't have a patch kit or vinyl repair kit on hand, you can also use duct tape to fix a hole in your air mattress. Here's how:
Step 1: Clean and Dry the Area
As always, make sure the area around the leak is clean and dry before beginning the repair process.
Step 2: Cut a Piece of Duct Tape
Cut a piece of duct tape that is slightly larger than the hole.
Step 3: Apply the Duct Tape
Place the duct tape over the hole, making sure to cover the entire area. Press down firmly to ensure it sticks.
Step 4: Let it Dry
Allow the duct tape to dry for a few hours before using the air mattress again.
Step 5: Test it Out
Inflate the mattress and check for any leaks. If there are no leaks, your temporary fix was successful and you can use the mattress as needed.


9. How to Repair an Air Mattress with Duct Tape - The Sleep Judge


10. How to Fix a Leak in an Air Mattress - The Sleep Judge
If all else fails and the leak in your air mattress is still present, it may be time to invest in a new one. However, to prolong the life of your mattress, make sure to follow the manufacturer's instructions for proper use and maintenance. This will help prevent the need for any future temporary fixes or repairs.
With these 10 methods for fixing a leaking air mattress, you can easily extend the life of your mattress and save yourself from purchasing a new one. Just remember to always follow the proper steps and use the recommended materials for the best results. Happy repairing!


10. How to Fix a Leak in an Air Mattress - The Sleep Judge


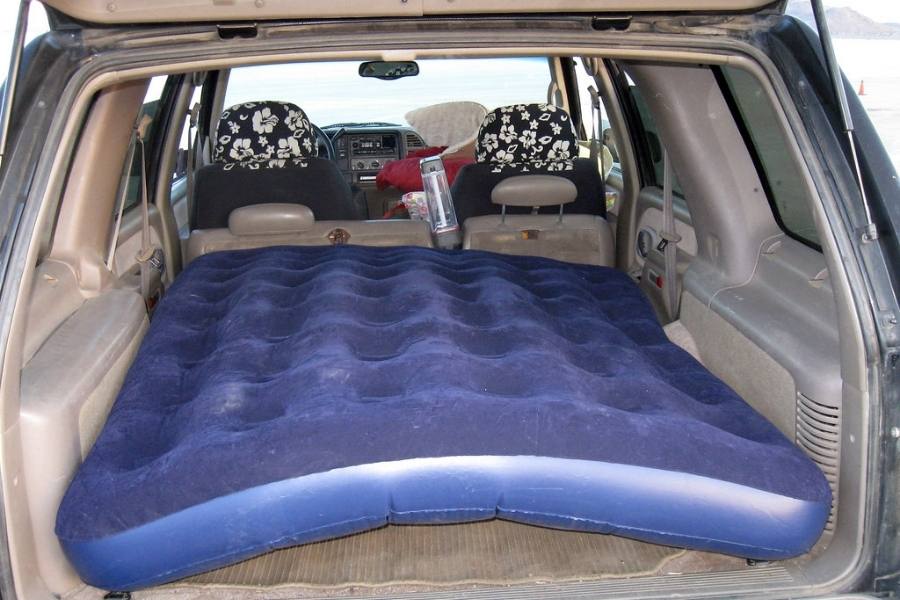
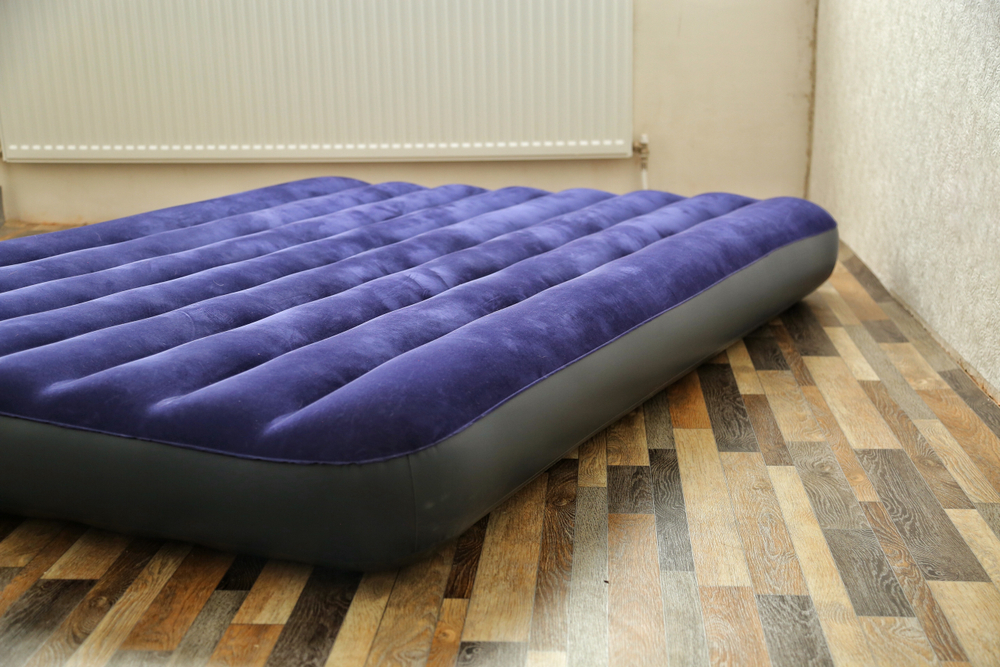
Why an Air Mattress is a Temporary Fix for Your House Design Needs
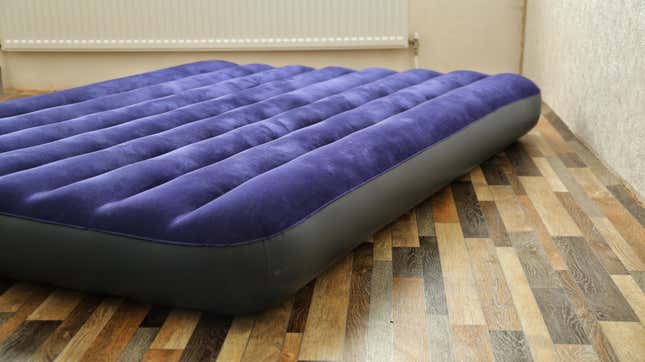
When it comes to designing your home, there are many factors to consider. From furniture to color schemes, every decision plays a role in creating a welcoming and comfortable living space. However, what happens when unexpected guests show up and you don't have enough beds for everyone? This is where an air mattress can come in as a temporary fix for your house design needs. Not only does it provide a quick solution for accommodating guests, but it can also serve as a versatile piece of furniture for various situations.
The Versatility of an Air Mattress

One of the biggest benefits of using an air mattress as a temporary fix for your house design is its versatility. Unlike traditional mattresses, an air mattress can easily be inflated and deflated, making it easy to store away when not in use. This means you can use it in any room of your house, whether it's the living room, office, or even outdoors for a camping trip. With its lightweight and compact design, an air mattress can be easily moved and placed wherever needed.
Comfort and Support

While an air mattress may not be a permanent solution for your house design, it can still provide a comfortable and supportive sleeping surface for your guests. Most air mattresses come with adjustable air pressure settings, allowing your guests to adjust the firmness level to their liking. This can be especially beneficial for those with back or joint pain, as they can customize the support they need for a good night's rest.
Cost-Effective Solution
Another advantage of using an air mattress as a temporary fix for your house design is its affordability. Compared to purchasing a new bed or even a pull-out sofa, an air mattress is a much more cost-effective solution. This can be particularly useful for those who don't have a designated guest room and only need a bed for occasional use. Plus, with proper care and maintenance, an air mattress can last for years.
In conclusion, while an air mattress may not be the most glamorous piece of furniture, it can serve as a temporary fix for your house design needs. Its versatility, comfort, and cost-effectiveness make it a practical solution for accommodating guests or even for your own use. So, the next time unexpected visitors show up, you don't have to stress about where to fit them in. Simply pull out your trusty air mattress and provide them with a comfortable place to rest.


:max_bytes(150000):strip_icc()/SleeponLatex-b287d38f89374e4685ab0522b2fe1929.jpeg)


:strip_icc()/bhg-white-living-room-fireplace-windows-8R6A8763HDREdit-ef59923c29c44846be6acd0becc03492.jpg)
