DIY Vent Hood Cover Ideas are a fantastic way to upgrade your kitchen on a budget—whether you're hiding an ugly builder-grade range hood, covering a microwave vent combo, or building a custom wooden canopy for a more polished, high-end look. These projects can save hundreds (or thousands) compared to buying pre-made hoods, and they're customizable for farmhouse, modern, or any style.
Common types include:
- Wooden framed covers (most popular for a custom feel)
- Slipcover-style (removable, slim for tight spaces)
- Painted or sheet metal refreshes (quick and cheap)
- Molding-wrapped for added trim detail
Here are some inspiring, doable DIY options with tips drawn from popular tutorials and builds.

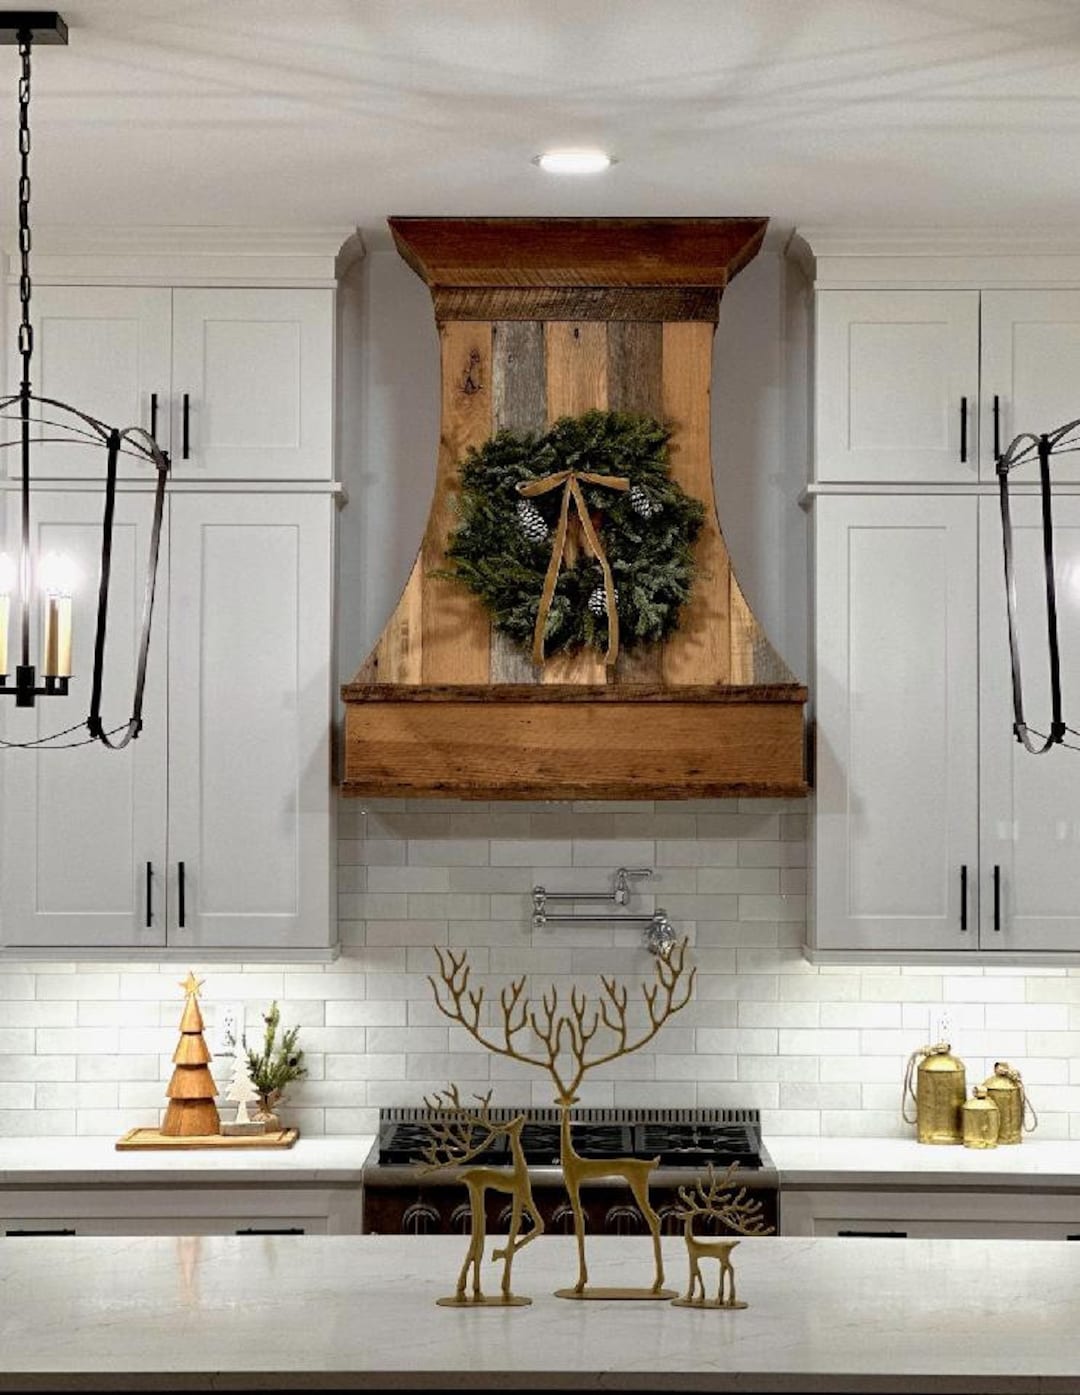
1. Custom Wooden Range Hood Cover (Full Build)
This is the classic upgrade: Build a boxy or tapered wooden shell around your existing vent insert (ducted or recirculating) for that farmhouse or modern kitchen centerpiece.
Steps overview (from sources like Woodshop Diaries and Lowe's guides):
- Measure your range hood insert and ceiling height (aim for 30-36" above the cooktop).
- Build a sturdy frame using 2x4s or 2x2s (create rectangles for top/bottom, connect with verticals).
- Cover sides/top with plywood or MDF (1/4" for curves if needed).
- Add trim like crown molding, base cap, or corbels for detail.
- Prime, paint/stain (white for bright kitchens, wood tone for warmth), and install over the insert.
- Secure to wall studs and caulk seams.
Tools: Miter saw, drill, brad nailer, pocket hole jig. Materials: Lumber, plywood, trim (~$100-300 depending on size). Great for beginners with basic woodworking.
2. Slim Slipcover Range Hood (For Tight Spaces)
If cabinets are close or space is limited, make a removable "slipcover" that slides over your existing hood without permanent changes—ideal for renters or small kitchens.
From Hartley Home Design's $40 build:
- Frame lightweight rectangles (top/bottom) from thin wood strips.
- Cover with thin plywood or thin paneling.
- Cut openings for controls/filters.
- Paint to match cabinets, add trim if desired.
- Make it slide-on for easy removal.
Super slim (under 2" added depth) and budget-friendly—perfect quick fix.
3. Molding-Wrapped or Trimmed Cover
Wrap an existing hood (or new insert) with decorative molding for instant elegance.
Steps (from Angela Marie Made):
- Build or use existing frame.
- Apply base cap molding, lattice, or 1x4 trim around edges.
- Add fluted details or corbels.
- Caulk, paint (often white or black for contrast).
This adds character without full rebuild—great for modern or traditional kitchens.
4. Quick Refresh Ideas (No Major Build)
- Paint it: Spray or brush your hood in matte black, white, or bold color—refresh in hours.
- Sheet metal wrap: Cover with galvanized metal sheets for industrial look (cut, bend, screw on).
- Inset/drywall hide: If space allows, recess the hood into wall and drywall around for seamless "disappearing" effect.
Tips for Success
- Safety first: Ensure good ventilation (ducted preferred), keep clearance from cooktop (30-36"), and follow electrical codes.
- Tools/Materials: Basic woodworking set—miter saw, brad nailer, screws/nails, paintable caulk.
- Budget: $50-400; cheaper for slipcovers/refresh, more for full wood builds.
- Inspo Sources: Check Pinterest boards for "DIY range hood cover" (tons of visuals), YouTube tutorials (Woodshop Diaries, Lowe's), or Reddit r/DIY for real builds.
These DIYs can dramatically elevate your kitchen—turning a plain vent into a stylish focal point! What style are you going for (farmhouse wood, modern slim, or quick refresh)? Need more details on a specific method, materials list, or troubleshooting? Let me know!