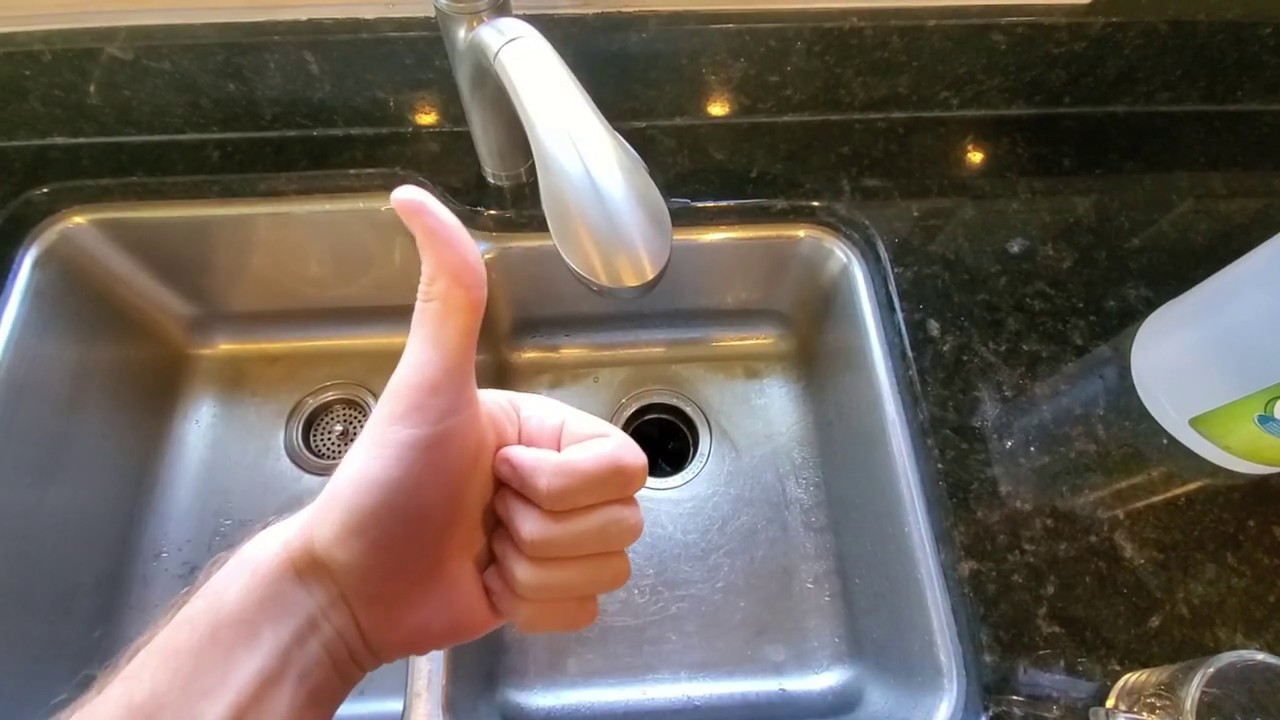
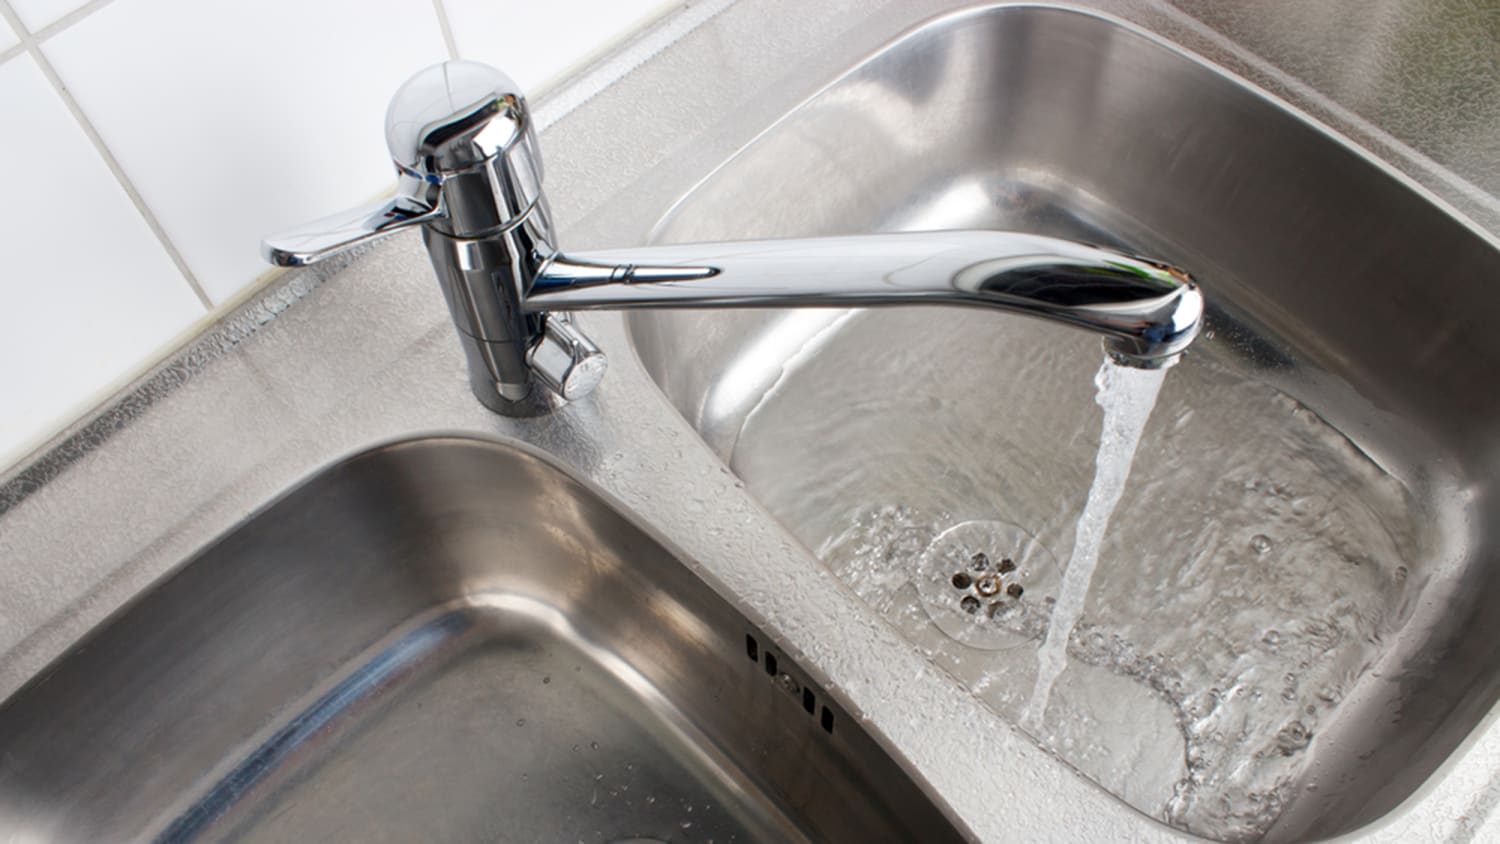
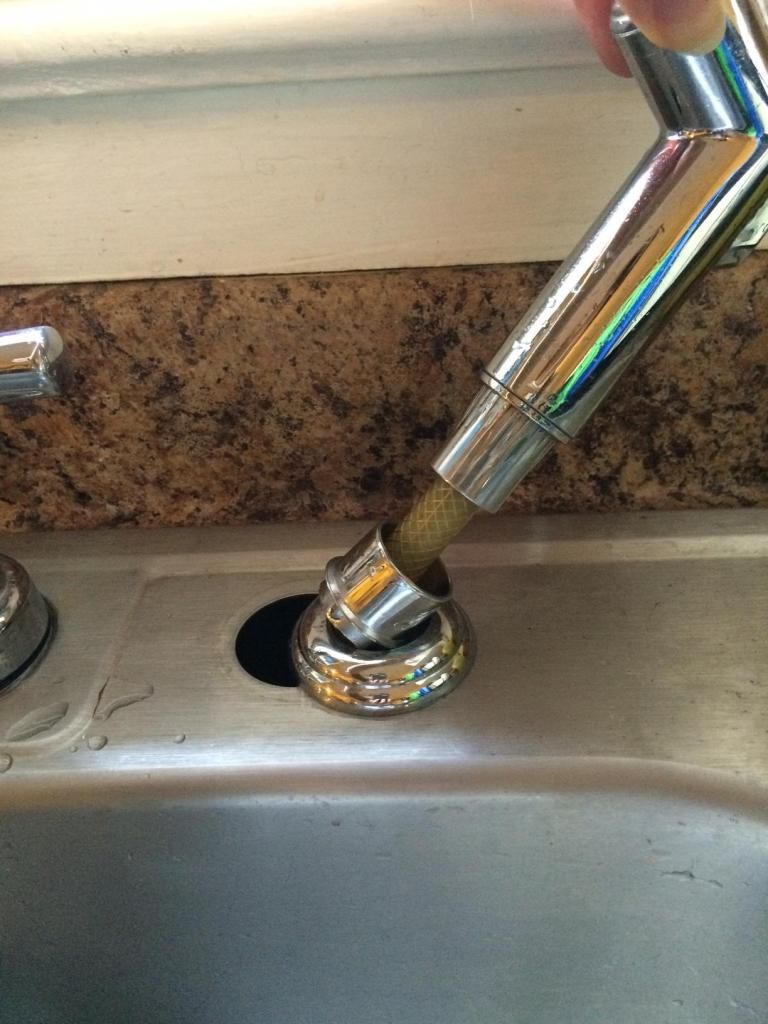
If your kitchen sink is constantly dripping, it’s not only annoying but it can also lead to a higher water bill and potential water damage. Here’s how to fix a leaky kitchen sink: Step 1: Turn off the water supply to the sink by twisting the shut-off valves under the sink in a clockwise direction. Step 2: Place a bucket or container under the sink to catch any water that may drip out. Step 3: Use a wrench to loosen the nuts that hold the faucet in place. Once the nuts are loose, pull the faucet out from the top of the sink. Step 4: Inspect the O-ring and washer inside the faucet for any damage or wear and tear. If they appear to be damaged, replace them with new ones. Step 5: Clean the area around the faucet and the sink with a cloth and then reattach the faucet, making sure it is secure and not wobbly. Step 6: Turn the water supply back on and test the faucet to ensure that it is no longer leaking. If it is still leaking, you may need to call a plumber for further assistance.1. How to Fix a Leaky Kitchen Sink


How to Fix a Leaky Kitchen Sink


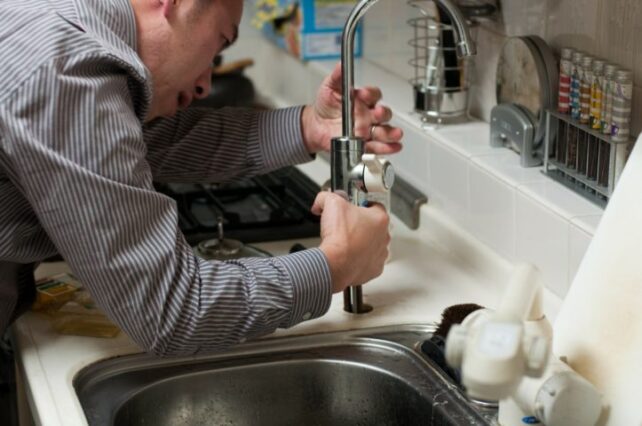
Having a clogged kitchen sink can be a major inconvenience, but it can be easily fixed with a few simple steps: Step 1: Start by using a plunger to try and loosen the clog. Fill the sink with enough water to cover the rubber part of the plunger and then place it over the drain. Pump the plunger up and down several times until the clog is dislodged. Step 2: If the plunger doesn’t work, try using a drain snake to remove the clog. Insert the snake into the drain and twist it to break up the clog. Once the clog is cleared, run hot water down the drain to flush out any remaining debris. Step 3: For stubborn clogs, you can try using a mixture of baking soda and vinegar. Pour half a cup of baking soda down the drain, followed by half a cup of vinegar. Let it sit for about 15 minutes before flushing it with hot water. Step 4: If all else fails, you may need to call a plumber to professionally remove the clog.2. How to Unclog a Kitchen Sink
/plumber-unclogging-kitchen-sink-169270382-5797a9355f9b58461f27f024.jpg)


How to Unclog a Kitchen Sink

/how-to-unclog-a-kitchen-sink-2718799_sketch_FINAL-8c5caa805a69493ab22dfb537c72a1b7.png)


Installing a kitchen sink may seem like a daunting task, but with the right tools and instructions, it can be done in a few easy steps: Step 1: Start by measuring the opening for the sink in your countertop. Make sure to leave enough space for the sink to fit comfortably. Step 2: Place the sink upside down on the countertop and trace the outline of the sink onto the countertop. Step 3: Use a jigsaw to cut along the traced outline, creating a hole for the sink. Step 4: Apply a thin layer of silicone caulk around the edge of the sink and then carefully lower it into place. Step 5: Secure the sink in place by tightening the clips or brackets under the sink. Step 6: Connect the drain and water supply lines to the sink and check for any leaks. Step 7: Apply a bead of silicone caulk around the edge of the sink to create a watertight seal. Step 8: Wipe away any excess caulk and let it dry for 24 hours before using the sink.3. How to Install a Kitchen Sink


How to Install a Kitchen Sink


If your kitchen sink is old, damaged, or you simply want to upgrade to a new one, here’s how to replace it: Step 1: Start by turning off the water supply to the sink by twisting the shut-off valves under the sink in a clockwise direction. Step 2: Place a bucket or container under the sink to catch any water that may drip out. Step 3: Use a wrench to loosen the nuts that hold the faucet and drain in place. Once the nuts are loose, remove the faucet and drain from the sink. Step 4: Loosen the clips or brackets that hold the sink in place and then carefully lift the sink out of the countertop. Step 5: Follow the steps in the “How to Install a Kitchen Sink” section to install your new sink.4. How to Replace a Kitchen Sink


How to Replace a Kitchen Sink


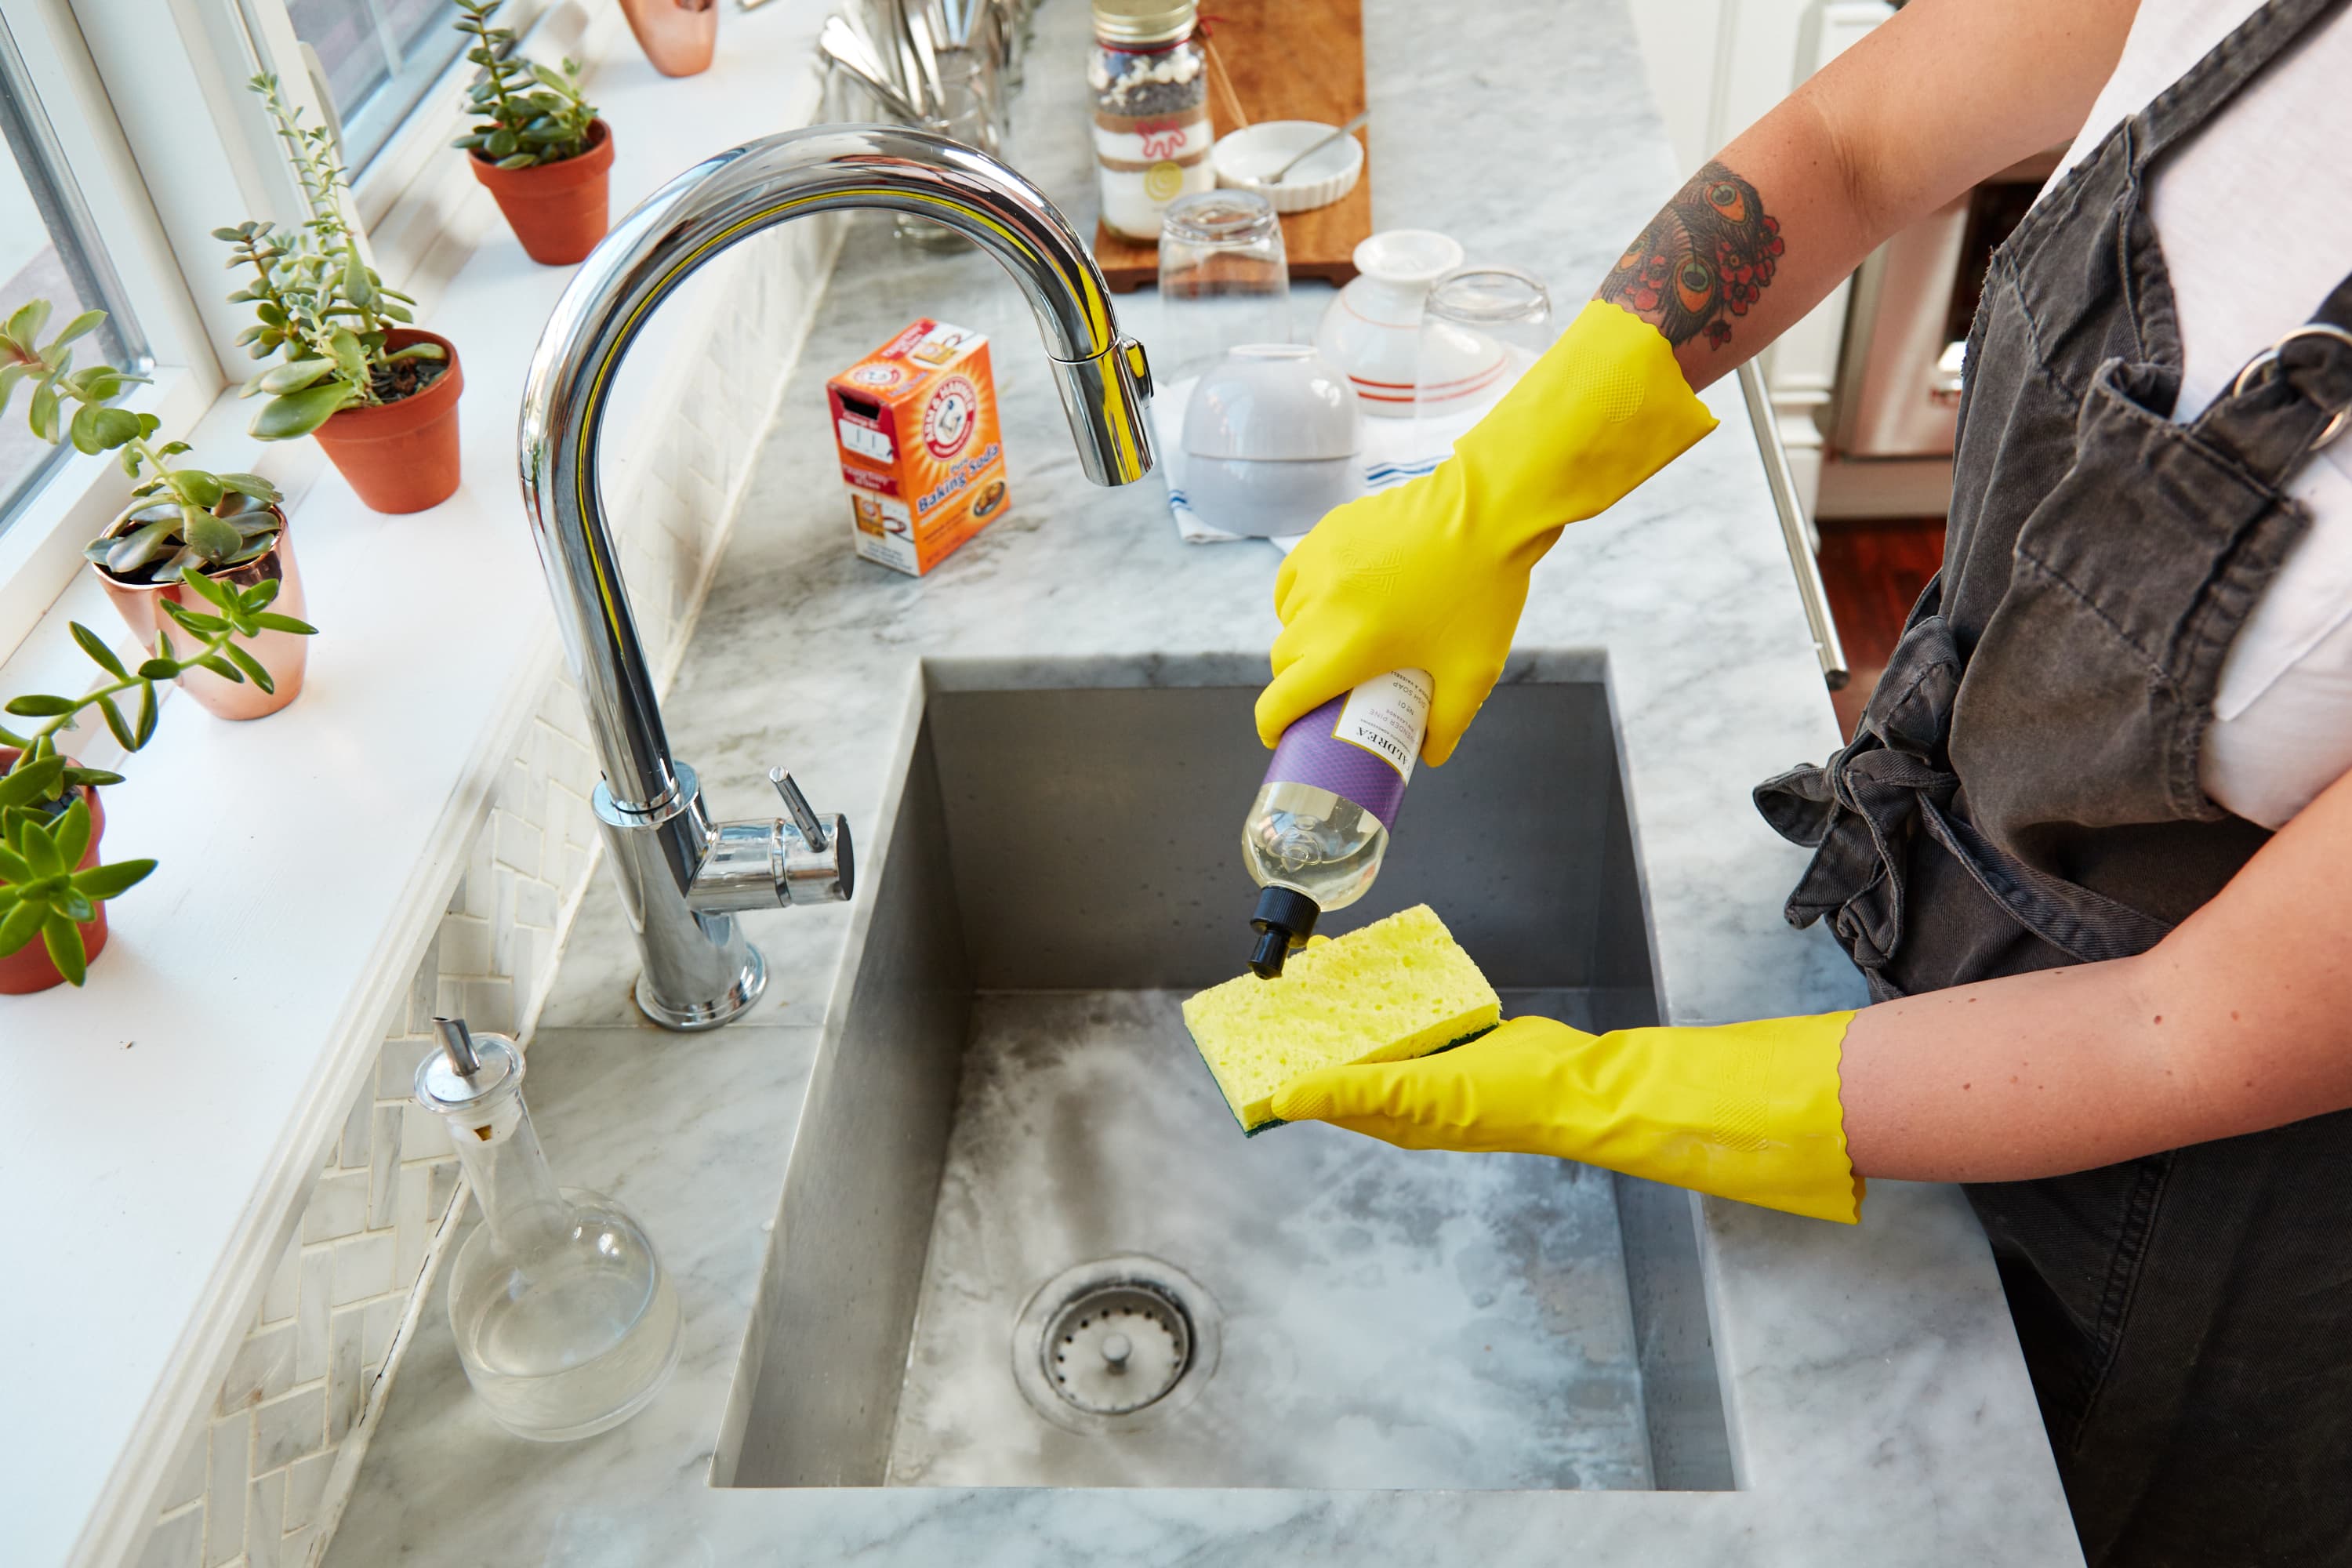
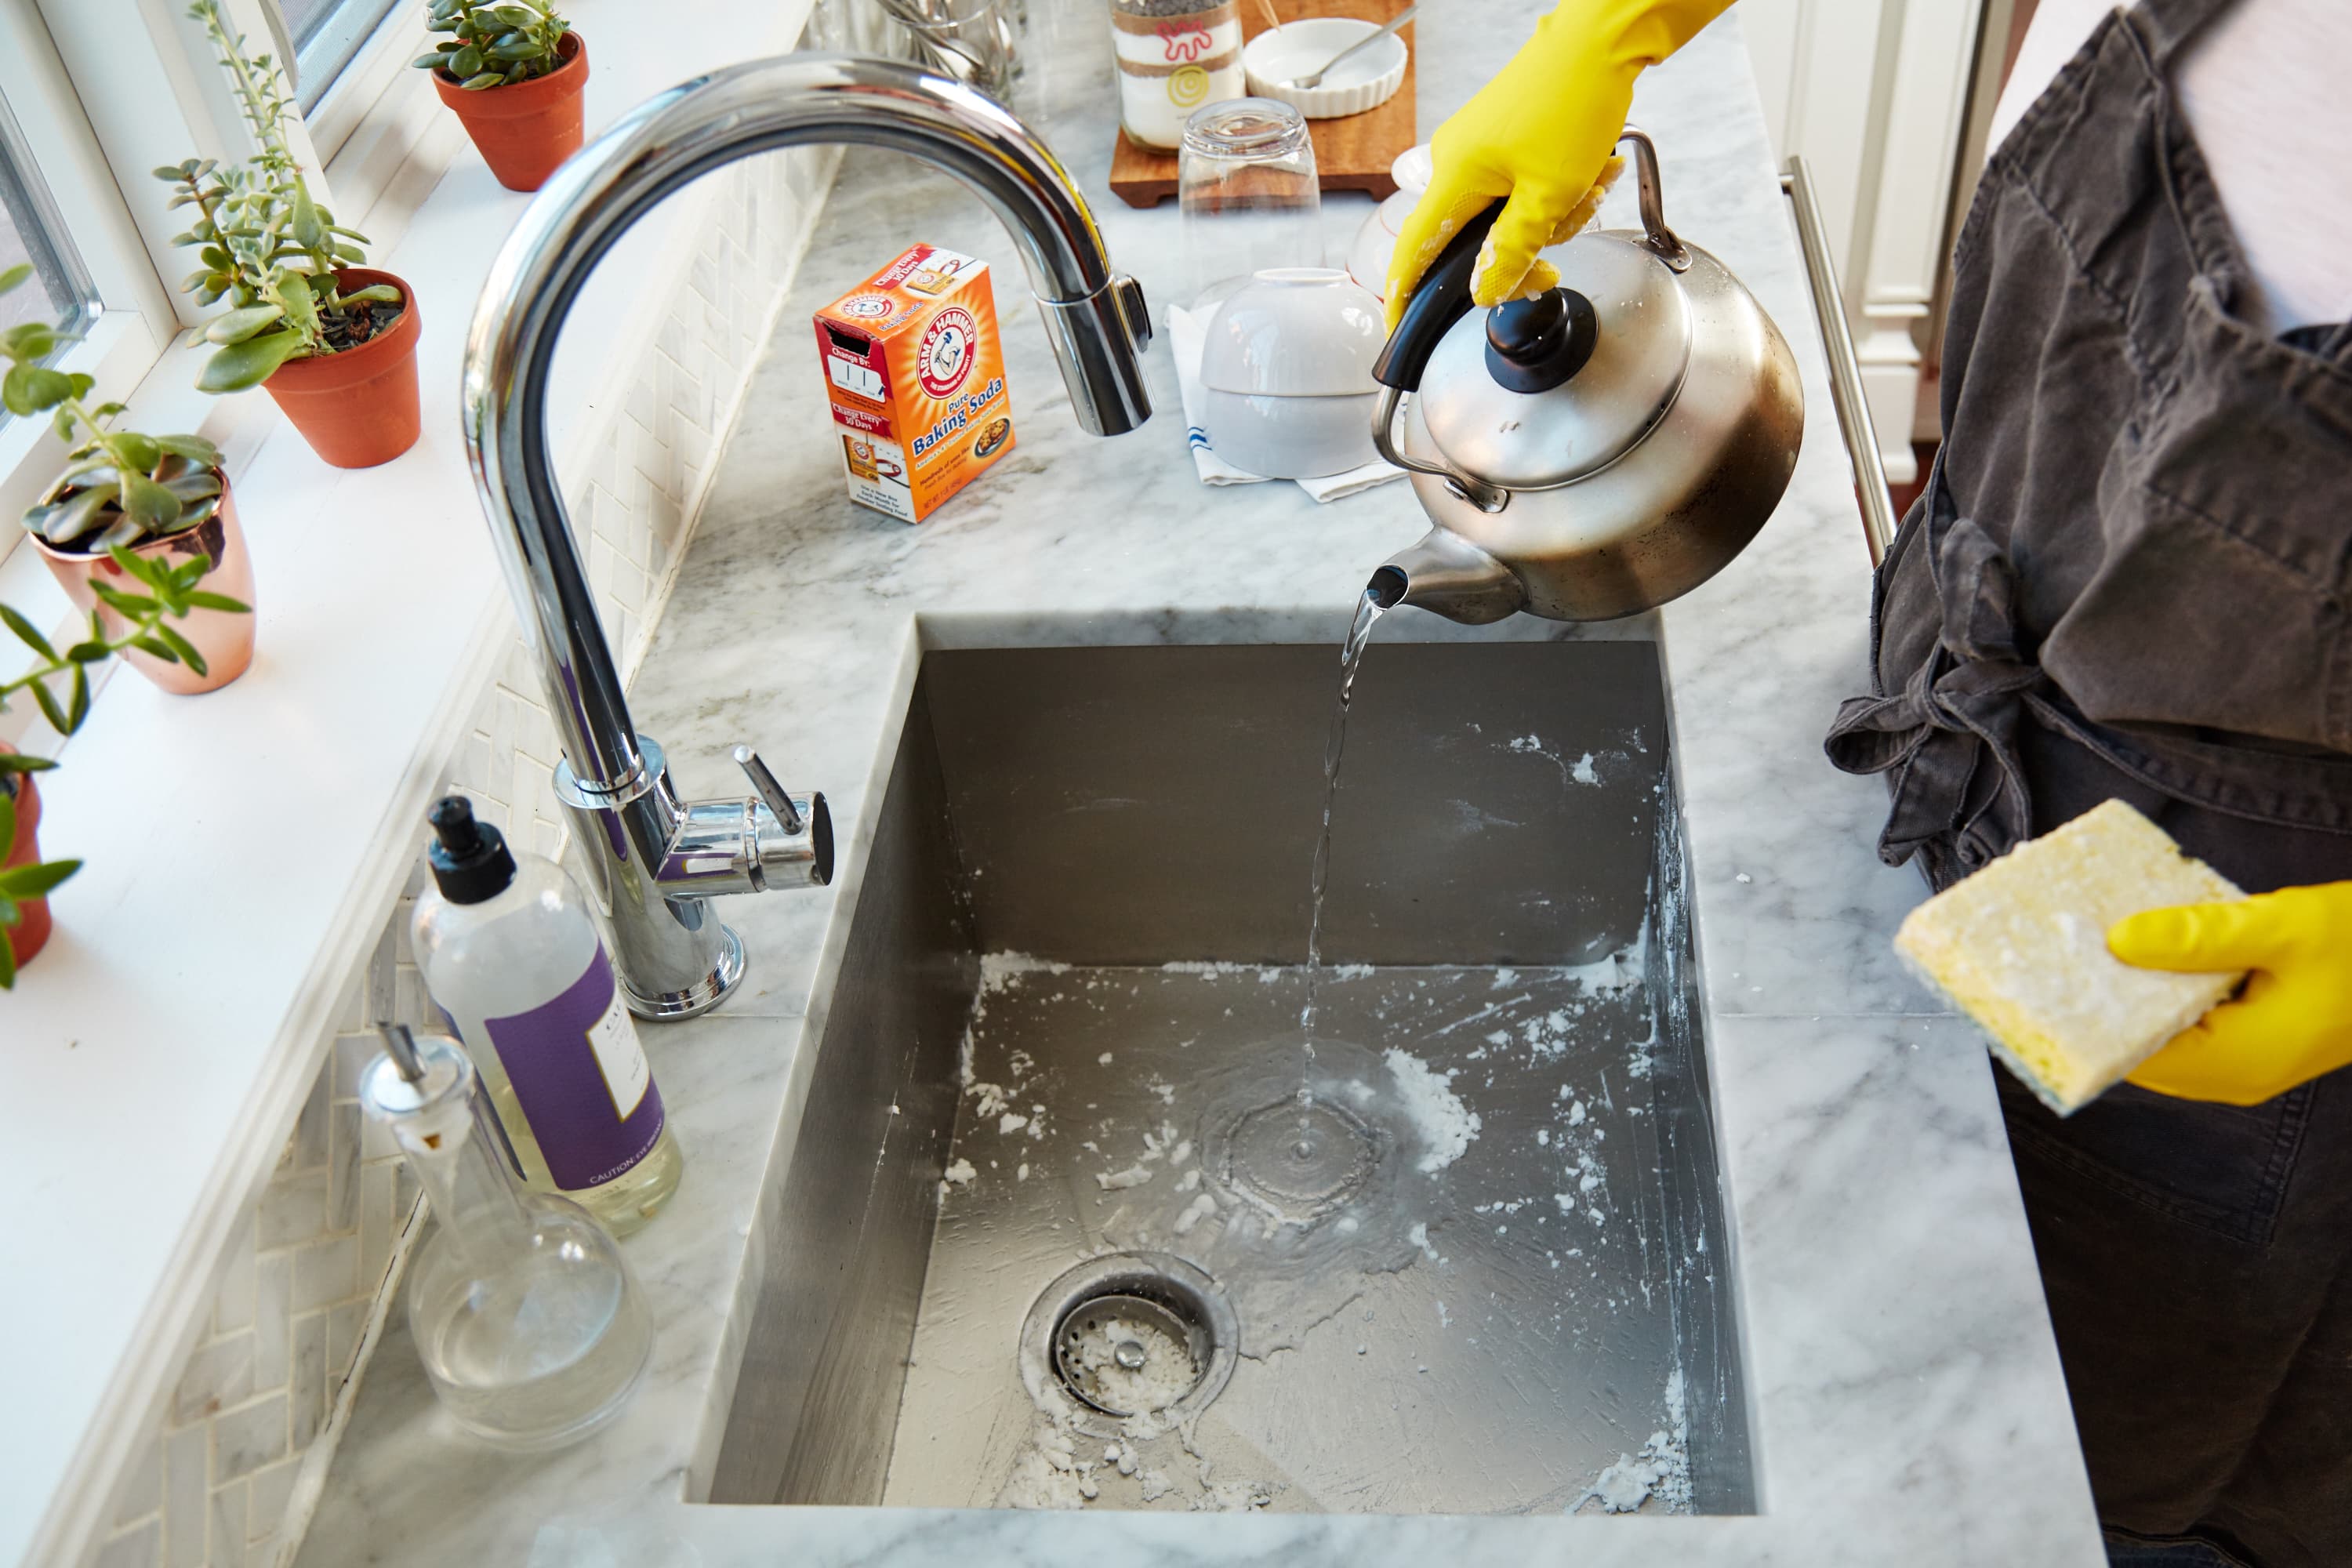
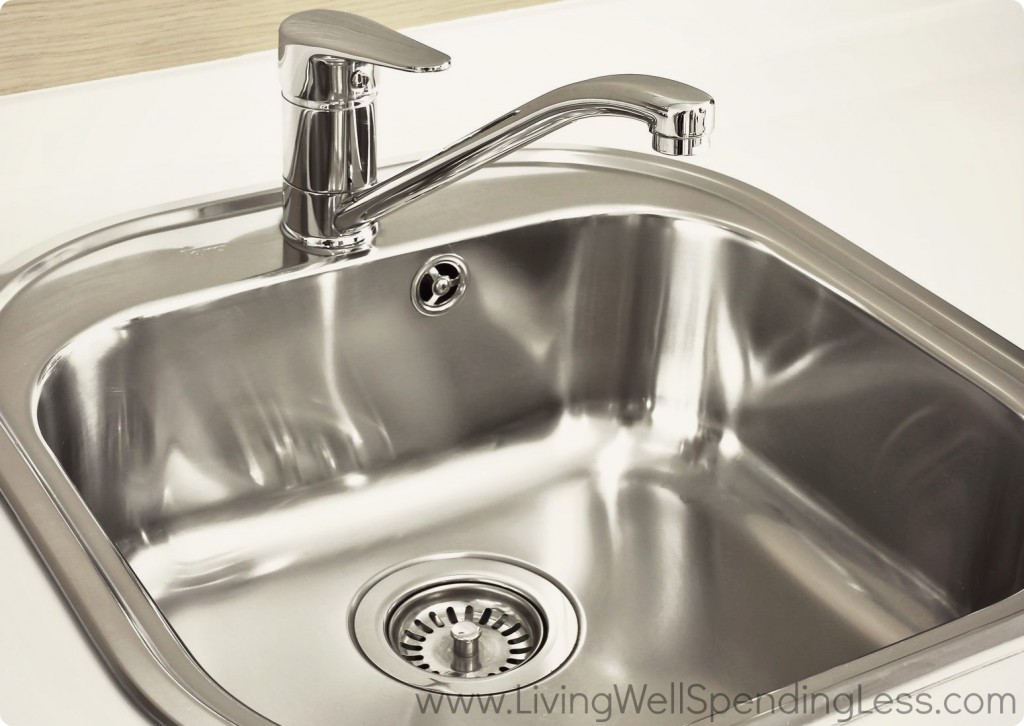
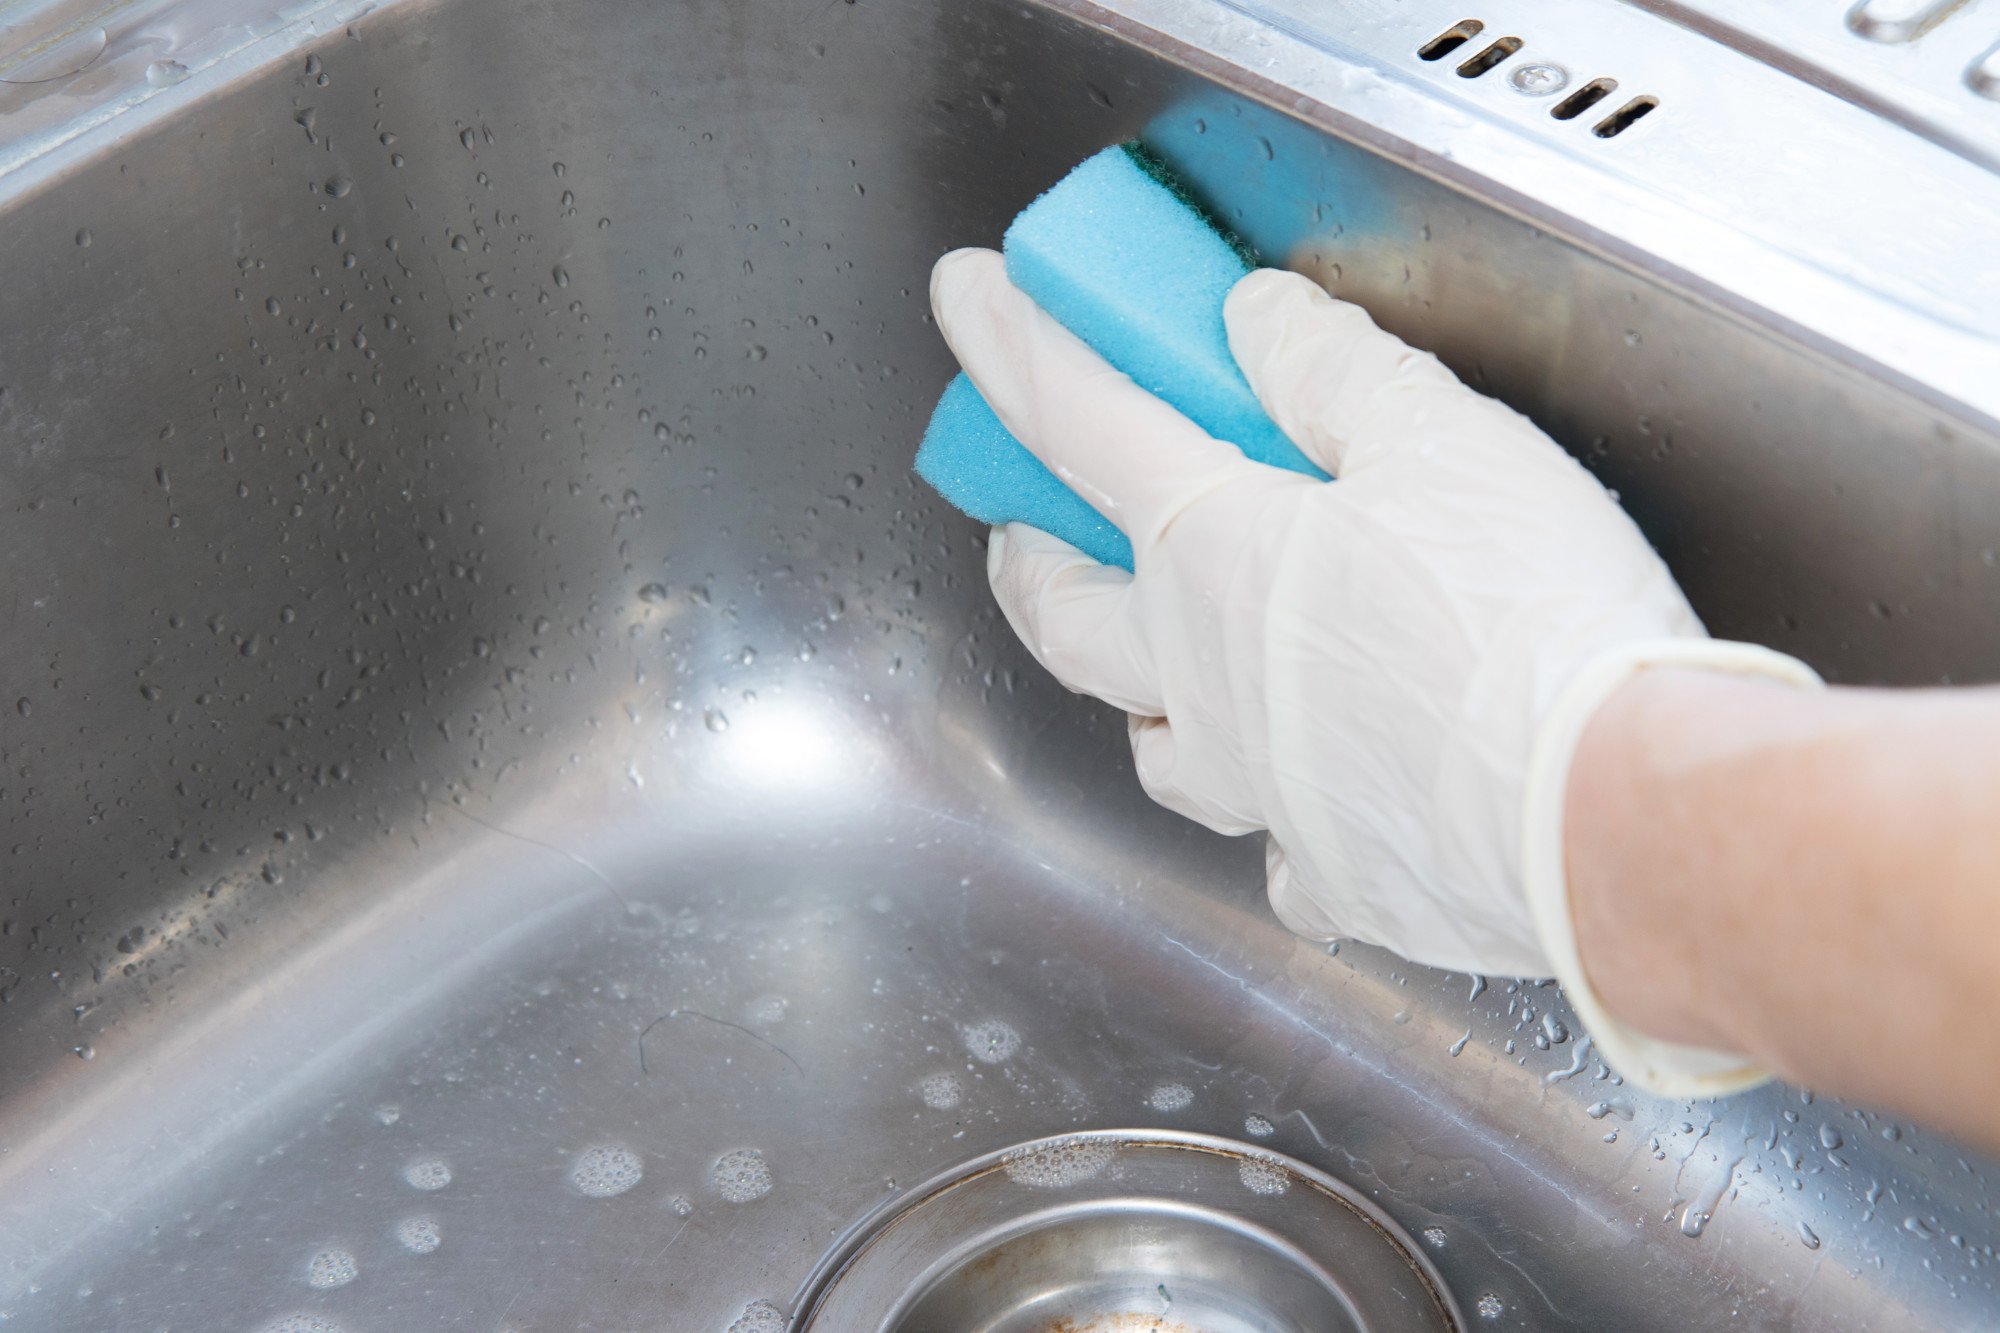
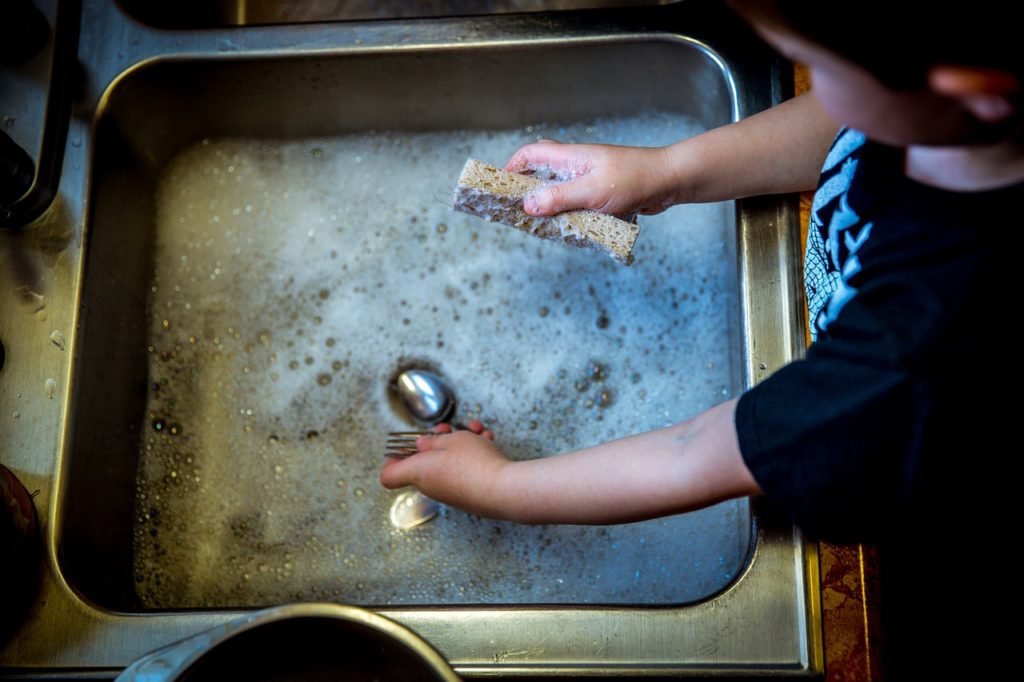
A clean kitchen sink not only looks appealing, but it also helps maintain good hygiene in your kitchen. Here’s how to clean your kitchen sink: Step 1: Rinse your sink with hot water to remove any loose debris. Step 2: Sprinkle baking soda all over the sink and then use a cloth or sponge to scrub the surface. Baking soda is a natural abrasive that can help remove tough stains and odors. Step 3: Rinse the sink with hot water and then use a mixture of equal parts water and white vinegar to disinfect the surface. Step 4: For extra shine, you can use a few drops of olive oil on a cloth to buff the sink. Step 5: Rinse the sink one last time with hot water and dry it with a clean cloth.5. How to Clean a Kitchen Sink

How to Clean a Kitchen Sink


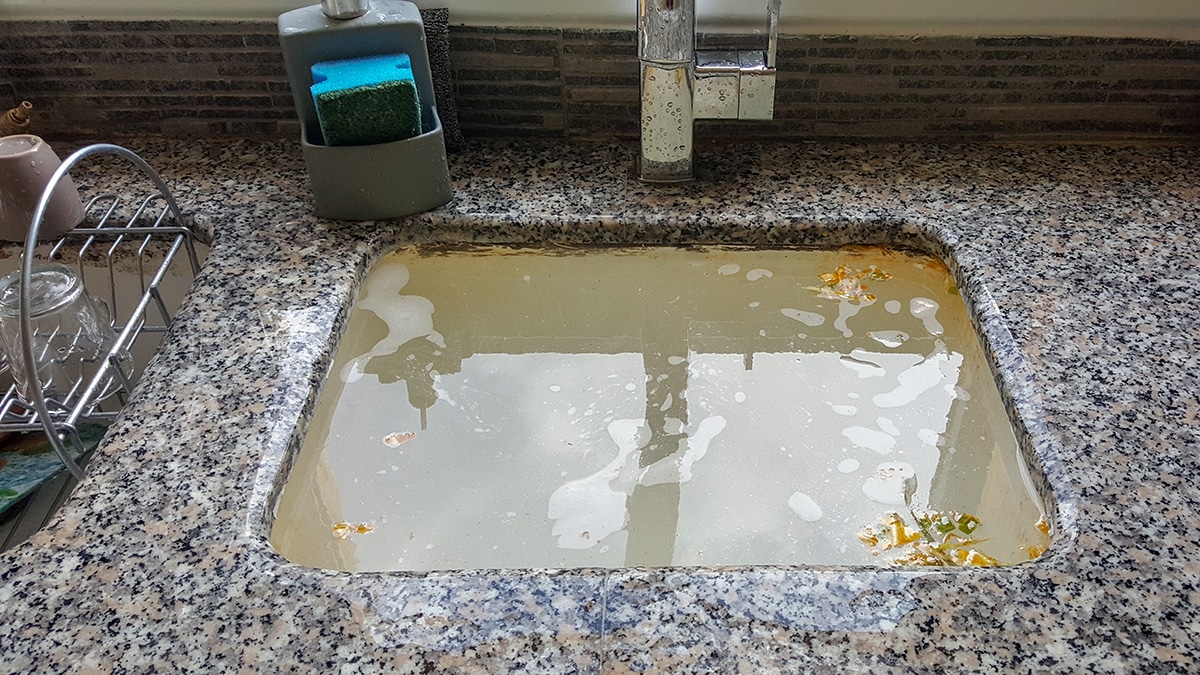
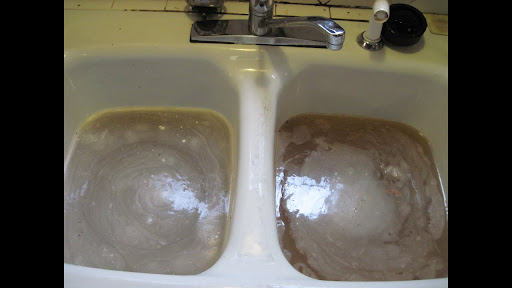
If your kitchen sink is draining slowly, it can be frustrating and inconvenient. Here’s how to fix it: Step 1: Start by removing any debris from the sink, such as food scraps or hair. Step 2: Pour a pot of boiling water down the drain to help break up any buildup. Step 3: If the clog is still there, use a plunger to try and loosen it. Step 4: If the plunger doesn’t work, try using a drain snake to remove the clog. Insert the snake into the drain and twist it to break up the clog. Once the clog is cleared, run hot water down the drain to flush out any remaining debris. Step 5: For stubborn clogs, you can try using a mixture of baking soda and vinegar. Pour half a cup of baking soda down the drain, followed by half a cup of vinegar. Let it sit for about 15 minutes before flushing it with hot water. Step 6: If none of these methods work, you may need to call a plumber for further assistance.6. How to Stop a Kitchen Sink from Draining Slowly


How to Stop a Kitchen Sink from Draining Slowly

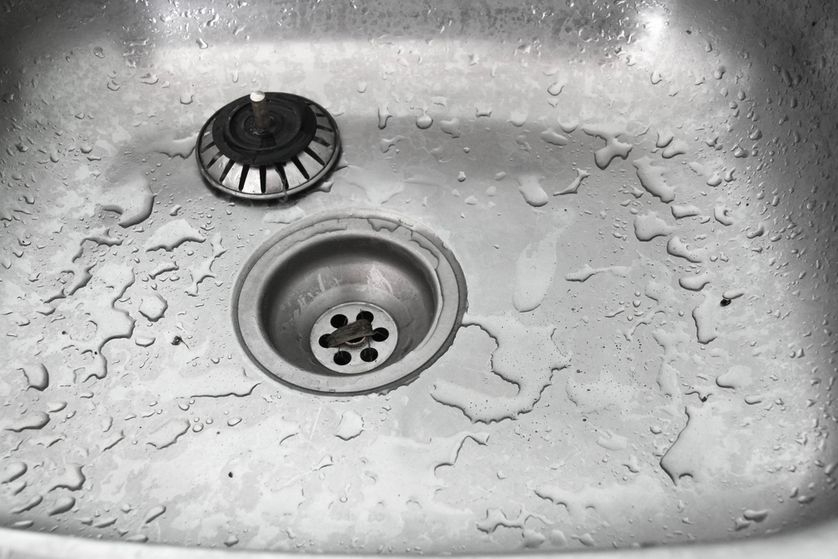


Removing a kitchen sink drain may be necessary if you need to replace it or unclog it. Here’s how to do it: Step 1: Start by turning off the water supply to the sink by twisting the shut-off valves under the sink in a clockwise direction. Step 2: Place a bucket or container under the sink to catch any water that may drip out. Step 3: Use a wrench to loosen the nut that holds the drain in place. Once the nut is loose, carefully pull the drain out of the sink. Step 4: Clean the area around the drain and the sink with a cloth before installing a new drain.7. How to Remove a Kitchen Sink Drain


How to Remove a Kitchen Sink Drain


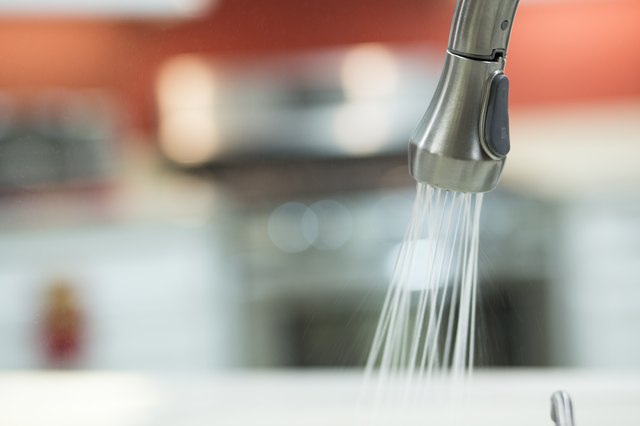
If your kitchen sink sprayer is not working properly, it can make washing dishes and cleaning the sink a hassle. Here’s how to fix it: Step 1: Start by checking the water supply valve to ensure it is fully open. Step 2: If the valve is open, check the aerator on the sprayer head for any buildup or debris. Clean it out and then test the sprayer again. Step 3: If the sprayer is still not working, check the hose for any kinks or damage. If there is damage, you may need to replace the hose. Step 4: If the hose is in good condition, the issue may be with the sprayer head itself. You can try replacing the sprayer head or calling a plumber for further assistance.8. How to Fix a Kitchen Sink Sprayer
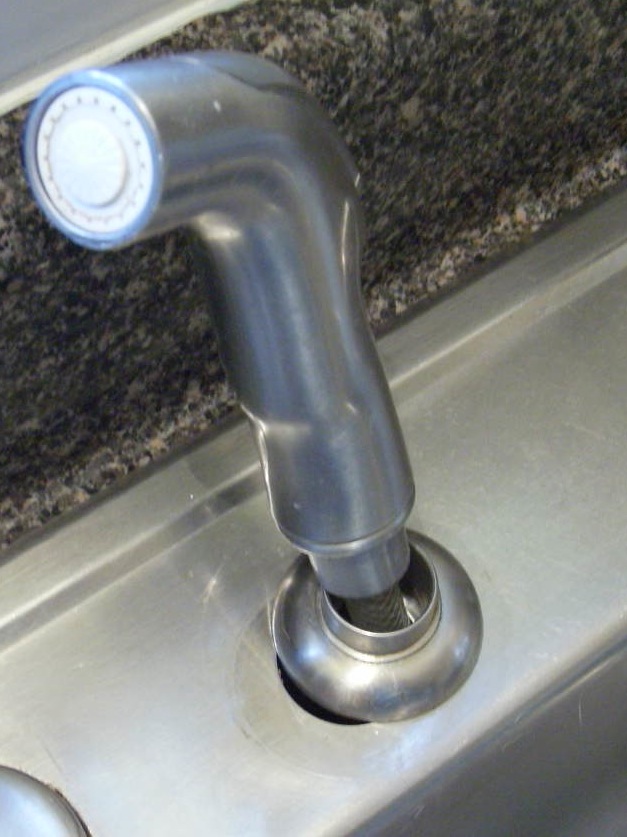

How to Fix a Kitchen Sink Sprayer


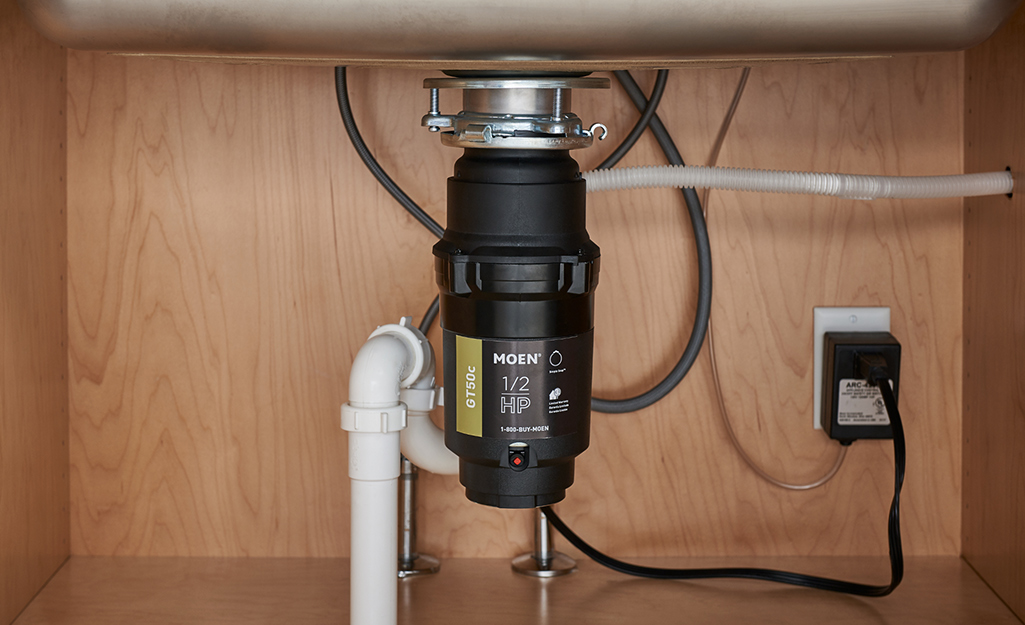
A garbage disposal can be a helpful addition to any kitchen sink. Here’s how to install one: Step 1: Start by turning off the electricity to the area where you will be installing the garbage disposal. Step 2: Remove the drain pipe from the sink and then use a hammer and chisel to knock out the knockout plug on the disposal unit. Step 3: Insert the mounting assembly into the sink and then attach it to the sink flange. Step 4: Place the disposal unit onto the mounting assembly and twist it into place. Step 5: Connect the drain pipes and water supply to the disposal unit. Step 6: Turn the electricity back on and test the garbage disposal to ensure it is working properly.9. How to Install a Garbage Disposal in a Kitchen Sink


How to Install a Garbage Disposal in a Kitchen Sink


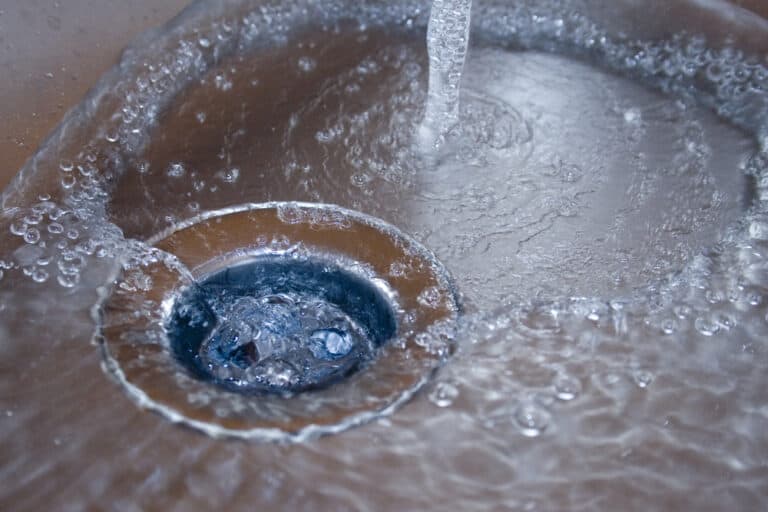
If your kitchen sink won’t drain, it can be a major inconvenience. Here’s how to fix it: Step 1: Start by checking the garbage disposal, if you have one. Make sure it is not clogged or jammed. Step 2: If the disposal is not the issue, try using a plunger to loosen the clog. Step 3: If the plunger doesn’t work, try using a drain snake to remove the clog. Insert the snake into the drain and twist it to break up the clog. Once the clog is cleared, run hot water down the drain to flush out any remaining debris. Step 4: For stubborn clogs, you can try using a mixture of baking soda and vinegar. Pour half a cup of baking soda down the drain, followed by half a cup of vinegar. Let it sit for about 15 minutes before flushing it with hot water. Step 5: If none of these methods work, you may need to call a plumber for further assistance.10. How to Fix a Kitchen Sink that Won't Drain


How to Fix a Kitchen Sink that Won't Drain


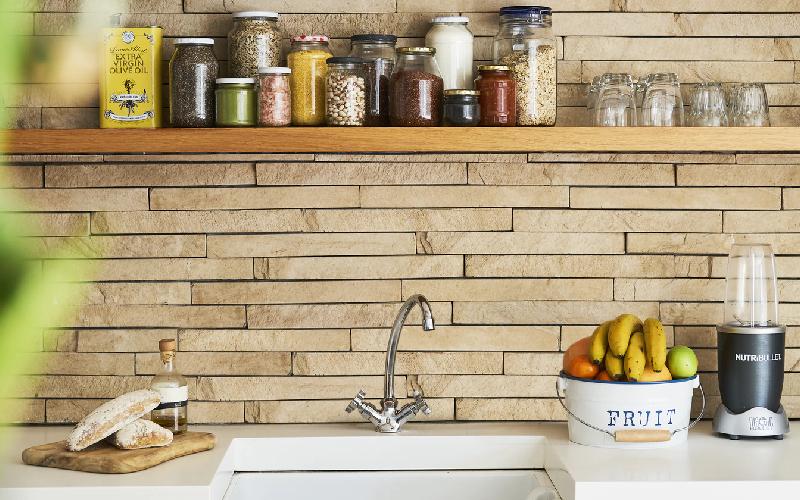
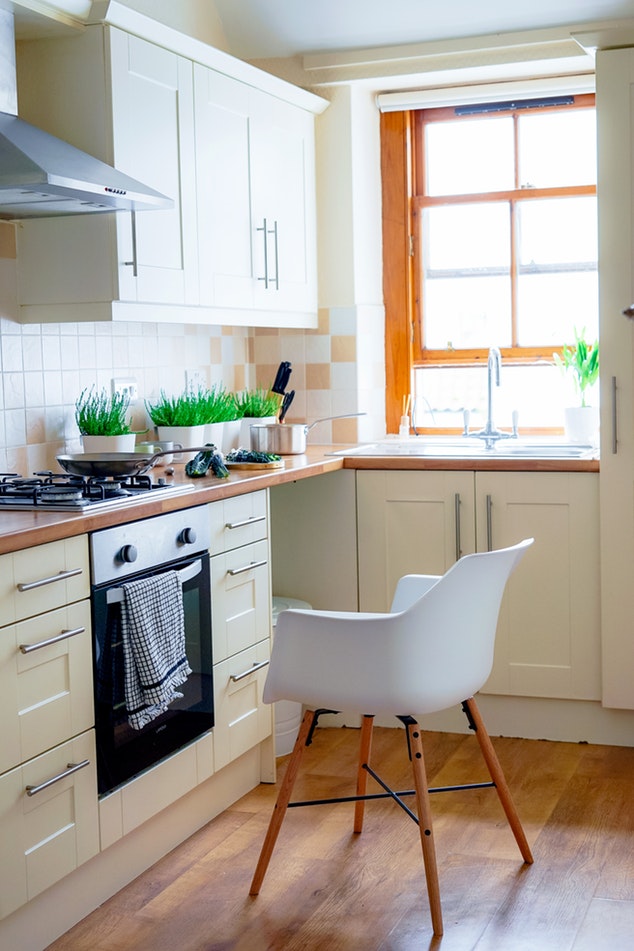
Maximizing Space and Functionality in Your Kitchen with Water in the Sink
:max_bytes(150000):strip_icc()/water-overflowing-in-kitchen-sink-200553937-001-5797e6335f9b58461f5a6736.jpg)
Efficient House Design for a Modern Lifestyle
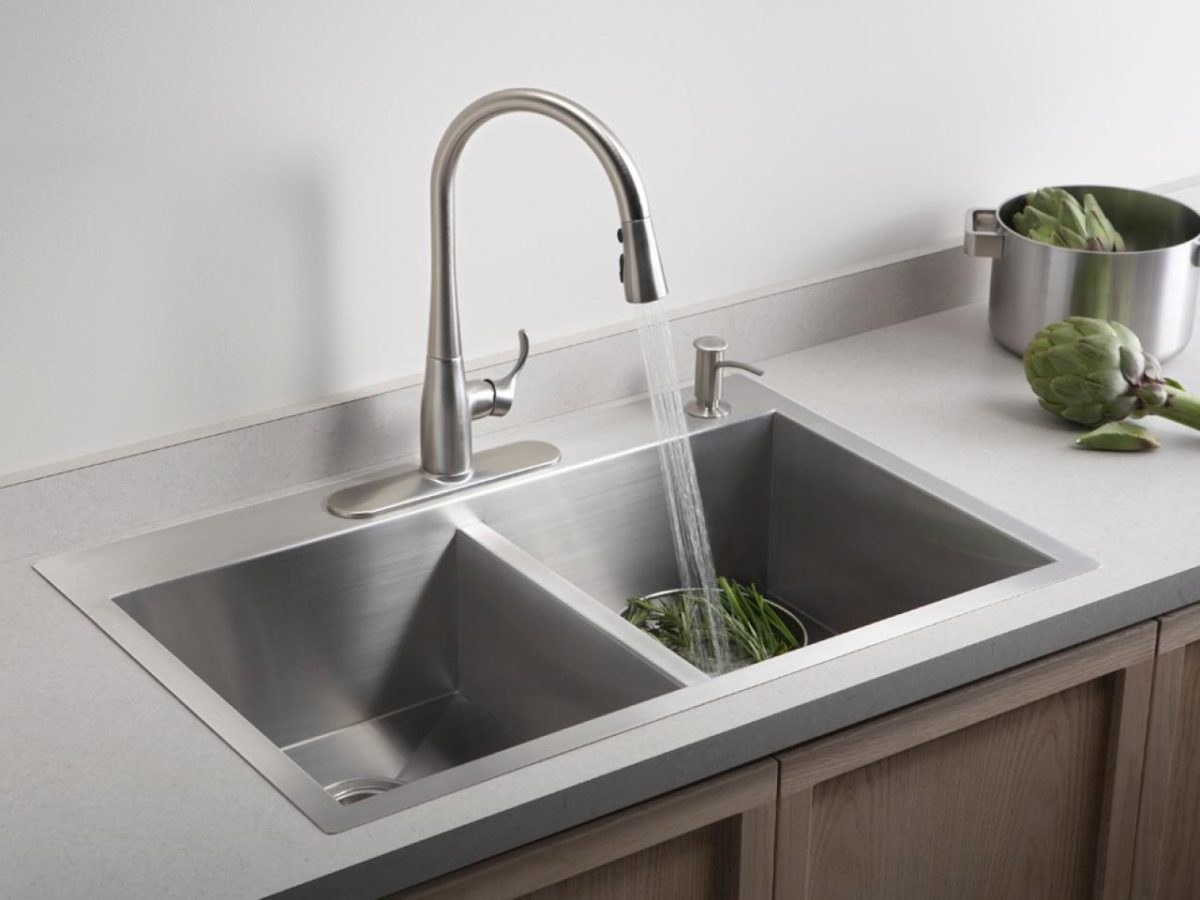 When it comes to designing a modern and functional kitchen,
water in the sink
is an essential element that should not be overlooked. Not only does it play a crucial role in daily tasks such as cooking and cleaning, but it also has the potential to elevate the overall design and efficiency of your kitchen. In this article, we will explore the various ways in which water in the sink can enhance your kitchen space and make your daily routine easier and more enjoyable.
When it comes to designing a modern and functional kitchen,
water in the sink
is an essential element that should not be overlooked. Not only does it play a crucial role in daily tasks such as cooking and cleaning, but it also has the potential to elevate the overall design and efficiency of your kitchen. In this article, we will explore the various ways in which water in the sink can enhance your kitchen space and make your daily routine easier and more enjoyable.
The Versatility of Water in the Sink
 One of the main benefits of having a functional sink in your kitchen is its versatility. From washing dishes to cleaning vegetables,
water in the sink
serves a multitude of purposes. With proper planning and design, your sink can also double as a prep station, allowing you to conveniently wash, chop, and prepare food all in one place. This not only saves time and effort but also keeps your kitchen organized and clutter-free.
One of the main benefits of having a functional sink in your kitchen is its versatility. From washing dishes to cleaning vegetables,
water in the sink
serves a multitude of purposes. With proper planning and design, your sink can also double as a prep station, allowing you to conveniently wash, chop, and prepare food all in one place. This not only saves time and effort but also keeps your kitchen organized and clutter-free.
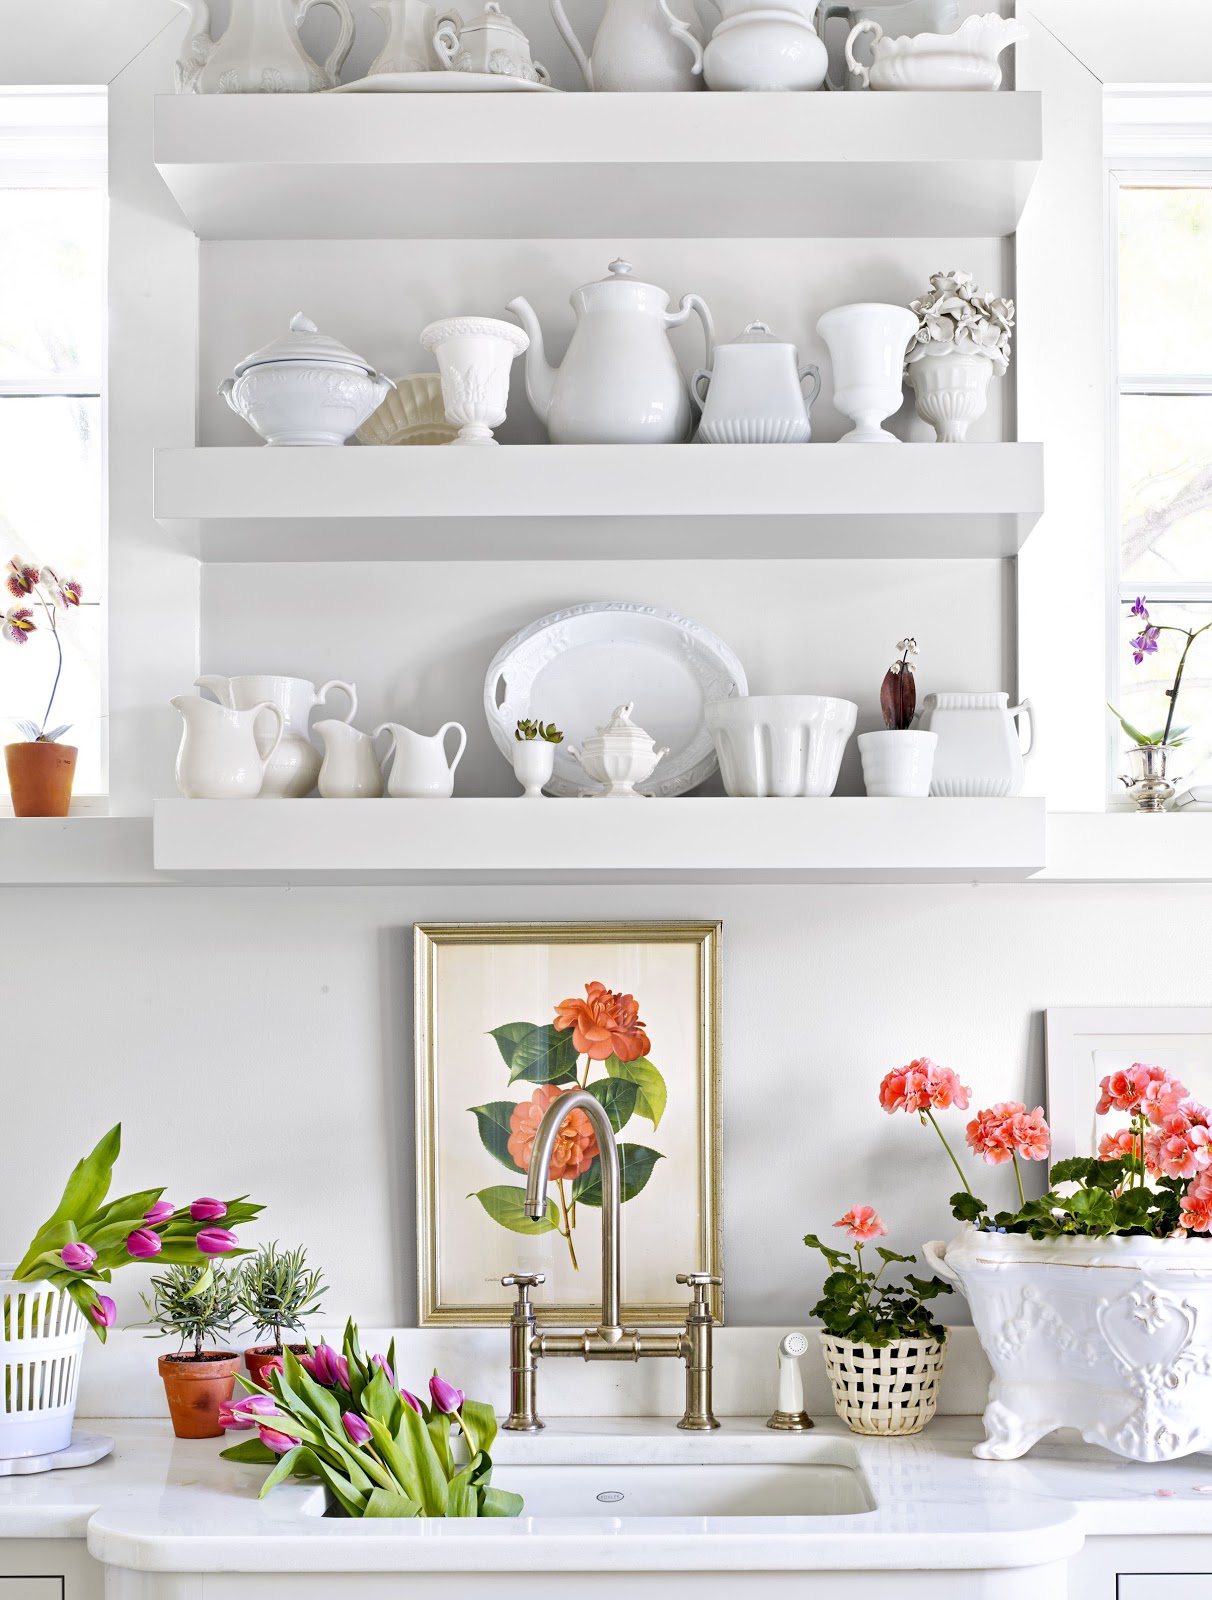
Creating a Focal Point
 In addition to its practical uses,
water in the sink
can also act as a focal point in your kitchen design. With a wide range of materials, styles, and finishes available, a well-designed sink can add a touch of elegance and personality to your kitchen. A sleek stainless steel sink can complement a modern and minimalist design, while a farmhouse-style sink can add a cozy and rustic feel to your space. Choosing the right sink can tie together the overall aesthetic of your kitchen and make it stand out.
In addition to its practical uses,
water in the sink
can also act as a focal point in your kitchen design. With a wide range of materials, styles, and finishes available, a well-designed sink can add a touch of elegance and personality to your kitchen. A sleek stainless steel sink can complement a modern and minimalist design, while a farmhouse-style sink can add a cozy and rustic feel to your space. Choosing the right sink can tie together the overall aesthetic of your kitchen and make it stand out.
Maximizing Space
Conclusion
 In conclusion,
water in the sink
is a crucial element in designing a modern and functional kitchen. Its versatility, ability to act as a focal point, and space-saving potential make it an essential consideration in any kitchen design. So when planning your dream kitchen, be sure to give proper attention to your sink and make it a feature that enhances both the form and function of your space.
In conclusion,
water in the sink
is a crucial element in designing a modern and functional kitchen. Its versatility, ability to act as a focal point, and space-saving potential make it an essential consideration in any kitchen design. So when planning your dream kitchen, be sure to give proper attention to your sink and make it a feature that enhances both the form and function of your space.


