Installing a vessel bathroom sink is a great way to add a touch of style and elegance to your bathroom. These types of sinks sit on top of the vanity or countertop, creating a statement piece that can elevate the overall look of your bathroom. However, installing a vessel sink can seem like a daunting task for those who have never done it before. But fear not, with the right tools and knowledge, you can easily install a vessel sink in your bathroom. Follow this step-by-step guide to learn how to install a vessel bathroom sink. Vessel Bathroom Sink Installation: A Step-by-Step Guide
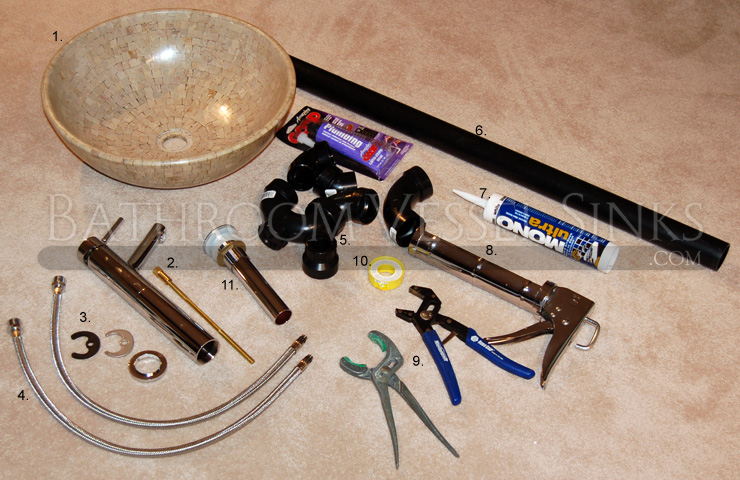
Before you begin the installation process, make sure you have all the necessary tools and materials. You will need a vessel sink, a faucet, a drain, a mounting ring, plumber's putty, silicone caulk, a wrench, and a screwdriver. Once you have these items, you can start the installation process. How to Install a Vessel Bathroom Sink
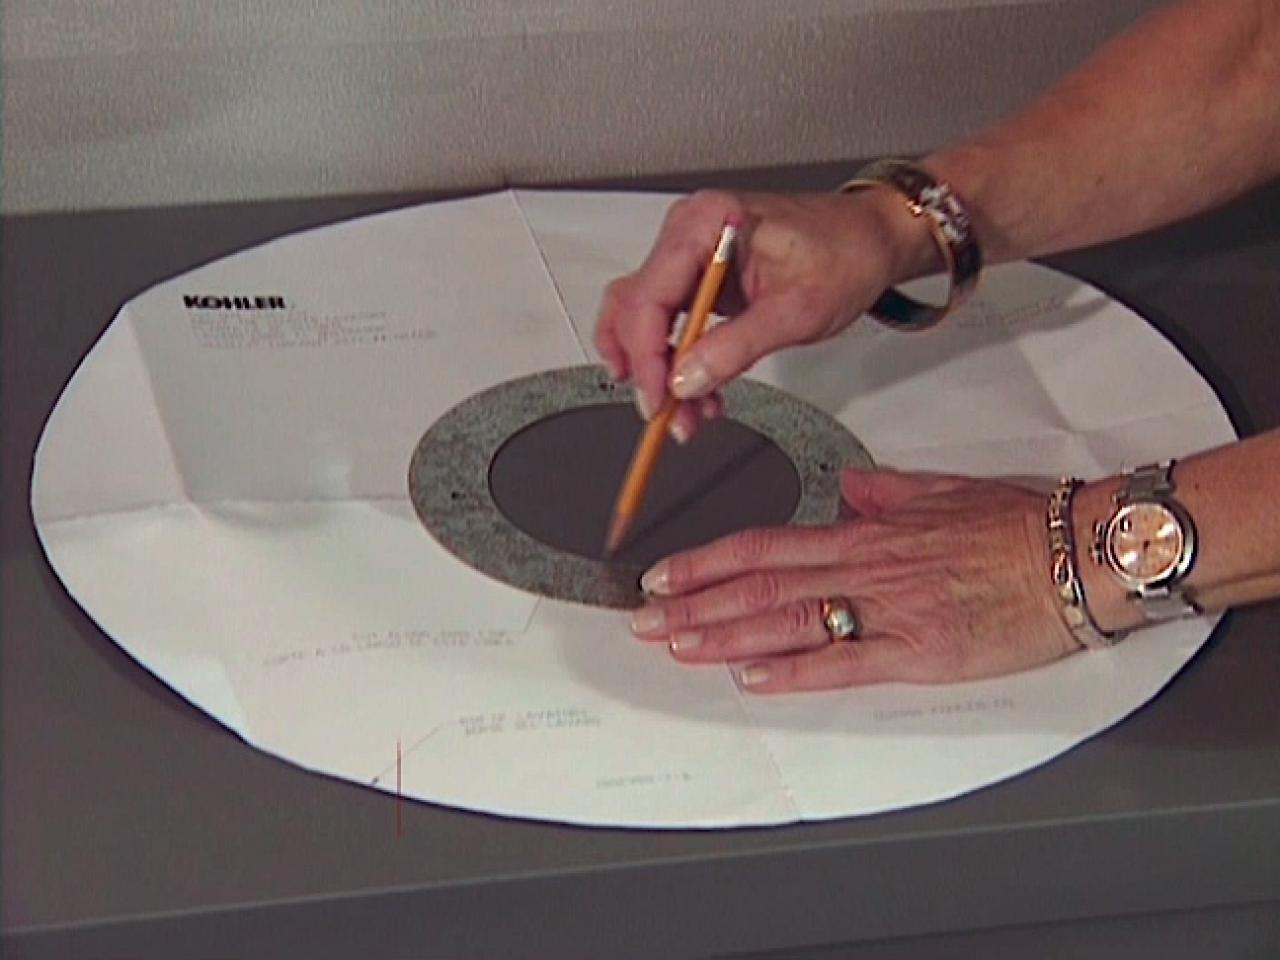
Start by preparing the surface where you will be installing the vessel sink. If you are installing the sink on a vanity, make sure it is sturdy and can support the weight of the sink. If you are installing it on a countertop, measure and mark the center where the sink will be placed. Use a jigsaw to create a hole according to the size specifications of your sink. Step 1: Prepare the Vanity or Countertop
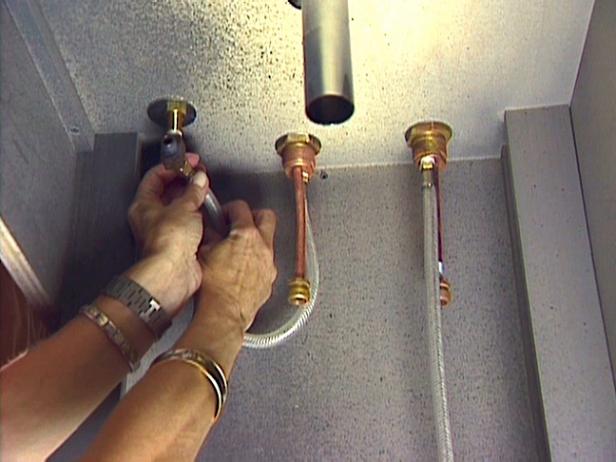
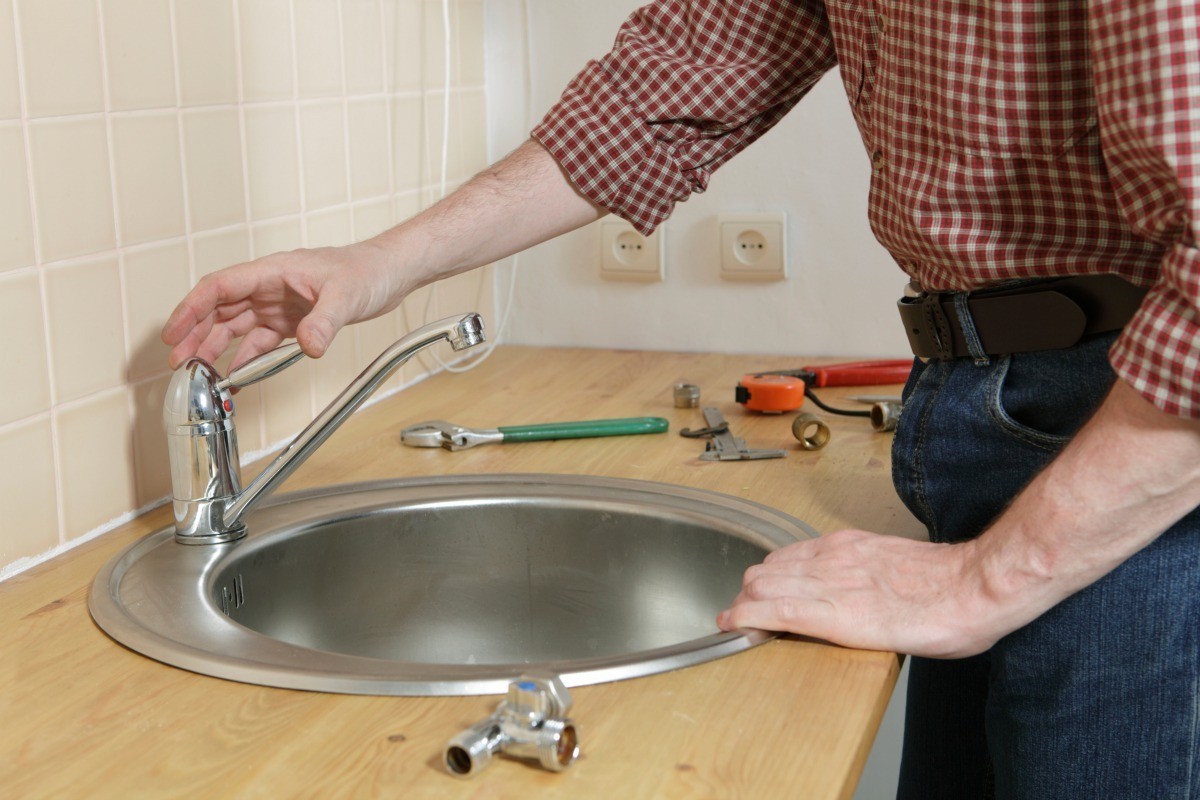
The next step is to install the faucet onto the sink. Follow the manufacturer's instructions for proper installation. Make sure the faucet is securely attached and aligned with the sink. Step 2: Install the Faucet
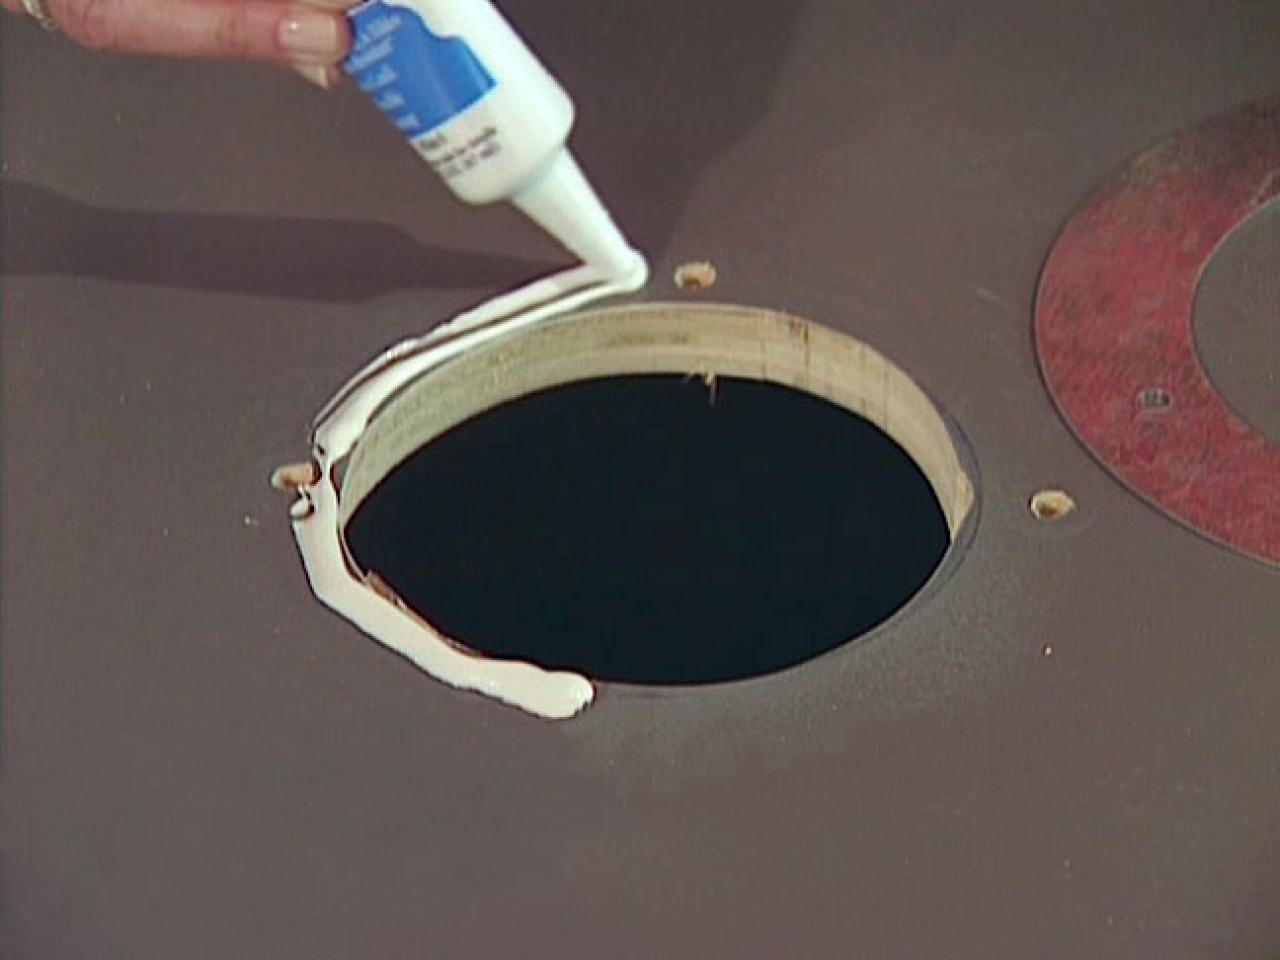
Roll a small amount of plumber's putty into a thin rope and place it around the underside of the faucet where it will meet the sink. This will create a watertight seal and prevent any leaks. Step 3: Apply Plumber's Putty
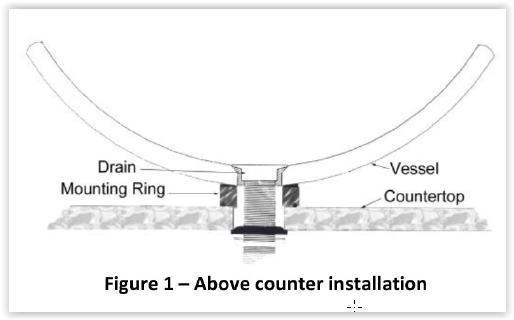
Place the mounting ring onto the hole in the sink and secure it with the provided screws. This will help support the weight of the sink and keep it in place. Step 4: Attach the Mounting Ring
Apply plumber's putty around the underside of the drain and insert it into the drain hole. Tighten the nut on the bottom of the sink to secure the drain in place. Step 5: Install the Drain
Carefully place the sink onto the mounting ring and make sure it is centered and level. Use a level to ensure the sink is straight. Step 6: Position the Sink
Once the sink is in place, use the provided screws to secure it to the mounting ring. Make sure the sink is stable and does not wobble. Step 7: Secure the Sink
Use silicone caulk to seal the edges of the sink where it meets the vanity or countertop. This will prevent any water from seeping underneath the sink and causing damage. Step 8: Caulk the Edges
Vessel Bathroom Sink Installation: A Stylish Addition to Your House Design
Why Choose a Vessel Sink?
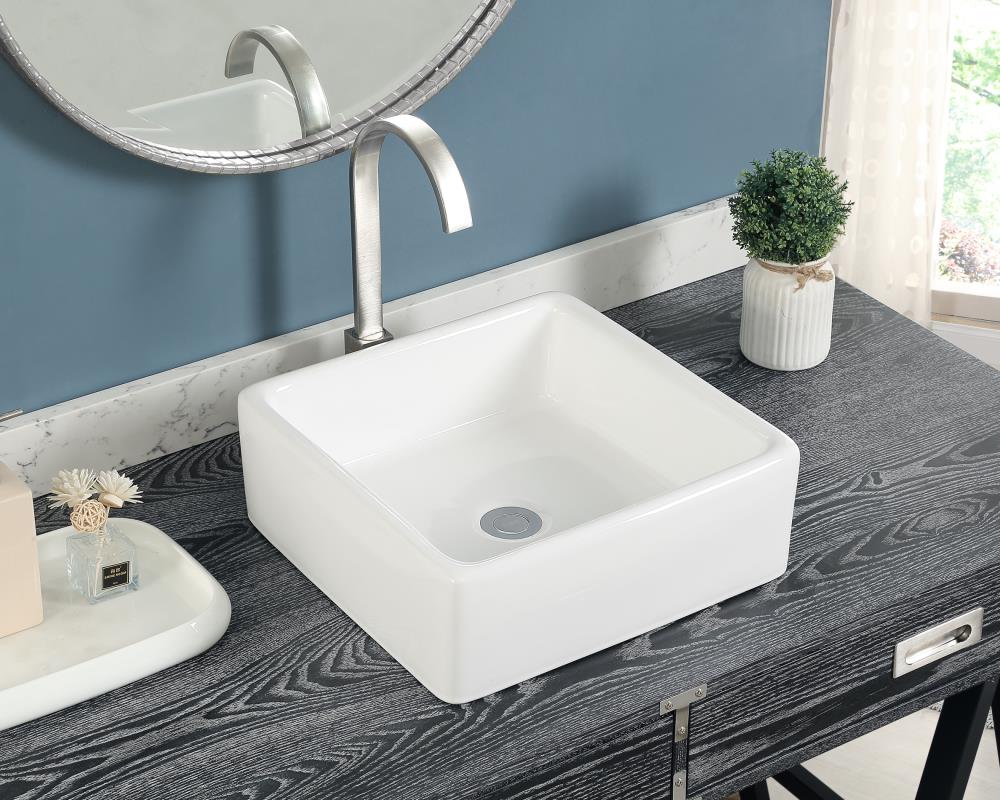
 When it comes to designing a bathroom, the sink may not be the first thing that comes to mind. However, the type of sink you choose can make a significant impact on the overall look and feel of your bathroom. One popular option among homeowners is the
vessel bathroom sink
. These sinks are not only functional but also add a touch of elegance and style to your bathroom design. They are mounted on top of the countertop, creating a modern and sleek look that can elevate the aesthetic of any bathroom.
The Installation Process
 Installing a vessel sink may seem like a daunting task, but it is actually quite simple and can be done in a few easy steps. The first step is to choose the right sink for your bathroom. Vessel sinks come in a variety of shapes, sizes, and materials, so you can choose the one that best fits your design aesthetic. Make sure to
measure the space
where you plan to install the sink to ensure it will fit properly.
Once you have your sink, the next step is to
prepare the countertop
. This may involve cutting a hole in the countertop to fit the sink or simply making sure the surface is clean and level. It is essential to follow the manufacturer's instructions for the specific sink you have purchased.
The Final Touches
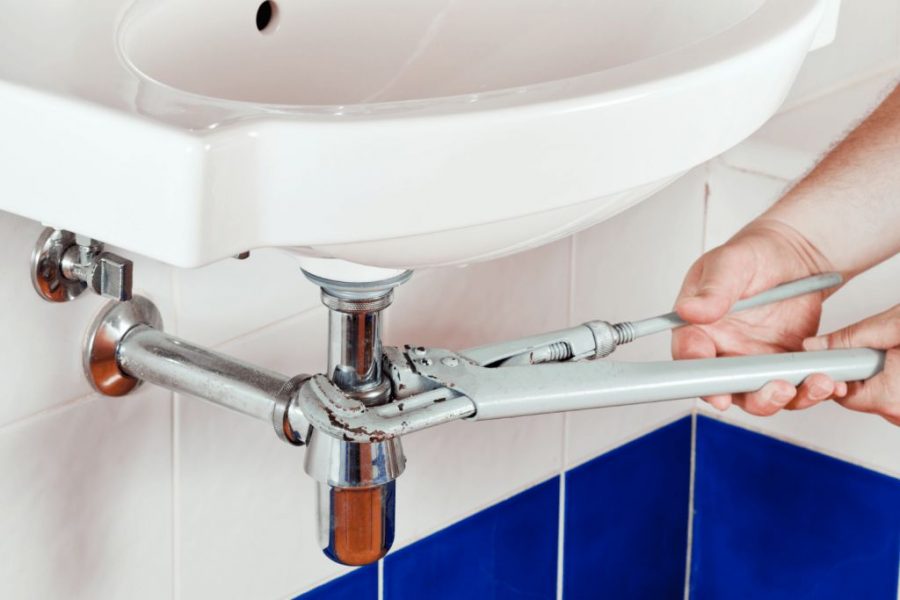
 After the sink is securely in place, it's time to add the finishing touches. This includes attaching the
drain and faucet
, which can also add to the overall style of the sink. You may also want to consider installing a backsplash to protect your walls from water damage and add a cohesive look to your bathroom design.
Advantages of a Vessel Sink
 Aside from their aesthetic appeal, vessel sinks also offer several practical advantages. They are
easy to clean
as there are no crevices for dirt and grime to collect. They also tend to be
more hygienic
as there is less chance for standing water and bacteria to accumulate. Additionally, vessel sinks can be placed at any height, making them
more accessible
for people of all ages and abilities.
In conclusion, a vessel bathroom sink installation is a simple but impactful way to add style and functionality to your bathroom design. With the right sink and proper installation, you can create a modern and sophisticated look that will elevate the overall aesthetic of your home. So why settle for a standard sink when you can make a statement with a vessel sink? Upgrade your bathroom design today and enjoy the many benefits of a vessel sink.


/bathroom-sink-523598998-5797c0dc5f9b58461f3d5c23.jpg)


