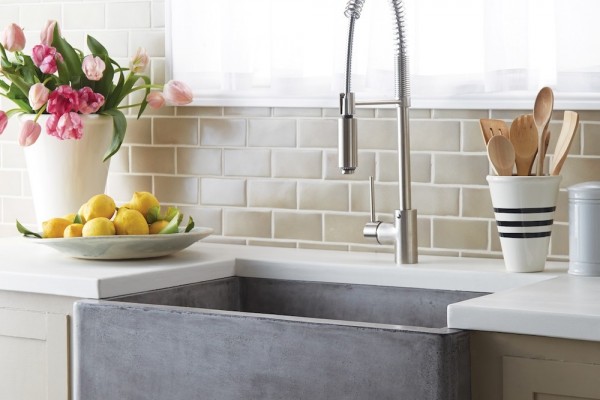
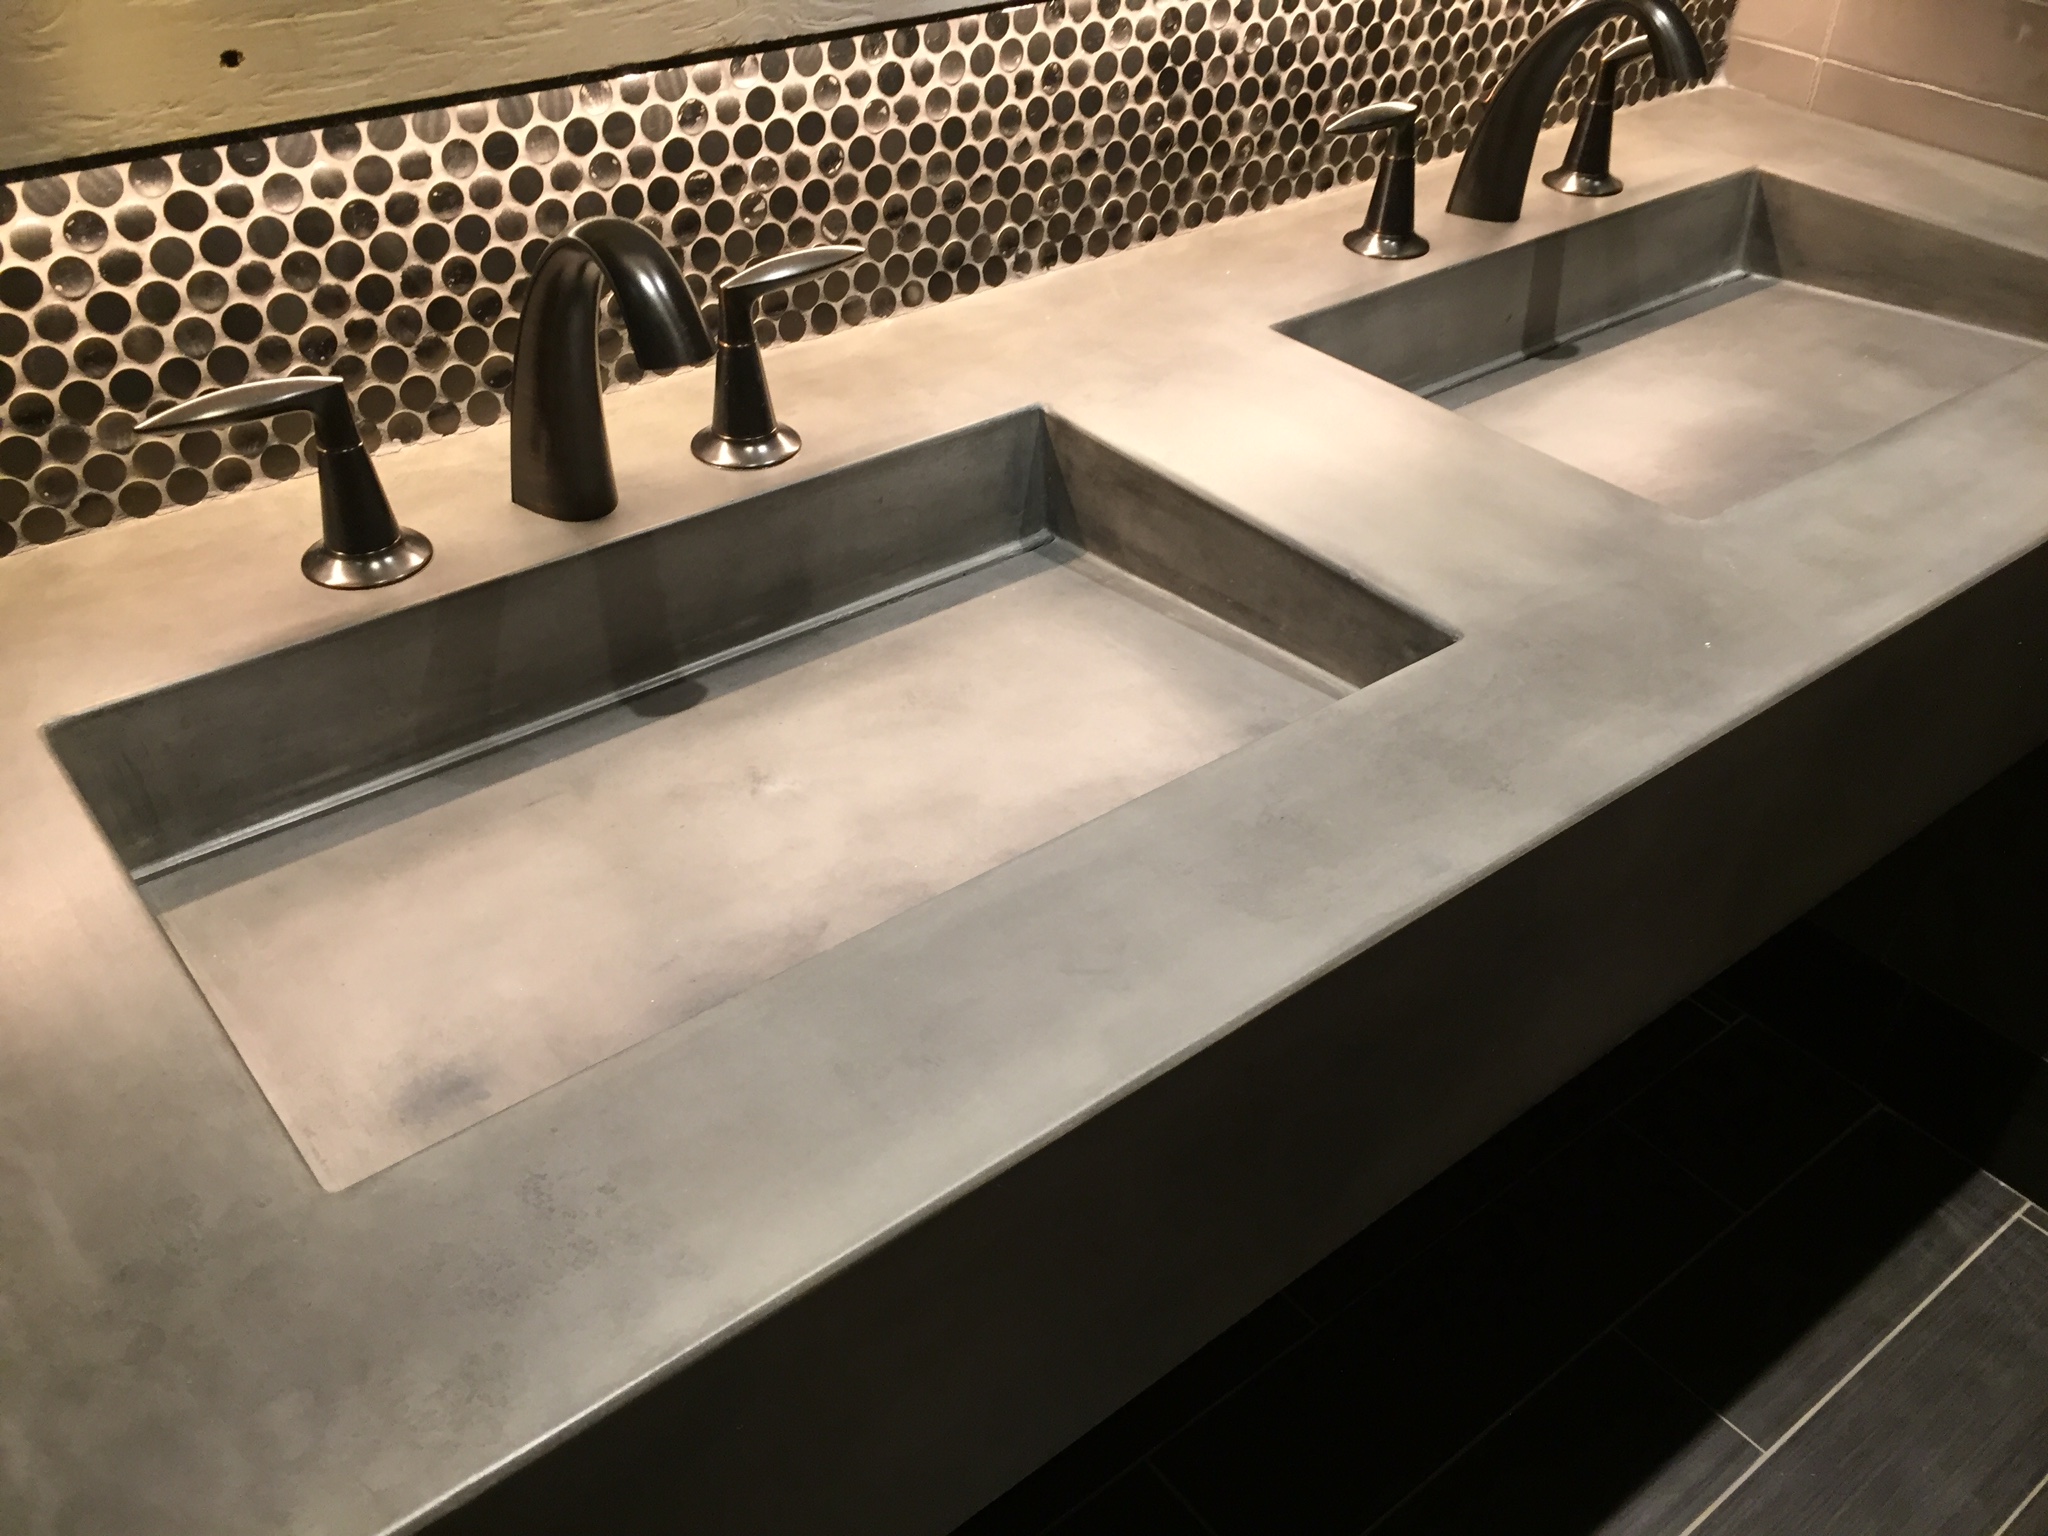
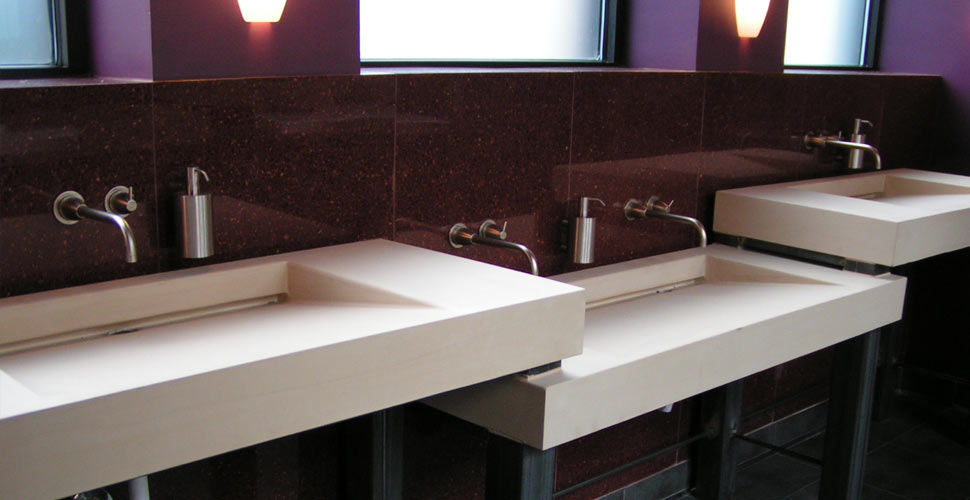
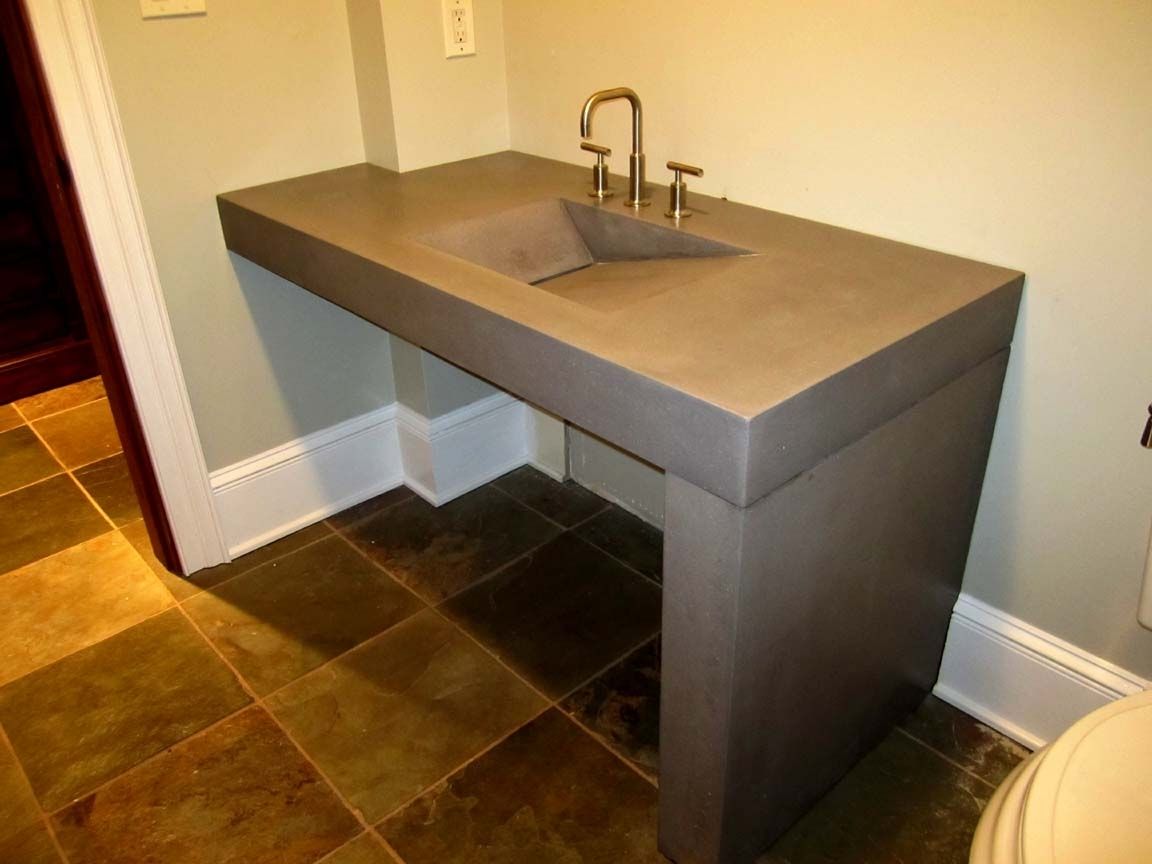
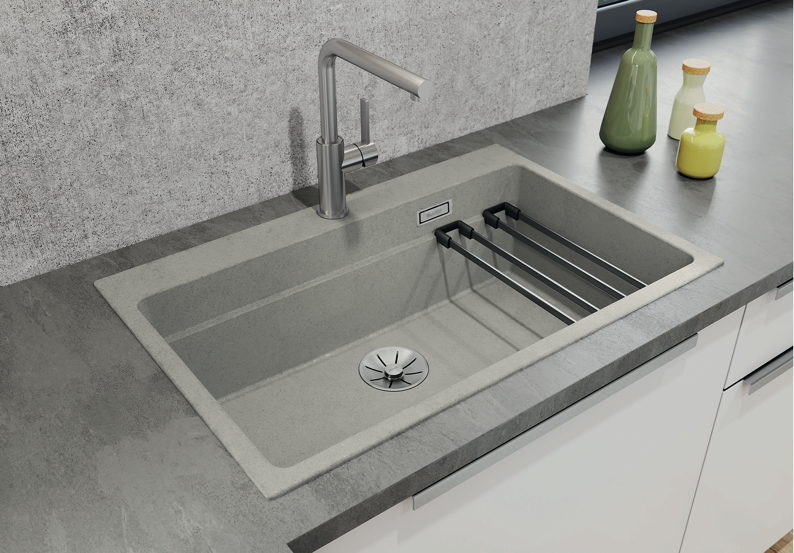
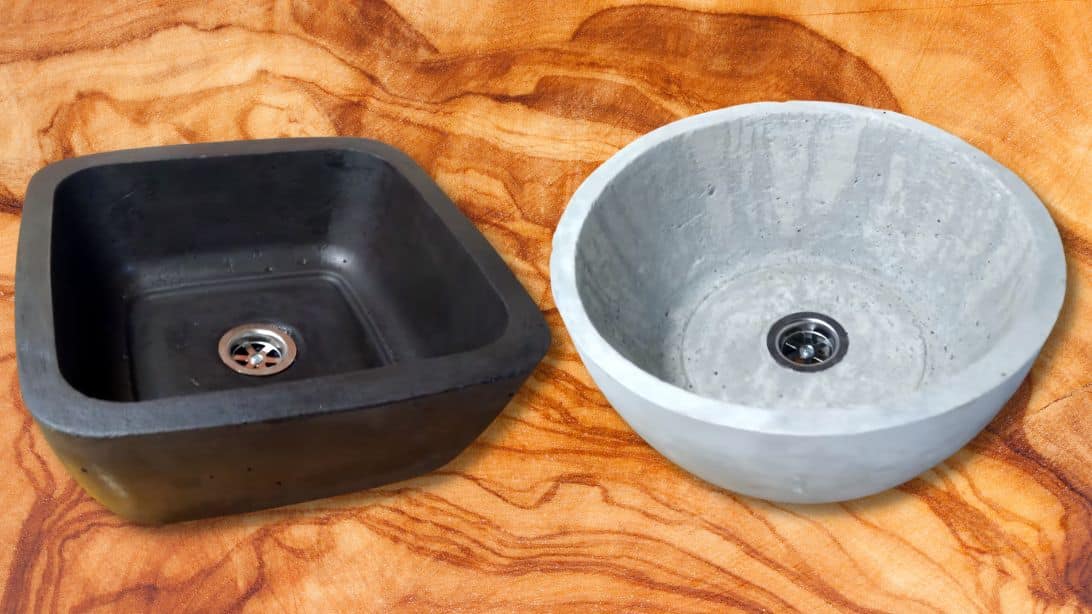
Concrete sinks have become a popular choice for modern kitchens, and it's easy to see why. These sinks offer a unique and stylish look that can elevate the design of any kitchen. But like any other material, concrete sinks have their own set of pros and cons that you should consider before making a decision. Let's take a closer look at the advantages and disadvantages of using a concrete kitchen sink. Pros: Durable: One of the biggest advantages of a concrete sink is its durability. Concrete is a strong and sturdy material that can withstand daily use and is resistant to scratches and stains. This makes it an ideal choice for busy kitchens where the sink is used frequently. Customizable: Concrete sinks are customizable, which means you can create a sink that perfectly fits your kitchen's design. You can choose the shape, size, and color of your sink, making it a unique and personalized addition to your kitchen. Eco-Friendly: Concrete is a sustainable material, making it an eco-friendly choice for your kitchen. It's made from natural materials and can be recycled, reducing its impact on the environment. Cost-Effective: While the initial cost of a concrete sink may be higher than other materials, it can save you money in the long run. Concrete sinks are long-lasting and require minimal maintenance, which means you won't have to replace them frequently. Heat Resistant: Unlike other materials, concrete is heat resistant, making it a perfect choice for a kitchen sink. You can place hot pots and pans directly on the surface without worrying about damaging or staining it. Cons: Porous: Concrete is a porous material, which means it can absorb liquids and stains if not properly sealed. This makes it important to regularly seal your concrete sink to prevent any damage. Heavy: Concrete sinks are heavy, which can make installation more challenging. You will need to make sure your kitchen cabinets and countertops can support the weight of the sink. Prone to Cracking: While concrete is a durable material, it is not indestructible. It can crack if heavy objects are dropped on it or if it's not properly installed. This can be a costly and time-consuming repair if it happens. Requires Maintenance: As mentioned before, concrete sinks need to be regularly sealed to maintain their durability and prevent stains. This can be a drawback for those looking for a low-maintenance sink option.Concrete Kitchen Sinks: Pros and Cons
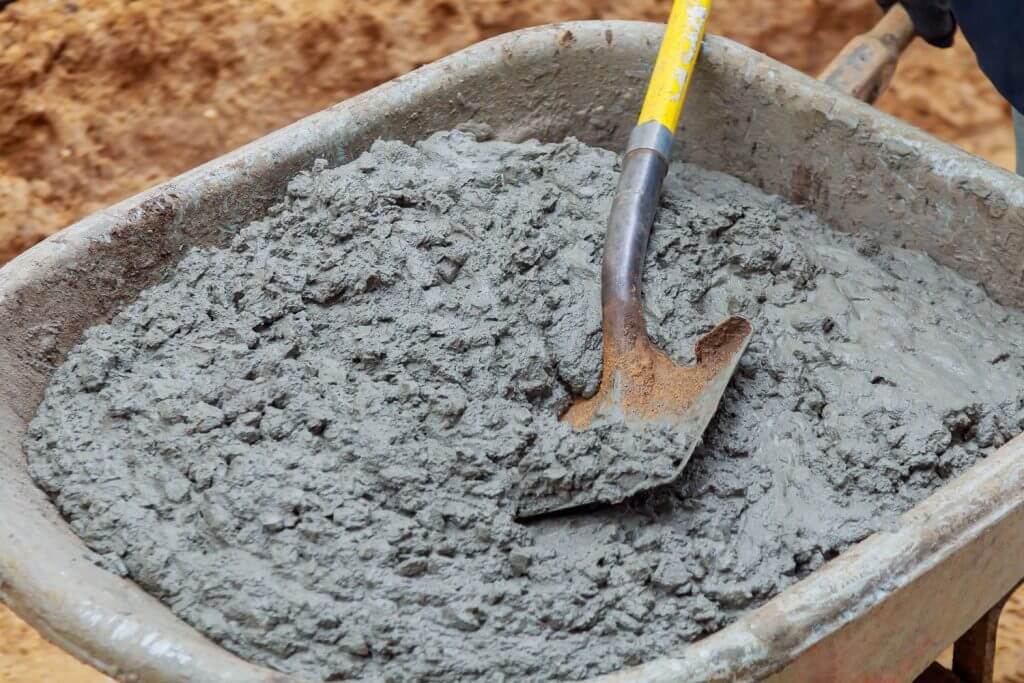
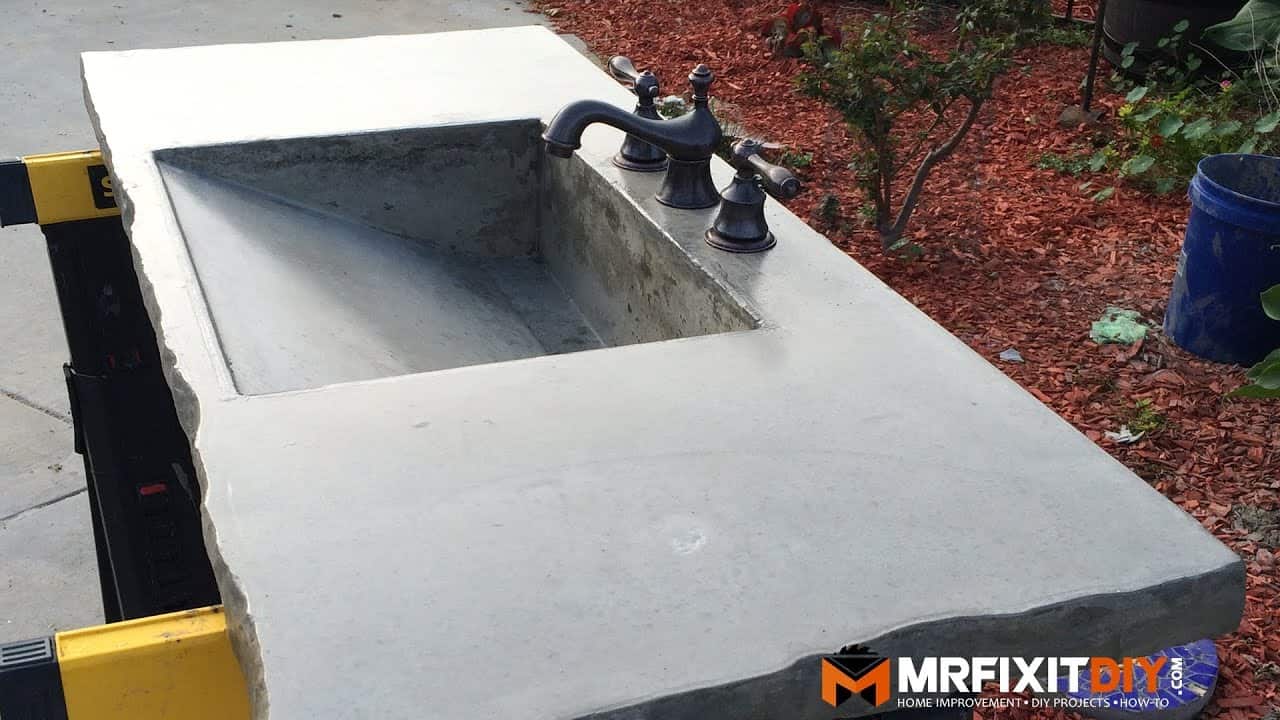
If you're feeling adventurous and want to add a personal touch to your kitchen, you can try making your own concrete sink. Here is a step-by-step guide on how to make a concrete sink: Materials Needed: - Concrete mix - Water - Rebar or wire mesh - Melamine boards - Silicone caulk - Concrete sealer Steps: 1. Create a mold: Cut the melamine boards to the desired size and shape of your sink. Assemble the boards using screws to create a mold. 2. Reinforce the mold: Place rebar or wire mesh inside the mold to provide support for the concrete. 3. Mix the concrete: Follow the instructions on the concrete mix to create a smooth and consistent mixture. 4. Pour the concrete: Pour the concrete into the mold, making sure it's evenly distributed and reaches all corners. 5. Smooth the surface: Use a trowel to smooth the surface of the concrete and remove any air bubbles. 6. Let it dry: Let the concrete dry for at least 48 hours before removing it from the mold. 7. Seal the sink: Once the sink is completely dry, seal it with a concrete sealer to protect it from stains and water damage.How to Make a Concrete Sink
If you're not ready to commit to making a concrete sink from scratch, you can still achieve a DIY concrete sink by using a concrete overlay. Here's how to do it: Materials Needed: - Concrete overlay - Trowel or putty knife - Sandpaper - Concrete sealer Steps: 1. Prepare the surface: Clean and sand your existing sink to create a rough surface for the overlay to adhere to. 2. Mix the overlay: Follow the instructions on the concrete overlay to create a smooth mixture. 3. Apply the overlay: Use a trowel or putty knife to apply a thin layer of the overlay onto the sink surface. Make sure to cover all areas evenly. 4. Smooth the surface: Use a trowel or putty knife to smooth out the surface and remove any air bubbles. 5. Let it dry: Let the overlay dry for at least 24 hours before sanding it down to create a smooth finish. 6. Seal the sink: Once the overlay is completely dry, seal it with a concrete sealer to protect it from stains and water damage.DIY Concrete Sink: The Definitive Guide
In today's world where sustainability is becoming increasingly important, using eco-friendly materials in our homes is a great way to contribute to a greener planet. Concrete sinks are an eco-friendly choice for several reasons: - Made from sustainable materials: Concrete is made from natural materials like cement, sand, and gravel, making it a sustainable choice for your kitchen sink. - Can be recycled: Concrete can be crushed and recycled, reducing its impact on the environment. - Energy-efficient production: The production of concrete requires less energy compared to other materials like stainless steel or granite.Concrete Sinks: An Eco-Friendly Choice
Concrete sinks are relatively low-maintenance, but they do require proper cleaning and maintenance to keep them looking new. Here are some tips on how to clean and maintain your concrete sink: - Regularly seal your sink: As mentioned earlier, concrete is a porous material and needs to be regularly sealed to prevent stains and damage. - Avoid abrasive cleaners: Harsh chemicals and abrasive cleaners can damage the sealer and cause etching on the surface of your sink. Stick to gentle cleaners and avoid using scouring pads. - Wipe down after each use: To prevent any buildup of dirt or grime, make it a habit to wipe down your sink after each use. - Remove stains immediately: If you notice any stains on your sink, act quickly to remove them. Use a mild cleaner or a mixture of baking soda and water to gently scrub the stain away.How to Clean and Maintain a Concrete Sink
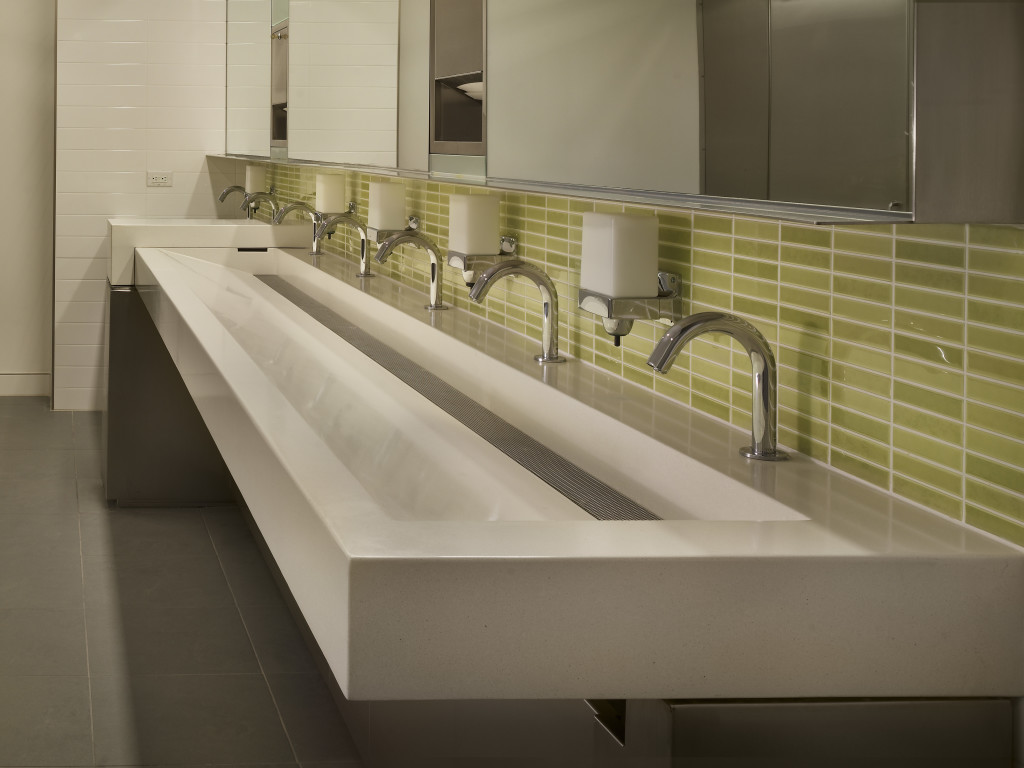
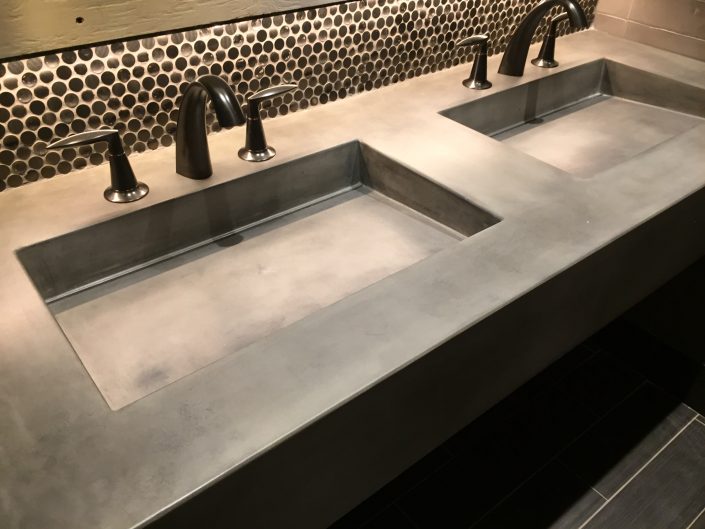
Concrete sinks have a sleek and modern look that can add a touch of style to any kitchen. They are available in various shapes and sizes, making it easy to find one that fits your design aesthetic. Whether you have a contemporary or industrial-style kitchen, a concrete sink can be the perfect addition to elevate its overall look.Concrete Sinks: A Modern and Stylish Addition to Your Kitchen
A study-built kitchen sink, like a concrete sink, offers several advantages that make it a popular choice among homeowners. Here are some benefits of having a study-built kitchen sink: - Customizable: A study-built sink can be customized to fit your specific needs and design preferences. - Durable: Similar to concrete sinks, a study-built sink is durable and can withstand daily use without showing signs of wear and tear. - Long-lasting: With proper maintenance, a study-built sink can last for many years, making it a worthwhile investment for your kitchen.The Benefits of a Study-Built Kitchen Sink
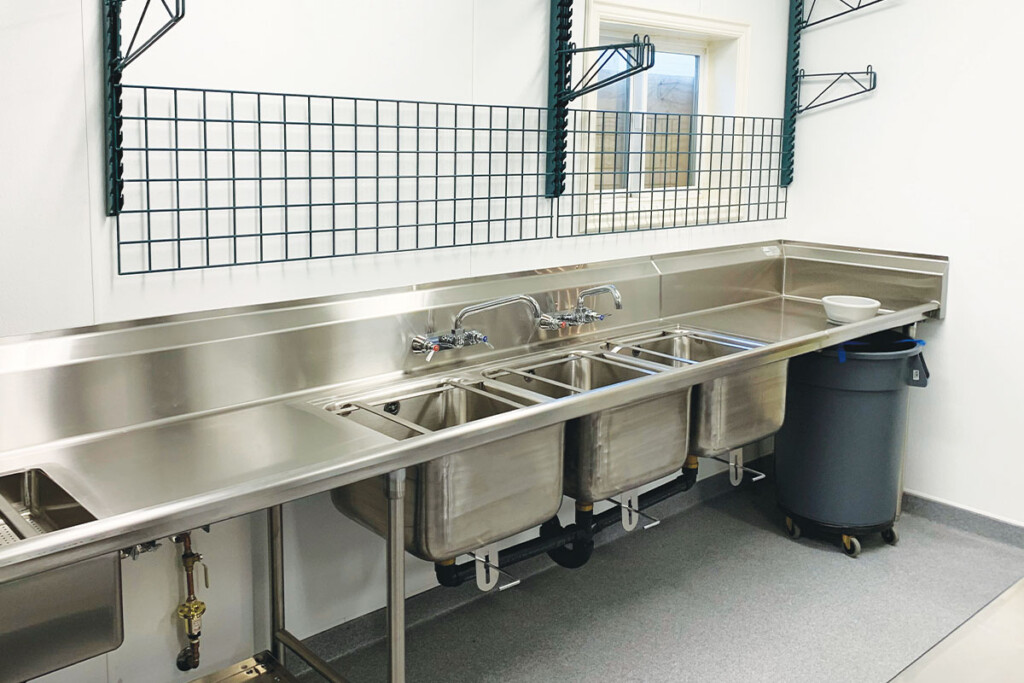
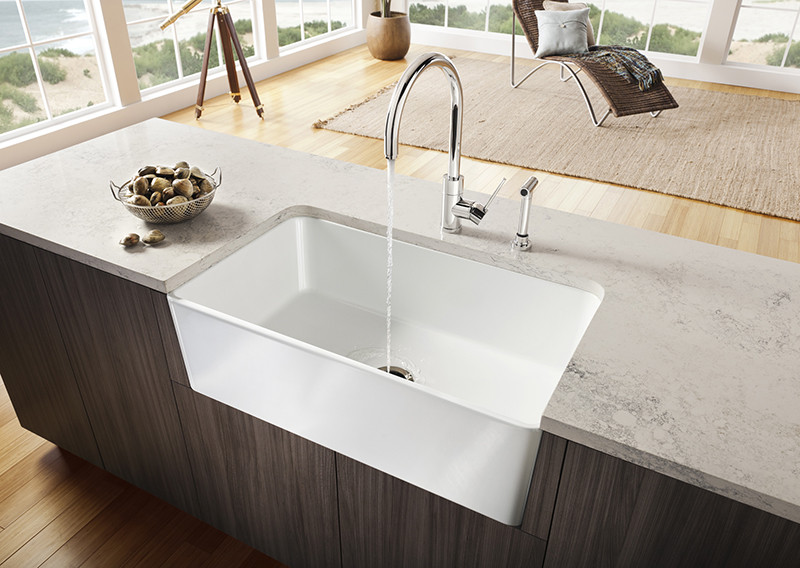
When it comes to choosing the right material for your kitchen sink, there are several options available. Here's a comparison between concrete sinks and other popular materials to help you decide: Concrete vs. Stainless Steel: While stainless steel sinks are a popular choice for kitchens, they can be noisy and are prone to scratches and water stains. Concrete sinks, on the other hand, are durable and can absorb sound, making them a quieter option. Concrete vs. Granite: Granite sinks are a luxurious option, but they can be expensive and require regular sealing to prevent stains. Concrete sinks offer a similar look without the high cost and are easier to maintain. Concrete vs. Ceramic: Ceramic sinks are a classic choice, but they can chip and are not as durable as concrete. Concrete sinks are less prone to damage and offer a unique and modern look.Concrete Sinks vs. Other Materials: Which is Right for You?
If you've decided that a concrete sink is the right choice for your kitchen, here is a general guide on how to install it: Materials Needed: - Concrete sink - Plywood or MDF board - Screws - Silicone caulk - Sink clips Steps: 1. Measure and cut the countertop: Measure the size of your sink and cut a hole in your countertop using a jigsaw. 2. Create a support structure: Use plywood or MDF board to create a support structure for your sink. This will help distribute the weight of the sink and prevent it from cracking. 3. Install sink clips: Place sink clips around the edges of the cutout in the countertop. These will hold the sink in place. 4. Apply silicone caulk: Apply a thin layer of silicone caulk around the edges of the sink's rim. 5. Place the sink: Carefully lower the sink into the cutout and press down to secure it in place. 6. Connect plumbing: Once the sink is in place, connect the plumbing and secure it with clips or brackets. 7. Seal the edges: Use silicone caulk to seal the edges of the sink for a clean and secure finish.How to Install a Concrete Sink in Your Kitchen
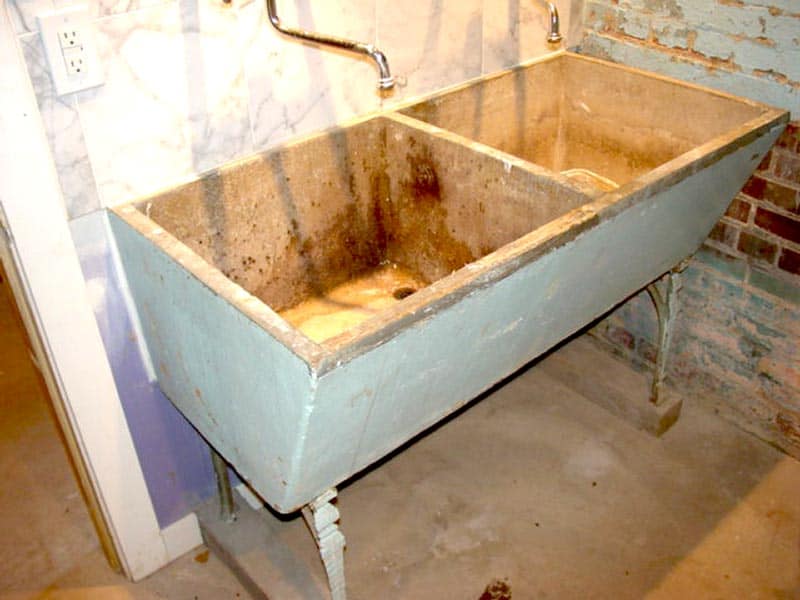
If you're looking to create an industrial-style kitchen, a concrete sink is the perfect choice. Its sleek and modern look pairs well with other industrial elements like exposed brick, metal accents, and concrete countertops. It's a bold and unique addition that can elevate the overall design of your kitchen. In conclusion, a concrete sink offers a combination of style, durability, and sustainability, making it a popular choice for modern kitchens. Whether you choose to make your own or opt for a DIY concrete overlay, a concrete sink is a statement piece that will add character to your kitchen and withstand the test of time.Concrete Sinks: The Perfect Choice for an Industrial-Style Kitchen
The Benefits of a Study-Built Kitchen Sink Concrete

Why Choose a Study-Built Kitchen Sink Concrete?
 When it comes to designing your dream house, every detail matters. From the color of the walls to the type of flooring, each element contributes to creating the perfect living space. One often overlooked aspect is the kitchen sink. While it may seem like a mundane fixture, the right
kitchen sink
can enhance the overall look and functionality of your kitchen. This is where a
study-built
kitchen sink concrete
comes in.
What is a Study-Built Kitchen Sink Concrete?
 A
study-built
kitchen sink concrete
is a sink made from
concrete
that is designed and built specifically for your kitchen. Unlike pre-made sinks that come in standard sizes and designs, a
study-built
sink is customized to fit your kitchen's measurements and aesthetic. This allows for a seamless integration of the sink into your kitchen, making it a standout feature rather than an afterthought.
The Advantages of a Study-Built Kitchen Sink Concrete
 Design Flexibility:
With a
study-built
kitchen sink concrete,
you have the freedom to choose the shape, size, and even color of your sink. This allows you to create a unique and personalized look for your kitchen.
Durability:
Concrete is known for its strength and durability, making it an ideal material for a kitchen sink. It can withstand heavy use and is resistant to scratches and stains, making it a long-lasting option for your kitchen.
Low Maintenance:
Unlike other materials, concrete is relatively low maintenance. It doesn't require any special cleaning products and can easily be wiped down with soap and water.
Environmentally Friendly:
Concrete is a sustainable material, making it an environmentally friendly choice for your kitchen sink. It is made from natural materials and can be recycled, reducing its impact on the environment.
How to Incorporate a Study-Built Kitchen Sink Concrete into Your Design
 When designing your kitchen, it's important to consider the overall aesthetic and functionality of the space. A
study-built
kitchen sink concrete
can be incorporated into various design styles, from modern to rustic. Its versatility allows it to blend in seamlessly with any kitchen design.
In addition, you can also add
custom features
to your
kitchen sink concrete
such as built-in cutting boards, drying racks, or even a built-in compost bin. This not only adds to the functionality of your sink but also elevates the overall design of your kitchen.
In conclusion, a
study-built
kitchen sink concrete
is a stylish and practical addition to any kitchen design. Its customizable features and durability make it a standout choice for those looking to create a unique and functional living space. So why settle for a standard sink when you can have a
study-built
kitchen sink concrete
that perfectly fits your needs and style?

















/tinakonstas_30841932_190523638256309_6282840888309710848_n-1537553a03ea4336b66ece15e7f27b9c.jpg)


