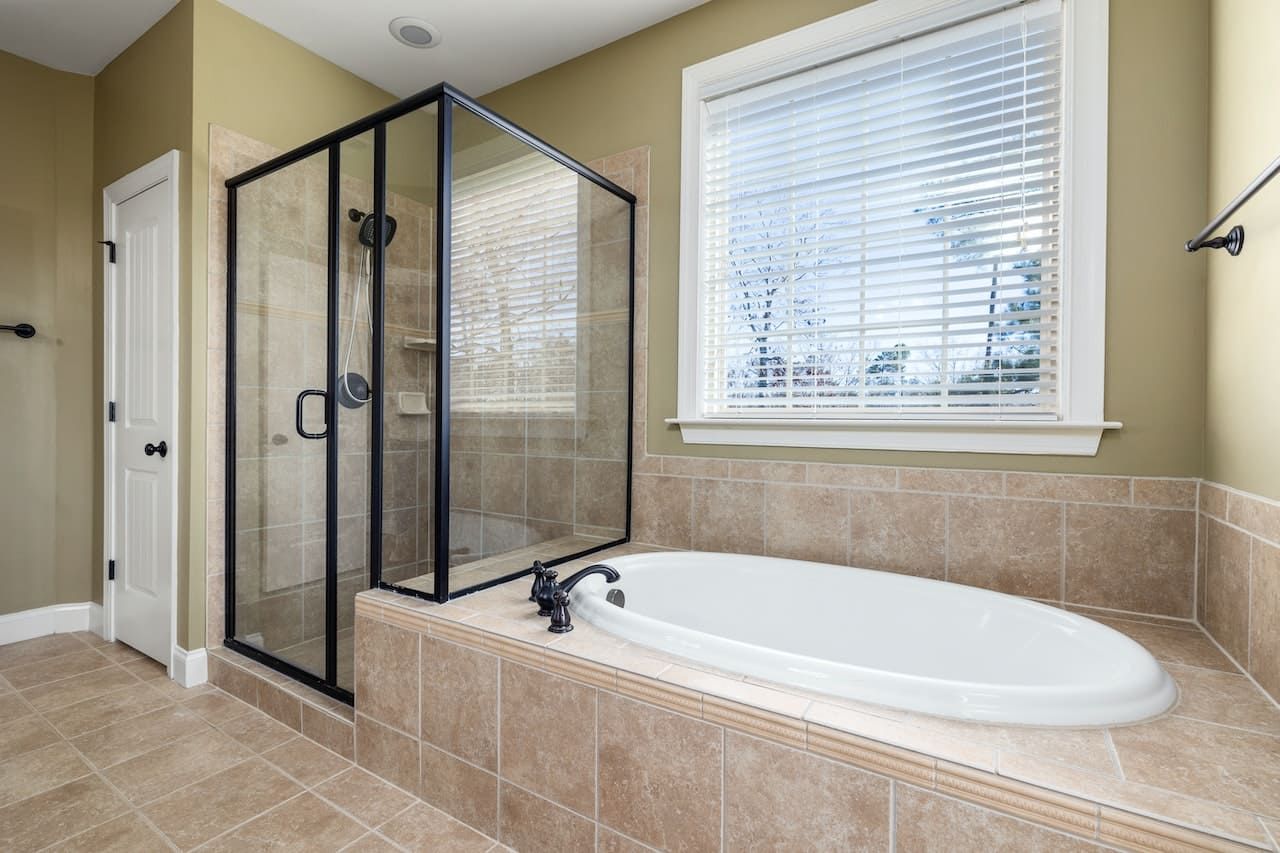
If you've recently installed a new kitchen sink or renovated your kitchen, you may be wondering how to properly seal the grout around the sink. This is an important step in maintaining the overall cleanliness and longevity of your kitchen. In this article, we will discuss the best methods and products for sealing grout around a kitchen sink.How to Seal Grout Around a Kitchen Sink


How to Seal Grout Around a Kitchen Sink


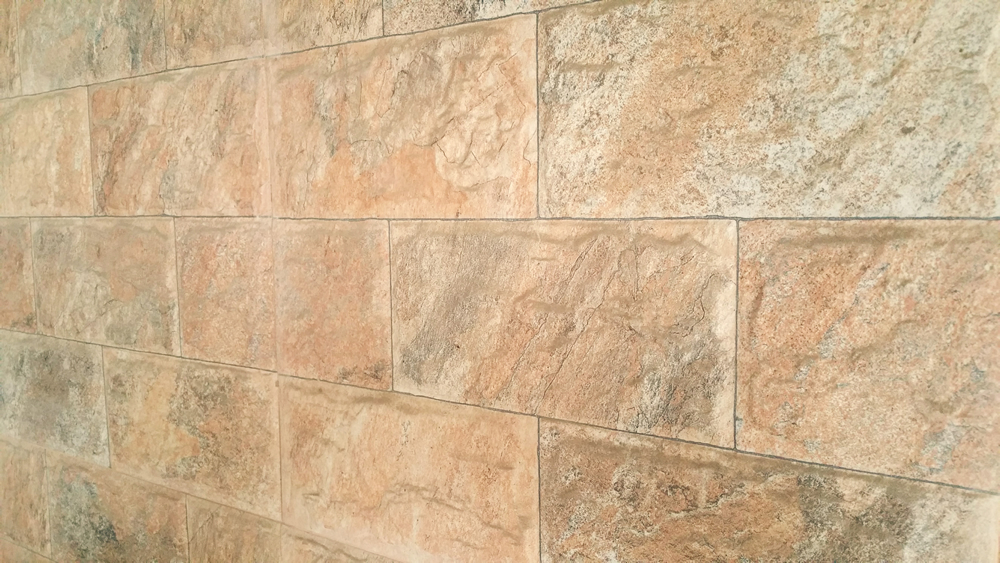
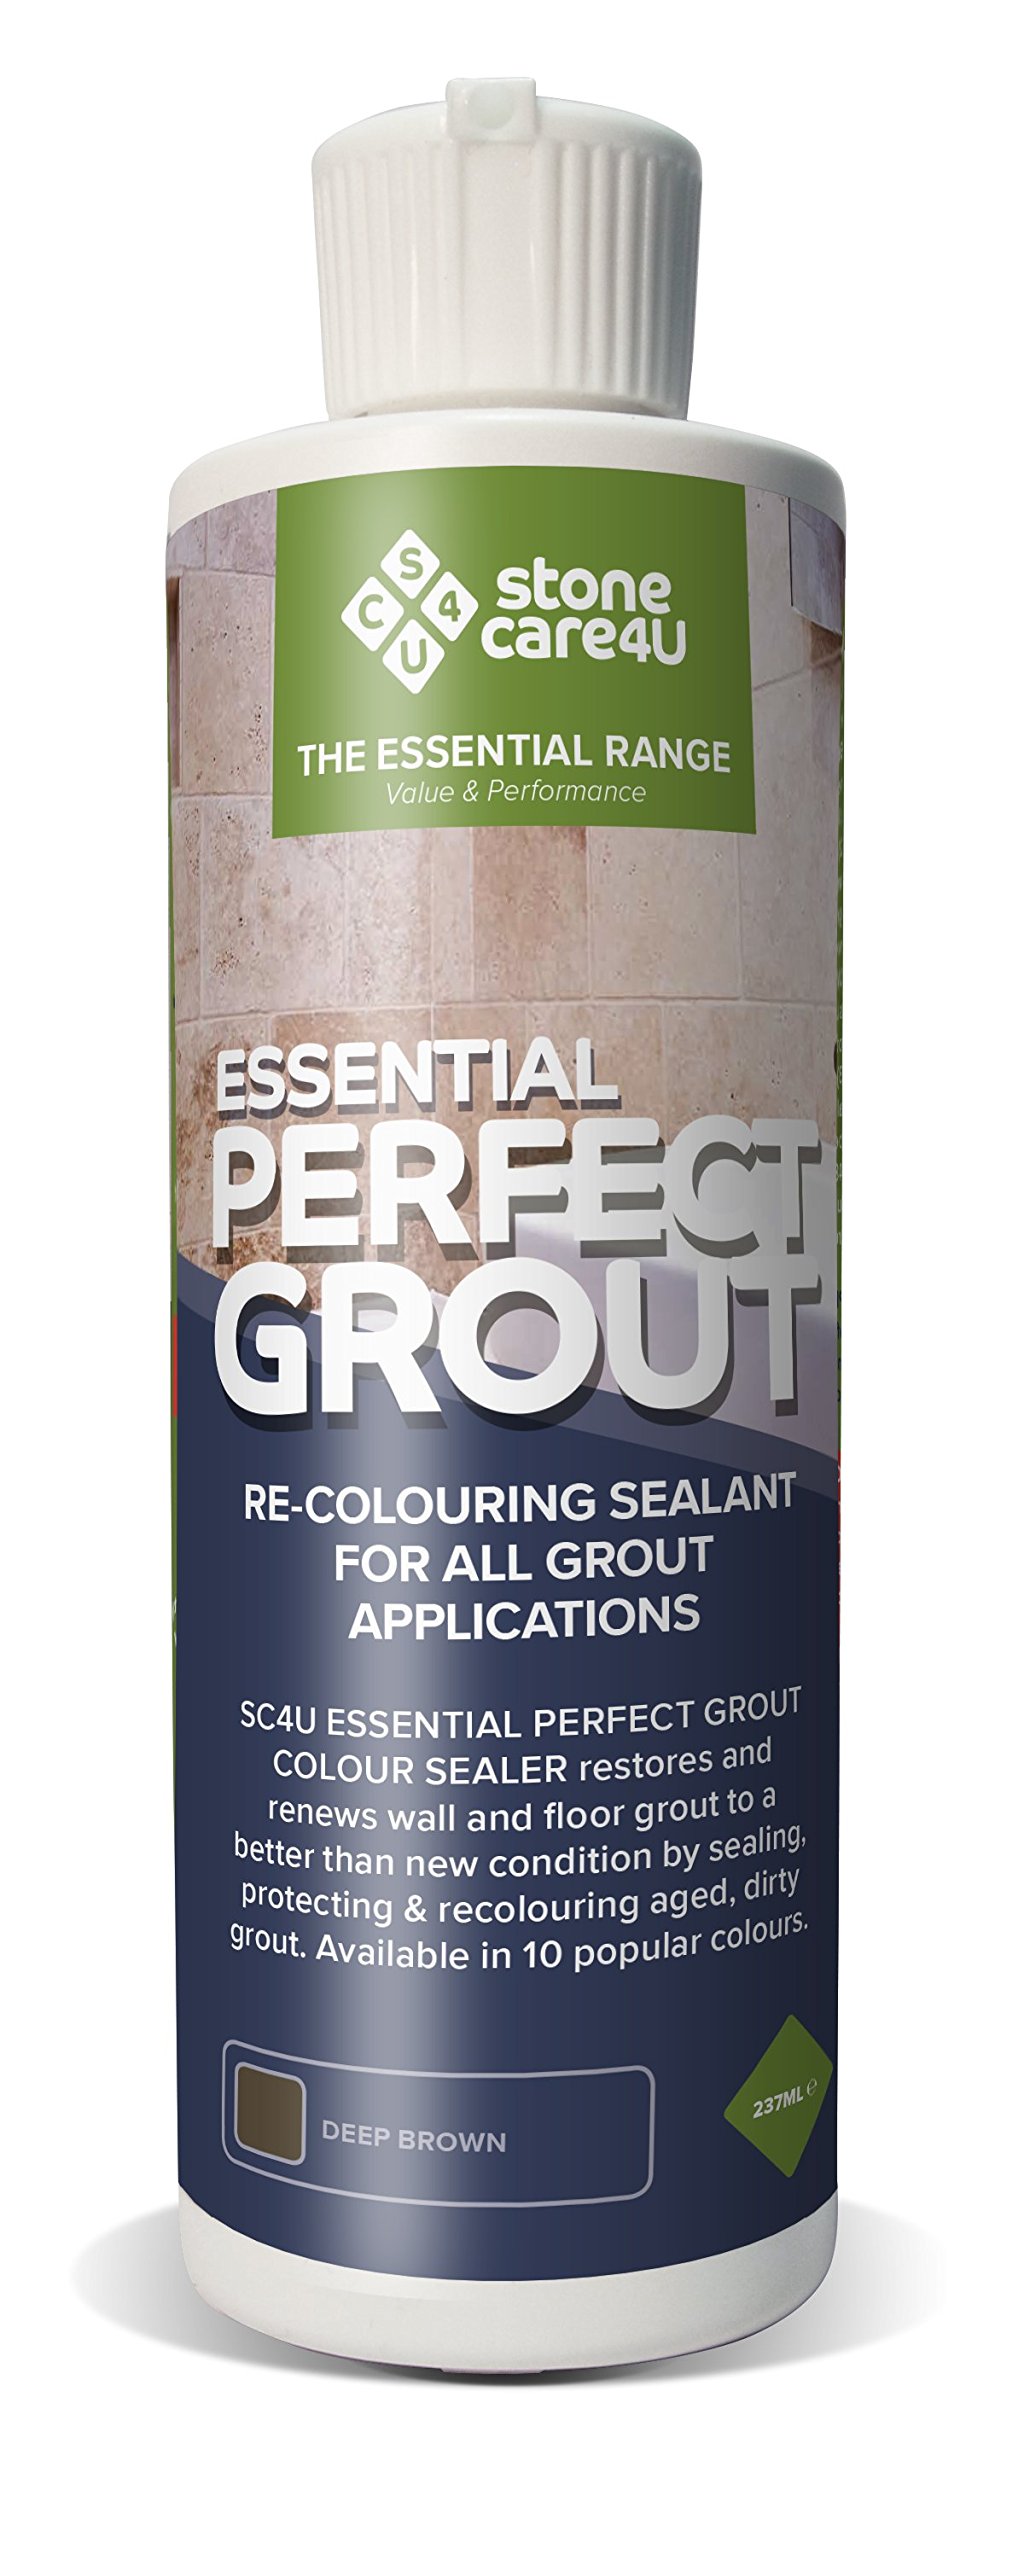
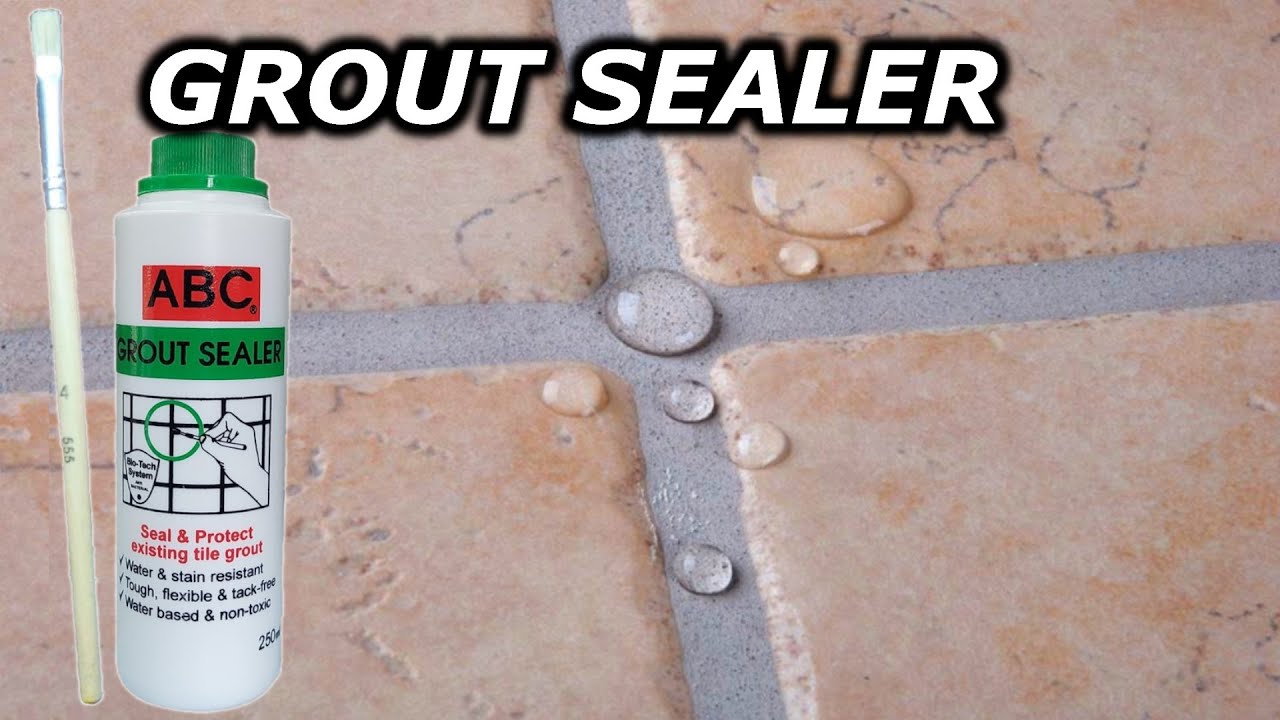
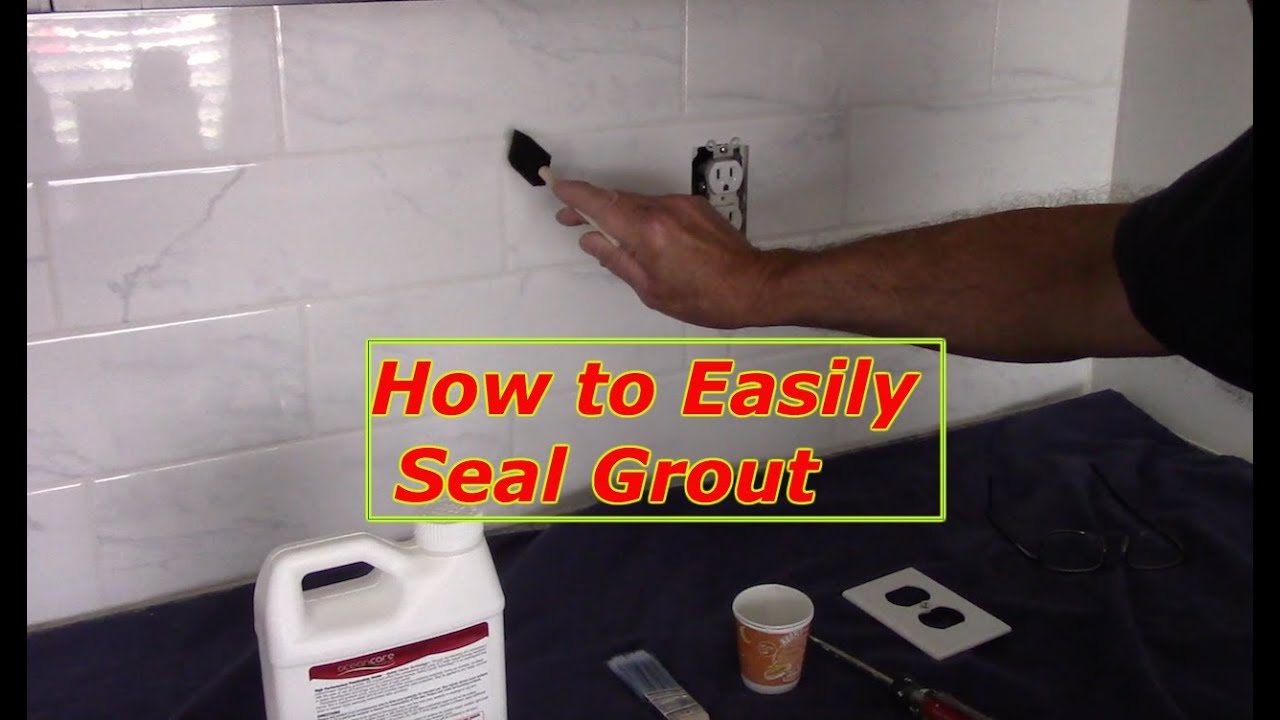
When it comes to sealing grout around a kitchen sink, there are a variety of products available on the market. However, not all products are created equal. It's important to choose a product that is specifically designed for grout and is safe for use in a kitchen. Some popular options include Grout Sealers Inc. Grout Sealer and Tile Guard Silicone Grout Sealer. These products are easy to use and provide long-lasting protection for your grout.Best Products for Sealing Grout Around a Kitchen Sink


Best Products for Sealing Grout Around a Kitchen Sink

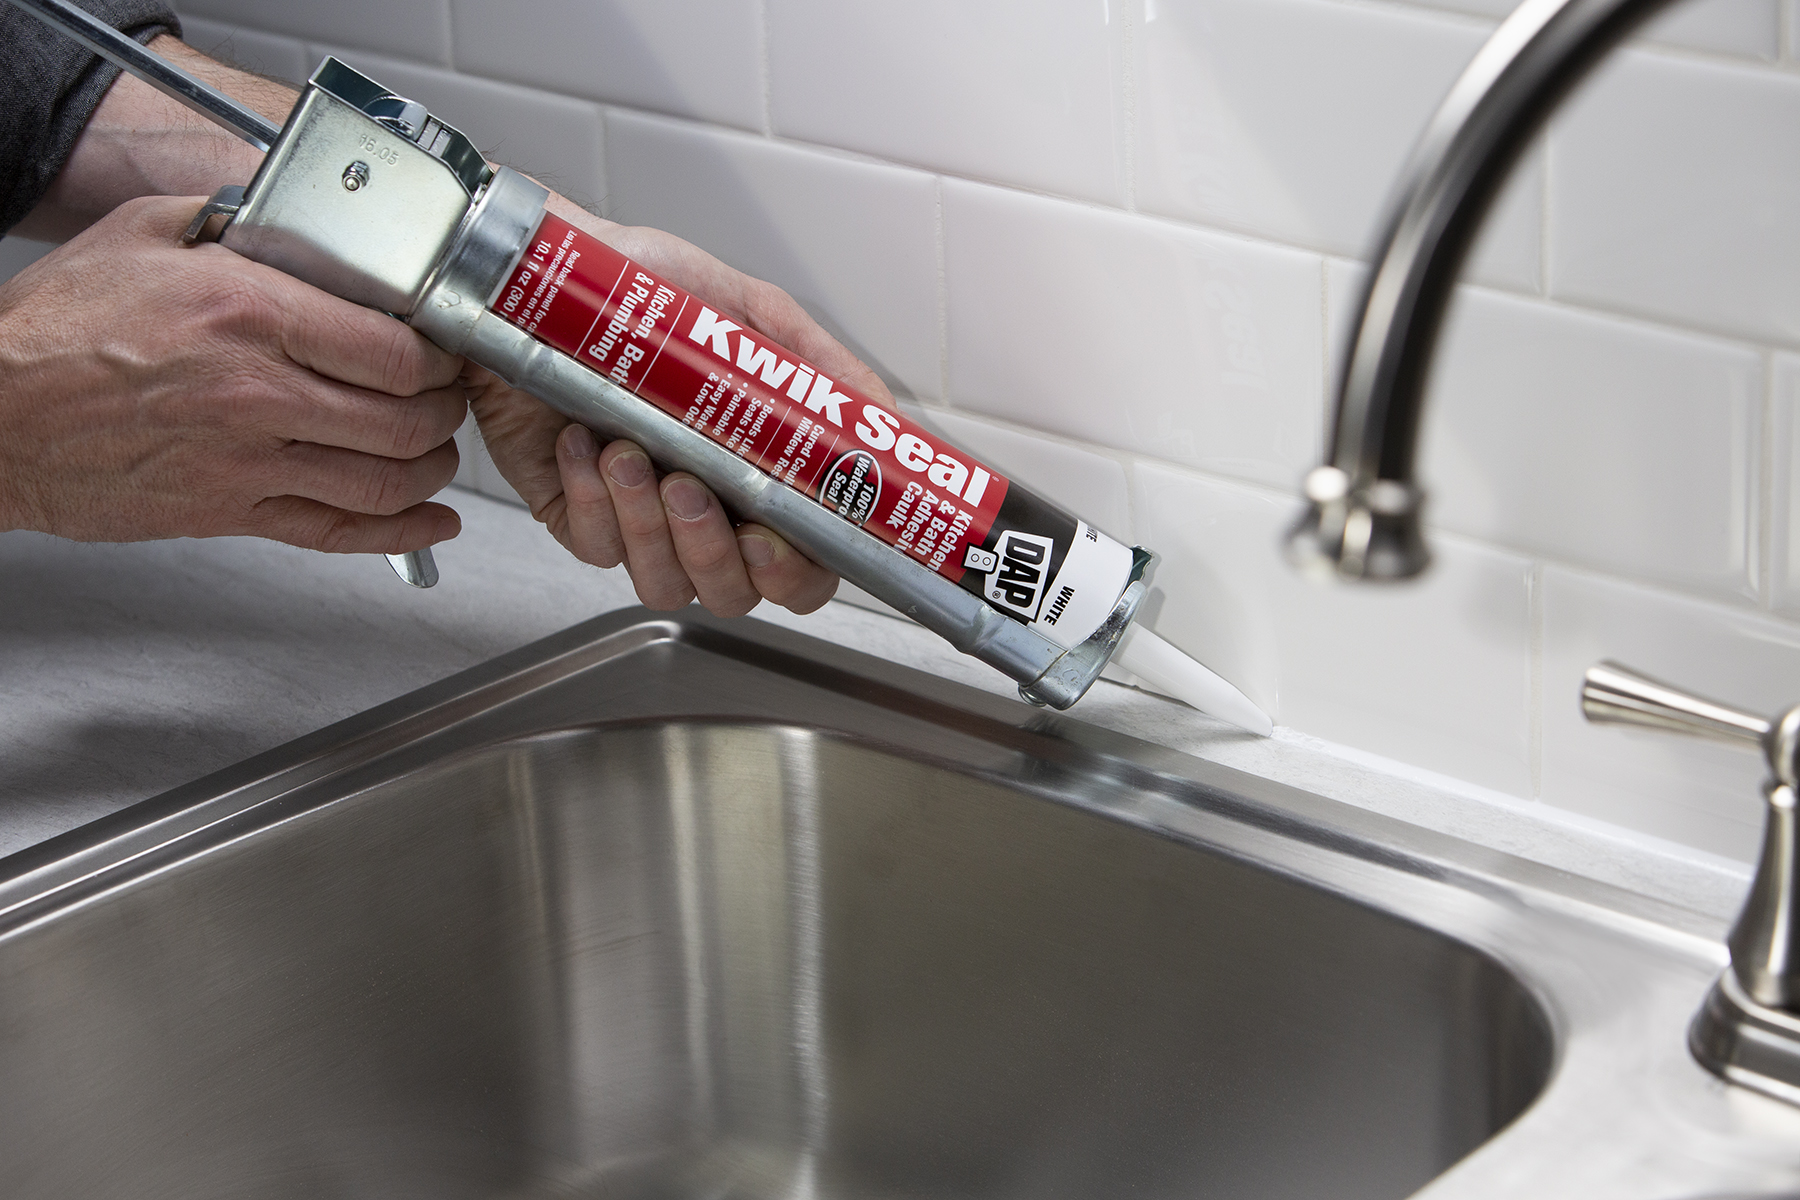
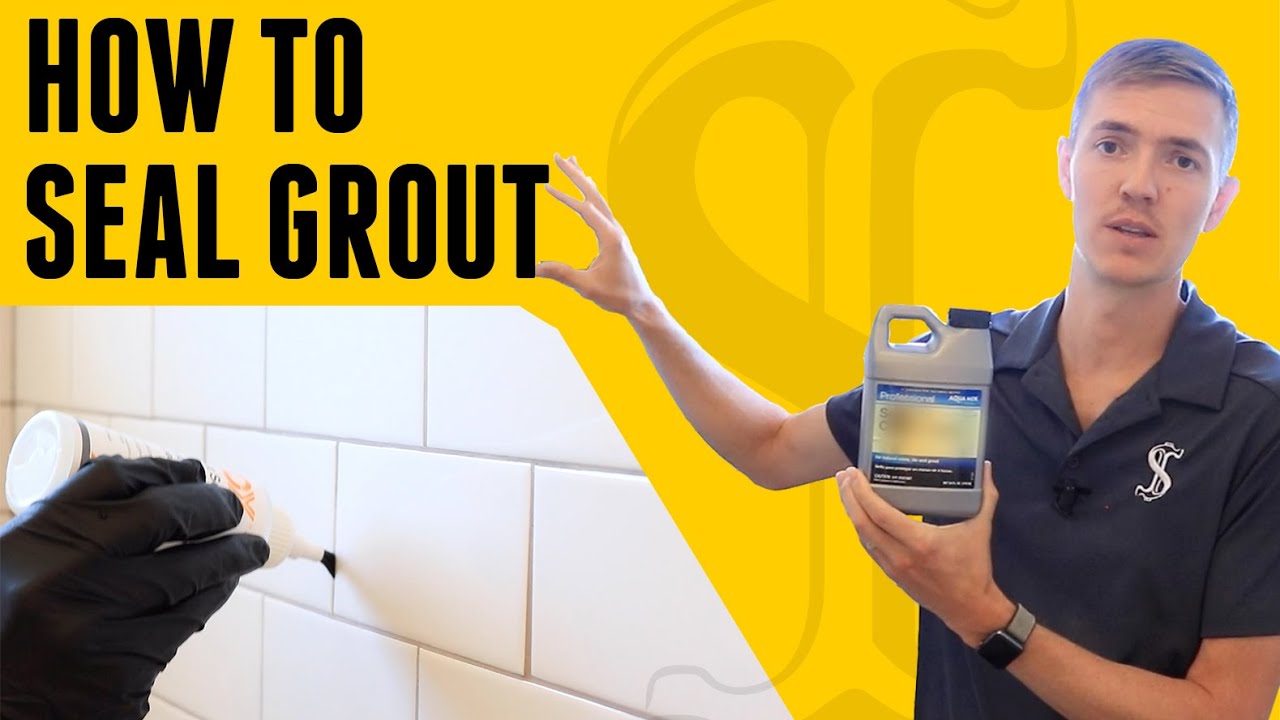
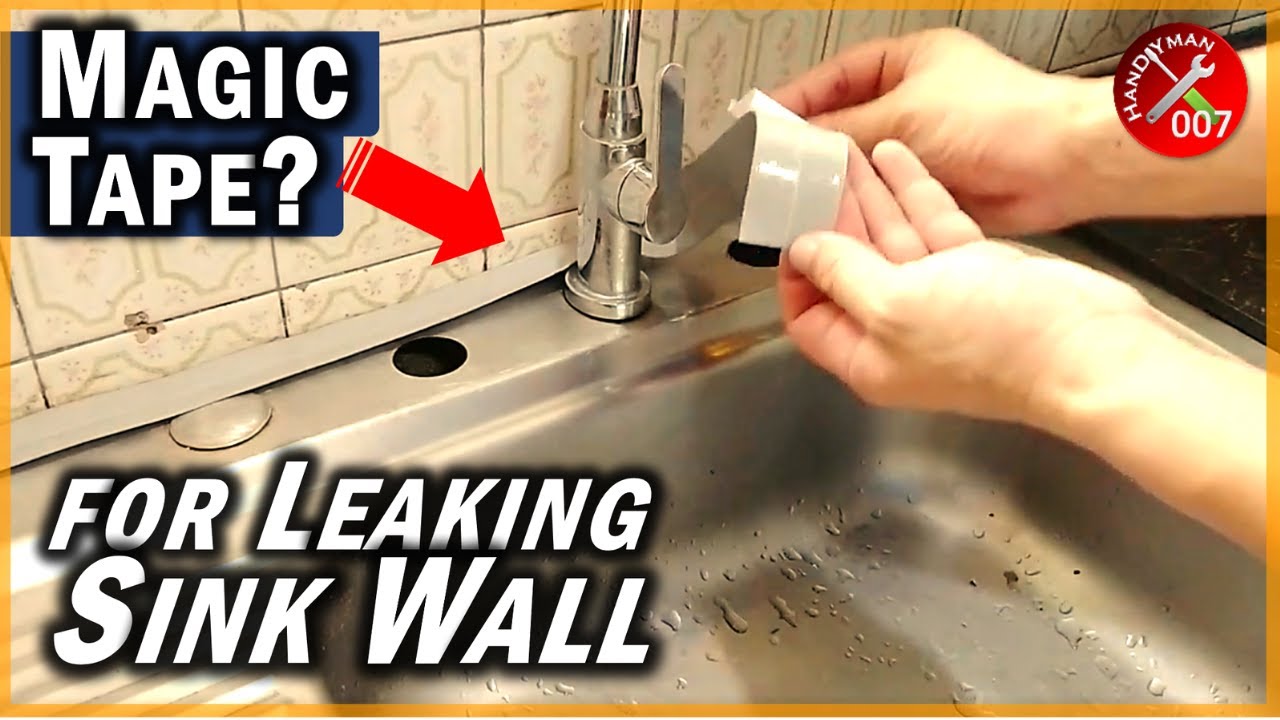
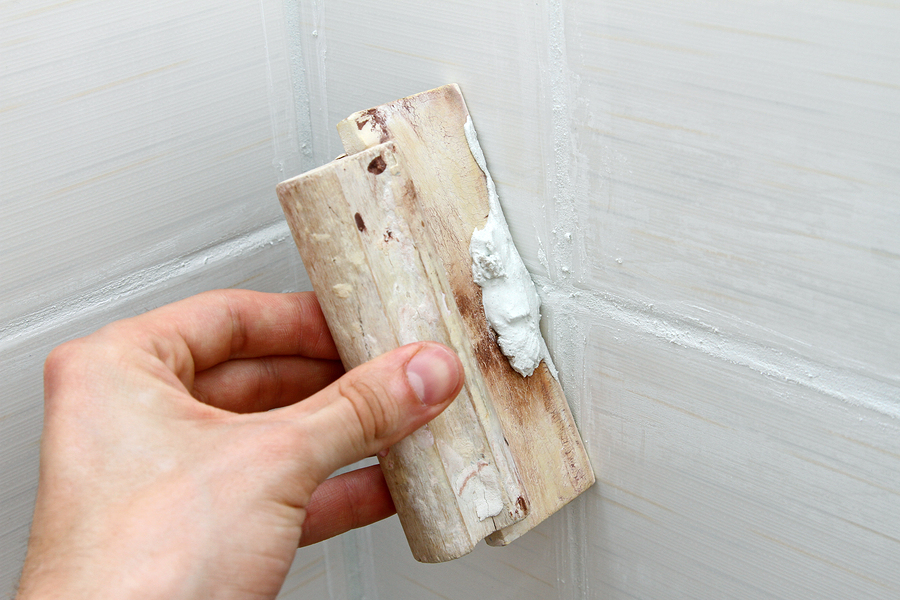
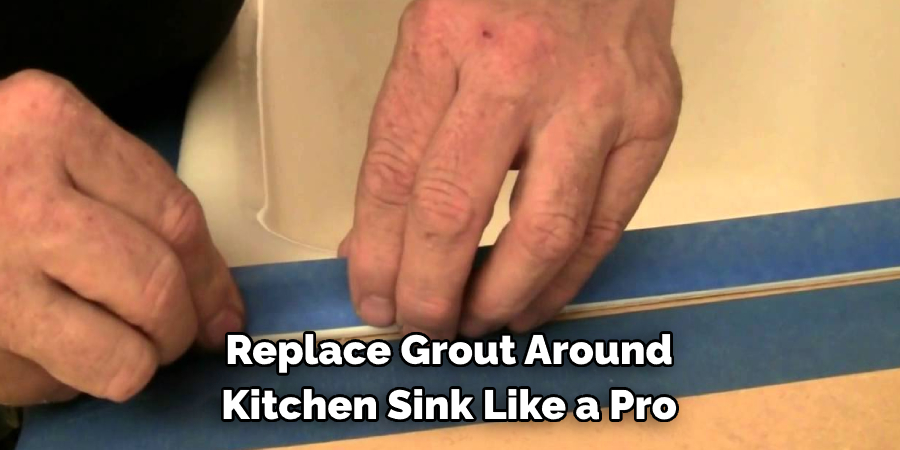
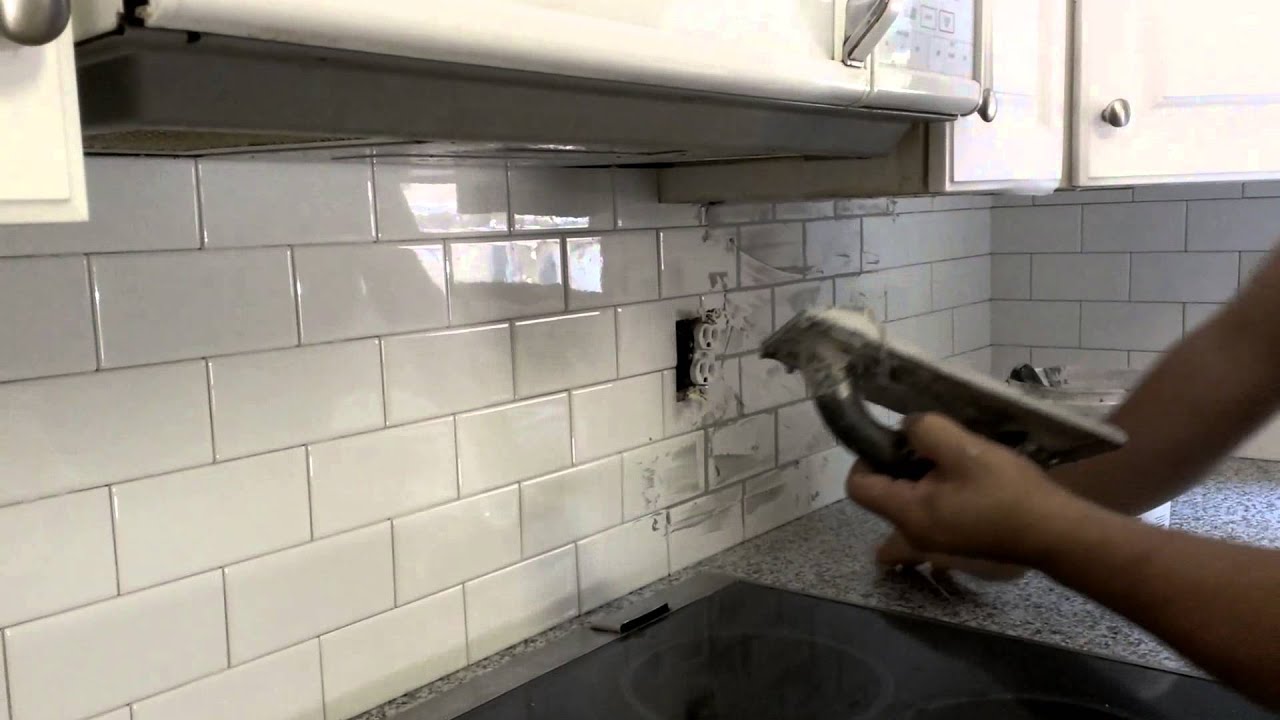
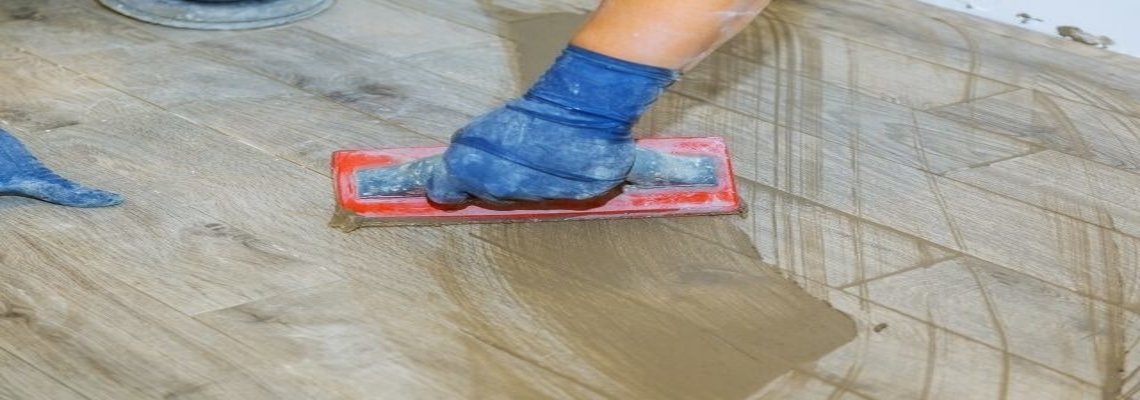
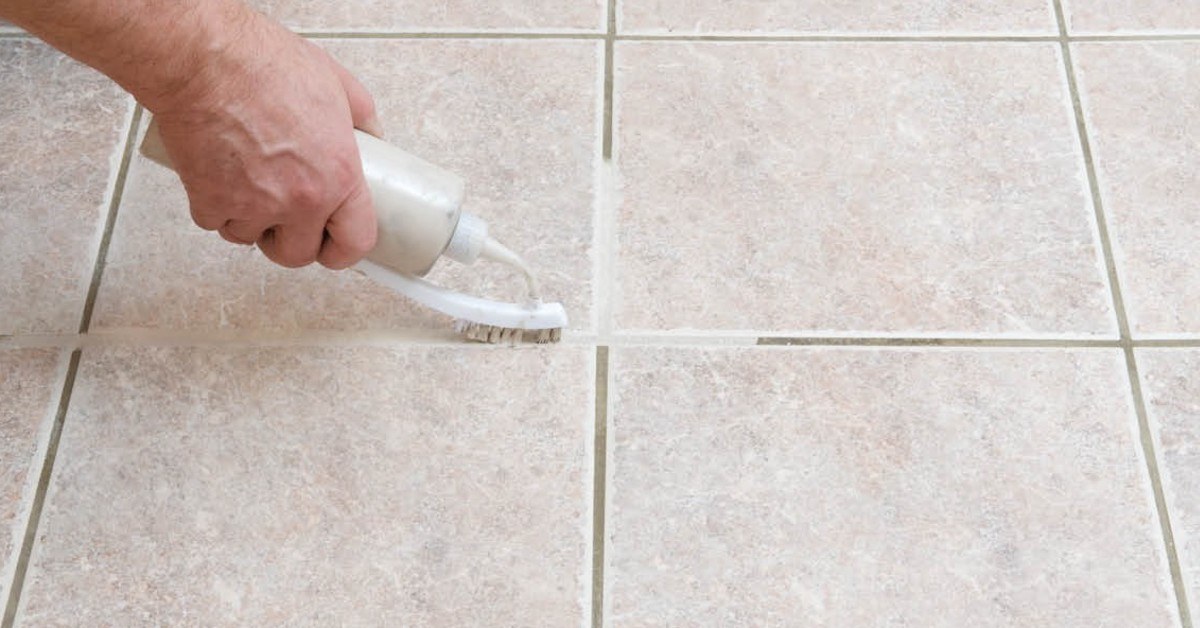
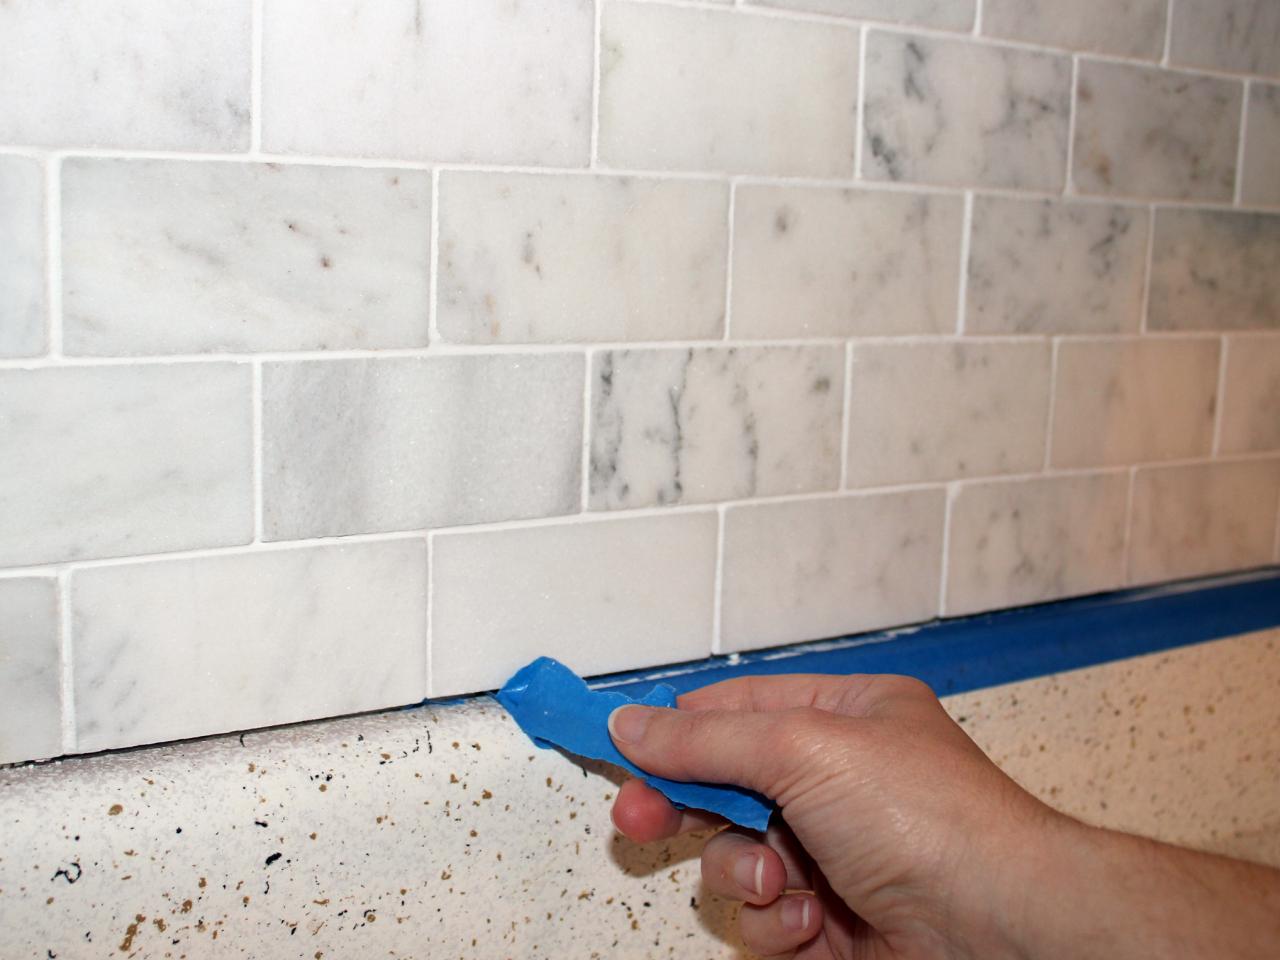
Now that you have your chosen grout sealer, it's time to get to work. Follow these simple steps to properly seal the grout around your kitchen sink: Step 1: Clean the grout around the sink with a mild cleaner and allow it to dry completely. Step 2: Apply the grout sealer according to the instructions on the product. This may involve using a brush or roller to evenly distribute the sealer over the grout lines. Step 3: Wait for the recommended amount of time for the sealer to dry completely. Step 4: Apply a second coat of sealer for added protection. Step 5: Allow the sealer to cure for at least 24 hours before using the sink or exposing it to water.Step-by-Step Guide for Sealing Grout Around a Kitchen Sink


Step-by-Step Guide for Sealing Grout Around a Kitchen Sink


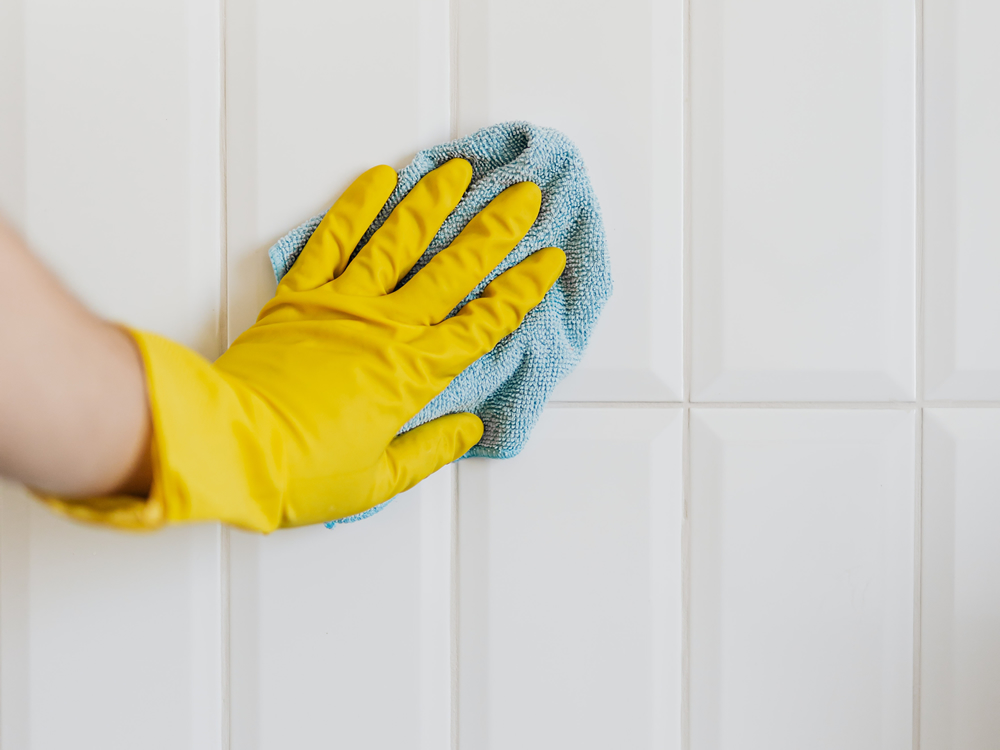
To ensure that your sealed grout stays in top condition, there are a few tips you can follow: Tip 1: Wipe down the grout around the sink regularly with a mild cleaner and a soft cloth to prevent buildup of dirt and grime. Tip 2: Avoid using harsh chemicals or abrasive cleaners on the sealed grout as this can damage the sealant. Tip 3: Consider using a grout sealer with added mildewcide to prevent the growth of mold and mildew in your kitchen.Tips for Maintaining Sealed Grout Around a Kitchen Sink


Tips for Maintaining Sealed Grout Around a Kitchen Sink


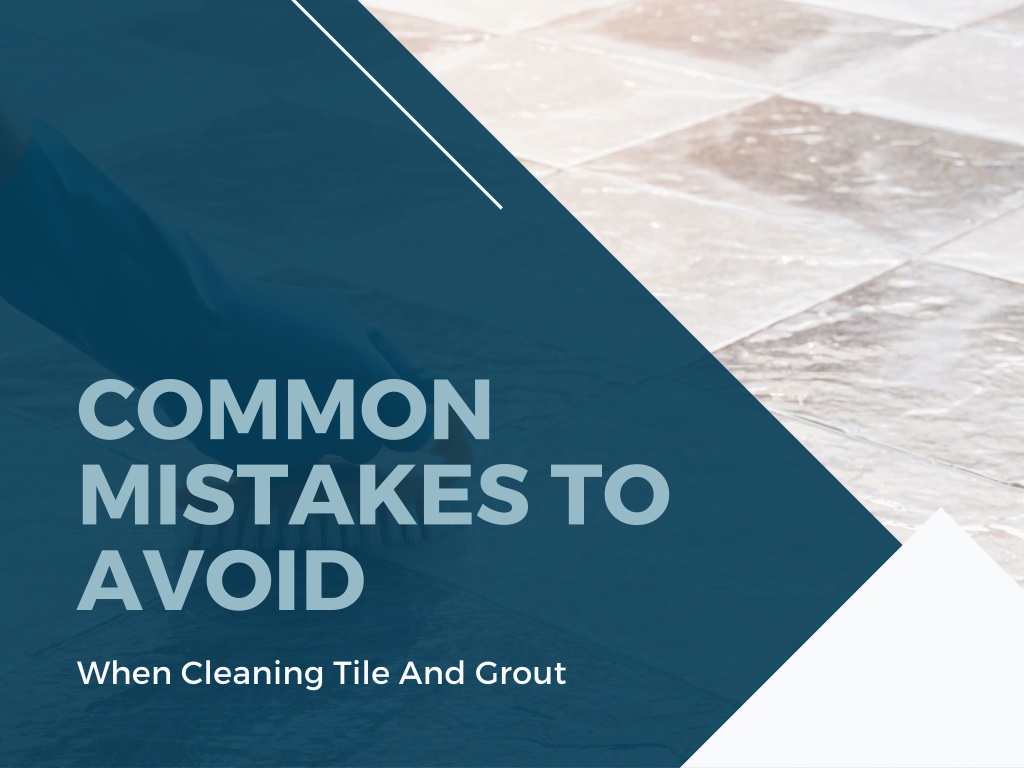
When sealing grout around a kitchen sink, there are some common mistakes that can be easily avoided: Mistake 1: Not properly cleaning the grout before applying the sealer. This can prevent the sealer from properly adhering to the grout and providing adequate protection. Mistake 2: Using too much sealer. Excess sealer can result in a sticky residue that is difficult to remove. Mistake 3: Applying the sealer too thickly. This can lead to an uneven finish and may cause the sealer to peel or crack over time.Common Mistakes to Avoid When Sealing Grout Around a Kitchen Sink


Common Mistakes to Avoid When Sealing Grout Around a Kitchen Sink


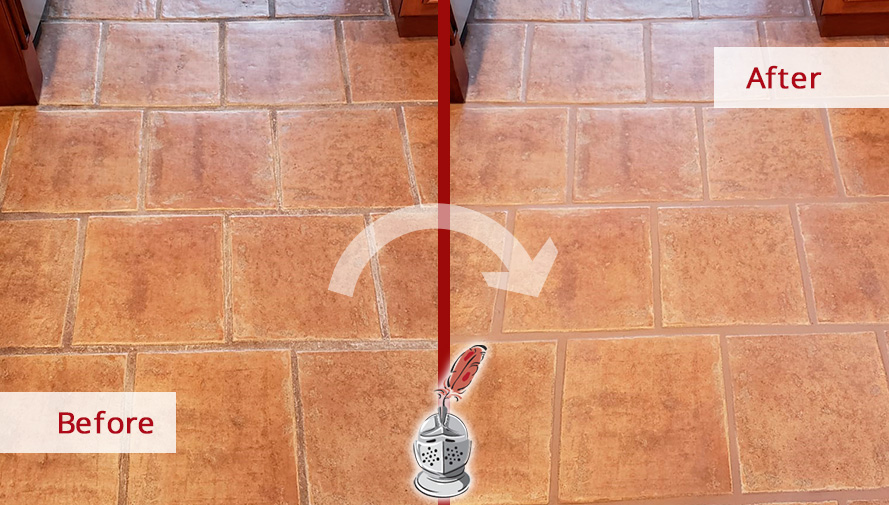
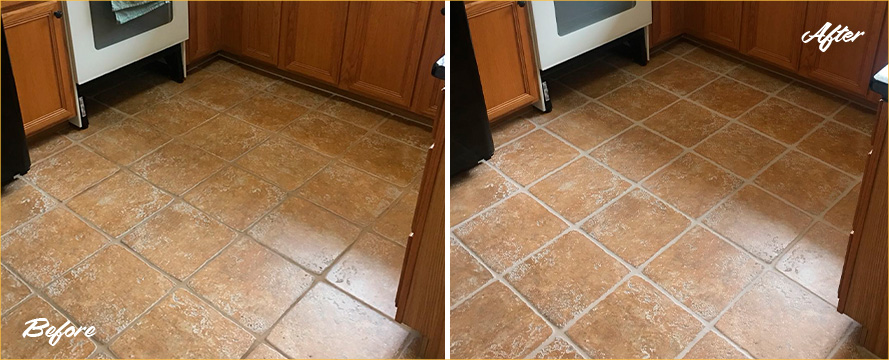
Sealing the grout around your kitchen sink has several benefits, including: Benefit 1: Protection against water damage and staining. Sealed grout is less porous, making it more resistant to water and stains. Benefit 2: Easier maintenance. Sealed grout is easier to clean and maintain, reducing the amount of time and effort needed to keep your kitchen sink area looking clean and fresh. Benefit 3: Extended lifespan of your grout. Sealing your grout can help prevent cracking and deterioration, prolonging the lifespan of your grout and saving you money in the long run.Benefits of Sealing Grout Around a Kitchen Sink


Benefits of Sealing Grout Around a Kitchen Sink


The frequency of sealing your grout around the kitchen sink will depend on factors such as the type of sealant used and the amount of use the sink receives. However, as a general rule, it's recommended to seal grout at least once a year to maintain its protective qualities.How Often Should You Seal Grout Around a Kitchen Sink?


How Often Should You Seal Grout Around a Kitchen Sink?


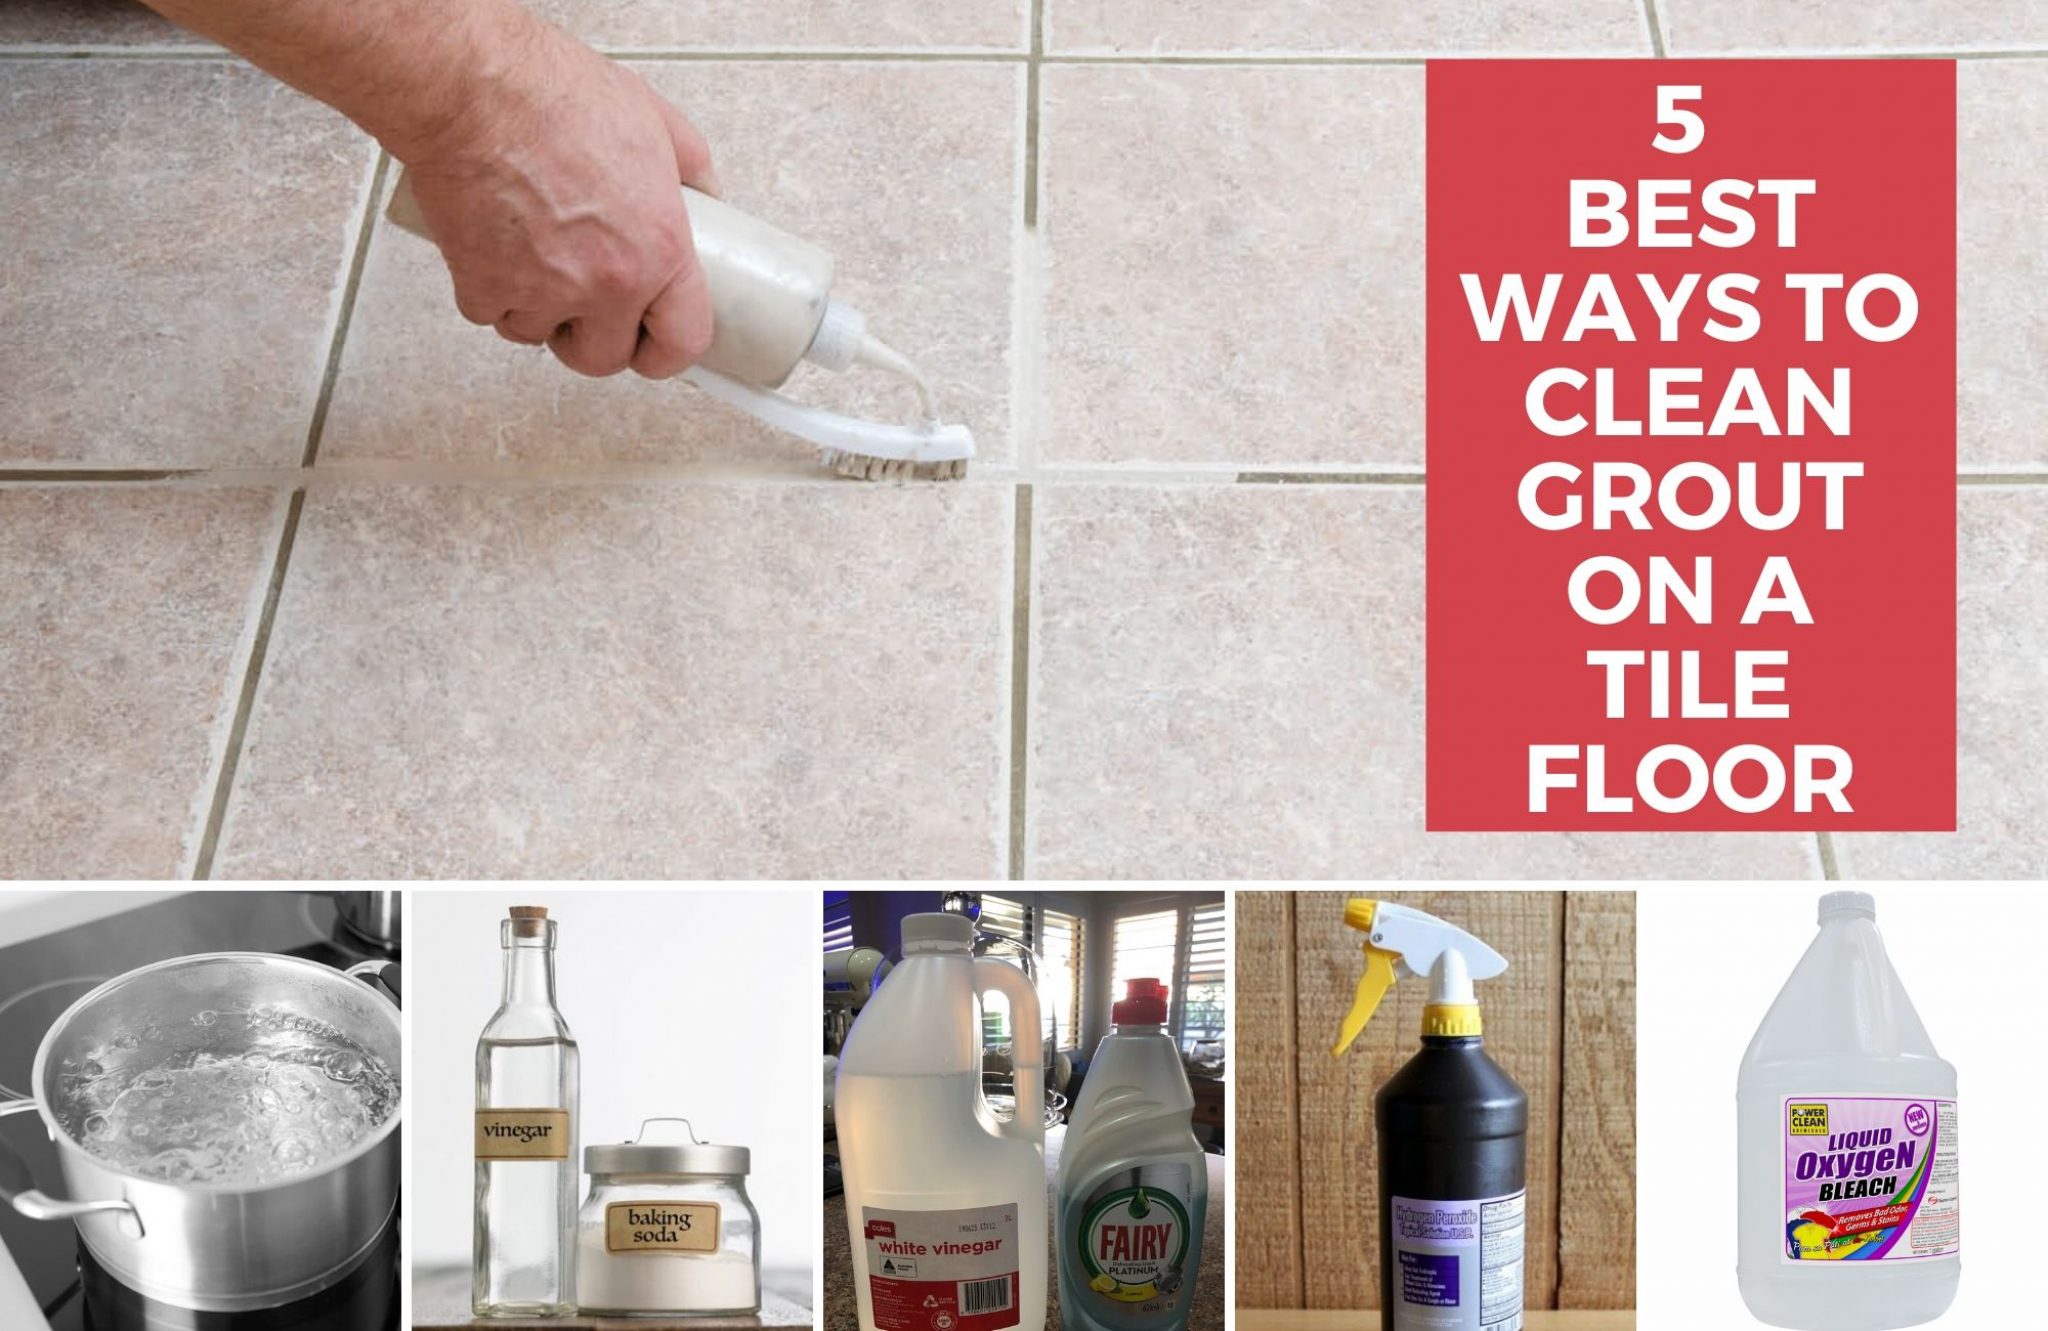
If you're looking for alternative methods for sealing grout around a kitchen sink, there are a few options you can consider: Method 1: Use a grout paint pen to seal the grout lines. This method is quick and easy, but may not provide as long-lasting protection as traditional sealers. Method 2: Make your own grout sealer using a mixture of equal parts white vinegar and water. This natural solution can be applied with a spray bottle and is safe for use in the kitchen.Alternative Methods for Sealing Grout Around a Kitchen Sink


Alternative Methods for Sealing Grout Around a Kitchen Sink
:max_bytes(150000):strip_icc()/Kitchen-tile-GettyImages-595447700-58b3a3213df78cdcd831e1be.jpg)
While some homeowners may prefer to take on the task of sealing grout themselves, others may prefer to hire a professional. Here are some factors to consider when deciding between a DIY approach or hiring a professional: DIY: Sealing grout yourself can save money, but may require more time and effort. It's important to carefully follow instructions and avoid common mistakes. Professional: Hiring a professional to seal your grout can ensure a high-quality and long-lasting finish. However, it may be more costly than a DIY approach.DIY vs Professional: Which is Better for Sealing Grout Around a Kitchen Sink?


DIY vs Professional: Which is Better for Sealing Grout Around a Kitchen Sink?


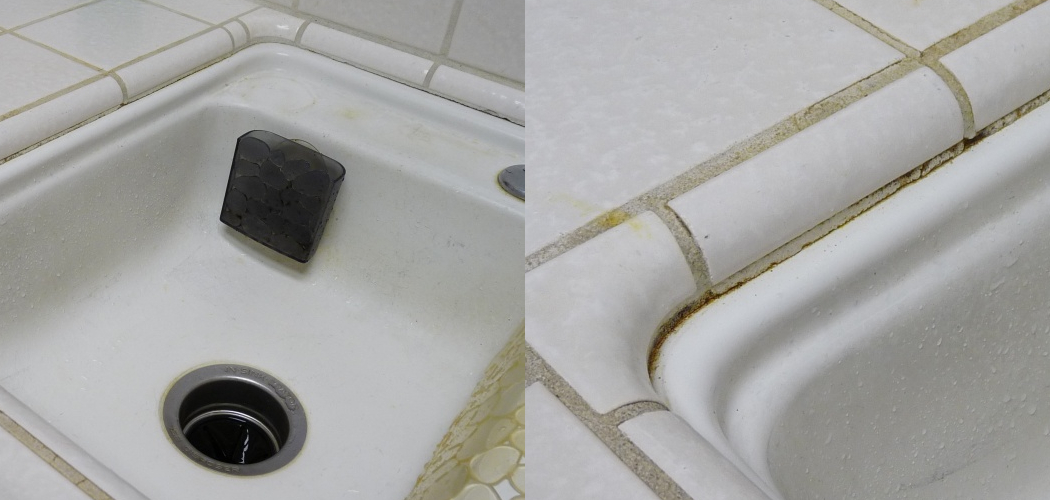

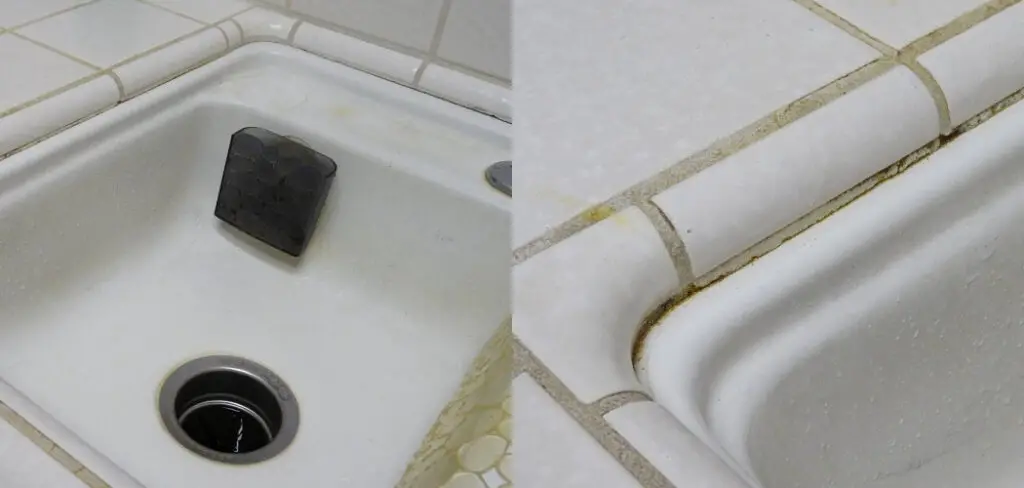
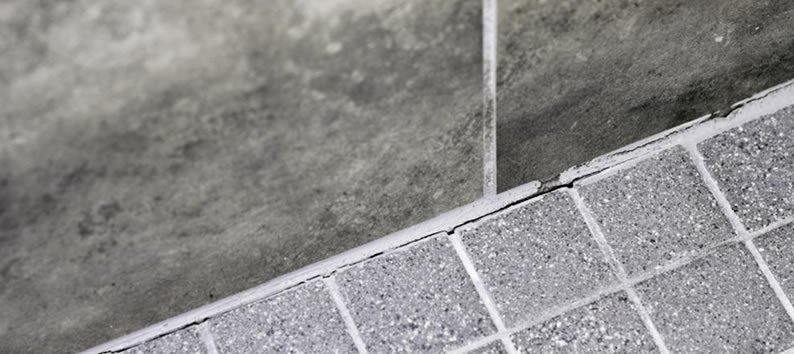
If you're unsure whether your grout around the kitchen sink needs to be sealed, there are a few signs to look out for: Sign 1: Discoloration or staining of the grout lines. Sign 2: Water no longer beads on the surface of the grout. Sign 3: Difficulty cleaning the grout, even with mild cleaners. If you notice any of these signs, it's time to reseal your grout to maintain its protection and appearance.How to Tell if Your Grout Around a Kitchen Sink Needs to be Sealed


How to Tell if Your Grout Around a Kitchen Sink Needs to be Sealed


Why Sealing Grout Around Your Kitchen Sink is Important for a Well-Designed Home

Protection Against Moisture and Stains
 One of the main reasons for sealing grout around your kitchen sink is to protect it against moisture and stains. The kitchen sink is one of the most used areas in any home, and it is constantly exposed to water, soap, and food particles. Over time, these substances can seep into the grout and cause it to become discolored, stained, or even moldy. By properly sealing the grout, you create a protective barrier that prevents moisture and stains from penetrating the surface, making it easier to clean and maintain.
Preventing Cracks and Damage
 Another important reason to seal grout around your kitchen sink is to prevent cracks and damage. The grout between tiles is susceptible to cracking and crumbling due to constant exposure to water and cleaning products. This can not only compromise the aesthetic appeal of your kitchen but also lead to structural damage if left untreated. By sealing the grout, you strengthen its bond and make it more resistant to wear and tear, ensuring that your kitchen sink area remains in good condition for years to come.
Enhancing the Look of Your Kitchen
 In addition to its practical benefits, sealing grout around your kitchen sink can also enhance the overall look of your kitchen. Grout that is properly sealed appears cleaner, brighter, and more uniform, giving your kitchen a polished and well-designed appearance. This is especially important if you have light-colored tiles or countertops, as unsealed grout can make them appear dull and dirty. By investing in the proper sealing of your grout, you can elevate the design of your kitchen and make it a more inviting and visually appealing space.
In conclusion,
sealing grout around your kitchen sink is an essential step in maintaining a well-designed and functional home. It not only protects against moisture and stains but also prevents cracks and enhances the overall look of your kitchen. So, if you want to keep your kitchen in top shape, make sure to include sealing grout as a regular part of your cleaning and maintenance routine. Your kitchen will thank you for it.
In addition to its practical benefits, sealing grout around your kitchen sink can also enhance the overall look of your kitchen. Grout that is properly sealed appears cleaner, brighter, and more uniform, giving your kitchen a polished and well-designed appearance. This is especially important if you have light-colored tiles or countertops, as unsealed grout can make them appear dull and dirty. By investing in the proper sealing of your grout, you can elevate the design of your kitchen and make it a more inviting and visually appealing space.
In conclusion,
sealing grout around your kitchen sink is an essential step in maintaining a well-designed and functional home. It not only protects against moisture and stains but also prevents cracks and enhances the overall look of your kitchen. So, if you want to keep your kitchen in top shape, make sure to include sealing grout as a regular part of your cleaning and maintenance routine. Your kitchen will thank you for it.