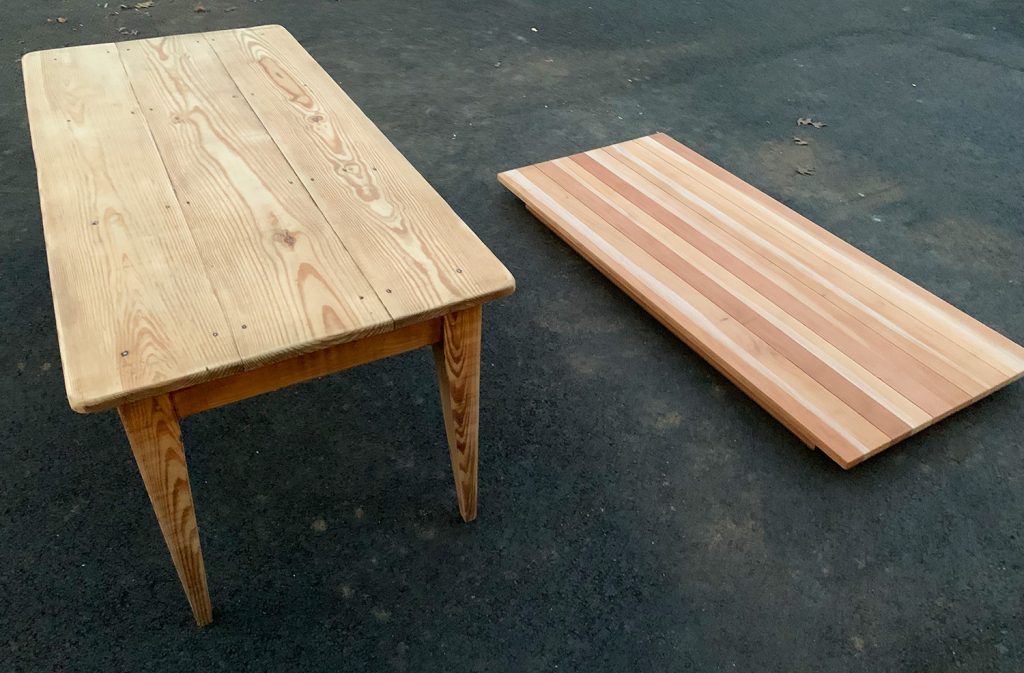
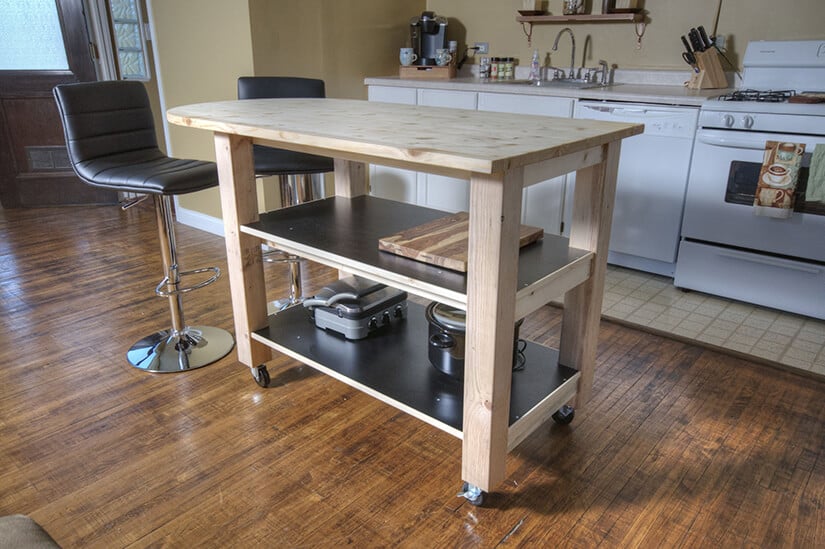
If your kitchen table top is looking dull and worn out, it may be time to give it a fresh new look. Sanding is a great way to remove scratches, nicks, and stains from your table top and reveal the beautiful wood underneath. In this article, we will guide you through the process of sanding a kitchen table top and give you some tips and techniques for achieving a smooth and flawless finish.How to Sand a Kitchen Table Top


How to Sand a Kitchen Table Top


Instead of hiring a professional, you can save money and take on the task of sanding your kitchen table top yourself. With the right tools and techniques, you can achieve professional-looking results without breaking the bank. Plus, it can be a fun and rewarding DIY project to take on.DIY Kitchen Table Top Sanding


DIY Kitchen Table Top Sanding


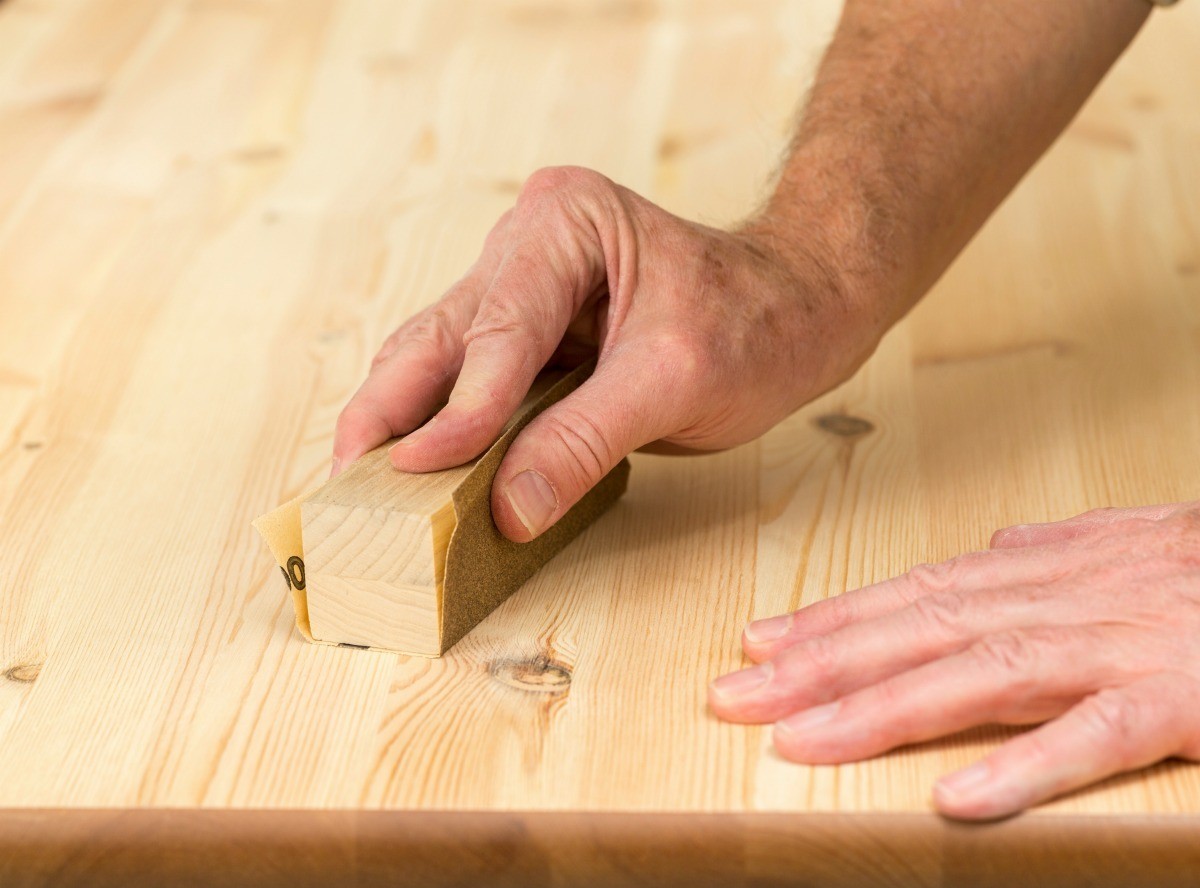
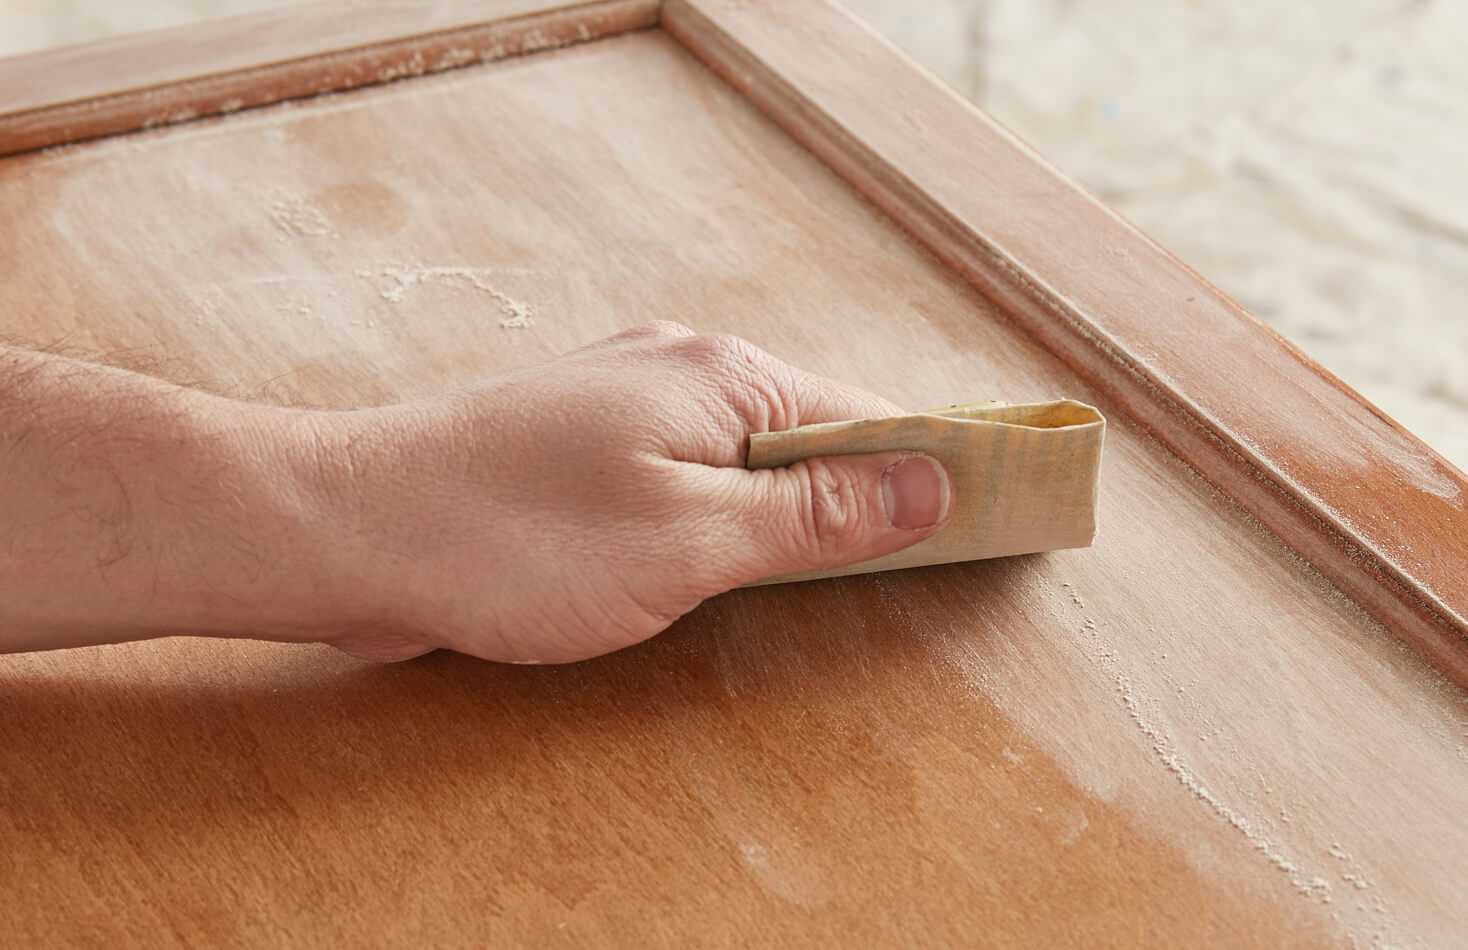
Before you start sanding, it’s important to know which technique to use for your specific table top. If your table top is made of a soft wood like pine, you’ll want to use a light hand and avoid pressing too hard with the sander. For hard woods like oak or maple, you can use a more aggressive sanding technique. It’s also important to sand in the direction of the wood grain to avoid creating scratches or marks.Sanding Techniques for Kitchen Table Tops


Sanding Techniques for Kitchen Table Tops


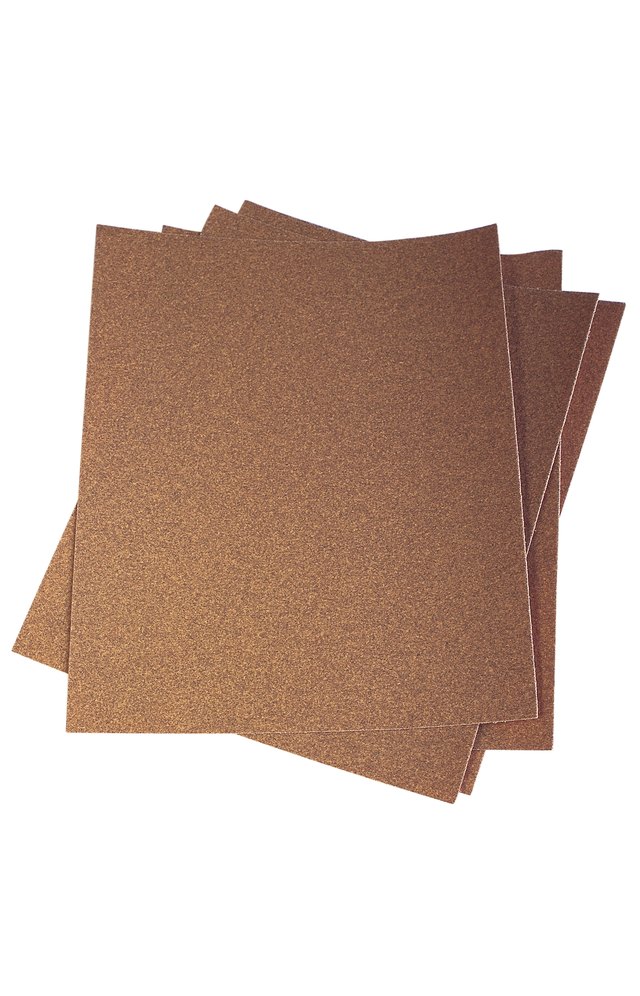
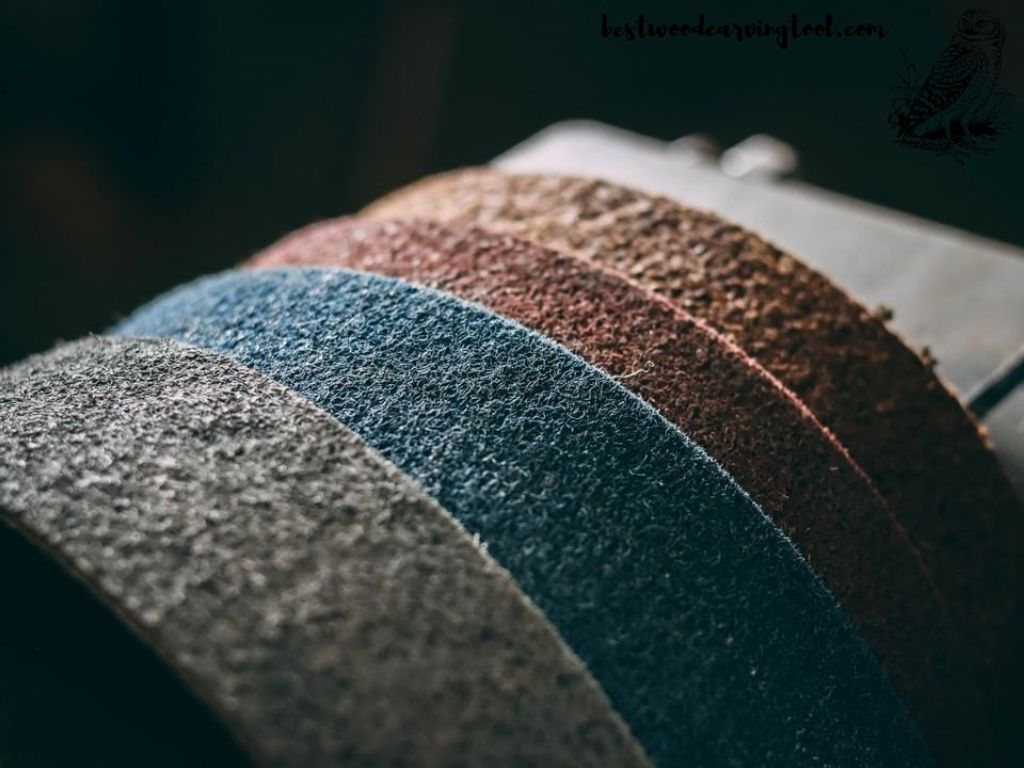
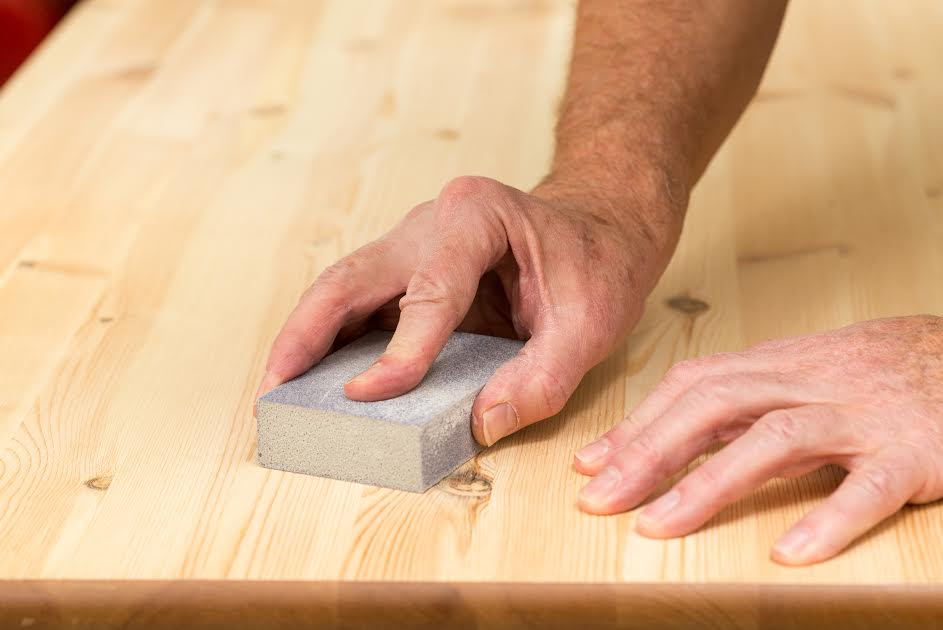
When it comes to sanding a kitchen table top, the type of sandpaper you use can make a big difference. For initial sanding, you’ll want to use a coarse grit sandpaper, such as 60 or 80 grit, to remove any rough spots or imperfections. As you move on to finer sanding, you can switch to a finer grit sandpaper, such as 120 or 150 grit, to achieve a smooth and even finish.Best Sandpaper for Kitchen Table Top


Best Sandpaper for Kitchen Table Top


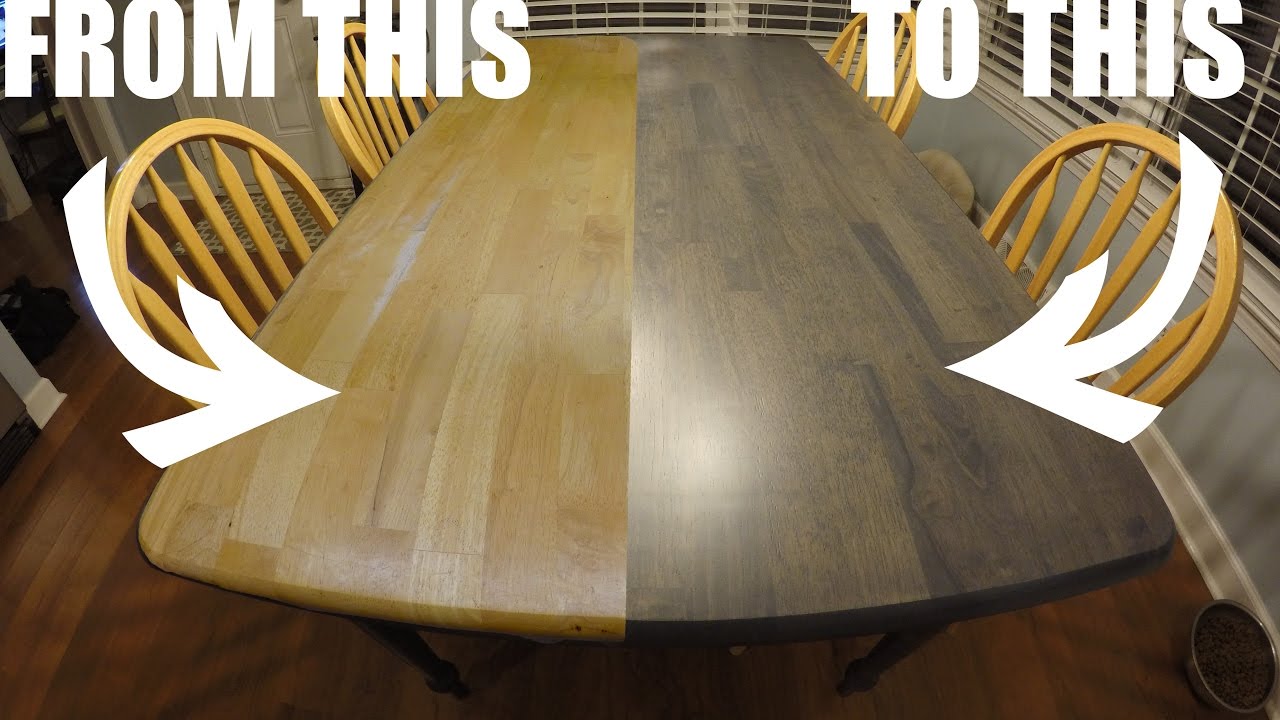
If you’re planning on refinishing your kitchen table top after sanding, it’s important to keep in mind that the sanding process will remove any previous finish or stain. This means you’ll need to sand down to bare wood before applying a new finish. Be sure to also use a finer grit sandpaper for the final sanding to achieve a smooth and even surface for the new finish to adhere to.Refinishing a Kitchen Table Top with Sanding


Refinishing a Kitchen Table Top with Sanding


If you want to add a new stain to your kitchen table top, sanding is an essential step to ensure that the stain will be absorbed evenly. After sanding, make sure to thoroughly clean the table top to remove any dust or debris. Then, apply the stain with a clean cloth, following the direction of the wood grain. You can also use a brush or foam applicator for more even coverage.Sanding and Staining a Kitchen Table Top


Sanding and Staining a Kitchen Table Top


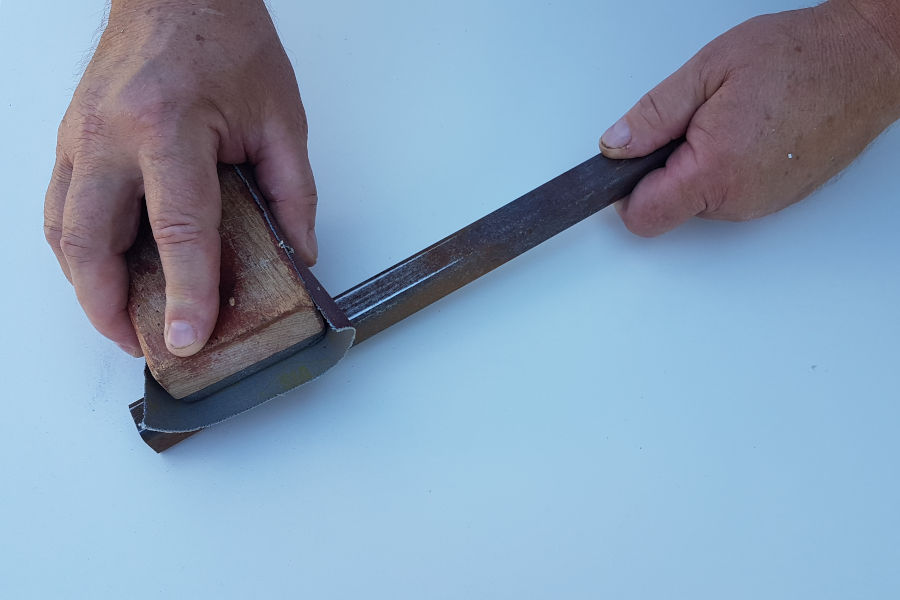
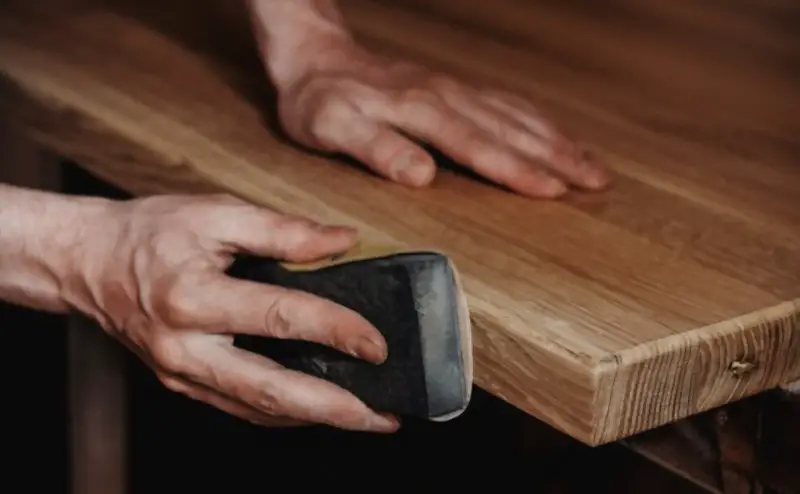
When sanding a wooden kitchen table top, there are a few tips to keep in mind to achieve the best results. Firstly, make sure to wear protective gear, such as a dust mask and safety glasses, to avoid inhaling any dust or debris. Secondly, always sand with the grain of the wood to avoid creating scratches or marks. And finally, make sure to change out your sandpaper regularly for a more efficient and effective sanding process.Tips for Sanding a Wooden Kitchen Table Top


Tips for Sanding a Wooden Kitchen Table Top


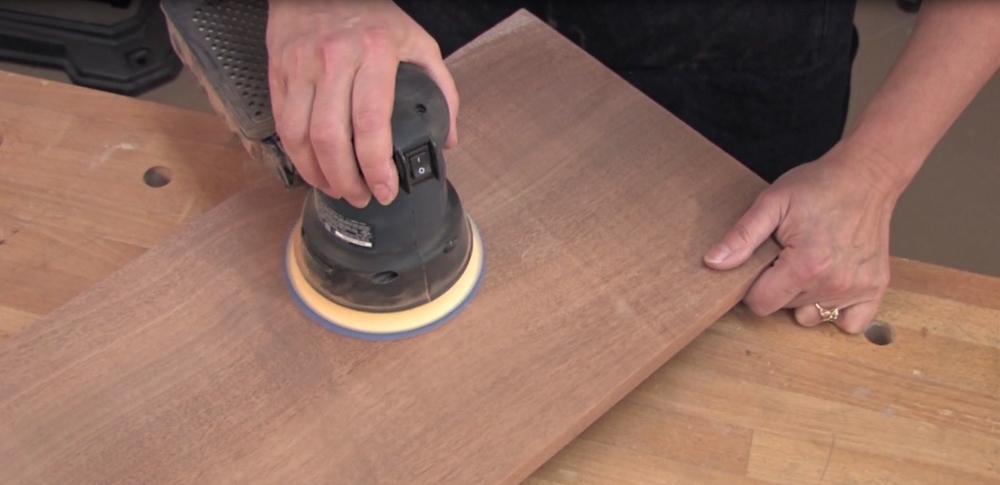
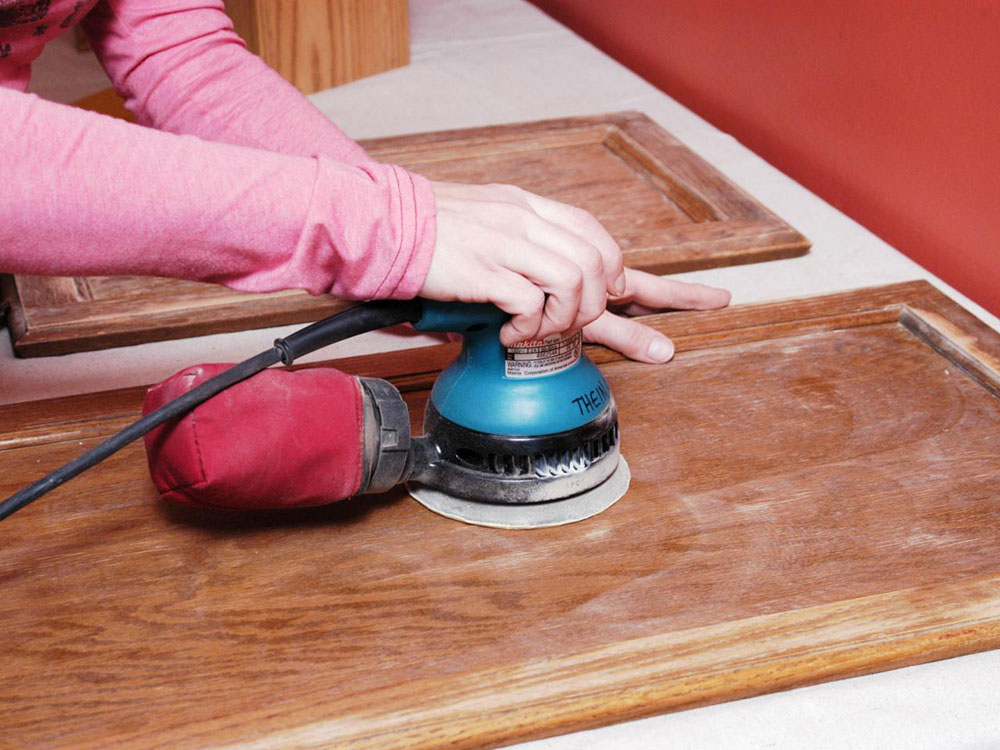
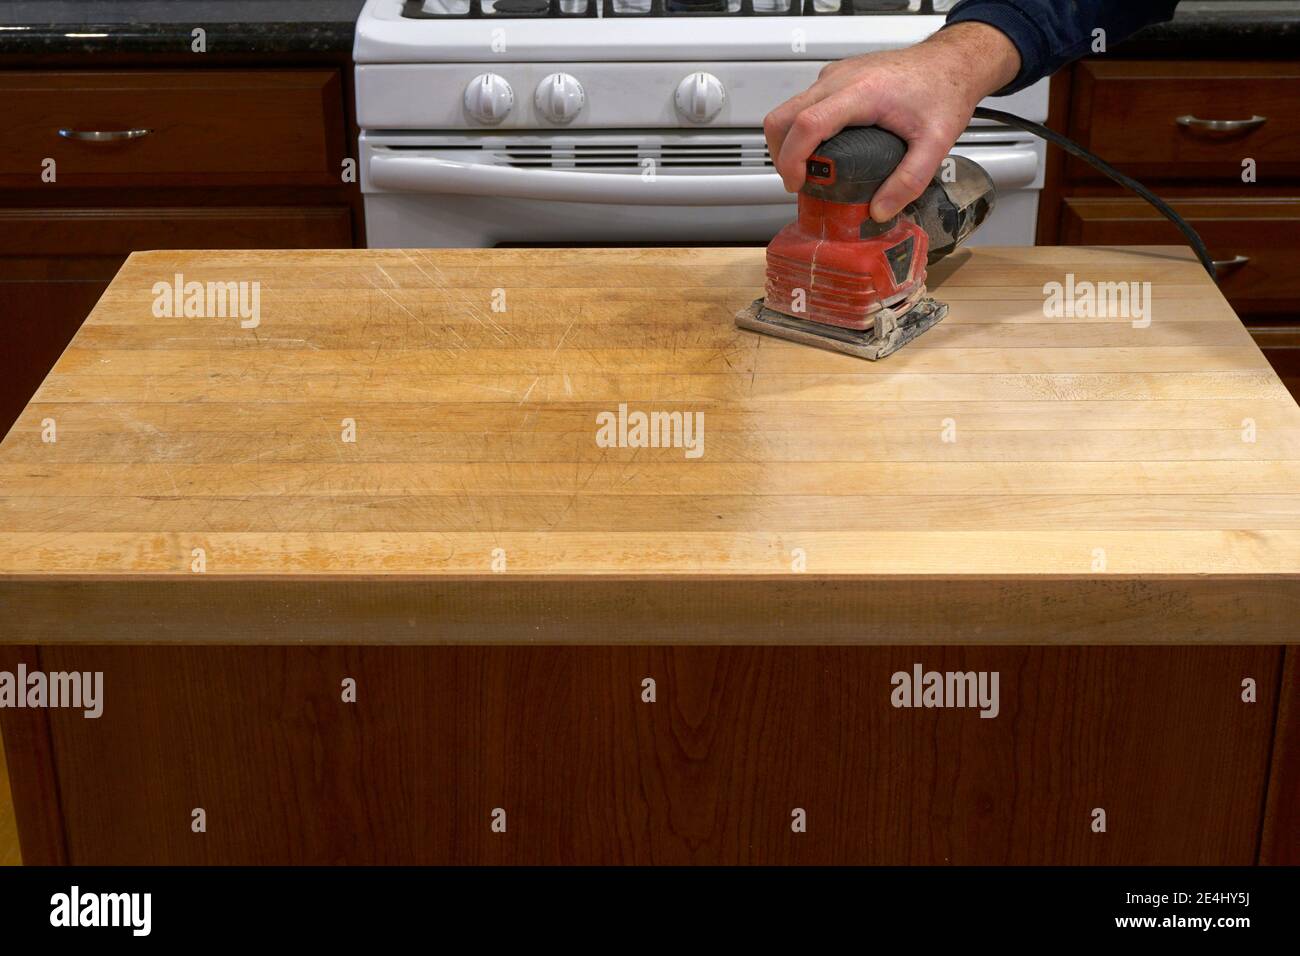
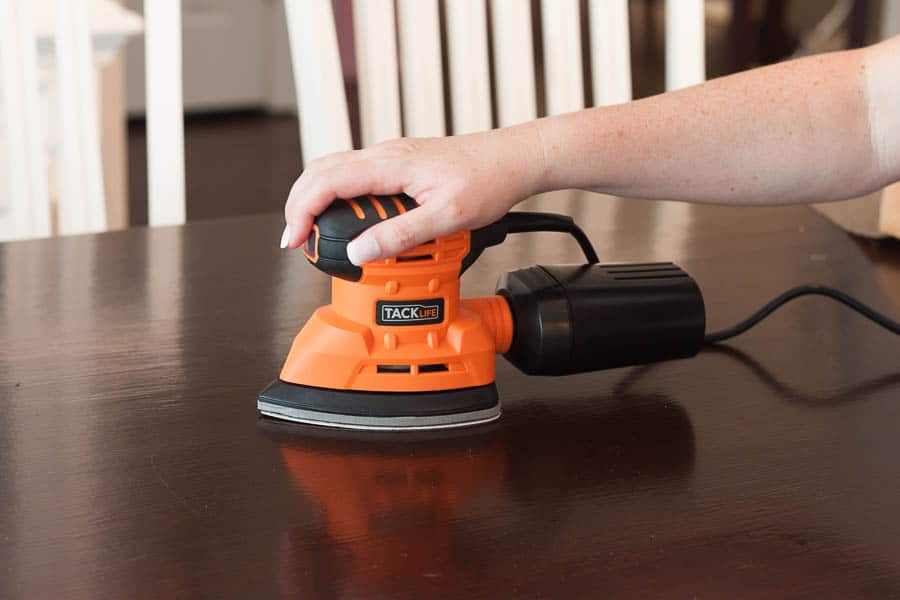
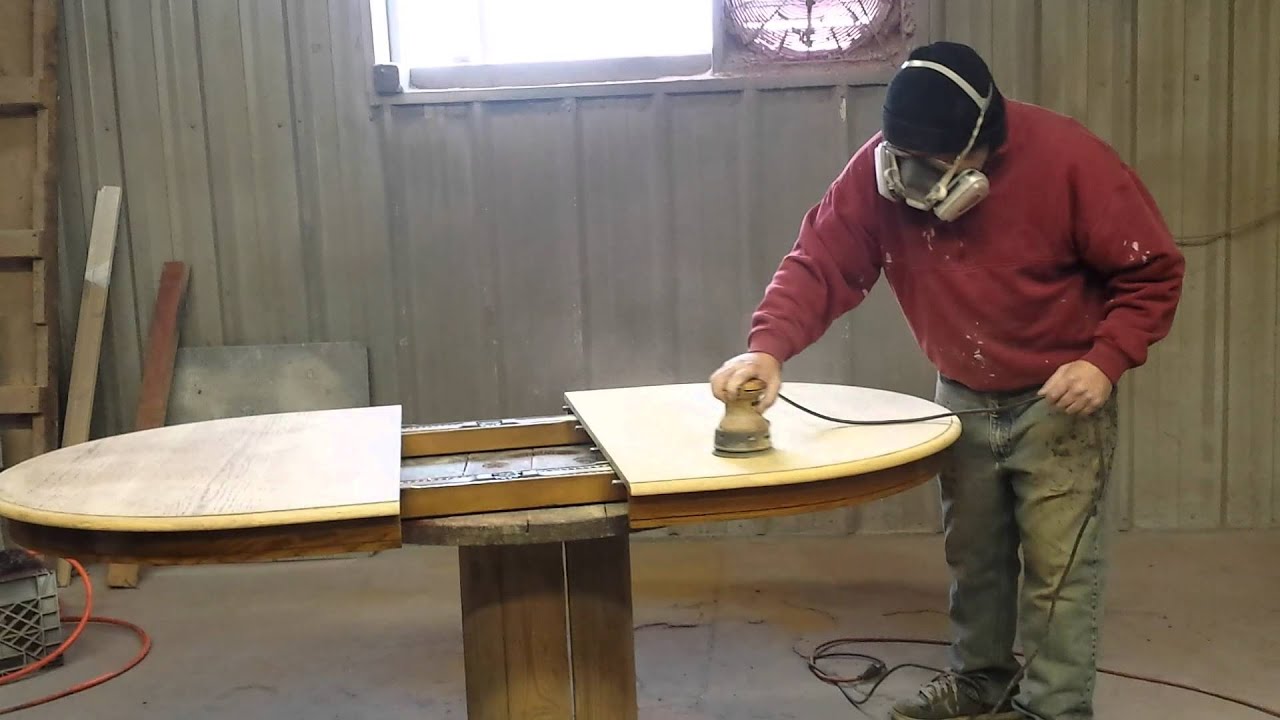
If you have a large kitchen table top to sand, using an electric sander can save you time and effort. However, it’s important to use the sander properly to avoid damaging the wood. Start with a coarse grit sandpaper and gradually move on to finer grits. Make sure to also move the sander in a smooth and even motion to avoid creating uneven spots on the table top.Using an Electric Sander on a Kitchen Table Top


Using an Electric Sander on a Kitchen Table Top


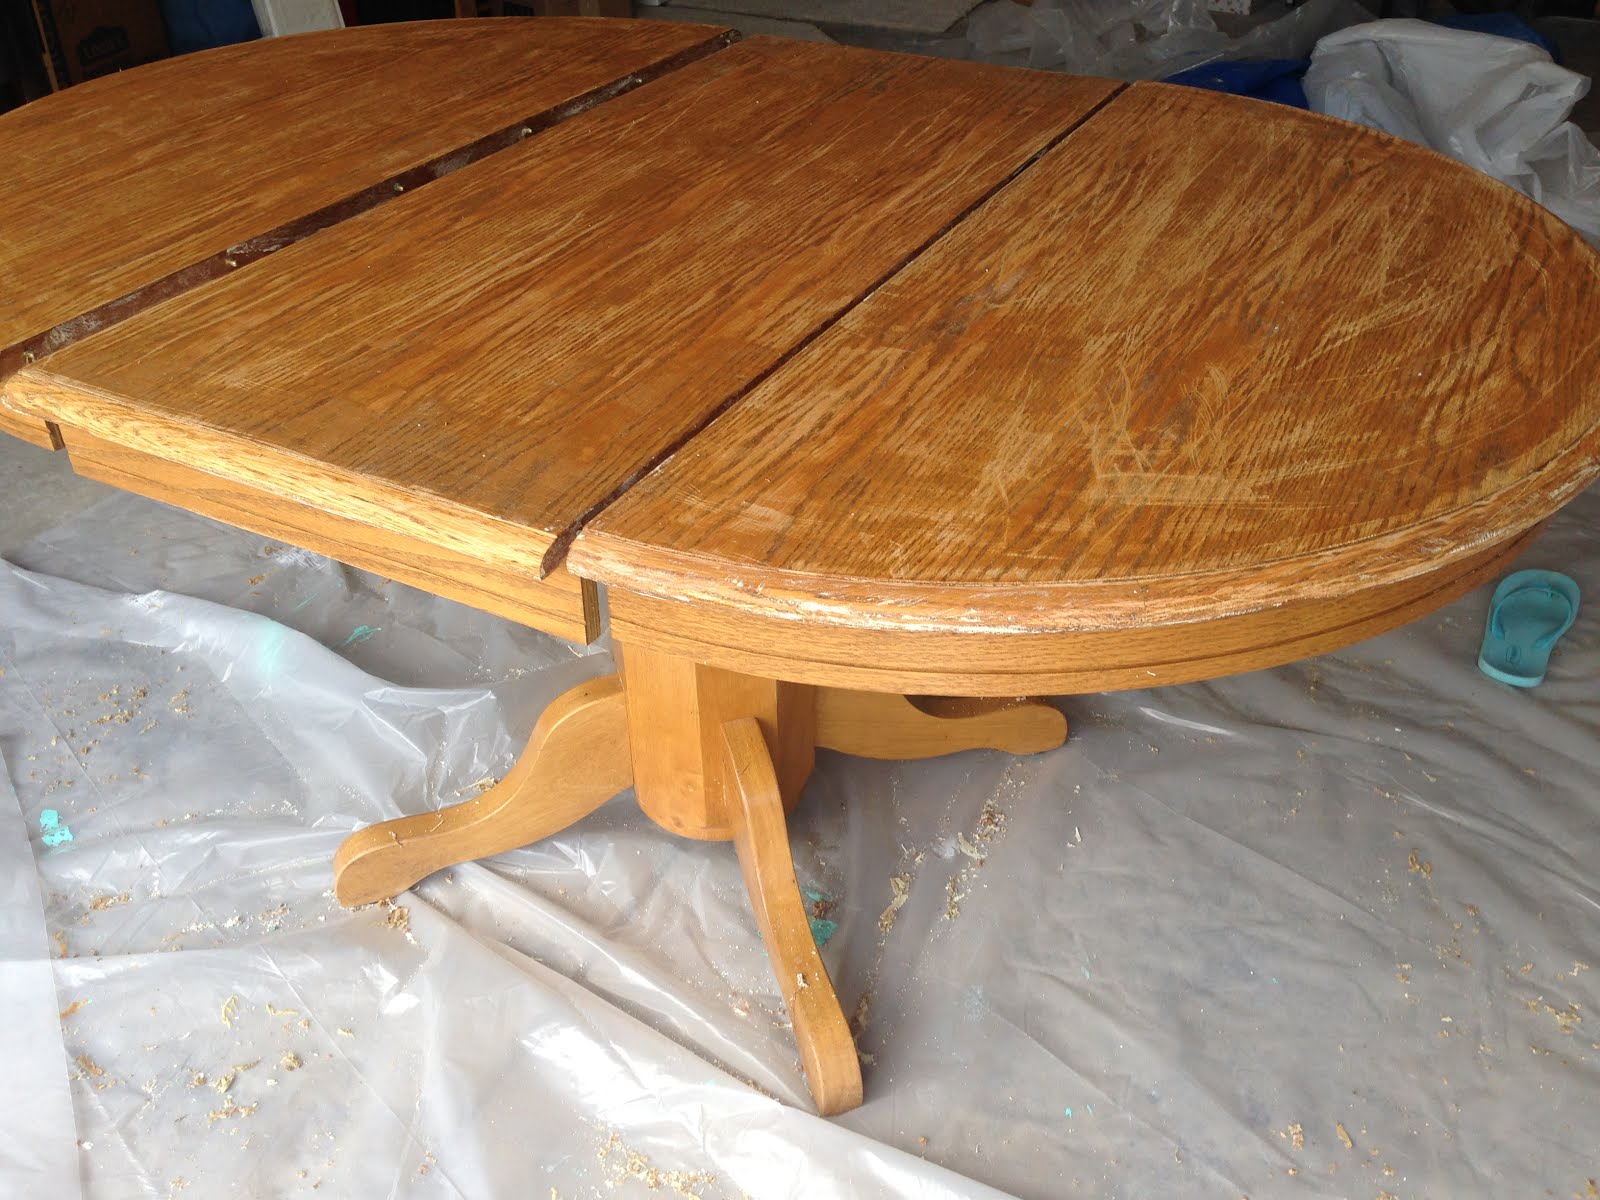
Before you start sanding, it’s important to properly prepare your kitchen table top. This means removing any hardware, such as drawer pulls or knobs, and covering any areas you don’t want to sand, such as the legs of the table. You can also use a wood cleaner or degreaser to remove any dirt or grime from the surface before sanding.How to Prep a Kitchen Table Top for Sanding


How to Prep a Kitchen Table Top for Sanding


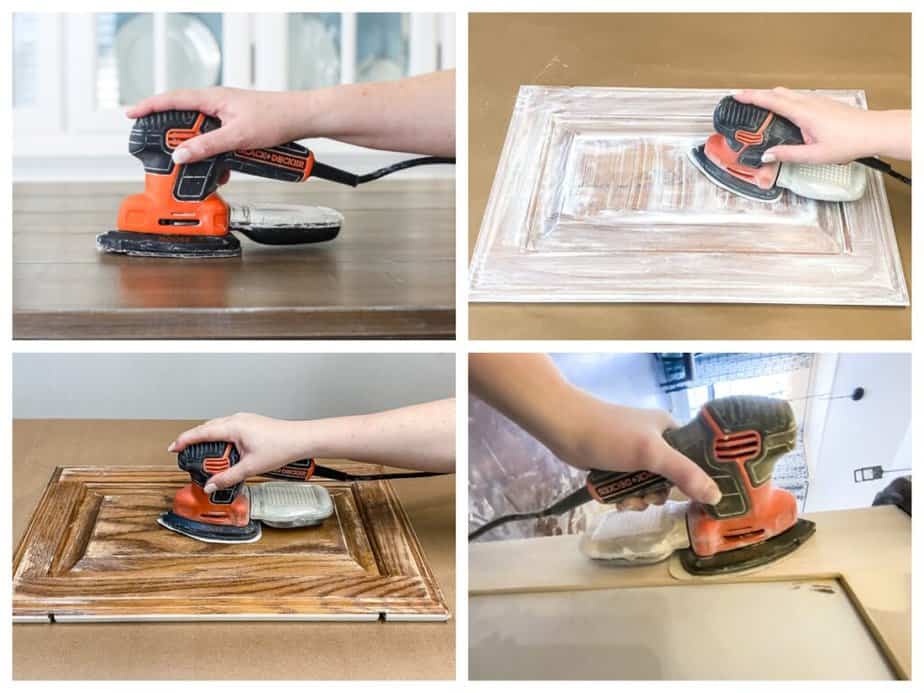
To help you through the sanding process, here’s a step-by-step guide:Sanding a Kitchen Table Top: Step-by-Step Guide


Sanding a Kitchen Table Top: Step-by-Step Guide


Adding a Protective Finish

Choosing the Right Finish
 Once you have completed the sanding process, it is important to add a protective finish to your kitchen table top. This will not only enhance the appearance of the wood, but also protect it from spills, scratches, and other daily wear and tear. There are various types of finishes available in the market, such as polyurethane, varnish, lacquer, and oil. It is important to choose a finish that is appropriate for the type of wood you are working with and the level of durability you require.
Polyurethane
is a popular choice for kitchen table tops as it provides a strong and durable finish. It is also water and heat resistant, making it ideal for high traffic areas. However, it can be quite difficult to apply and may require multiple coats.
Varnish
is another common choice for wood finishes. It offers a glossy and durable finish, but may take longer to dry compared to other finishes. It is also prone to yellowing over time.
Lacquer
provides a hard and durable finish that is resistant to water and heat. It is also known for its quick drying time, making it an efficient choice for coating large surfaces. However, it is important to use this finish in a well-ventilated area as it contains strong fumes.
Oil
finishes, such as tung oil or linseed oil, are great for adding a natural and matte finish to your kitchen table top. They are easy to apply and require minimal maintenance. However, they may not provide the same level of protection as other finishes.
Once you have completed the sanding process, it is important to add a protective finish to your kitchen table top. This will not only enhance the appearance of the wood, but also protect it from spills, scratches, and other daily wear and tear. There are various types of finishes available in the market, such as polyurethane, varnish, lacquer, and oil. It is important to choose a finish that is appropriate for the type of wood you are working with and the level of durability you require.
Polyurethane
is a popular choice for kitchen table tops as it provides a strong and durable finish. It is also water and heat resistant, making it ideal for high traffic areas. However, it can be quite difficult to apply and may require multiple coats.
Varnish
is another common choice for wood finishes. It offers a glossy and durable finish, but may take longer to dry compared to other finishes. It is also prone to yellowing over time.
Lacquer
provides a hard and durable finish that is resistant to water and heat. It is also known for its quick drying time, making it an efficient choice for coating large surfaces. However, it is important to use this finish in a well-ventilated area as it contains strong fumes.
Oil
finishes, such as tung oil or linseed oil, are great for adding a natural and matte finish to your kitchen table top. They are easy to apply and require minimal maintenance. However, they may not provide the same level of protection as other finishes.
Applying the Finish
 Once you have chosen the appropriate finish for your kitchen table top, it is important to follow the manufacturer's instructions for application. Make sure to apply the finish in a well-ventilated area and wear protective gear such as gloves and a mask.
Using a clean cloth or brush, apply an even coat of finish in the direction of the wood grain. Allow the first coat to dry completely before adding a second coat. Depending on the type of finish, you may need to sand lightly between coats to ensure a smooth and even finish.
After the final coat has dried, gently sand the surface with a fine grit sandpaper to remove any imperfections or bubbles. Finally, use a clean cloth to apply a coat of wax or polish to add a shine to your kitchen table top.
By following these steps and choosing the right finish for your kitchen table top, you can ensure that your newly sanded surface will not only look beautiful but also withstand the daily demands of a busy kitchen.
Once you have chosen the appropriate finish for your kitchen table top, it is important to follow the manufacturer's instructions for application. Make sure to apply the finish in a well-ventilated area and wear protective gear such as gloves and a mask.
Using a clean cloth or brush, apply an even coat of finish in the direction of the wood grain. Allow the first coat to dry completely before adding a second coat. Depending on the type of finish, you may need to sand lightly between coats to ensure a smooth and even finish.
After the final coat has dried, gently sand the surface with a fine grit sandpaper to remove any imperfections or bubbles. Finally, use a clean cloth to apply a coat of wax or polish to add a shine to your kitchen table top.
By following these steps and choosing the right finish for your kitchen table top, you can ensure that your newly sanded surface will not only look beautiful but also withstand the daily demands of a busy kitchen.


/gray-kitchen-cabinet-ideas-22-cathie-hong-interiors-scandinavian-c08d577bdaf54eb7a7715b0bacfec108.jpeg)