Sanding a kitchen table is an essential step in refinishing and restoring the beauty of your furniture. Whether you have a old, worn out table or you simply want to change its color, sanding is the key to achieving a smooth and flawless finish. However, sanding can be a daunting task if you don't know the right techniques. In this article, we will guide you through the process of sanding a kitchen table so you can achieve professional results at home.How to Sand a Kitchen Table


How to Sand a Kitchen Table


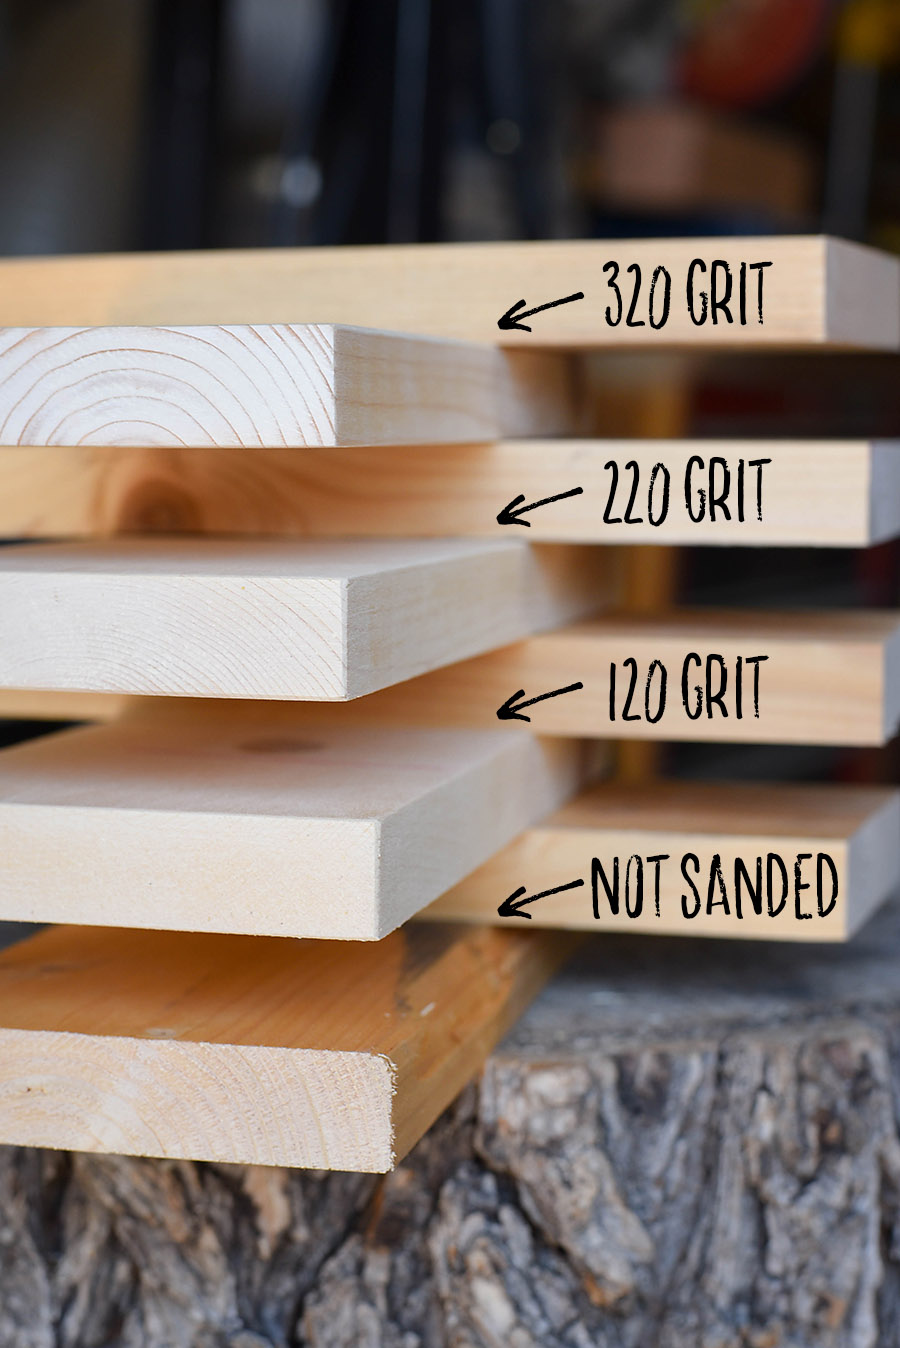
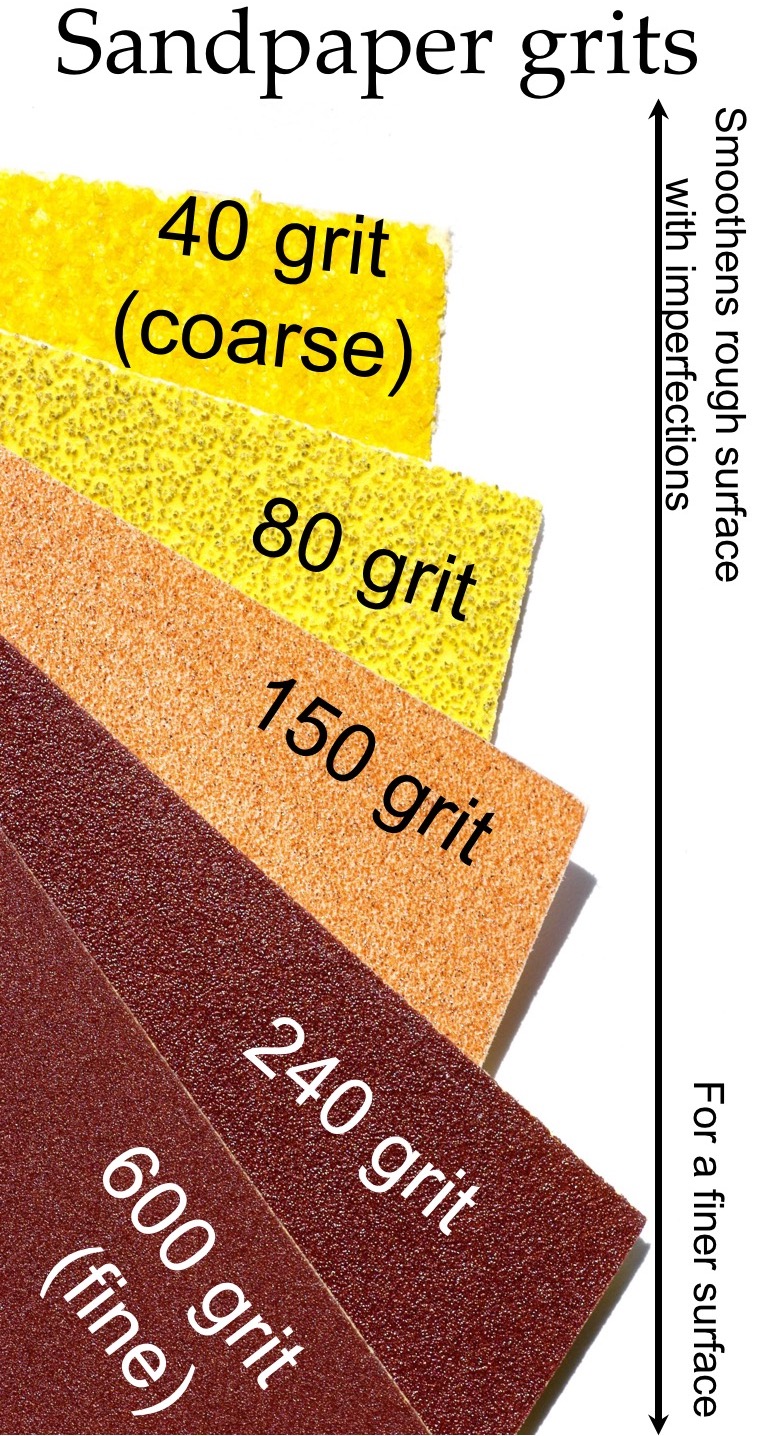
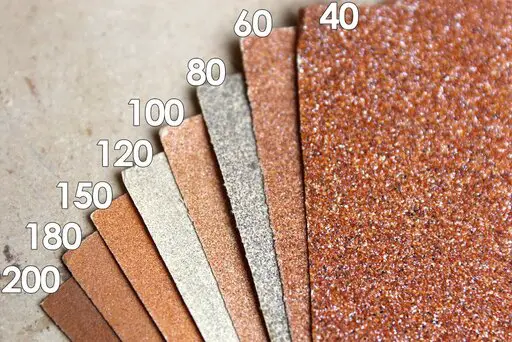
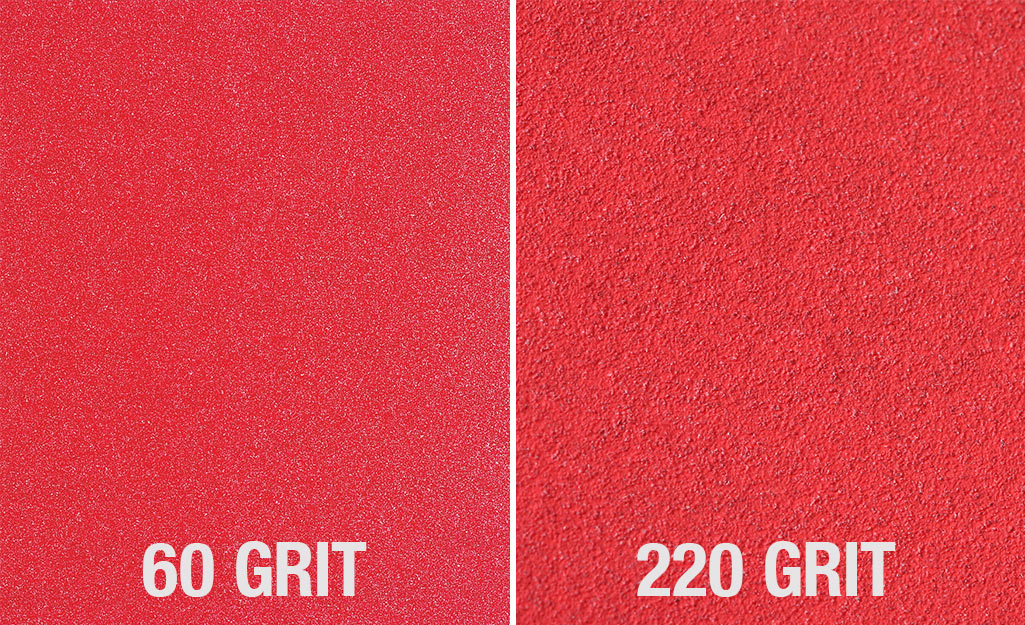
Before you start sanding, make sure to cover the surrounding area with a drop cloth to protect it from dust and debris. You will also need to gather the necessary tools and materials, which include sandpaper, an electric sander (optional), a dust mask, and a tack cloth. Step 1: Remove any existing finish. If your kitchen table has a previous stain or varnish, you will need to strip it off using a chemical stripper or sanding. This will allow the new stain or paint to adhere better to the wood. Step 2: Choose the right sandpaper grit. The type of sandpaper you use will depend on the condition of your kitchen table. If it has deep scratches or rough patches, start with a coarse grit (60-80 grit) to remove the imperfections. Then, switch to a medium grit (120-150 grit) to smooth out the wood. Finally, use a fine grit (220 grit) for a final sanding to achieve a smooth finish.Sanding a Kitchen Table: A Step-by-Step Guide


Sanding a Kitchen Table: A Step-by-Step Guide


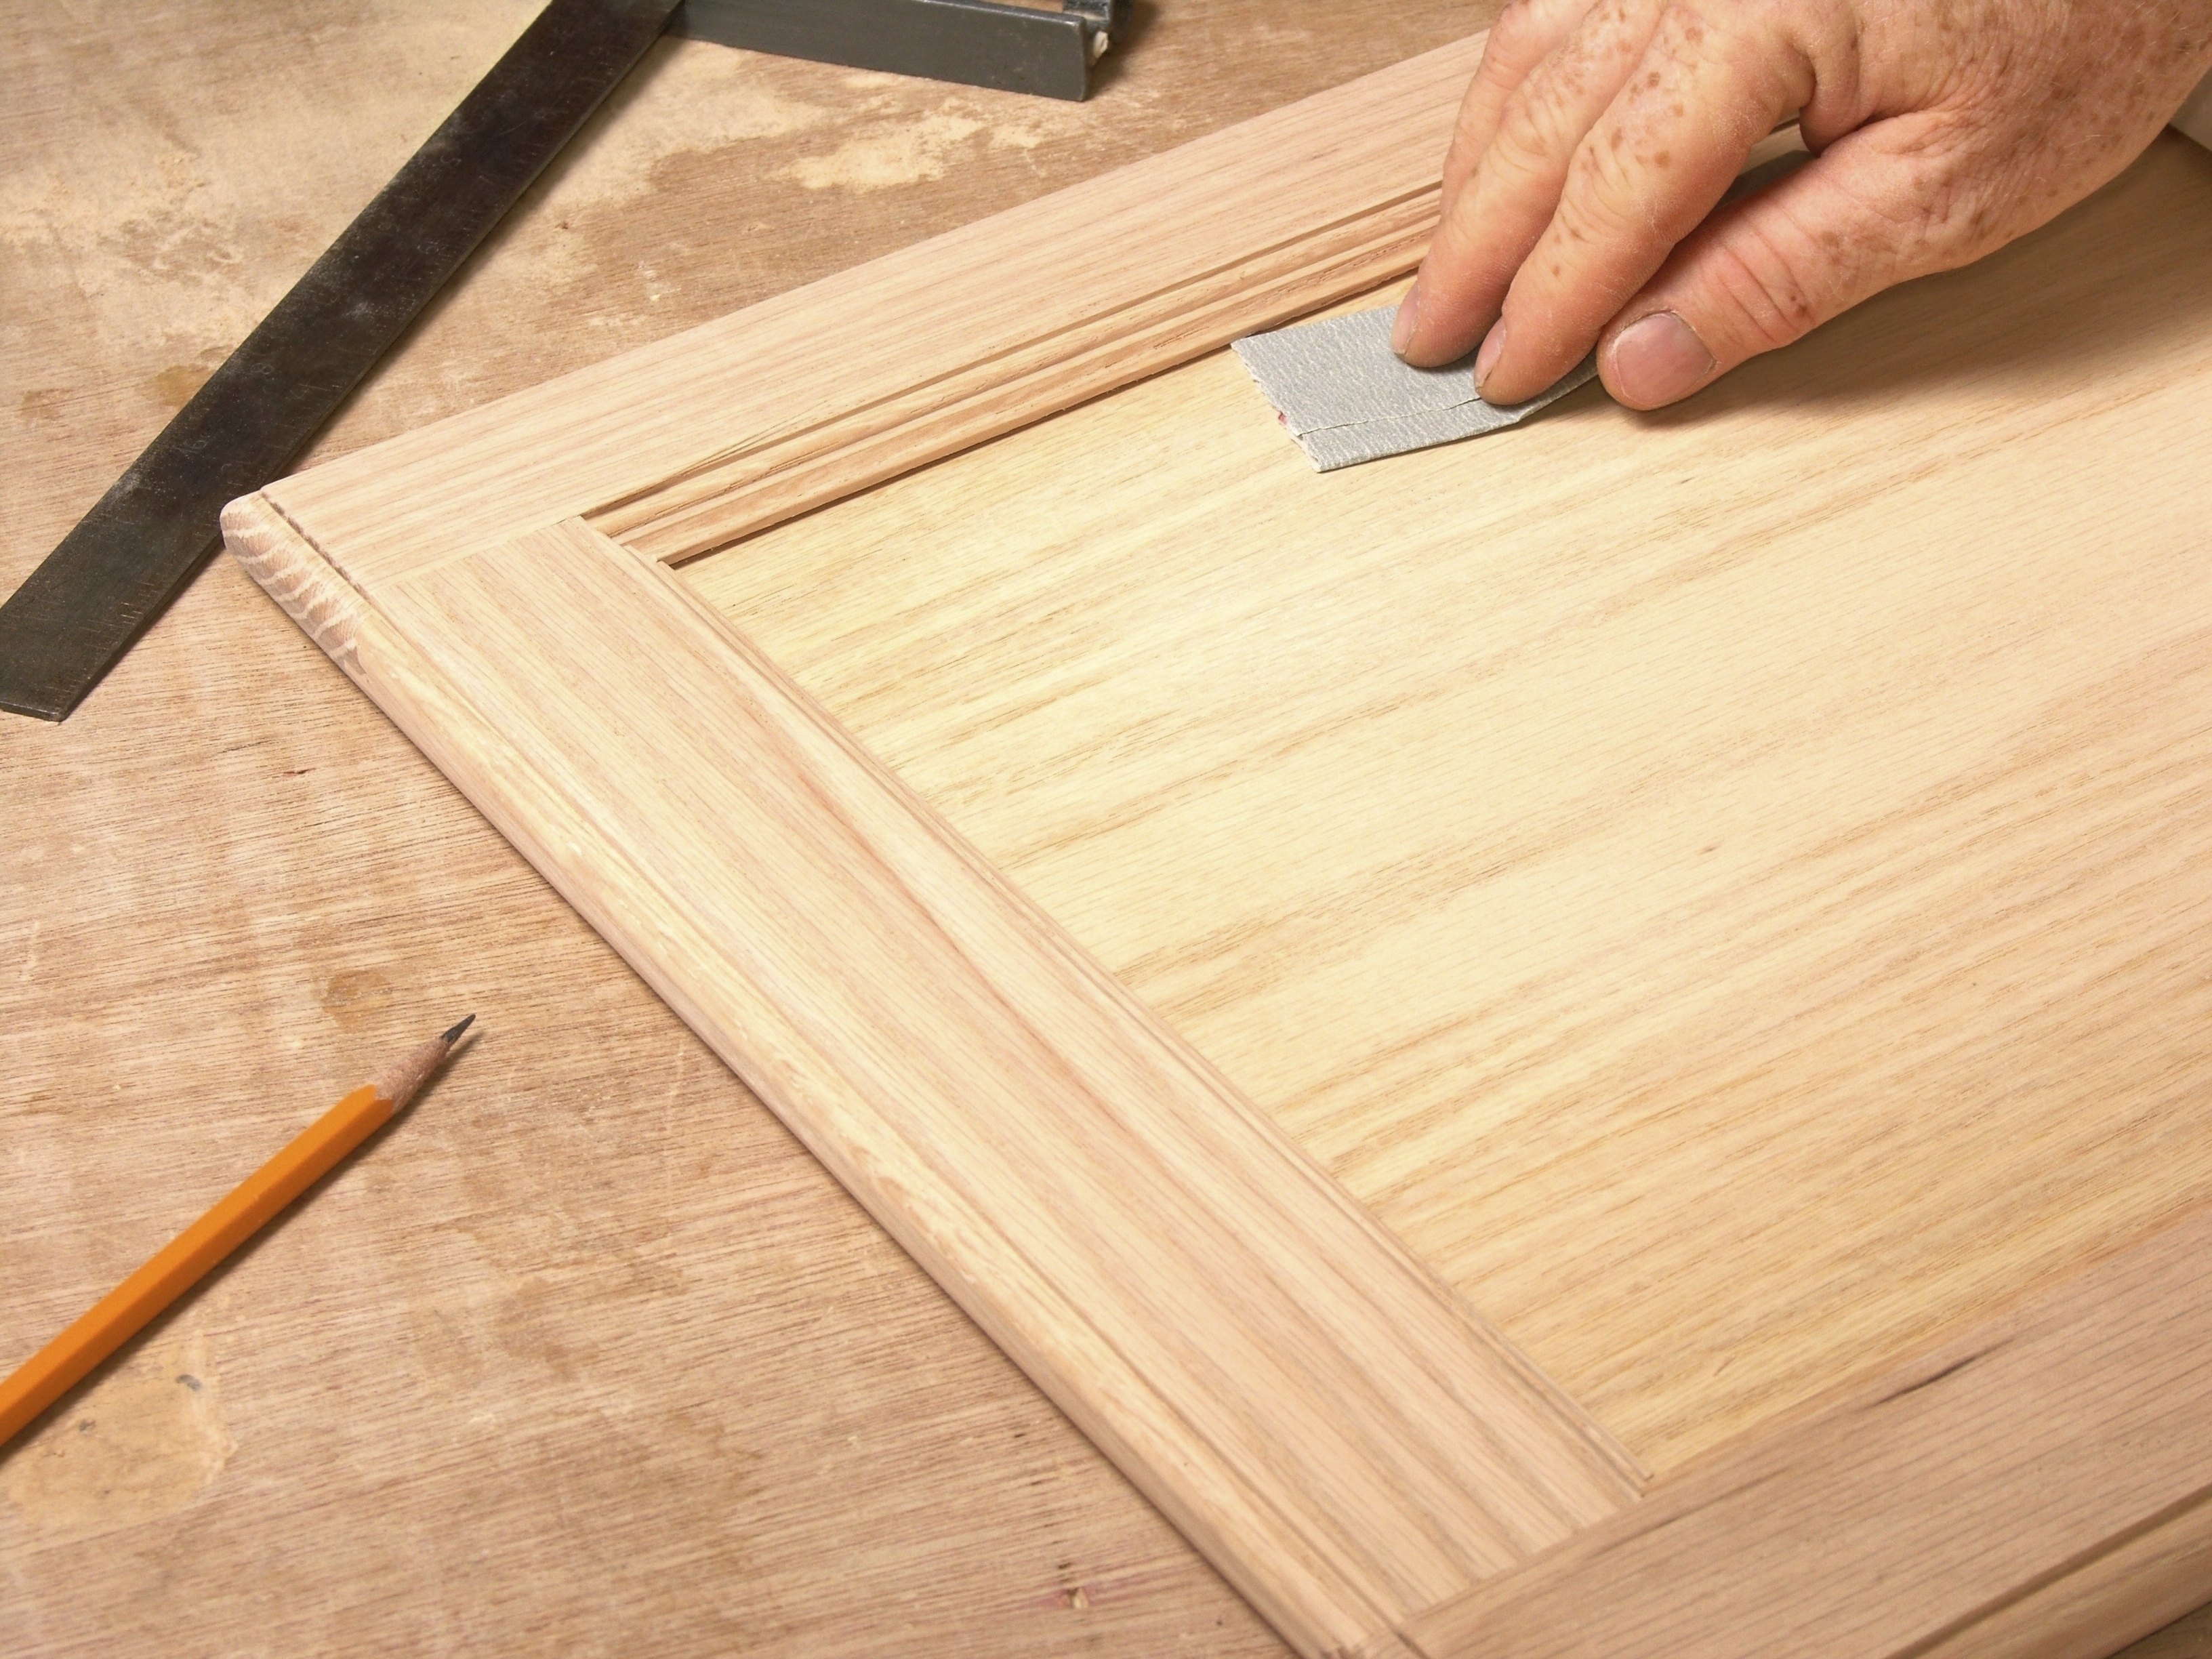
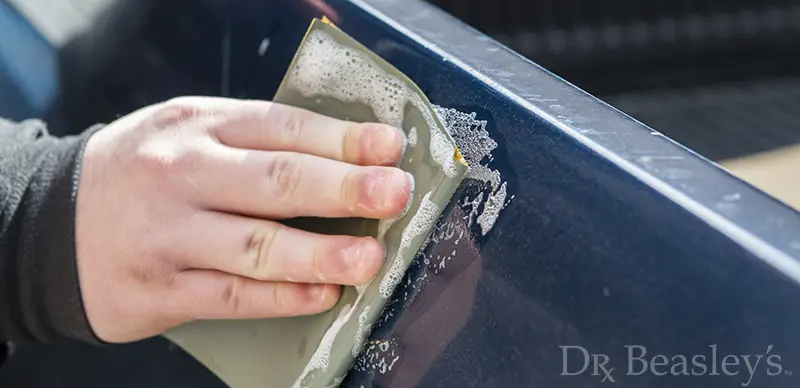
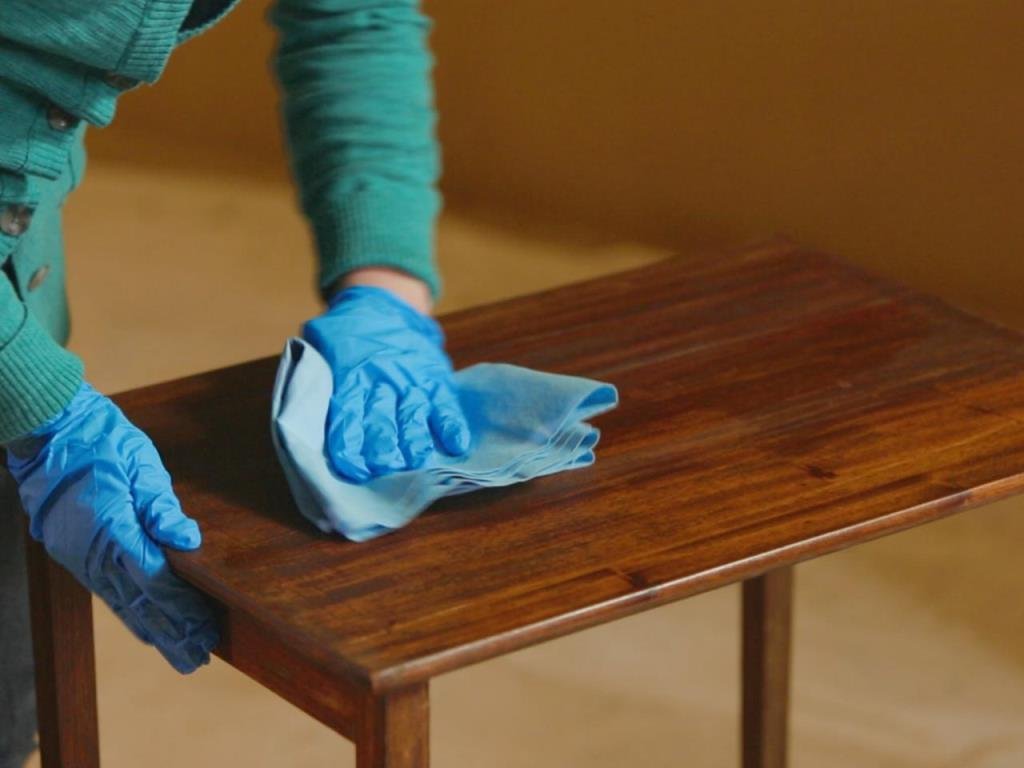
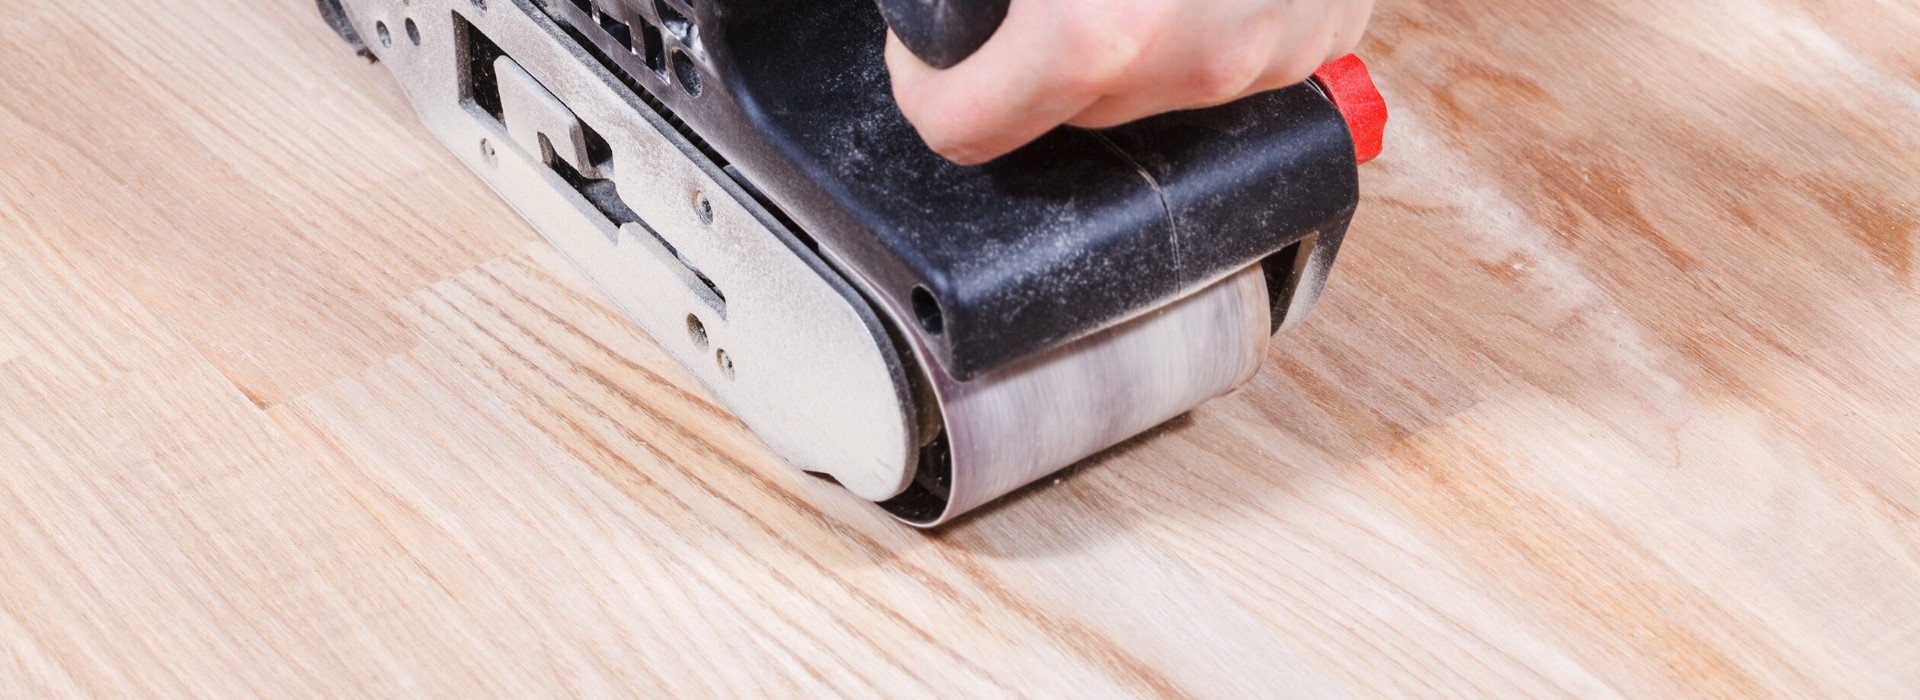
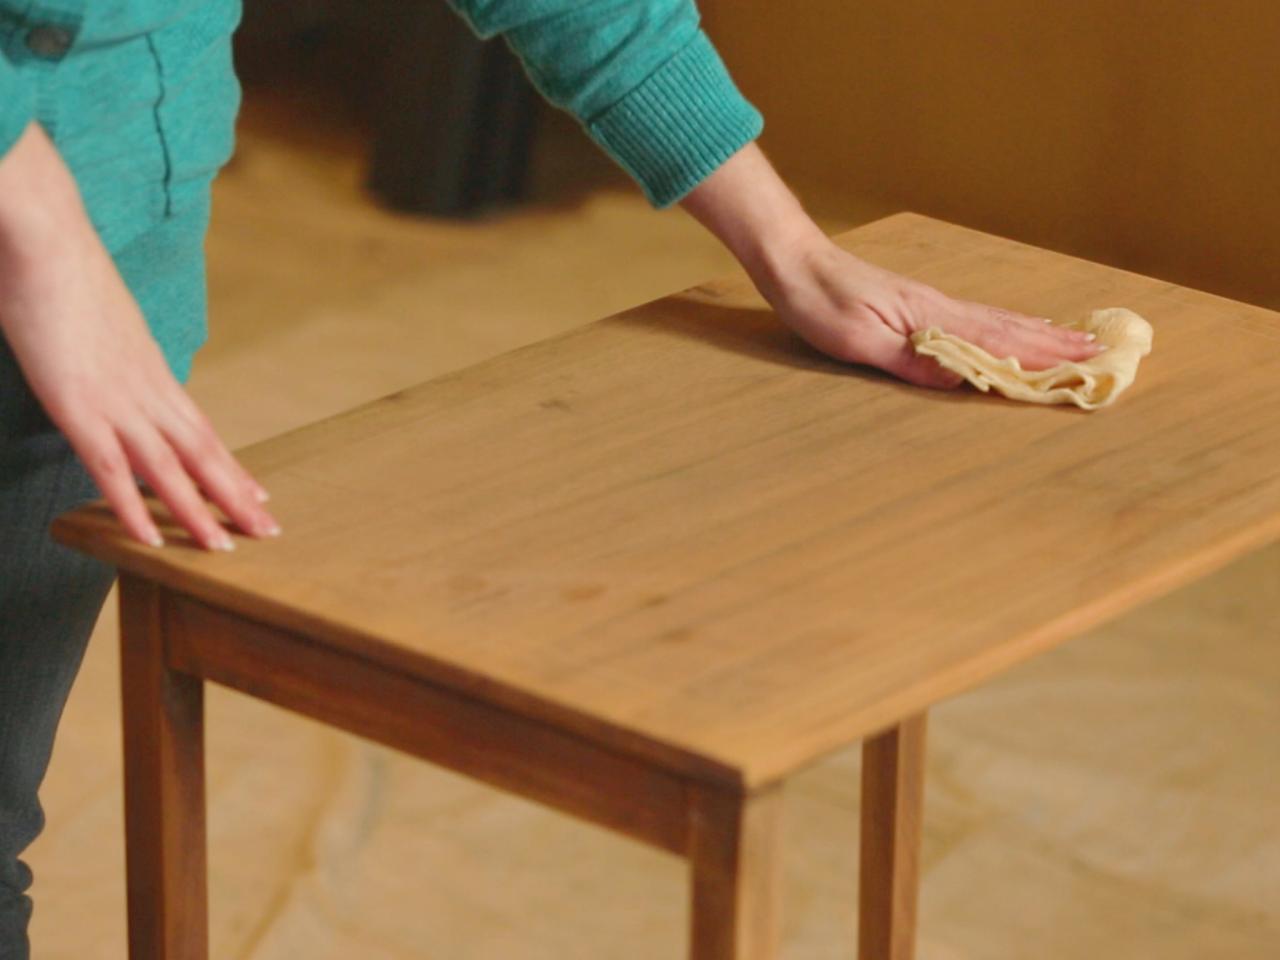
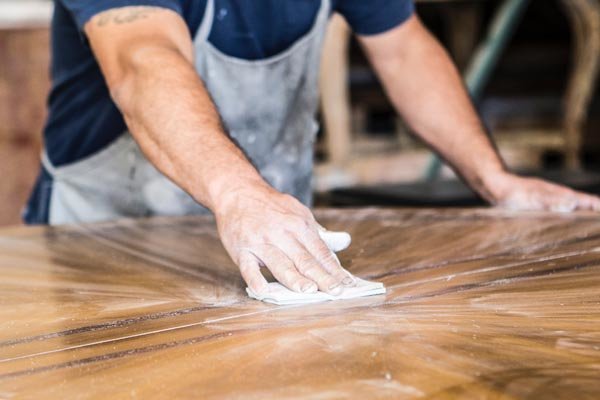
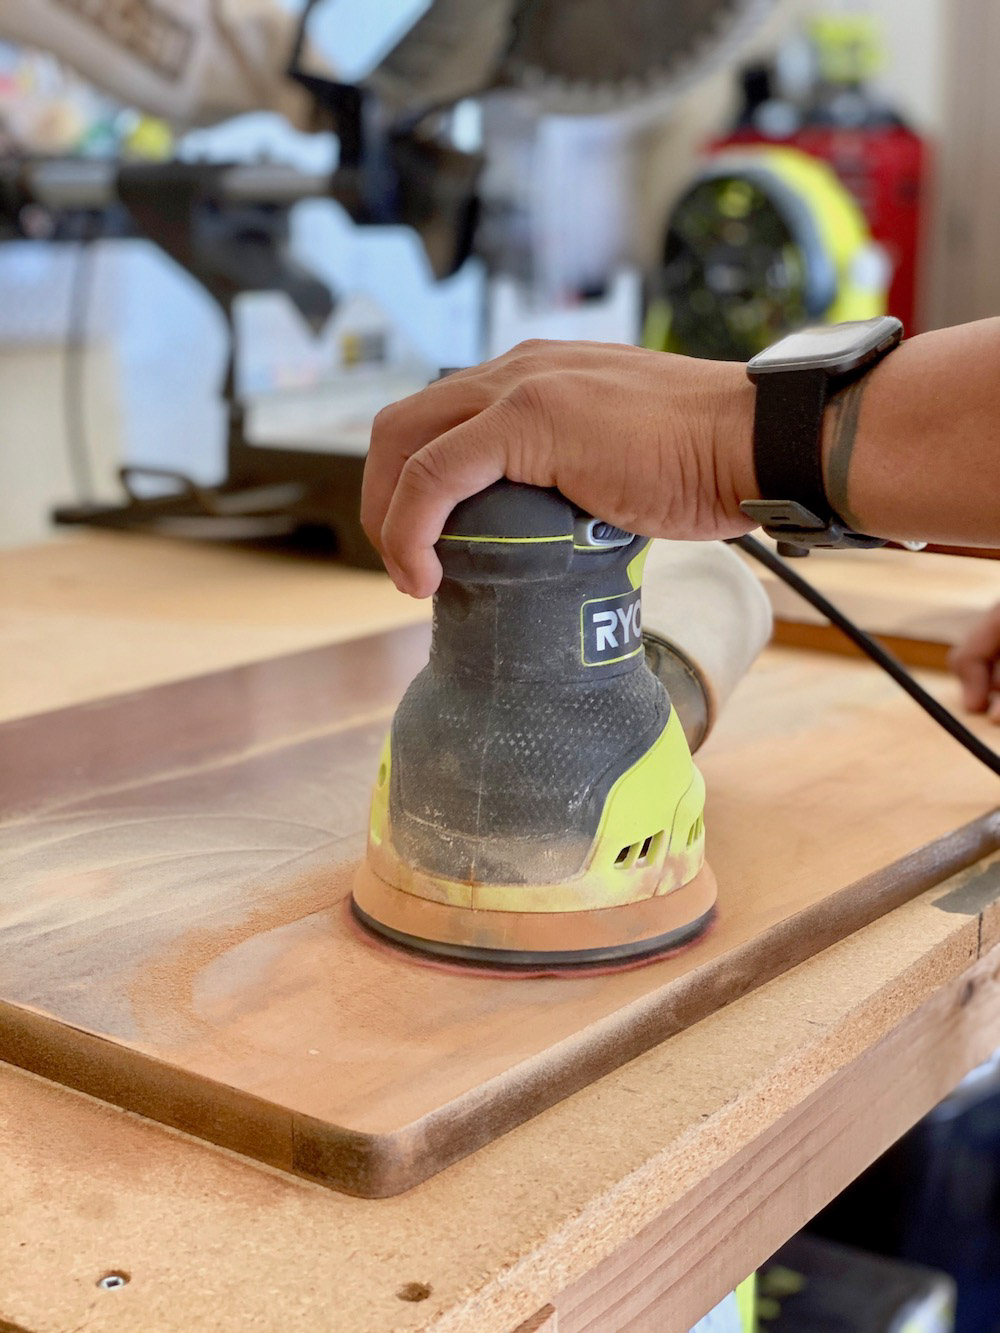
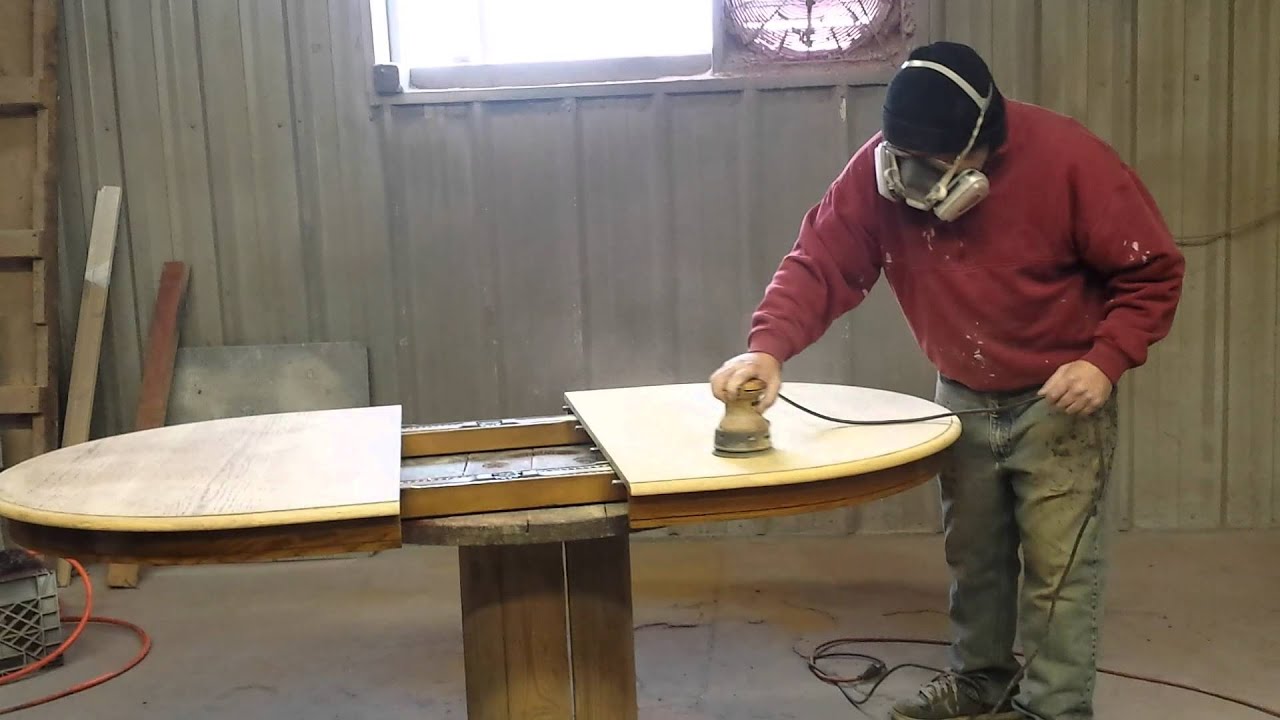
If you're sanding by hand, wrap the sandpaper around a sanding block or a foam sanding pad to make it easier to use. Always sand in the direction of the wood grain and use light pressure to avoid creating uneven spots. If you're using an electric sander, move it in a back and forth motion, making sure to cover the entire surface evenly. Step 3: Clean the surface. After sanding, wipe the table with a tack cloth to remove any dust or debris. This will ensure that the new finish will adhere properly to the wood.DIY Kitchen Table Sanding Tutorial


DIY Kitchen Table Sanding Tutorial


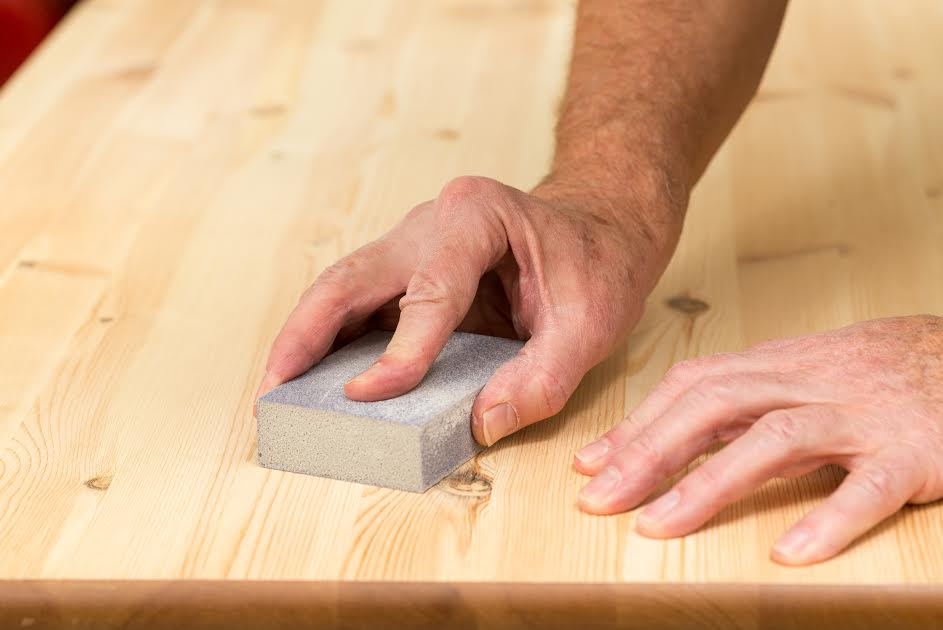
As mentioned before, the type of sandpaper you use will depend on the condition of your kitchen table. If it's in good condition or has a thin finish, you can start with a medium grit (120-150 grit) and skip the coarse grit. However, if you're dealing with a heavily damaged table, you may need to start with a coarse grit (60-80 grit) and work your way up to a fine grit (220 grit). You may also want to consider using a sanding sponge, which has different grits on each side and allows for easier sanding on curved or detailed areas.Best Sandpaper Grit for Sanding a Kitchen Table

Best Sandpaper Grit for Sanding a Kitchen Table


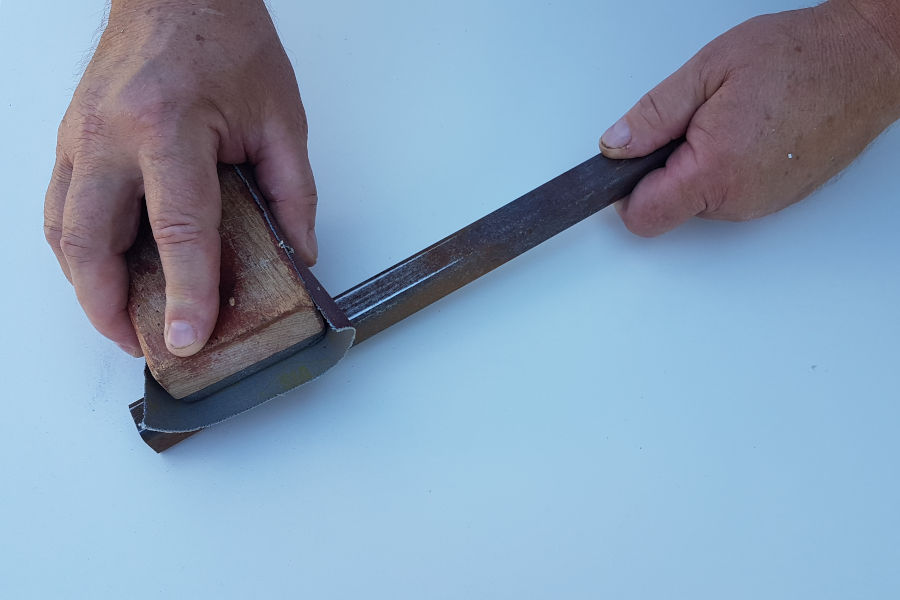


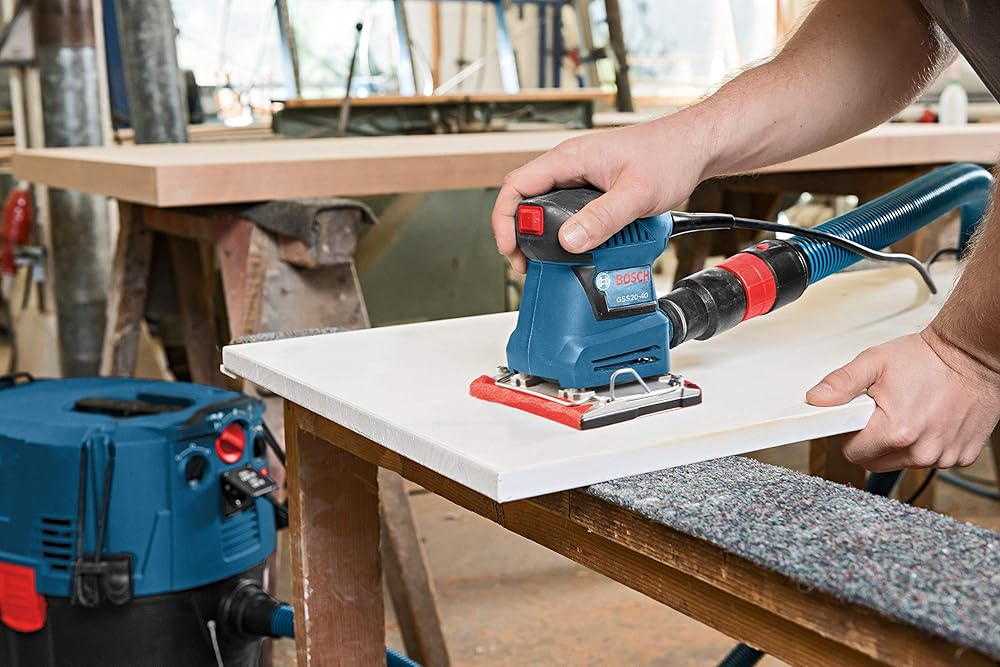
Sanding can be a time-consuming and tedious process, but here are some tips to make it go smoother: Wear a dust mask: Sanding creates a lot of dust, which can be harmful if inhaled. Make sure to wear a dust mask to protect yourself. Use a sanding block or a foam sanding pad: This will help you apply even pressure and prevent creating uneven spots on the surface. Change the sandpaper often: As the sandpaper becomes clogged with dust, it will become less effective. Make sure to change it regularly for better results. Don't skip grits: Starting with a coarse grit and gradually moving to a finer grit will give you the smoothest finish. Be patient: Sanding takes time, but it's worth it for a beautiful and long-lasting finish.Tips for Sanding a Kitchen Table Like a Pro


Tips for Sanding a Kitchen Table Like a Pro


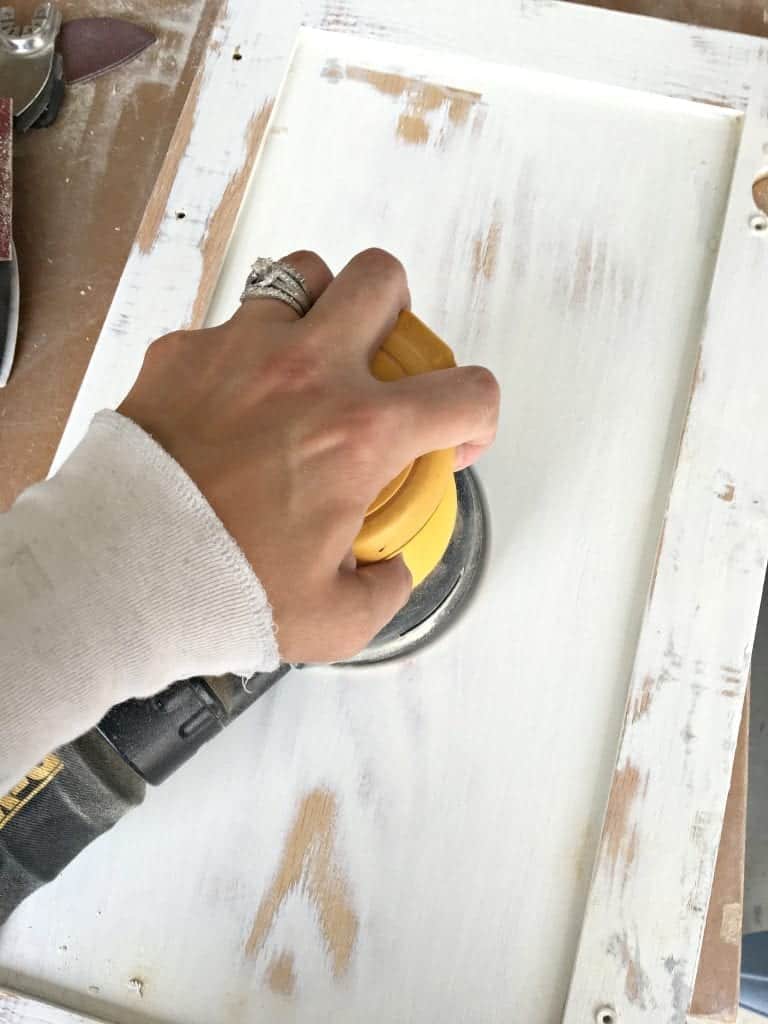
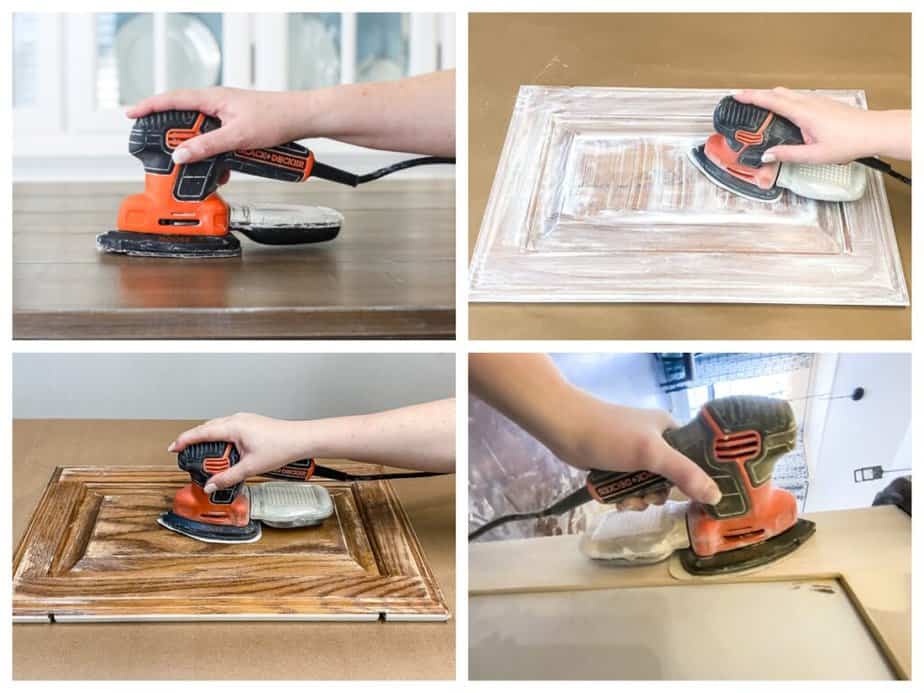
If you're planning to refinish your kitchen table by painting it, sanding is still an important step. However, instead of using a fine grit sandpaper, you can use a deglosser to remove the shine from the previous finish. This will provide a better surface for the paint to adhere to. If you're staining your kitchen table, make sure to choose a stain that is specifically designed for the type of wood you have. You can also use a pre-stain wood conditioner to ensure an even and smooth color. Sanding in between coats of stain is also recommended for a deeper and more even color.Refinishing a Kitchen Table: Sanding Techniques


Refinishing a Kitchen Table: Sanding Techniques


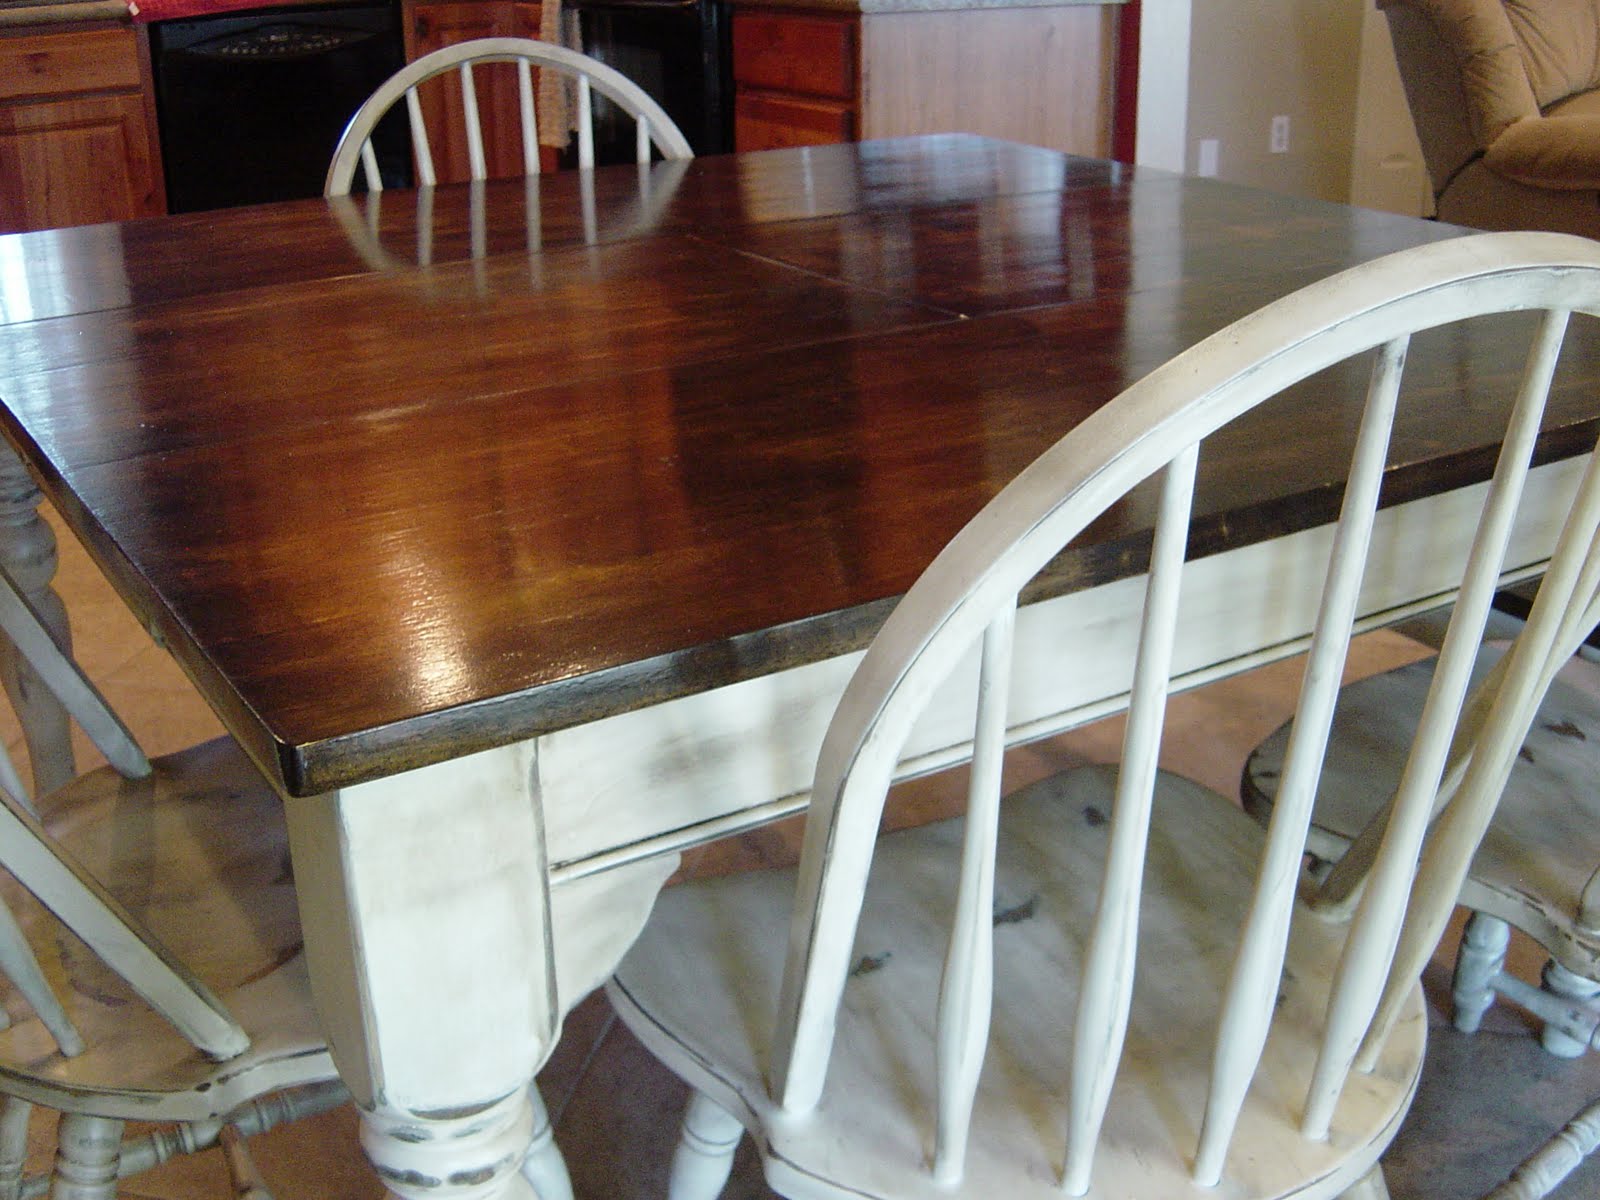
Once you have finished sanding and cleaning the surface, it's time to apply the stain or paint. Follow the instructions on the product and use a clean brush or cloth to apply an even coat. Make sure to let it dry completely before applying a second coat (if necessary). After the final coat has dried, you can apply a clear top coat for added protection and shine. Once everything has dried, your kitchen table will be ready to use and will look like new again!Sanding and Staining a Kitchen Table: A Complete Guide


Sanding and Staining a Kitchen Table: A Complete Guide


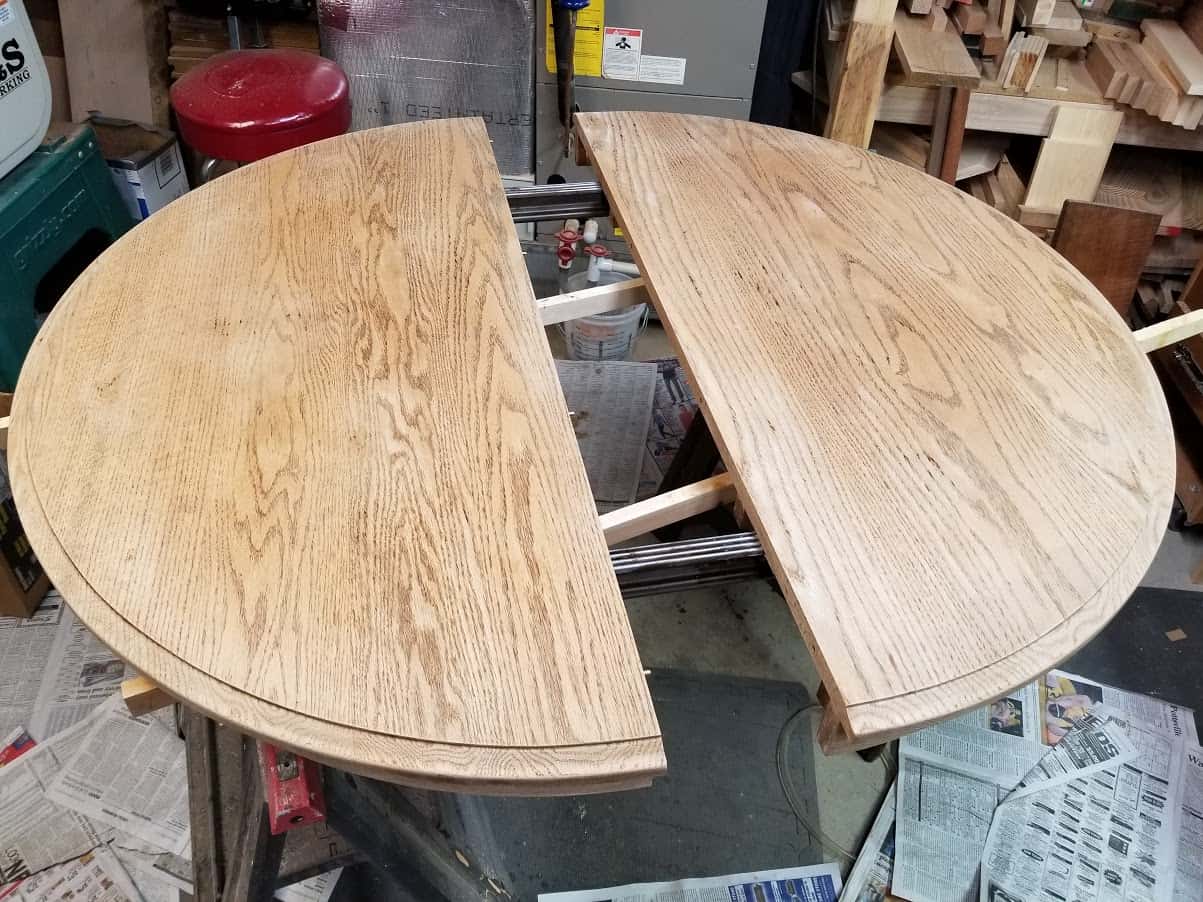
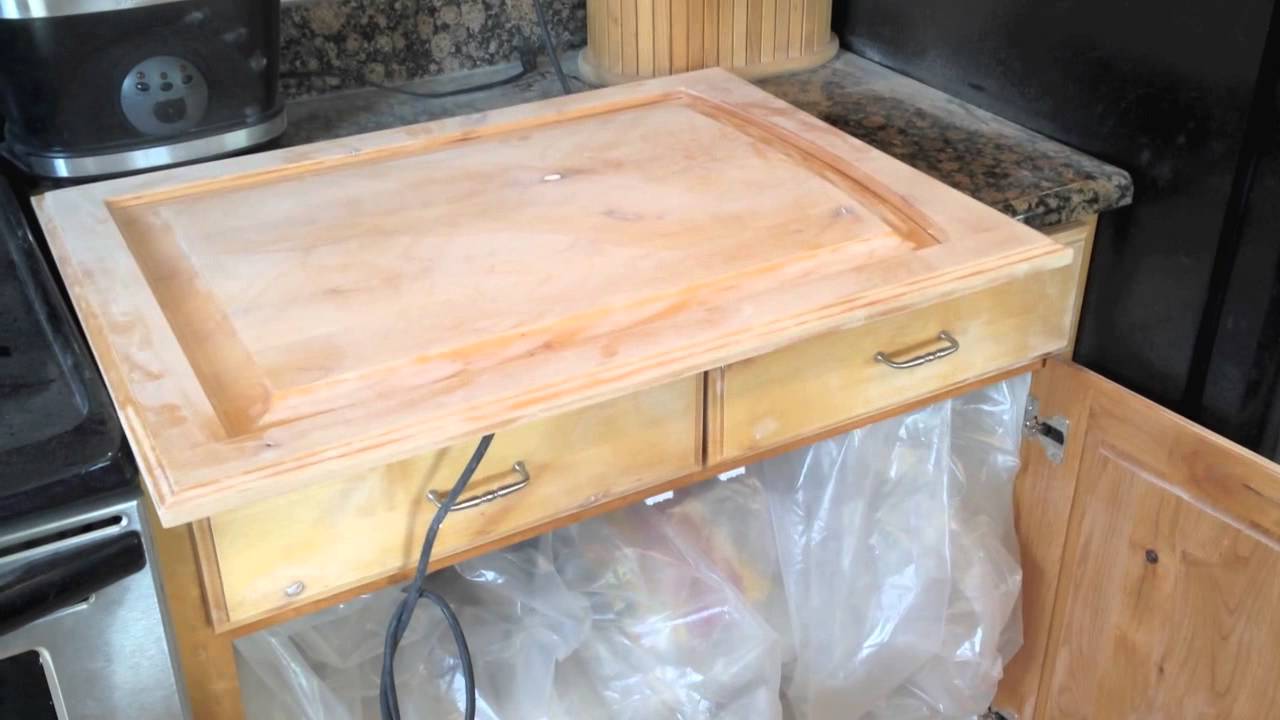
Before you start sanding, make sure to remove any hardware such as drawer pulls or knobs. If you're sanding a table with a pedestal base, you may need to remove the base as well. This will make it easier to sand and avoid damaging the hardware or base. You may also want to fill any cracks or holes with wood filler before sanding. This will give you a smoother surface for the stain or paint to adhere to.How to Prep a Kitchen Table for Sanding


How to Prep a Kitchen Table for Sanding


When sanding a kitchen table, there are a few common mistakes that can lead to less-than-perfect results: Sanding against the wood grain: This can lead to scratches and uneven spots. Always sand in the direction of the wood grain for a smooth finish. Pressing too hard: Applying too much pressure while sanding can create uneven spots and damage the wood. Use light pressure and let the sandpaper do the work. Sanding without a dust mask: As mentioned before, sanding creates a lot of dust which can be harmful if inhaled. Protect yourself by wearing a dust mask.Sanding a Wooden Kitchen Table: Common Mistakes to Avoid


Sanding a Wooden Kitchen Table: Common Mistakes to Avoid


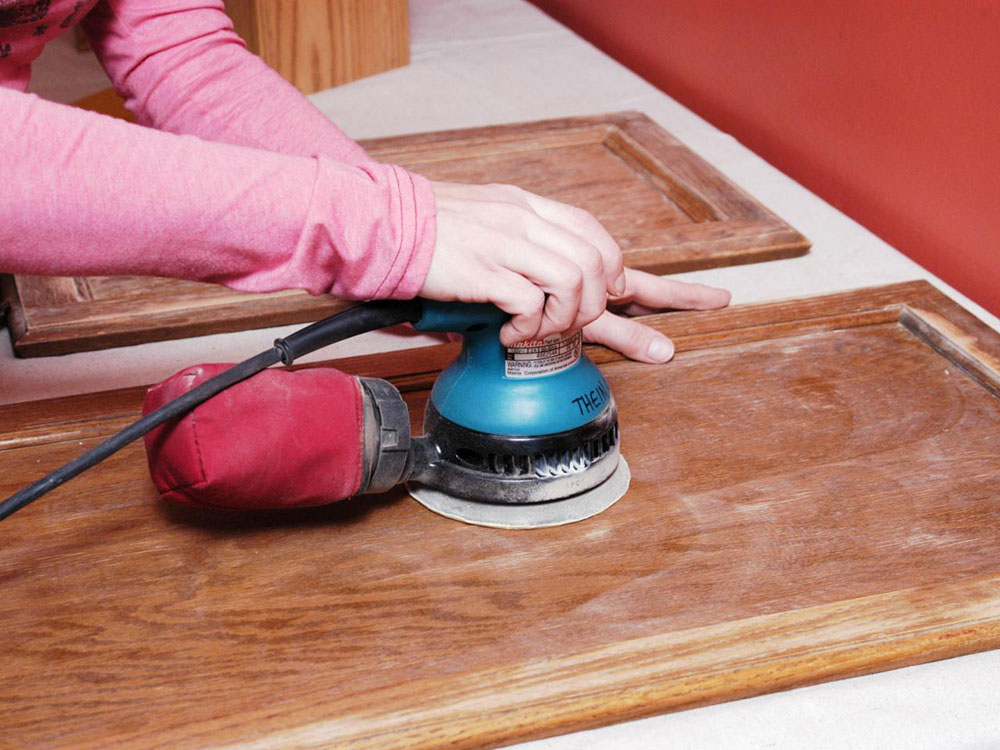

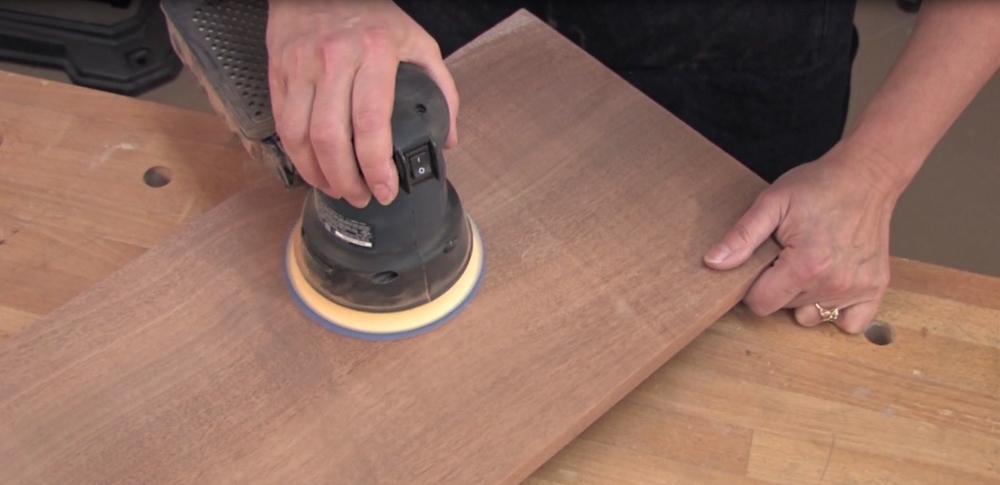
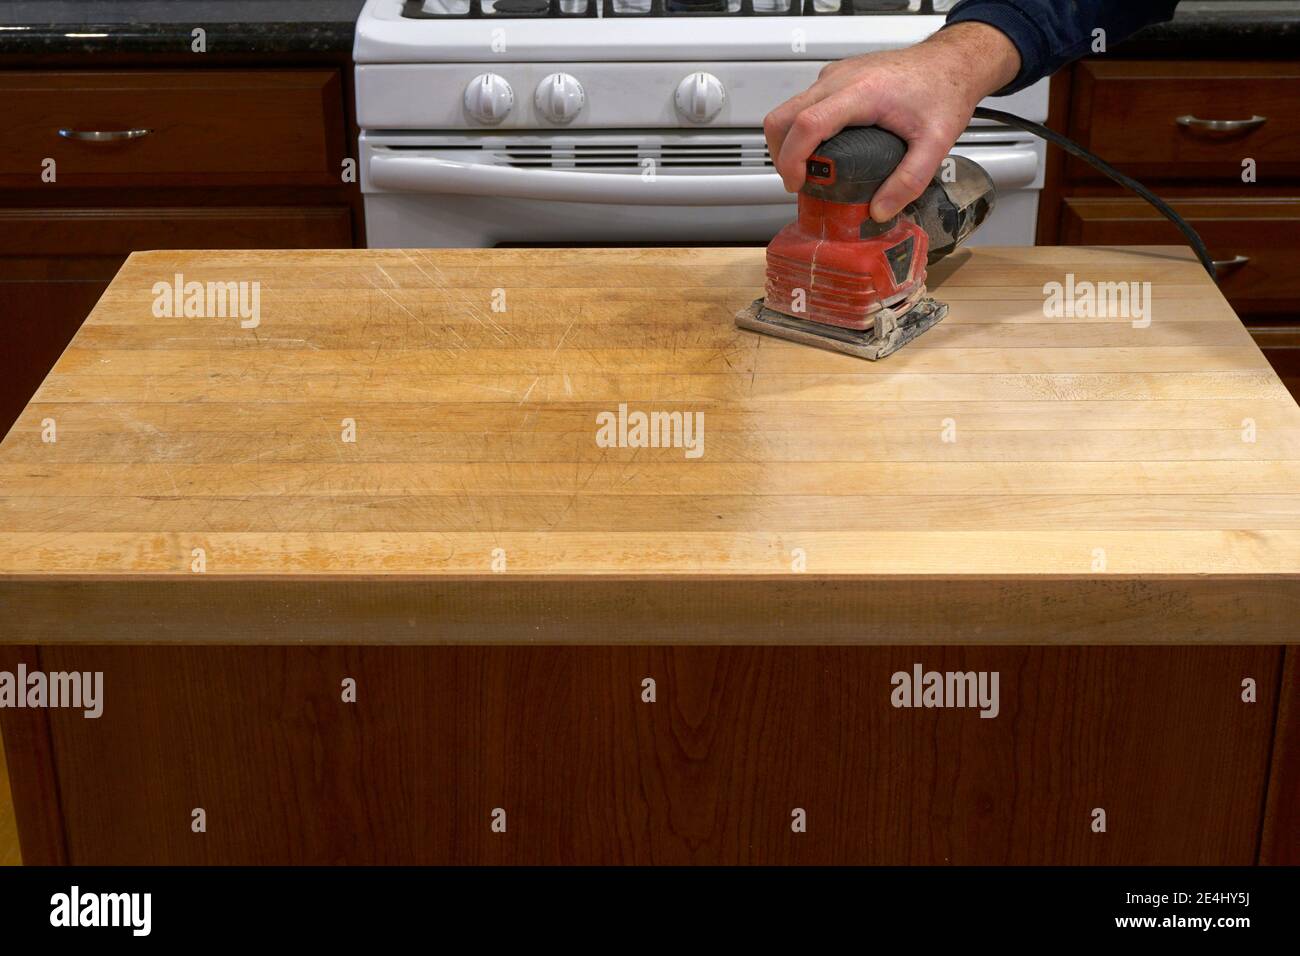
If you have a large kitchen table or multiple pieces of furniture to sand, using an electric sander can save you time and effort. However, make sure to use it carefully and follow the instructions to avoid damaging the wood or creating uneven spots. In conclusion, sanding a kitchen table is an important step in refinishing and restoring its beauty. With the right tools and techniques, you can achieve professional results at home. So roll up your sleeves, put on your dust mask, and get ready to transform your old kitchen table into a beautiful piece of furniture once again!Using an Electric Sander for Sanding a Kitchen Table


Using an Electric Sander for Sanding a Kitchen Table


Sanding a Kitchen Table: The Key to Reviving Your House Design

A kitchen table is not just a piece of furniture; it is the heart of any home. It is where families gather to share meals, stories, and laughter. Over time, the wear and tear of daily use can take a toll on your kitchen table, making it look dull and worn out. However, with a little bit of sanding , you can breathe new life into your kitchen table and give your house design a much-needed upgrade.
The Importance of Sanding
Sanding is a crucial step in any furniture restoration or refinishing project. It involves using sandpaper or a sanding machine to remove the top layer of finish and any imperfections on the surface of the wood. This process not only helps to smooth out the surface but also prepares it for a new coat of paint or stain. Sanding also helps to reveal the natural beauty of the wood, giving your kitchen table a more polished and elegant look.
Choosing the Right Sandpaper
When it comes to sanding a kitchen table, it is essential to use the right sandpaper grit. The grit refers to the coarseness of the sandpaper, and the higher the number, the finer the grit. For sanding a kitchen table, start with a medium grit sandpaper, around 80-120. This will help to remove any rough spots or old finish on the surface. Then, move on to a finer grit, such as 180-220, to smooth out the surface and prepare it for painting or staining.
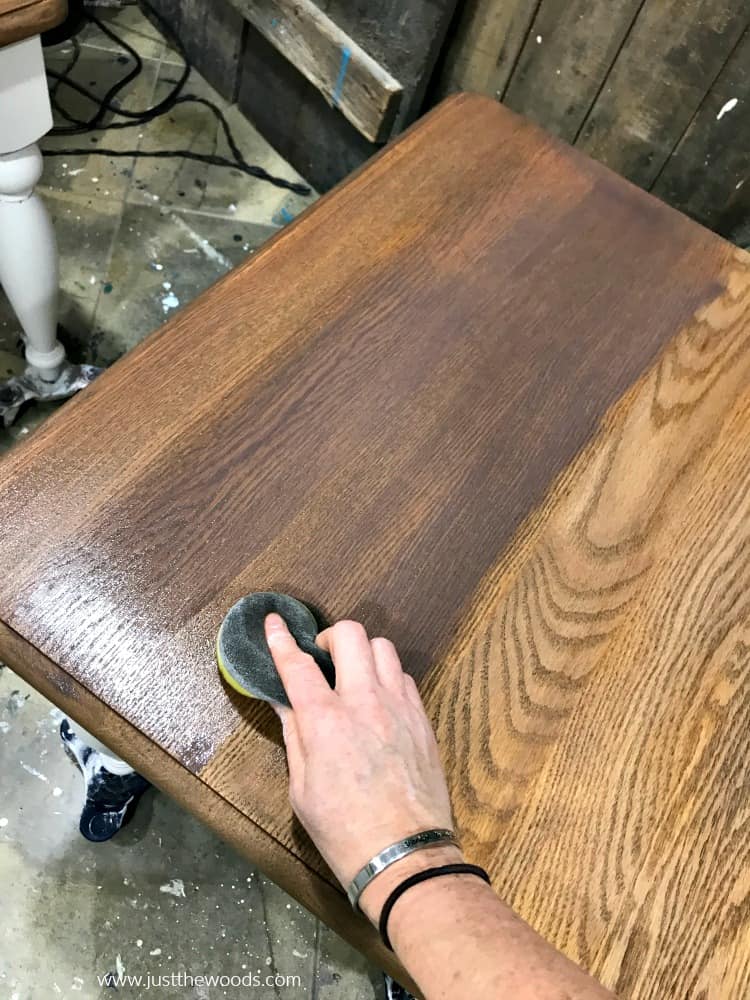
The Sanding Process

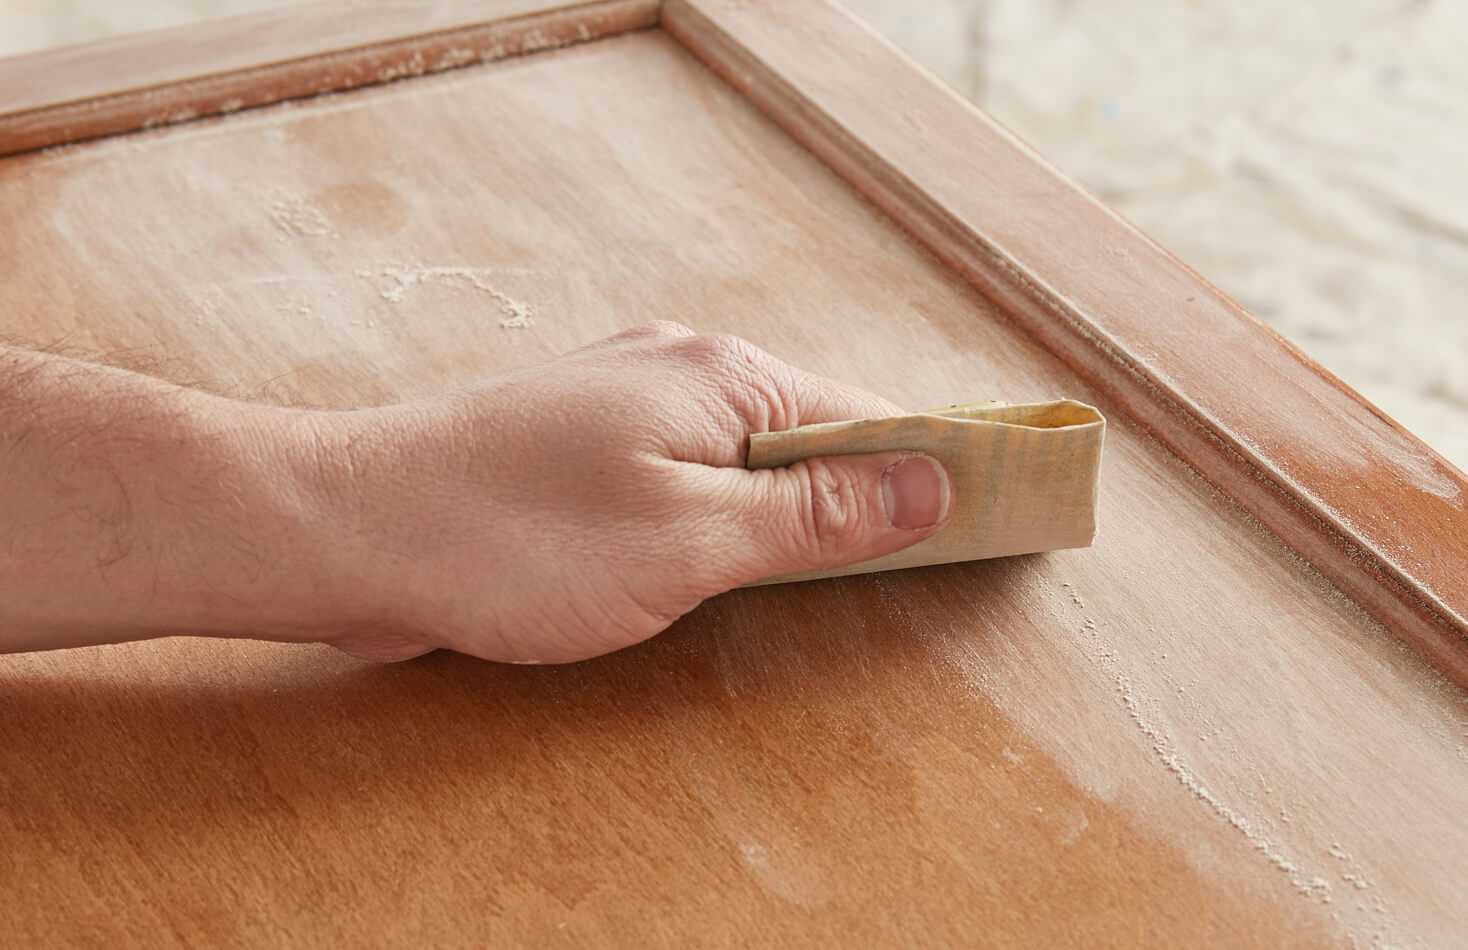
Before starting the sanding process, make sure to protect your hands and eyes with gloves and safety goggles. Begin by lightly sanding the surface of the table in the direction of the wood grain. Use long, even strokes and avoid pressing too hard, as this can cause uneven sanding and damage the wood. Once the entire surface has been sanded with the medium grit sandpaper, repeat the process with the finer grit sandpaper. After sanding, wipe down the table with a damp cloth to remove any dust and let it dry completely before moving on to the next step.
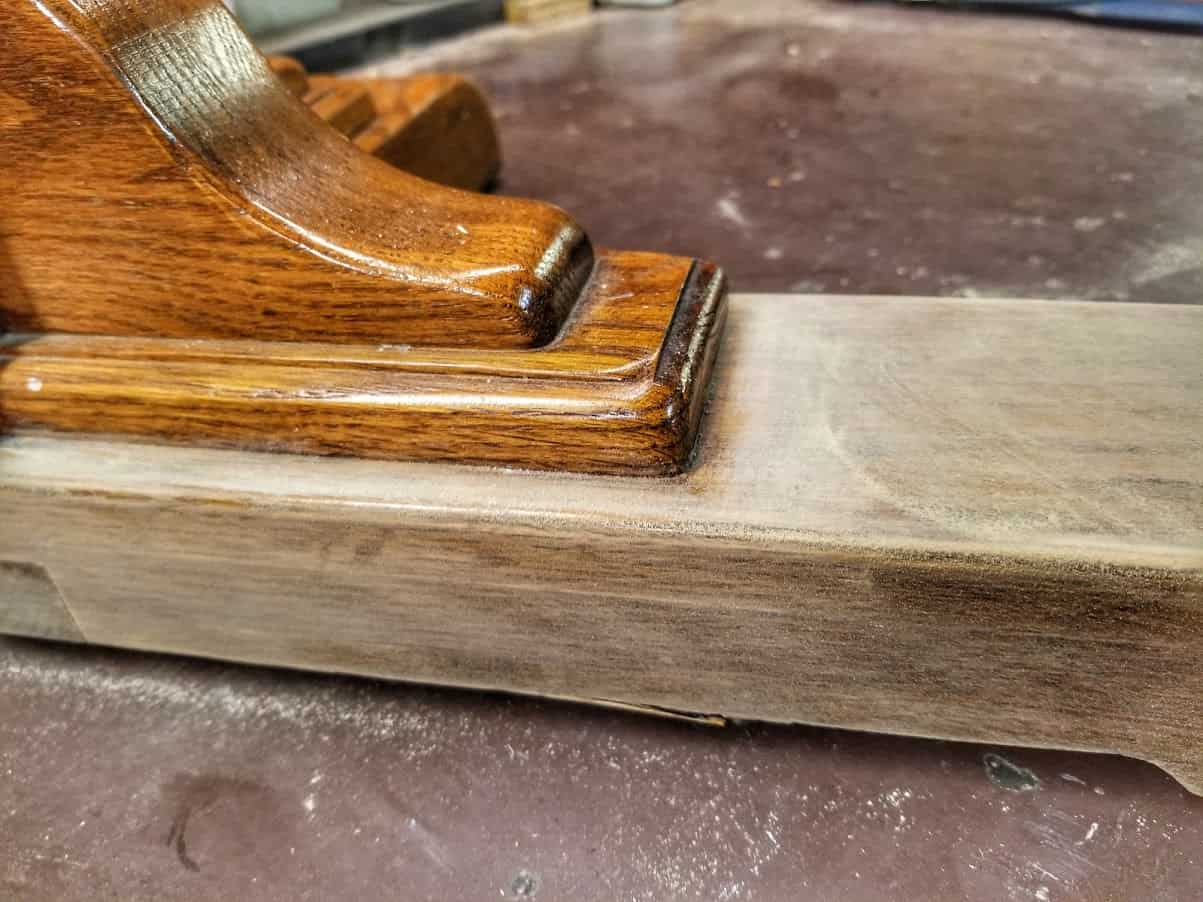
Final Touches

After sanding your kitchen table, you can choose to leave it as is for a more natural look, or you can apply a new coat of paint or stain to give it a fresh and updated look. Make sure to follow the instructions on the paint or stain for the best results. Once the paint or stain has dried, you can add a protective finish to seal and protect the wood.
In conclusion, sanding is a simple yet effective way to revive your kitchen table and enhance your house design. It may take some time and effort, but the end result will be worth it. So, grab your sandpaper and get ready to transform your kitchen table into the centerpiece of your home.