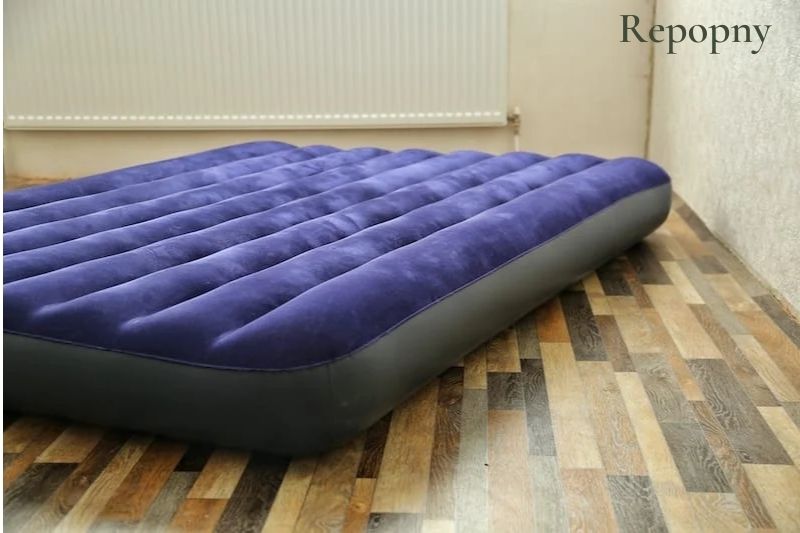
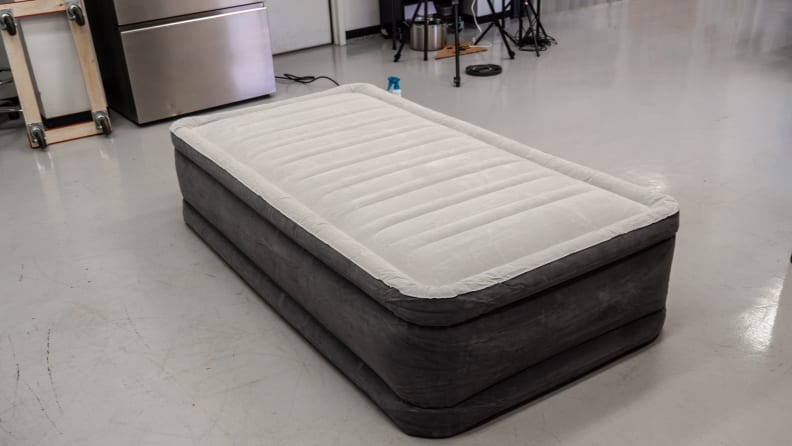
How to Repair an Air Mattress with Rubber Cement
If you have an air mattress that has developed a leak, don't fret – it can easily be fixed with the help of rubber cement. This versatile adhesive is perfect for patching up any holes or tears in your air mattress, allowing you to continue using it for a good night's sleep. In this guide, we will go through the steps of repairing an air mattress with rubber cement, so you can rest easy knowing you have a durable and reliable solution.


How to Repair an Air Mattress with Rubber Cement


How to Fix a Leak in an Air Mattress with Rubber Cement
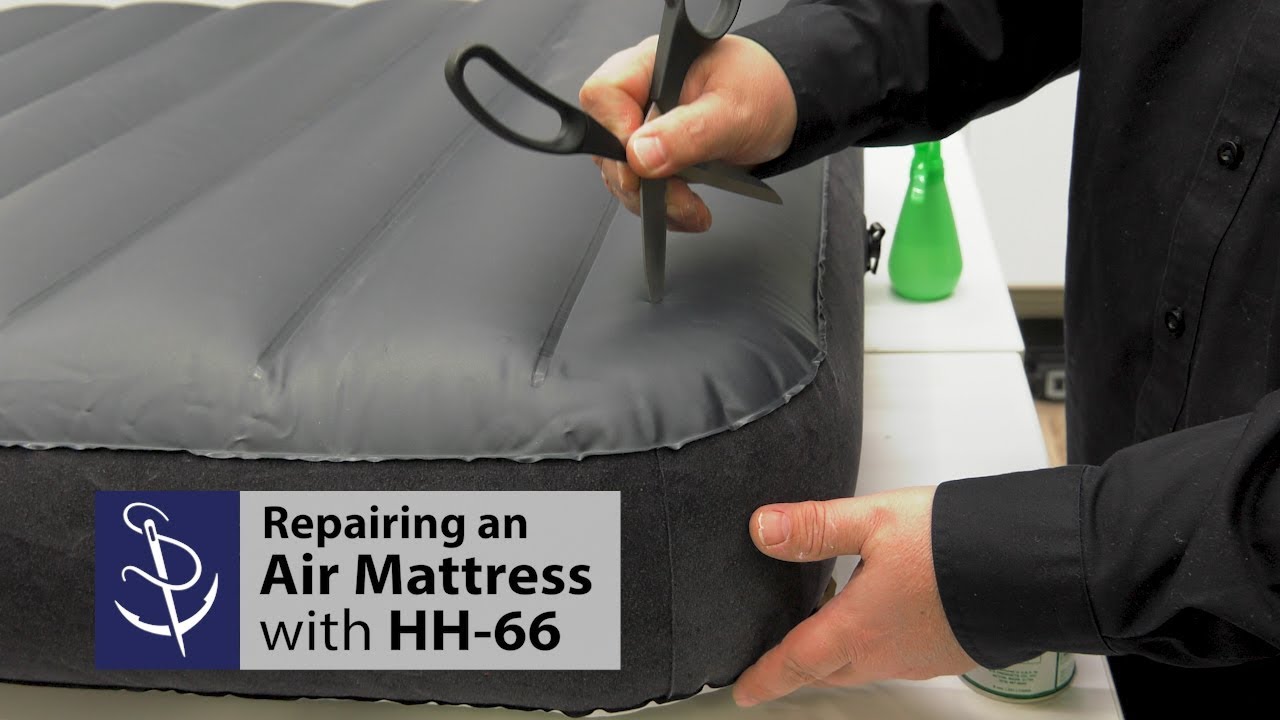
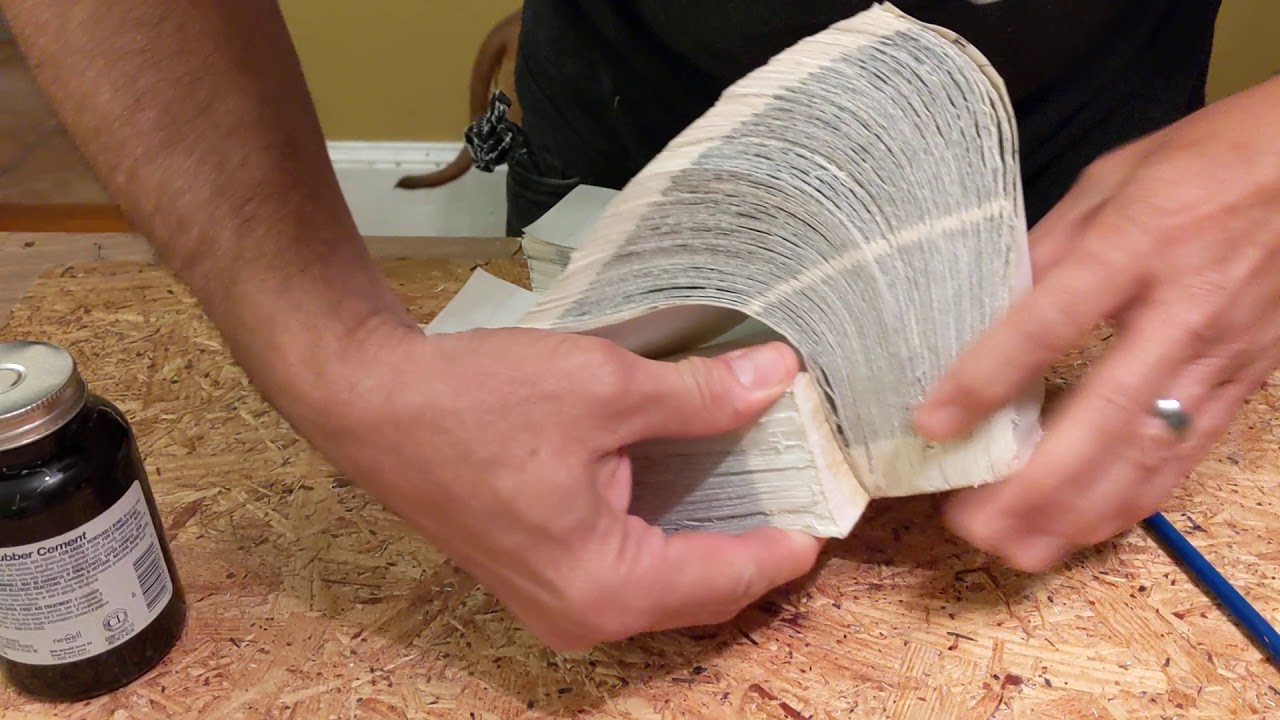
The first step to fixing a leak in your air mattress is to locate the source of the leak. This can be done by inflating the mattress and listening for any hissing sounds. Once you have identified the hole, you will need to clean the area around it. This is important as the rubber cement needs a clean surface to adhere to. Use a damp cloth to wipe away any dirt or debris.
Next, apply a generous amount of rubber cement to the hole. Make sure to spread it out evenly and cover the entire area. You can use a small brush or even your finger to do this. Then, let the cement dry for a few minutes until it becomes tacky. This will help it adhere better to the surface of the mattress.
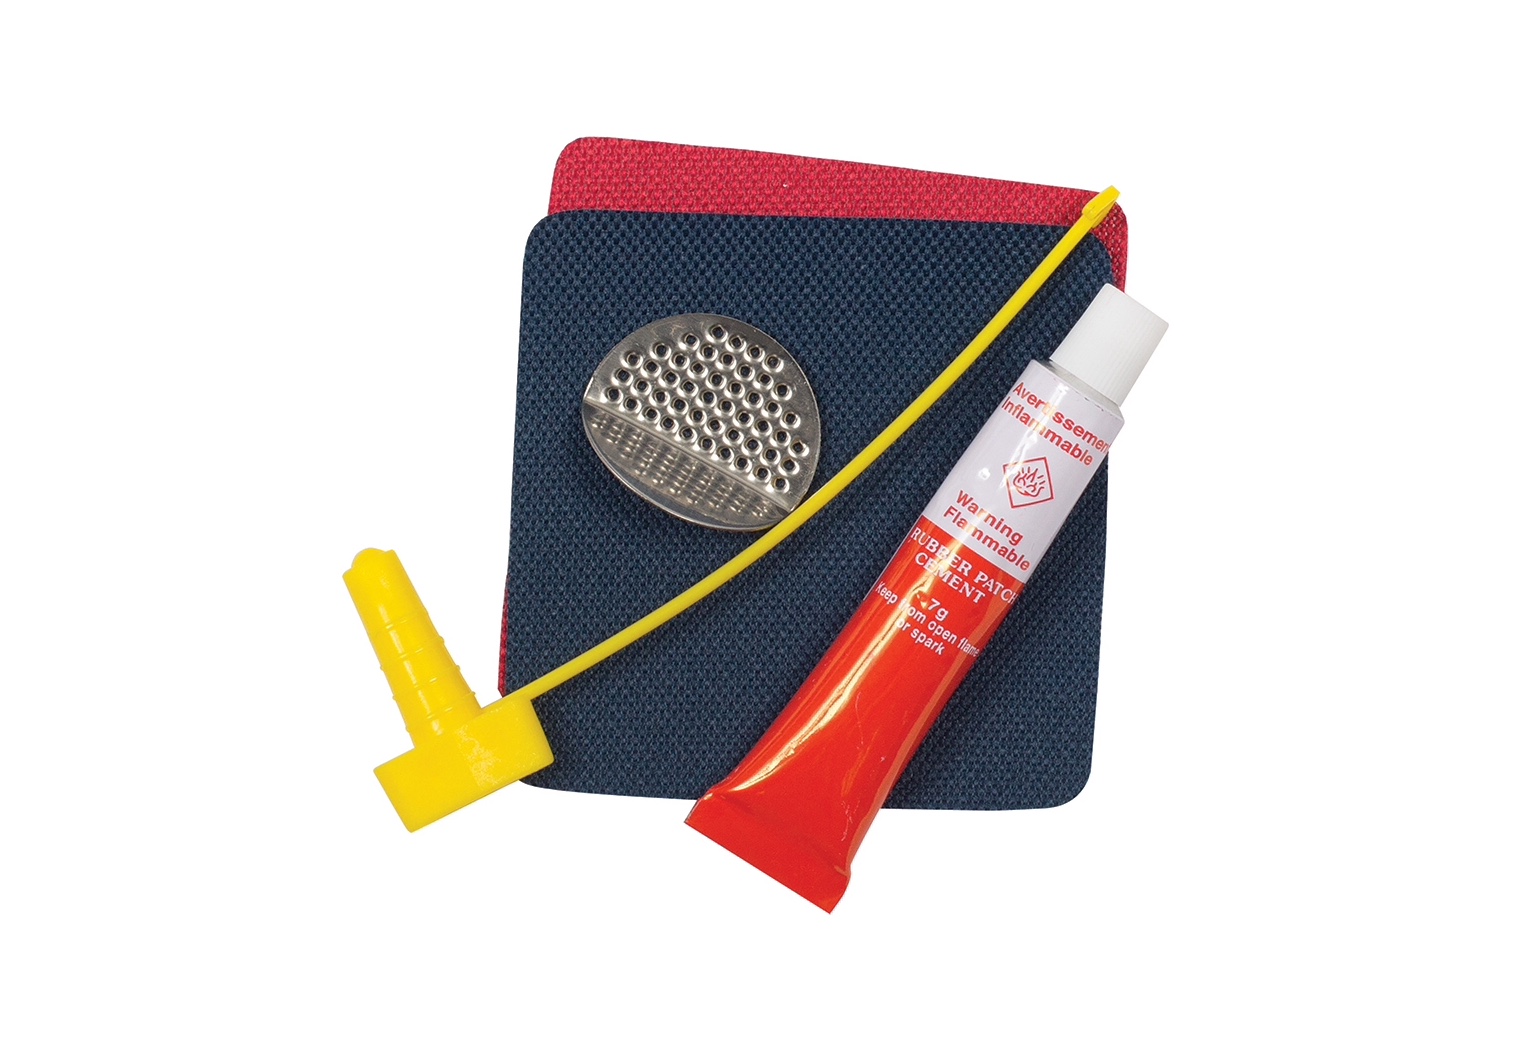
Once the cement is tacky, place a patch over the hole. You can use a piece of fabric, such as a bandage or a cut-out from an old t-shirt, or you can purchase a pre-made patch kit. Press down firmly on the patch to ensure it sticks to the cement. Let it dry for at least 24 hours before using the mattress again.


How to Fix a Leak in an Air Mattress with Rubber Cement


DIY Air Mattress Repair with Rubber Cement
If you don't have a patch kit on hand, you can also make your own patch using rubber cement. Simply cut a piece of fabric or an old t-shirt into a square that is slightly larger than the hole. Apply a layer of rubber cement to both the patch and the area around the hole. Let it dry for a few minutes, then press the patch onto the hole and hold it firmly in place. Let it dry for 24 hours before using the mattress again.


DIY Air Mattress Repair with Rubber Cement


Using Rubber Cement to Patch an Air Mattress
Not only is rubber cement great for fixing holes and tears in your air mattress, but it can also be used for patching up seams and valve leaks. For seams, apply a generous amount of rubber cement along the seam and press it together firmly. Hold it in place for a few minutes until it sets. For valve leaks, apply the cement around the valve and let it dry completely before using the mattress again.


Using Rubber Cement to Patch an Air Mattress


Quick and Easy Air Mattress Repair with Rubber Cement
One of the great things about using rubber cement for air mattress repair is that it is quick and easy. Once you have located the leak and cleaned the area, the rest of the process can be done in a matter of minutes. This means you can have your air mattress back up and running in no time.


Quick and Easy Air Mattress Repair with Rubber Cement

Step-by-Step Guide to Fixing an Air Mattress with Rubber Cement
To summarize, here is a step-by-step guide to repairing an air mattress with rubber cement:
1. Locate the leak and clean the area around it.
2. Apply a generous amount of rubber cement to the hole.
3. Let the cement dry until it becomes tacky.
4. Place a patch over the hole and press down firmly.
5. Let it dry for 24 hours before using the mattress again.


Step-by-Step Guide to Fixing an Air Mattress with Rubber Cement


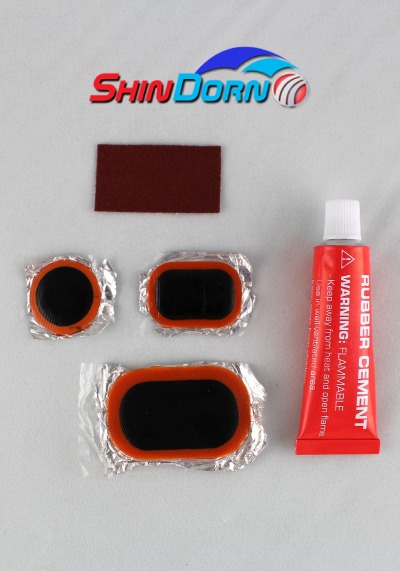
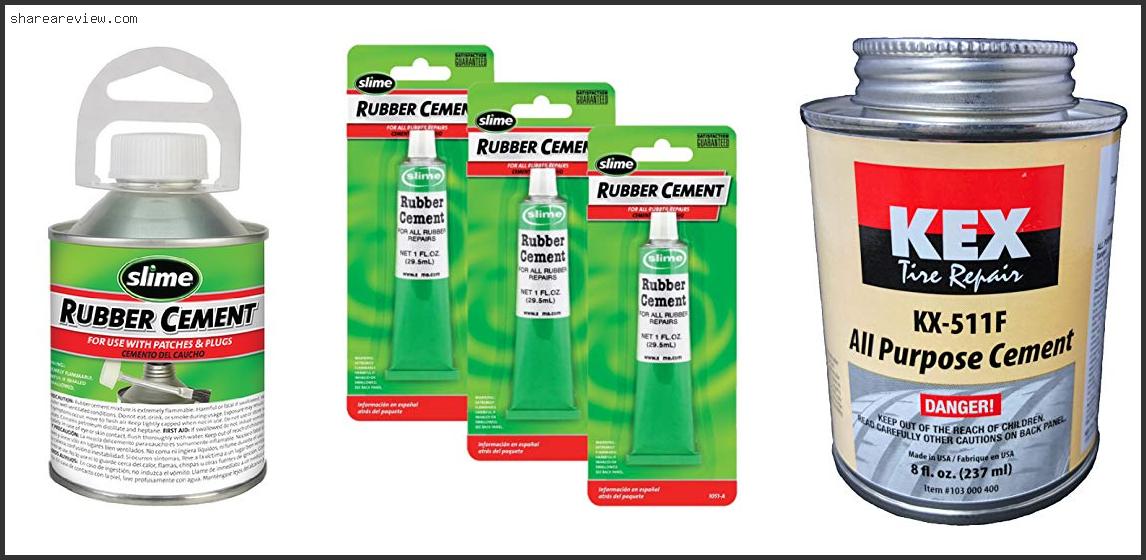
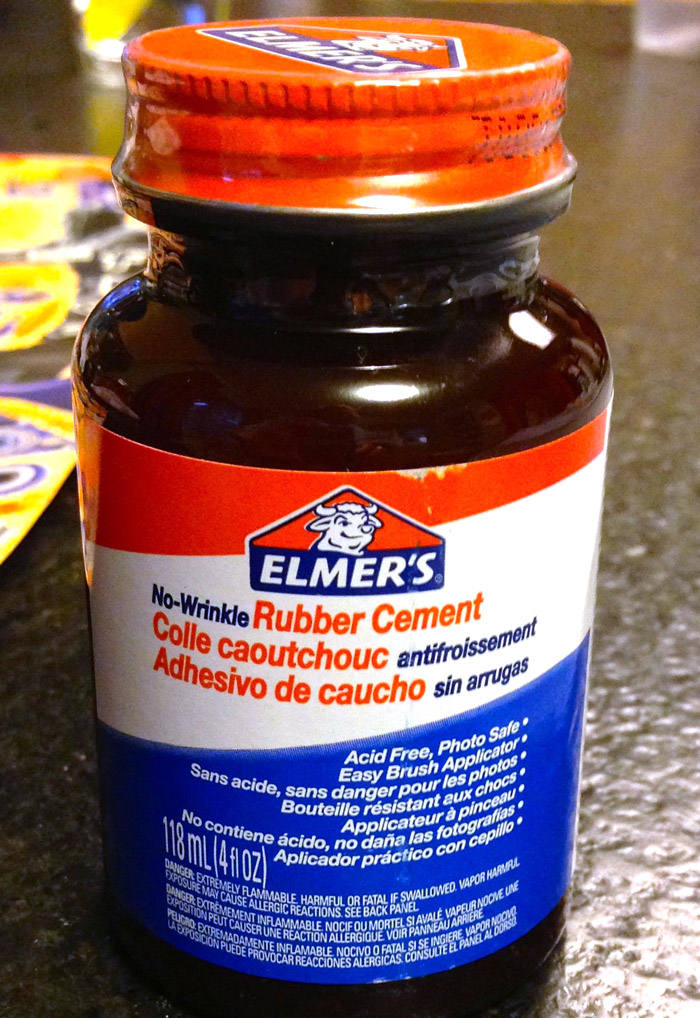
Best Rubber Cement for Air Mattress Repair
When it comes to choosing the best rubber cement for air mattress repair, look for a product that is specifically designed for this purpose. Some popular brands include DAP Weldwood, Elmer's Rubber Cement, and Barge All-Purpose Cement. These are all strong and durable adhesives that will provide a long-lasting solution for your air mattress.
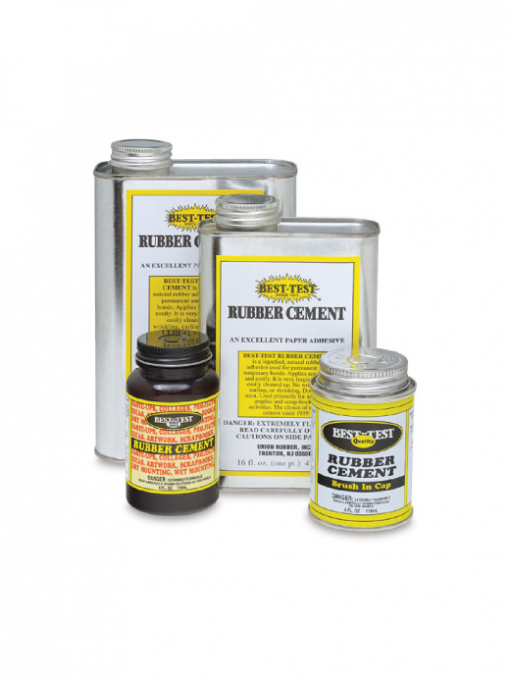
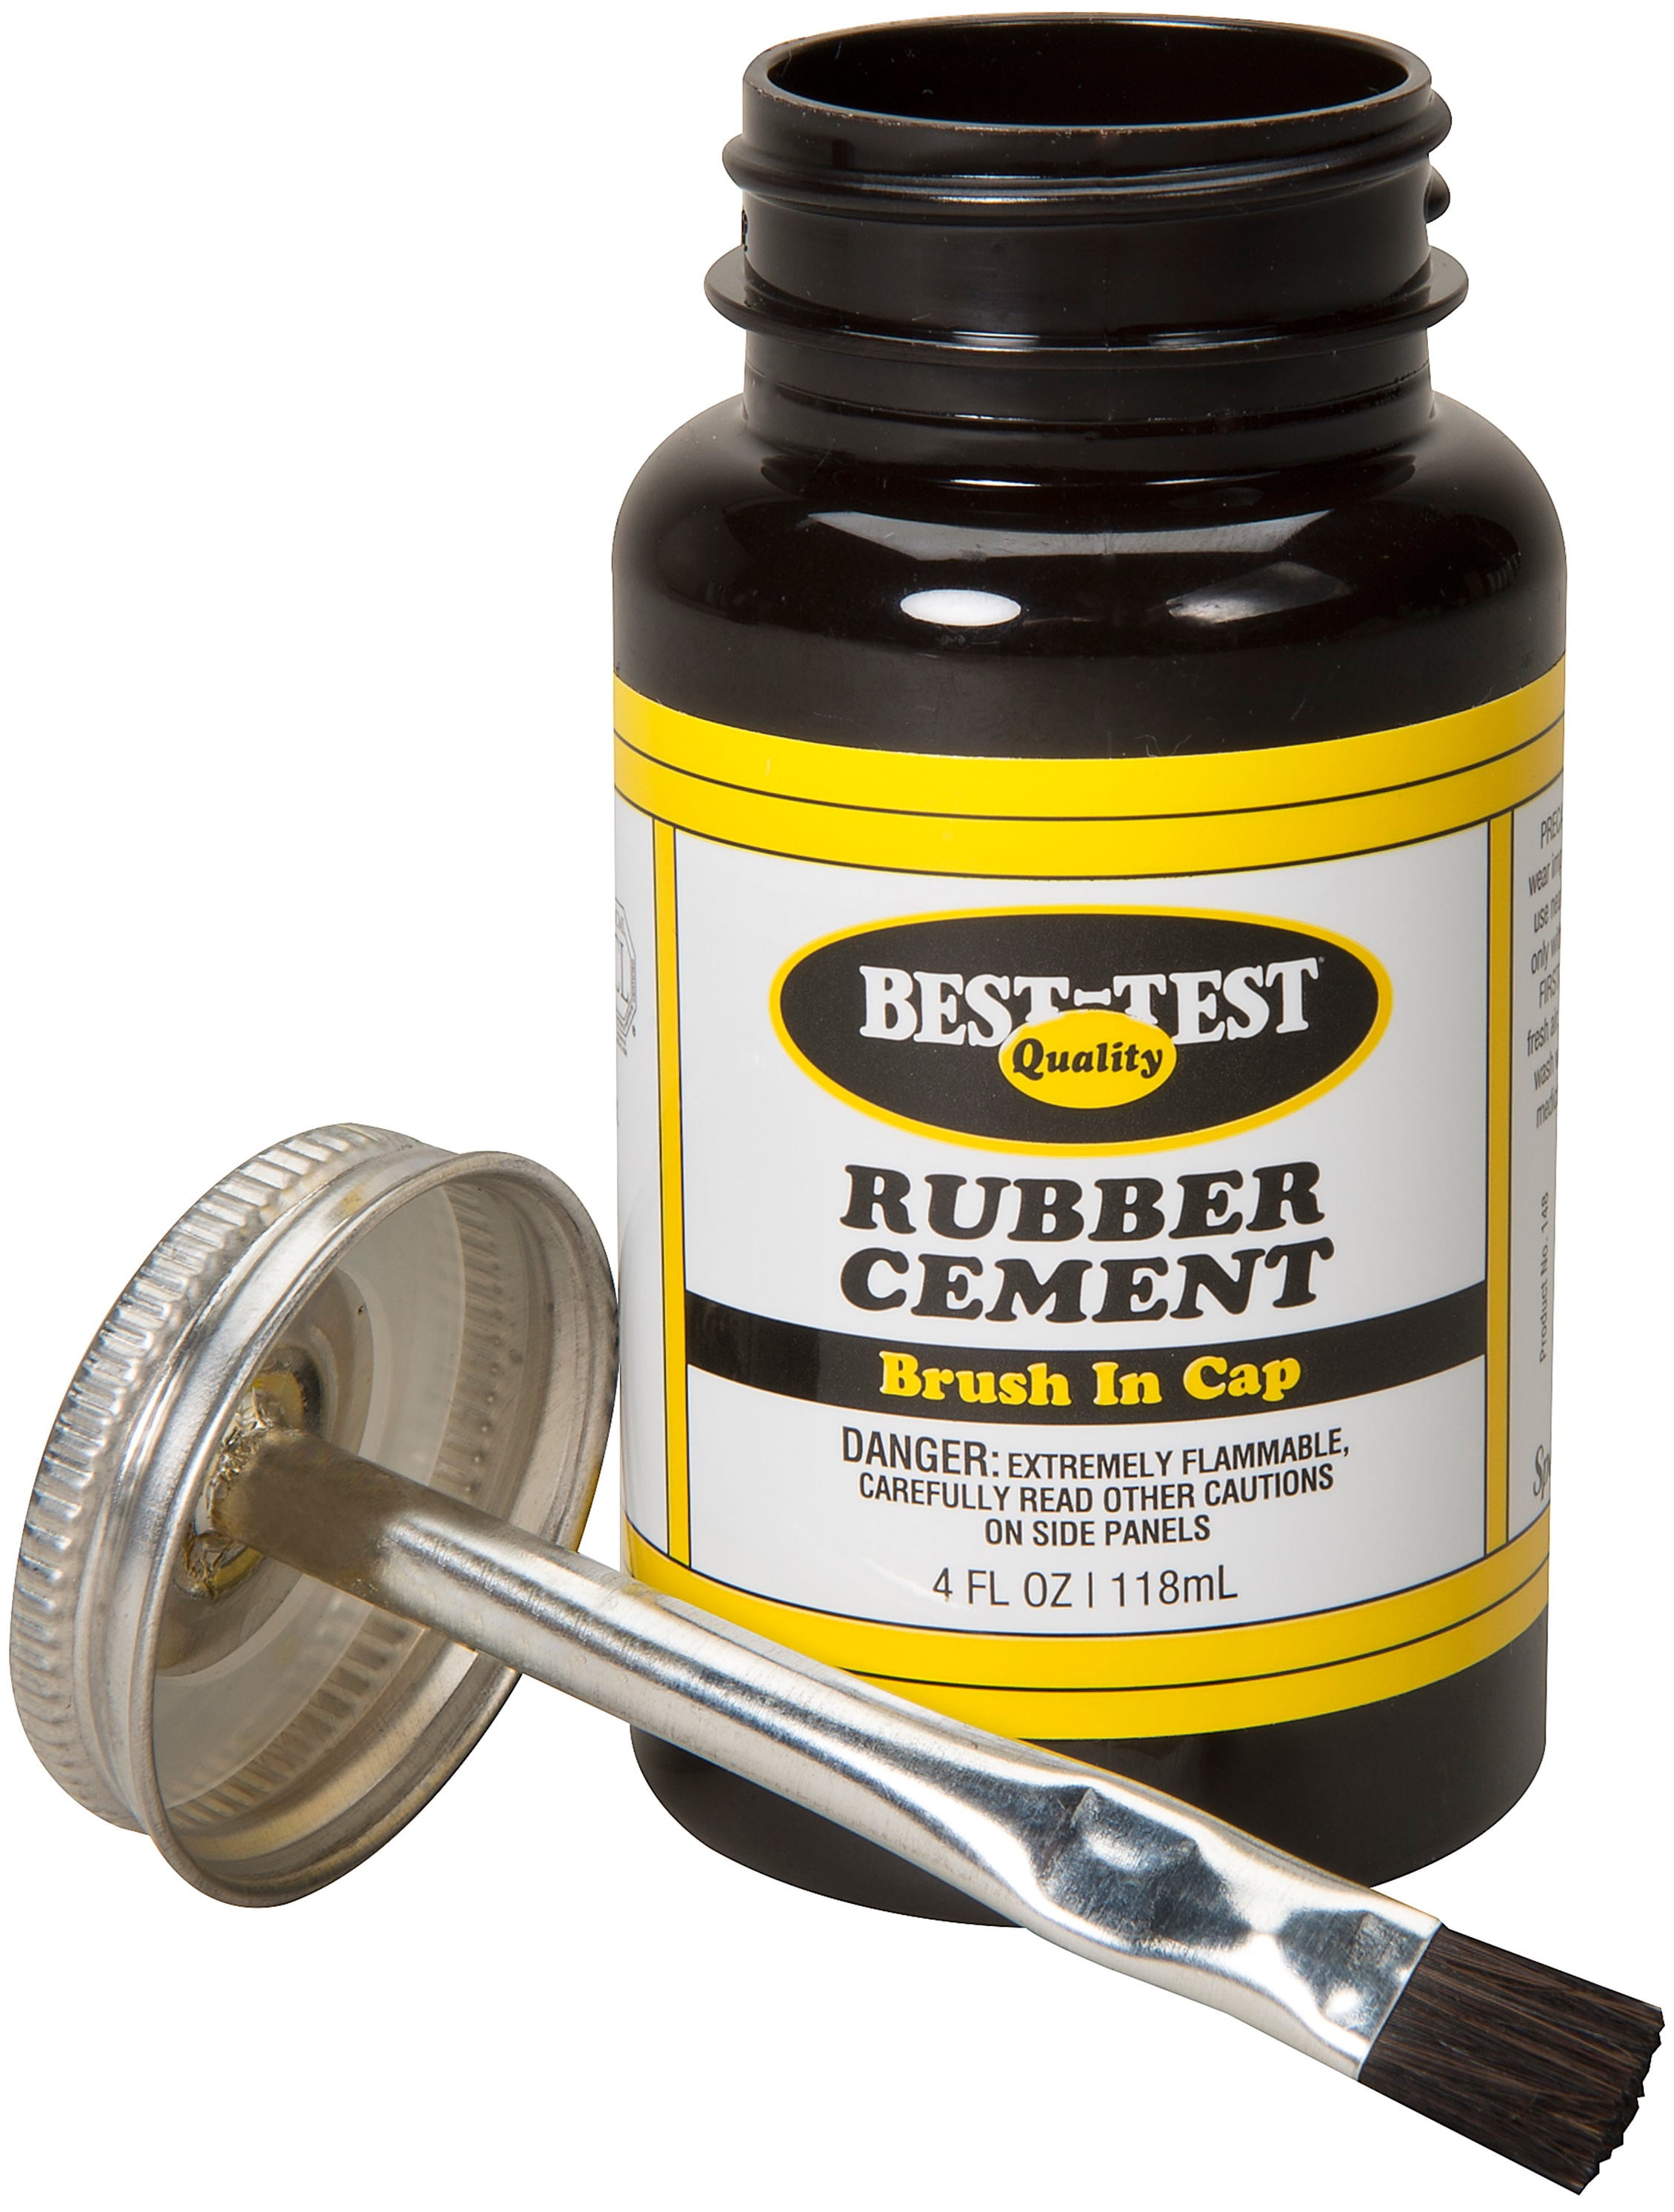

Best Rubber Cement for Air Mattress Repair


Tips for Successful Air Mattress Repair with Rubber Cement
Here are some additional tips to ensure a successful air mattress repair with rubber cement:
1. Make sure to clean the area around the leak thoroughly before applying the cement.
2. Let the cement dry until it becomes tacky before placing the patch.
3. Use a generous amount of cement to ensure a strong bond.
4. Let the patch dry for at least 24 hours before using the mattress again.
5. For larger holes or tears, it may be necessary to use multiple patches.
Tips for Successful Air Mattress Repair with Rubber Cement

Common Mistakes to Avoid When Using Rubber Cement for Air Mattress Repair
While rubber cement is a great solution for fixing an air mattress, there are some common mistakes that should be avoided to ensure a successful repair:
1. Using too little cement – make sure to use a generous amount for a strong bond.
2. Not letting the cement dry until it is tacky – this will result in a weaker bond.
3. Using the mattress too soon – make sure to let the patch dry for at least 24 hours before using the mattress again.
4. Not cleaning the area properly – any dirt or debris can prevent the cement from adhering properly.


Common Mistakes to Avoid When Using Rubber Cement for Air Mattress Repair

Alternative Uses for Rubber Cement in Air Mattress Repair
Aside from patching holes and tears, rubber cement can also be used for other repairs on your air mattress. It can help to reattach a loose or broken valve, as well as fix any punctures in the mattress's outer fabric. Just make sure to follow the same steps of cleaning the area and letting the cement dry before using the mattress again.
In conclusion, rubber cement is a versatile and reliable solution for repairing an air mattress. With the right technique and following these tips, you can easily fix any leaks and extend the life of your air mattress. So next time you encounter a leak, don't throw out your mattress – try using rubber cement for a quick and easy fix.

Alternative Uses for Rubber Cement in Air Mattress Repair


Air Mattress Repair: How to Fix a Leak Using Rubber Cement

Introduction
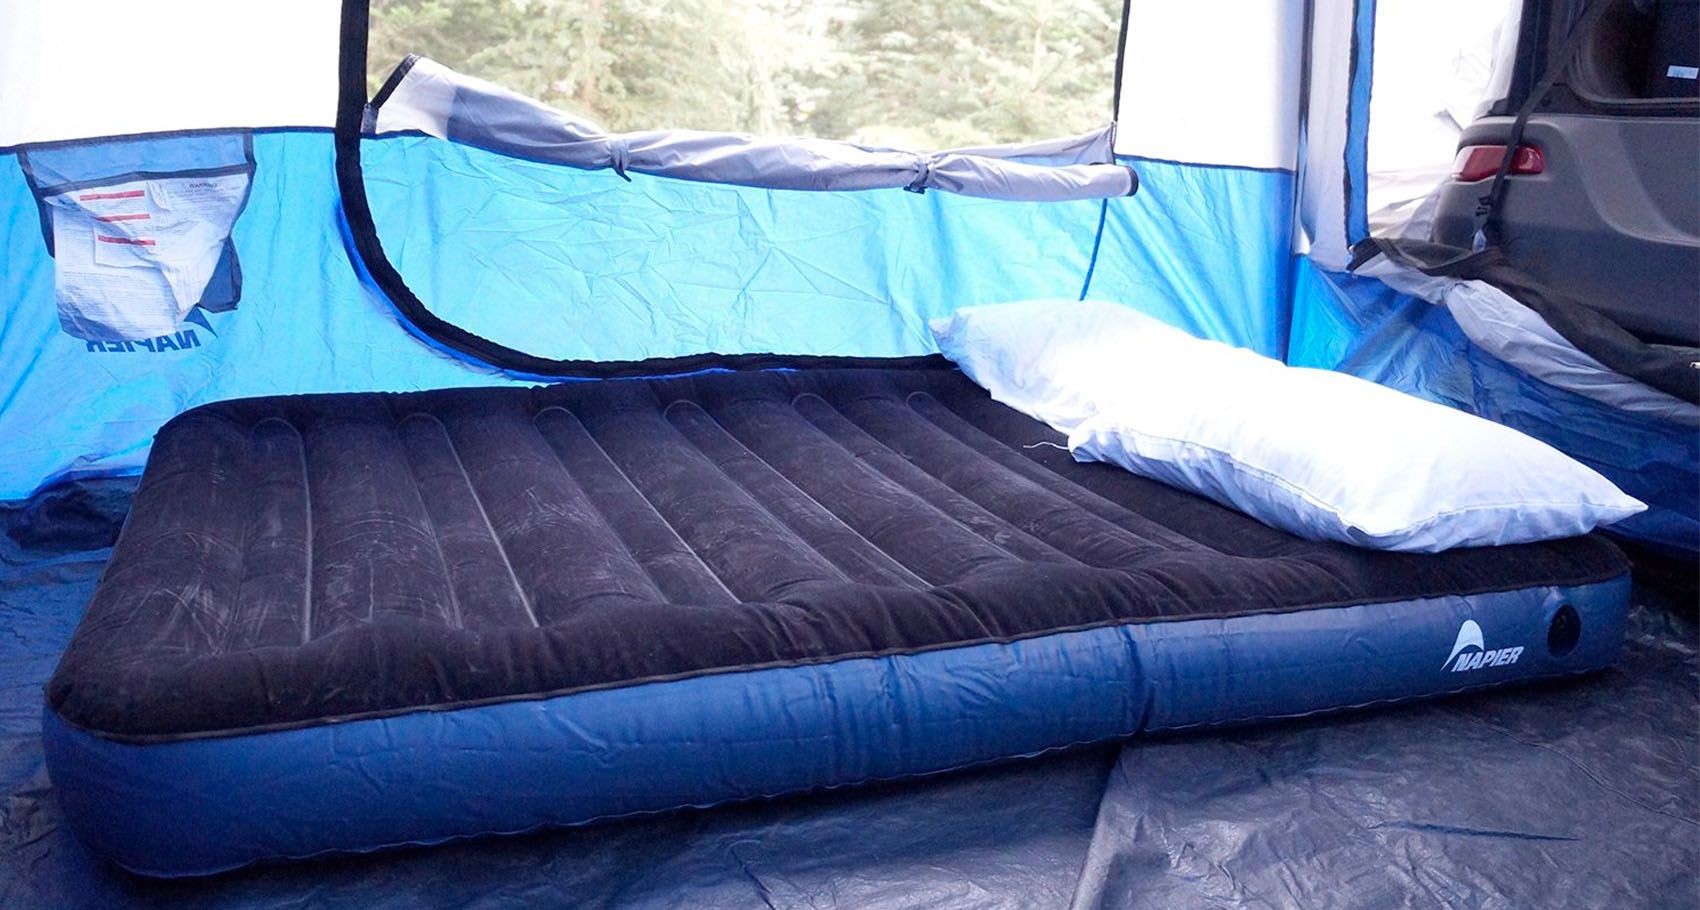
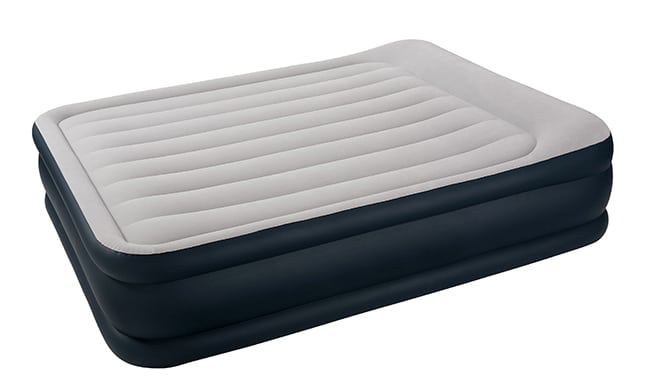
 An air mattress is a convenient and comfortable sleeping option for guests or camping trips. However, one of the most common problems with air mattresses is a leak, which can quickly ruin a good night's sleep. While there are many ways to repair a leak, one of the most effective and long-lasting methods is using rubber cement.
What is Rubber Cement?
 Rubber cement
is a type of adhesive that is made from natural or synthetic rubber. It is commonly used for repairing various materials, including air mattresses, due to its strong bonding properties. The adhesive is waterproof and flexible, making it perfect for repairing leaks in inflatable items.
Rubber cement
is a type of adhesive that is made from natural or synthetic rubber. It is commonly used for repairing various materials, including air mattresses, due to its strong bonding properties. The adhesive is waterproof and flexible, making it perfect for repairing leaks in inflatable items.
How to Repair an Air Mattress Leak Using Rubber Cement
 Before starting the repair process, make sure to locate the leak by inflating the air mattress and listening for any hissing sounds. Once you have identified the leak, follow these steps to fix it using rubber cement:
Step 1:
Clean the area around the leak with a damp cloth to remove any dirt or debris. This will ensure that the rubber cement adheres properly.
Step 2:
Deflate the air mattress and dry the area completely.
Step 3:
Apply a small amount of rubber cement directly onto the leak and spread it evenly using a small brush or your finger. Make sure to cover the entire leak and a small area around it.
Step 4:
Let the rubber cement dry for a few minutes until it becomes tacky.
Step 5:
Cut a small patch of
rubber
from an old
tire
or an unused piece of rubber material. The patch should be slightly larger than the leak.
Step 6:
Place the patch over the leak and press down firmly to ensure it is securely bonded to the mattress.
Step 7:
Let the rubber cement dry completely, preferably overnight, before inflating the air mattress.
Before starting the repair process, make sure to locate the leak by inflating the air mattress and listening for any hissing sounds. Once you have identified the leak, follow these steps to fix it using rubber cement:
Step 1:
Clean the area around the leak with a damp cloth to remove any dirt or debris. This will ensure that the rubber cement adheres properly.
Step 2:
Deflate the air mattress and dry the area completely.
Step 3:
Apply a small amount of rubber cement directly onto the leak and spread it evenly using a small brush or your finger. Make sure to cover the entire leak and a small area around it.
Step 4:
Let the rubber cement dry for a few minutes until it becomes tacky.
Step 5:
Cut a small patch of
rubber
from an old
tire
or an unused piece of rubber material. The patch should be slightly larger than the leak.
Step 6:
Place the patch over the leak and press down firmly to ensure it is securely bonded to the mattress.
Step 7:
Let the rubber cement dry completely, preferably overnight, before inflating the air mattress.
Additional Tips
 - Make sure to read and follow the instructions on the rubber cement packaging for best results.
- If the leak is on a seam, use a thin layer of rubber cement to seal it before applying the patch.
- Test the air mattress for leaks before using it again to ensure the repair was successful.
- Keep a small tube of rubber cement on hand for any future leaks.
- Make sure to read and follow the instructions on the rubber cement packaging for best results.
- If the leak is on a seam, use a thin layer of rubber cement to seal it before applying the patch.
- Test the air mattress for leaks before using it again to ensure the repair was successful.
- Keep a small tube of rubber cement on hand for any future leaks.
Conclusion
 Using rubber cement to repair an air mattress leak is a simple and effective method that can save you from having to replace the mattress entirely. By following these steps, you can quickly fix the leak and have your air mattress ready to use in no time. So the next time you encounter a leak, remember to reach for the trusty rubber cement.