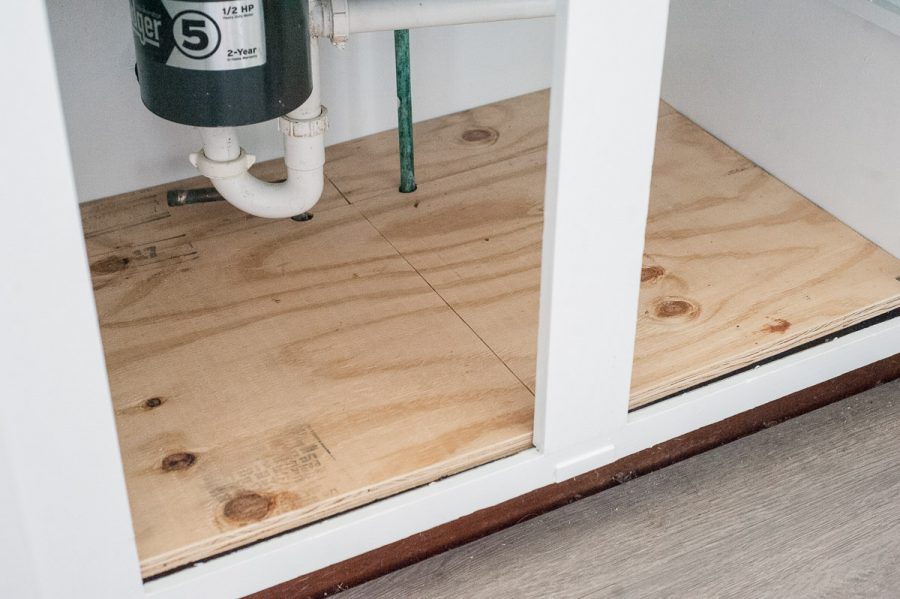
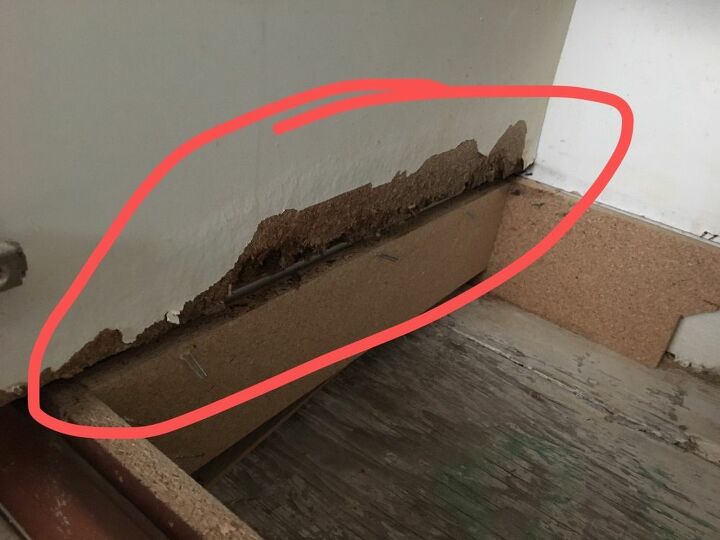
If you've noticed that your kitchen sink cabinet is starting to look a little worse for wear, it's important to take action before the problem gets worse. Rotting wood in your kitchen sink cabinet can not only be unsightly, but it can also pose a safety hazard and lead to further damage. But don't worry, with a few simple steps, you can repair your rotting kitchen sink cabinet and have it looking as good as new in no time. First, start by assessing the damage. Is the wood just starting to show signs of rot, or is it completely deteriorated? If it's just starting to rot, you may be able to salvage the wood and repair it. However, if the wood is too far gone, you may need to replace the entire cabinet. Next, you'll want to remove any damaged wood. Use a chisel or hammer to carefully remove the rotten wood, being careful not to damage any surrounding areas. Once the damaged wood is removed, use a wood filler to fill in any gaps or holes. Allow the filler to dry completely before sanding it down to create a smooth surface. After the wood filler has dried and been sanded, it's time to reinforce the wood. Use a wood hardener to strengthen the remaining wood and prevent any future rotting. Apply the hardener according to the instructions and allow it to dry completely before moving onto the next step. Finally, it's time to paint or seal the repaired area. Use a waterproof sealant or paint to protect the wood from any moisture and prevent future rotting. Be sure to cover the entire area and allow the sealant to dry completely before using the sink again. By following these steps, you can repair your rotting kitchen sink cabinet and prevent further damage. Remember to regularly check your sink cabinet for any signs of rot and address them as soon as possible to avoid a more extensive repair in the future.1. How to Repair a Rotting Kitchen Sink Cabinet
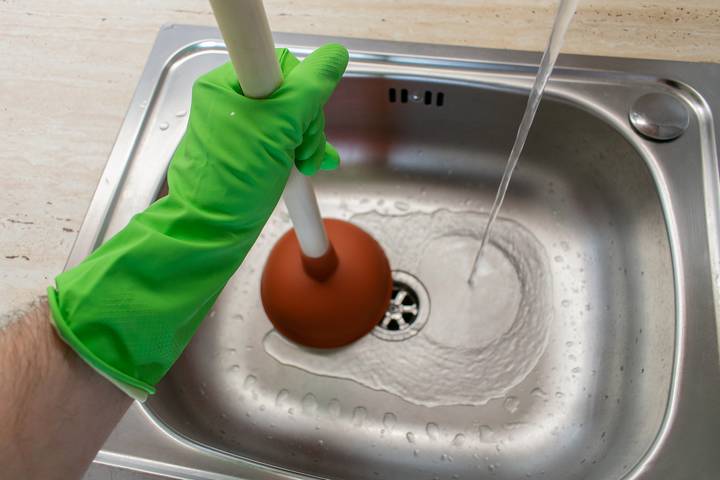
Rotting wood in a kitchen sink is a common problem that many homeowners face. But what causes this issue and how can you prevent it? The main cause of a rotting kitchen sink is moisture. When water is constantly present, it can seep into the wood and cause it to rot over time. This can be due to a leaky faucet, a clogged drain, or even just standing water in the sink. To prevent your kitchen sink from rotting, it's important to address any leaks or drainage issues as soon as possible. Fixing a leaky faucet or unclogging a drain can prevent excess moisture from accumulating and causing damage to the wood. Additionally, be sure to regularly clean and dry your sink to prevent standing water. If your kitchen sink does start to show signs of rot, it's important to address it quickly to prevent further damage. Follow the steps outlined in our first heading to repair the rot and reinforce the wood to prevent future issues.2. Causes and Solutions for a Rotting Kitchen Sink
Aside from addressing any leaks or drainage issues, there are a few other steps you can take to prevent rot in your kitchen sink. One option is to use a waterproof sealant or paint on the wood to protect it from moisture. This can be especially helpful in areas that are prone to water exposure, such as around the faucet or drain. Another tip is to regularly clean and dry your sink. This can help prevent any standing water from causing damage to the wood. Additionally, be sure to check for any signs of rot regularly and address them as soon as possible to prevent the problem from getting worse. Lastly, consider using a cutting board or mat when using your sink as this can prevent scratches and dents in the wood that can lead to moisture seeping in and causing rot.3. Tips for Preventing Rot in Your Kitchen Sink
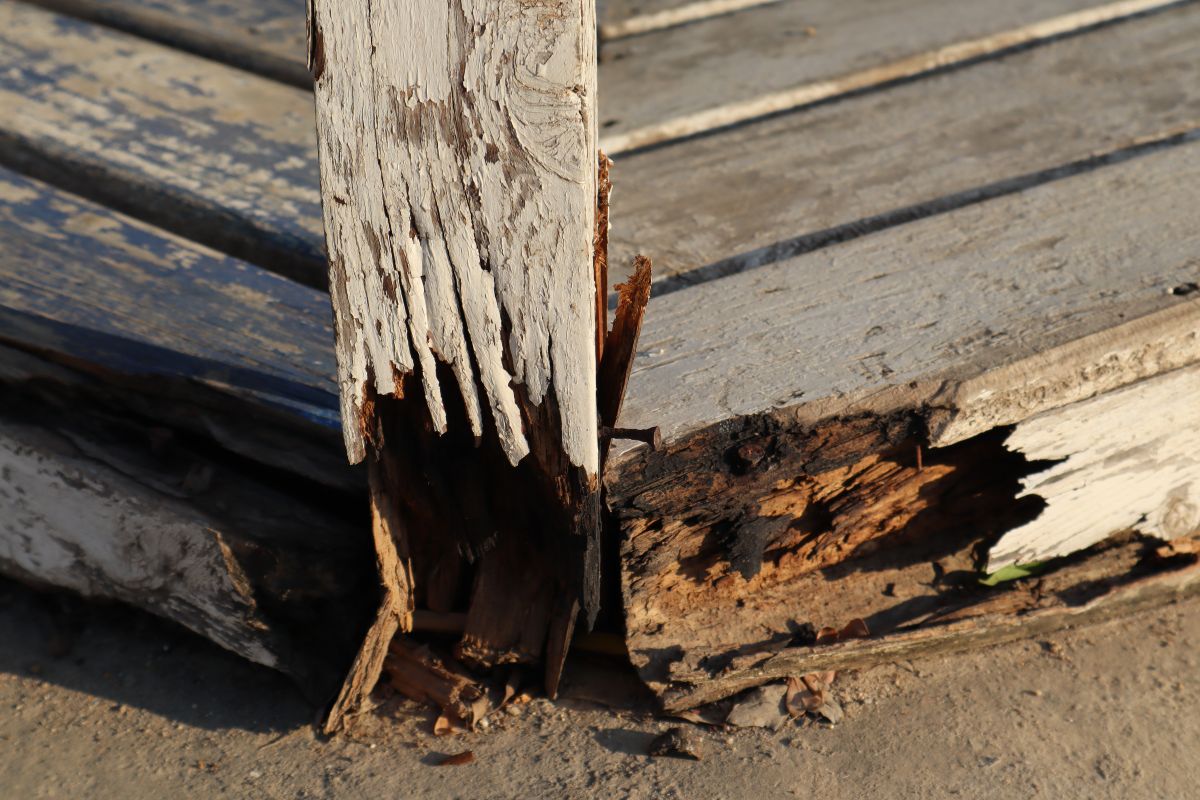
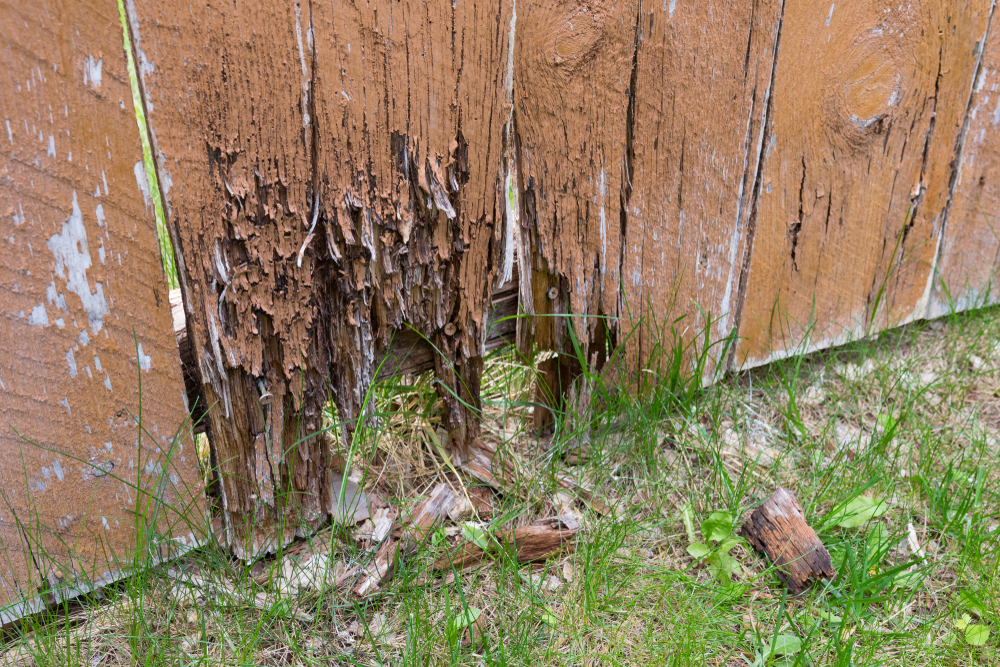
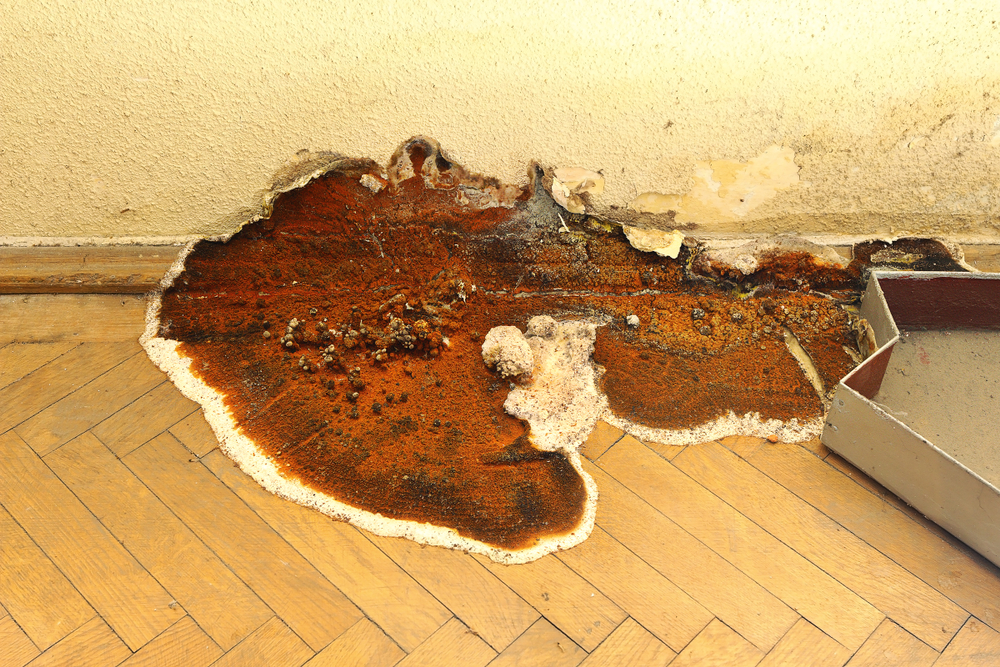
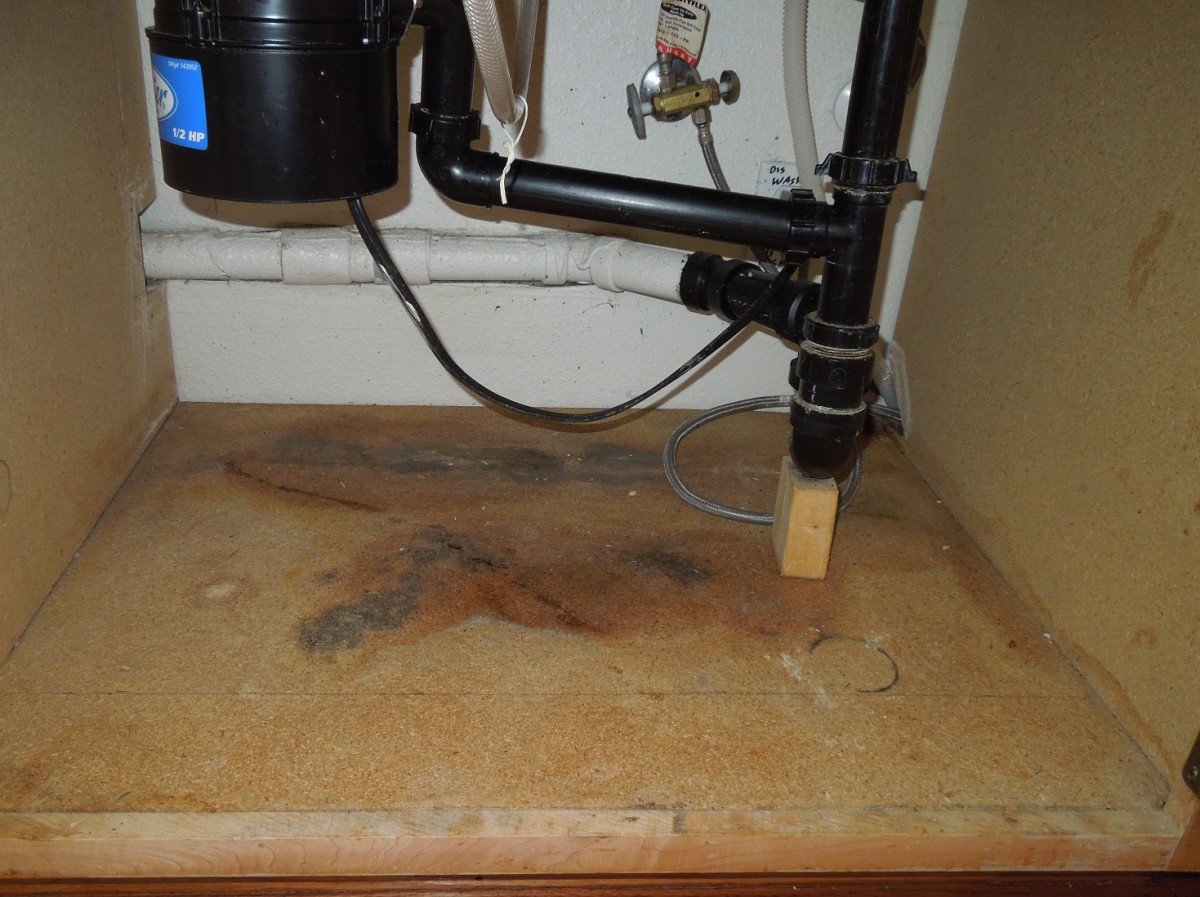
It's important to regularly check for signs of rotting wood under your kitchen sink to catch any issues early on. Some common signs of rot include soft or discolored wood, a musty smell, and mold or mildew growth. Additionally, if you notice that the wood is starting to crumble or break apart, it's a clear indication of rot. If you do notice any of these signs, it's important to act quickly to prevent further damage to your kitchen sink. Follow the steps outlined in our first heading to repair the rot and reinforce the wood.4. Signs of Rotting Wood Under Your Kitchen Sink
If the wood in your kitchen sink base cabinet is too far gone to repair, you may need to replace the entire cabinet. This may seem like a daunting task, but with the right tools and a little know-how, it can be a DIY project. Start by removing the damaged cabinet. Use a pry bar to loosen any nails or screws holding the cabinet in place and carefully remove it from the wall or countertop. Be sure to use caution and have a helper assist you as cabinets can be heavy. Next, measure the dimensions of the old cabinet and purchase a new one that fits those measurements. Once you have the new cabinet, it's time to install it. Use cabinet screws to secure the new cabinet to the wall or countertop. Be sure to use a level to ensure the cabinet is straight. Finally, finish off the installation by attaching the doors and any shelving to the new cabinet. With a new base cabinet in place, you can now install a new sink and enjoy a fresh, rot-free kitchen sink.5. How to Replace a Rotting Kitchen Sink Base Cabinet
Aside from being unsightly, a rotting kitchen sink can pose a safety hazard and lead to further damage in your home. If the wood continues to rot, it can weaken the structure of your cabinets and potentially cause them to collapse. Additionally, mold and mildew can grow in the damp, rotting wood, which can be harmful to your health. It's important to address any signs of rot in your kitchen sink promptly to avoid these potential dangers. Regularly checking for signs of rot and addressing them as soon as possible can prevent the problem from getting worse.6. The Dangers of a Rotting Kitchen Sink
One common cause of rotting wood in a kitchen sink is a leaky faucet. If you notice water pooling around your faucet or dripping from it, it's important to address the issue as soon as possible to prevent further damage to the wood. Follow these steps to fix a leaky kitchen sink with rotting wood: 1. Turn off the water supply to the sink. 2. Use a wrench to loosen and remove the faucet handle. 3. Replace any worn or damaged parts, such as the O-ring or valve seat. 4. Reattach the faucet handle and turn the water supply back on. If the wood under the faucet is already showing signs of rot, be sure to follow the steps outlined in heading one to repair and reinforce the wood.7. How to Fix a Leaky Kitchen Sink with Rotting Wood
We've already discussed a few common causes of rotting wood in kitchen sinks, such as leaks and standing water. However, there are a few other factors that can contribute to this issue. These include poor ventilation, high humidity levels, and using harsh chemicals to clean the sink. It's important to address these issues as well to prevent rot in your kitchen sink.8. Common Causes of Rotting Wood in Kitchen Sinks
The key to preventing rot in your kitchen sink is regular cleaning and maintenance. Start by regularly wiping down your sink and drying it after each use to prevent standing water. Additionally, use a mild cleaner or natural ingredients, such as baking soda and vinegar, to clean your sink instead of harsh chemicals. It's also important to regularly check for any leaks or drainage issues and address them promptly. Lastly, consider using a waterproof sealant or paint on the wood to protect it from moisture.9. How to Clean and Maintain a Kitchen Sink to Prevent Rot
If you're dealing with a small area of rot in your kitchen sink, there are a few DIY solutions you can try before resorting to a full replacement. One option is to use wood filler and a wood hardener, as mentioned in heading one, to repair and reinforce the damaged wood. Another option is to use a wood patching compound to fill in any gaps or holes in the wood. If the damage is more extensive, you may need to replace the affected area of the cabinet or the entire cabinet. This can be done as a DIY project, but it's important to use caution and follow proper safety measures.10. DIY Solutions for Repairing a Rotting Kitchen Sink
The Beauty of Incorporating Rotted Wood into Your Kitchen Design
Adding Character and Charm
 When it comes to designing a kitchen, most people opt for sleek and modern materials such as stainless steel, granite, or marble. However, incorporating
rotted wood
into your kitchen design can add a unique and charming touch to your space. Rotted wood has a weathered and rustic look that brings character and warmth to any room, making it the perfect addition to your kitchen.
A Sustainable and Eco-Friendly Option
 In today's world, there is a growing consciousness towards sustainability and preserving the environment. By using
rotted wood
in your kitchen, you are not only adding a unique design element, but you are also making an eco-friendly choice. Rotted wood is a natural and renewable resource, making it a sustainable option for your kitchen design.
Creating a Timeless Look
 Trends in kitchen design may come and go, but incorporating
rotted wood
into your space creates a timeless and classic look that will never go out of style. Rotted wood has a rich and warm tone that adds depth and texture to your kitchen, giving it a cozy and inviting feel. This organic material complements any design style, from farmhouse to modern, making it a versatile choice for your kitchen.
The Benefits of Using Reclaimed Wood
 Using
rotted wood
in your kitchen design also means utilizing reclaimed wood. Reclaimed wood is wood that has been salvaged from old buildings, barns, and other structures that are no longer in use. By using reclaimed wood, you are not only adding a unique and rustic element to your kitchen, but you are also reducing waste and giving new life to old materials.
Considerations for Using Rotted Wood
 While
rotted wood
can add a beautiful and natural element to your kitchen design, it is essential to consider a few things before incorporating it into your space. Make sure to properly treat and seal the wood to prevent further rotting and to protect it from water damage. Additionally, consider using rot-resistant wood species, such as cedar or redwood, to ensure the longevity of your kitchen design.
In conclusion, incorporating
rotted wood
into your kitchen design can add character, charm, and a timeless look to your space. Not only is it a sustainable and eco-friendly option, but it also allows for the use of reclaimed materials. Consider using rot-resistant wood and properly treating and sealing the wood to ensure the durability and longevity of your kitchen design. With its warm and rustic appeal,
rotted wood
is a unique and versatile choice for any kitchen.















:max_bytes(150000):strip_icc()/Basic-kitchen-sink-types-1821207_color_rev-0b539306b9ef4236a136624ad2a89a4c.jpg)

