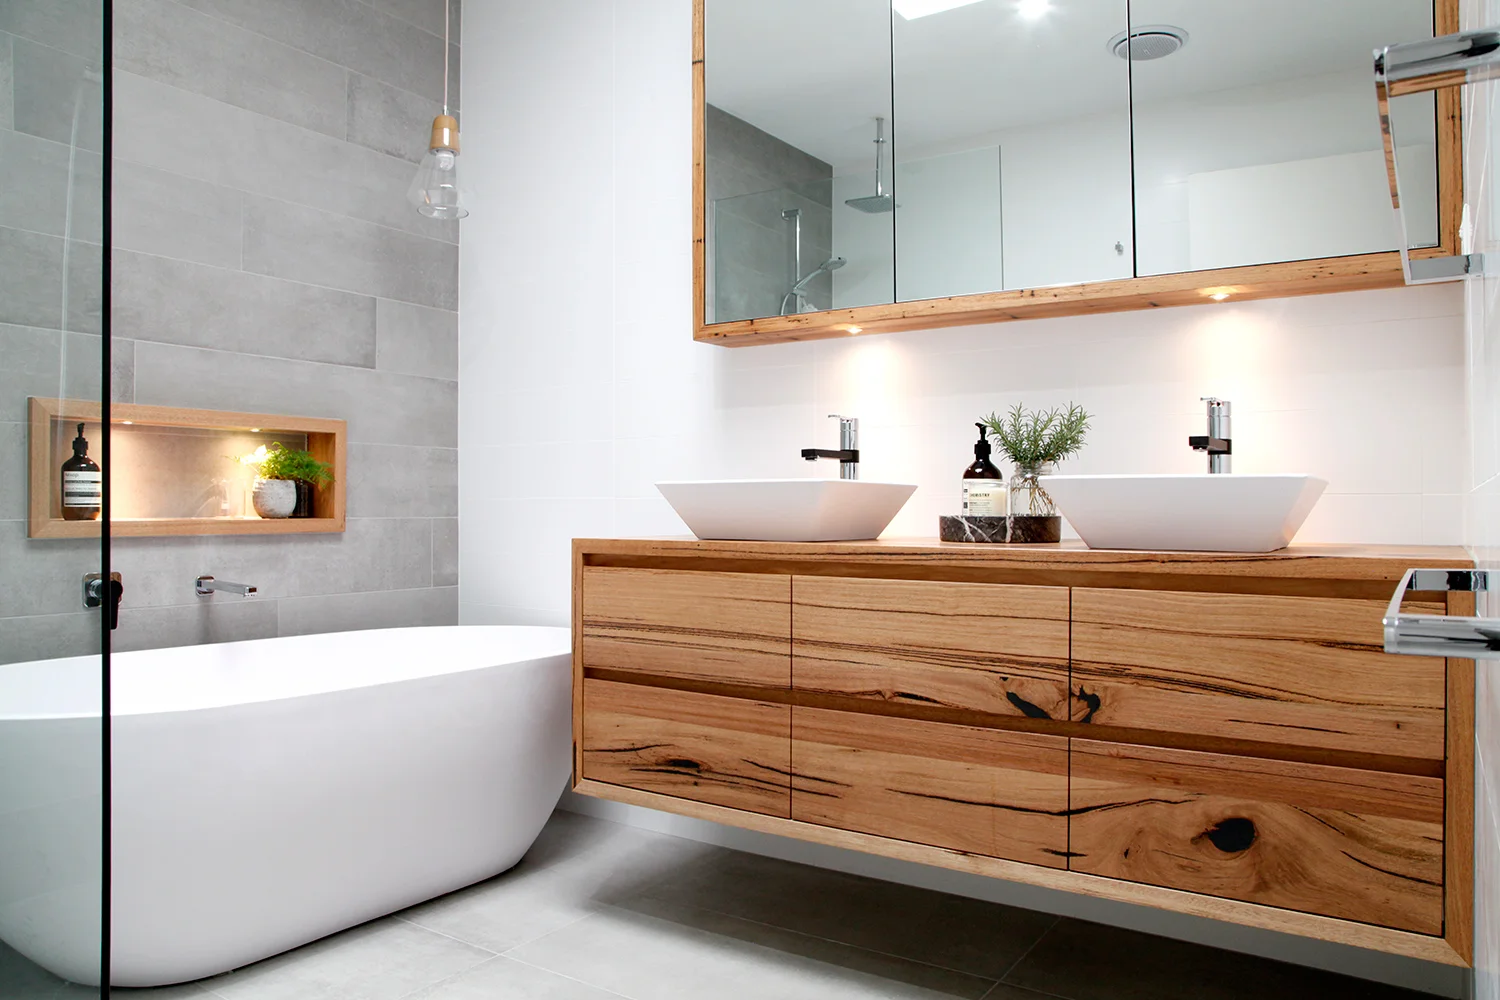
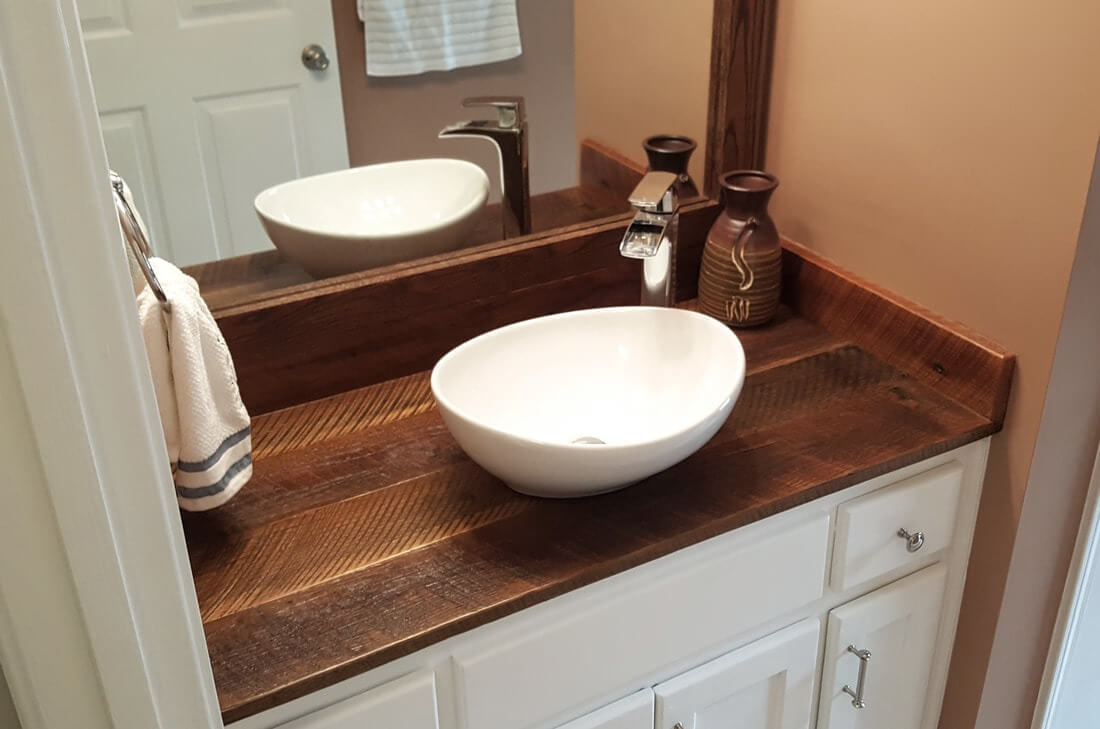
A wooden vanity top can add a touch of warmth and elegance to any bathroom. However, over time, it can become damaged due to constant exposure to water and other bathroom products. Fortunately, repairing a wooden vanity top is a relatively simple DIY project that can save you time and money. In this guide, we will provide step-by-step instructions on how to repair a wooden vanity top and also offer tips for maintaining and preventing future damage.How to Repair a Wooden Vanity Top in Your Bathroom


How to Repair a Wooden Vanity Top in Your Bathroom


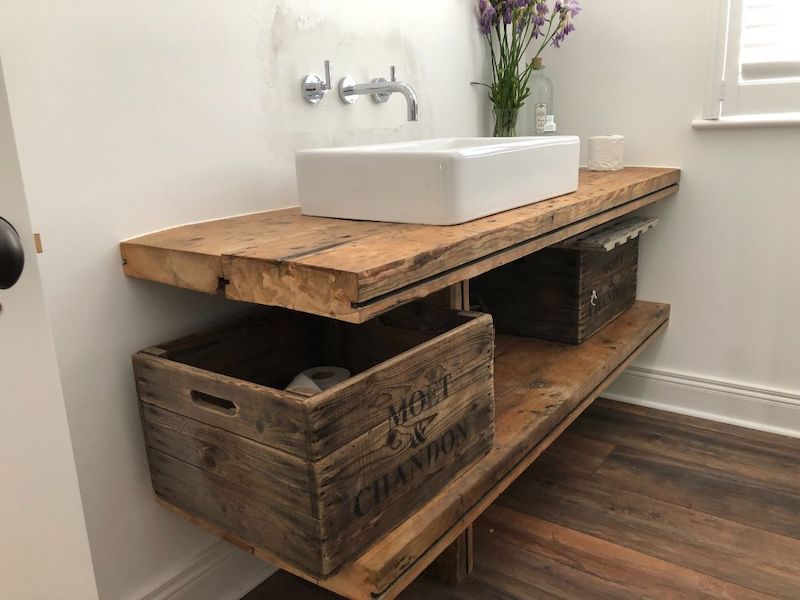
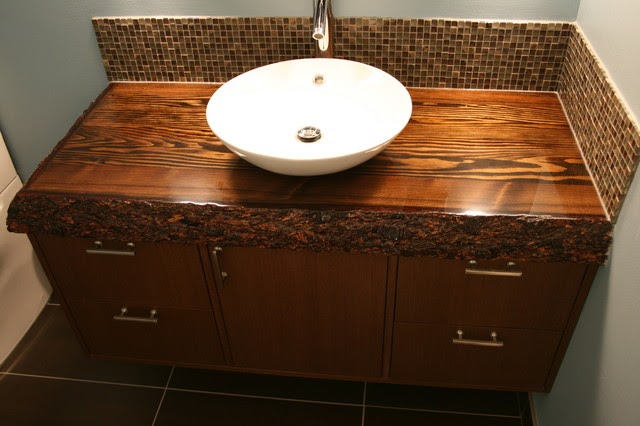
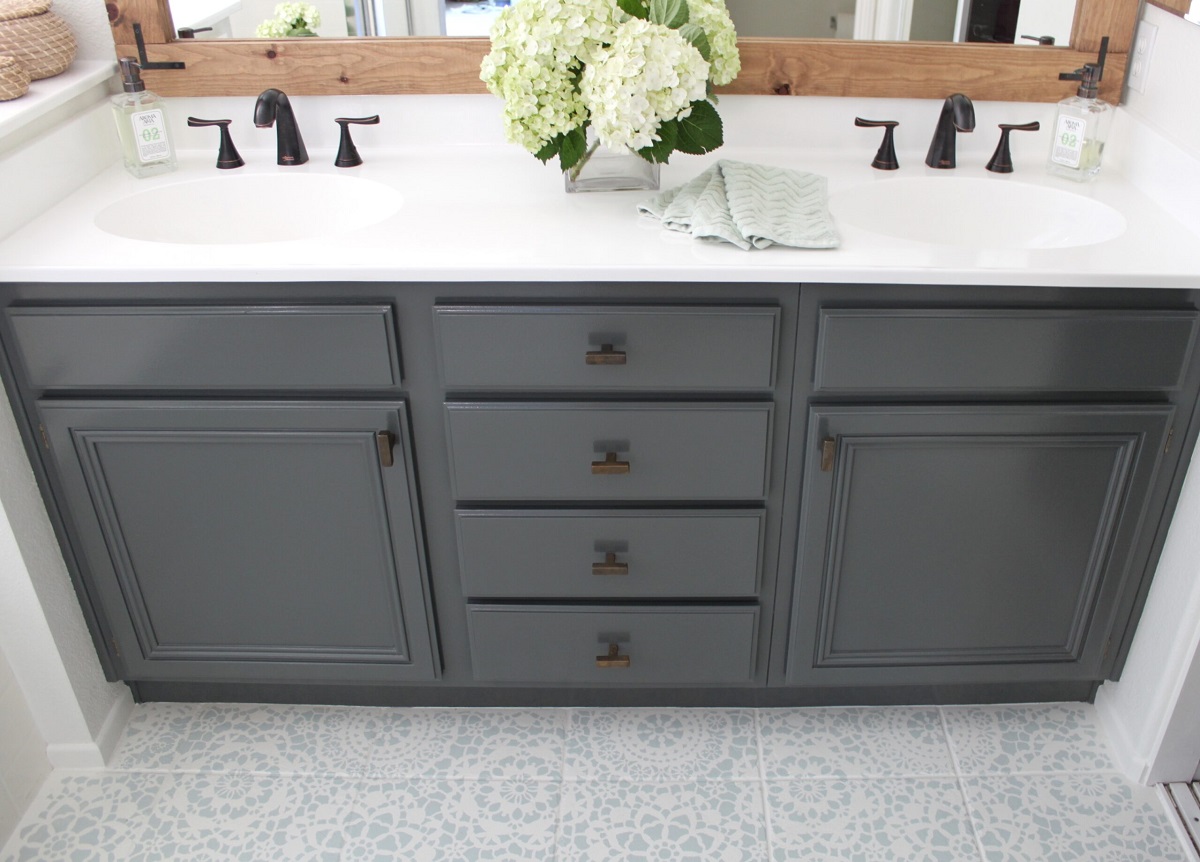
/cherry-diy-bathroom-vanity-594414da5f9b58d58a099a36.jpg)
The most common problem with wooden vanity tops is water damage, which can cause the wood to warp, crack, or rot. Other issues may include scratches, stains, and discoloration. Before starting the repair process, make sure to thoroughly clean the vanity top and remove any debris, dirt, or old finishes. You will also need to assess the extent of the damage to determine the best course of action.DIY Guide for Fixing a Damaged Wooden Vanity Top


DIY Guide for Fixing a Damaged Wooden Vanity Top


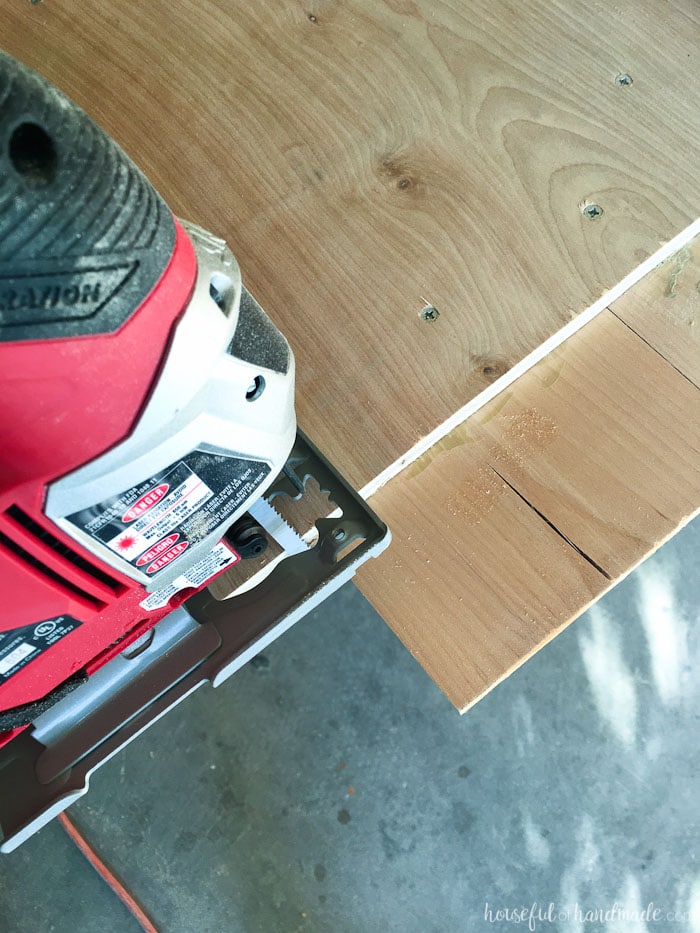
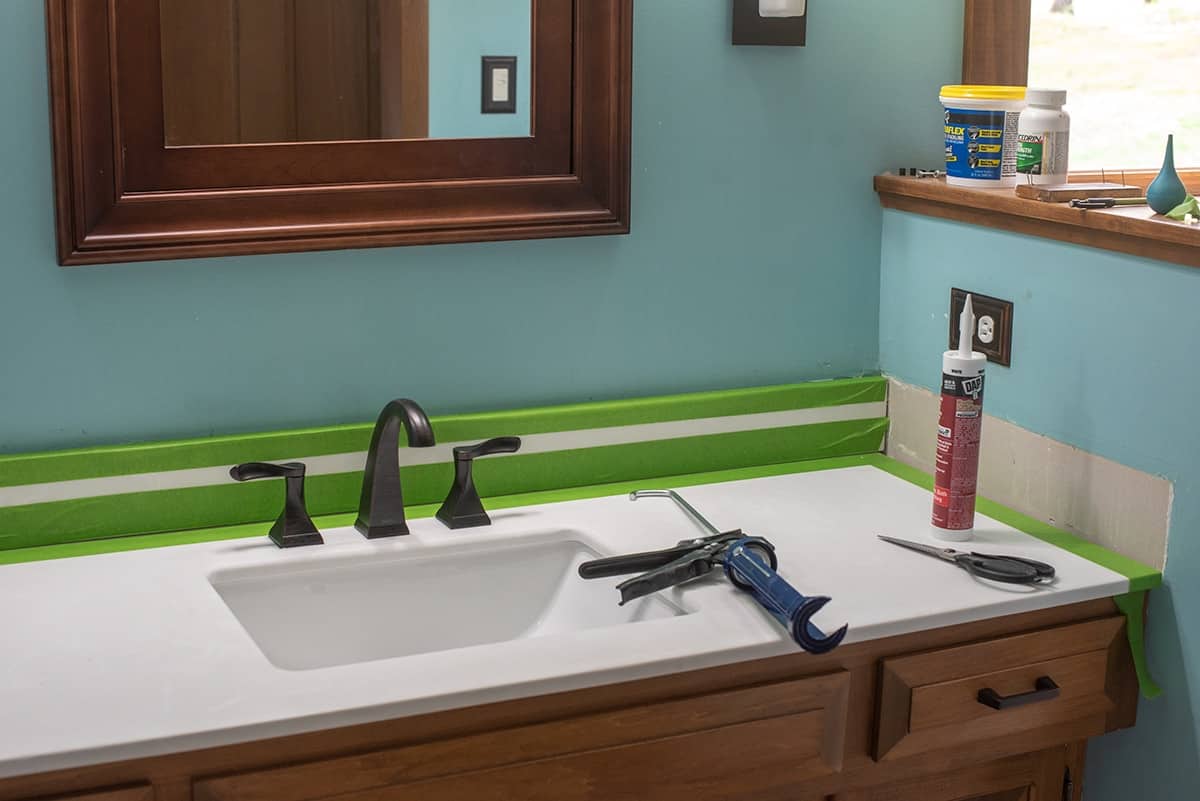
Step 1: Sand down the damaged area with fine-grit sandpaper to remove any rough edges or splinters. Be sure to sand in the direction of the grain. Step 2: Fill in any cracks or holes with wood filler, using a putty knife. Smooth out the surface and let it dry completely. Step 3: Sand the filled area again to create a smooth and even surface. Step 4: If there are any stains on the vanity top, use a wood stain that matches the color of the wood to cover them up. Apply the stain with a clean cloth and let it dry completely. Step 5: Once the stain is dry, apply a clear polyurethane finish to protect the surface from future water damage. Apply at least two coats, allowing each coat to dry before applying the next one.Step-by-Step Instructions for Repairing a Wooden Vanity Top


Step-by-Step Instructions for Repairing a Wooden Vanity Top


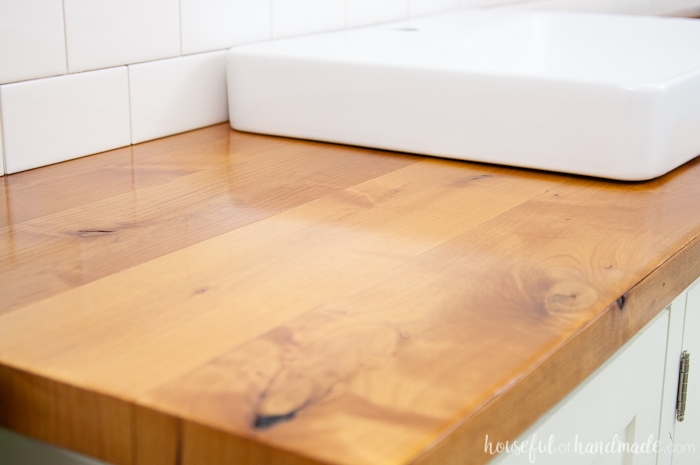
Problem: Warped or cracked wood. Solution: Sand down the damaged area, fill in any cracks with wood filler, and then sand again to create a smooth surface. Apply a wood stain and clear finish to protect the wood. Problem: Water stains or discoloration. Solution: Use a wood stain that matches the color of the wood to cover up the stains. Apply a clear finish to protect the surface. Problem: Scratches or gouges. Solution: Sand down the damaged area, fill in any scratches with wood filler, and then sand again. Apply a clear finish to protect the surface.Common Problems with Wooden Vanity Tops and How to Fix Them


Common Problems with Wooden Vanity Tops and How to Fix Them


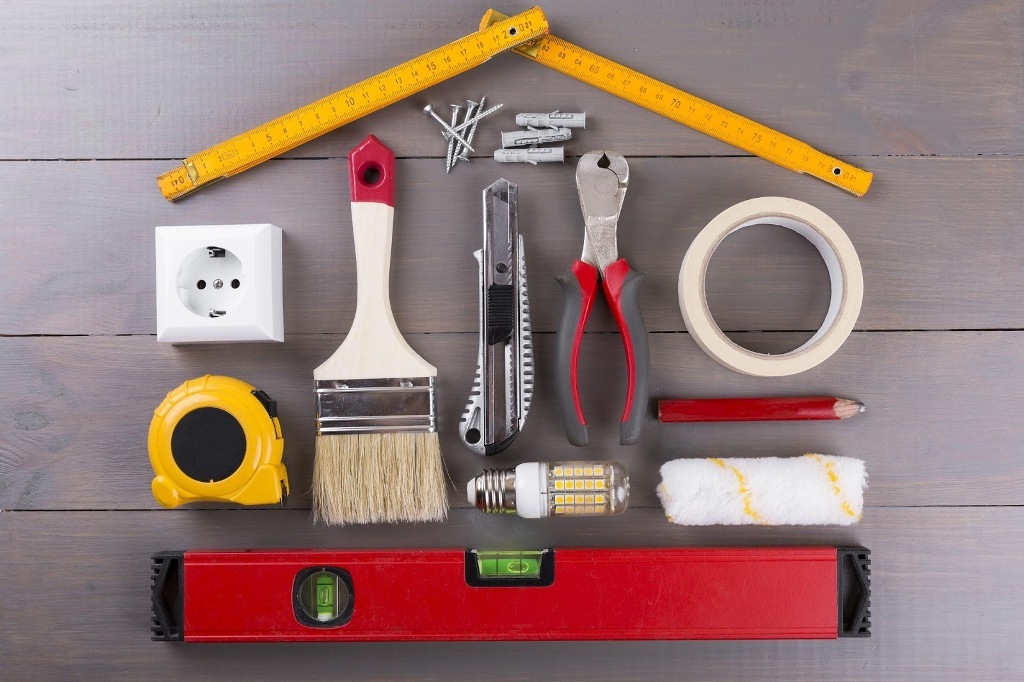
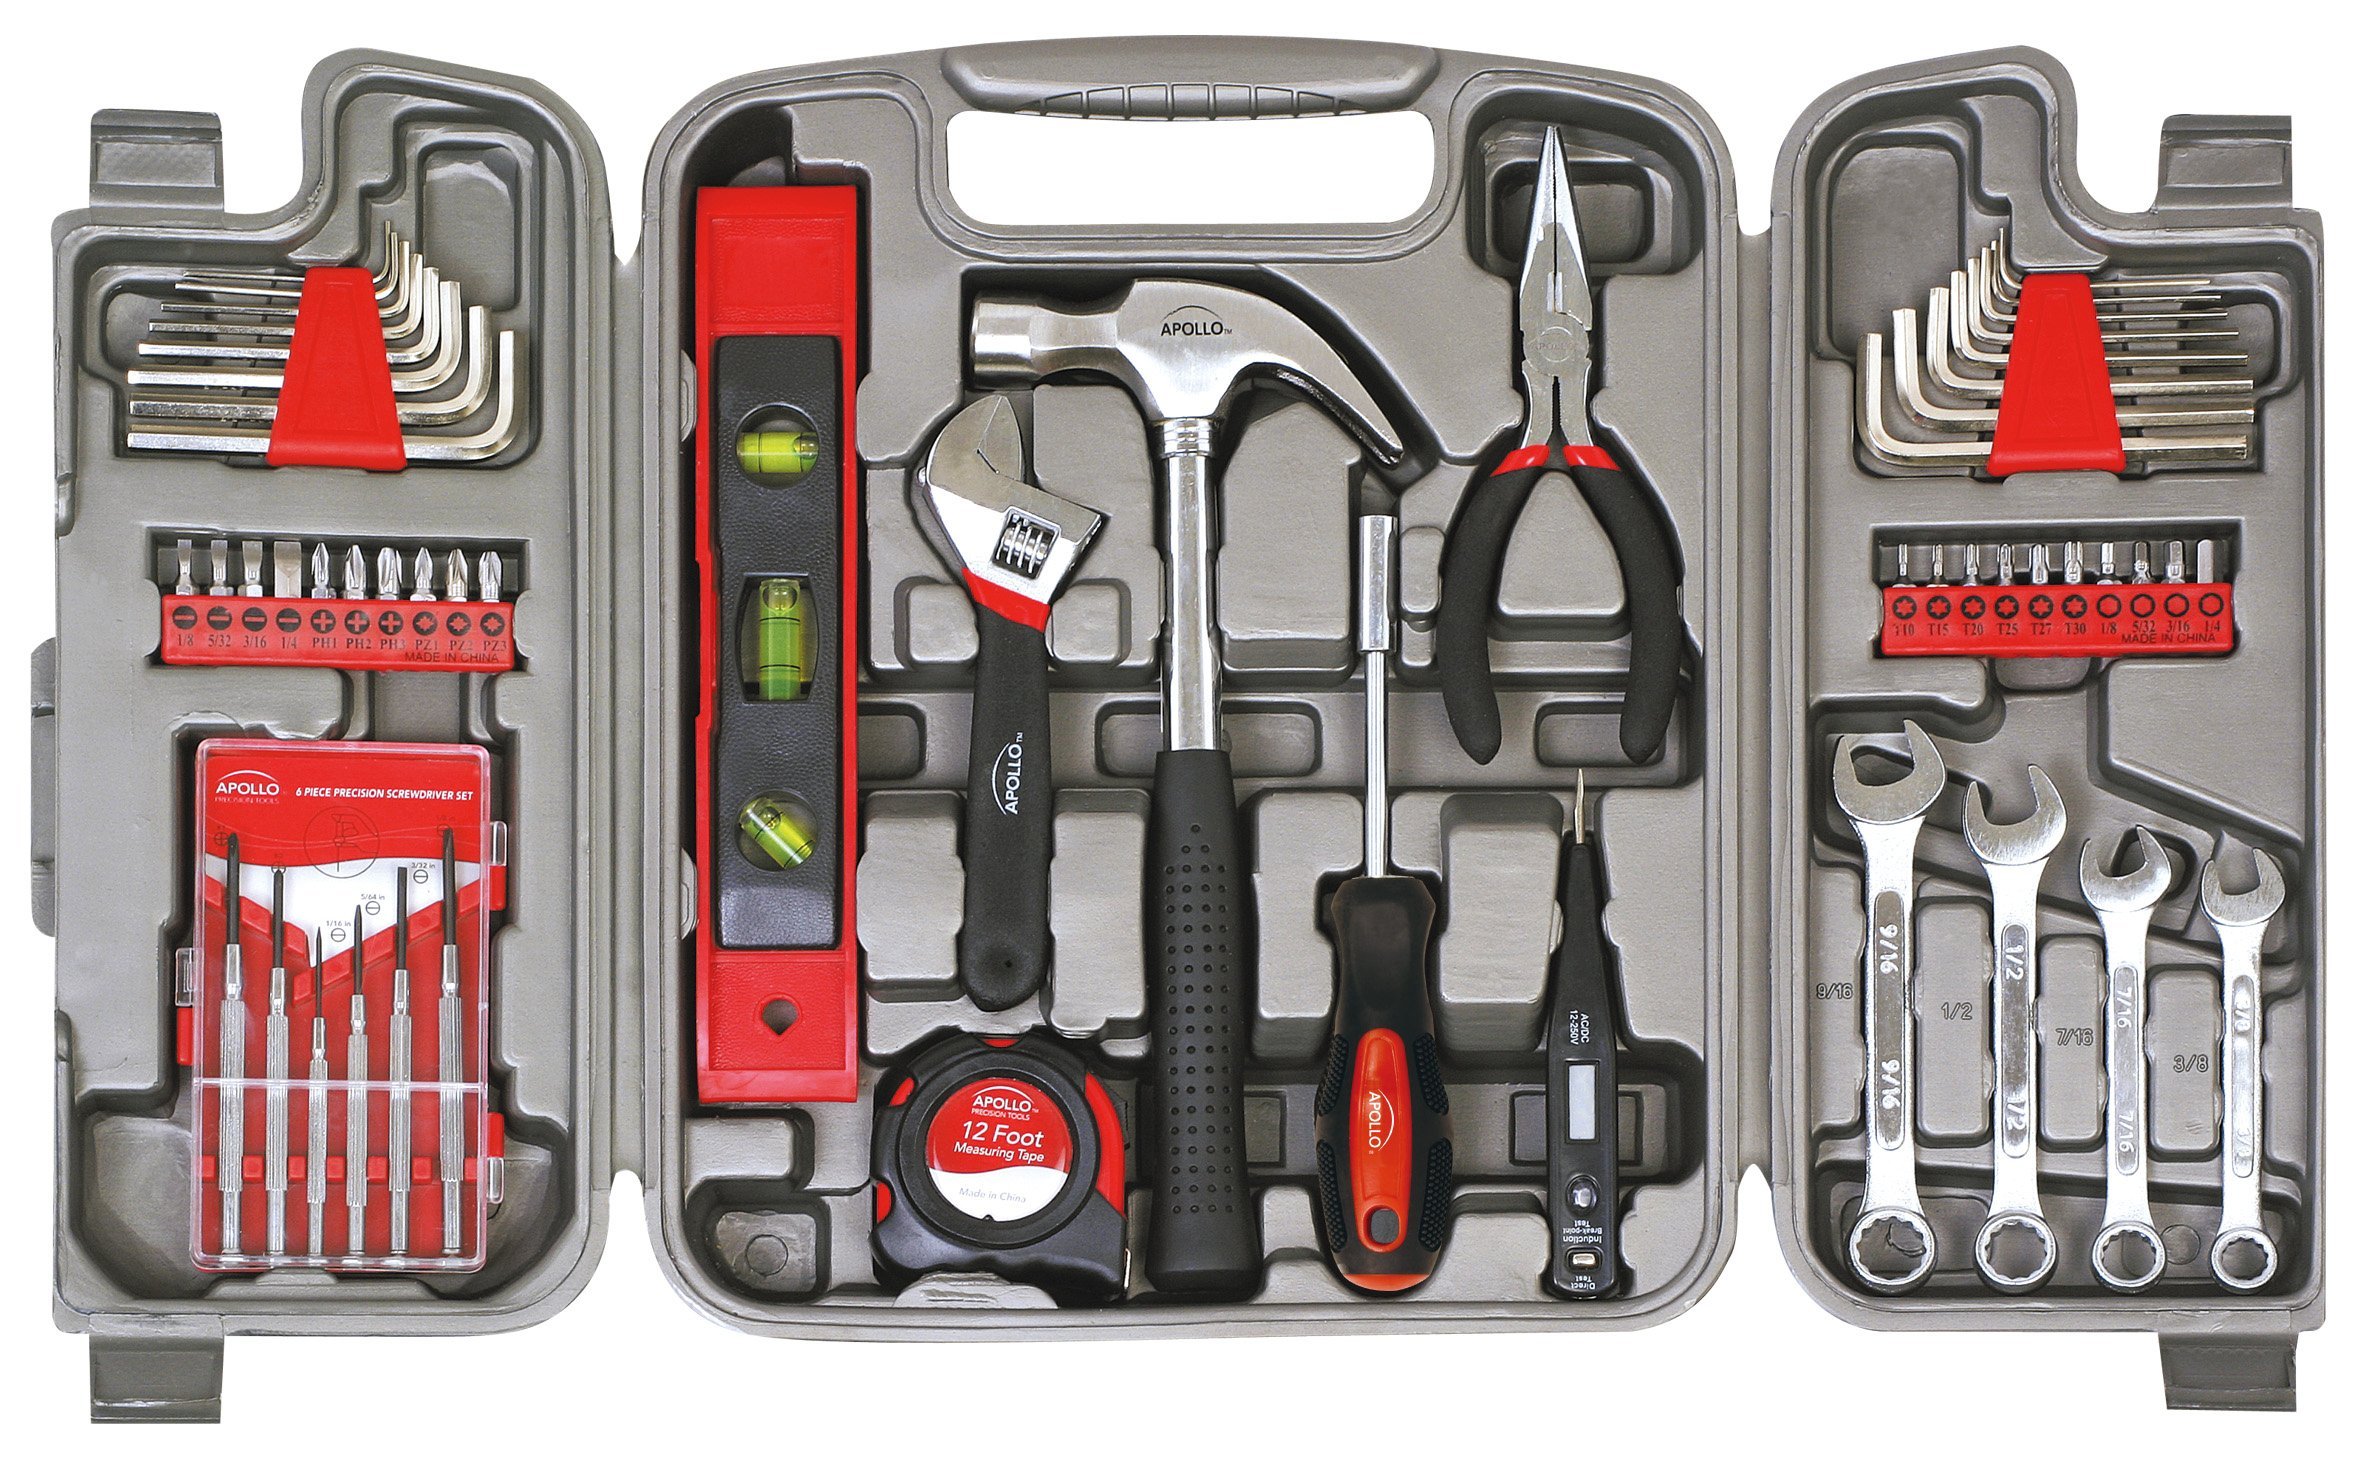
wood filler, fine-grit sandpaper, putty knife, wood stain, clear polyurethane finish, clean clothTools and Materials Needed for Repairing a Wooden Vanity Top


Tools and Materials Needed for Repairing a Wooden Vanity Top


To prevent future damage to your wooden vanity top, follow these tips:Tips for Maintaining and Preventing Damage to Your Wooden Vanity Top


Tips for Maintaining and Preventing Damage to Your Wooden Vanity Top


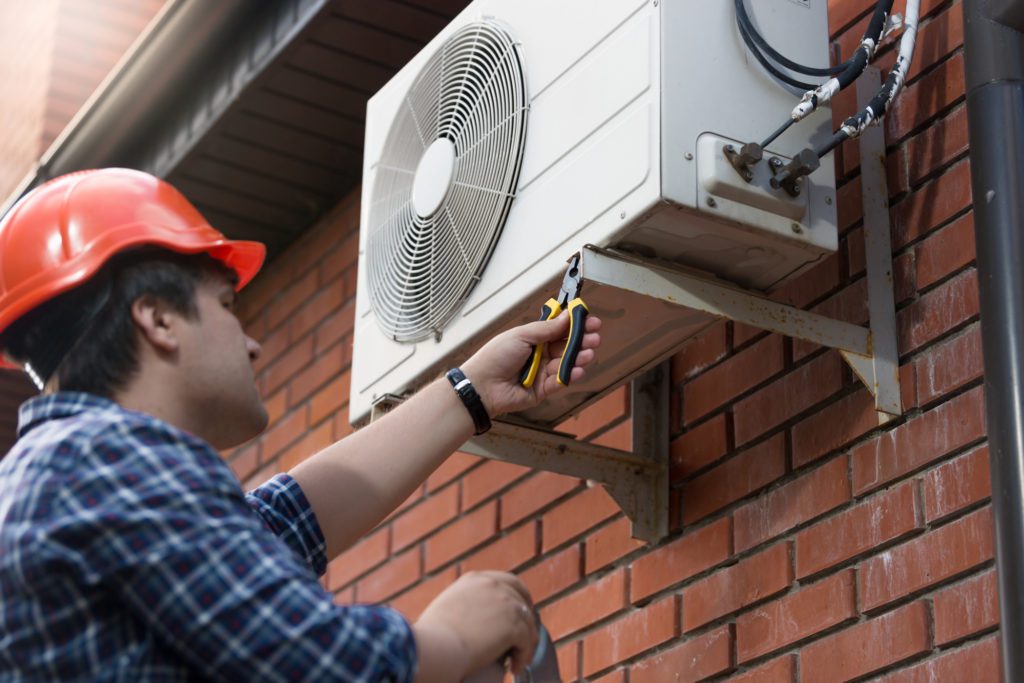
While hiring a professional to repair your wooden vanity top may seem like the easier option, it can also be expensive. With the right tools and materials, repairing a wooden vanity top can be a simple and cost-effective DIY project. However, if the damage is extensive or you are not confident in your DIY skills, it may be best to leave it to the professionals to ensure a high-quality repair.Professional vs. DIY: Which is the Best Option for Repairing a Wooden Vanity Top?

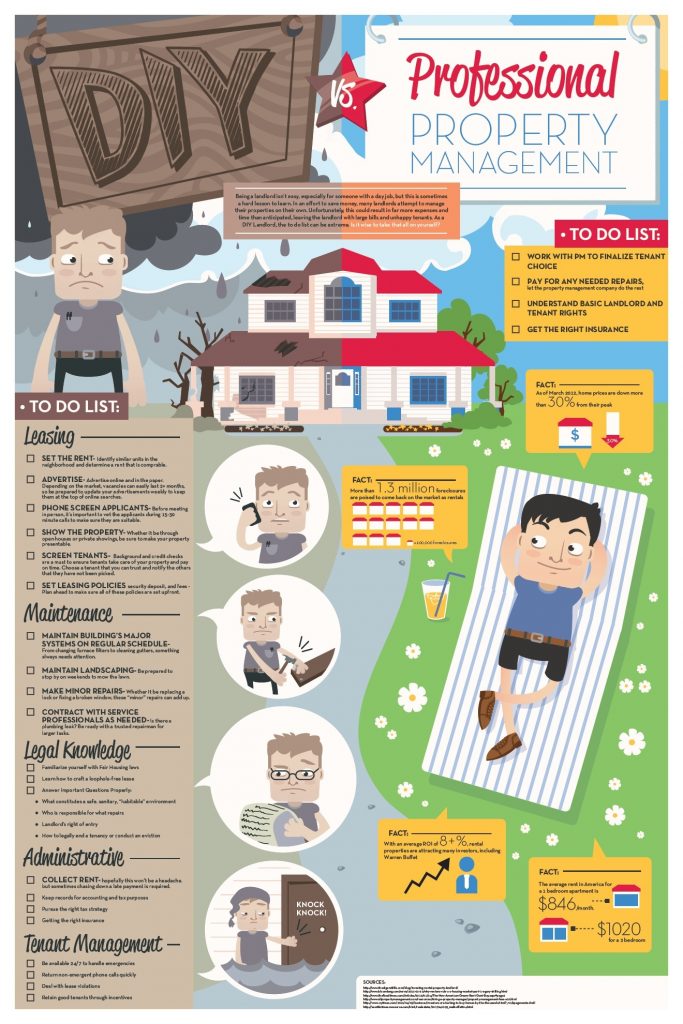

Professional vs. DIY: Which is the Best Option for Repairing a Wooden Vanity Top?


If your wooden vanity top is in good condition but just needs a refresh, you can easily refinish it for a new look. Follow these steps: Step 1: Sand down the surface with fine-grit sandpaper to remove any old finishes or imperfections. Step 2: Apply a wood stain of your choice, following the manufacturer's instructions. Step 3: Once the stain is dry, apply a clear polyurethane finish to protect the wood and give it a glossy finish.How to Refinish a Wooden Vanity Top for a Fresh Look


How to Refinish a Wooden Vanity Top for a Fresh Look


If your wooden vanity top is severely damaged or is beyond repair, it may be time to replace it. However, if the damage is minor and can be easily fixed, repairing it is a more cost-effective option. Consider the extent of the damage, your budget, and the overall condition of the vanity top before deciding whether to repair or replace it.Replacing vs. Repairing: When to Repair and When to Replace Your Wooden Vanity Top


Replacing vs. Repairing: When to Repair and When to Replace Your Wooden Vanity Top


To prevent water damage to your wooden vanity top, make sure to regularly check for any leaks or plumbing issues. Keep an eye out for any signs of water damage, such as discoloration or warping, and address them immediately to prevent further damage. In conclusion, a wooden vanity top can be a beautiful and functional addition to your bathroom, but it requires proper maintenance and care. By following these guidelines and regularly inspecting and repairing any damage, you can keep your wooden vanity top looking great for years to come.Preventing Water Damage to Your Wooden Vanity Top in the Bathroom


Preventing Water Damage to Your Wooden Vanity Top in the Bathroom


Maintaining a Wooden Vanity Top in Your Bathroom

Proper Care and Maintenance is Key
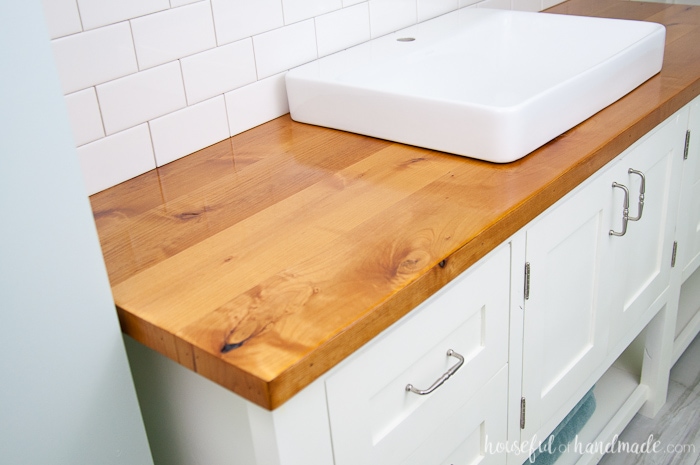
 A wooden vanity top is a beautiful and classic addition to any bathroom. It adds warmth and elegance, making your bathroom feel more like a spa retreat. However, with regular use and exposure to moisture, it can start to show signs of wear and tear. That's why it's important to know how to properly maintain and repair your wooden vanity top to keep it looking its best.
Preventative Measures
 The key to preserving your wooden vanity top is prevention. Regularly clean and dry the surface to prevent water and soap scum buildup. Avoid using harsh chemicals that can damage the wood and opt for natural cleaning solutions instead. Place a mat or tray on top of the vanity to protect it from items such as hot curling irons, makeup, and toiletries. Additionally, avoid placing wet items directly on the surface as this can cause water damage.
Addressing Scratches and Stains
 Over time, scratches and stains may appear on your wooden vanity top. To address this, start by lightly sanding the affected area with a fine grit sandpaper. This will help to remove any surface imperfections. Then, use a wood stain that matches the color of your vanity top to touch up the sanded area. Allow it to dry completely before applying a coat of sealant to protect the wood from future damage.
Filling in Gaps and Cracks
 If you notice gaps or cracks in your wooden vanity top, it's important to address them as soon as possible. This will prevent further damage and keep your vanity top looking smooth and even. Use a wood filler to fill in any gaps or cracks, following the instructions on the product. Once it has dried, sand it down to create a smooth finish. You can then stain and seal the repaired area to match the rest of the vanity top.
Regular Maintenance
 To keep your wooden vanity top in top condition, it's important to perform regular maintenance. This includes cleaning and drying the surface regularly, as well as applying a fresh coat of sealant every year or two. This will help to maintain the wood's natural beauty and protect it from water and moisture damage.
By following these tips, you can keep your wooden vanity top in excellent condition for years to come. Remember to always use gentle cleaning solutions and take preventative measures to avoid any major repairs. With proper care and maintenance, your wooden vanity top will continue to be a stunning feature in your bathroom.
To keep your wooden vanity top in top condition, it's important to perform regular maintenance. This includes cleaning and drying the surface regularly, as well as applying a fresh coat of sealant every year or two. This will help to maintain the wood's natural beauty and protect it from water and moisture damage.
By following these tips, you can keep your wooden vanity top in excellent condition for years to come. Remember to always use gentle cleaning solutions and take preventative measures to avoid any major repairs. With proper care and maintenance, your wooden vanity top will continue to be a stunning feature in your bathroom.