An air mattress is a convenient and comfortable option for temporary sleeping arrangements, whether you’re camping or hosting guests in your home. However, nothing is more frustrating than waking up to find a hole in your air mattress and having to deal with a deflated bed. But don’t worry, repairing a hole in an air mattress is a simple task that can be done quickly and easily. In this article, we’ll go through the top 10 ways to repair a hole in your air mattress and get it back to its fully inflated state.How to Repair a Hole in an Air Mattress
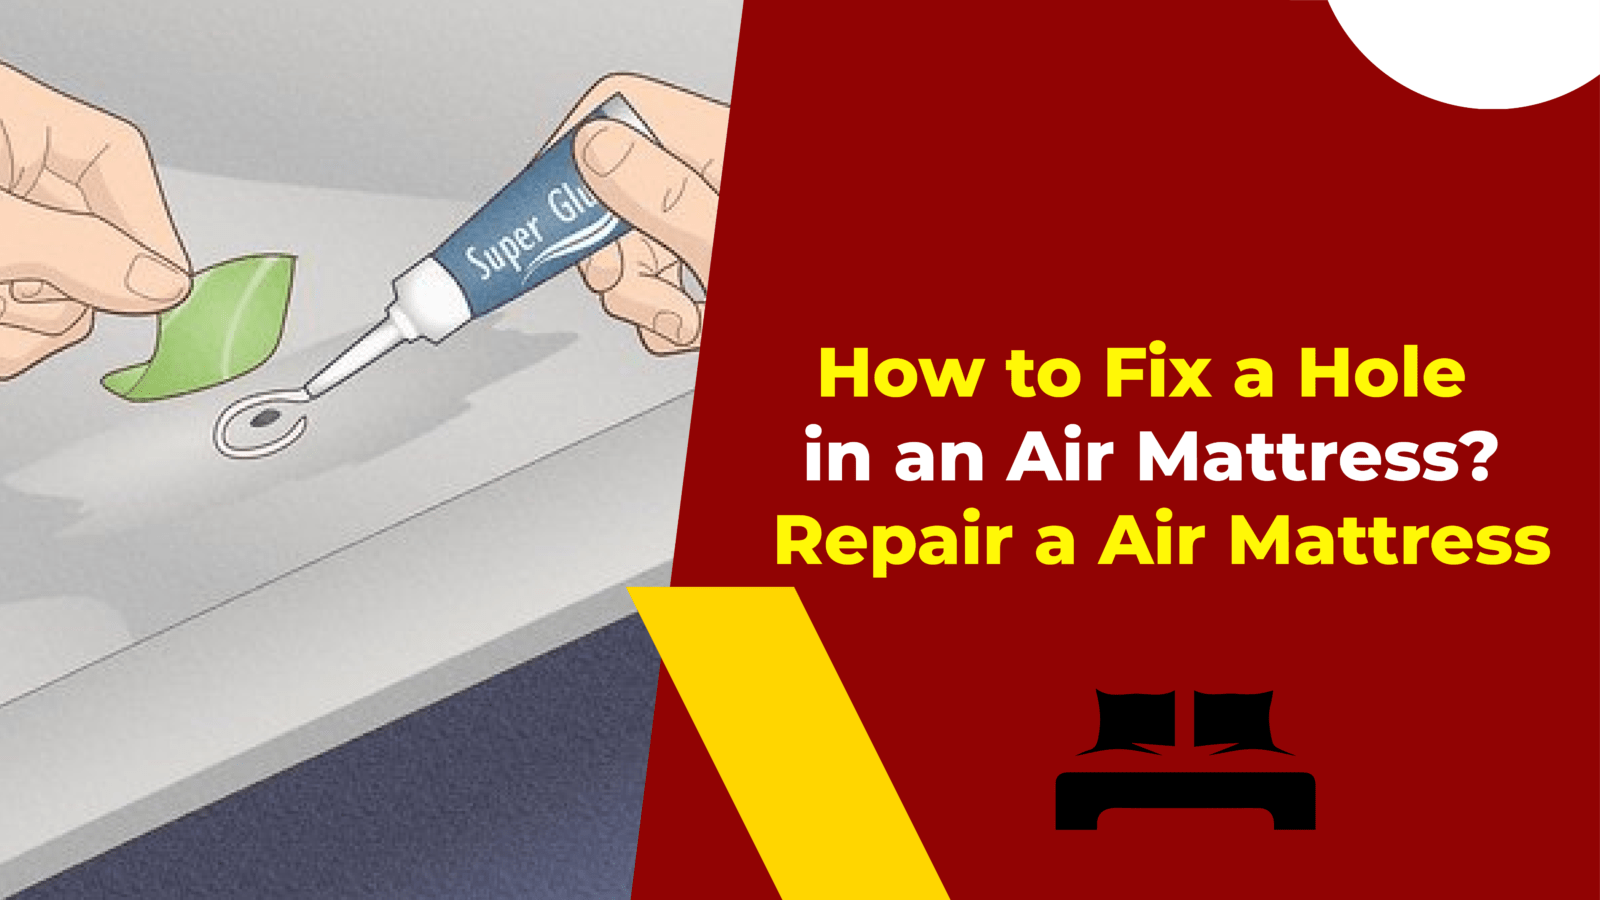
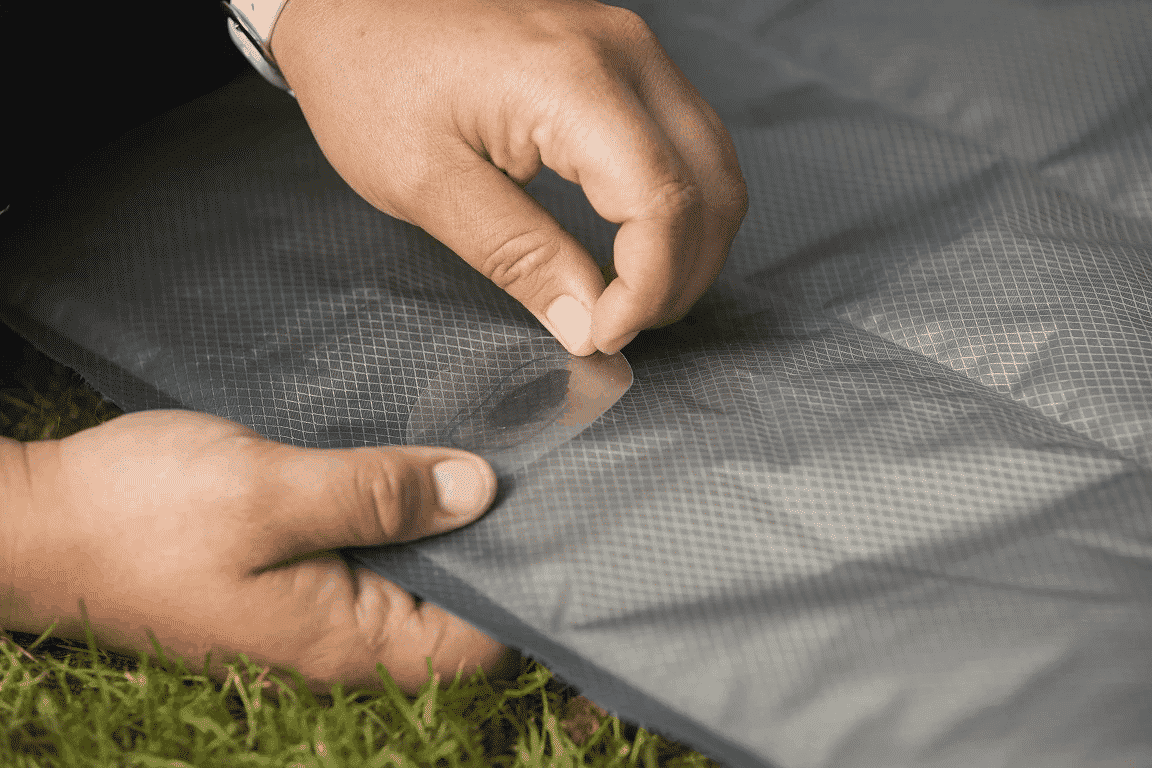
For a quick and easy fix, you can use a patch kit specifically designed for air mattresses. These kits can be found at most outdoor or camping supply stores and come with everything you need to repair a hole. Simply clean the area around the hole with rubbing alcohol, apply the adhesive patch, and let it dry for a few minutes. This method is perfect for small holes and tears, and the patch will provide a strong and durable seal.Quick and Easy Air Mattress Repair
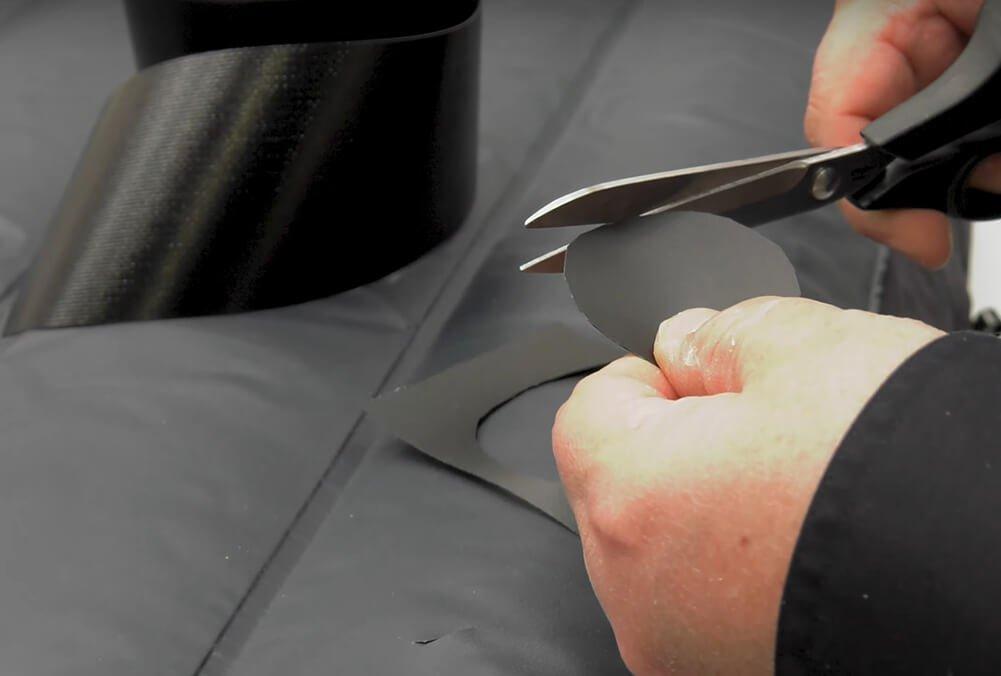
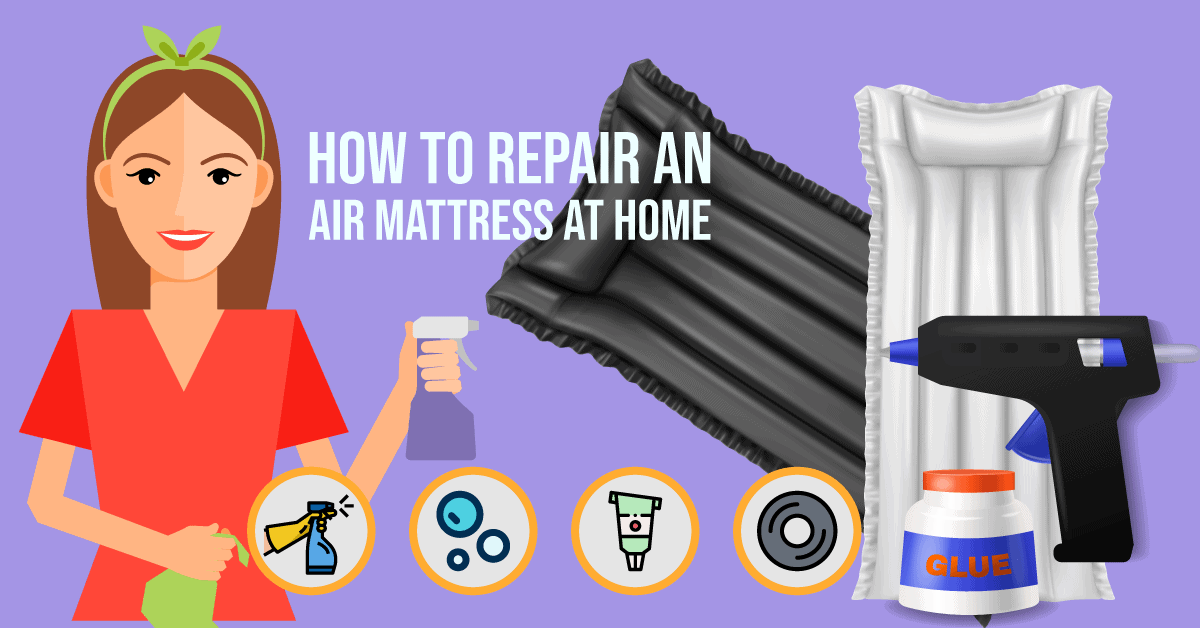
If you don’t have a patch kit on hand, don’t worry! You can easily fix a hole in your air mattress using household items. One simple method is to use duct tape. Cut a piece of duct tape slightly larger than the hole and firmly press it over the hole, smoothing out any air bubbles. This will provide a temporary fix until you can properly patch the hole. Another DIY option is to use a hot glue gun. Apply a small amount of hot glue to the hole and quickly cover it with a piece of fabric or cloth. Press firmly and let it dry completely before inflating the mattress. This method may not be as durable as the other options, but it can provide a quick fix in a pinch.DIY Air Mattress Repair: Fixing a Leak
If you want a more permanent solution for repairing a hole in your air mattress, follow these steps: Step 1: Locate the hole by inflating the mattress and listening for the sound of escaping air. If you can’t find the hole, you can also run a cloth or tissue over the surface of the mattress to feel for any air escaping. Step 2: Clean the area around the hole with rubbing alcohol and let it dry completely. Step 3: Cut a patch from a piece of fabric or use one from a patch kit. Make sure the patch is slightly larger than the hole. Step 4: Apply a generous amount of adhesive to the patch and place it over the hole, pressing firmly to ensure a secure seal. Step 5: Let the patch dry for at least 30 minutes before inflating the mattress.Step-by-Step Guide to Fixing an Air Mattress Hole
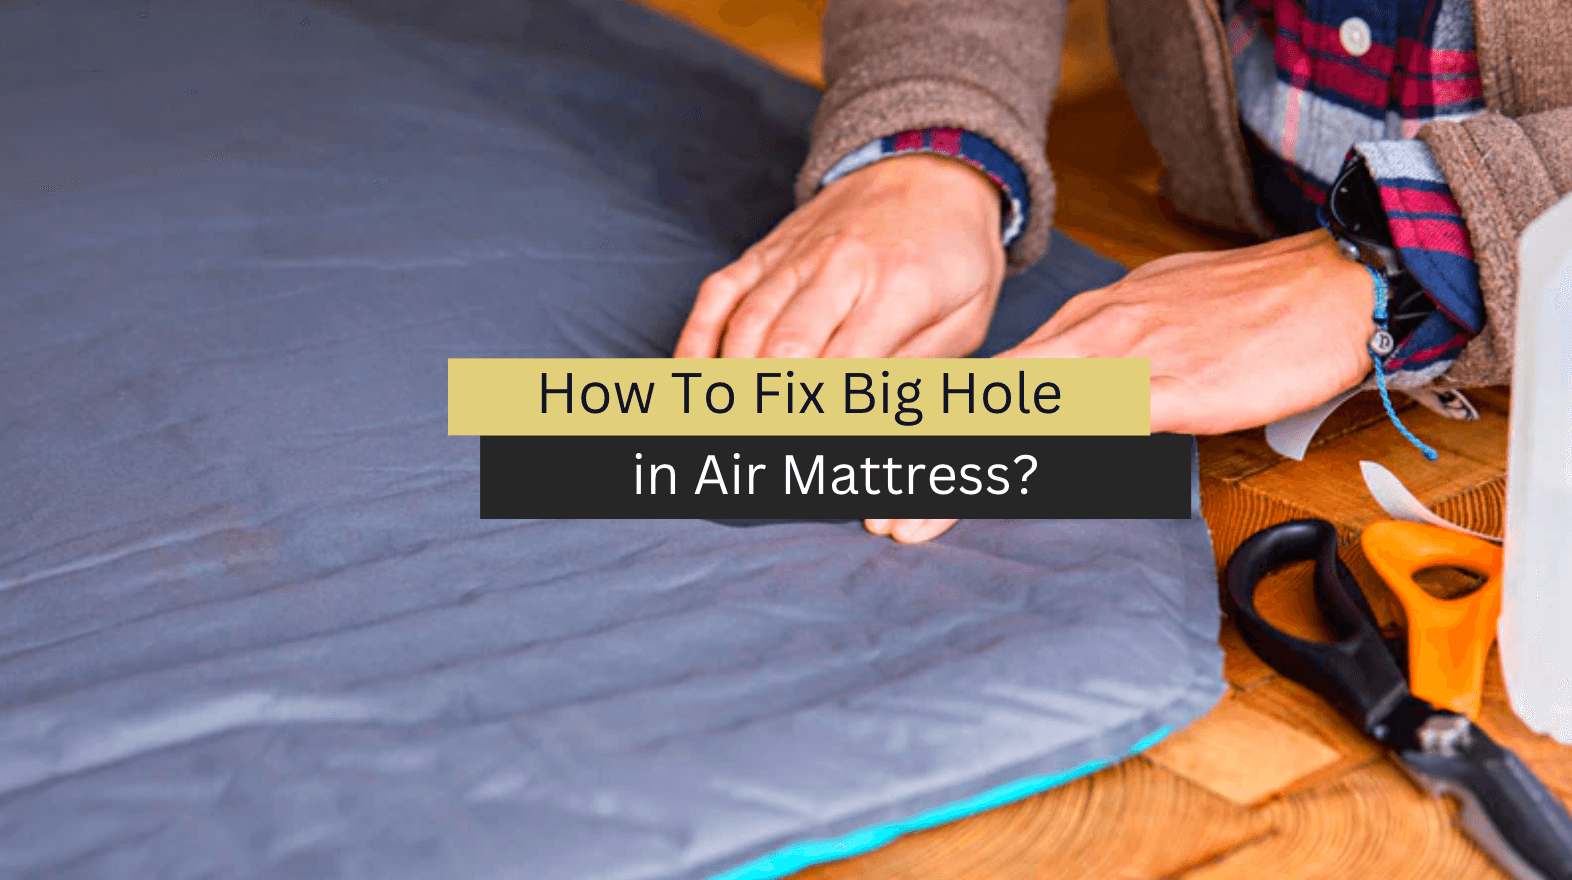
If you have a larger hole or tear in your air mattress, a patch may not be enough to fix it. In this case, you can use a vinyl repair kit to create a more durable seal. These kits can also be found at most outdoor or camping supply stores and come with a vinyl patch and adhesive specifically designed for air mattresses. To use a vinyl repair kit, follow the same steps as the adhesive patch method, but make sure to apply the adhesive to both the patch and the mattress surface for a stronger bond. You can also use multiple patches for added durability.Best Ways to Patch an Air Mattress
Here are some additional tips and tricks to keep in mind when repairing a hole in your air mattress: Tip 1: If you don’t have any adhesive patches or a repair kit on hand, you can also use rubber cement to seal a hole. Apply a small amount of rubber cement to the hole and let it dry completely before inflating the mattress. Tip 2: Always make sure the area around the hole is clean and dry before applying any adhesive or patch. Tip 3: If you’re using a patch kit, make sure to follow the instructions carefully for the best results.Fixing a Hole in Your Air Mattress: Tips and Tricks
Prevention is key when it comes to avoiding holes in your air mattress. To reduce the chances of getting a leak, make sure to place your mattress on a smooth surface and avoid sharp objects or rough terrain. You can also use a mattress pad or sheet to provide an extra layer of protection. If you do end up with a leak, make sure to regularly check and patch any holes to prevent them from getting bigger.Simple Solutions for Repairing an Air Mattress Leak
If you’re in a pinch and don’t have any repair materials on hand, there are a few household items you can use to temporarily fix a hole in your air mattress: Baking Soda and Super Glue: Mix equal parts baking soda and super glue to create a paste and apply it to the hole. Let it dry completely before inflating the mattress. Clear Nail Polish: Apply a few layers of clear nail polish over the hole, making sure to let each layer dry completely before adding the next one. Bar of Soap: Rub a bar of soap over the hole to create a temporary seal. This method is best for small holes and tears.How to Fix a Hole in Your Air Mattress with Household Items
When repairing a hole in your air mattress, there are a few common mistakes you should avoid to ensure a successful repair: Mistake 1: Not properly cleaning and drying the area around the hole before applying the patch or adhesive. Mistake 2: Not following the instructions carefully when using a patch kit. Mistake 3: Using too much adhesive or patch material, which can create a messy and ineffective seal.Air Mattress Repair: Common Mistakes to Avoid
To get some extra tips and advice, we spoke to some experts in the field of air mattress repair. Here are their recommendations: Expert Tip 1: “Always keep a patch kit or repair materials on hand when using an air mattress. Accidents can happen, and it’s better to be prepared.” - Mark, outdoor enthusiast. Expert Tip 2: “For a more durable seal, use multiple patches on larger holes or tears. This will provide better coverage and prevent the hole from spreading.” - Sarah, camping expert. With these tips and tricks, you can easily repair a hole in your air mattress and enjoy a comfortable and fully inflated bed. Remember, prevention is key, so make sure to take proper care of your air mattress to avoid any leaks in the future. Happy sleeping!Expert Tips for Repairing an Air Mattress Hole
Preparation for Repairing a Hole in Your Air Mattress

Identifying the Type of Material
 Before beginning the repair process, it is important to first identify the type of material that your air mattress is made of. This will determine the type of repair kit or materials you will need. Most air mattresses are made of PVC or vinyl, but some may be made of a different material such as nylon.
Make sure to check the label or packaging of your air mattress to determine the material.
This will ensure that you use the correct repair method and materials to achieve the best results.
Preparing the Repair Kit
 Once you have identified the material, you can prepare the necessary repair kit. For PVC or vinyl air mattresses, you will need a patch kit specifically designed for these materials.
Make sure to choose a patch that is large enough to cover the hole, but not too large that it will be difficult to seal.
You can also use a vinyl repair adhesive, which is often included in most patch kits. For nylon air mattresses, a fabric patch and adhesive designed for nylon materials will be needed.
It is important to have all the necessary materials on hand before starting the repair process.
Locating the Hole
 The next step is to locate the hole in your air mattress.
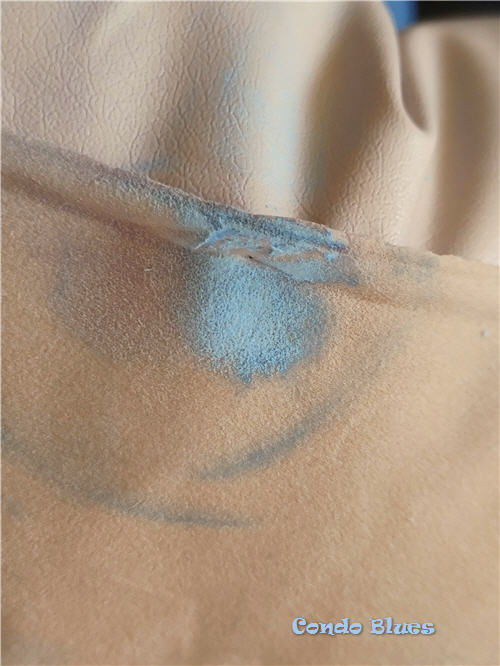
Thoroughly inspect the mattress for any visible holes or tears, paying close attention to the seams and corners.
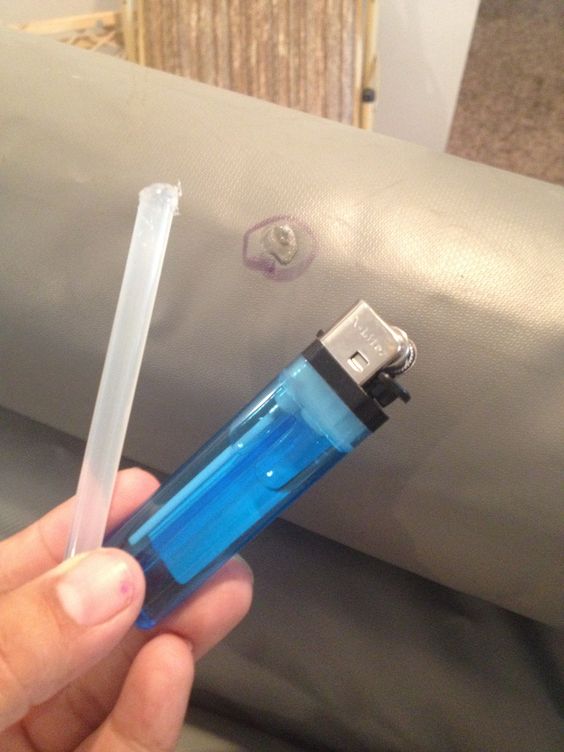
If you are having trouble locating the hole, you can inflate the mattress and listen for any escaping air or submerge it in water to see where bubbles form. Once you have located the hole,
mark it with a permanent marker or piece of tape so you can easily find it during the repair process.
Cleaning and Preparing the Area
 Before applying the patch, it is important to clean and prepare the area around the hole. Use a damp cloth and gentle soap to clean the area, making sure to remove any dirt, dust, or debris that may interfere with the adhesion of the patch.
Make sure to dry the area completely before proceeding.
If using a vinyl repair adhesive, roughen the surface of the area with sandpaper to create a better bond. For fabric patches, apply a small amount of adhesive to the edges of the patch to prevent fraying.
Applying the Patch
 Now it's time to apply the patch to the hole. If using a patch kit,
follow the instructions carefully to ensure proper adhesion.
For vinyl patches, apply a thin layer of adhesive to the patch and the area around the hole, then press the patch onto the mattress, smoothing out any bubbles or wrinkles. For fabric patches, apply a small amount of adhesive to the edges of the patch and press it onto the hole, making sure to smooth out any wrinkles.
Make sure to follow the recommended drying time before inflating the mattress.
Final Touches
 After the patch has dried, you can
re-inflate the mattress and check for any leaks or areas that may need additional reinforcement.
If using a vinyl repair adhesive, you may want to apply a second layer of adhesive for added durability. Once you are satisfied with the repair,
deflate the mattress and store it in a dry place until ready to use.
With proper care, your air mattress should now be ready for use once again.












:max_bytes(150000):strip_icc()/inflatable-mattress-in-an-empty-room-1165771286-cdef8878a02c456188562f33c8f66d5d.jpg)











/IMG_3520-56ac14a65f9b58b7d00a436d.jpg)

