Removing the Drain from a Bathroom Sink
If you're experiencing a clogged bathroom sink, you may need to remove the drain to clear out any buildup or debris that is causing the blockage. This may seem like a daunting task, but with the right tools and a little know-how, you can easily remove the drain from your bathroom sink. In this article, we'll take you through the step-by-step process of removing a bathroom sink drain and provide helpful tips and tricks along the way.
How to Remove a Bathroom Sink Drain
The first step in removing a bathroom sink drain is to gather all the necessary tools. You'll need a pair of pliers, a screwdriver, a drain wrench, and a bucket or towel to catch any water that may spill out during the process. Once you have everything you need, follow these steps:
Step 1: Start by removing the sink stopper. This can usually be done by turning the stopper counterclockwise and pulling it out. If your sink has a lift and turn stopper, you may need to use pliers to loosen the knob before pulling it out.
Step 2: Next, locate the pivot rod and unscrew it from the tailpiece. This is the rod that connects the stopper to the sink drain and is usually located under the sink.
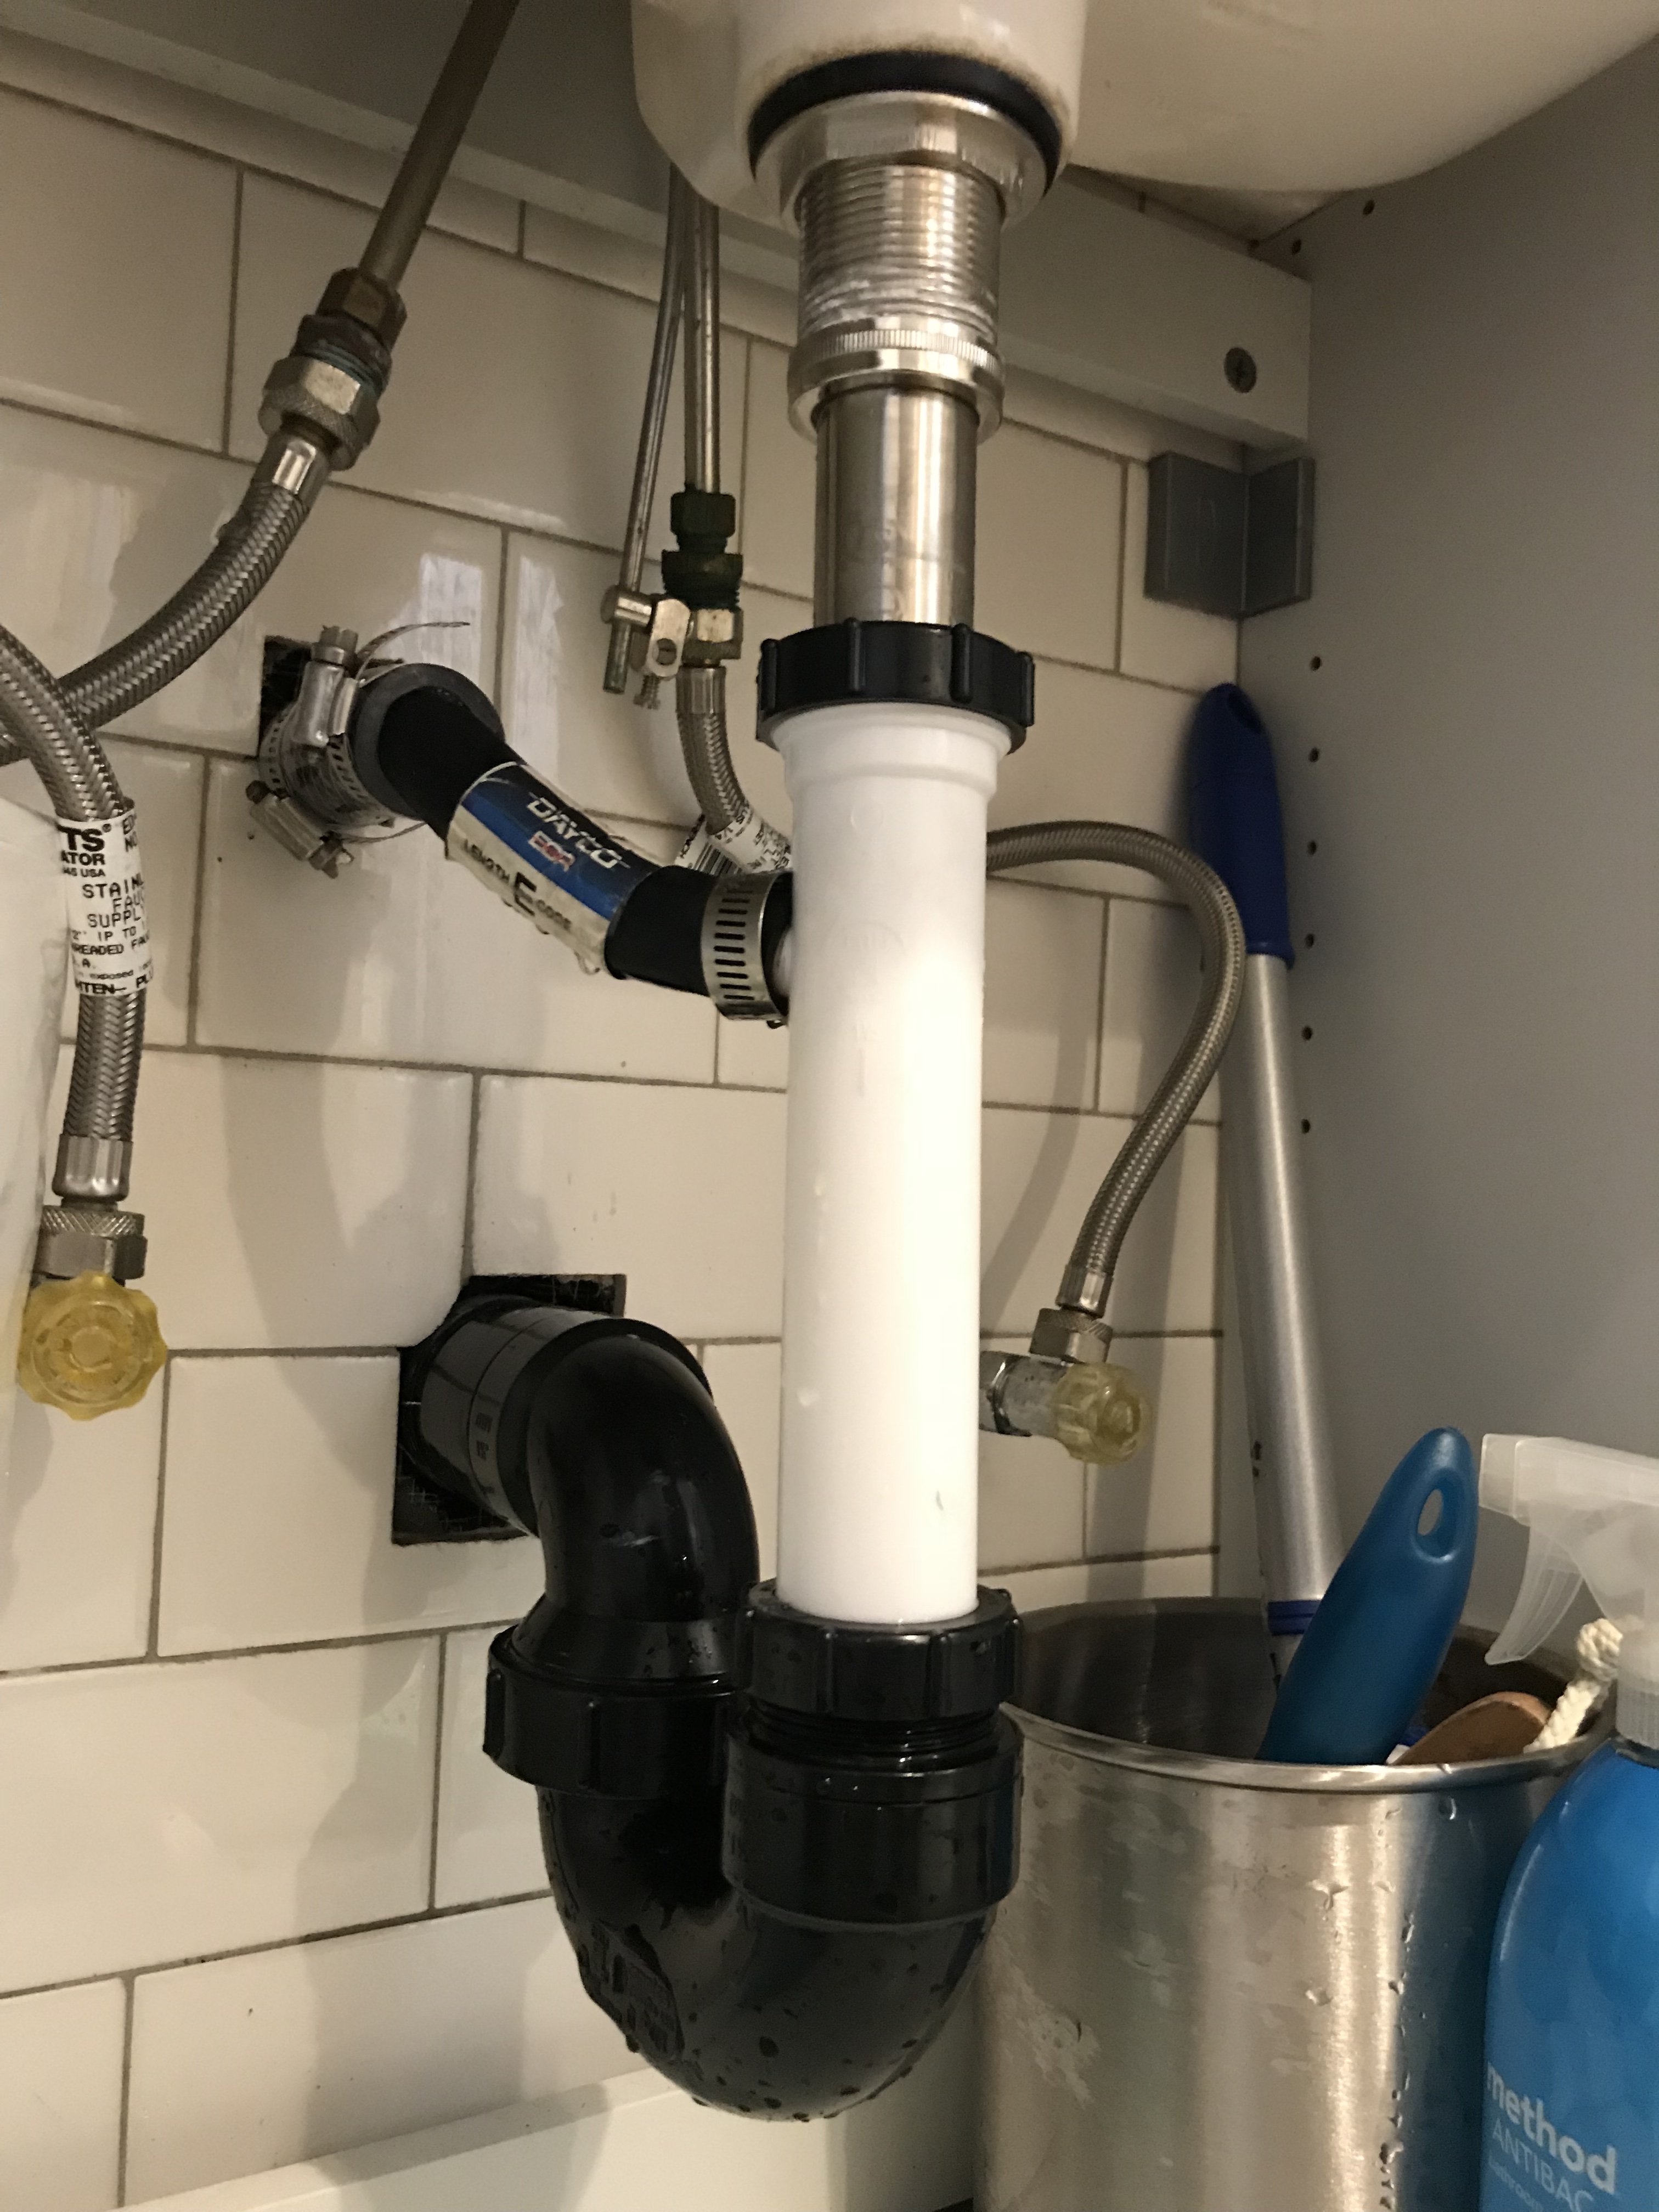
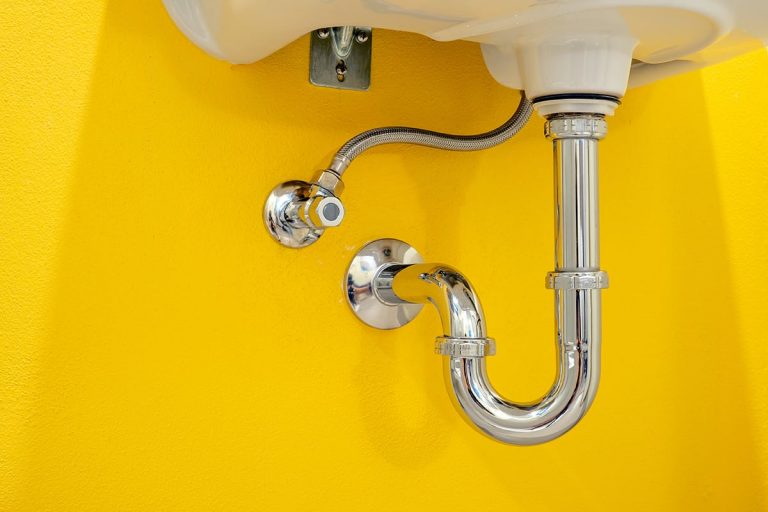
Step 3: Use your pliers to loosen the slip nut that connects the drain pipe to the sink's tailpiece. Once it's loose, you should be able to pull out the drain pipe and remove the stopper completely.
Step 4: Using your screwdriver, remove the screws that hold the drain flange in place. These are usually located on the underside of the sink.
Step 5: Once the screws are removed, you can pull out the drain flange and the gasket that sits underneath it. Be sure to clean any debris or buildup that may be present on the flange or gasket.
DIY Bathroom Sink Drain Removal
If you're a DIY enthusiast, you may be tempted to try and remove the bathroom sink drain on your own. While this is certainly doable, it's important to proceed with caution and follow the proper steps. Here are a few tips to keep in mind:
Tip 1: Before attempting to remove the drain, make sure to turn off the water supply to the sink. This will prevent any water from spilling out when you remove the drain pipe.
Tip 2: Use a drain wrench rather than pliers to loosen the slip nut. This will give you better leverage and prevent any damage to the nut or pipe.
Tip 3: If you encounter any resistance while removing the drain flange, try using a lubricant spray to loosen it up. This will make the process much easier and prevent any damage to the sink or flange.
Step-by-Step Guide for Removing a Bathroom Sink Drain
Now that you have a general understanding of how to remove a bathroom sink drain, let's break down the process step-by-step for a more detailed guide:
Step 1: Assemble all the necessary tools and materials, including a drain wrench, screwdriver, pliers, and a bucket or towel.
Step 2: Turn off the water supply to the sink and remove the sink stopper by turning it counterclockwise.
Step 3: Locate the pivot rod and unscrew it from the tailpiece.
Step 4: Use pliers to loosen the slip nut and remove the drain pipe from the tailpiece.
Step 5: Remove the screws that hold the drain flange in place using a screwdriver.
Step 6: Pull out the drain flange and gasket, and clean any debris or buildup that may be present.
Step 7: If necessary, use a drain wrench to loosen the locknut that holds the drain body in place. This will allow you to remove the entire drain assembly from the sink.
Step 8: Once the drain is removed, clean the sink area thoroughly before installing a new drain.
Removing a Bathroom Sink Drain: Tips and Tricks
Here are a few additional tips and tricks to keep in mind when removing a bathroom sink drain:
Tip 1: Always wear gloves when handling the drain to prevent any cuts or injuries.
Tip 2: Use a flashlight to get a better view of the drain area and ensure that all debris is removed before reassembling.
Tip 3: If you encounter any stubborn buildup or clogs, try using a plunger or a drain snake to remove them before proceeding with the drain removal process.
Tools Needed for Removing a Bathroom Sink Drain
Before attempting to remove a bathroom sink drain, make sure you have the following tools on hand:
Drain wrench | Screwdriver | Pliers | Bucket or towel | Flashlight
Common Mistakes to Avoid When Removing a Bathroom Sink Drain
Here are a few common mistakes to avoid when attempting to remove a bathroom sink drain:
Mistake 1: Using too much force when trying to loosen the slip nut. This can cause damage to the nut or drain pipe.
Mistake 2: Skimping on safety precautions, such as not wearing gloves or turning off the water supply before starting the process.
Mistake 3: Not properly cleaning the drain area before reassembling. This can lead to future clogs and buildup.
Removing a Bathroom Sink Drain: Troubleshooting Common Issues
If you encounter any issues while removing the bathroom sink drain, here are a few troubleshooting tips to help you out:
Issue 1: The drain flange is stuck and won't come out.
Solution: Try using a lubricant spray to loosen the flange and gently tap it with a hammer to help loosen it.
Issue 2: The drain body won't come out of the sink.
Solution: Use a drain wrench to loosen the locknut and gently pull the drain body out.
Issue 3: The drain is still clogged after removing the drain assembly.
Solution: Use a plunger or a drain snake to remove any remaining clogs or buildup in the drain pipe before reassembling.
Professional vs. DIY: Removing a Bathroom Sink Drain
While removing a bathroom sink drain can be done as a DIY project, some may prefer to hire a professional plumber to do the job. Here are a few factors to consider when deciding between the two:
Time: Removing a bathroom sink drain can be a time-consuming process, especially for those who are not experienced in DIY projects. Hiring a professional plumber can save you time and hassle.
Cost: Doing the job yourself can save you money, but if you encounter any issues or make mistakes, it may end up costing you more in the long run. Hiring a professional plumber may be more expensive upfront, but they have the skills and expertise to get the job done right the first time.
Experience: If you're not confident in your DIY skills or have never tackled a project like this before, it may be best to leave it to the professionals. However, if you're comfortable with DIY projects and have the necessary tools, you may be able to successfully remove the drain yourself.
Removing a Bathroom Sink Drain: Safety Precautions to Keep in Mind
Lastly, here are a few important safety precautions to keep in mind when removing a bathroom sink drain:
Precaution 1: Always turn off the water supply to the sink before starting the process.
Precaution 2: Wear gloves to protect your hands from any sharp edges or debris.
Precaution 3: Use caution when using tools to avoid any injuries or damage to the sink or drain.
Now that you know the ins and outs of removing a bathroom sink drain, you can confidently tackle this task on your own. Just remember to follow the proper steps, use the right tools, and take necessary safety precautions. Good luck!
Why Removing the Drain from a Bathroom Sink is Important for Your House Design

Proper Drainage is Essential for a Functional Bathroom
 One often overlooked aspect of bathroom design is the drainage system, specifically the sink drain. While it may seem like a small and insignificant part of the overall design, a malfunctioning or clogged drain can cause major inconveniences and even lead to more serious plumbing issues. That's why it's important to pay attention to and regularly maintain your bathroom sink drain. In this article, we will focus on the main keyword
"removing the drain from a bathroom sink"
and explain why it is an important step in ensuring a functional and well-designed bathroom.
Prevents Clogs and Blockages
 One of the main reasons for removing the drain from a bathroom sink is to prevent clogs and blockages. Over time, debris such as hair, soap scum, and toothpaste can accumulate in the drain, causing it to become clogged. This not only hinders the proper drainage of water, but it can also lead to unpleasant odors and even overflow. By regularly removing the drain and cleaning out any buildup, you can prevent these issues and keep your bathroom running smoothly.
Allows for Easy Access to Plumbing
 Another reason for removing the drain is to allow for easy access to the plumbing. If there is a leak or other issue with the pipes, it can be difficult to fix without removing the drain. By removing it beforehand, you can easily access and fix any plumbing problems, saving you time and money in the long run. This also gives you the opportunity to inspect the pipes and ensure they are in good condition, preventing any potential issues in the future.
Enhances the Aesthetic of Your Bathroom
 In addition to its functional benefits, removing the drain from a bathroom sink can also enhance the aesthetic of your bathroom. With newer and more modern sink designs, the drain can often be an eyesore. By removing it, you can achieve a sleek and minimalist look, making your bathroom appear more spacious and stylish. You can even replace the traditional drain with a pop-up drain, which is hidden when not in use, further enhancing the overall design of your bathroom.
Conclusion
 In conclusion, removing the drain from a bathroom sink is an important step in maintaining a functional and well-designed bathroom. It prevents clogs and blockages, allows for easy access to plumbing, and enhances the aesthetic of your bathroom. Make sure to regularly remove and clean your drain to avoid any potential issues and keep your bathroom looking and functioning at its best.





:max_bytes(150000):strip_icc()/bathroom-sink-drain-installation-2718843-02-61e5ecbee1e949be8d8f45ac4f5a6797.jpg)


:max_bytes(150000):strip_icc()/bathroom-sink-drain-installation-2718843-11-675b59e962dd4f69b510d5c9e1fd215f.jpg)





/bathroom-sink-drain-installation-2718843-01-4955fe1f576b447a91abe51c126d220b.jpg)

