Removing a kitchen sink soap dispenser may seem like a daunting task, but with the right tools and knowledge, it can be a simple and quick process. Whether you are looking to replace your dispenser or just want to clean it, we have put together a step-by-step guide to help you remove it without any hassle.How to Remove a Kitchen Sink Soap Dispenser
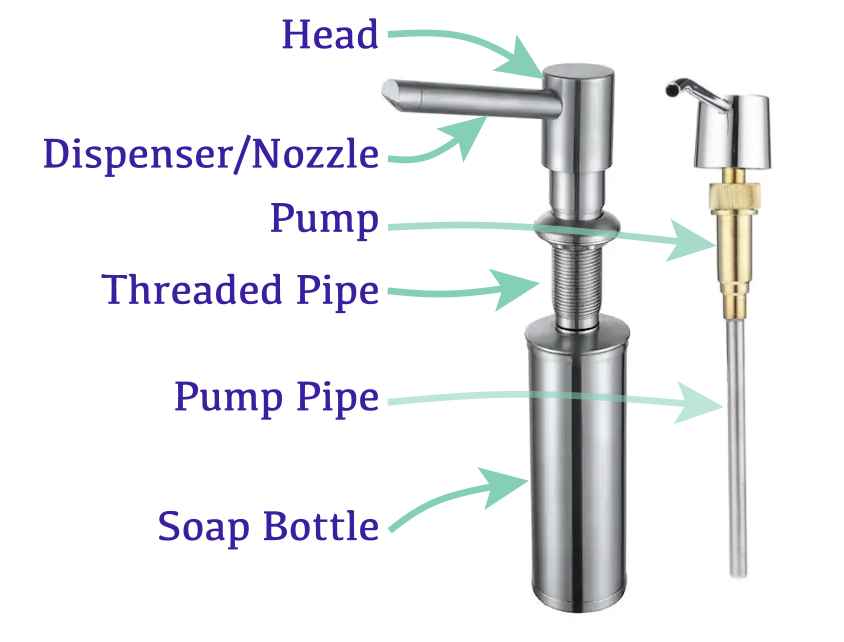
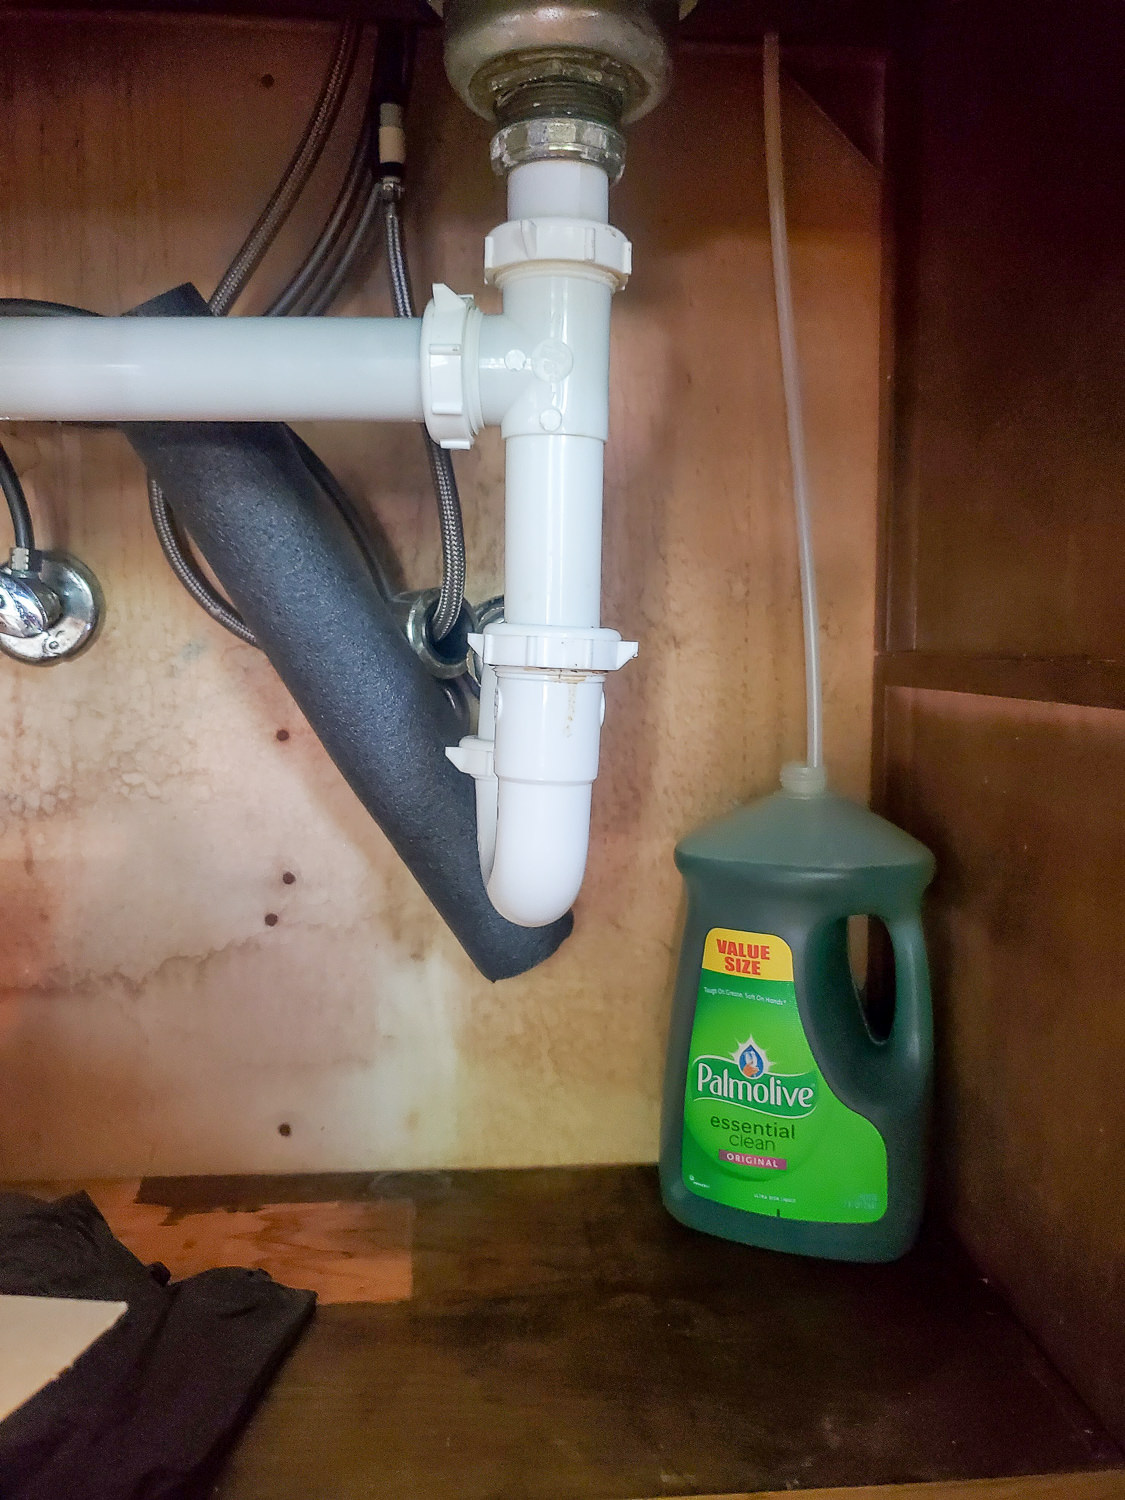
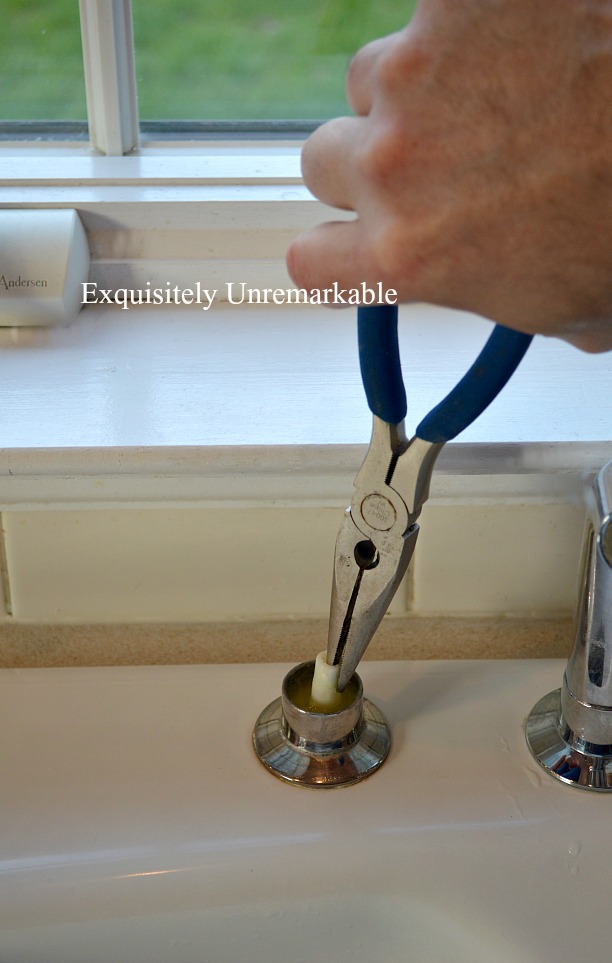
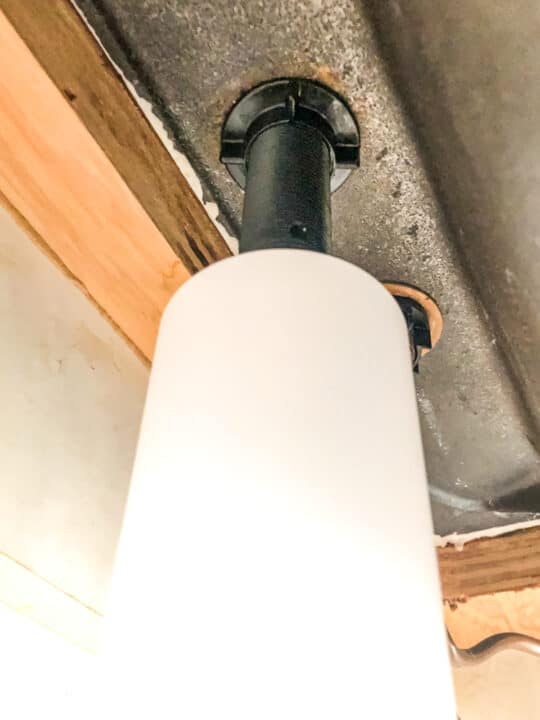
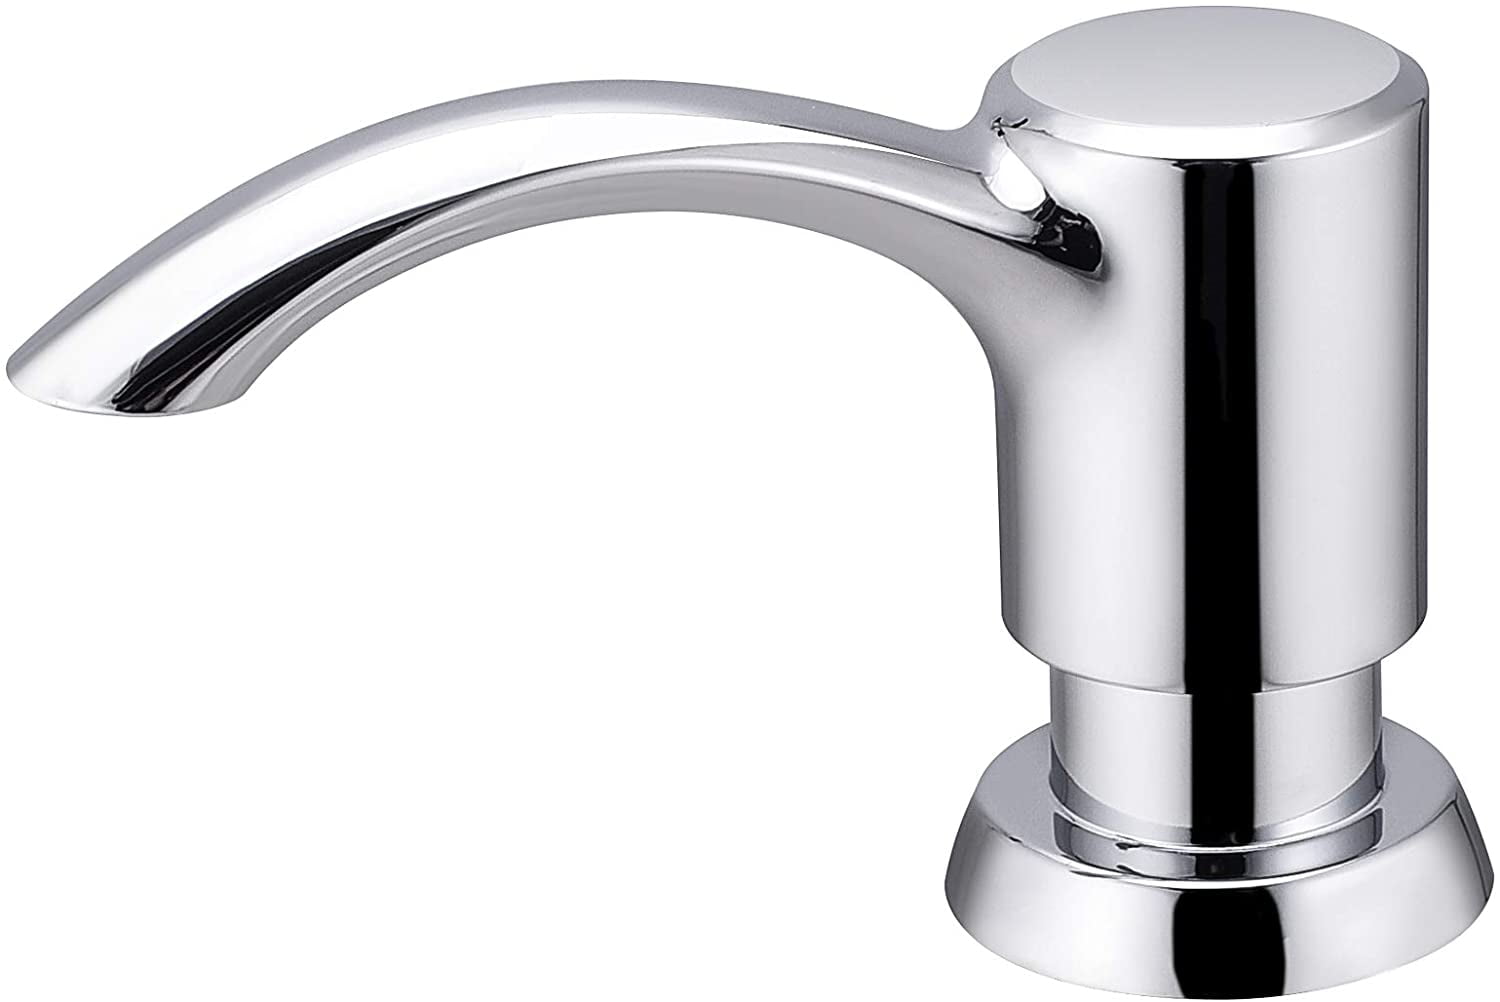
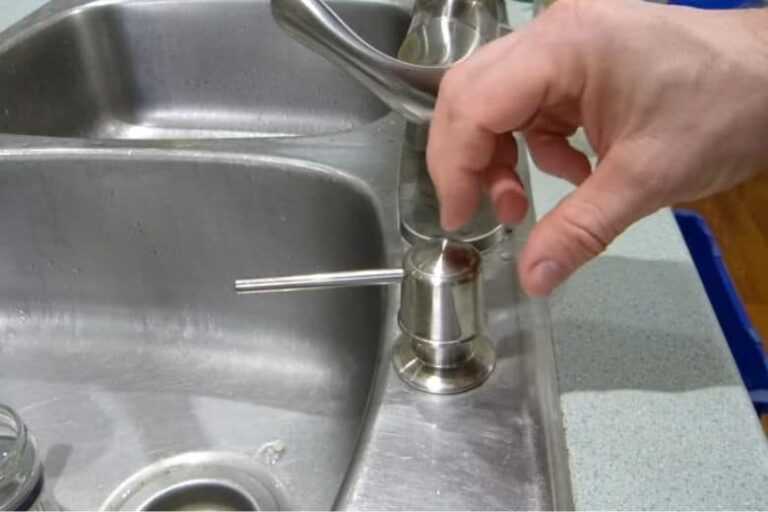
Before you begin, make sure you have all the necessary tools and materials. You will need a flathead screwdriver, an adjustable wrench, and a bucket or container to catch any excess water. Once you have gathered everything, follow these steps: Step 1: Locate the mounting nut underneath the sink. This is usually located directly under the dispenser and can be easily identified by its hexagonal shape. Step 2: Using your adjustable wrench, loosen the mounting nut by turning it counterclockwise. You may need to hold the dispenser in place with your other hand to prevent it from spinning. Step 3: Once the mounting nut is loose, you can remove it by hand and set it aside. Step 4: After removing the mounting nut, the dispenser should easily lift out of the sink hole. If it seems stuck, gently wiggle it back and forth until it comes out. Step 5: Once the dispenser is out, you will see a small tube or hose attached to the bottom. This is the soap dispenser tube that connects to the soap bottle under the sink. Carefully disconnect this tube and set it aside. Step 6: Your kitchen sink soap dispenser is now completely removed and ready to be replaced or cleaned.Removing a Kitchen Sink Soap Dispenser: A Step-by-Step Guide
If you are a DIY enthusiast, removing a kitchen sink soap dispenser is a simple task that you can easily handle on your own. By following the steps outlined above, you can successfully remove your dispenser without any professional help.DIY: Removing a Kitchen Sink Soap Dispenser
Here are a few tips and tricks to keep in mind when removing a kitchen sink soap dispenser: - If the mounting nut is difficult to turn, try using a penetrating oil to loosen it. - It is always a good idea to have a bucket or container handy to catch any excess water that may drip out during the removal process. - If the dispenser seems stuck, do not use excessive force as this can damage your sink or the dispenser itself.Removing a Kitchen Sink Soap Dispenser: Tips and Tricks
While removing a kitchen sink soap dispenser is a fairly simple process, there are a few common mistakes that people make that can lead to frustration and even damage. Here are some mistakes to avoid: - Using too much force to remove the mounting nut can lead to stripped threads or even break the nut. - Not disconnecting the soap dispenser tube before attempting to remove the dispenser can cause damage to the tube or the dispenser itself. - Forgetting to turn off the water supply before removing the dispenser can result in a messy and potentially damaging situation.Removing a Kitchen Sink Soap Dispenser: Common Mistakes to Avoid
As mentioned earlier, you will need a flathead screwdriver, an adjustable wrench, and a bucket or container to remove a kitchen sink soap dispenser. However, if you want to make the process even easier, you can purchase a specialized soap dispenser removal tool, which is designed specifically for this purpose.Removing a Kitchen Sink Soap Dispenser: Tools You'll Need
While removing a kitchen sink soap dispenser is a relatively safe task, it is always important to take precautions to prevent any potential accidents. Here are some safety precautions to keep in mind: - Always wear protective gloves when working with any plumbing fixtures to avoid cuts or scrapes. - Make sure the water supply is turned off before attempting to remove the dispenser to prevent any potential flooding. - If you are unsure or uncomfortable with removing the dispenser yourself, it is always best to seek professional help.Removing a Kitchen Sink Soap Dispenser: Safety Precautions
If you encounter any issues while removing your kitchen sink soap dispenser, here are a few troubleshooting tips: - If the dispenser won't budge, try spraying some lubricant around the base to loosen it. - If the soap dispenser tube is stuck, try using pliers to gently twist and loosen it. - If you accidentally damage the dispenser or any of its components, it is best to replace them instead of attempting to repair them.Removing a Kitchen Sink Soap Dispenser: Troubleshooting
While removing a kitchen sink soap dispenser is something you can do yourself, there are certain situations where it may be best to seek professional help. If you encounter any issues or are unsure of how to properly remove the dispenser, it is best to contact a licensed plumber to avoid any potential damage or accidents.Removing a Kitchen Sink Soap Dispenser: Professional Services vs. DIY
Once you have successfully removed your kitchen sink soap dispenser, you can now clean it or replace it with a new one. Before doing so, make sure to clean the area where the dispenser was installed to remove any residual soap or debris. With our step-by-step guide and helpful tips, you can easily remove your kitchen sink soap dispenser without any hassle. Remember to always take precautions and seek professional help if needed. Happy cleaning!Removing a Kitchen Sink Soap Dispenser: Final Steps and Clean-Up
Why Removing a Kitchen Sink Soap Dispenser Can Improve Your House Design

The Importance of Considering Design in Your Home
 Design plays a crucial role in creating a comfortable and functional living space. It is not just about aesthetics, but also about creating a space that works well for you and your family. Every little detail, including the
kitchen sink soap dispenser
, can impact the overall design and functionality of your home. Therefore, it is important to carefully consider each element and make changes if necessary to improve your house design.
The Benefits of Removing a Kitchen Sink Soap Dispenser
 While a
kitchen sink soap dispenser
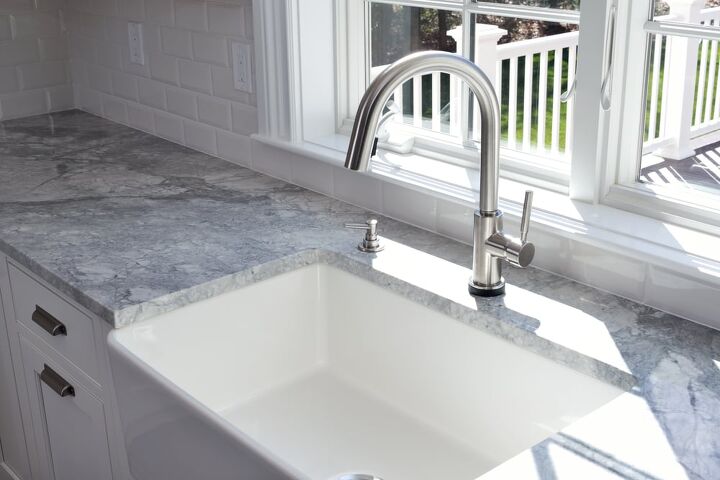
may seem like a convenient addition to your kitchen, it may not always be the best choice for your house design. One of the main benefits of removing it is the extra space it can create on your countertop. This can be especially beneficial for smaller kitchens or for those who prefer a minimalist design. Without a soap dispenser taking up space, you can have a more open and clutter-free countertop, making your kitchen look more spacious and organized.
Another advantage of removing a
kitchen sink soap dispenser
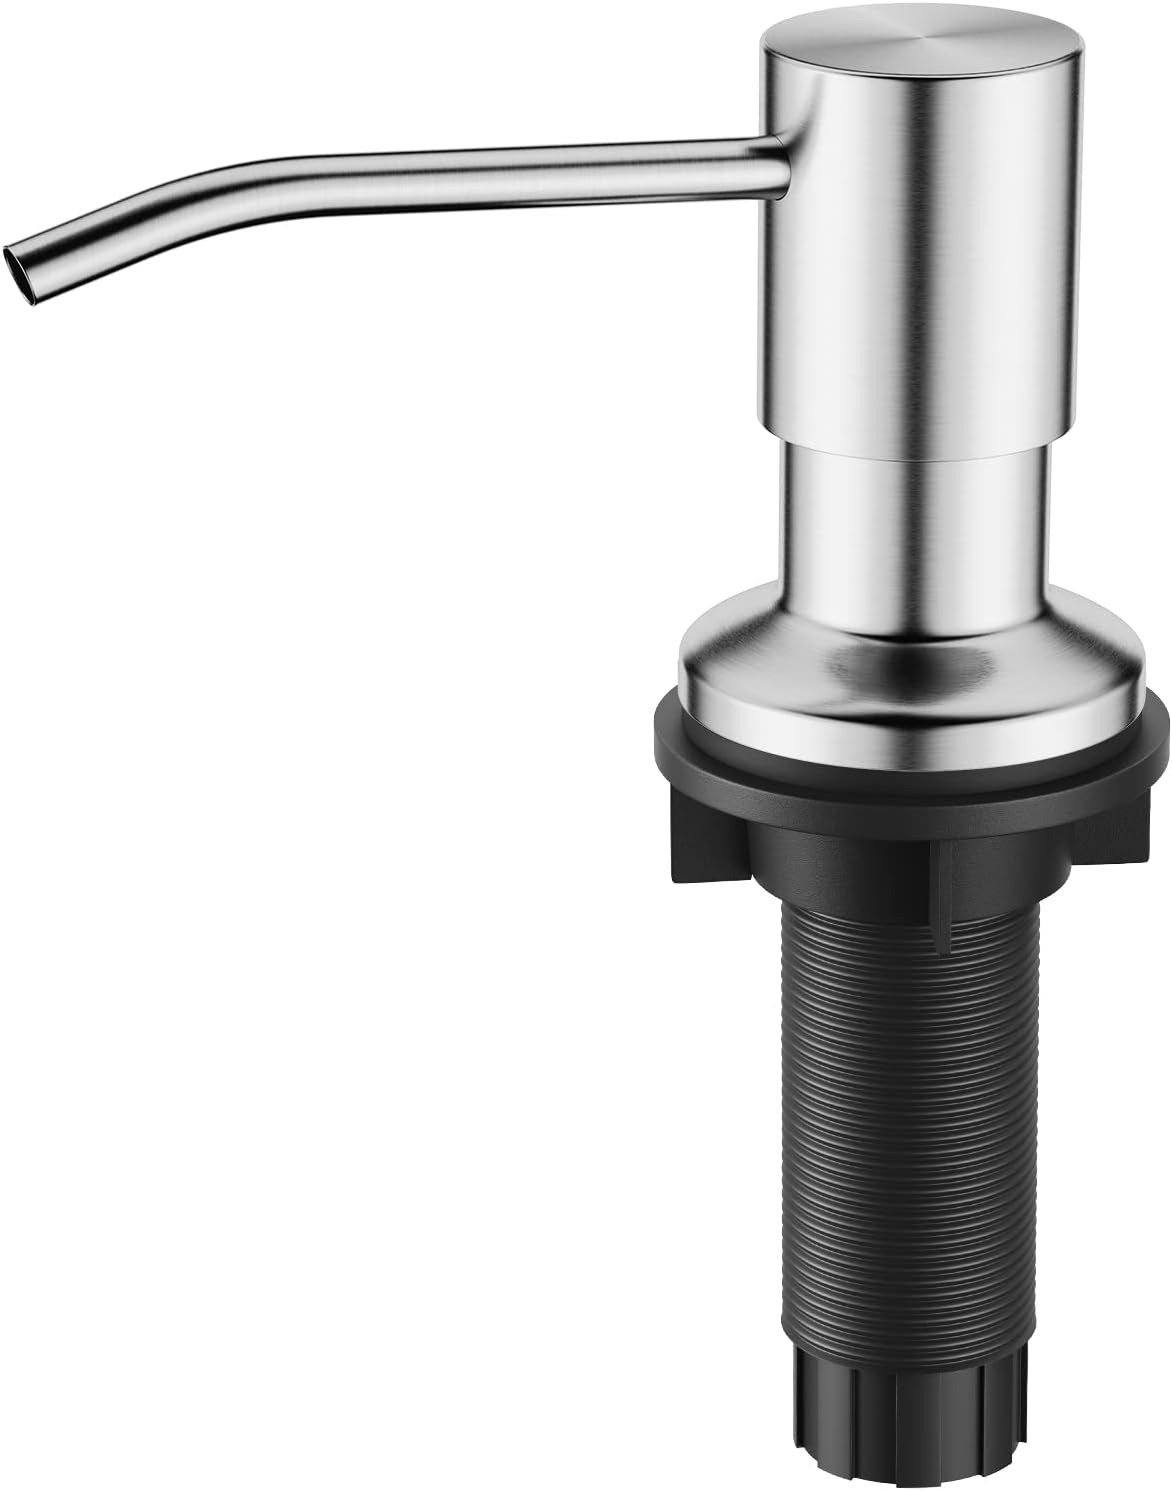
is the opportunity to upgrade to a more aesthetically pleasing alternative. While traditional soap dispensers may be functional, they may not always fit in with the overall design of your kitchen. By removing it, you can opt for a more stylish and modern soap dispenser that complements your kitchen's design, adding a touch of elegance to your space.
Alternative Options for Soap Dispensers
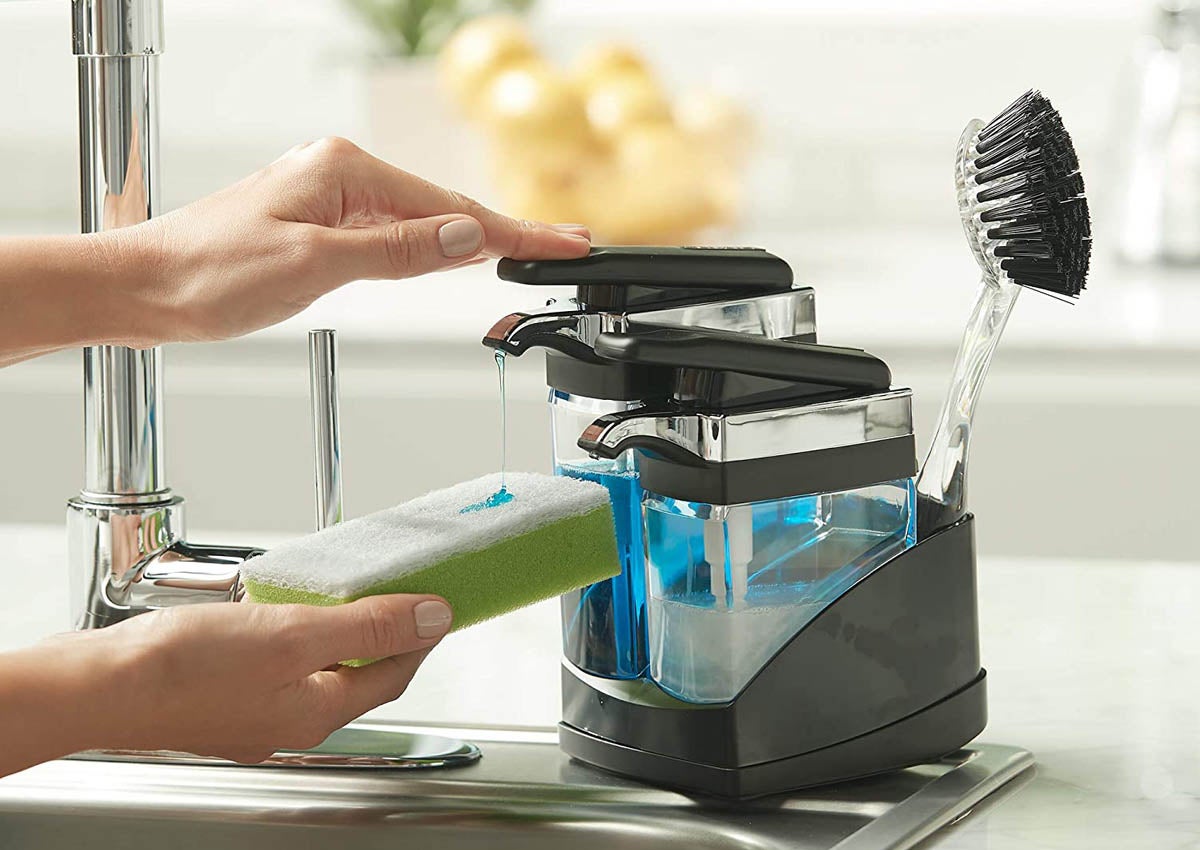 If you are worried about losing the convenience of a
kitchen sink soap dispenser
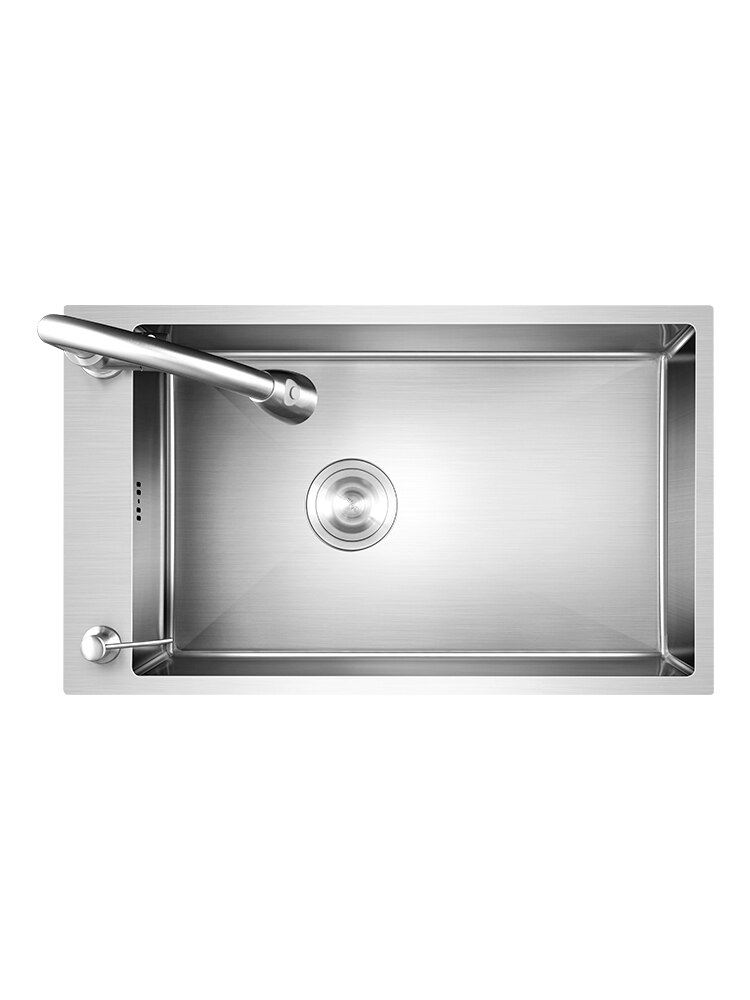
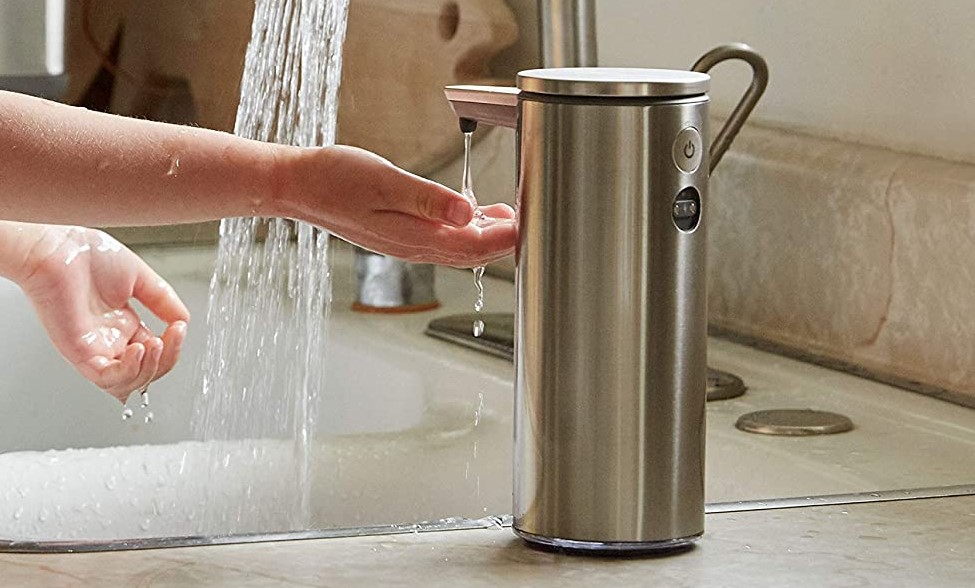
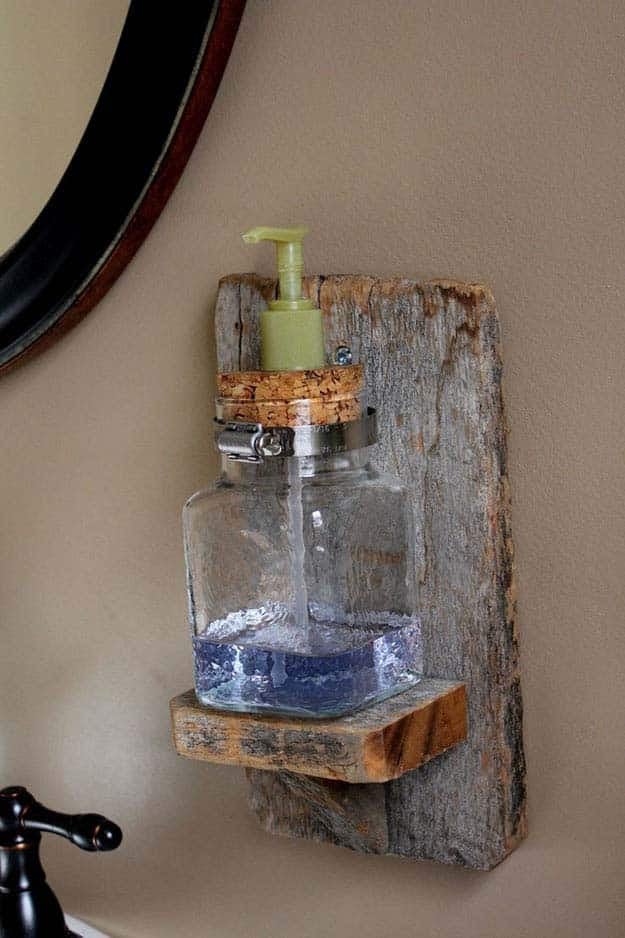
, there are other options available that can still offer functionality while enhancing your house design. You can consider installing a wall-mounted soap dispenser near your kitchen sink, or even a freestanding soap dispenser on your countertop. These alternatives not only free up space on your sink, but they can also add a unique design element to your kitchen.
Conclusion
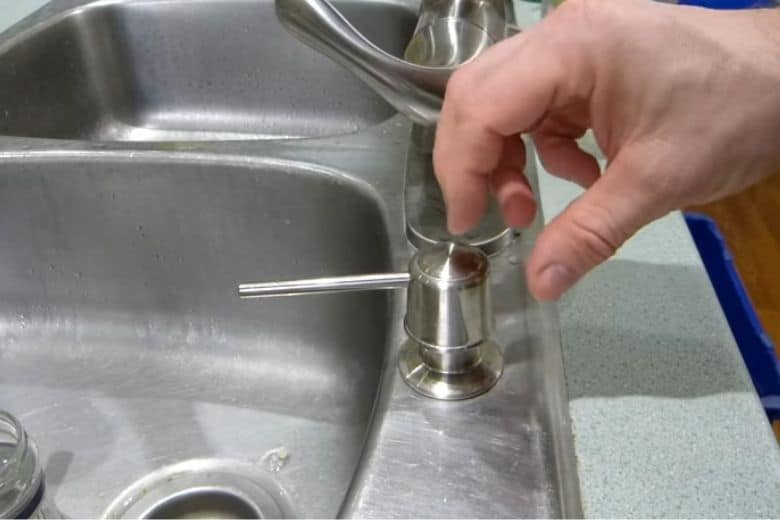 In conclusion, removing a
kitchen sink soap dispenser
can greatly improve your house design. It can create more space on your countertop, allowing for a more open and organized kitchen. It also gives you the opportunity to upgrade to a more visually appealing soap dispenser, adding a touch of style to your kitchen. Consider the benefits and alternative options before making a decision, and always keep in mind the importance of design in creating a comfortable and functional home.


/Kitchensinksoapdispenser-GettyImages-91206440-59e82279054ad90011101a01.jpg)












:max_bytes(150000):strip_icc()/platform-bed-vs-box-spring-5216570-5acea4bcf8f641d8a0c4e1a44e5ad321.png)


