If you've noticed a leak in your kitchen sink, it may be time to replace the seal. The seal is an important component of your sink, as it helps to prevent water from seeping into the surrounding area. Over time, the seal may become worn or damaged, causing water to leak out. Here are 10 steps on how to remove a kitchen sink seal and replace it with a new one.How to Remove a Kitchen Sink Seal


How to Remove a Kitchen Sink Seal


Before we dive into the steps for removing a kitchen sink seal, it's important to note that some sinks may use a sealant instead of a traditional seal. The process for removing a sealant is similar, but we'll also cover some tips specifically for removing sealant in this guide.How to Remove a Kitchen Sink Sealant


How to Remove a Kitchen Sink Sealant


The first step in removing a kitchen sink seal is to shut off the water supply to your sink. This will prevent any water from leaking out while you work. Next, you'll need to disconnect the sink drain and remove any old caulk or sealant around the edges of the sink. This will allow you to access the seal and remove it.Removing a Kitchen Sink Seal


Removing a Kitchen Sink Seal


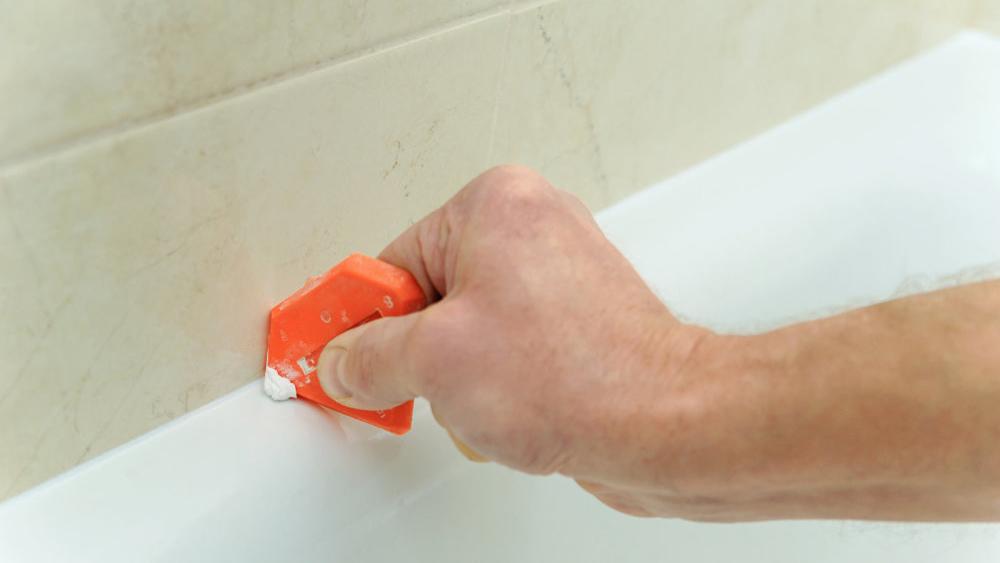
If your sink uses a sealant instead of a traditional seal, you'll need to use a utility knife or scraper to carefully remove the sealant from around the edges of the sink. Be sure to wear gloves and use caution to avoid damaging the sink or surrounding area.Removing a Kitchen Sink Sealant


Removing a Kitchen Sink Sealant


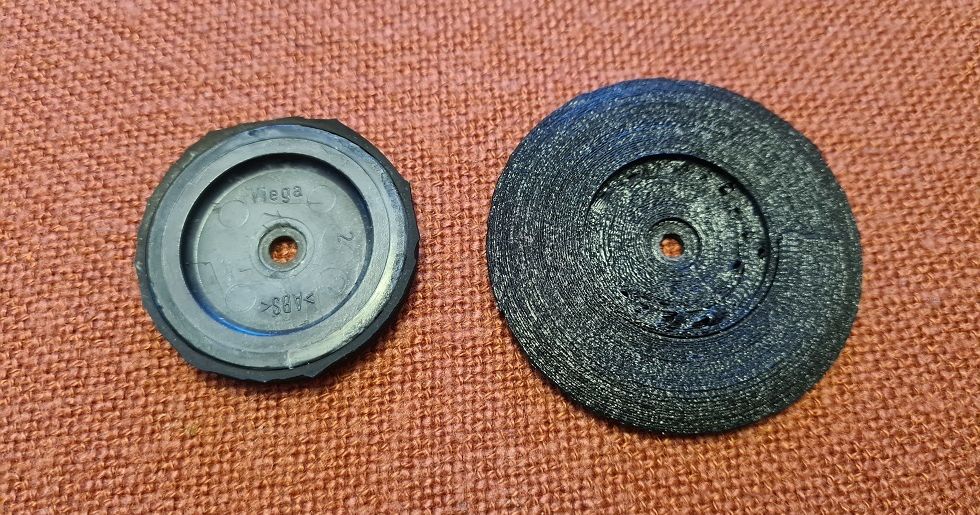
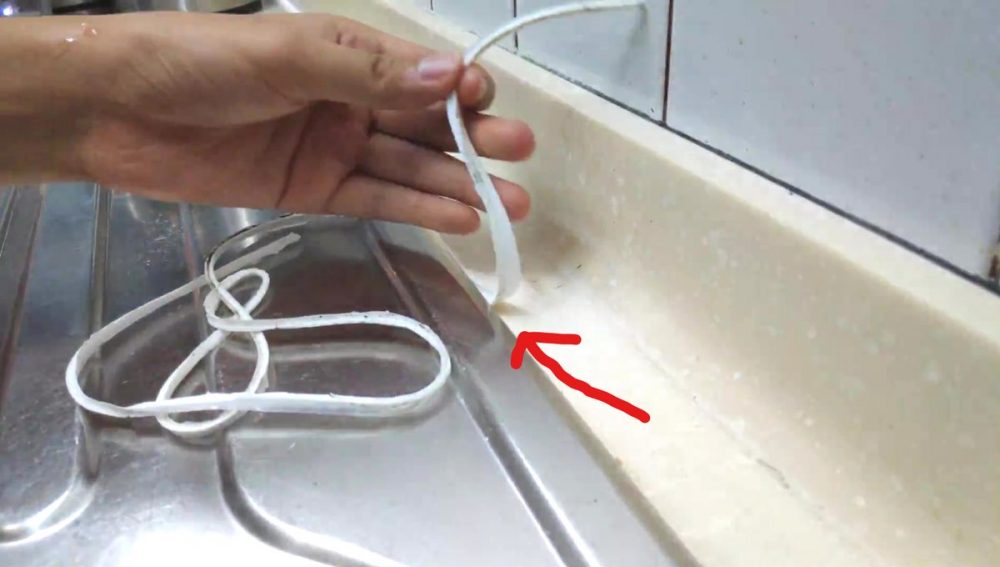
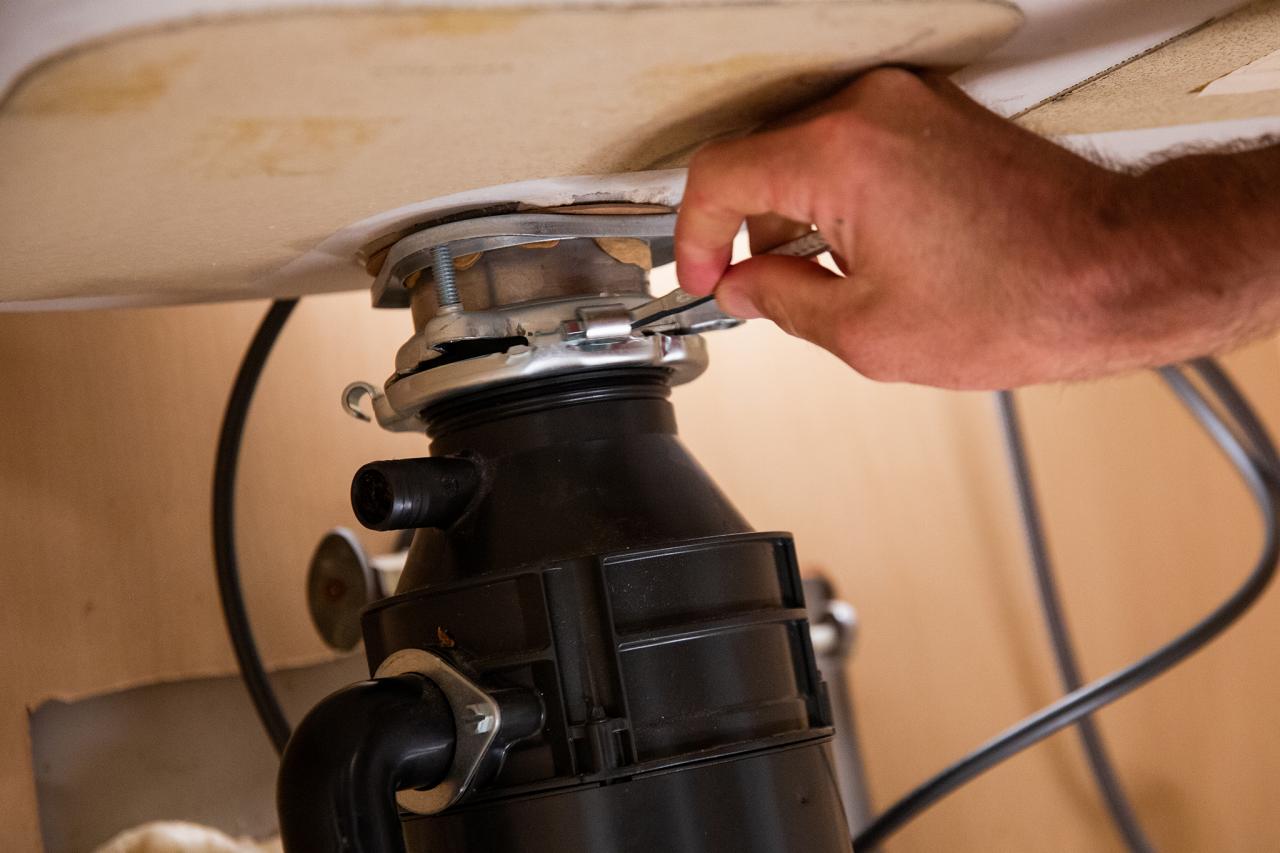
Once you've disconnected the sink drain and removed any old caulk or sealant, you can begin removing the seal itself. Depending on the type of seal used, you may be able to simply pull it out with your hands. If the seal is stuck, you can use a flathead screwdriver or putty knife to gently pry it out of place.Removing a Seal from a Kitchen Sink


Removing a Seal from a Kitchen Sink


If you're removing a sealant, you may need to use a solvent or adhesive remover to soften the sealant before attempting to scrape it off. Be sure to follow the manufacturer's instructions and use caution when working with solvents.Removing a Sealant from a Kitchen Sink


Removing a Sealant from a Kitchen Sink


1. Shut off the water supply to your sink. 2. Disconnect the sink drain. 3. Remove any old caulk or sealant around the edges of the sink. 4. Carefully remove the seal with your hands or a tool, if necessary. 5. Clean any remaining residue from the sink. 6. Prepare your new seal for installation. 7. Apply a thin layer of plumber's putty around the edges of the sink. 8. Place the new seal in place, pressing down firmly. 9. Reconnect the sink drain and tighten any connections. 10. Allow the seal to dry and set before using the sink again.Steps for Removing a Kitchen Sink Seal
Steps for Removing a Kitchen Sink Seal


If you're removing a sealant, here are a few additional tips to keep in mind: - Use a putty knife or scraper to carefully remove the sealant. - Avoid using excessive force, as this can damage the sink or surrounding area. - Wear gloves to protect your hands from any harsh chemicals or sharp tools.Tips for Removing a Kitchen Sink Sealant


Tips for Removing a Kitchen Sink Sealant


Here are the tools you'll need to successfully remove a kitchen sink seal: - Flathead screwdriver or putty knife - Utility knife or scraper (if removing a sealant) - Solvent or adhesive remover (if removing a sealant) - Gloves - Plumber's puttyTools Needed to Remove a Kitchen Sink Seal


Tools Needed to Remove a Kitchen Sink Seal

Now that you know the steps and tools needed to remove a kitchen sink seal, here are some best practices to keep in mind: - Always shut off the water supply before working on your sink. - Take your time and be gentle when removing the seal or sealant. - Clean any old residue or caulk before installing the new seal. - Follow the manufacturer's instructions for any solvents or adhesive removers used. With these 10 steps, you should have no problem removing a kitchen sink seal and replacing it with a new one. Remember to take your time and use caution to ensure a successful, leak-free seal. Happy renovating!Best Methods for Removing a Kitchen Sink Sealant


Best Methods for Removing a Kitchen Sink Sealant
The Importance of Removing Kitchen Sink Seal for a Well-Designed House

Why a Properly Sealed Kitchen Sink is Essential
 When it comes to house design, the kitchen is often considered the heart of the home. It's where meals are prepared, memories are made, and families gather. That's why it's important to ensure that every aspect of your kitchen is functioning properly, including your kitchen sink. A well-sealed kitchen sink not only prevents water damage and leaks, but it also adds to the overall aesthetic of your kitchen. However, over time, the seal around your kitchen sink can wear down and become damaged, leading to potential issues. That's why it's crucial to regularly check and remove the kitchen sink seal when needed.
The Dangers of an Old and Damaged Kitchen Sink Seal
 An old and damaged kitchen sink seal can cause a multitude of problems for your home. First and foremost, it can lead to water damage and mold growth, which can be costly and hazardous to your health. It can also cause unpleasant odors and attract pests, as moisture and food particles can get trapped in the damaged seal. Additionally, a damaged seal can affect the functionality of your kitchen sink, making it difficult to wash dishes and causing water to leak onto your countertops and cabinets. It can even affect the overall appearance of your kitchen, making it look worn and unkempt.
That's why it's crucial to remove and replace a damaged kitchen sink seal as soon as possible.
Not only will it prevent any potential damage and hazards, but it will also improve the overall look and feel of your kitchen.
An old and damaged kitchen sink seal can cause a multitude of problems for your home. First and foremost, it can lead to water damage and mold growth, which can be costly and hazardous to your health. It can also cause unpleasant odors and attract pests, as moisture and food particles can get trapped in the damaged seal. Additionally, a damaged seal can affect the functionality of your kitchen sink, making it difficult to wash dishes and causing water to leak onto your countertops and cabinets. It can even affect the overall appearance of your kitchen, making it look worn and unkempt.
That's why it's crucial to remove and replace a damaged kitchen sink seal as soon as possible.
Not only will it prevent any potential damage and hazards, but it will also improve the overall look and feel of your kitchen.
How to Remove and Replace a Kitchen Sink Seal
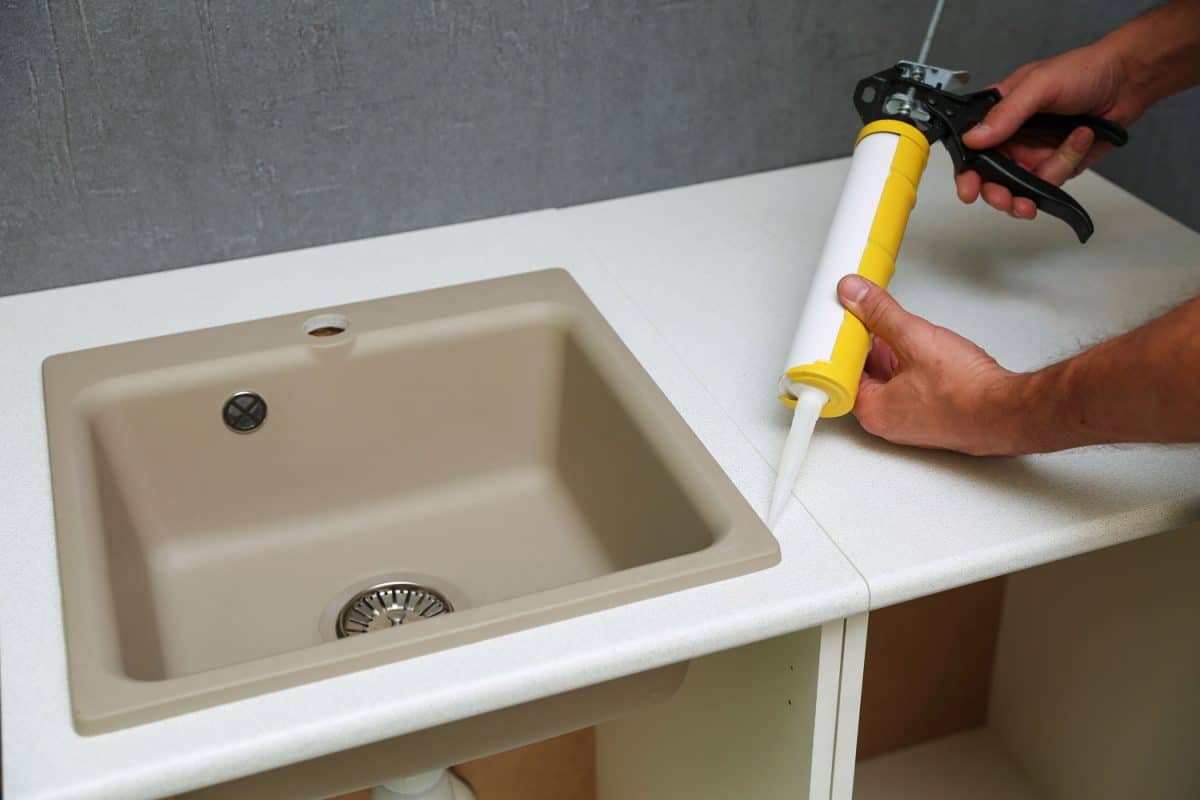
 Removing and replacing a kitchen sink seal may seem like a daunting task, but it can be done easily with the right tools and knowledge. First, you'll need to purchase a new kitchen sink seal from your local hardware store. Then, using a putty knife, gently scrape away the old seal from both the sink and the countertop. Next, clean the area thoroughly to remove any residue and allow it to dry completely. Finally, apply the new seal and smooth it out with your finger or a tool, making sure there are no gaps or air bubbles. Let it dry completely before using your sink again.
By regularly checking and removing your kitchen sink seal, you can ensure a well-designed and functional kitchen for years to come.
Don't let a damaged seal ruin the heart of your home. Take the time to properly maintain and replace it when necessary for a beautiful and safe kitchen space.
Removing and replacing a kitchen sink seal may seem like a daunting task, but it can be done easily with the right tools and knowledge. First, you'll need to purchase a new kitchen sink seal from your local hardware store. Then, using a putty knife, gently scrape away the old seal from both the sink and the countertop. Next, clean the area thoroughly to remove any residue and allow it to dry completely. Finally, apply the new seal and smooth it out with your finger or a tool, making sure there are no gaps or air bubbles. Let it dry completely before using your sink again.
By regularly checking and removing your kitchen sink seal, you can ensure a well-designed and functional kitchen for years to come.
Don't let a damaged seal ruin the heart of your home. Take the time to properly maintain and replace it when necessary for a beautiful and safe kitchen space.