If you're tired of standing in a pool of water every time you use your bathroom sink, it might be time to remove the drain plug. Whether it's clogged with hair and debris or simply not working properly, removing the drain plug can solve your problem. But if you've never done it before, the process can seem daunting. Don't worry, we've got you covered with this step-by-step guide on how to remove a drain plug in a bathroom sink.Remove Drain Plug in Bathroom Sink


Remove Drain Plug in Bathroom Sink


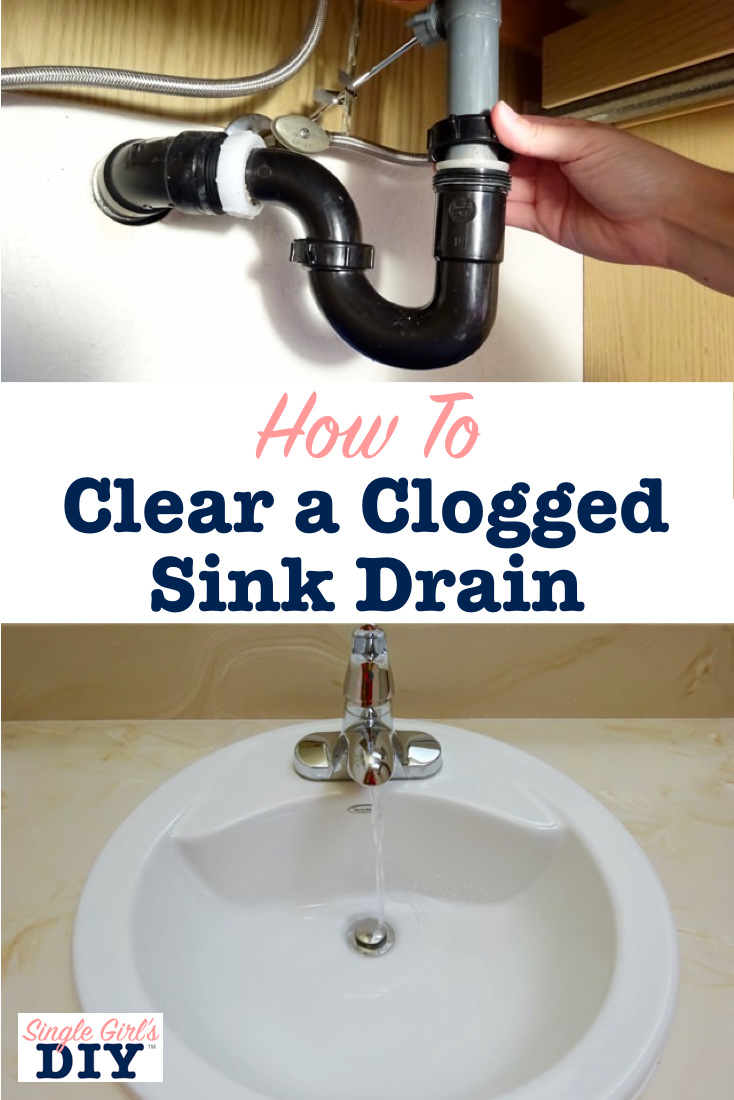
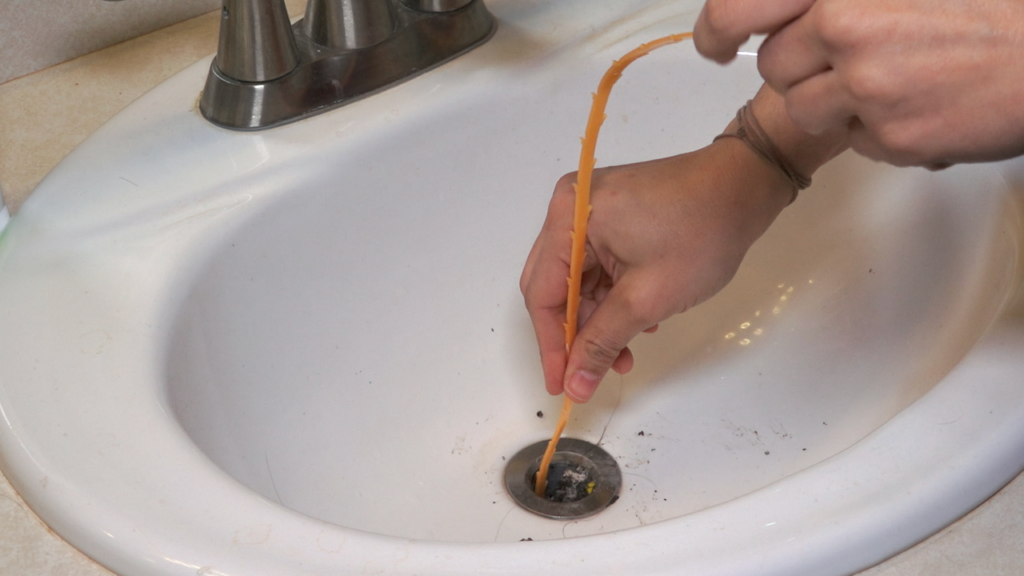
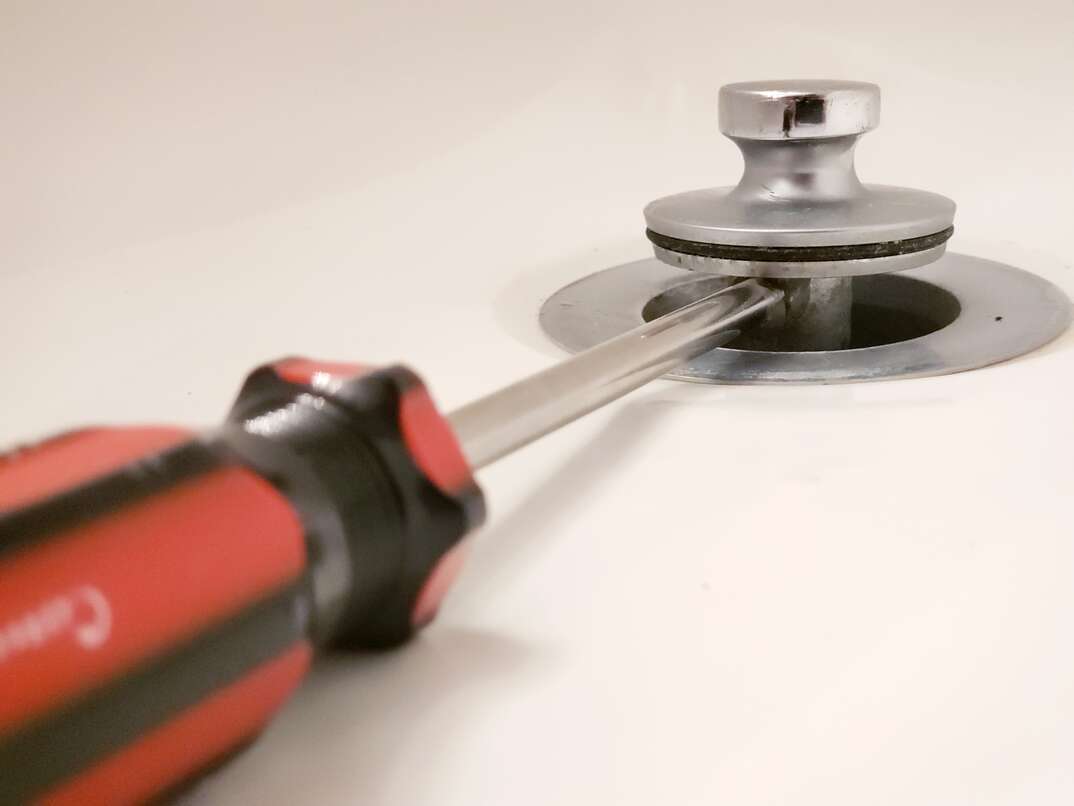
Before you begin, gather all the necessary tools and materials. You'll need a pair of pliers, a screwdriver, and a new drain plug if you plan on replacing the old one. Once you have everything you need, follow these simple steps: Step 1: Locate the drain plug. It's usually located at the back of the sink, near the faucet. If you have a pop-up drain plug, you'll see a small lever or knob attached to the back of the faucet. Step 2: Use the pliers to grip the knob or lever and pull it up. This will release the stopper from the drain. Step 3: If you have a screw-in drain plug, use the screwdriver to loosen the screw that's holding the plug in place. Step 4: Once the screw is loosened, you should be able to pull the plug out of the drain. If it's stuck, you can use the pliers to wiggle it out.How to Remove a Drain Plug in a Bathroom Sink

How to Remove a Drain Plug in a Bathroom Sink
Now that you know the basics, let's dive into the specifics of how to remove a drain plug in a bathroom sink. Follow these steps for a hassle-free experience: Step 1: Turn off the water supply to your sink. This will prevent any water from leaking out while you work on removing the drain plug. Step 2: Place a towel or bucket underneath the sink to catch any water that may still be in the drain. Step 3: If you have a pop-up drain plug, remove the stopper by unscrewing the nut at the back of the faucet. Then, use the pliers to pull the stopper out of the drain. Step 4: If you have a screw-in drain plug, use the screwdriver to remove the screw that's holding the plug in place. Then, use the pliers to pull the plug out of the drain. Step 5: Inspect the drain plug for any damage or debris that may be causing it to malfunction. If it's clogged, use a drain snake to remove any hair or debris that's stuck inside. Step 6: If you're replacing the old drain plug with a new one, simply screw it in place or attach the stopper back to the knob or lever. Step 7: Turn the water supply back on and test the new drain plug to make sure it's working properly.Step-by-Step Guide to Removing a Drain Plug in a Bathroom Sink


Step-by-Step Guide to Removing a Drain Plug in a Bathroom Sink


Removing a drain plug in a bathroom sink may seem like a simple task, but it can quickly become frustrating if you encounter any problems. Here are some tips and tricks to make the process easier: Tip 1: If the drain plug is stuck, try using a lubricant like WD-40 to loosen it before pulling it out with pliers. Tip 2: If you're having trouble unscrewing the nut at the back of the faucet, use a pair of pliers to grip it and turn it counterclockwise. Tip 3: To prevent future clogs, use a drain cover to catch any hair or debris before it goes down the drain.Removing a Drain Plug in a Bathroom Sink: Tips and Tricks


Removing a Drain Plug in a Bathroom Sink: Tips and Tricks


Removing a drain plug in a bathroom sink is a simple DIY project that can save you from calling a plumber. With the right tools and a little patience, you can easily remove and replace a drain plug on your own.DIY: Removing a Drain Plug in a Bathroom Sink


DIY: Removing a Drain Plug in a Bathroom Sink


If you're short on time and need a quick fix, here's an easy way to remove a drain plug in a bathroom sink: Step 1: Use a plunger to create suction over the drain. This will help loosen the drain plug. Step 2: Use the pliers to pull the drain plug out of the drain while maintaining suction with the plunger. Step 3: Once the drain plug is out, use the plunger to clear any clogs that may be causing the problem.Quick and Easy Way to Remove a Drain Plug in a Bathroom Sink

Quick and Easy Way to Remove a Drain Plug in a Bathroom Sink

If the drain plug in your bathroom sink just won't budge, don't panic. Here's what you can do to remove a stubborn drain plug: Step 1: Use a hair dryer to heat up the nut at the back of the faucet. This will help loosen it. Step 2: Use a wrench to grip the nut and turn it counterclockwise to remove it. Step 3: If the drain plug is still stuck, use a hacksaw to cut through the nut and remove it.Removing a Stubborn Drain Plug in a Bathroom Sink

Removing a Stubborn Drain Plug in a Bathroom Sink

Removing a drain plug in a bathroom sink may seem like a simple task, but there are some common mistakes that can make the process more difficult. Here's what you should avoid: Mistake 1: Forgetting to turn off the water supply before removing the drain plug. This can result in a flood of water in your bathroom. Mistake 2: Using too much force when pulling or unscrewing the drain plug. This can cause damage to the sink or plumbing. Mistake 3: Not having the correct tools on hand. This can result in frustration and potentially damaging the drain plug or sink.Common Mistakes to Avoid When Removing a Drain Plug in a Bathroom Sink


Common Mistakes to Avoid When Removing a Drain Plug in a Bathroom Sink


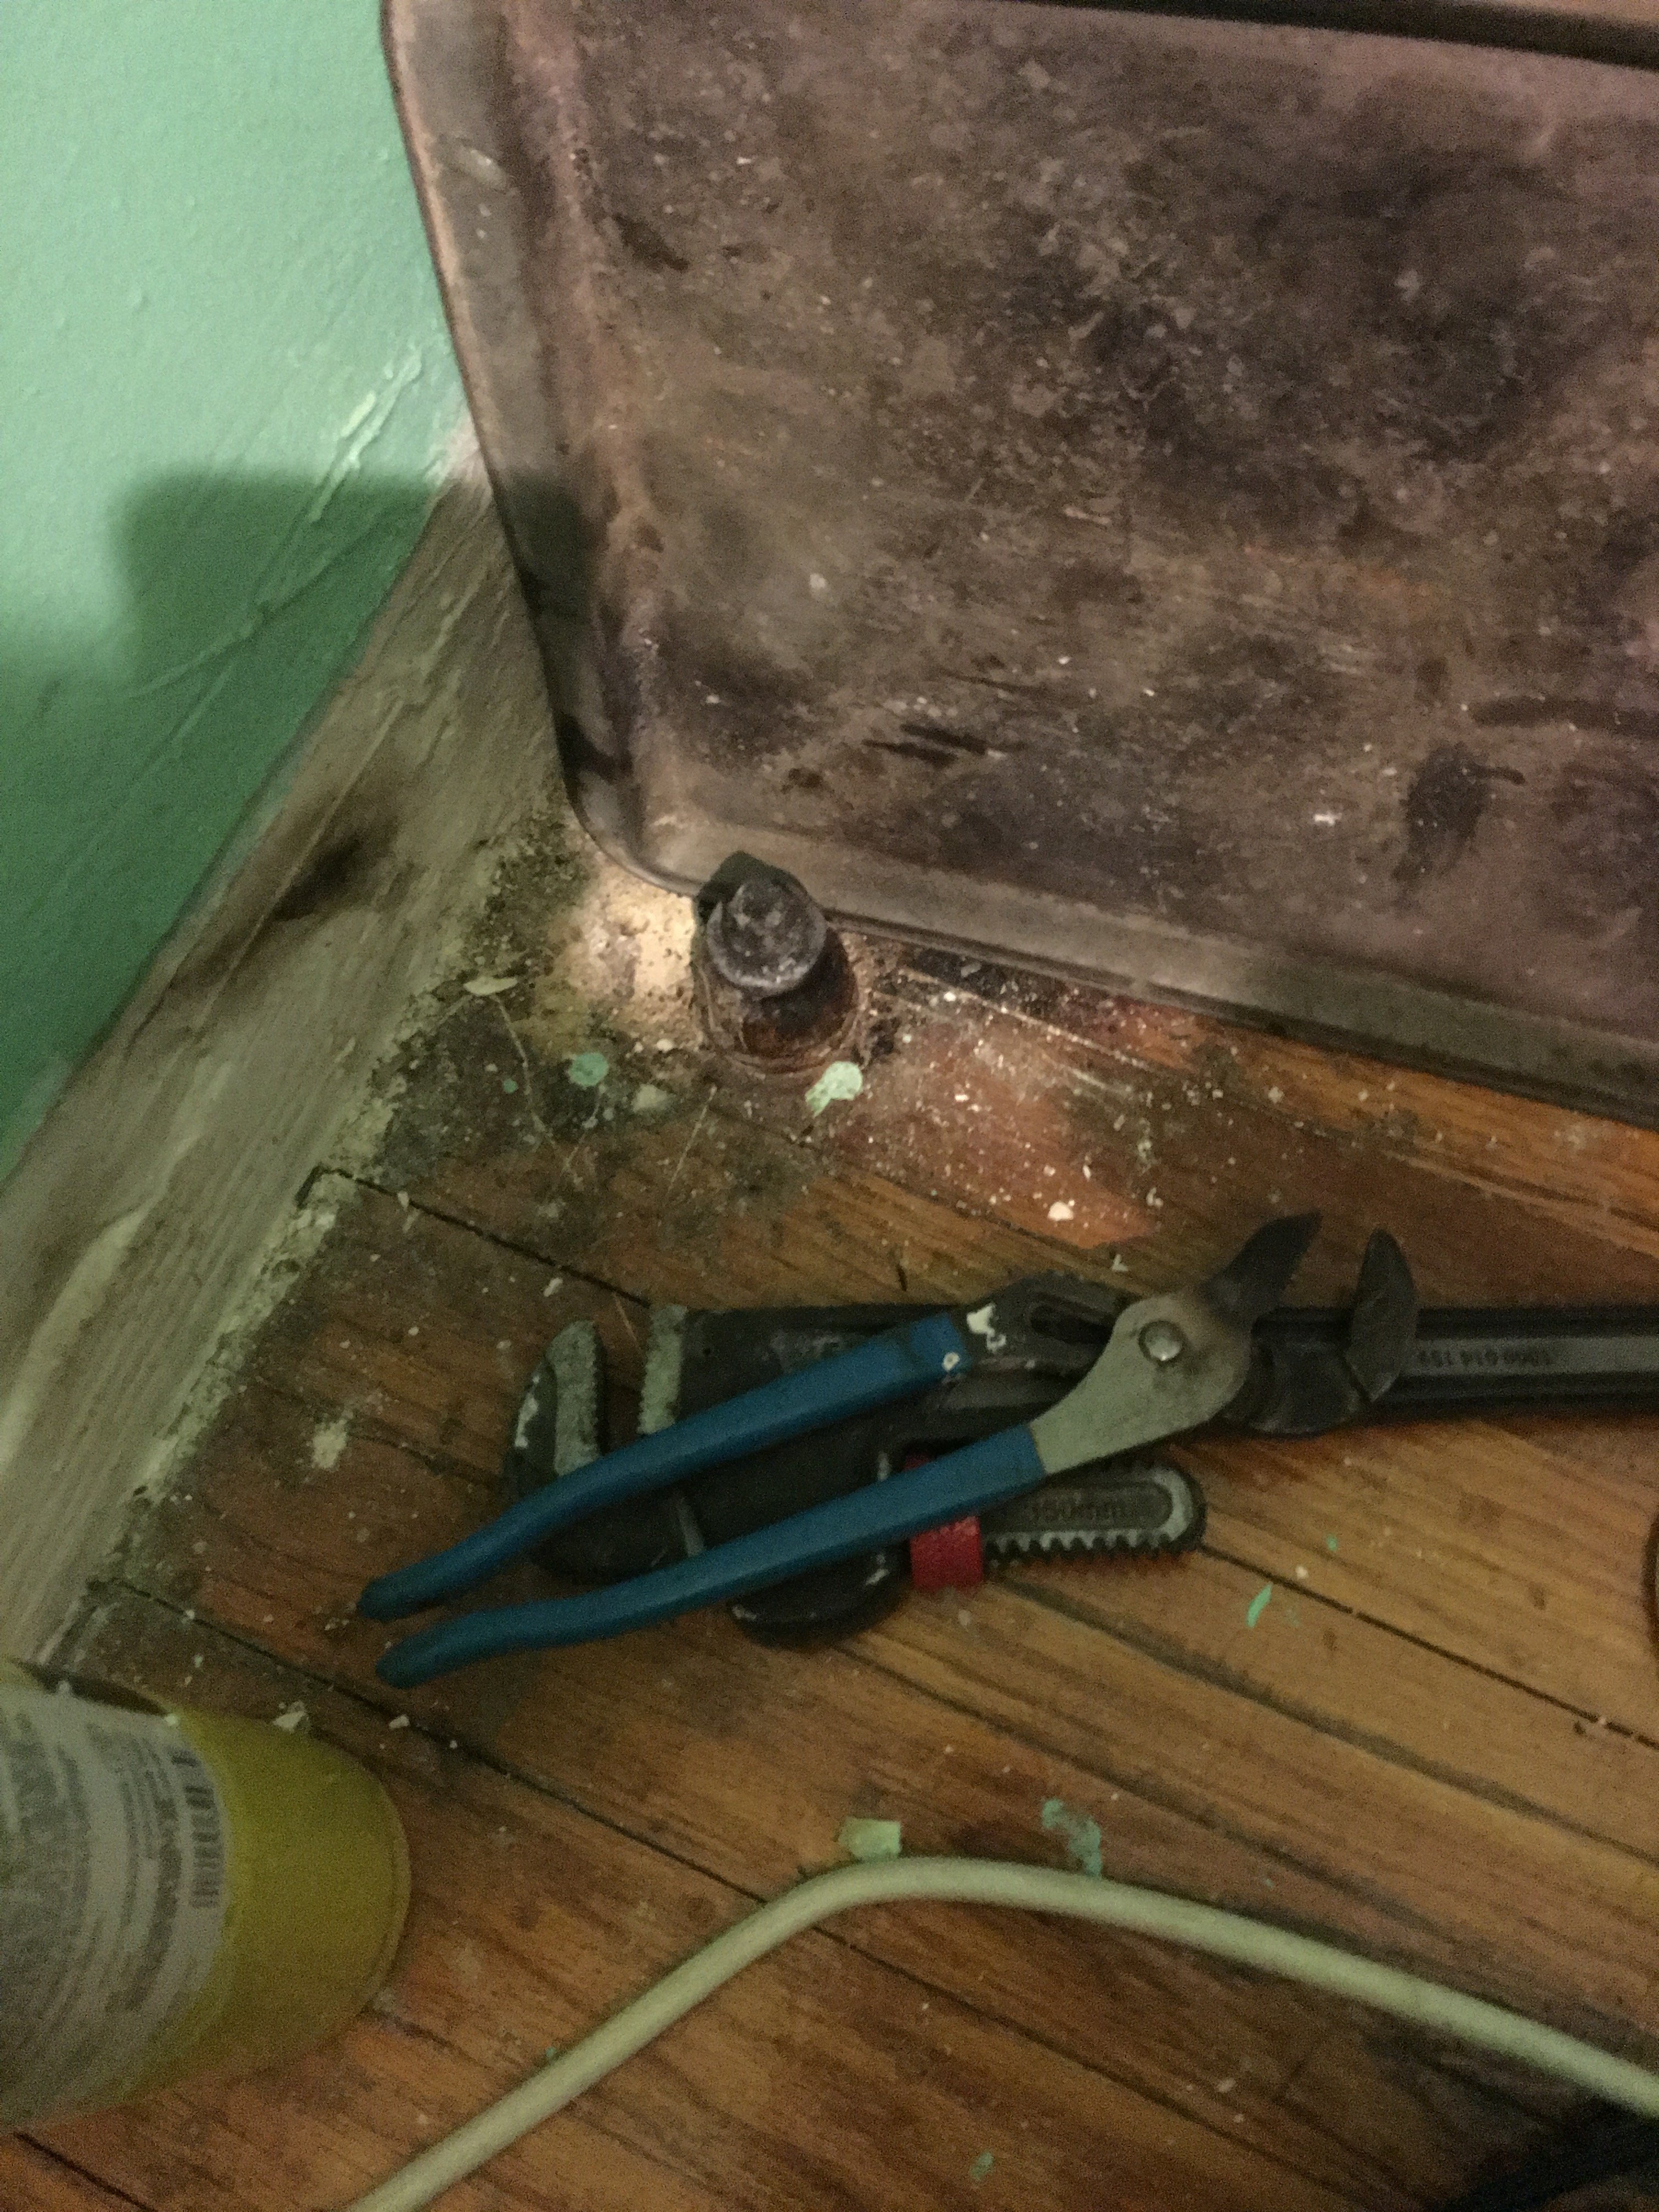
To successfully remove a drain plug in a bathroom sink, you'll need the following tools: 1. Pliers: For pulling the drain plug out of the drain. 2. Screwdriver: For unscrewing the nut that holds the drain plug in place. 3. Drain snake: For removing any clogs in the drain. 4. Wrench: For removing the nut at the back of the faucet. 5. Hacksaw: As a last resort for removing a stubborn nut.Tools You'll Need to Remove a Drain Plug in a Bathroom Sink


Tools You'll Need to Remove a Drain Plug in a Bathroom Sink
Here are some additional tips from plumbing experts that can make removing a drain plug in a bathroom sink even easier: Tip 1: Use a flashlight to get a better view of the drain plug and any potential clogs. Tip 2: Consider using a drain cleaner to remove any stubborn clogs before attempting to remove the drain plug. Tip 3: If you're unsure of how to remove the drain plug, consult a professional plumber for assistance.Expert Tips for Removing a Drain Plug in a Bathroom Sink


Expert Tips for Removing a Drain Plug in a Bathroom Sink
Why Removing the Drain Plug in Your Bathroom Sink is Important for House Design

The Function of a Drain Plug in a Bathroom Sink
 Before we delve into the importance of removing the drain plug in your bathroom sink, let's first understand its function. A drain plug is a small stopper located at the bottom of your sink, allowing you to fill up the sink with water for various purposes such as washing your face, brushing your teeth, or shaving. It prevents water from draining out and allows you to control the level of water in the sink. However, it can also be a breeding ground for bacteria and germs, making it essential to remove it for proper house design.
The Hidden Dangers of Not Removing the Drain Plug
 Leaving the drain plug in your bathroom sink for extended periods can lead to various issues that can affect your house design. Firstly, stagnant water in the sink can create an unpleasant odor, making your bathroom uninviting. Secondly, the accumulation of bacteria and germs in the drain plug can cause health hazards for you and your family. Moreover, the build-up of hair, soap scum, and other debris around the drain can lead to clogging, resulting in water backup and potential water damage to your bathroom.
Removing the Drain Plug Promotes Good Hygiene
Regularly removing the drain plug in your bathroom sink is crucial for maintaining good hygiene in your home. As mentioned earlier, the drain plug can harbor bacteria and germs, which can spread to other areas of your bathroom and even your home. By removing the plug and cleaning it regularly, you can prevent the build-up of harmful substances, ensuring a clean and healthy living environment for you and your family.
Improves the Aesthetic Appeal of Your Bathroom
Apart from the health benefits, removing the drain plug can also enhance the overall aesthetic appeal of your bathroom. With the plug removed, water can flow freely, making your sink look clean and tidy. It also prevents the formation of unsightly watermarks or stains around the drain, which can be challenging to remove and can affect the appearance of your bathroom. By keeping your sink free of the drain plug, you can create a more visually appealing space that adds to the overall house design.
Leaving the drain plug in your bathroom sink for extended periods can lead to various issues that can affect your house design. Firstly, stagnant water in the sink can create an unpleasant odor, making your bathroom uninviting. Secondly, the accumulation of bacteria and germs in the drain plug can cause health hazards for you and your family. Moreover, the build-up of hair, soap scum, and other debris around the drain can lead to clogging, resulting in water backup and potential water damage to your bathroom.
Removing the Drain Plug Promotes Good Hygiene
Regularly removing the drain plug in your bathroom sink is crucial for maintaining good hygiene in your home. As mentioned earlier, the drain plug can harbor bacteria and germs, which can spread to other areas of your bathroom and even your home. By removing the plug and cleaning it regularly, you can prevent the build-up of harmful substances, ensuring a clean and healthy living environment for you and your family.
Improves the Aesthetic Appeal of Your Bathroom
Apart from the health benefits, removing the drain plug can also enhance the overall aesthetic appeal of your bathroom. With the plug removed, water can flow freely, making your sink look clean and tidy. It also prevents the formation of unsightly watermarks or stains around the drain, which can be challenging to remove and can affect the appearance of your bathroom. By keeping your sink free of the drain plug, you can create a more visually appealing space that adds to the overall house design.
How to Remove the Drain Plug
 Removing the drain plug in your bathroom sink is a simple and easy process. First, locate the plug at the bottom of your sink and twist it counterclockwise to unscrew it. Once removed, clean the plug with a mixture of warm water and soap to get rid of any bacteria or germs. You can also use a toothbrush to scrub away any debris or hair stuck in the plug. Finally, screw the plug back in, making sure it is tightly secured and level with the sink.
In conclusion, removing the drain plug in your bathroom sink is crucial for maintaining good hygiene, preventing potential health hazards, and improving the overall aesthetic appeal of your bathroom. Make it a regular part of your house design routine to ensure a clean and healthy living environment for you and your family.
Removing the drain plug in your bathroom sink is a simple and easy process. First, locate the plug at the bottom of your sink and twist it counterclockwise to unscrew it. Once removed, clean the plug with a mixture of warm water and soap to get rid of any bacteria or germs. You can also use a toothbrush to scrub away any debris or hair stuck in the plug. Finally, screw the plug back in, making sure it is tightly secured and level with the sink.
In conclusion, removing the drain plug in your bathroom sink is crucial for maintaining good hygiene, preventing potential health hazards, and improving the overall aesthetic appeal of your bathroom. Make it a regular part of your house design routine to ensure a clean and healthy living environment for you and your family.