Are you tired of your old stainless steel kitchen sink and ready for an upgrade? Or perhaps you're remodeling your kitchen and need to remove the sink to make room for a new one. Whatever the reason may be, removing a stainless steel kitchen sink may seem like a daunting task, but with the right tools and knowledge, it can be a simple and straightforward process. In this article, we will provide you with a step-by-step guide on how to remove a stainless steel kitchen sink.How to Remove a Stainless Steel Kitchen Sink


How to Remove a Stainless Steel Kitchen Sink


Before we jump into the step-by-step process, it's important to gather all the necessary tools and materials. This includes a wrench, pliers, putty knife, screwdriver, and a bucket or pan to catch any water that may spill out. It's also recommended to have a helper present to make the process easier.Removing a Stainless Steel Kitchen Sink: A Step-by-Step Guide


Removing a Stainless Steel Kitchen Sink: A Step-by-Step Guide


:no_upscale()/cdn.vox-cdn.com/uploads/chorus_asset/file/19495086/drain_0.jpg)

If you're feeling adventurous and want to save some money, removing a stainless steel kitchen sink can be a DIY project. However, keep in mind that it can be a labor-intensive task and requires some physical strength. If you're not confident in your abilities, it's always best to hire a professional.DIY: Removing a Stainless Steel Kitchen Sink

DIY: Removing a Stainless Steel Kitchen Sink


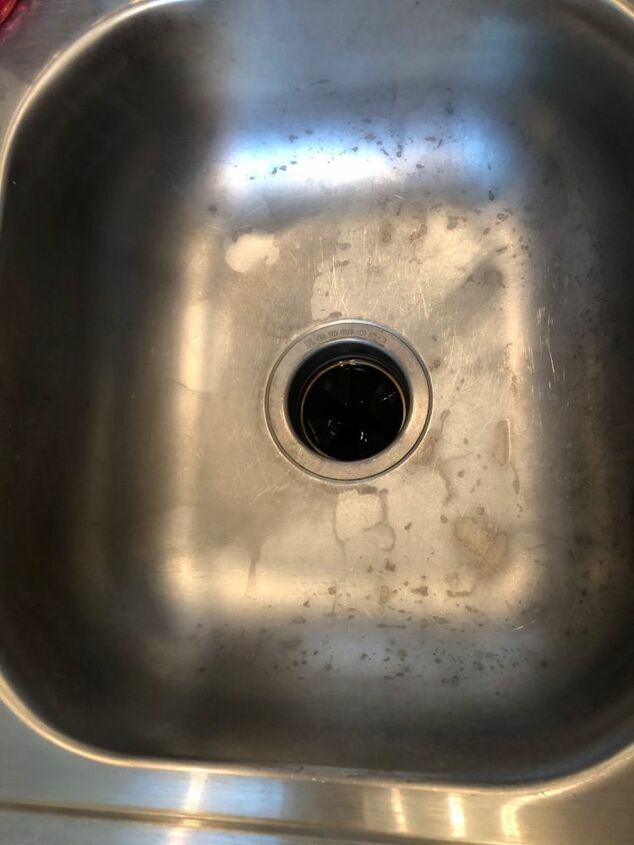
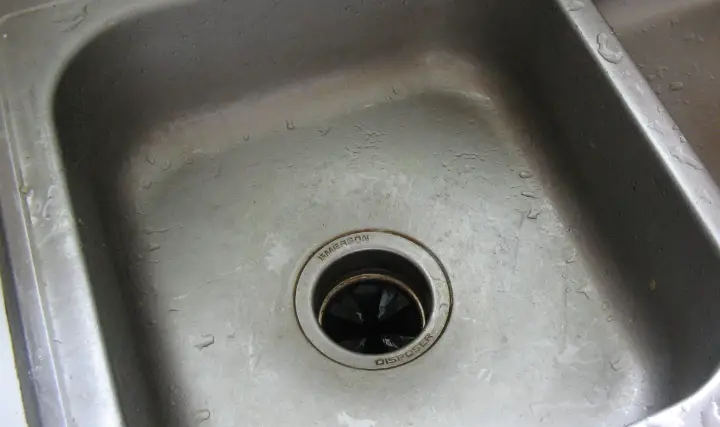
Before starting, it's important to turn off the water supply to the sink and disconnect the plumbing. This will prevent any water from leaking out and causing a mess. You should also disconnect the garbage disposal, if present, and remove any objects from the sink, such as dishes or utensils. Next, you'll need to remove the caulk or sealant around the edges of the sink. Use a putty knife to gently scrape away the caulk and loosen the sink from the countertop.Removing a Stainless Steel Kitchen Sink: Tips and Tricks


Removing a Stainless Steel Kitchen Sink: Tips and Tricks


1. Turn off the water supply and disconnect the plumbing and garbage disposal, if present. 2. Remove any objects from the sink and disconnect the garbage disposal. 3. Use a putty knife to remove the caulk or sealant around the edges of the sink. 4. Use a wrench or pliers to loosen and remove the clips or brackets that hold the sink in place. 5. Carefully lift the sink out of the countertop and place it on a flat surface. 6. If the sink is attached with adhesive, use a heat gun to soften the adhesive and gently pry the sink off the countertop. 7. Clean the area where the sink was attached to the countertop to remove any remaining caulk or sealant.Step-by-Step Guide to Removing a Stainless Steel Kitchen Sink

Step-by-Step Guide to Removing a Stainless Steel Kitchen Sink


When removing a stainless steel kitchen sink, it's important to be cautious and take the necessary precautions. This includes wearing gloves to protect your hands and using a heat gun carefully to avoid any burns. If you encounter any difficulties, it's best to stop and seek professional help.Removing a Stainless Steel Kitchen Sink: What You Need to Know


Removing a Stainless Steel Kitchen Sink: What You Need to Know


One common mistake when removing a stainless steel kitchen sink is not turning off the water supply and disconnecting the plumbing. This can lead to a messy and potentially damaging situation. Another mistake is not properly loosening and removing the clips or brackets that hold the sink in place, which can result in damaging the sink or countertop.Removing a Stainless Steel Kitchen Sink: Common Mistakes to Avoid


Removing a Stainless Steel Kitchen Sink: Common Mistakes to Avoid

To ensure that you properly remove a stainless steel kitchen sink, it's important to follow the step-by-step guide and take your time. Rushing through the process can lead to mistakes and potentially cause damage. If you're unsure of any steps, it's always best to seek professional help.How to Properly Remove a Stainless Steel Kitchen Sink
How to Properly Remove a Stainless Steel Kitchen Sink


- Wrench or pliers - Screwdriver - Putty knife - Bucket or pan - Heat gun (if sink is attached with adhesive) - GlovesRemoving a Stainless Steel Kitchen Sink: Tools and Materials You'll Need


Removing a Stainless Steel Kitchen Sink: Tools and Materials You'll Need

- Turn off water supply and disconnect plumbing - Disconnect garbage disposal, if present - Remove objects from sink - Wear gloves - Have a helper present - Use caution when using heat gunRemoving a Stainless Steel Kitchen Sink: Precautions to Take Before Starting


Removing a Stainless Steel Kitchen Sink: Precautions to Take Before Starting

The Importance of Properly Removing a Stainless Steel Kitchen Sink
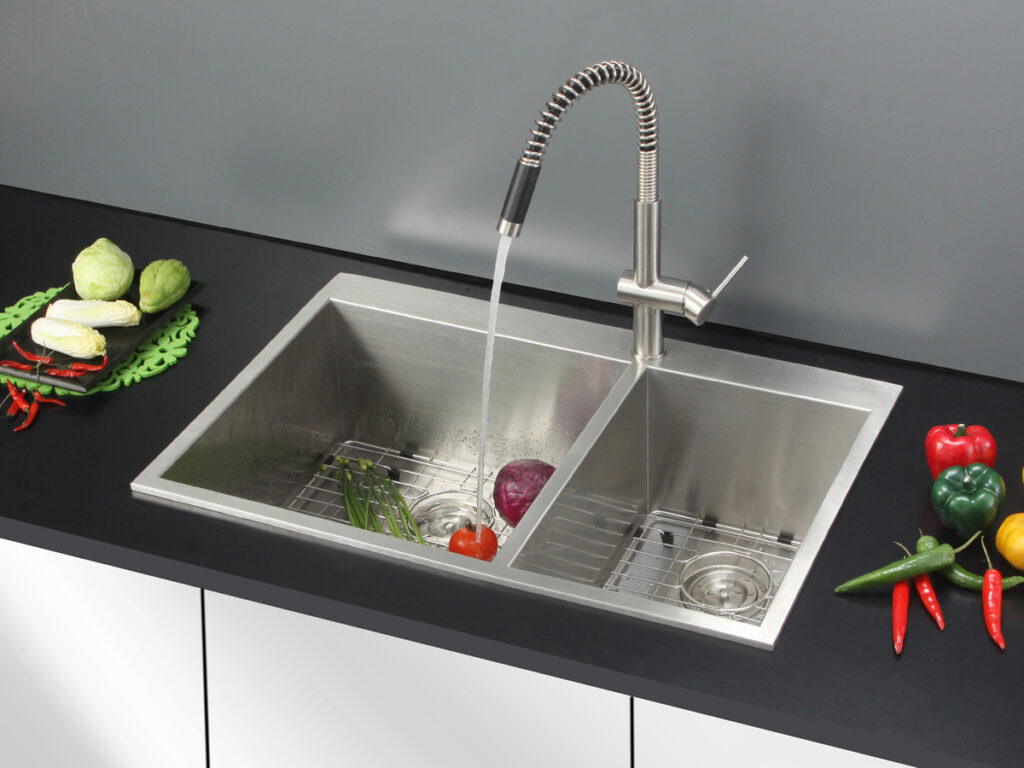
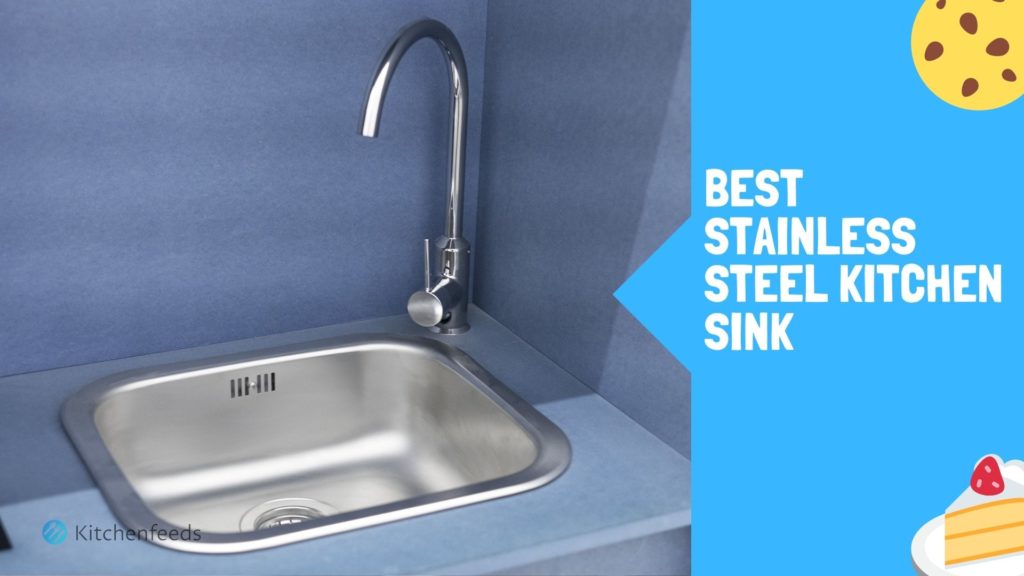
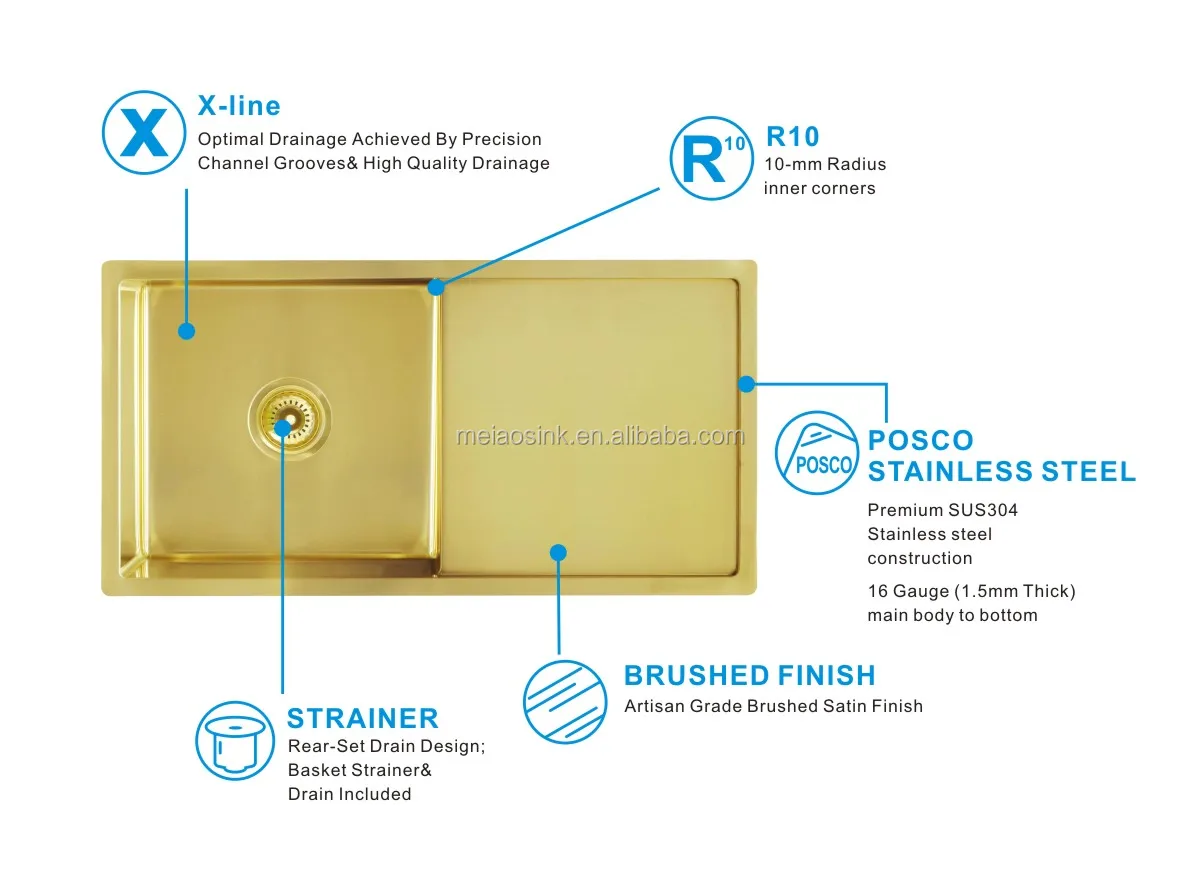
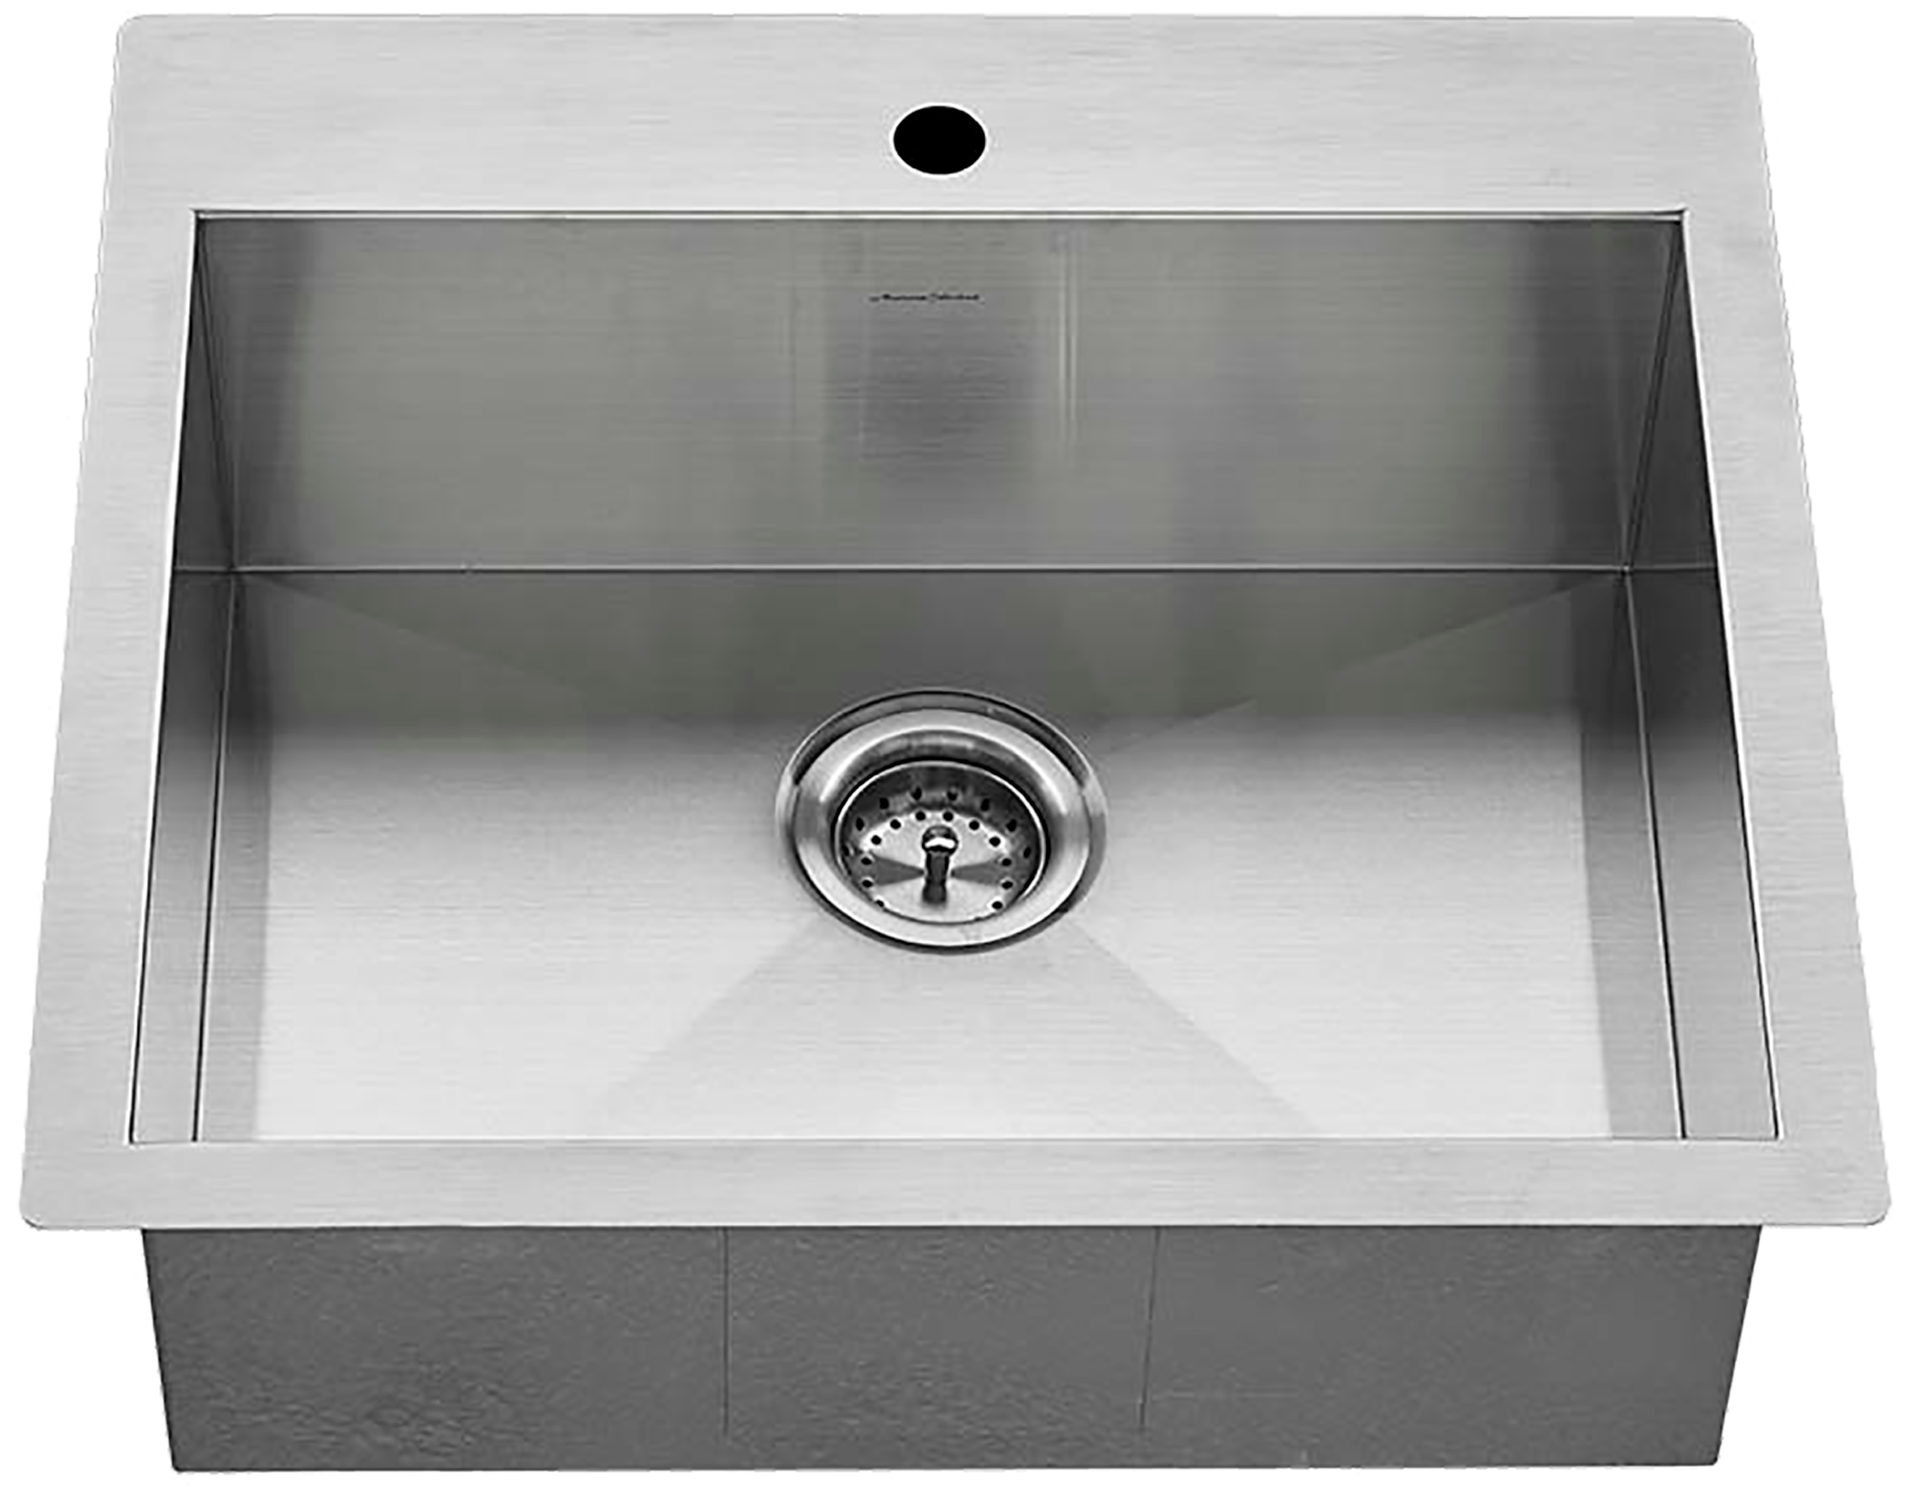
Why Choose a Stainless Steel Kitchen Sink?
 When it comes to designing your dream kitchen, one of the most important decisions you'll make is choosing the right
kitchen sink
. And among the different materials available,
stainless steel
has become a top choice for homeowners. Its sleek and modern appearance, durability, and low maintenance make it a popular option for kitchen sinks.
When it comes to designing your dream kitchen, one of the most important decisions you'll make is choosing the right
kitchen sink
. And among the different materials available,
stainless steel
has become a top choice for homeowners. Its sleek and modern appearance, durability, and low maintenance make it a popular option for kitchen sinks.
The Need for Removal
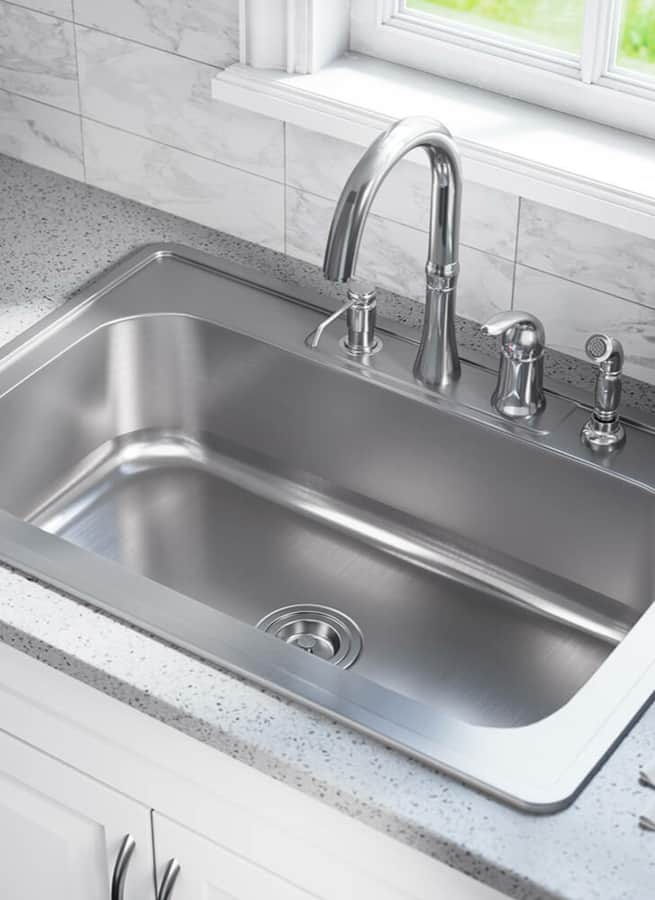
 While stainless steel sinks are known for their longevity, there may come a time when you need to
remove
it. This could be due to a kitchen remodel, a damaged sink, or simply wanting to upgrade to a newer model. Whatever the reason may be,
proper removal
of a stainless steel kitchen sink is crucial to ensure a smooth and successful process.
While stainless steel sinks are known for their longevity, there may come a time when you need to
remove
it. This could be due to a kitchen remodel, a damaged sink, or simply wanting to upgrade to a newer model. Whatever the reason may be,
proper removal
of a stainless steel kitchen sink is crucial to ensure a smooth and successful process.
The Process of Removal
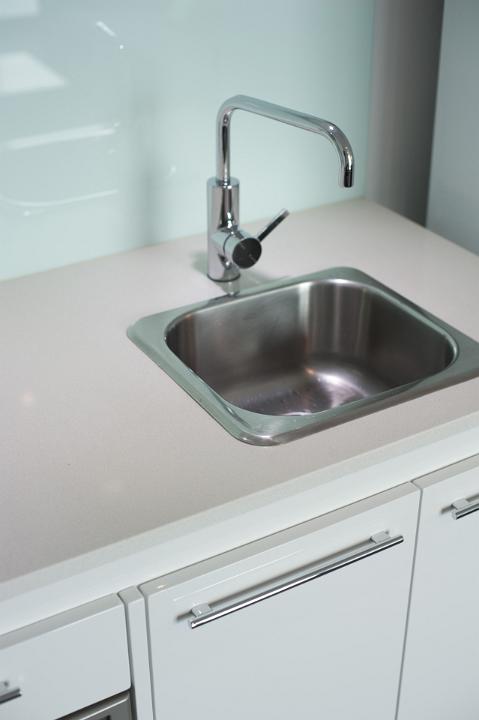
 Removing a stainless steel kitchen sink may seem like a daunting task, but it can be done with the right tools and steps. First, you'll need to shut off the water supply to the sink and disconnect the plumbing. Then, loosen and remove the mounting clips that hold the sink in place. Next, use a putty knife to gently pry the sink away from the countertop. Finally, lift the sink out of its place and clean up any remaining debris.
The Importance of Professional Help
 While it may be tempting to attempt to remove your kitchen sink on your own, it's important to seek
professional help
for this task. A professional plumber or contractor will have the necessary experience and tools to safely and efficiently remove your stainless steel kitchen sink without causing any damage to your countertops or plumbing. Additionally, they can also assist with installing a new sink if needed.
In conclusion, the
removal of a stainless steel kitchen sink
is a process that should not be taken lightly. It requires proper knowledge, tools, and skills to ensure a successful and hassle-free removal. So when the time comes for you to remove your kitchen sink, make sure to seek professional help and choose a reputable company to do the job. Your kitchen is the heart of your home, and it deserves the best care and attention.
While it may be tempting to attempt to remove your kitchen sink on your own, it's important to seek
professional help
for this task. A professional plumber or contractor will have the necessary experience and tools to safely and efficiently remove your stainless steel kitchen sink without causing any damage to your countertops or plumbing. Additionally, they can also assist with installing a new sink if needed.
In conclusion, the
removal of a stainless steel kitchen sink
is a process that should not be taken lightly. It requires proper knowledge, tools, and skills to ensure a successful and hassle-free removal. So when the time comes for you to remove your kitchen sink, make sure to seek professional help and choose a reputable company to do the job. Your kitchen is the heart of your home, and it deserves the best care and attention.