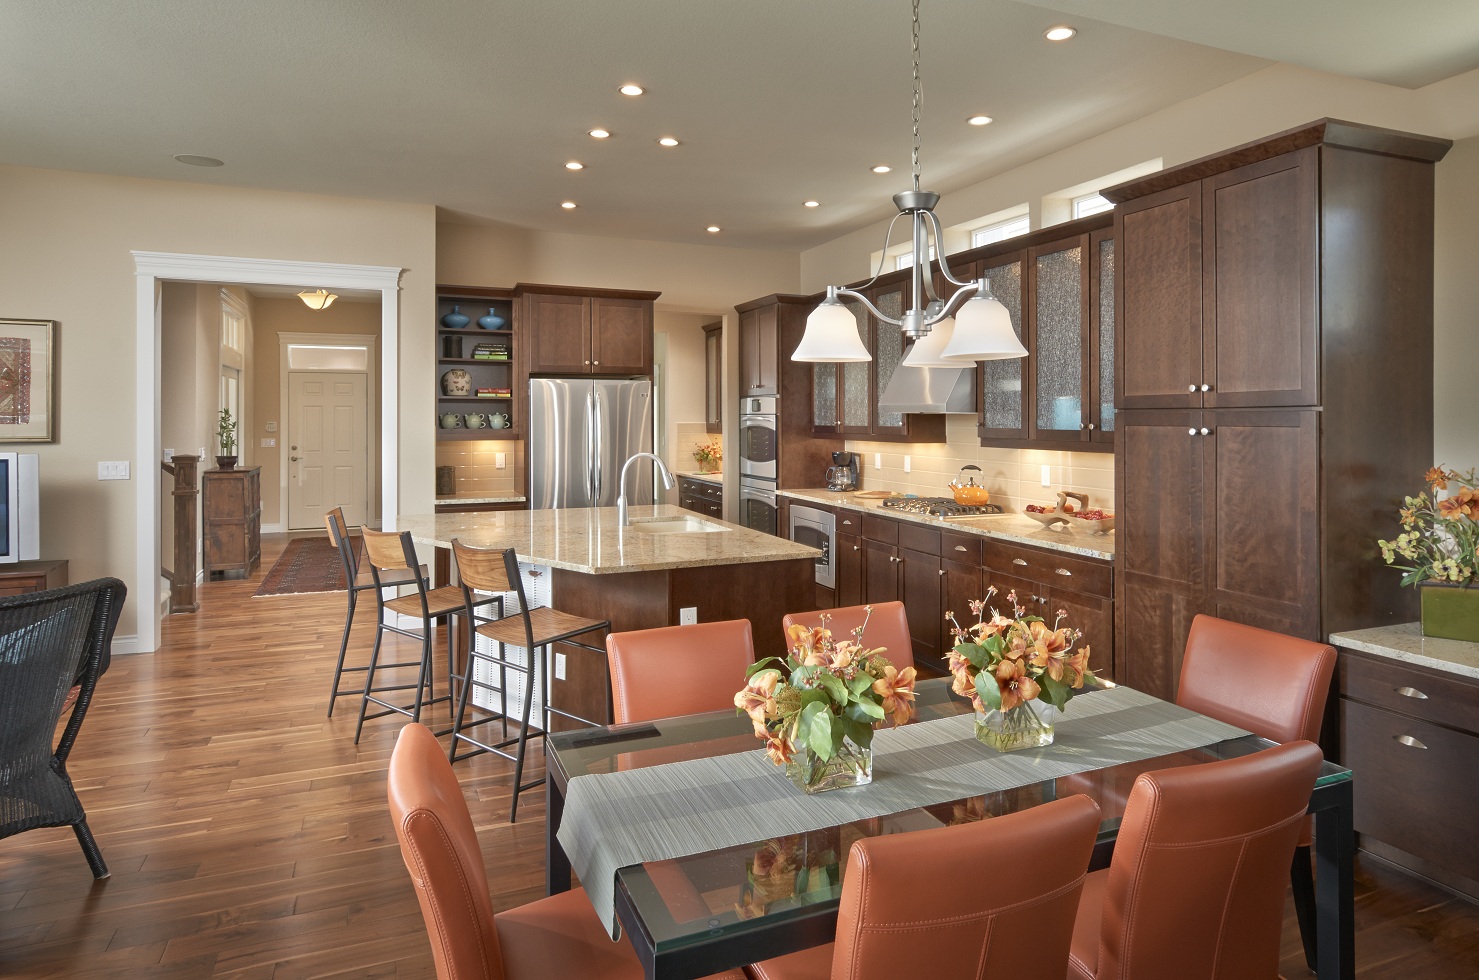
If you're tired of looking at your outdated bathroom sink countertop, painting it is a cost-effective and simple solution to give it a fresh new look. But before you start, it's important to choose the right paint for this specific area of your home. Bathroom sink countertop painting requires a durable and moisture-resistant paint to withstand the constant exposure to water and humidity. There are various types of paint that can be used for countertop painting bathroom sink, such as acrylic, latex, and epoxy paints. It's essential to read the labels and look for keywords like "waterproof" or "mold and mildew resistant" to ensure the paint is suitable for bathroom use.1. Choosing the Right Paint for Your Bathroom Sink Countertop


painting bathroom sink countertop


Before you can start sink countertop painting bathroom, you need to properly prepare the surface. This step is crucial for achieving a smooth and long-lasting finish. Start by removing any caulk or sealant around the edges of the sink and countertop. Then, thoroughly clean the surface with a mild cleaner to remove any dirt, grime, and soap scum. Next, sand the surface with fine-grit sandpaper to create a rough texture for the paint to adhere to. Wipe away any dust with a damp cloth and let the countertop dry completely before moving on to the next step.2. Preparing Your Bathroom Sink Countertop for Painting

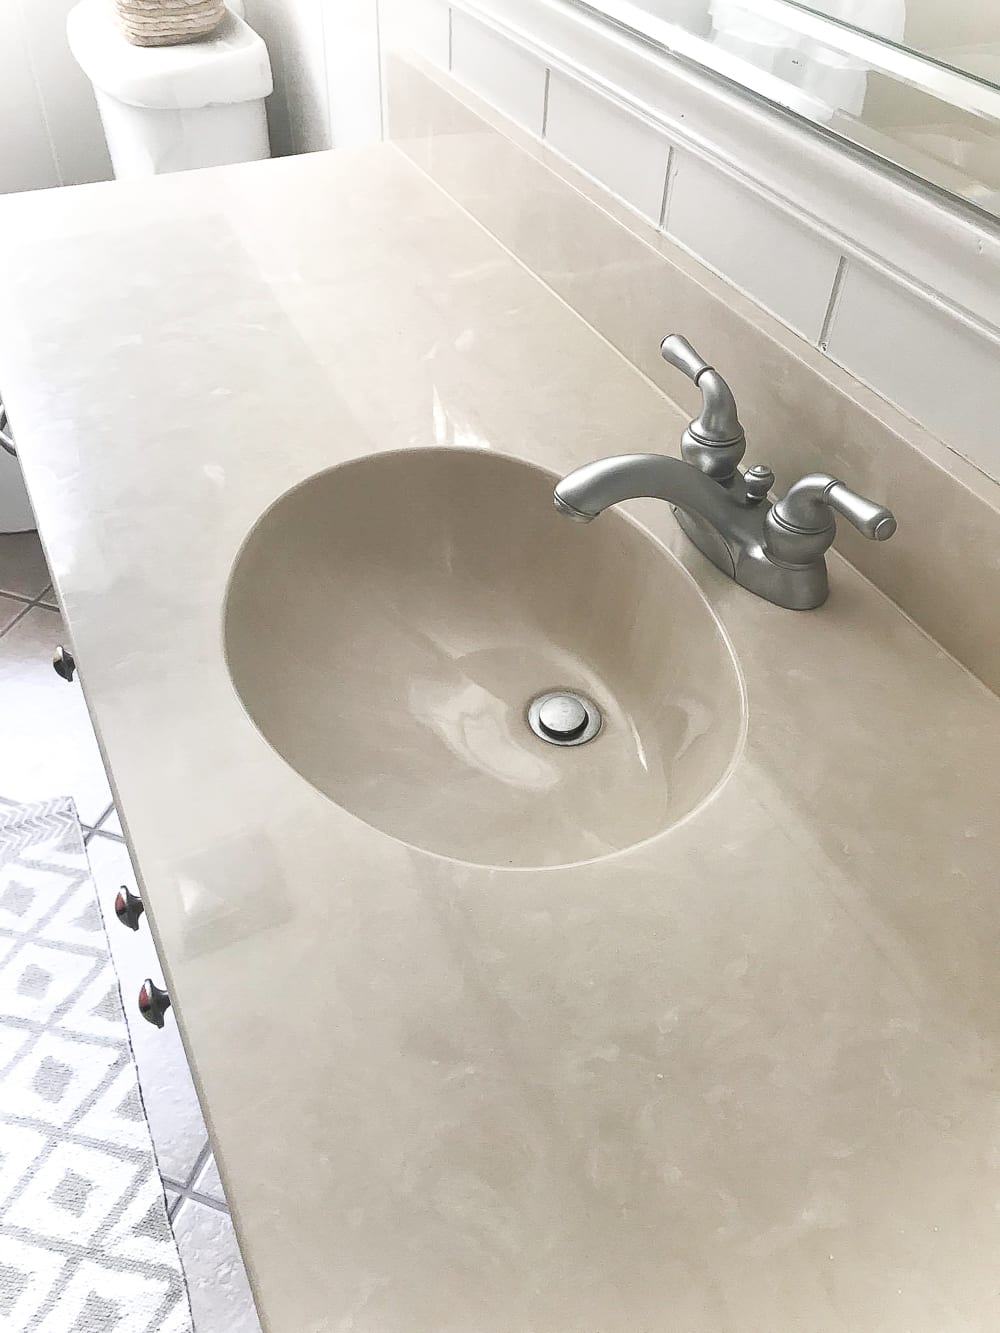

bathroom sink countertop painting


Priming your painting sink countertop bathroom is essential for ensuring the paint adheres properly and provides a smooth and even finish. Choose a primer specifically designed for bathroom surfaces and apply it with a roller or paintbrush. Be sure to cover the entire surface, including the edges and corners. Allow the primer to dry completely before moving on to the next step. This usually takes around 24 hours, but be sure to read the label for specific drying times.3. Applying Primer to Your Bathroom Sink Countertop


countertop painting bathroom sink


Now comes the fun part - choosing the perfect paint color for your bathroom countertop painting sink. When selecting a color, consider the overall style and color scheme of your bathroom. Do you want to make a statement with a bold color, or do you prefer a more subtle and neutral tone? Remember to also choose a paint color that complements your bathroom fixtures and accessories. For instance, if you have a white sink and bathtub, a light gray or blue would create a beautiful contrast.4. Choosing the Right Paint Color for Your Bathroom Sink Countertop

sink countertop painting bathroom


Once your primer is completely dry, it's time to start painting your sink painting bathroom countertop. Use a small paintbrush to carefully paint around the edges and corners, and then use a roller to cover the rest of the surface. It's recommended to apply two to three thin coats of paint for best results. Be sure to allow each coat to dry completely before adding the next one. This will prevent the paint from becoming tacky and creating an uneven finish.5. Applying Paint to Your Bathroom Sink Countertop

painting sink countertop bathroom


To ensure your countertop bathroom sink painting lasts for years to come, it's important to add a protective topcoat. This will not only provide a glossy and smooth finish but also protect the paint from water damage and stains. You can choose from a variety of topcoats, such as polyurethane, acrylic, or epoxy. Apply the topcoat in thin and even layers, and allow it to dry completely before using the sink again.6. Adding a Protective Topcoat to Your Bathroom Sink Countertop


bathroom countertop painting sink


After completing the painting process, it's important to let your bathroom painting sink countertop cure for at least 48 hours before using it. This will allow the paint and topcoat to fully dry and harden, ensuring a durable and long-lasting finish. Avoid placing any objects on the countertop or using harsh chemicals during this time to prevent any damage to the surface.7. Letting Your Bathroom Sink Countertop Cure

sink painting bathroom countertop
To keep your sink bathroom countertop painting looking fresh and new, proper maintenance is crucial. Avoid using abrasive cleaners or scrubbers, as they can damage the paint and topcoat. Instead, use a mild cleaner and a soft cloth to wipe down the surface regularly. If you notice any chips or scratches on the paint, touch them up with a small paintbrush and some leftover paint. This will keep your bathroom sink countertop looking flawless for years to come.8. Maintaining Your Painted Bathroom Sink Countertop


countertop bathroom sink painting

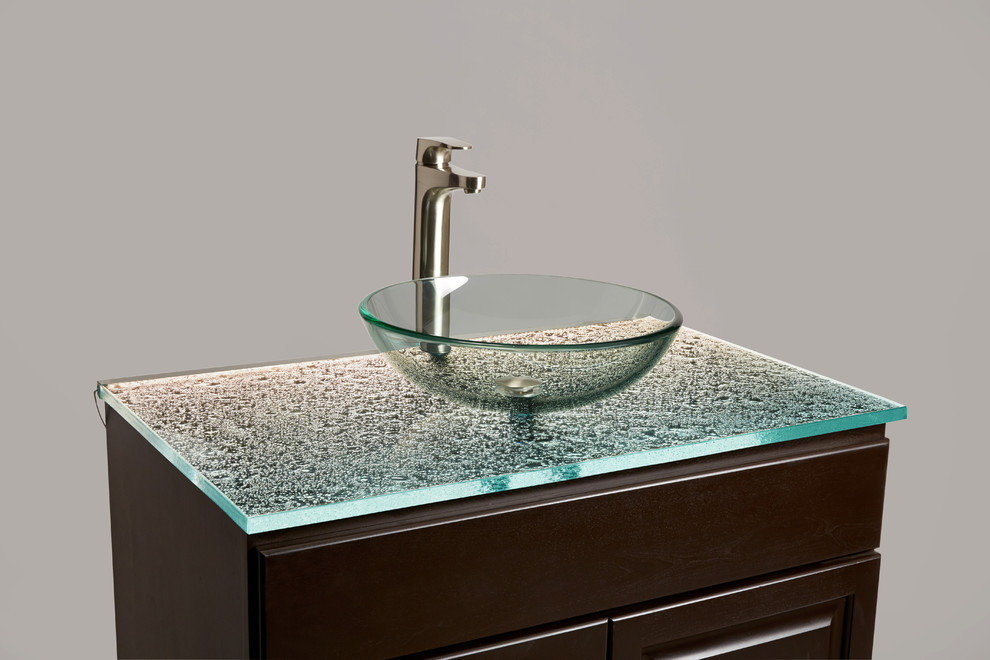
If you're not up for the task of painting bathroom countertop sink, there are other options to update the look of your bathroom sink countertop. One alternative is to install a new laminate or solid surface countertop, which can be more durable and long-lasting than painted surfaces. You can also consider using adhesive vinyl or contact paper to create a faux marble or granite look. These options are more affordable and can easily be removed if you change your mind.9. Alternatives to Painting Your Bathroom Sink Countertop

bathroom painting sink countertop
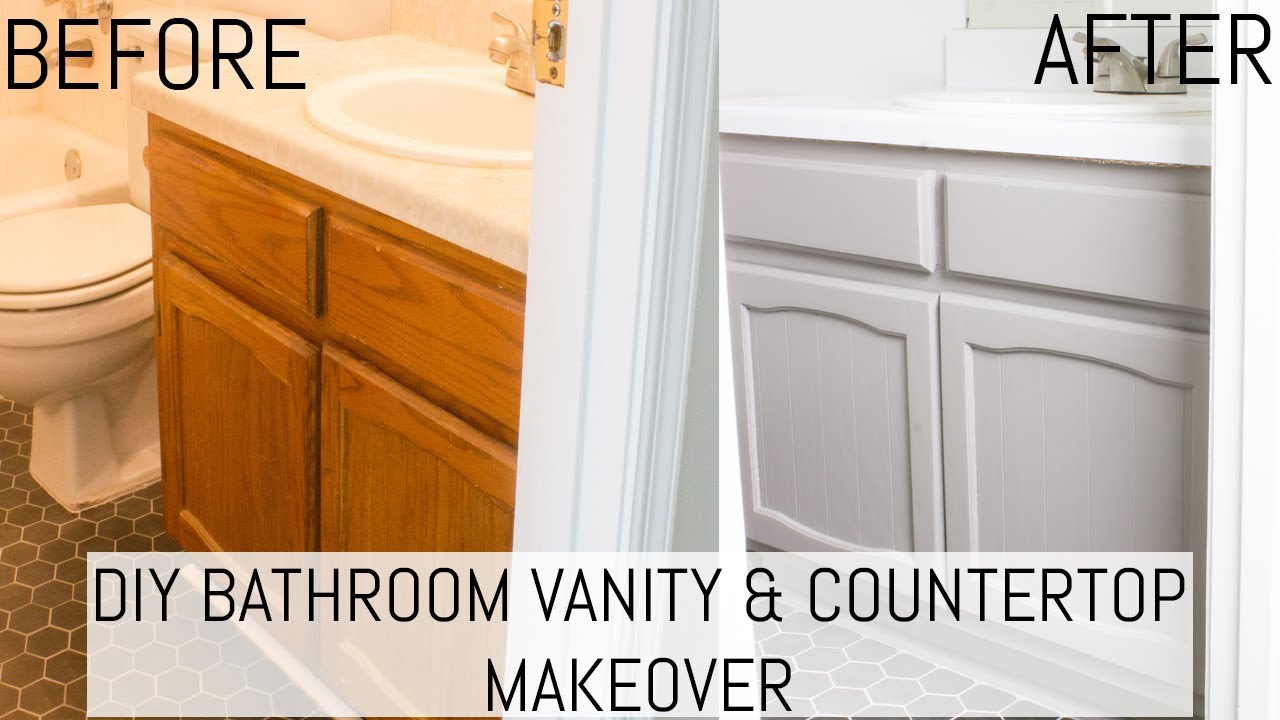
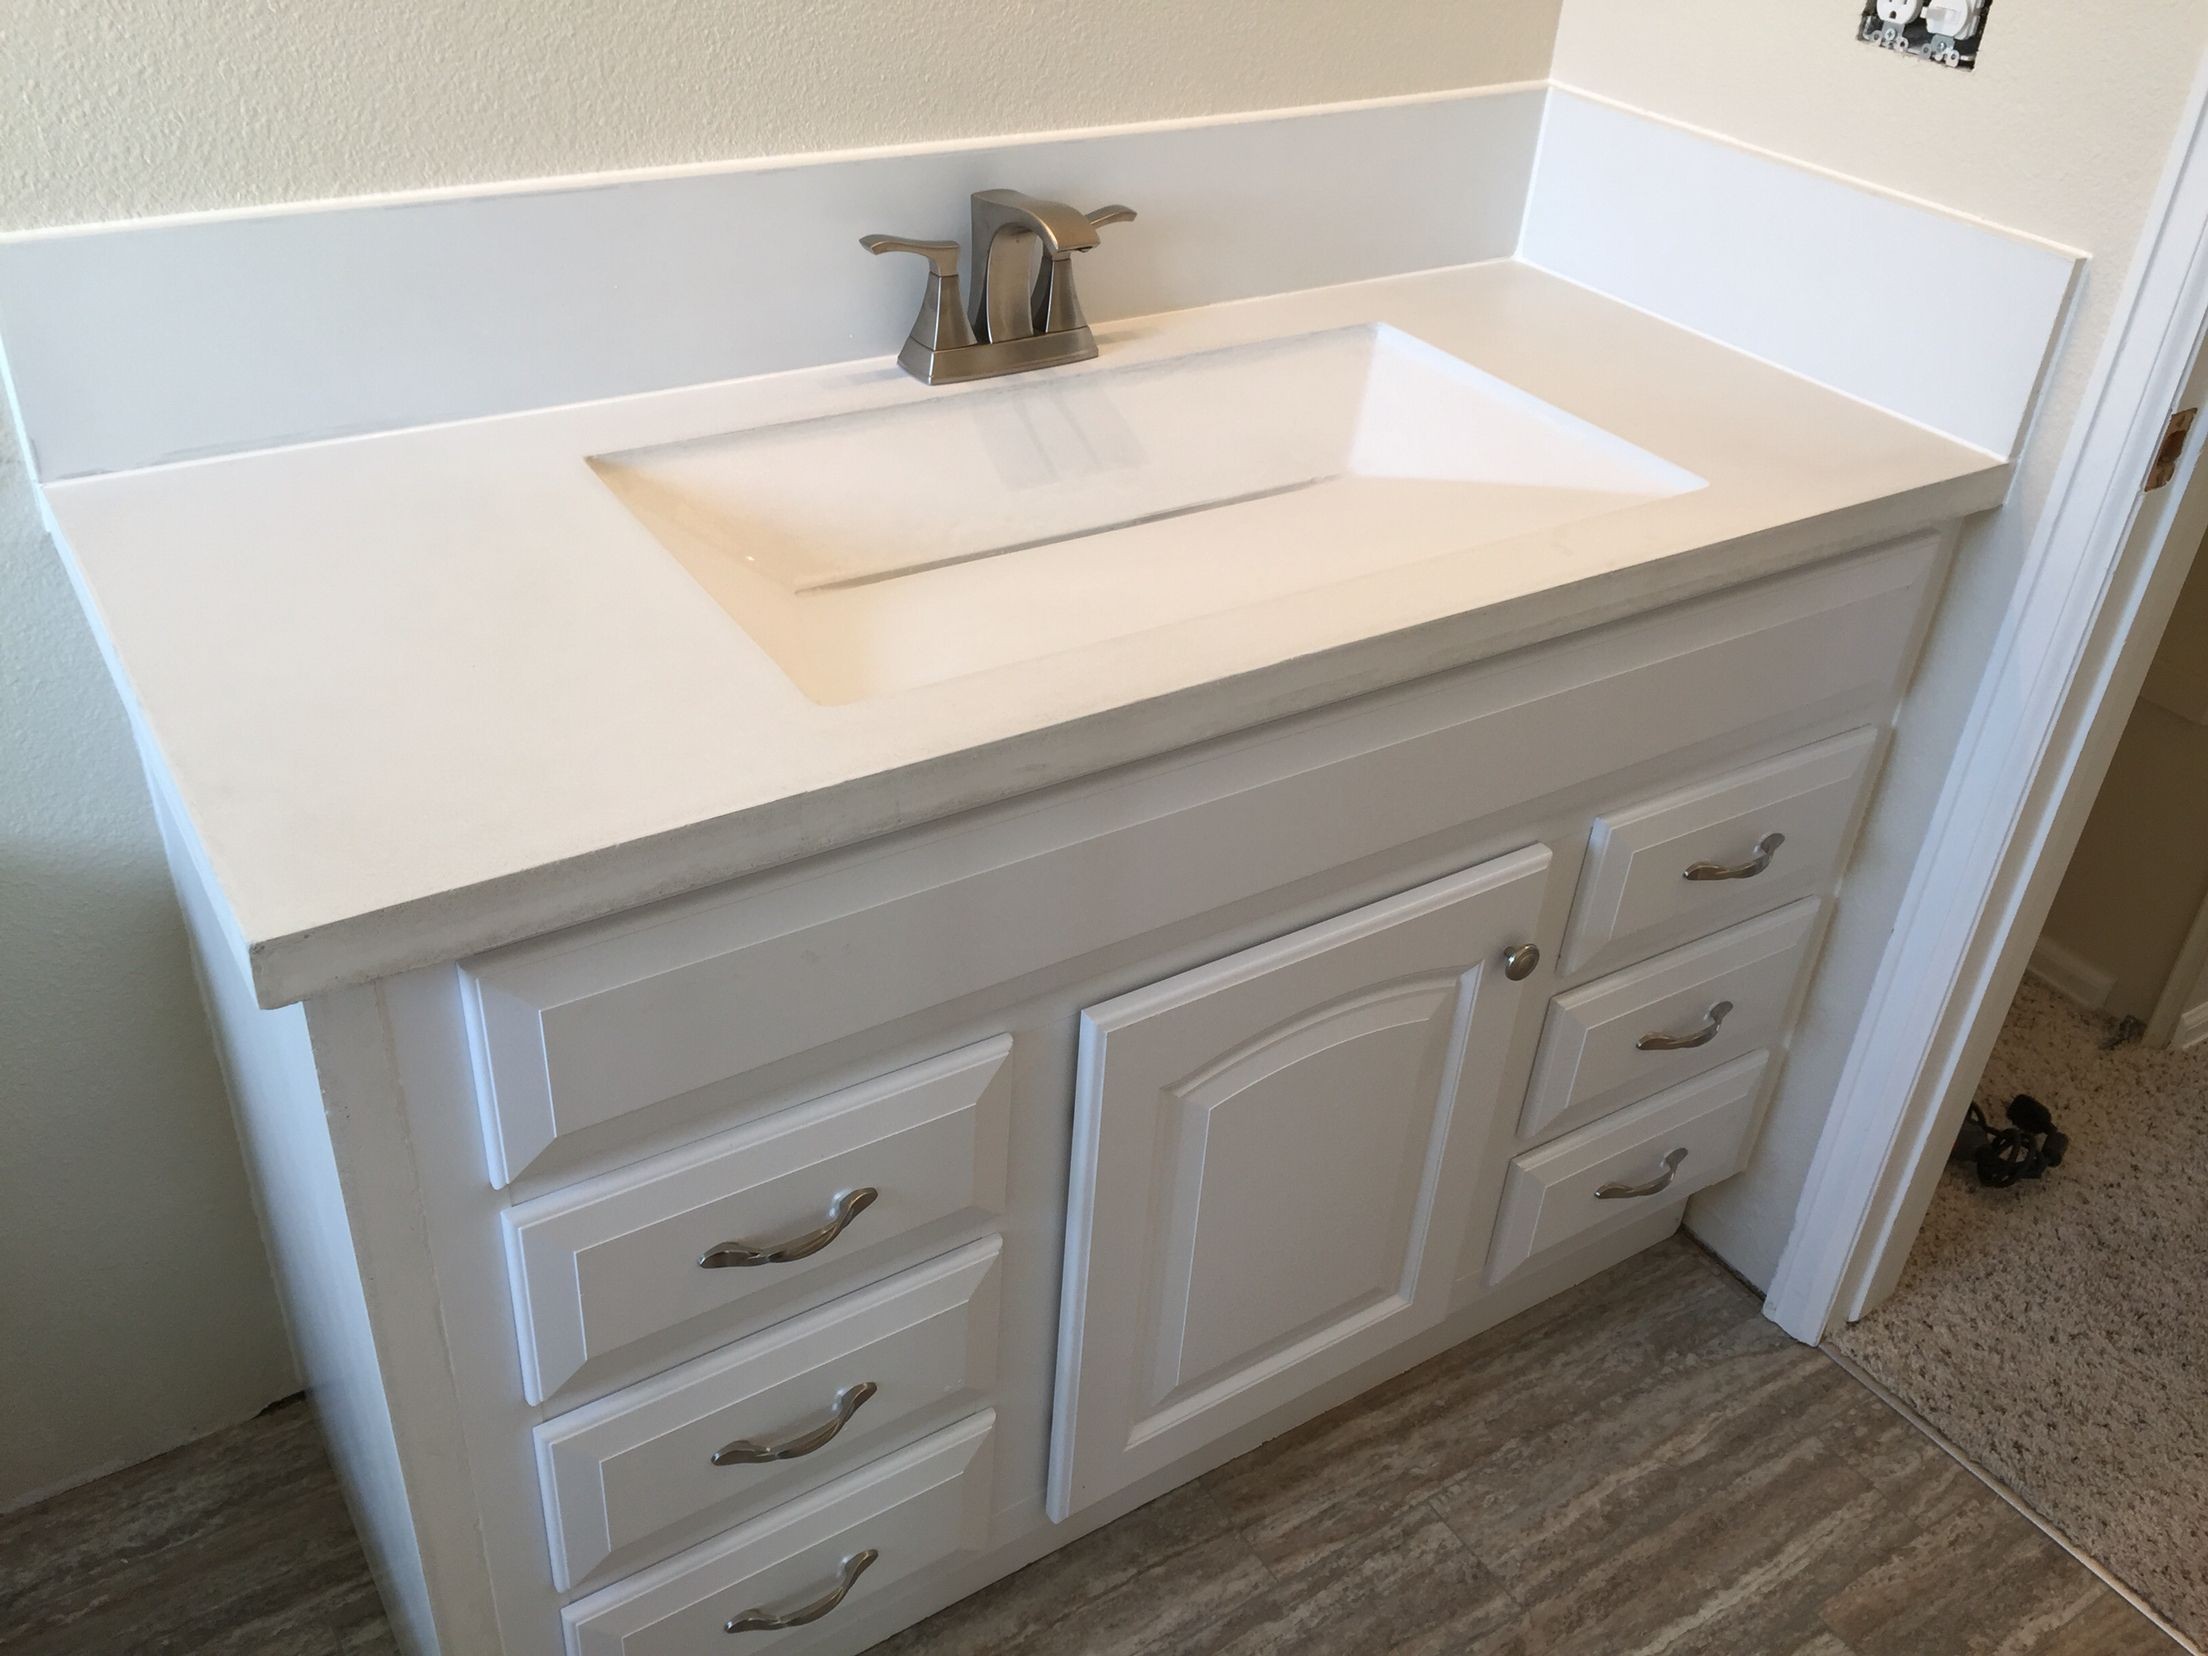
Painting your bathroom sink countertop is a budget-friendly and effective way to give your bathroom a fresh new look. With the right paint and proper preparation and application, you can achieve a beautiful and durable finish that will last for years to come. Remember to properly maintain your painted countertop and consider alternative options if you're not comfortable with painting. With these tips, you can transform your bathroom sink countertop and give your entire bathroom a stylish and updated look.10. Transforming Your Bathroom Sink Countertop with Paint

sink bathroom countertop painting


Transform Your Bathroom with a Painted Sink Countertop

Creating a Custom Look for Your Bathroom
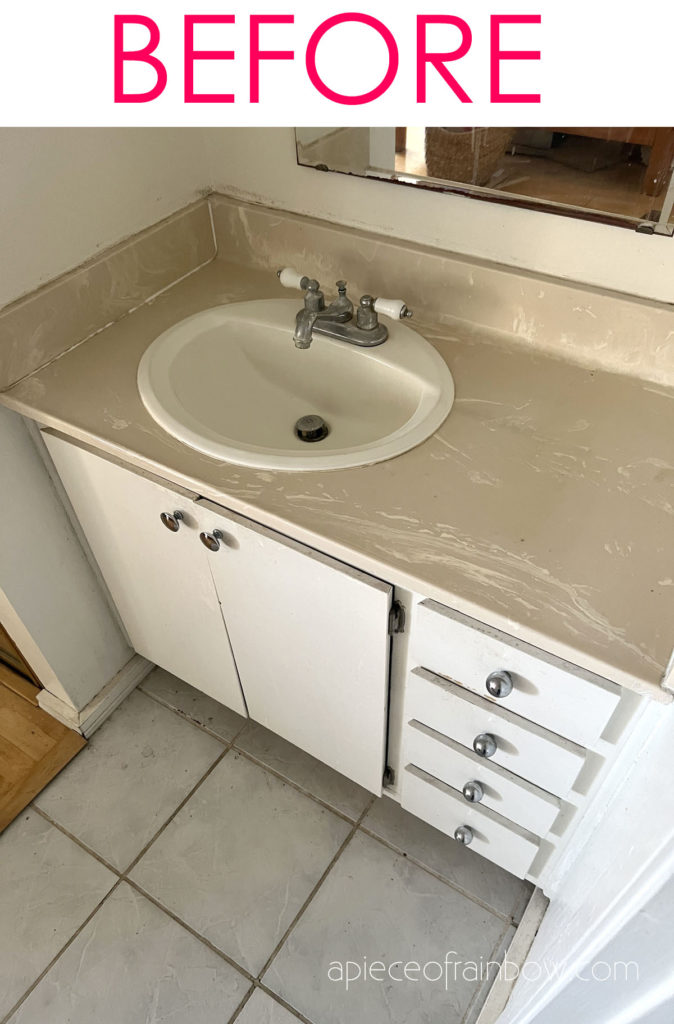
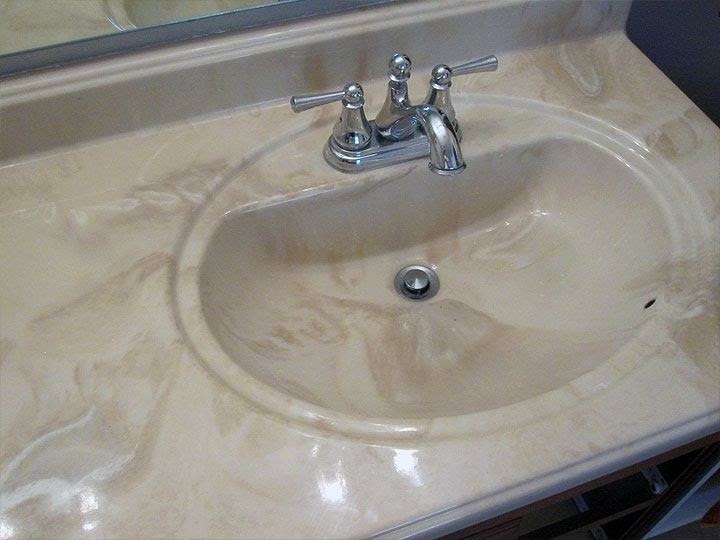
 If you're looking to give your bathroom a fresh new look without breaking the bank, painting your
bathroom sink countertop
is a great option. This simple and affordable DIY project can completely transform the look and feel of your bathroom, giving it a custom and updated look. Whether you have a plain white countertop or an outdated color, painting it can add a pop of color and personality to your space. Not to mention, it's a great way to cover up any scratches or stains that may have accumulated over time.
If you're looking to give your bathroom a fresh new look without breaking the bank, painting your
bathroom sink countertop
is a great option. This simple and affordable DIY project can completely transform the look and feel of your bathroom, giving it a custom and updated look. Whether you have a plain white countertop or an outdated color, painting it can add a pop of color and personality to your space. Not to mention, it's a great way to cover up any scratches or stains that may have accumulated over time.
Choosing the Right Paint
 Before diving into this project, it's important to choose the right type of paint for your
sink countertop
. You'll want to look for a paint that is specifically made for surfaces that are exposed to water and moisture, such as bathrooms. Acrylic and epoxy paints are great options as they are durable and can withstand frequent cleaning. It's also important to choose a color that will complement the rest of your bathroom's color scheme. Opt for a neutral color for a timeless look or a bold color for a fun and unique touch.
Before diving into this project, it's important to choose the right type of paint for your
sink countertop
. You'll want to look for a paint that is specifically made for surfaces that are exposed to water and moisture, such as bathrooms. Acrylic and epoxy paints are great options as they are durable and can withstand frequent cleaning. It's also important to choose a color that will complement the rest of your bathroom's color scheme. Opt for a neutral color for a timeless look or a bold color for a fun and unique touch.
Preparing the Surface
 Once you have your paint and color chosen, it's time to prepare your
sink countertop
for painting. Start by cleaning the surface thoroughly with a gentle cleaner and water. This will help remove any dirt, grime, or residue that may prevent the paint from adhering properly. Next, lightly sand the surface with a fine grit sandpaper to roughen it up and create a better surface for the paint to stick to. Be sure to wipe away any dust or debris before moving on to painting.
Once you have your paint and color chosen, it's time to prepare your
sink countertop
for painting. Start by cleaning the surface thoroughly with a gentle cleaner and water. This will help remove any dirt, grime, or residue that may prevent the paint from adhering properly. Next, lightly sand the surface with a fine grit sandpaper to roughen it up and create a better surface for the paint to stick to. Be sure to wipe away any dust or debris before moving on to painting.
Applying the Paint
 Now it's time for the fun part – painting! It's best to use a small roller or a angled brush for this project. Start by painting the edges and corners of your
sink countertop
with a brush, then use the roller to paint the larger surface area. Apply two to three thin coats, letting each coat dry completely before moving on to the next. This will ensure a smooth and even finish. Once the final coat is dry, you can add a layer of sealant for extra protection against water and moisture.
Now it's time for the fun part – painting! It's best to use a small roller or a angled brush for this project. Start by painting the edges and corners of your
sink countertop
with a brush, then use the roller to paint the larger surface area. Apply two to three thin coats, letting each coat dry completely before moving on to the next. This will ensure a smooth and even finish. Once the final coat is dry, you can add a layer of sealant for extra protection against water and moisture.
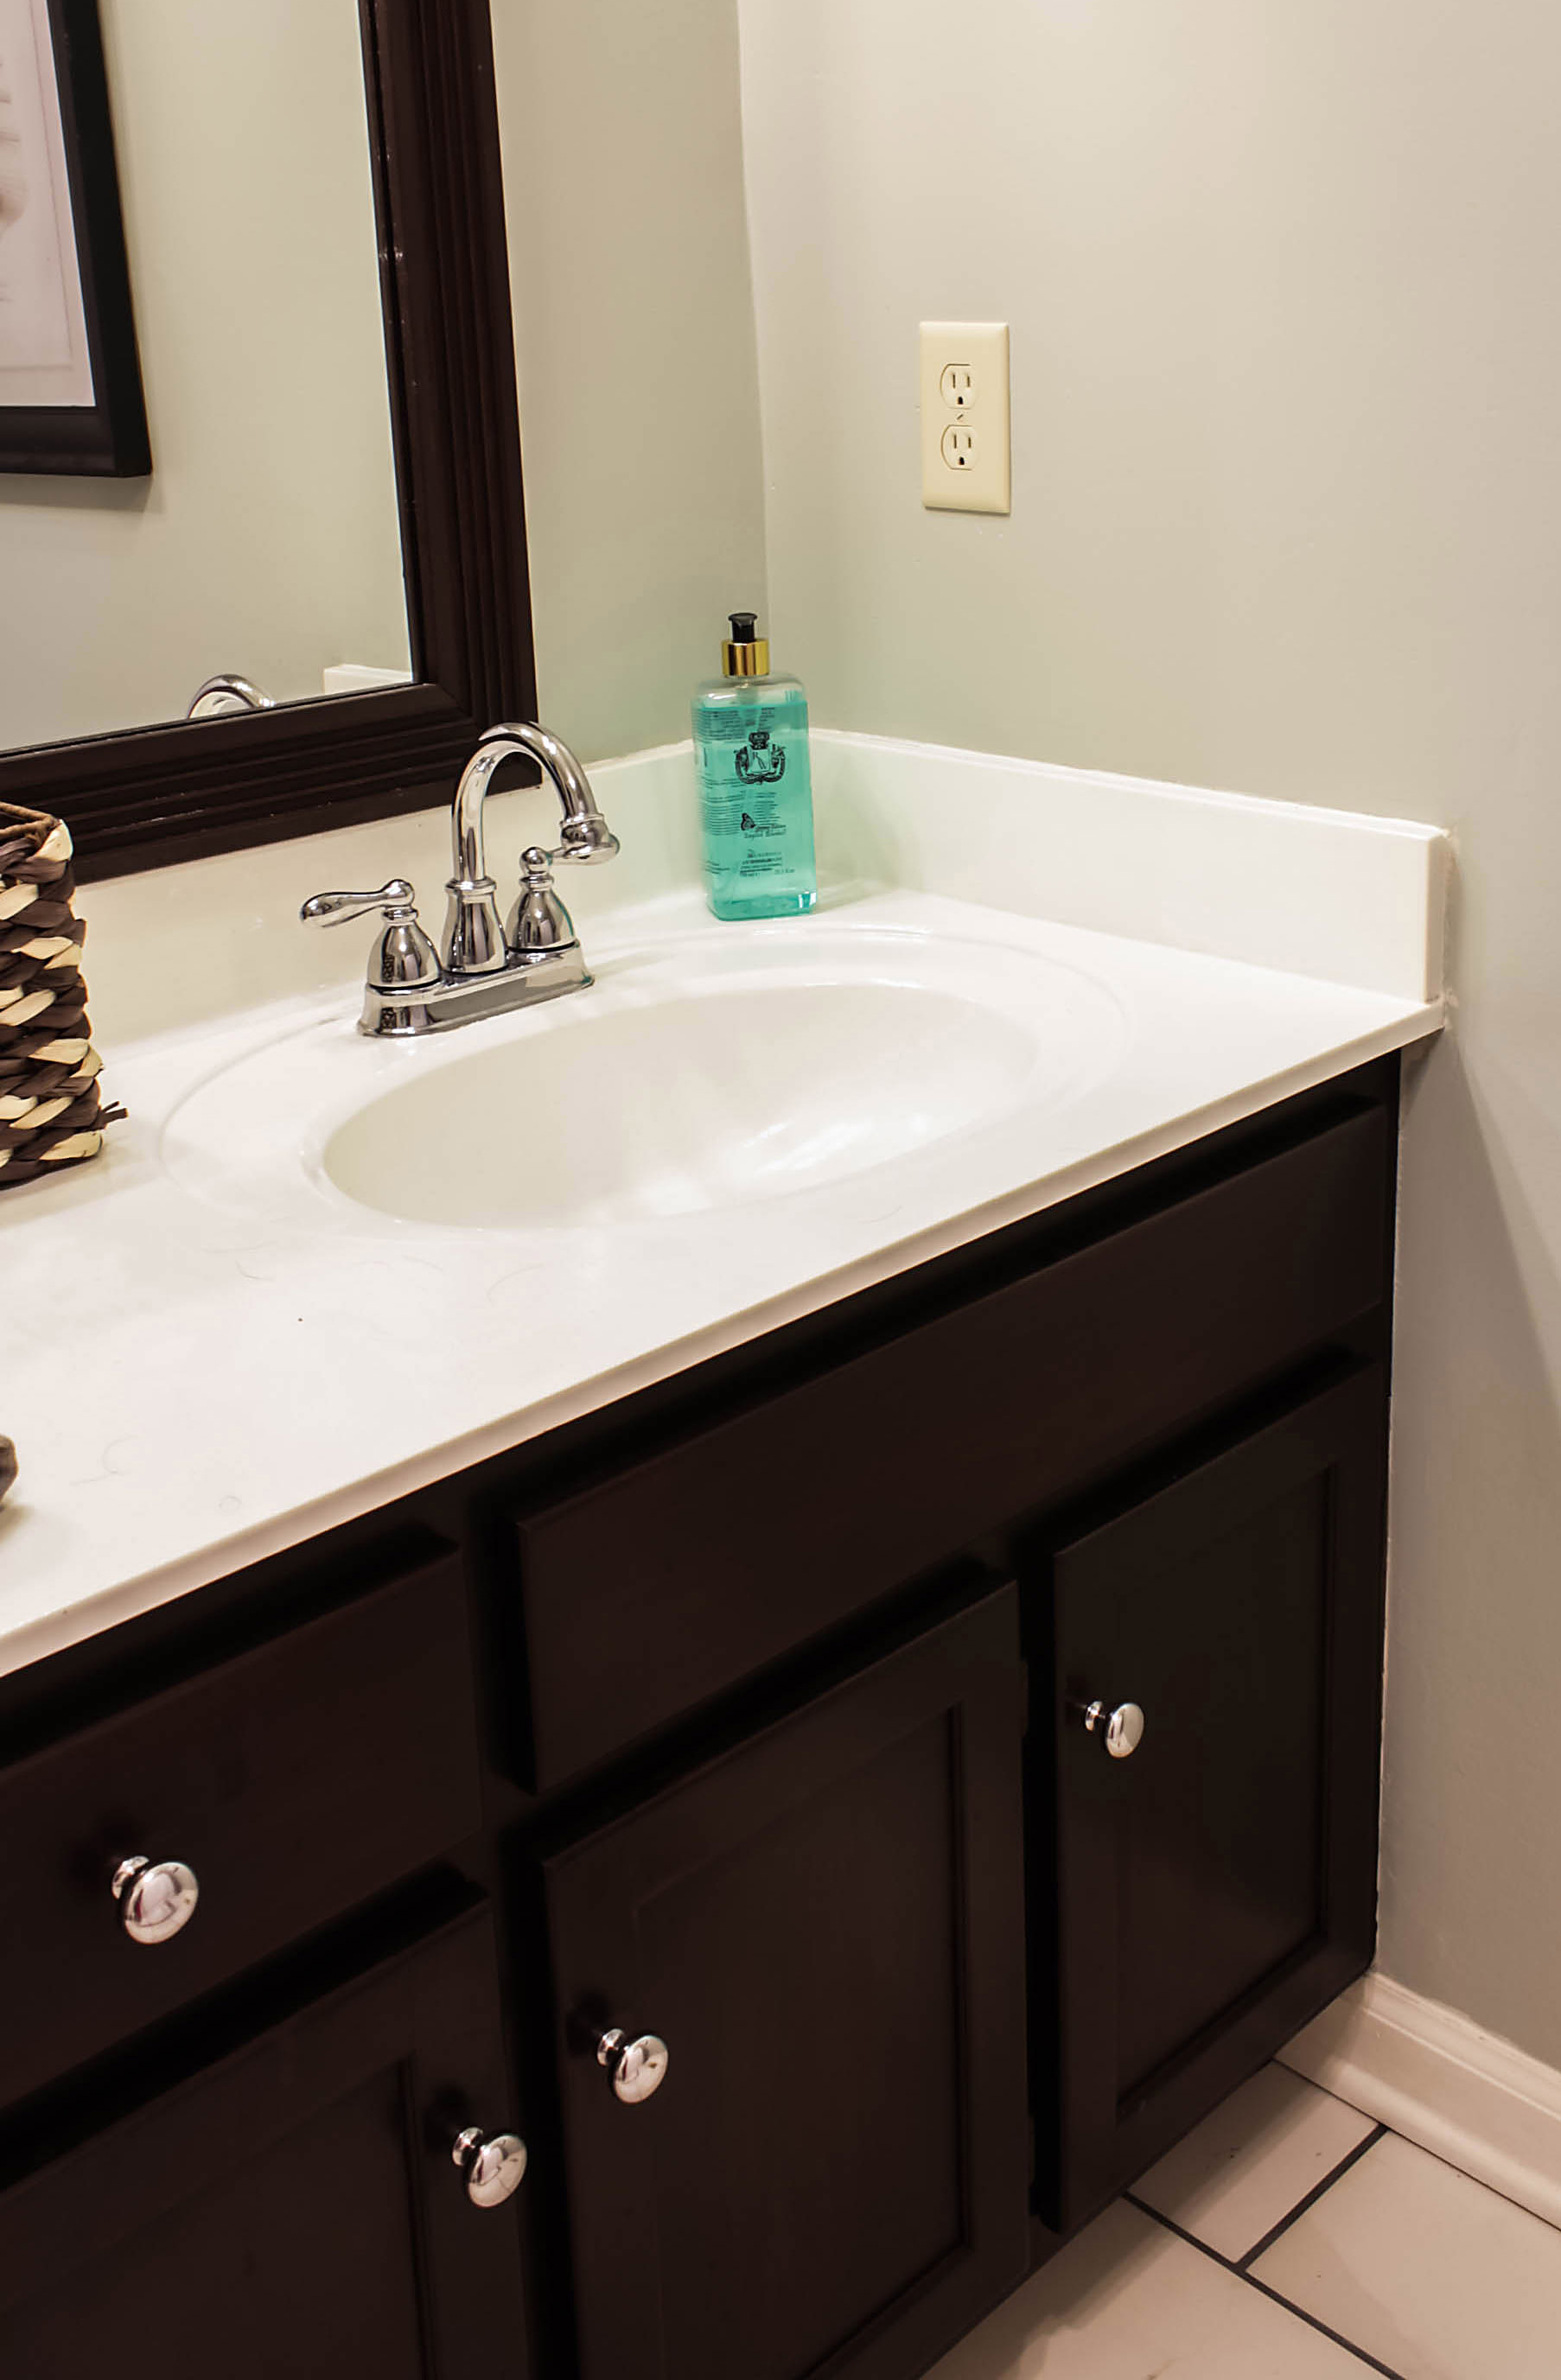
Enjoy Your New Bathroom
 After the paint has dried and the sealant has been applied, your
painted sink countertop
is now ready to use and enjoy. This simple and affordable DIY project can make a big impact on the overall look and feel of your bathroom, giving it a personalized touch. So why not give your bathroom a fresh new look by painting your sink countertop today? With the right tools and a little bit of time, you can easily transform your bathroom into a stylish and updated space.
After the paint has dried and the sealant has been applied, your
painted sink countertop
is now ready to use and enjoy. This simple and affordable DIY project can make a big impact on the overall look and feel of your bathroom, giving it a personalized touch. So why not give your bathroom a fresh new look by painting your sink countertop today? With the right tools and a little bit of time, you can easily transform your bathroom into a stylish and updated space.


:max_bytes(150000):strip_icc()/140779876_431331018012620_3336838829589271144_n-9d20e8345ead4604b20171f012d6cd10.jpg)