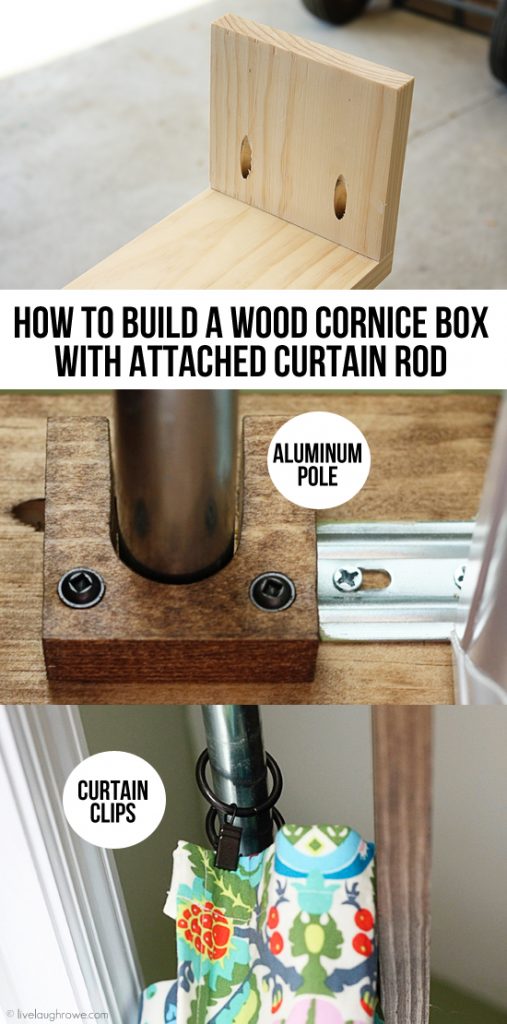
Are you looking for a way to add a touch of elegance and charm to your kitchen? A wood cornice box over the kitchen sink may be just the solution you need. Not only does it add visual interest to the space, but it also serves as a functional way to hide curtain rods and window hardware. In this article, we’ll walk you through the steps of making your own wood cornice box for above the kitchen sink.How to Make a Wood Cornice Box Over the Kitchen Sink


How to Make a Wood Cornice Box Over the Kitchen Sink


Creating a wood cornice box for your kitchen windows is a simple and budget-friendly DIY project. You’ll need some basic tools and materials, including a measuring tape, saw, wood glue, and screws. Measure the width and height of your kitchen sink window and add a few inches to each measurement to determine the size of your cornice box. Then, cut your wood to size and assemble the box using wood glue and screws.DIY Wood Cornice Box Tutorial for Kitchen Windows

DIY Wood Cornice Box Tutorial for Kitchen Windows


Now, let’s break down the process of building a wood cornice box for your kitchen sink step by step. First, gather your materials and tools. Next, measure and cut your wood to the desired size. Then, assemble the box using wood glue and screws. Once the box is assembled, add decorative trim or paint to customize your cornice box. Finally, hang the box above your kitchen sink window using L-brackets and screws.Step-by-Step Guide to Building a Wood Cornice Box for Your Kitchen


Step-by-Step Guide to Building a Wood Cornice Box for Your Kitchen


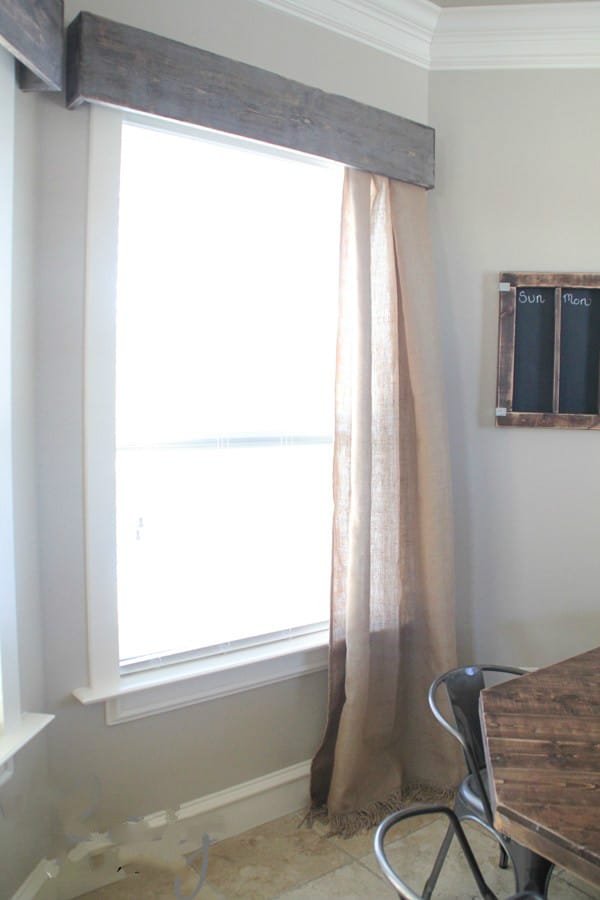
If you’re looking for simple and budget-friendly wood cornice box ideas for above your kitchen sink, consider using reclaimed wood or repurposing an old wooden crate. These options not only add a rustic touch to your kitchen, but they also require minimal effort and cost. You can also add a pop of color by painting the cornice box to match your kitchen decor.Easy and Affordable Wood Cornice Box Ideas for Above the Kitchen Sink

Easy and Affordable Wood Cornice Box Ideas for Above the Kitchen Sink


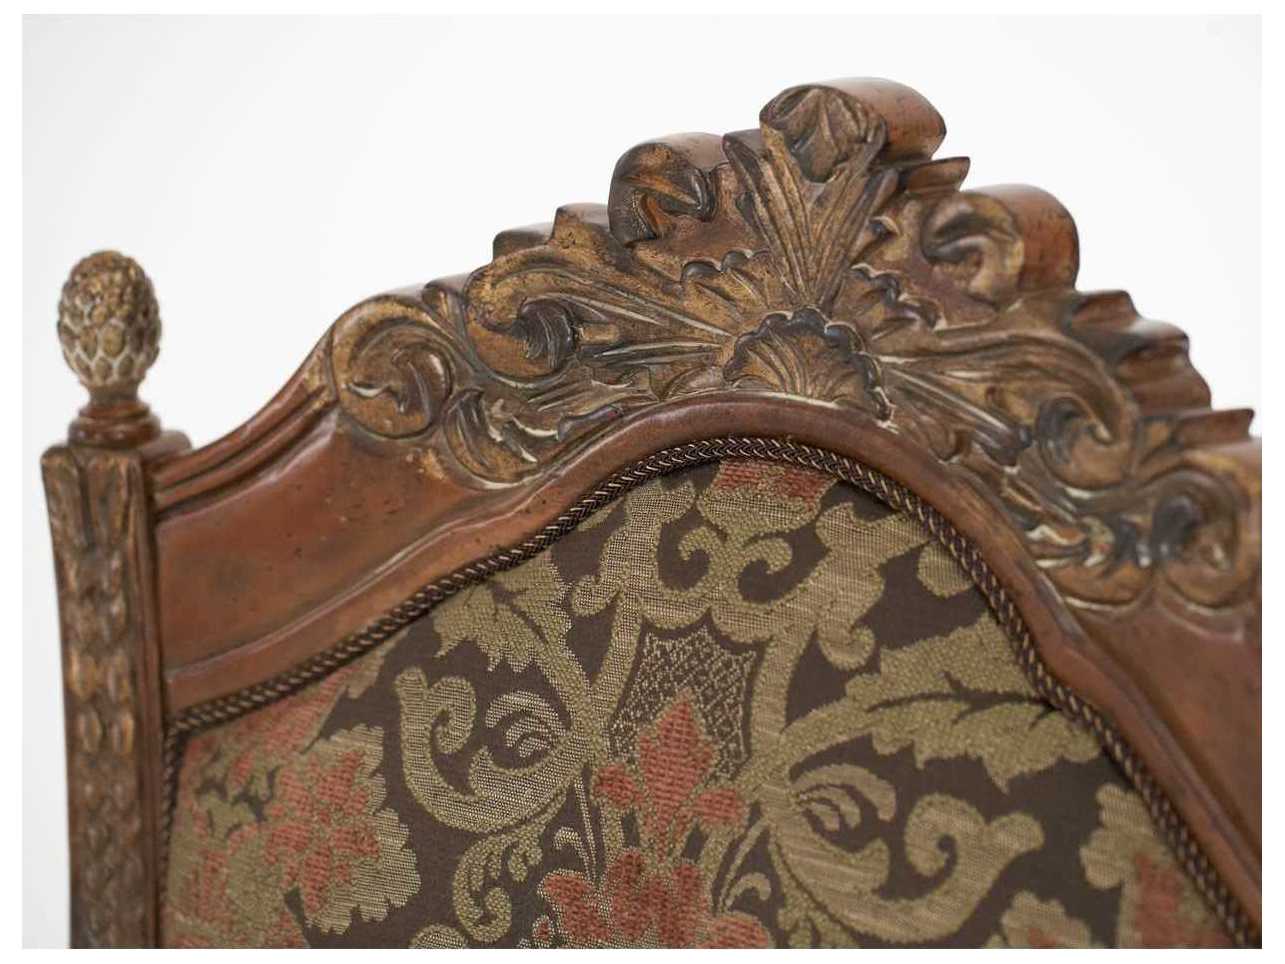
If you want to take your wood cornice box to the next level, consider creating a custom design. You can add intricate details and patterns using a wood burning tool or stencil. You can also incorporate different types of wood, such as oak, pine, or cedar, to create a unique and eye-catching design. Let your creativity run wild and make a wood cornice box that truly reflects your personal style.Custom Wood Cornice Box Design for Kitchen Sink Windows


Custom Wood Cornice Box Design for Kitchen Sink Windows

When selecting the type of wood for your kitchen sink cornice box, there are a few things to keep in mind. First, consider the weight of the wood. You want a sturdy and durable wood that can support the weight of the box and any decorations you add. Second, think about the color and grain of the wood. You want a wood that complements your kitchen decor and adds visual interest. Lastly, consider the cost and availability of the wood. You may have to shop around to find the perfect wood for your project.Tips for Choosing the Right Wood for Your Kitchen Sink Cornice Box


Tips for Choosing the Right Wood for Your Kitchen Sink Cornice Box


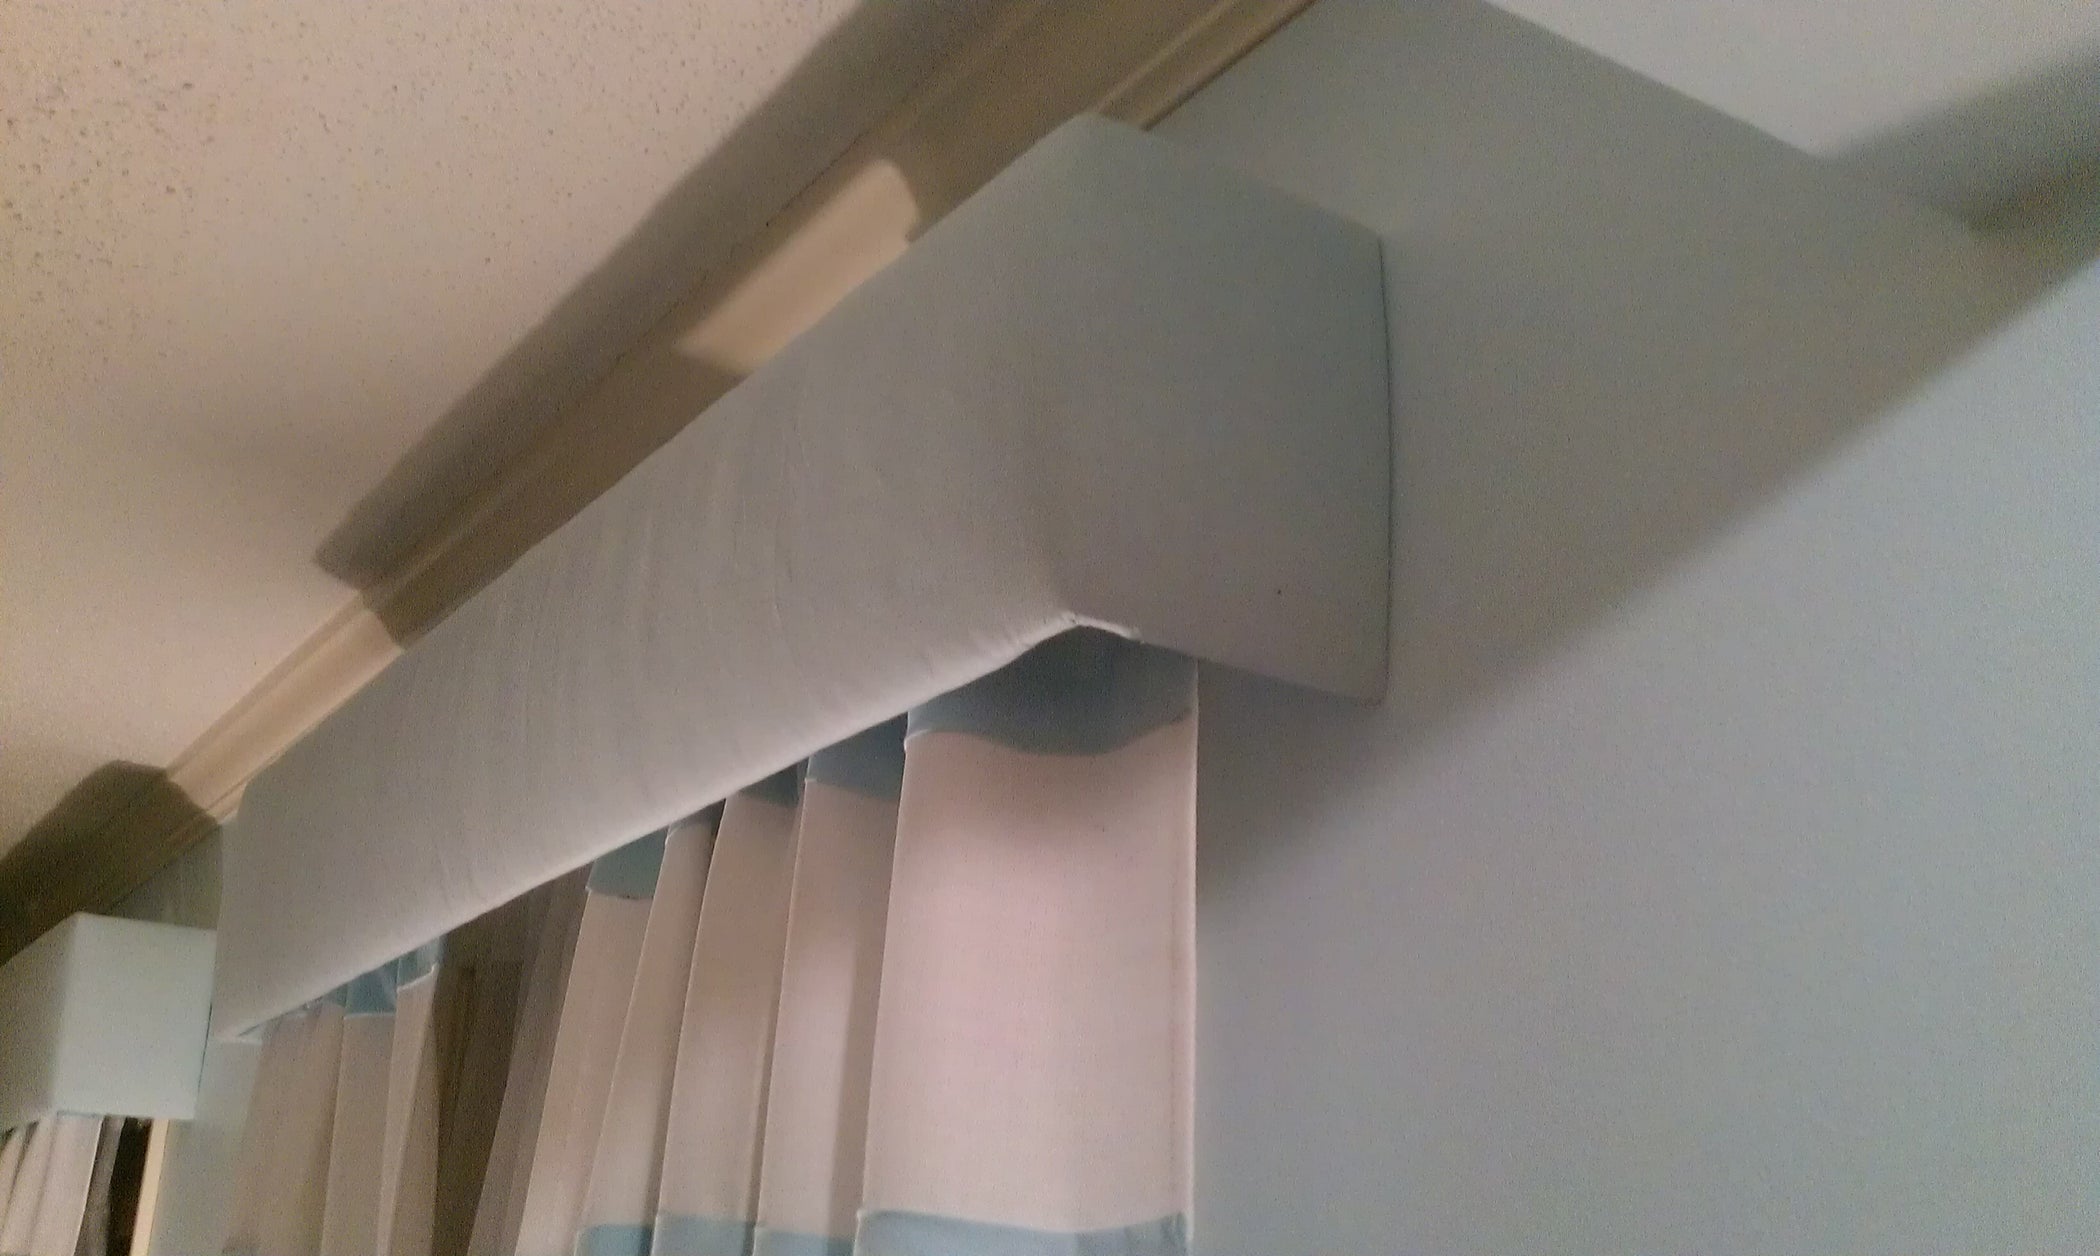
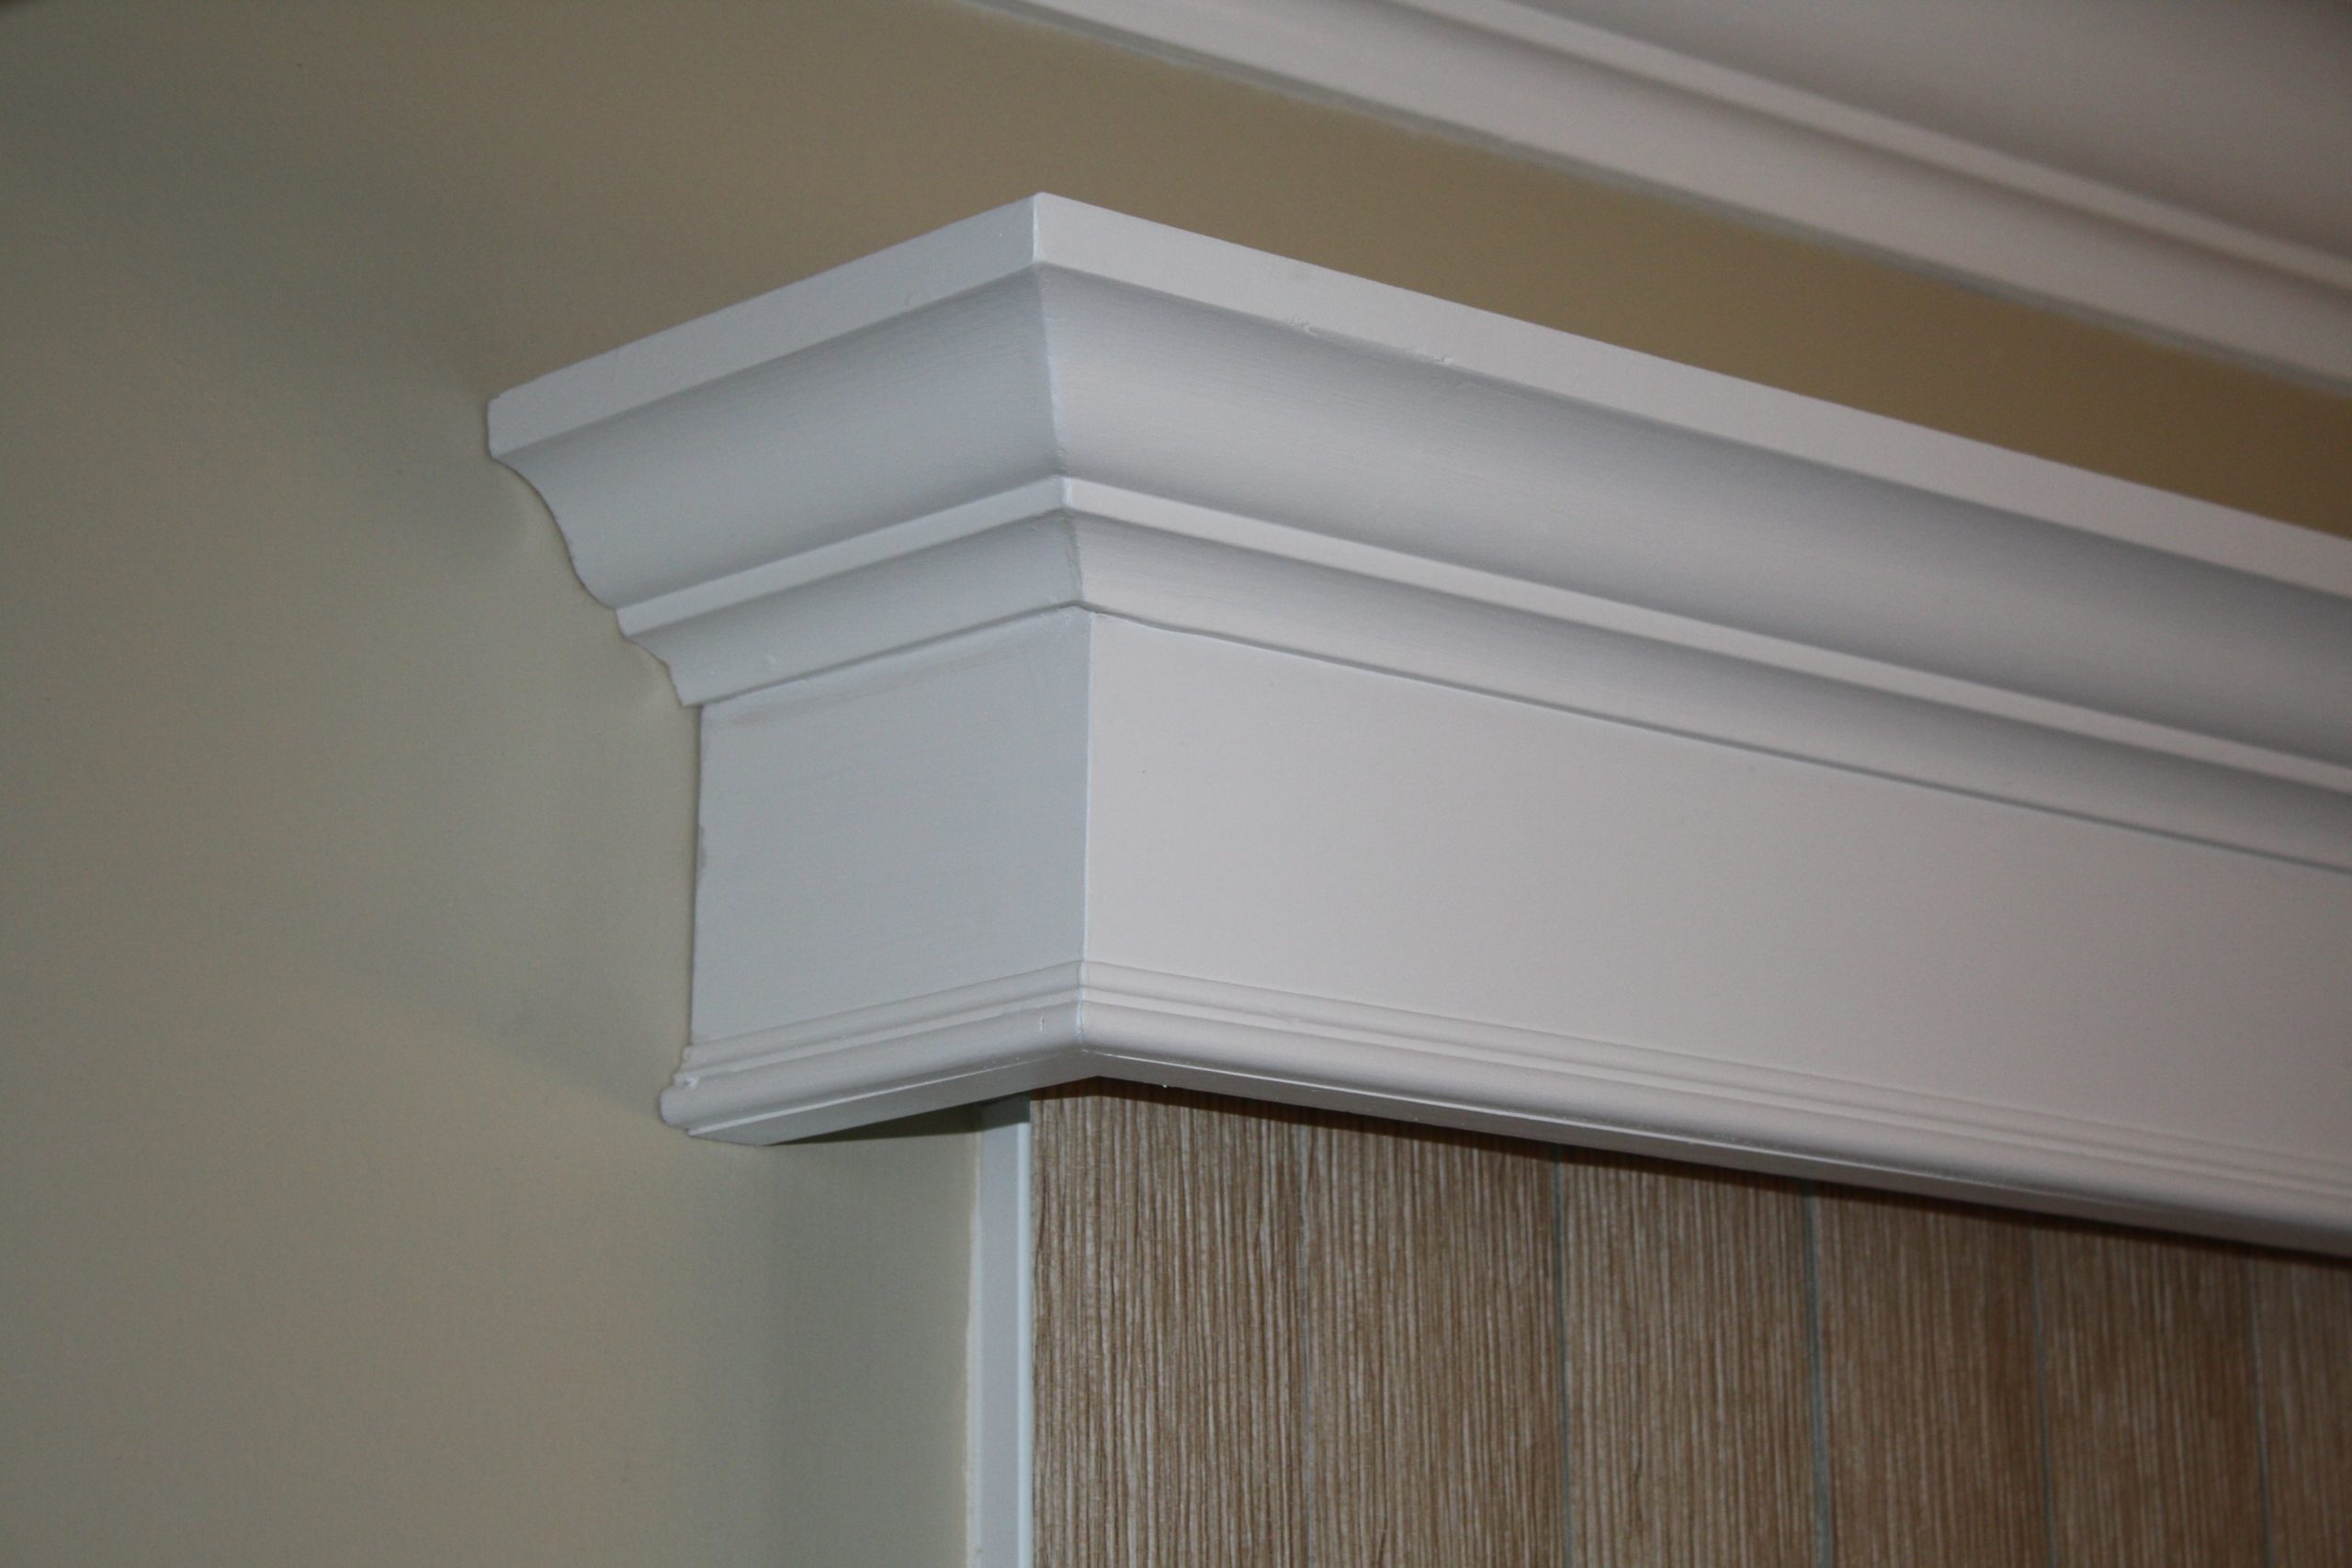
Once you’ve built your wood cornice box, it’s time to get creative with the decorations. You can add fabric, ribbon, or trim to cover the top of the box and create a more polished look. You can also add decorative accents, such as knobs, hooks, or stencils, to add a personal touch. Don’t be afraid to experiment with different materials and designs to make your wood cornice box truly unique.Creative Ways to Decorate a Wood Cornice Box Over Your Kitchen Sink


Creative Ways to Decorate a Wood Cornice Box Over Your Kitchen Sink

Installing a wood cornice box above your kitchen sink is a relatively simple process. First, mark the location of your L-brackets on the wall and drill pilot holes. Next, attach the brackets to the wall using screws. Then, place the cornice box on top of the brackets and secure it with screws. Finally, add any final touches, such as curtains or decorations, to complete the look.How to Install a Wood Cornice Box Above Your Kitchen Sink


How to Install a Wood Cornice Box Above Your Kitchen Sink


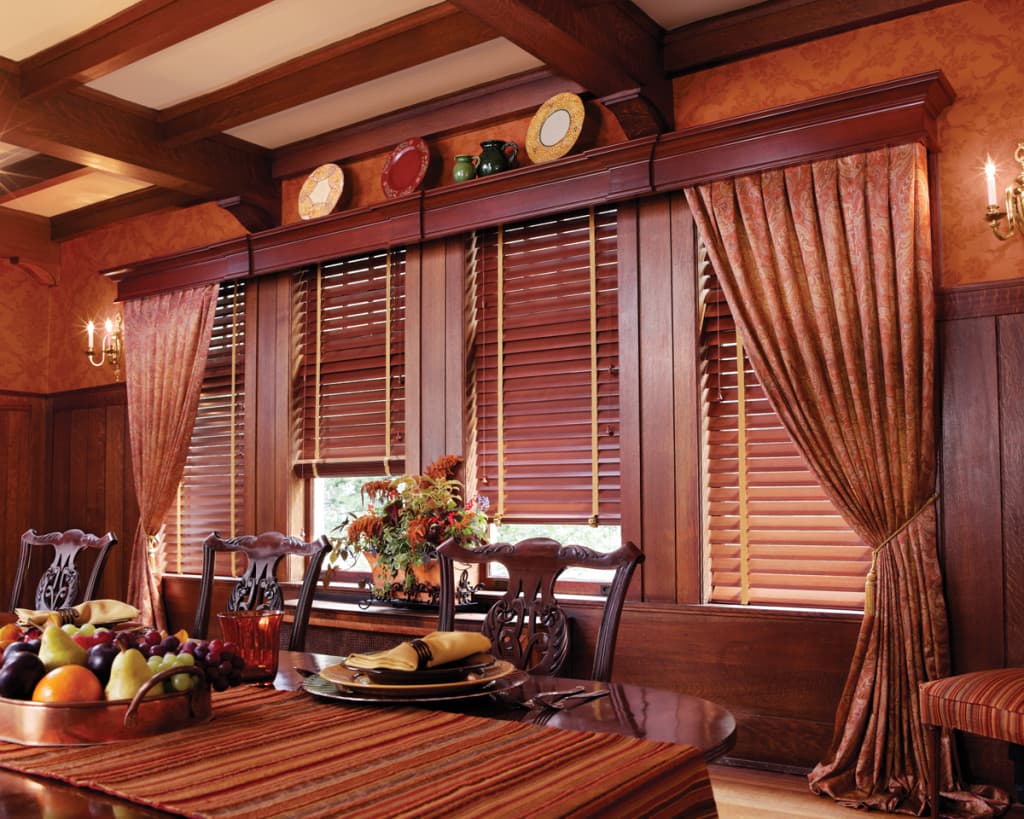
Besides adding a decorative touch to your kitchen, there are many other benefits to adding a wood cornice box above your sink window. It can help to disguise unsightly curtain rods and window hardware, creating a more streamlined and cohesive look. It also adds a layer of insulation, helping to keep your kitchen warmer in the winter and cooler in the summer. Plus, it’s a simple and affordable way to update the look of your kitchen without a major renovation.Benefits of Adding a Wood Cornice Box to Your Kitchen Sink Window


Benefits of Adding a Wood Cornice Box to Your Kitchen Sink Window
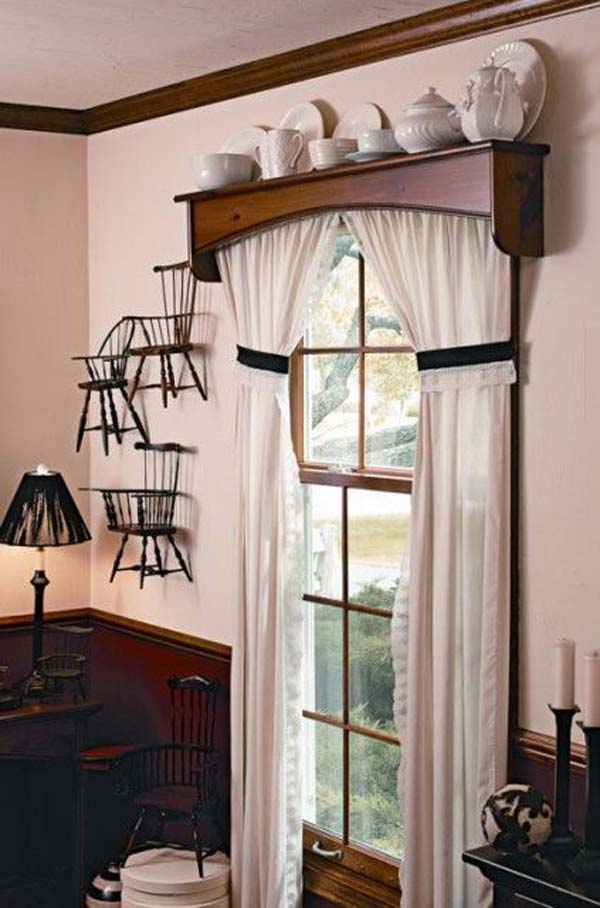
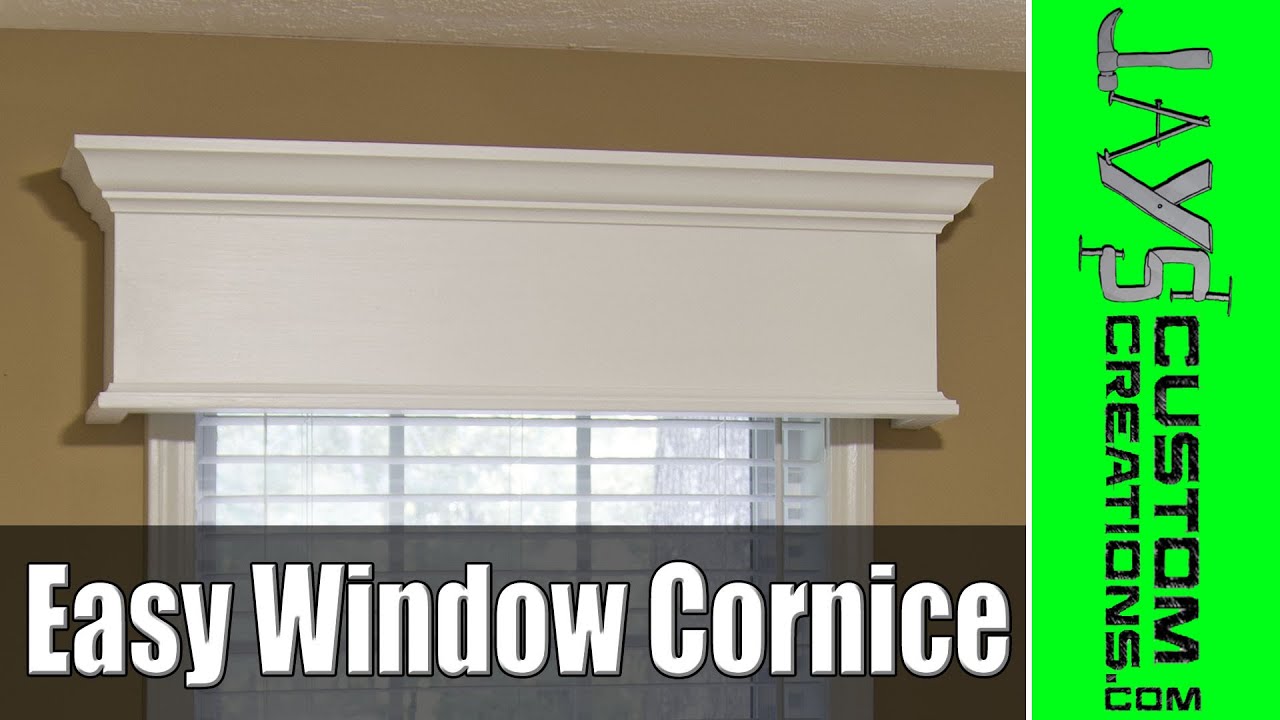
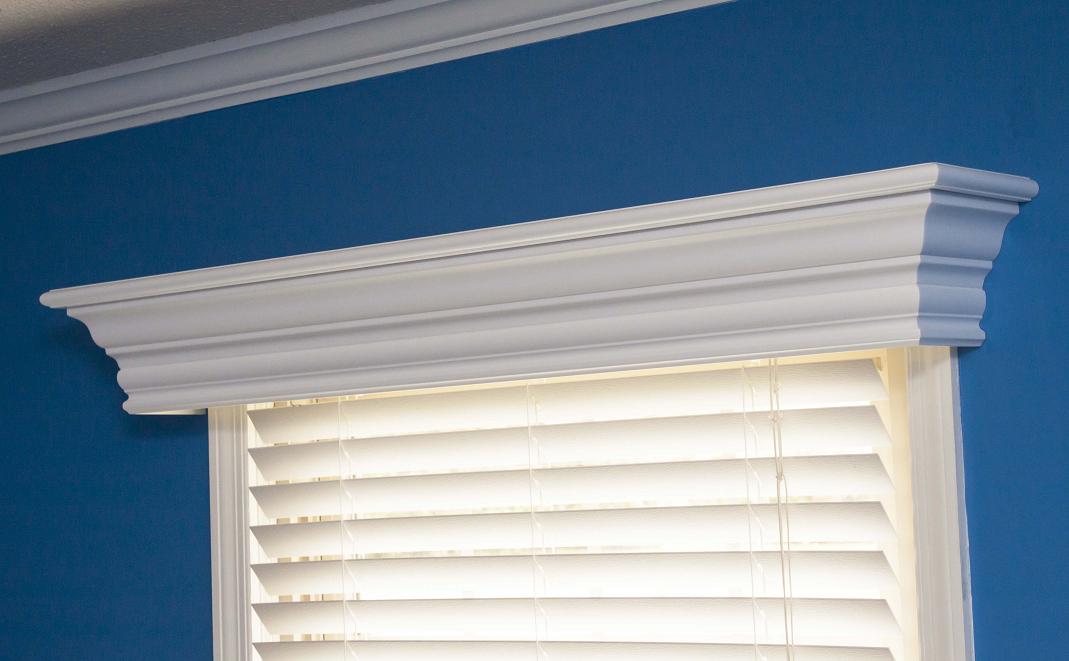
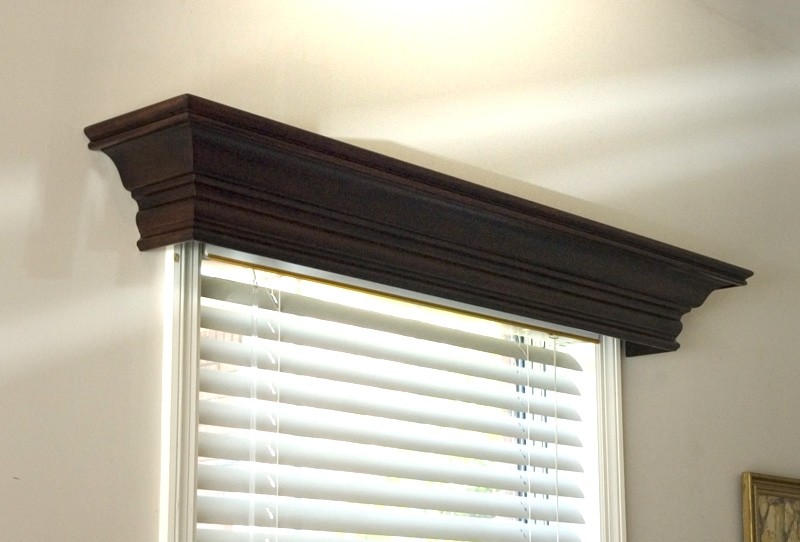
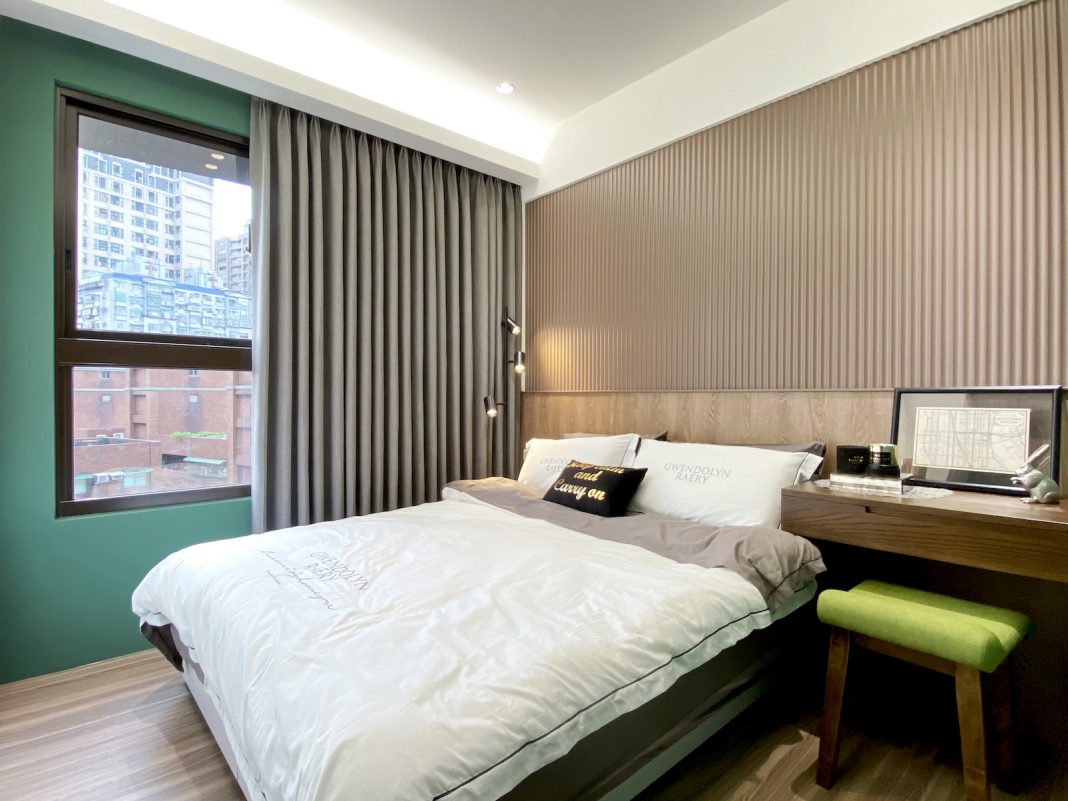
If you’re still not convinced that a wood cornice box is the perfect addition to your kitchen, here are some inspiring examples to help get your creative juices flowing. You can go for a modern and sleek design with a stained wood box and minimal decorations, or you can opt for a more intricate and detailed box with multiple types of wood and decorative accents. The possibilities are endless when it comes to designing and decorating your wood cornice box. In conclusion, making a wood cornice box over the kitchen sink is a great way to add character and charm to your kitchen. With a little bit of creativity and some basic tools, you can create a custom and functional addition to your kitchen decor. So why wait? Start planning and building your own wood cornice box today!Inspiring Examples of Wood Cornice Boxes Over Kitchen Sinks


Inspiring Examples of Wood Cornice Boxes Over Kitchen Sinks


Making a Wood Cornice Box over the Kitchen Sink: A Simple yet Stylish Addition to Your House Design

Why Choose a Wood Cornice Box?
 When it comes to designing your kitchen, every little detail counts. One often overlooked but crucial element is the window treatment. Instead of leaving your kitchen window bare, why not add a
wood cornice box
? Not only does it add a touch of elegance and warmth to your space, but it also serves as a functional addition by concealing unsightly curtain rods and hardware.
When it comes to designing your kitchen, every little detail counts. One often overlooked but crucial element is the window treatment. Instead of leaving your kitchen window bare, why not add a
wood cornice box
? Not only does it add a touch of elegance and warmth to your space, but it also serves as a functional addition by concealing unsightly curtain rods and hardware.
Step-by-Step Guide to Making a Wood Cornice Box
 Making your own
wood cornice box
may seem like a daunting task, but it is actually quite simple and can be done in just a few hours. Here's a step-by-step guide to help you create a beautiful and functional addition to your kitchen:
Making your own
wood cornice box
may seem like a daunting task, but it is actually quite simple and can be done in just a few hours. Here's a step-by-step guide to help you create a beautiful and functional addition to your kitchen:
Step 1: Gather Materials
The first step is to gather all the necessary materials. You will need a wood board , a saw, wood glue, screws, a drill, a measuring tape, a pencil, and a level.Step 2: Measure and Cut the Wood Board
Measure the width of your kitchen window and add a few inches on each side for the overhang. This will ensure that the cornice box covers the entire window. Mark the measurements on the wood board and use a saw to cut it accordingly.Step 3: Assemble the Box
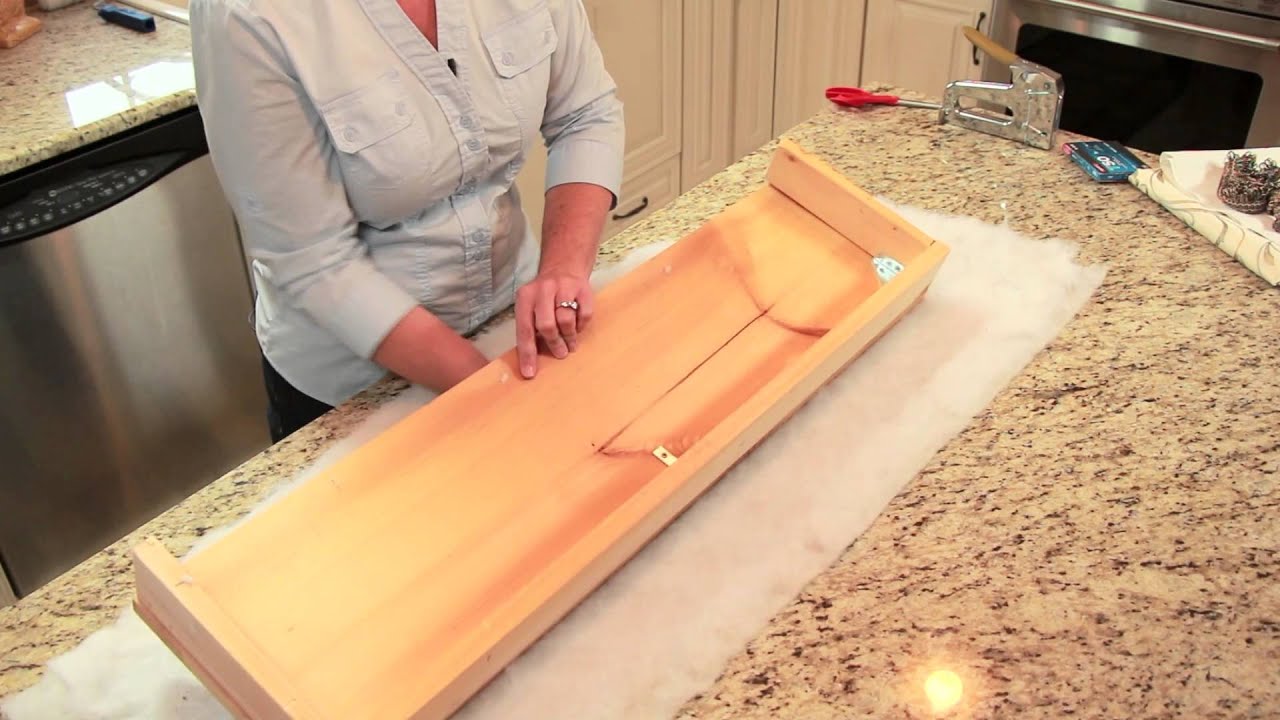
Using wood glue and screws, assemble the box by attaching the sides and top of the wood board. Make sure to use a level to ensure that the box is straight and even.Step 4: Add Decorative Touches
You can leave the wood cornice box as is, or you can add some decorative touches to give it a more personalized look. You can paint it in your desired color, add trim or molding, or even use fabric to cover the front of the box.Step 5: Mount the Cornice Box
Once the glue has dried, it's time to mount the cornice box above your kitchen sink. Use a drill to make holes in the box and then screw it into place. Make sure to use wall anchors if you are mounting it on drywall.Final Thoughts
 A
wood cornice box
is a simple yet stylish addition to your kitchen design. Not only does it add visual interest, but it also serves as a functional element by hiding unsightly curtain rods. With just a few materials and a couple of hours, you can create a beautiful and personalized cornice box that will enhance the overall look of your kitchen.
A
wood cornice box
is a simple yet stylish addition to your kitchen design. Not only does it add visual interest, but it also serves as a functional element by hiding unsightly curtain rods. With just a few materials and a couple of hours, you can create a beautiful and personalized cornice box that will enhance the overall look of your kitchen.