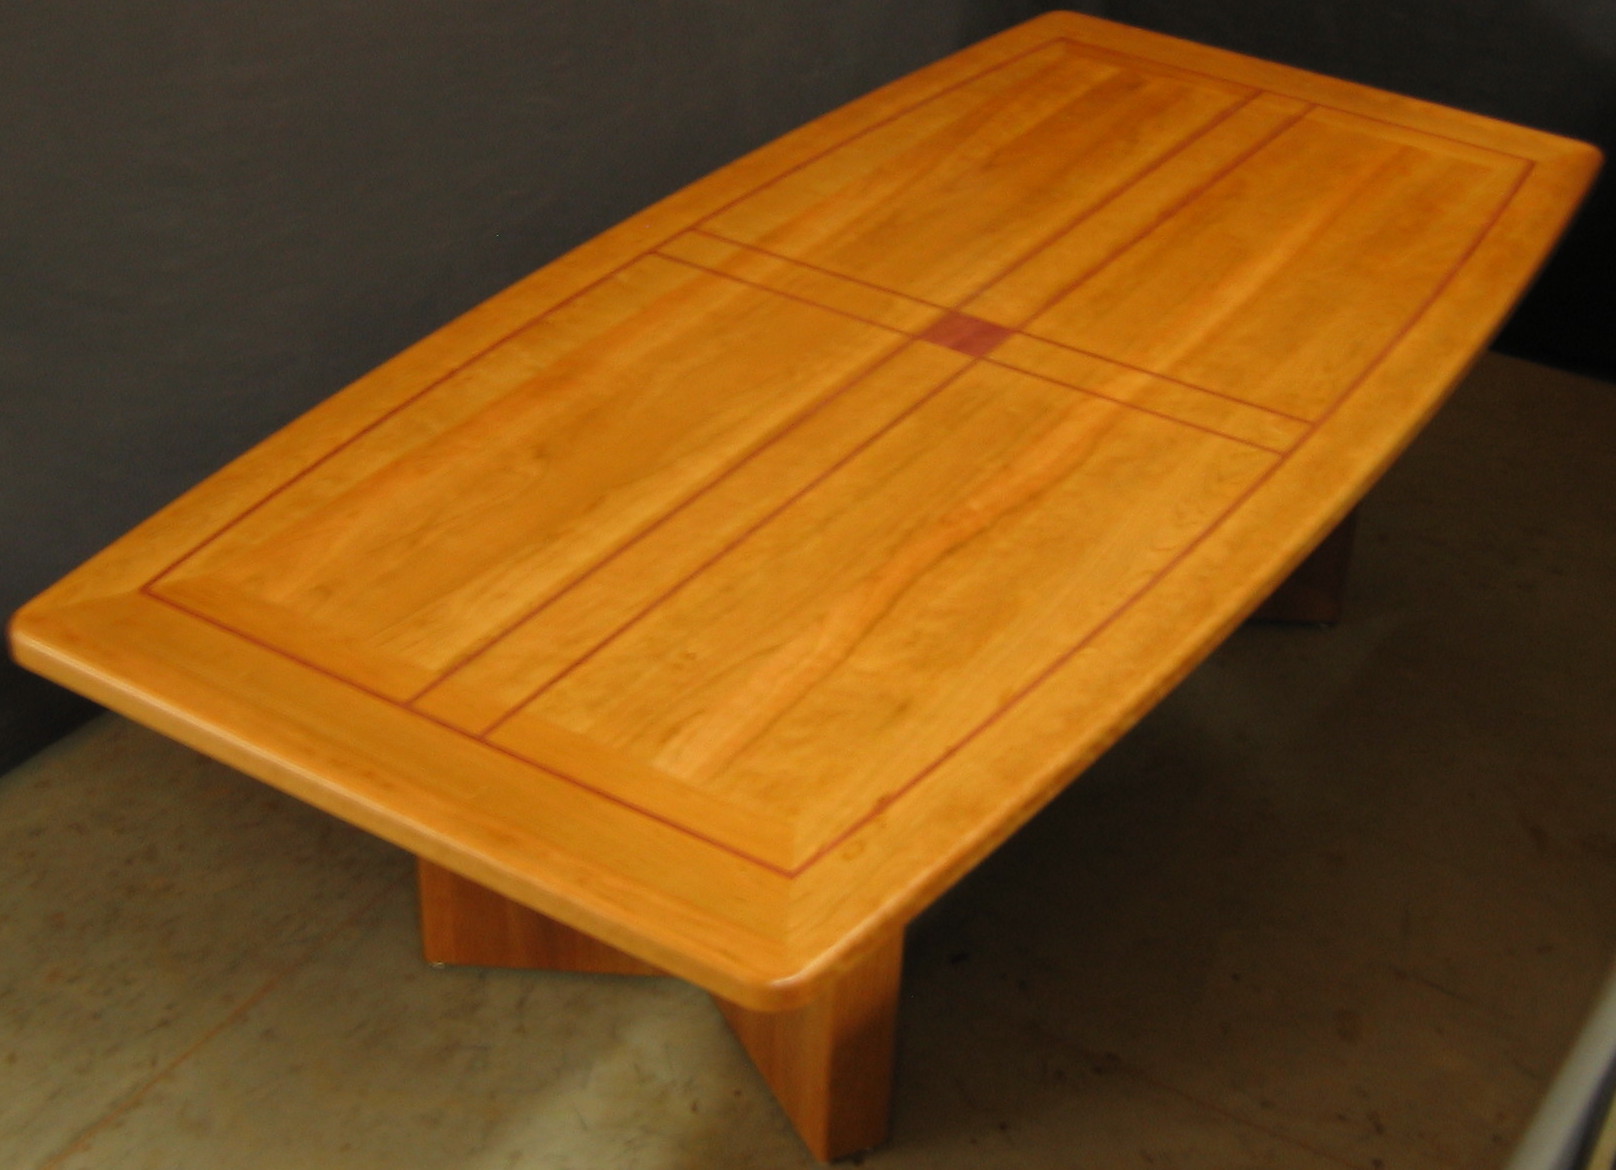
Making your own furniture is a rewarding and fulfilling experience, especially when it comes to creating a beautiful and functional piece for your home. One project that many people take on is building a kitchen table, and using solid cherry wood for the round table top is a popular choice. Not only is cherry wood durable and aesthetically pleasing, but it is also relatively easy to work with. Follow these steps to create your own round table top out of solid cherry wood. First, you will need to gather your materials. Along with the cherry wood, you will need a circular saw, a jigsaw, a drill, wood screws, wood glue, and sandpaper. You may also want to have wood stain and a finish on hand if you want to add some color and protection to your table top. Once you have your materials, you can start by cutting your cherry wood into the desired size and shape for your round table top. Use the circular saw to make a perfect circle, and then use the jigsaw to cut out the center hole for the table base. Be sure to wear safety gear and take your time to make precise cuts. Next, you will need to create the support structure for your table top. This can be done by cutting four pieces of the cherry wood into equal lengths and using wood glue and screws to attach them in a square shape. Measure and mark the center of each side of the square to ensure the support structure is centered under the table top. With the support structure in place, you can now attach the table top to it. Apply wood glue to the edges of the support structure and carefully place the table top on top. Use wood screws to secure the table top to the structure, making sure to countersink the screws and cover them with wood filler for a seamless look. Once the table top is attached, you can sand down any rough edges and imperfections. If you want to add a stain, now is the time to do so. Follow the instructions on the stain and apply it evenly with a brush or cloth. Once the stain is dry, you can add a clear finish for added protection and shine. Your round table top is now complete and ready to be attached to a table base of your choice. Whether you choose to make a base out of oak or another type of wood, your solid cherry wood table top will be a beautiful and functional addition to your kitchen.How to Make a Round Table Top out of Solid Cherry Wood


How to Make a Round Table Top out of Solid Cherry Wood


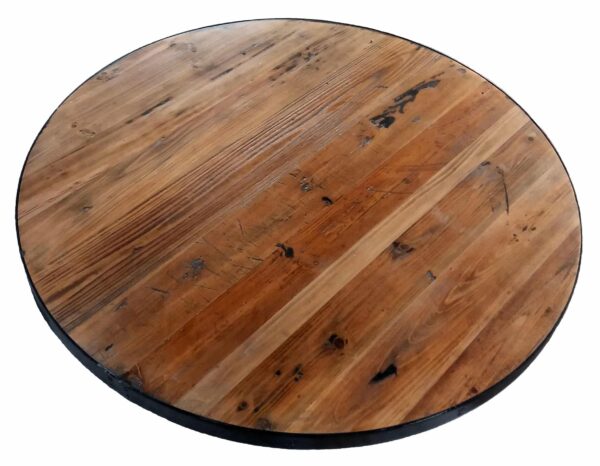
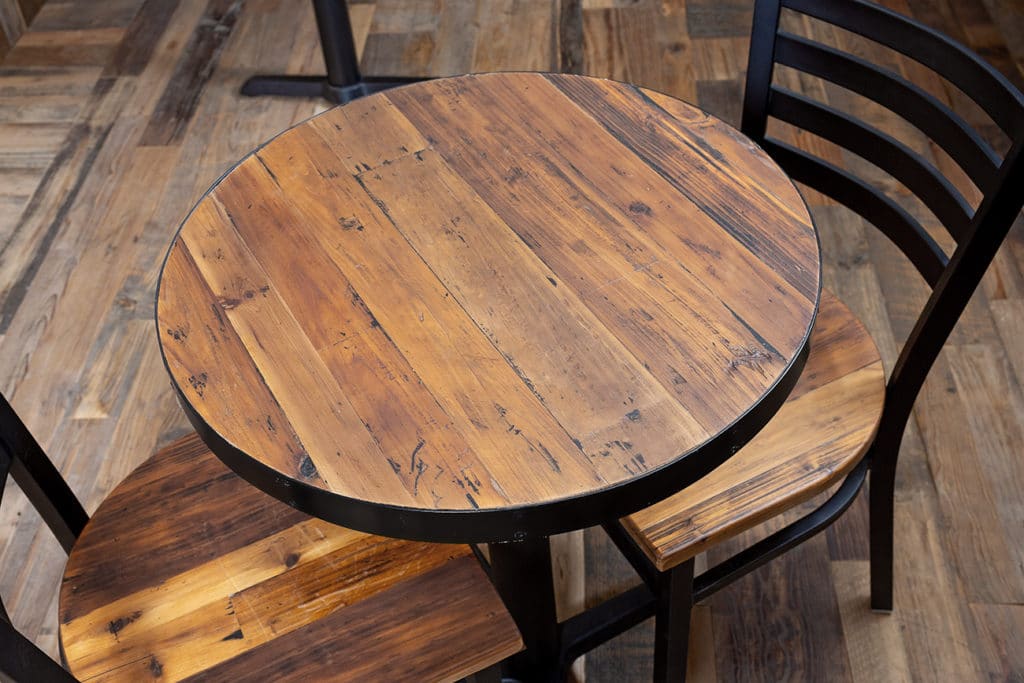
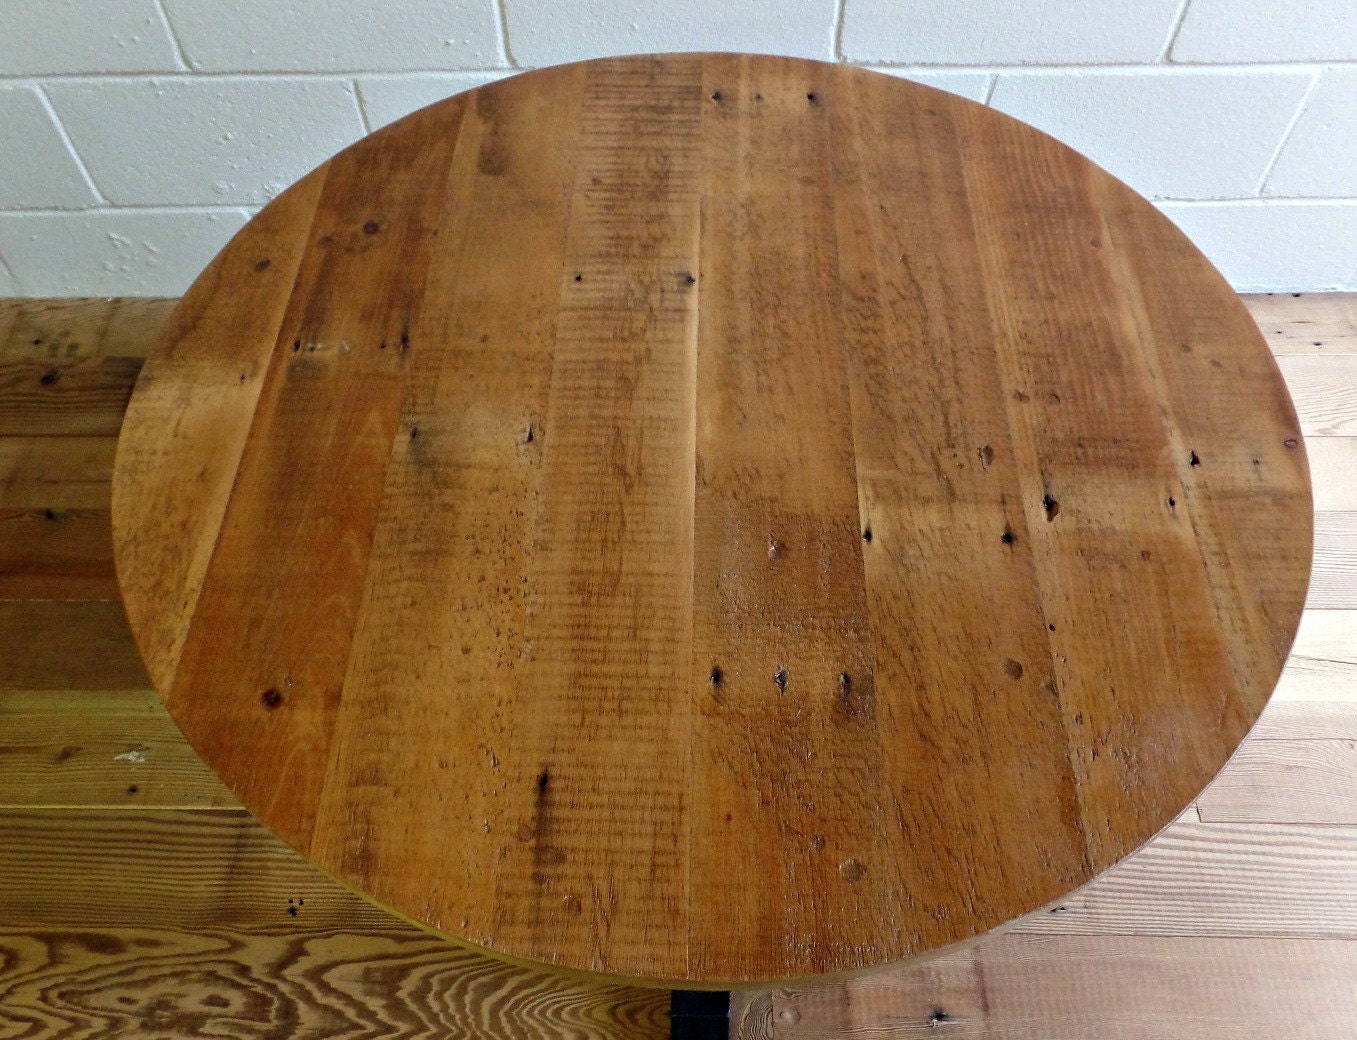
Using reclaimed wood for furniture projects is a popular trend that not only adds character to your home but also helps reduce waste. If you have access to reclaimed wood, consider using it to create a unique and eco-friendly round table top for your kitchen. Follow these steps to build your own round table top out of reclaimed wood. The first step is to gather your materials and tools. In addition to the reclaimed wood, you will need a circular saw, a jigsaw, a drill, wood screws, wood glue, and sandpaper. You may also want to have wood stain and a finish on hand to add some color and protection to your table top. Start by cutting your reclaimed wood into equal lengths and creating a perfect circle with the circular saw. You may need to use a jig or compass to ensure your circle is precise. Next, use the jigsaw to cut out the center hole for the table base. Next, you will need to create a support structure for your table top. This can be done by cutting four pieces of the reclaimed wood into equal lengths and attaching them together in a square shape using wood glue and screws. Make sure to measure and mark the center of each side of the square to ensure the support structure is centered under the table top. With the support structure in place, you can now attach the table top to it. Apply wood glue to the edges of the support structure and carefully place the table top on top. Use wood screws to secure the table top to the structure, making sure to countersink the screws and cover them with wood filler for a seamless look. Sand down any rough edges and imperfections, and then apply a wood stain if desired. Once the stain is dry, add a clear finish for added protection and shine. Your reclaimed wood round table top is now complete and ready to be attached to a table base of your choice. This unique and sustainable piece of furniture will be a conversation starter in your kitchen.How to Build a Round Table Top out of Reclaimed Wood


How to Build a Round Table Top out of Reclaimed Wood


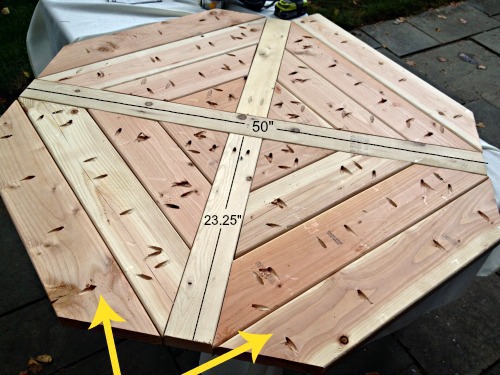
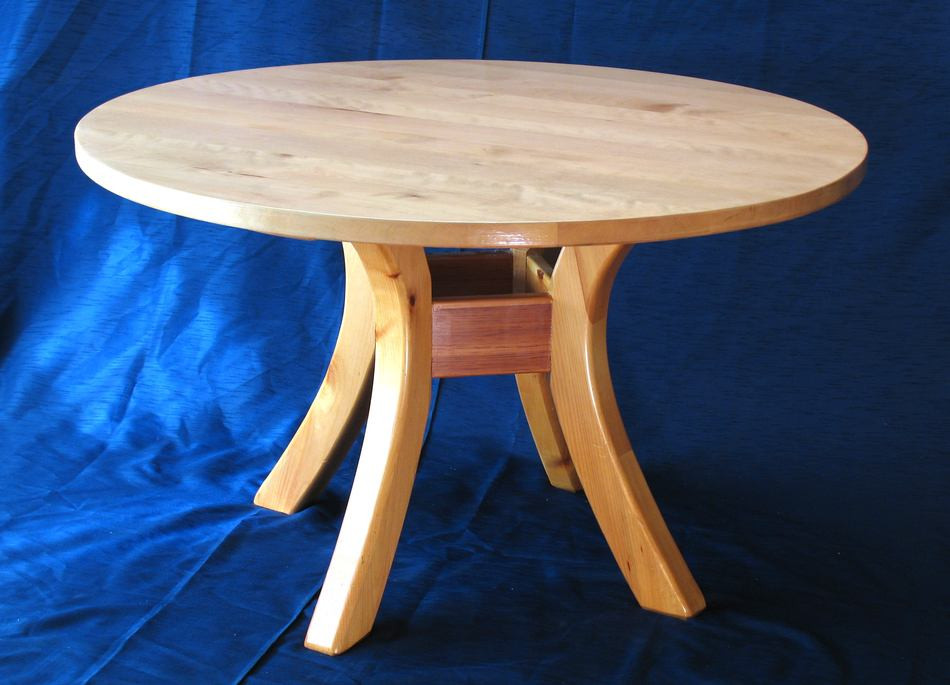
Plywood is a versatile and budget-friendly option for creating a round table top. With a few simple tools and materials, you can easily make your own round table top out of plywood. Follow these steps to create a DIY round table top. You will need a circular saw, a jigsaw, a drill, wood screws, wood glue, and sandpaper to complete this project. You may also want to have wood stain and a finish on hand to add some color and protection to your table top. Start by cutting your plywood into a perfect circle using the circular saw. You may need to use a jig or compass to ensure your circle is precise. Next, use the jigsaw to cut out the center hole for the table base. Next, create a support structure for your table top using four pieces of plywood cut to equal lengths. Attach them together in a square shape using wood glue and screws. Measure and mark the center of each side of the square to ensure the support structure is centered under the table top. Attach the table top to the support structure using wood glue and screws. Make sure to countersink the screws and cover them with wood filler for a seamless look. Sand down any rough edges and imperfections, and then apply a wood stain if desired. Once the stain is dry, add a clear finish for added protection and shine. Your DIY round table top is now complete and ready to be attached to a table base of your choice. This cost-effective option is perfect for those looking to create a round table top on a budget.DIY Round Table Top: How to Make a Round Table Top out of Plywood


DIY Round Table Top: How to Make a Round Table Top out of Plywood


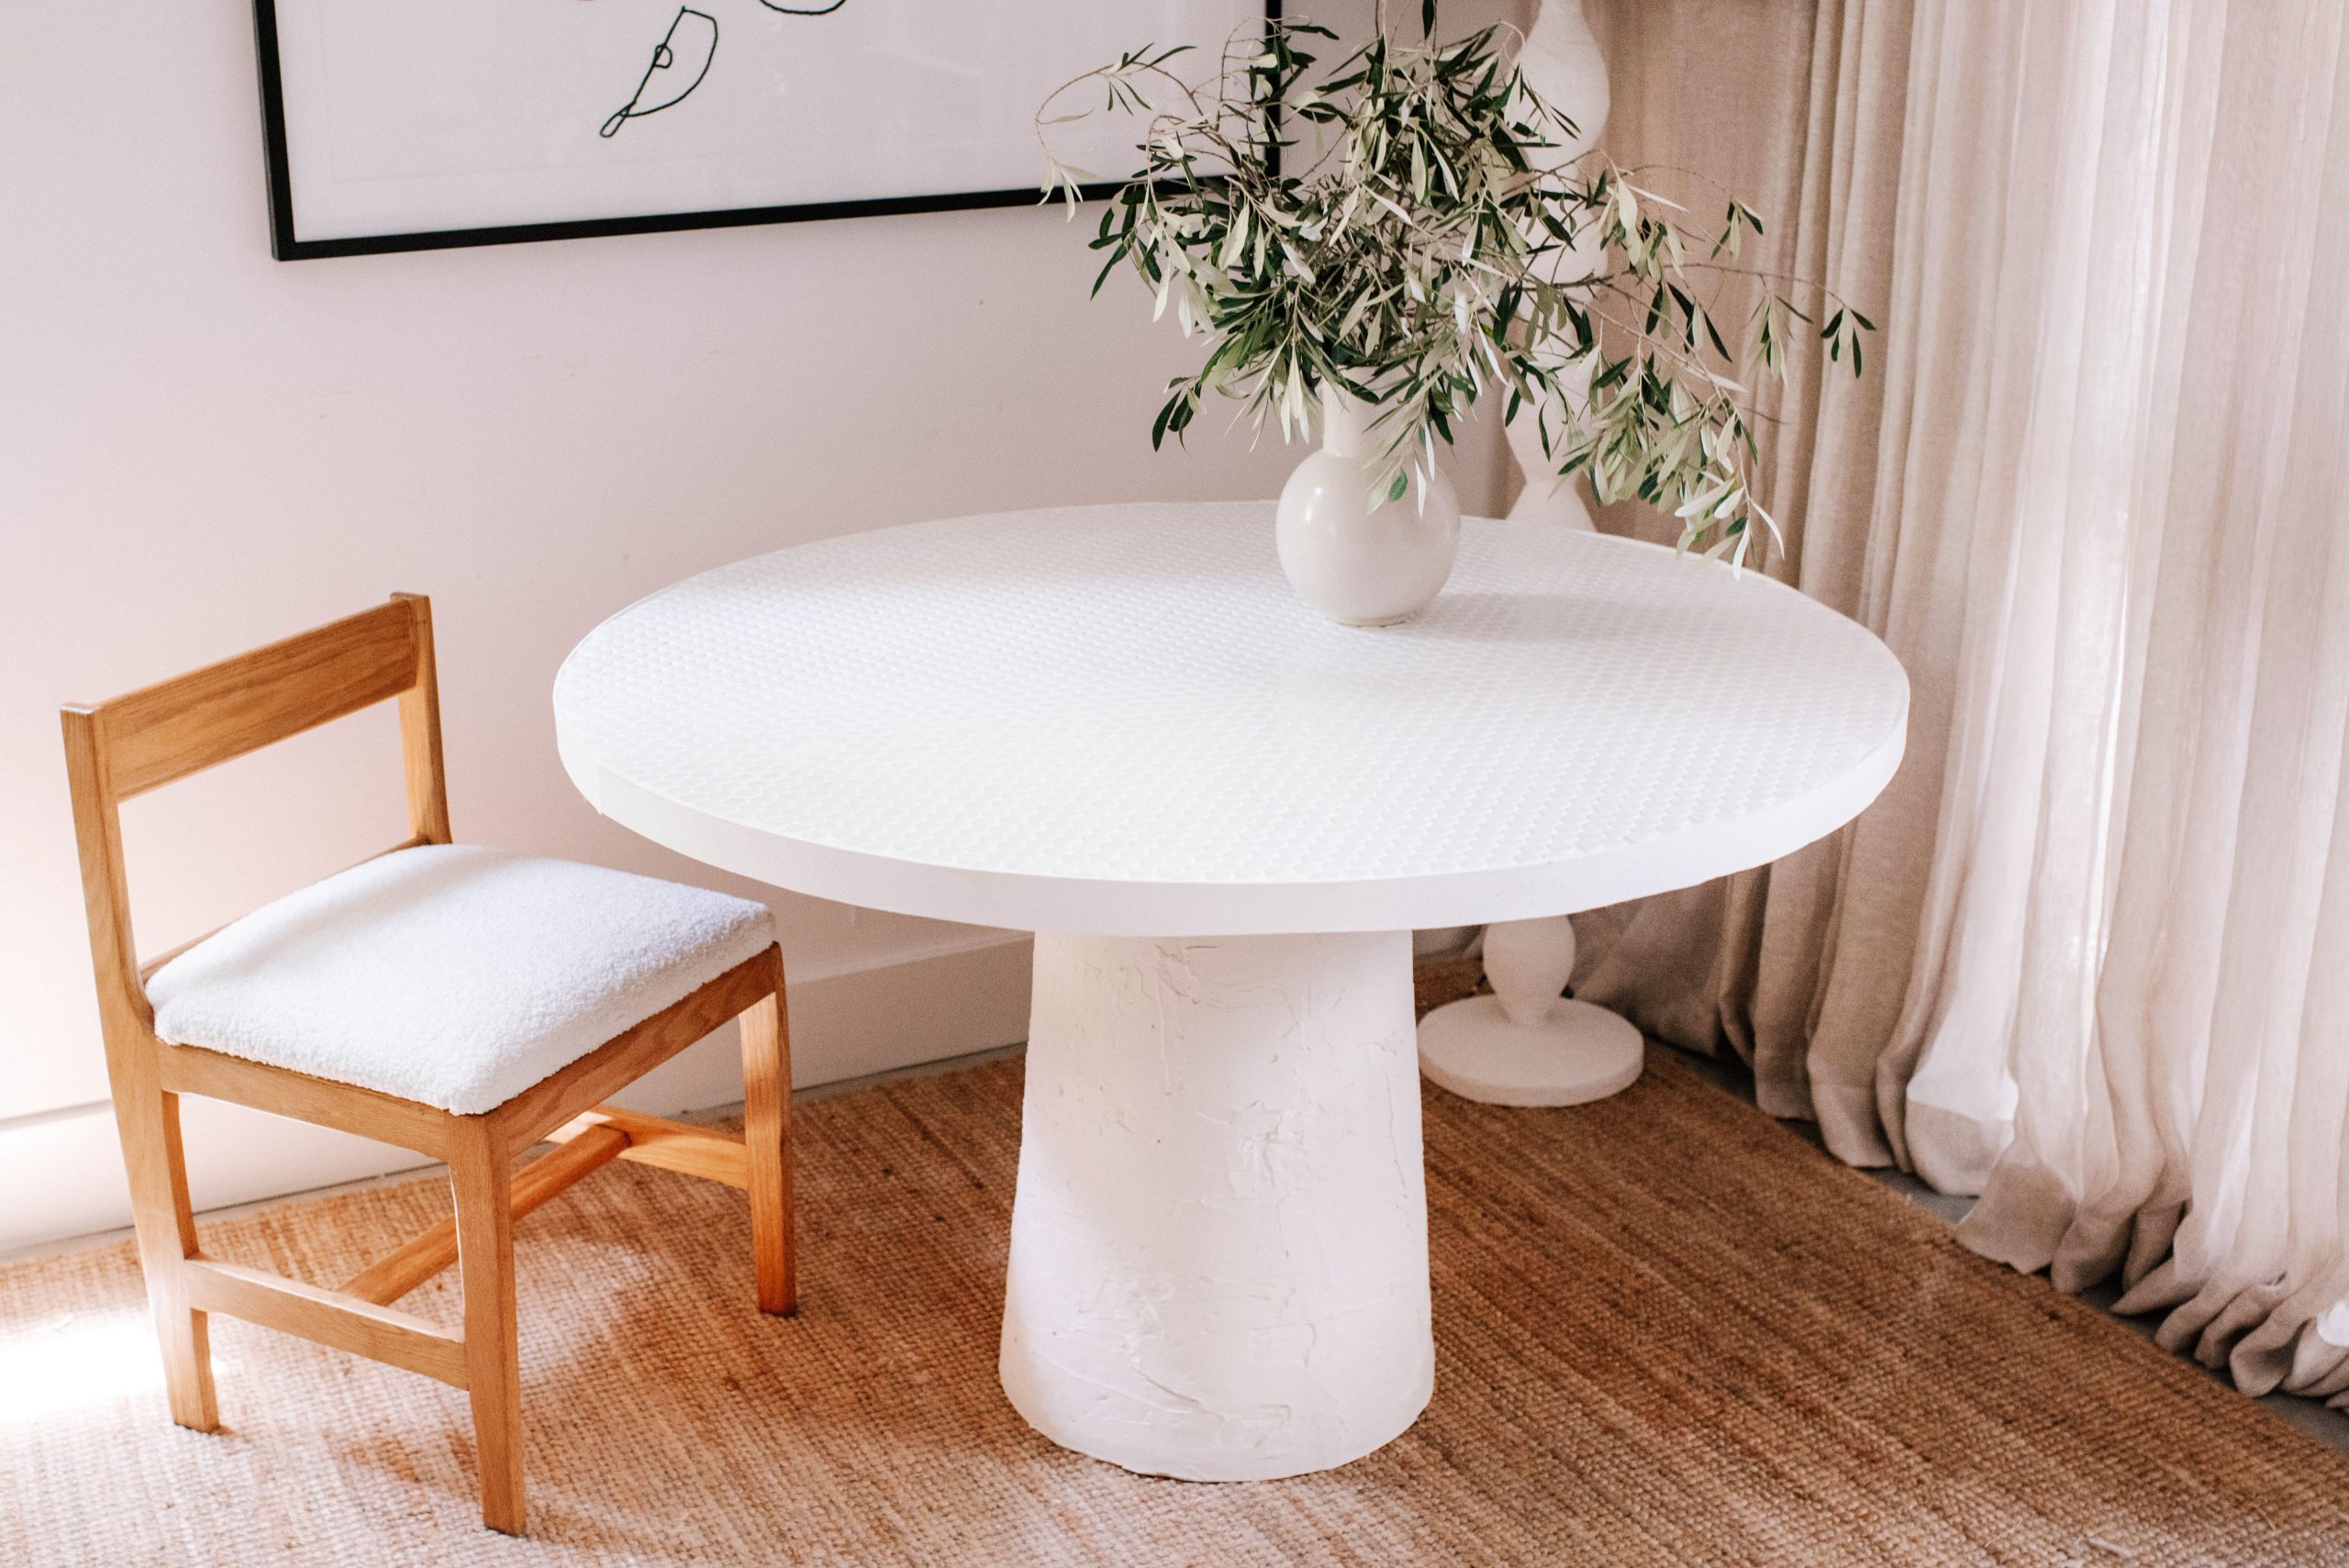
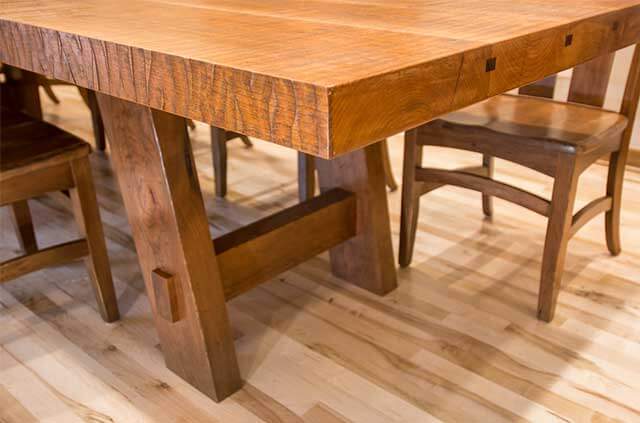
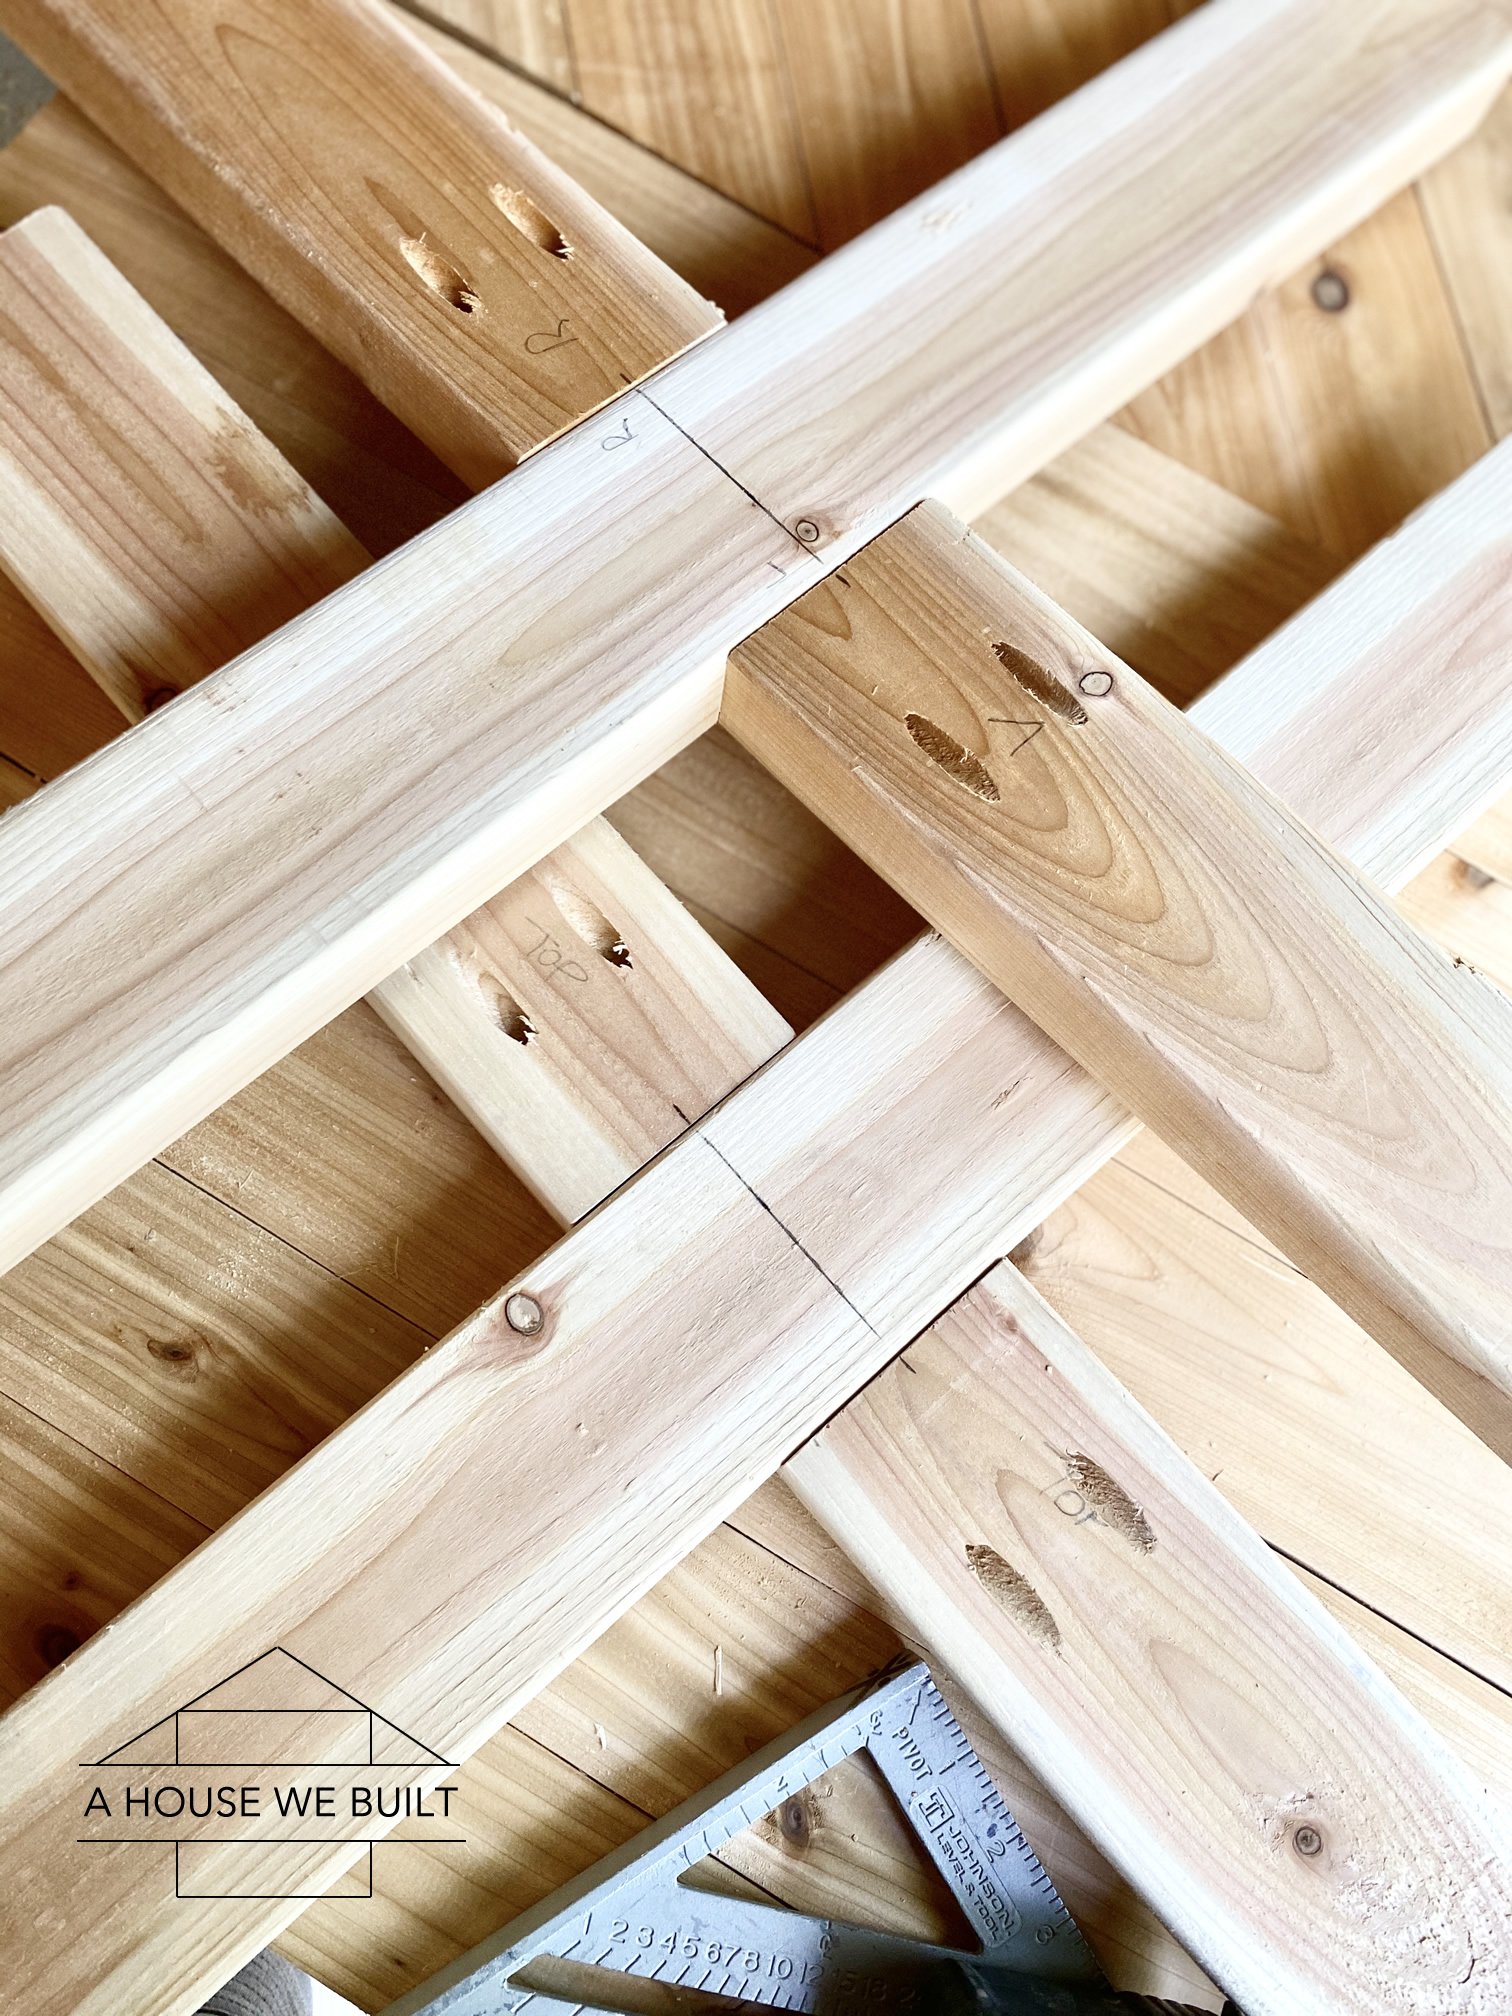
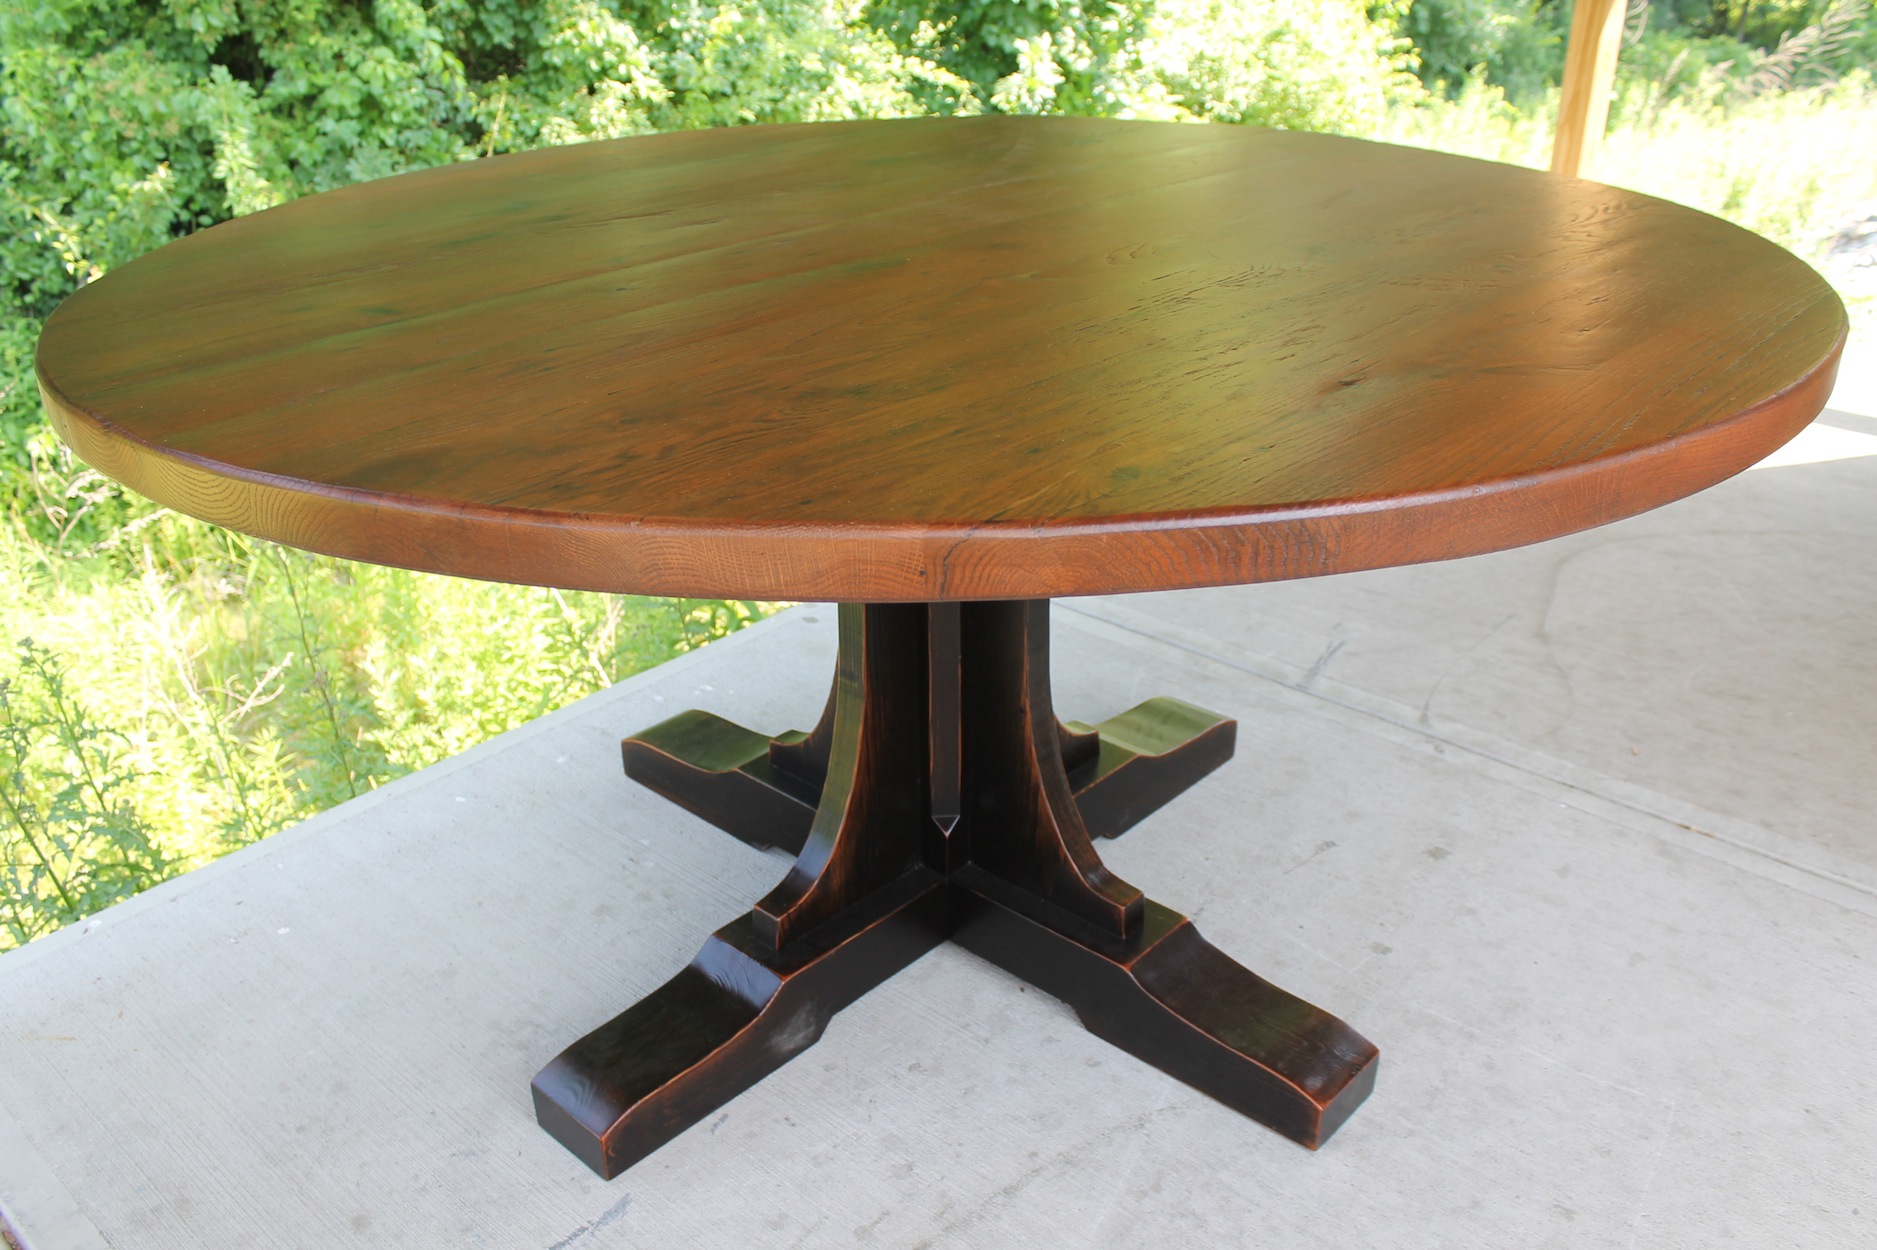
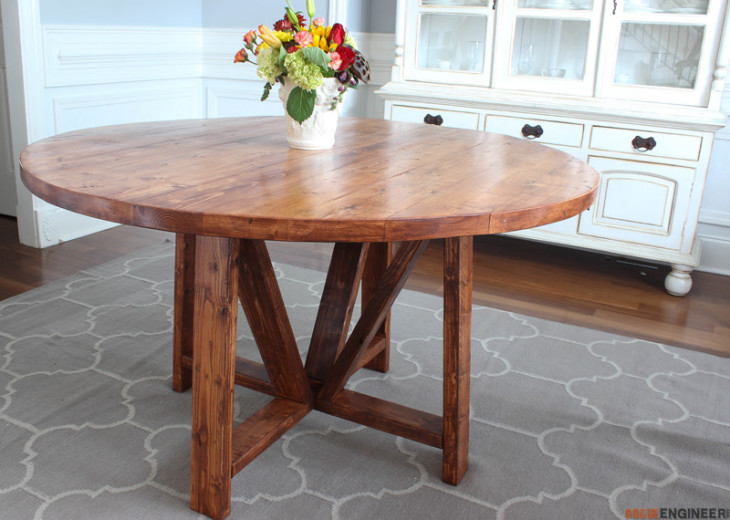
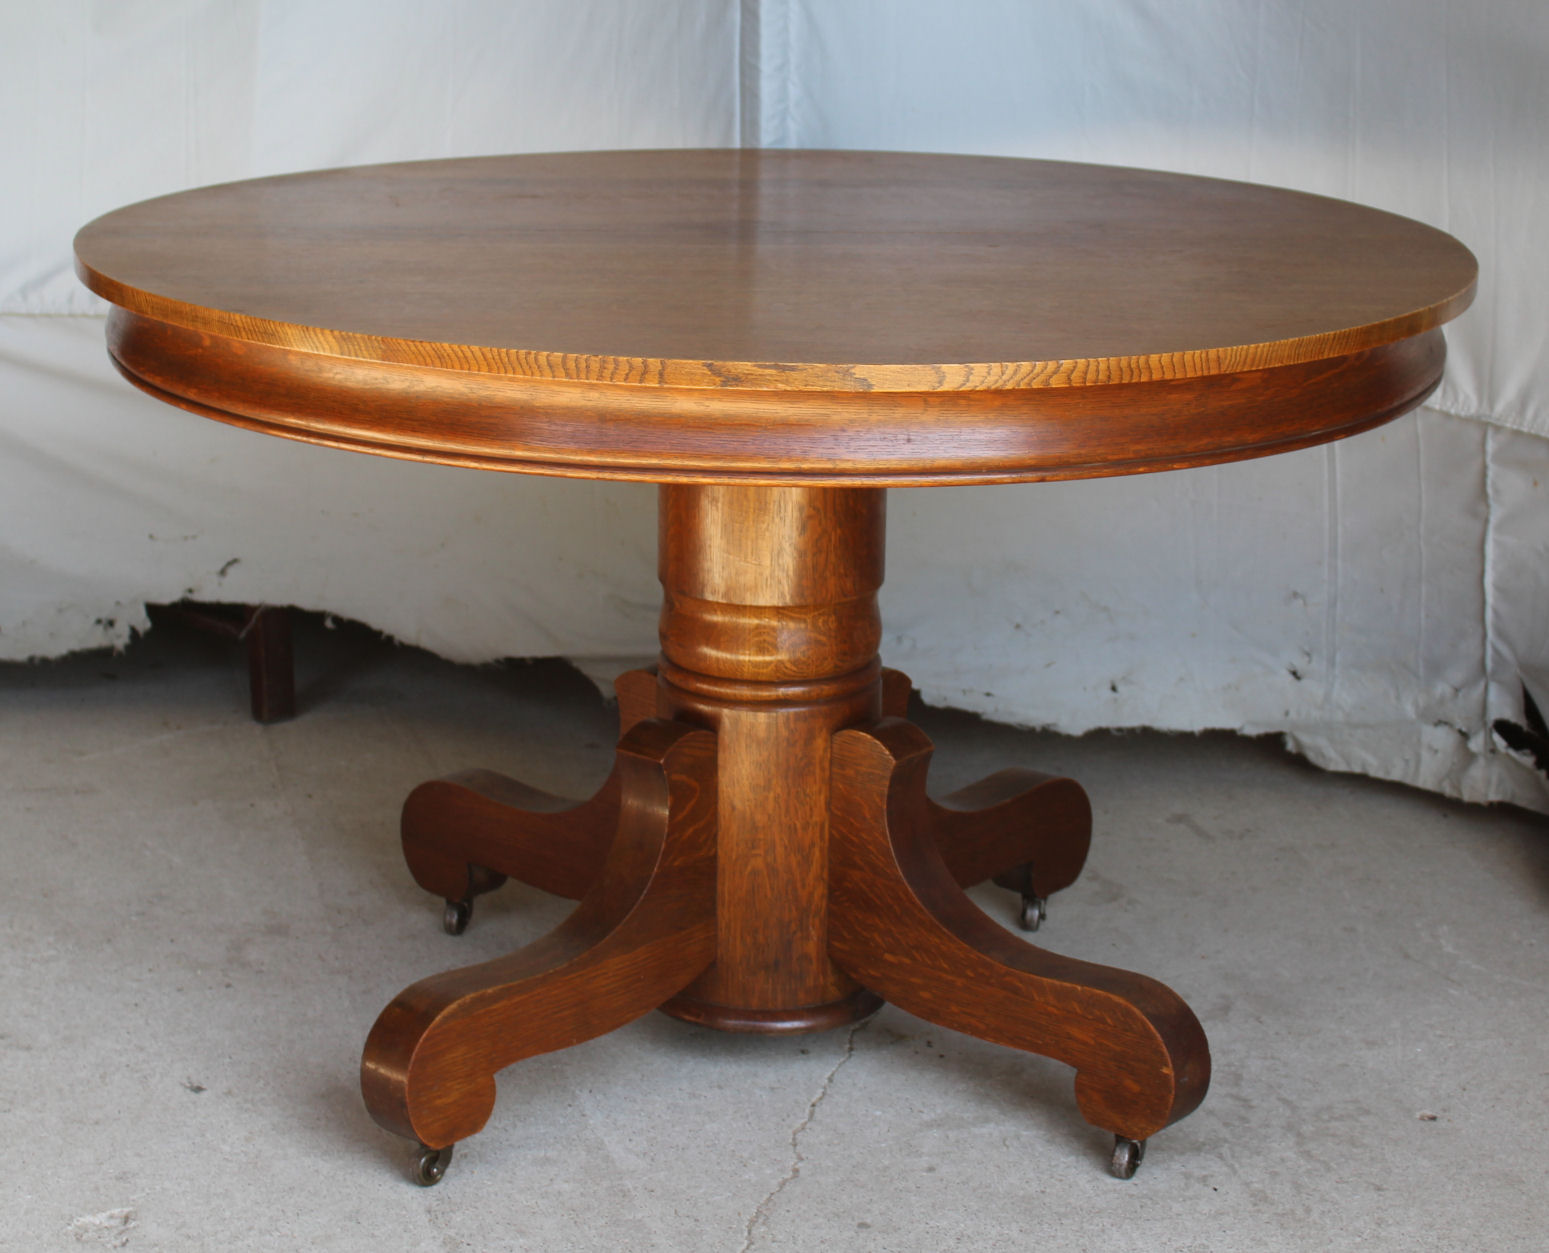
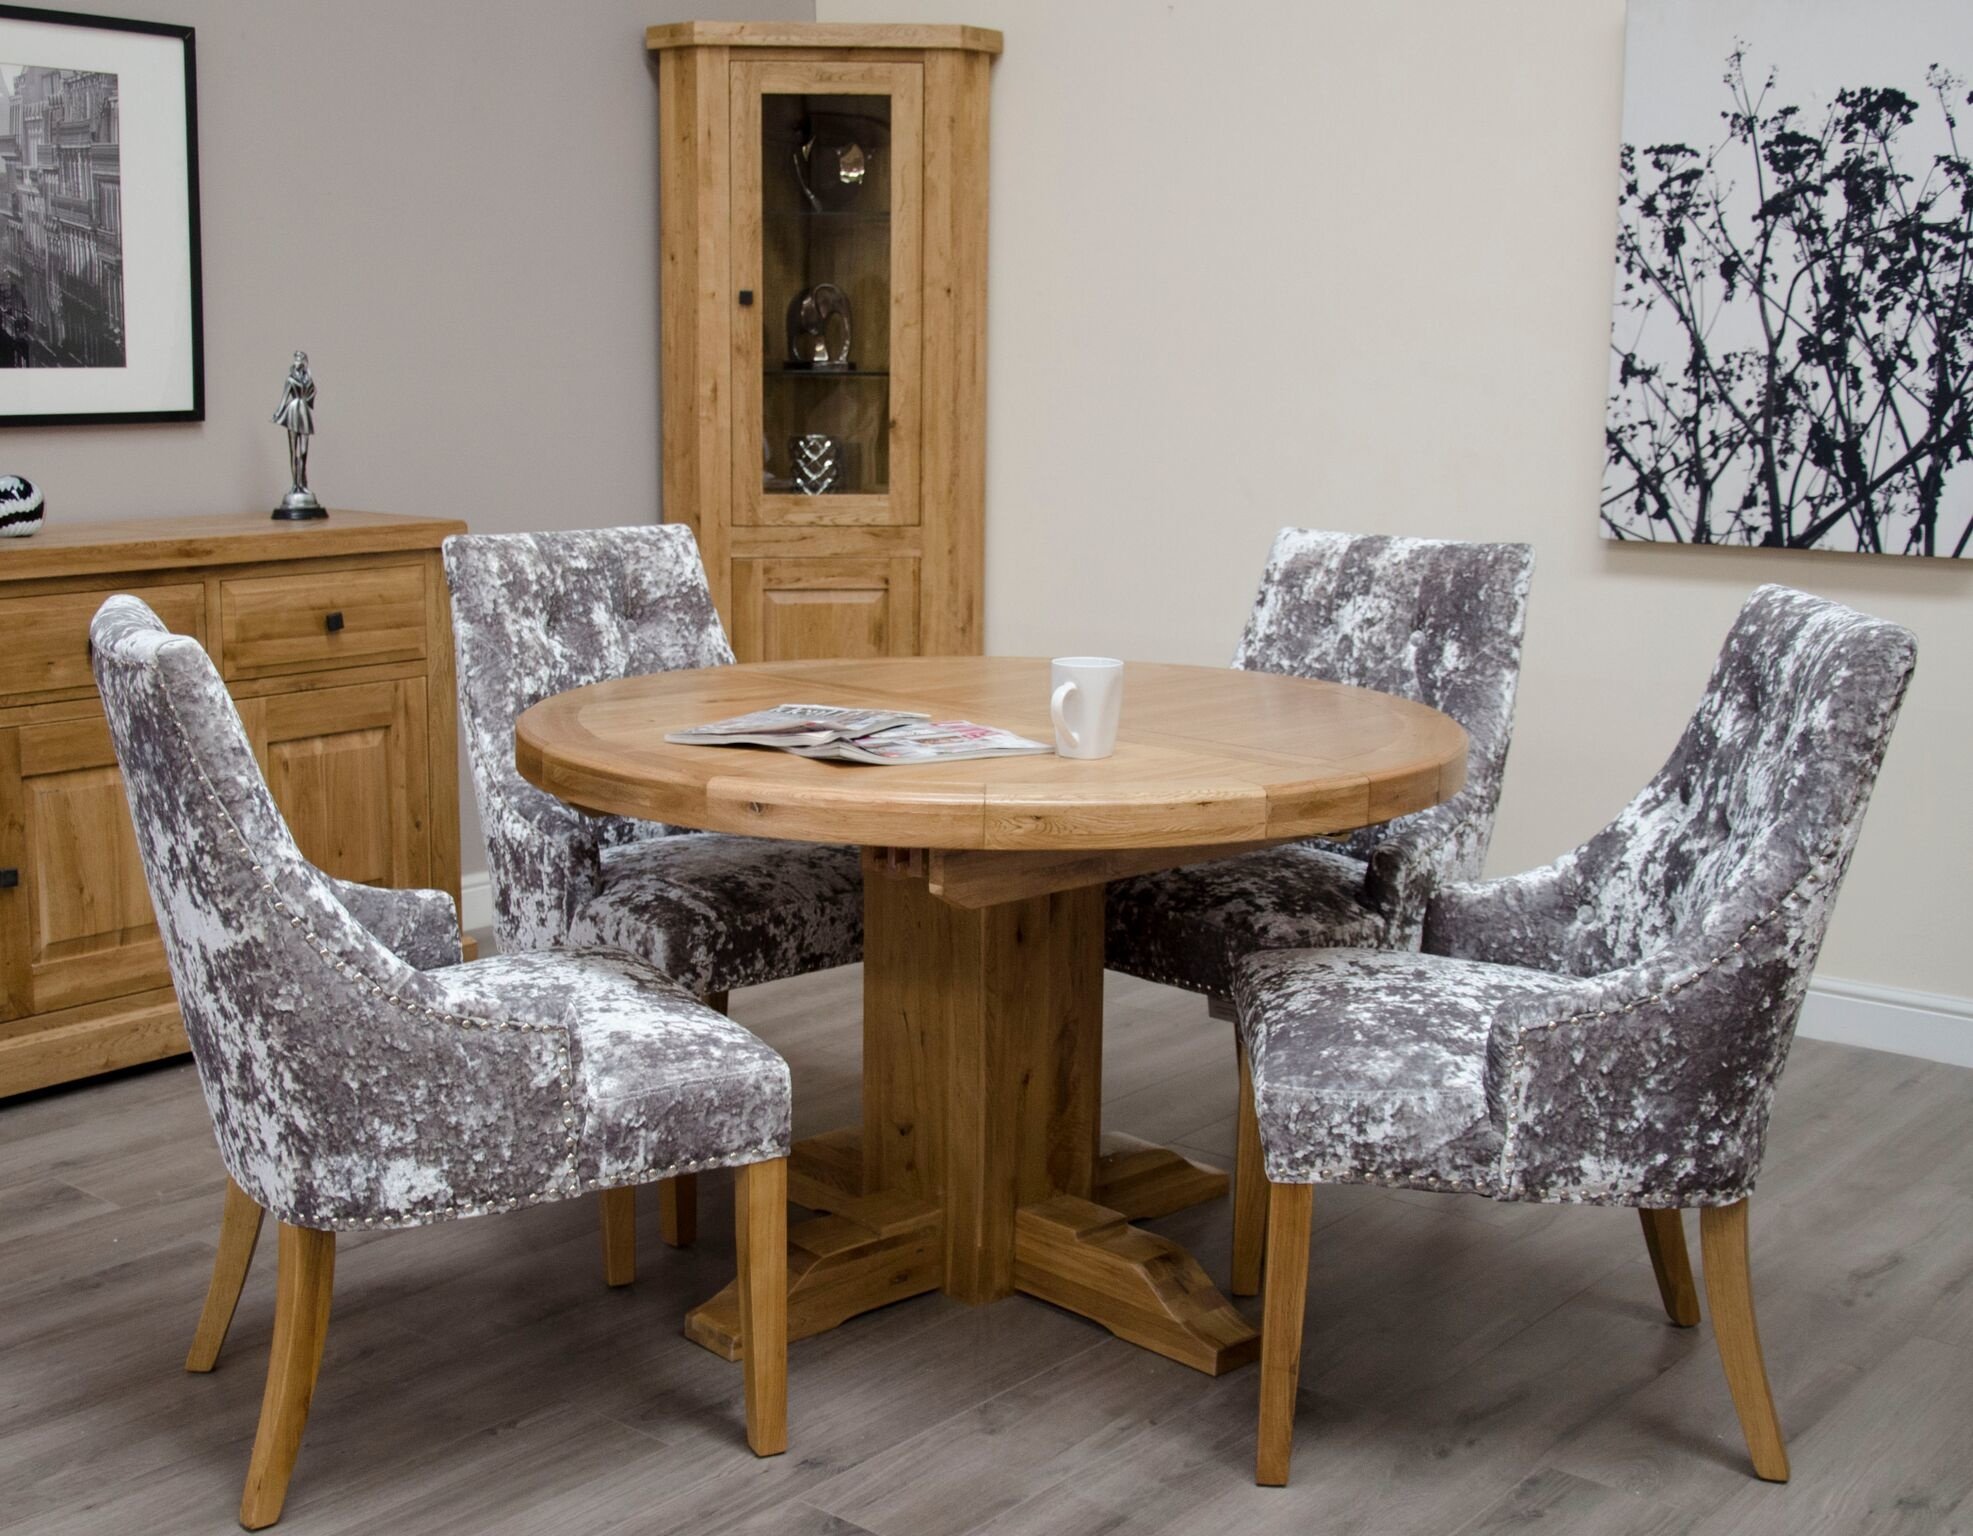
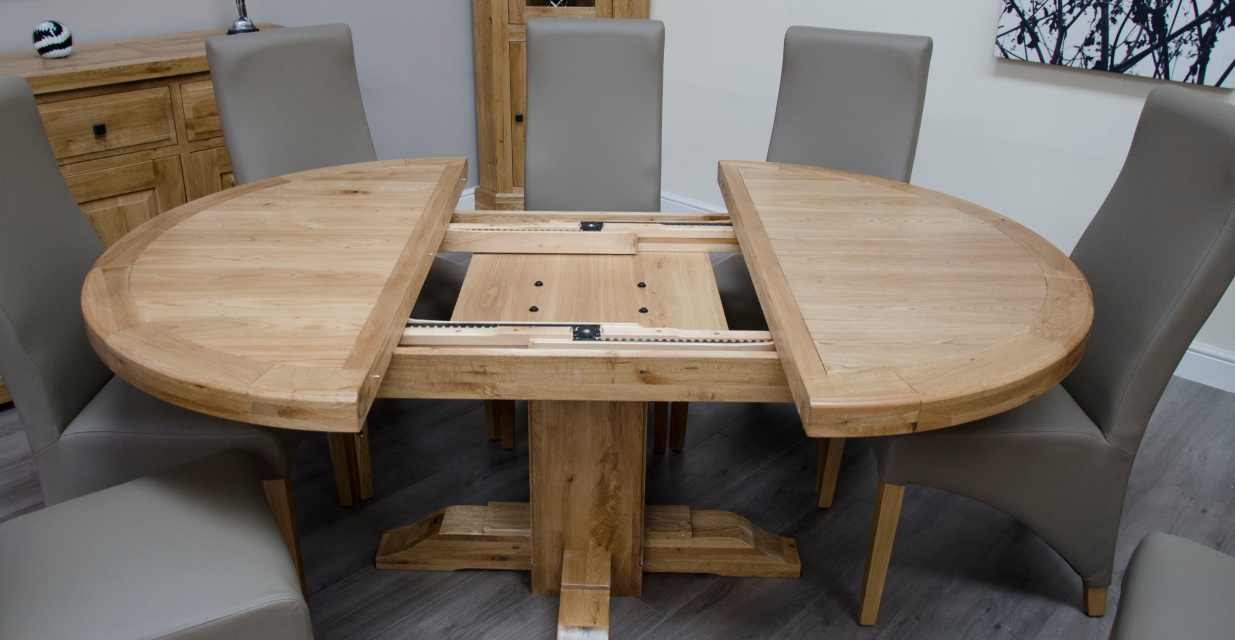
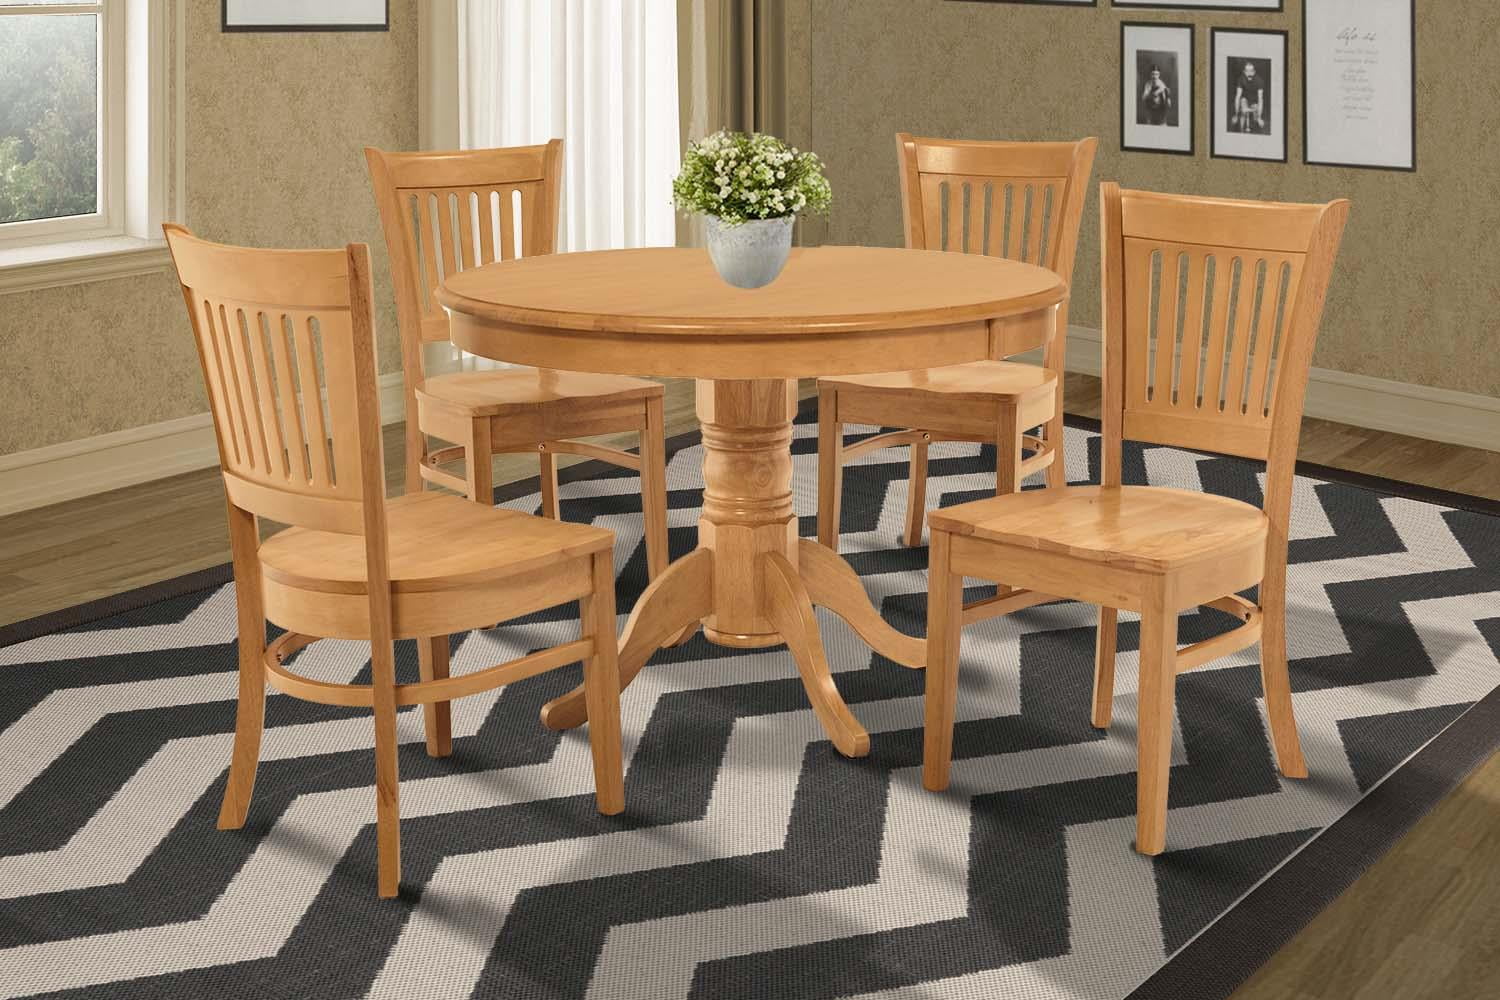
Now that you have a beautiful round table top, you will need a sturdy and stylish base to support it. Building a round table base out of oak is a great option, as it is a durable and attractive wood that is relatively easy to work with. Follow these steps to create your own round table base out of oak. To start, you will need to gather your materials and tools. Along with the oak wood, you will need a table saw, a drill, wood screws, wood glue, and sandpaper. You may also want to have a wood stain and finish on hand to add some color and protection to your base. Begin by cutting your oak wood into the desired lengths for your table base. You will need four pieces for the legs and four pieces for the horizontal supports. Cut the ends of each piece at a 45-degree angle to create a seamless joint when they are attached. Next, create the X-shaped base by attaching the legs to the horizontal supports with wood glue and screws. Make sure to countersink the screws and cover them with wood filler for a seamless look. Sand down any rough edges and imperfections and then apply a wood stain if desired. Once the stain is dry, add a clear finish for added protection and shine. Your sturdy and stylish oak round table base is now complete and ready to be attached to your table top. This classic and timeless option will make a statement in your kitchen.How to Build a Round Table Base out of Oak


How to Build a Round Table Base out of Oak


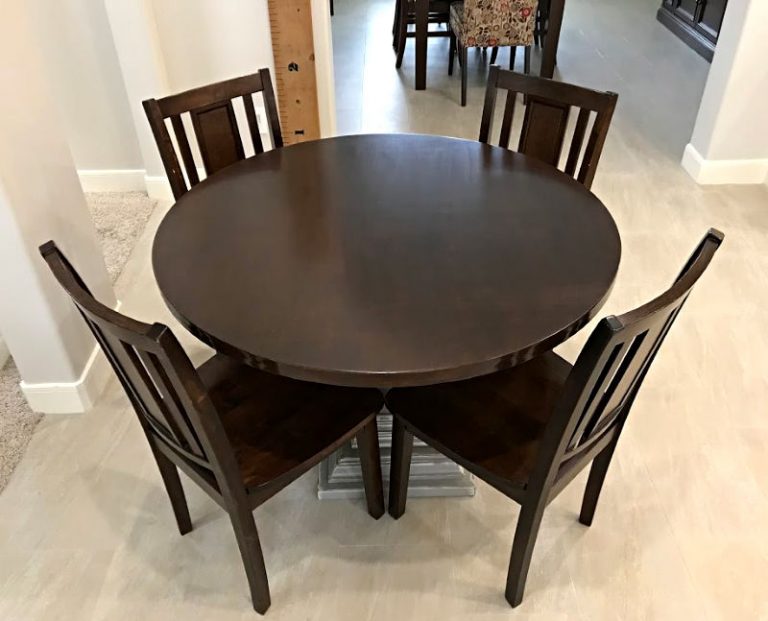
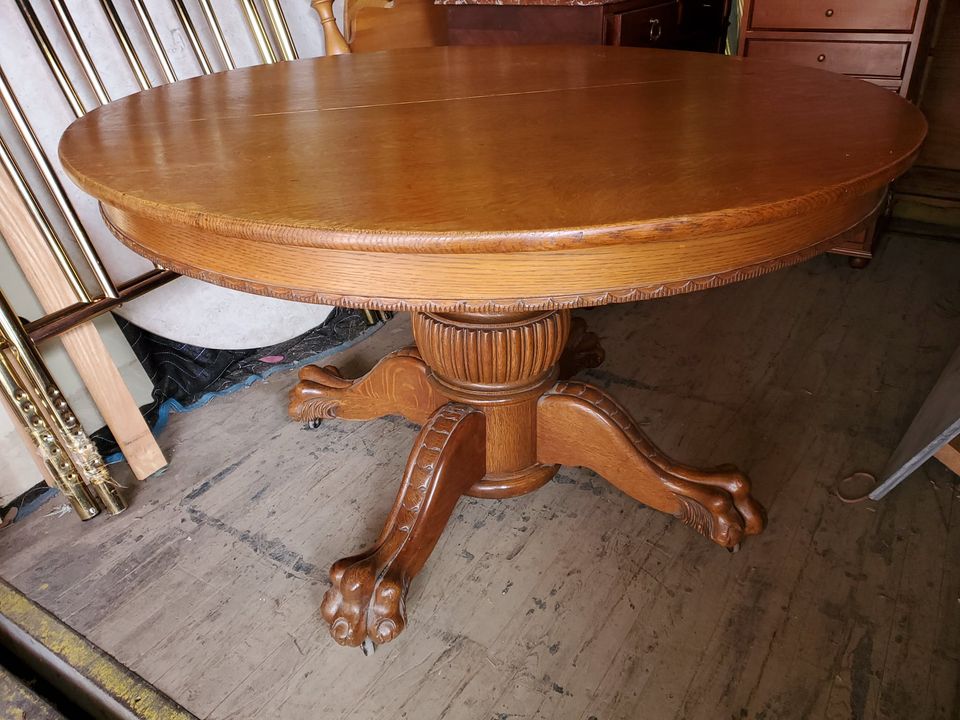
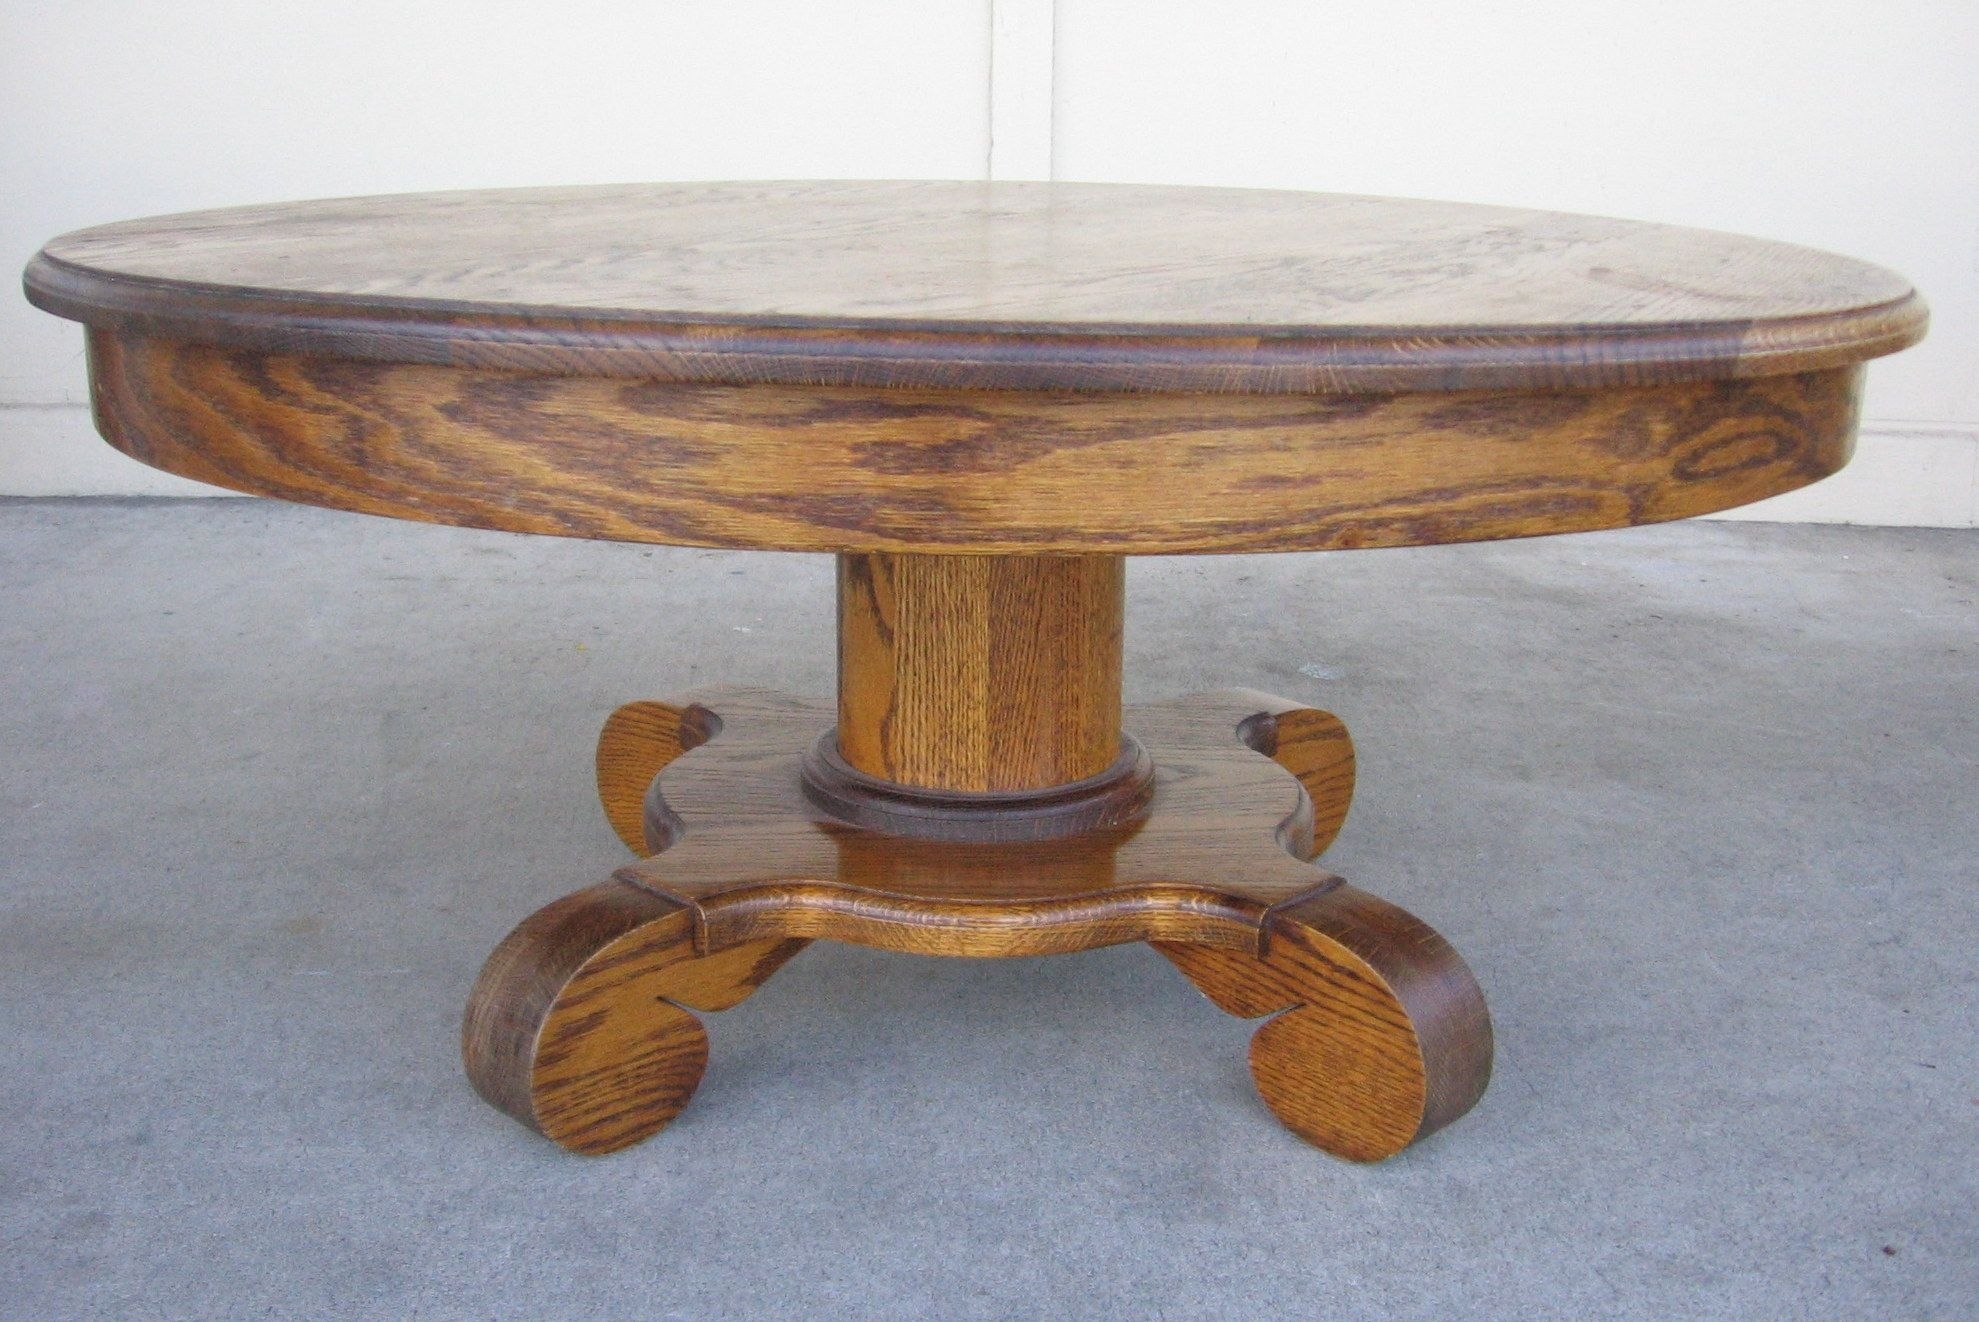
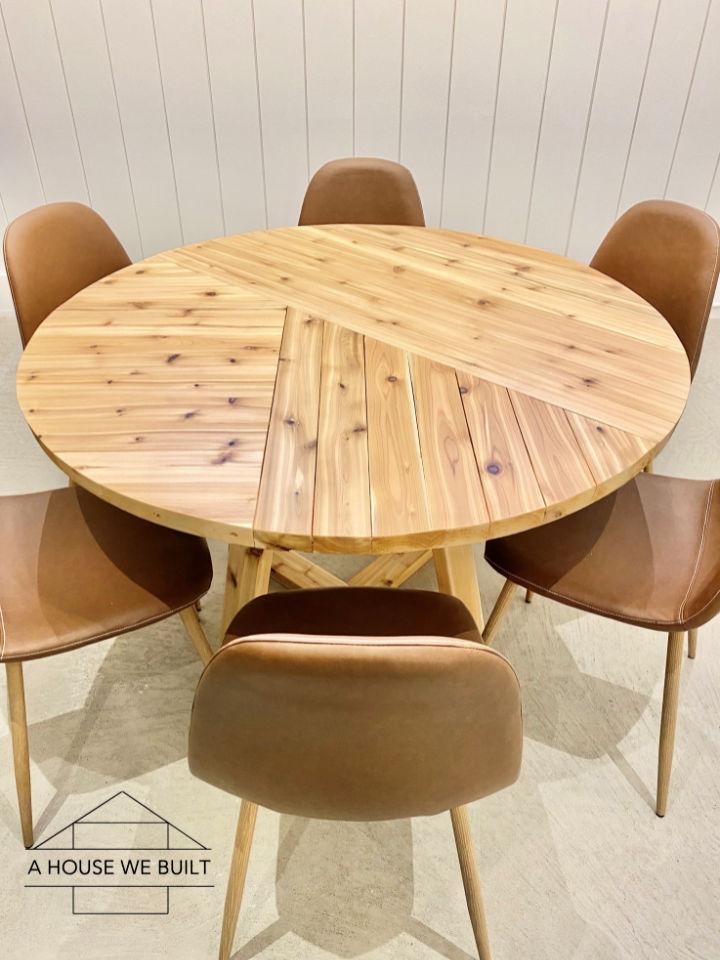
Oak is a popular choice for furniture due to its durability and versatility. If you want to make a complete round table out of oak, follow these steps to create a beautiful and functional piece for your kitchen. You will need a table saw, a drill, wood screws, wood glue, and sandpaper to complete this project. You may also want to have a wood stain and finish on hand to add some color and protection to your table. Start by cutting your oak wood into the desired lengths for your table. You will need four pieces for the legs and four pieces for the horizontal supports. Cut the ends of each piece at a 45-degree angle to create a seamless joint when they are attached. Next, create the X-shaped base by attaching the legs to the horizontal supports with wood glue and screws. Make sure to countersink the screws and cover them with wood filler for a seamless look. Once the base is complete, you can attach the oak round table top to it. Apply wood glue to the edges of the base and carefully place the table top on top. Use wood screws to secure the table top to the base, making sure to countersink the screws and cover them with wood filler for a seamless look. Sand down any rough edges and imperfections and then apply a wood stain if desired. Once the stain is dry, add a clear finish for added protection and shine. Your beautiful and sturdy oak round table is now complete and ready to be a focal point in your kitchen.How to Make a Round Table out of Oak


How to Make a Round Table out of Oak


Building a kitchen table is a great way to customize your space and create a functional piece of furniture. If you want to build a round kitchen table out of oak, follow these steps for a beautiful and durable result. You will need a table saw, a drill, wood screws, wood glue, and sandpaper to complete this project. You may also want to have a wood stain and finish on hand to add some color and protection to your table. Begin by cutting your oak wood into the desired lengths for your table. You will need four pieces for the legs and four pieces for the horizontal supports. Cut the ends of each piece at a 45-degree angle to create a seamless joint when they are attached. Next, create the X-shaped base by attaching the legs to the horizontal supports with wood glue and screws. Make sure to countersink the screws and cover them with wood filler for a seamless look. With the base complete, you can now attach the round oak table top to it. Apply wood glue to the edges of the base and carefully place the table top on top. Use wood screws to secure the table top to the base, making sure to countersink the screws and cover them with wood filler for a seamless look. Sand down any rough edges and imperfections and then apply a wood stain if desired. Once the stain is dry, add a clear finish for added protection and shine. Your round oak kitchen table is now complete and ready to be a gathering place for family and friends.How to Build a Round Kitchen Table out of Oak


How to Build a Round Kitchen Table out of Oak


Creating a DIY round kitchen table out of oak is a great way to add a personal touch to your space. Follow these steps to make your own unique and functional kitchen table. You will need a table saw, a drill, wood screws, wood glue, and sandpaper to complete this project. You may also want to have a wood stain and finish on hand to add some color and protection to your table. To start, cut your oak wood into equal lengths for the legs and horizontal supports. Cut the ends of each piece at a 45-degree angle to create a seamless joint when they are attached. Next, create the X-shaped base by attaching the legs to the horizontal supports with wood glue and screws. Make sure to countersink the screws and cover them with wood filler for a seamless look. With the base complete, you can now attach the round oak table top to it. Apply wood glue to the edges of the base and carefully place the table top on top. Use wood screws to secure the table top to the base, making sure to countersink the screws and cover them with wood filler for a seamless look. Sand down any rough edges and imperfections and then apply a wood stain if desired. Once the stain is dry, add a clear finish for added protection and shine. Your DIY round oak kitchen table is now complete and ready to add a personal touch to your kitchen.DIY Round Kitchen Table: How to Make a Round Kitchen Table out of Oak


DIY Round Kitchen Table: How to Make a Round Kitchen Table out of Oak


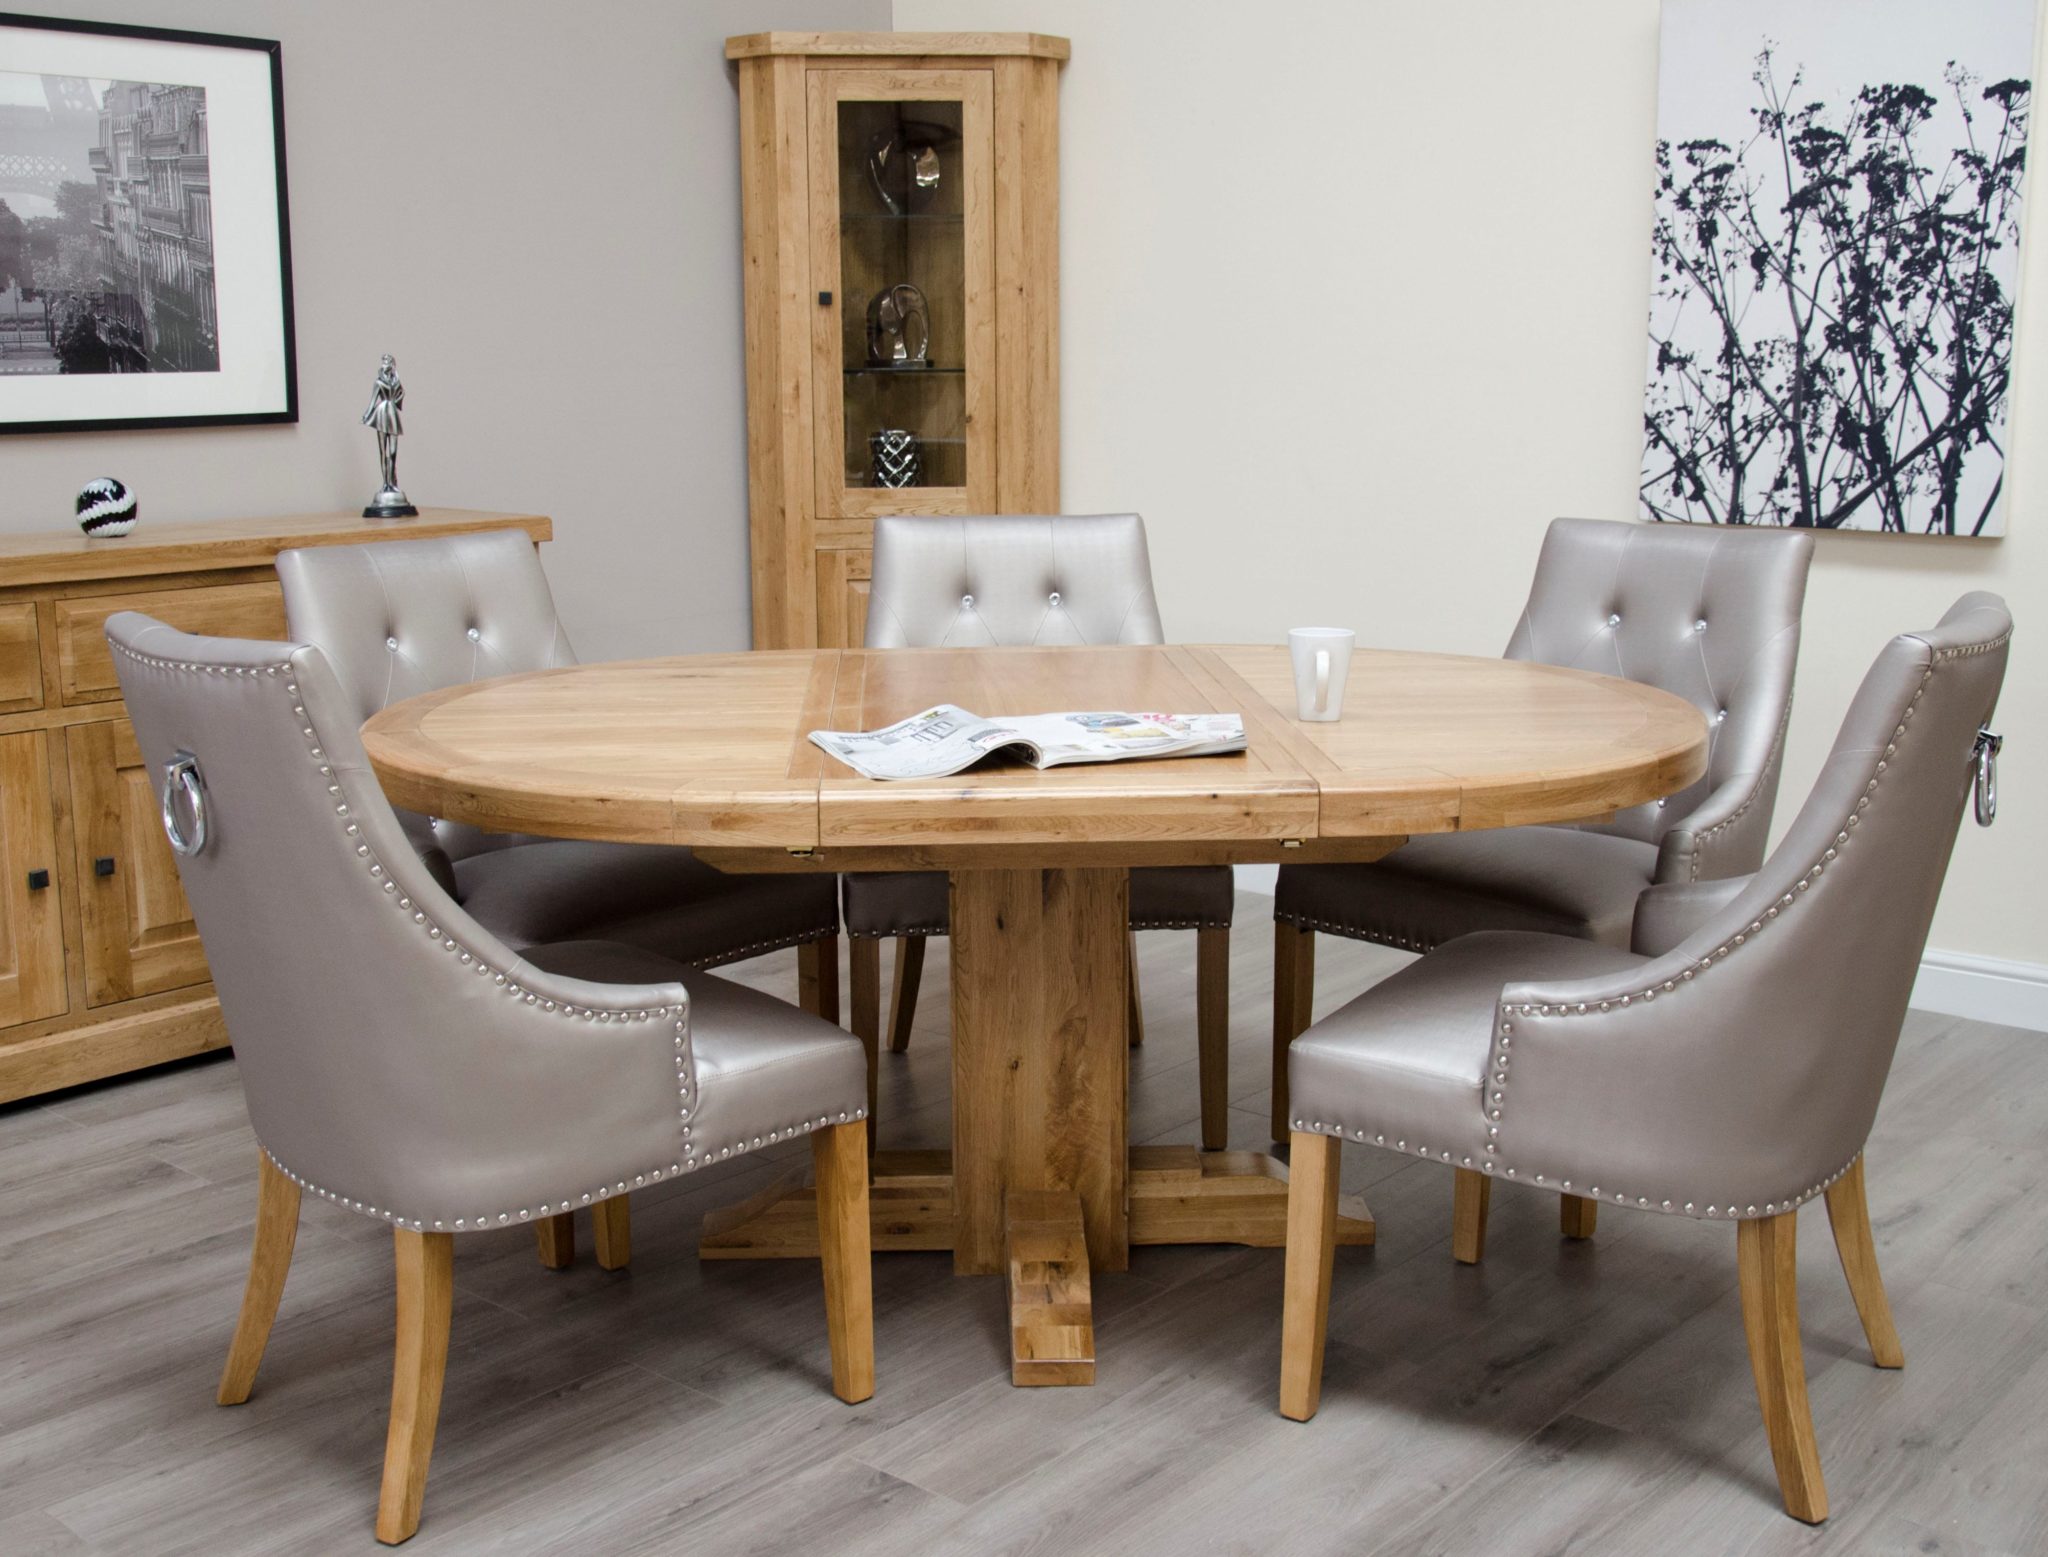
A round dining table is a classic and elegant addition to any dining room. If you want to create your own round dining table out of oak, follow these steps for a stunning and sturdy result. You will need a table saw, a drill, wood screws, wood glue, and sandpaper to complete this project. You may also want to have a wood stain and finish on hand to add some color and protection to your table. To start, cut your oak wood into equal lengths for the legs and horizontal supports. Cut the ends of each piece at a 45-degree angle to create a seamless joint when they are attached. Next, create the X-shaped base by attaching the legs to the horizontal supports with wood glue and screws. Make sure to countersink the screws and cover them with wood filler for a seamless look. With the base complete, you can now attach the round oak table top to it. Apply wood glue to the edges of the base and carefully place the table top on top. Use wood screws to secure the table top to the base, making sure to countersink the screws and cover them with wood filler for a seamless look. Sand down any rough edges and imperfections and then apply a wood stain if desired. Once the stain is dry, add a clear finish for added protection and shine. Your round oak dining table is now complete and ready to be a beautiful centerpiece in your dining room.How to Make a Round Dining Table out of Oak

How to Make a Round Dining Table out of Oak


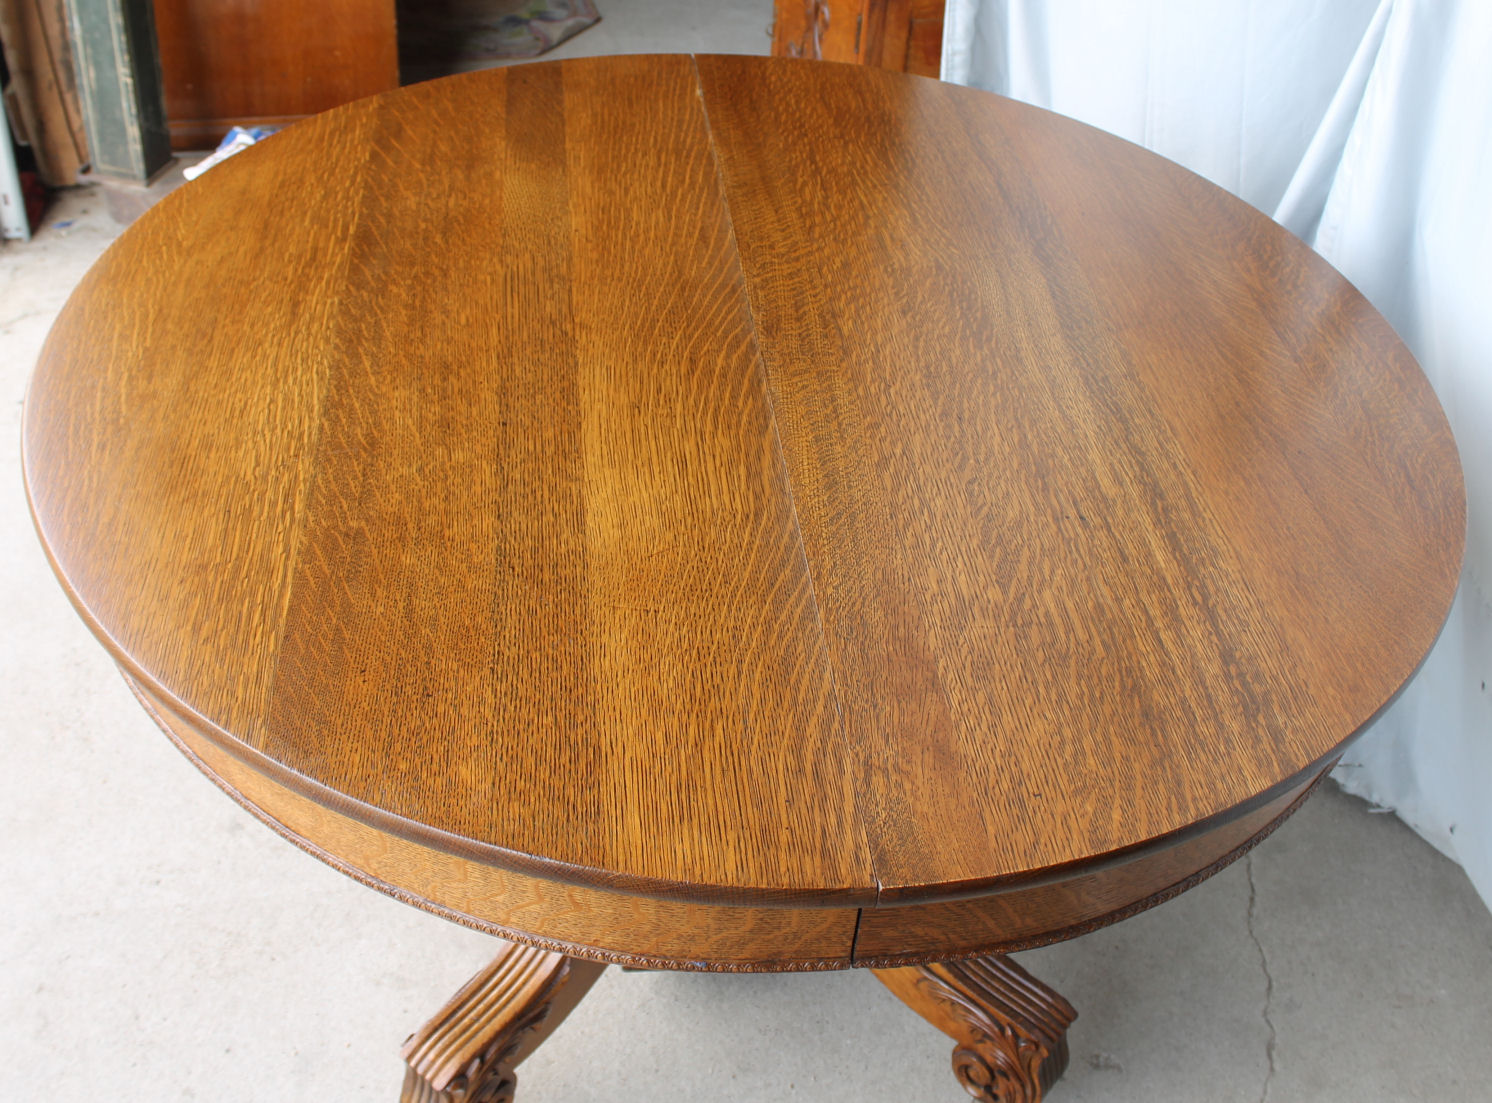
How to Build a Round Table Top out of Oak

How to Build a Round Table Top out of Oak


Making a Kitchen Table Out of an Oak Round: A Unique and Sustainable Design Choice

Why Choose Oak for Your Kitchen Table?
 Oak is a popular choice for furniture due to its durability, strength, and timeless beauty. It is a hardwood that is known for its resistance to wear and tear, making it a great option for high-traffic areas like the kitchen. Oak also has a unique grain pattern and warm, golden color that adds character to any space. Not only is oak aesthetically pleasing, but it is also a sustainable choice as it is a renewable resource and can be grown and harvested in a responsible manner.
The Benefits of Using an Oak Round for Your Kitchen Table
 Using an oak round to make a kitchen table offers a plethora of benefits. Firstly, it allows for a more natural and organic shape, as opposed to the traditional rectangular or square tables. This can add a touch of uniqueness and charm to your kitchen design. Additionally, an oak round table can accommodate more people and provide a better flow for conversation, making it a great choice for families or those who love to entertain. Oak rounds are also easier to move around and can fit into smaller spaces, making them a practical choice for any kitchen.
The Process of Making a Kitchen Table Out of an Oak Round
 Making a kitchen table out of an oak round is a relatively simple and satisfying DIY project. You can start by finding a high-quality oak round with a diameter that fits your kitchen space. Next, you will need to sand down the surface of the round to smooth out any imperfections and create a flat surface. You can then add legs or a base to the round using wood glue and screws for a sturdy foundation. Lastly, you can finish the table with a stain or sealant to protect the wood and enhance its natural beauty.
Conclusion
 In conclusion, using an oak round to make a kitchen table is an excellent choice for those looking for a unique, sustainable, and functional design. With its durability, warmth, and versatility, an oak round table is sure to be the centerpiece of your kitchen for years to come. So why settle for a standard rectangular table when you can create a one-of-a-kind piece that reflects your style and values? Consider making a kitchen table out of an oak round for a beautiful and timeless addition to your home.